After the test float, the position of the oar lock was determined. The fitting begins.
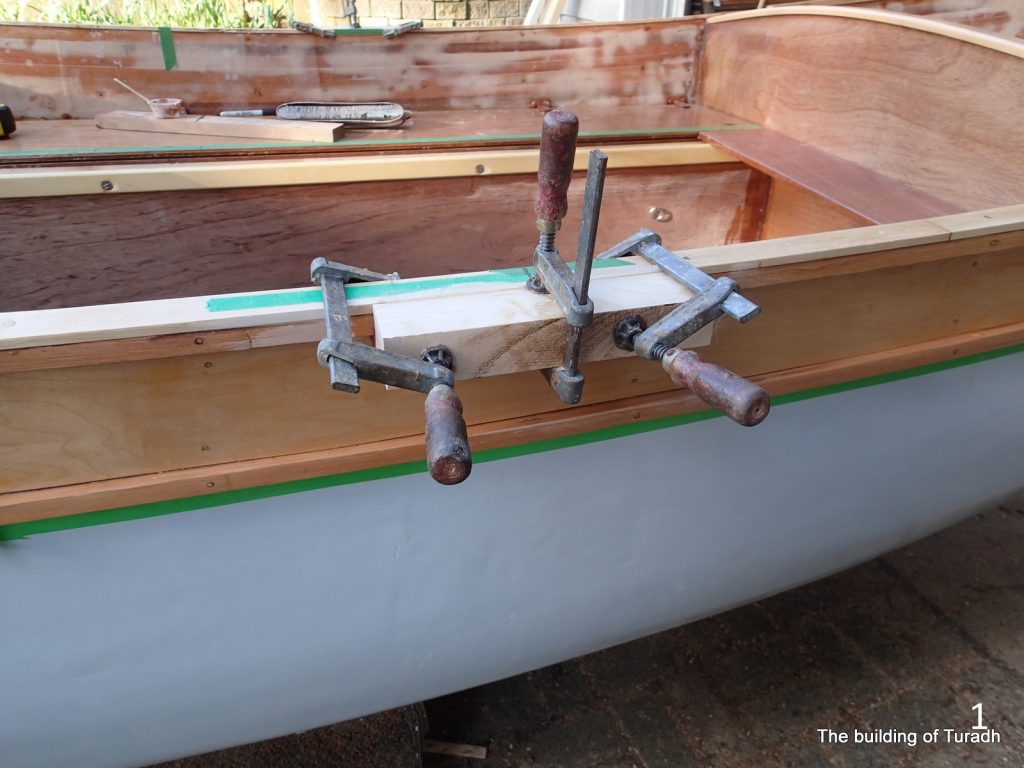
I start by fitting the oar socket block , using the oarsman seat placement from the test float. The block is shaped with a cut-out to fit the gunnel and will be pegged in later.
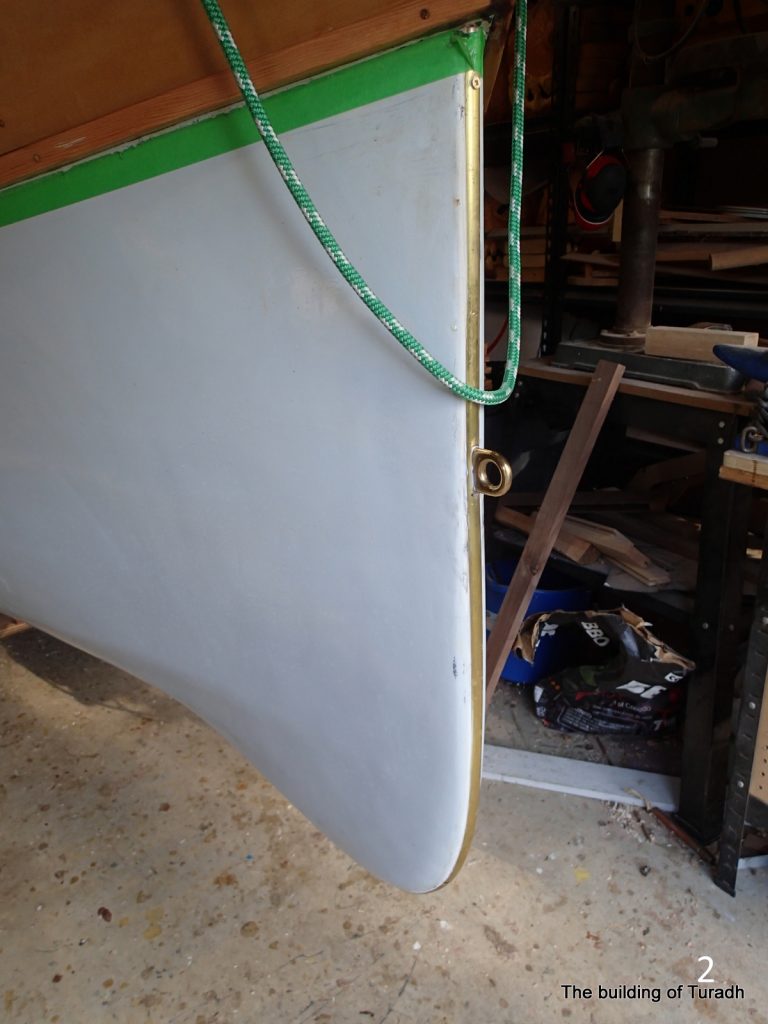
The bow eye is put in, put at the right height for the winch on my trailer. I used a punch to dimple the brass. This is a threaded eye and the nut/washer are on the inside of the stem.
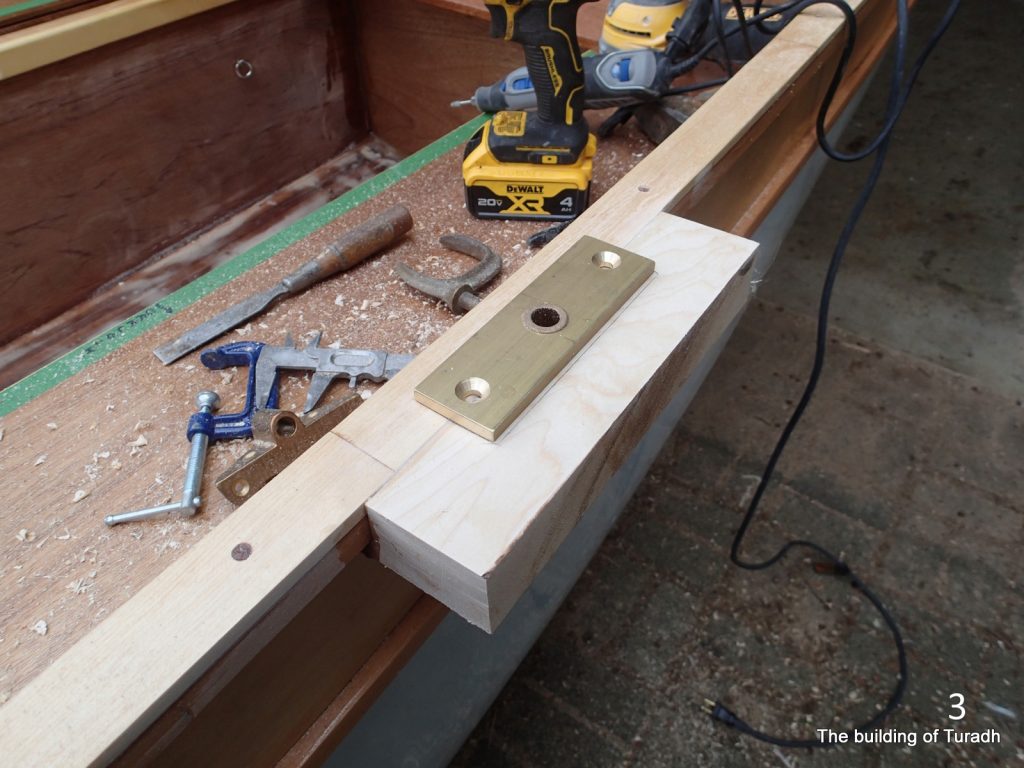
Fitting the oarlock socket. I made the sockets using a plan from Small Boats nation called: DIY Oarlock Sockets Oilite bearings to reduce wear. Written by James Kealey, From Issue August 2023. I made six of the sockets, so I could have one rower or one rower and a passenger or two rowers. For now, I am only going to fit one set of sockets.
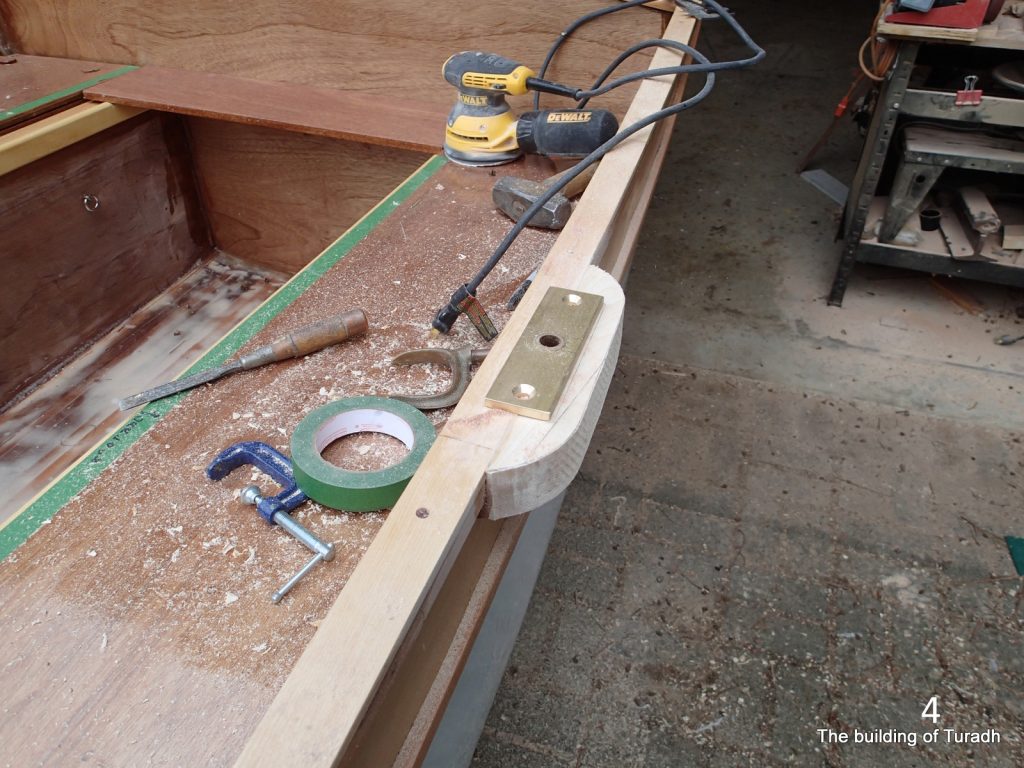
The block is shaped. I always want my oarlock sockets to drain overboard and not into the boat. It also has the benefit on not digging into your back when you are sailing.
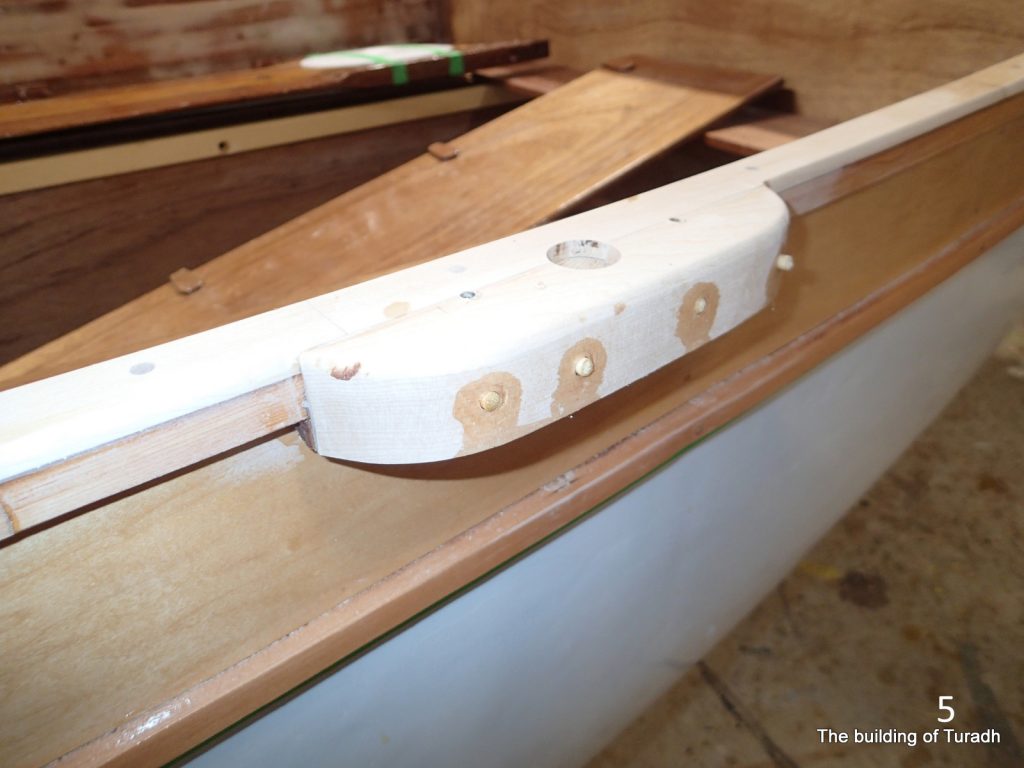
The block is epoxied in and dowels are epoxied in to hold it. The edges are routed with a ¼” round over bit, as are all of the gunnels. Next will be routing out the slot for the oarlock socket.
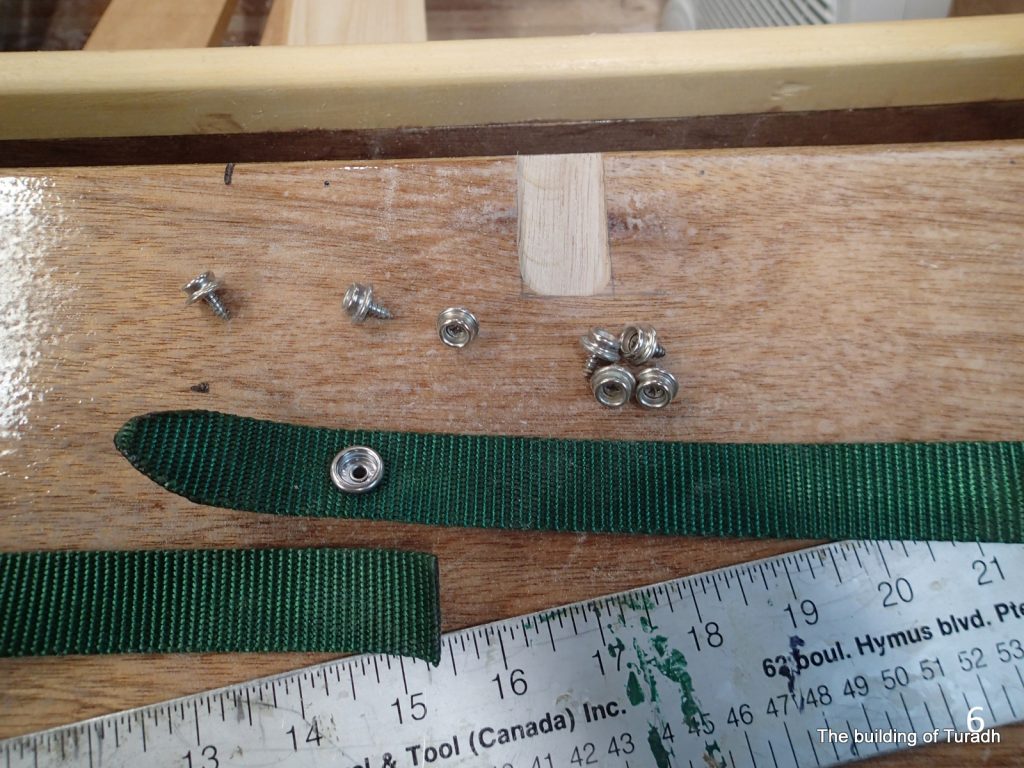
The seat tops will be held down with straps secured by button snaps. The seats are notched flush to the seat top for the straps.
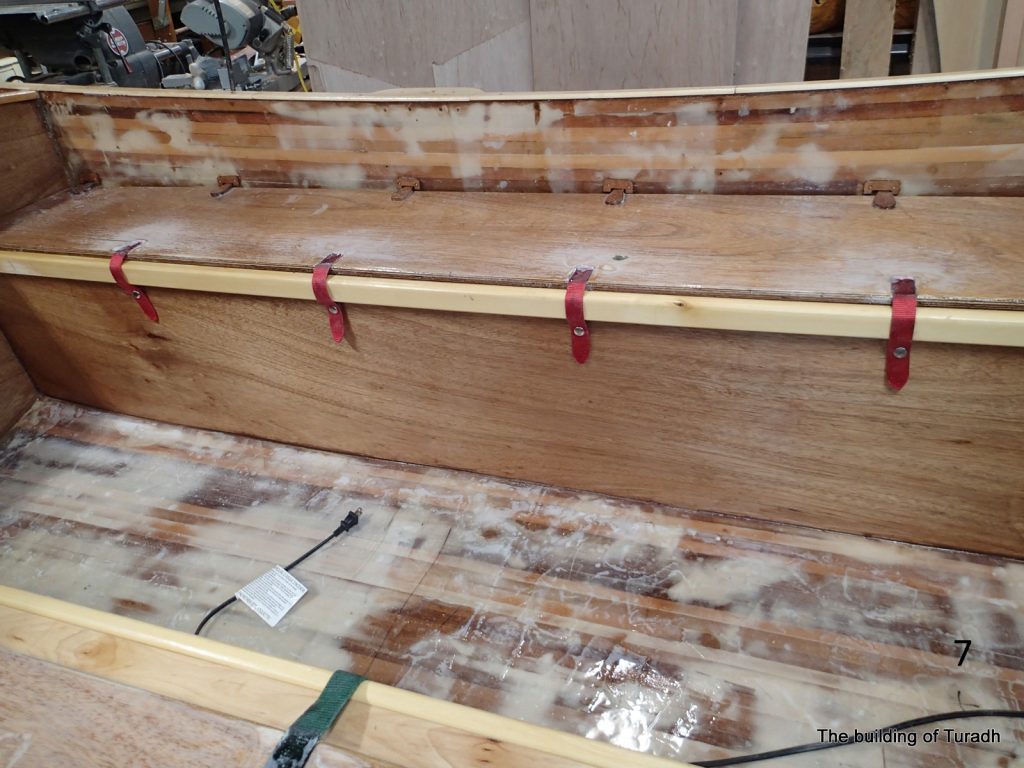
Red straps for Port and Green straps for Starboard. You can see the clips at the back of the seats that hold the seat in place. Undo the straps and the seat will lift up to access the storage area.
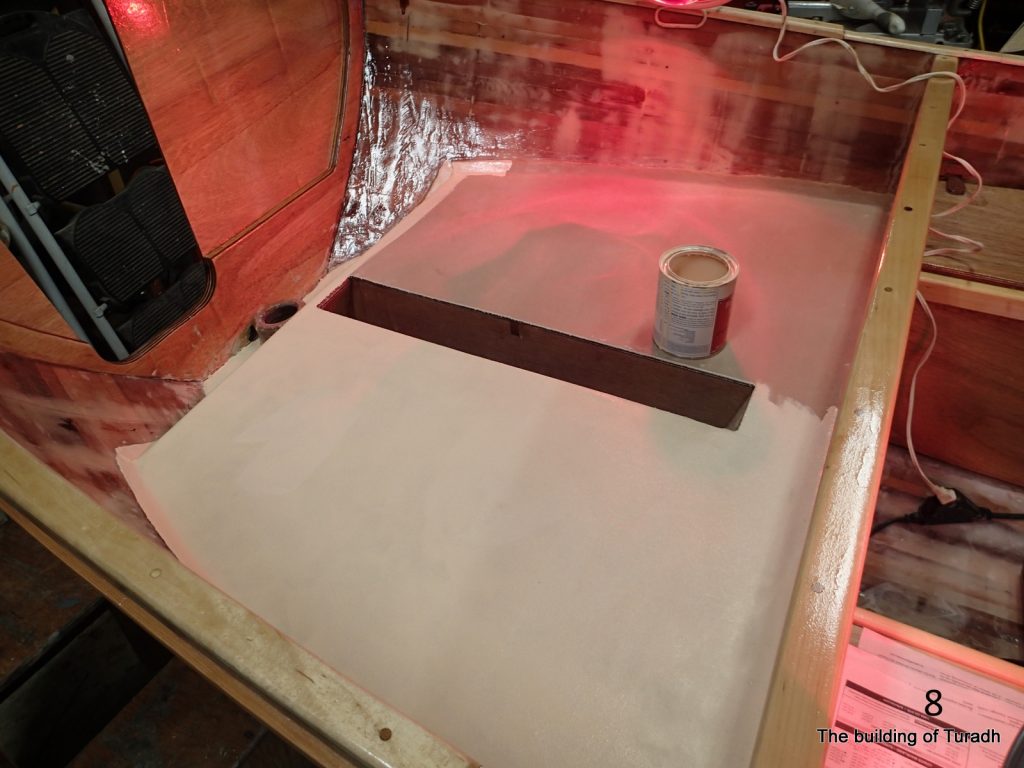
The canvas deck gets two coats of paint. No sun damage here. Note the maple caps have been sanded and varnished. Still have to put in the drain holes for the deck.
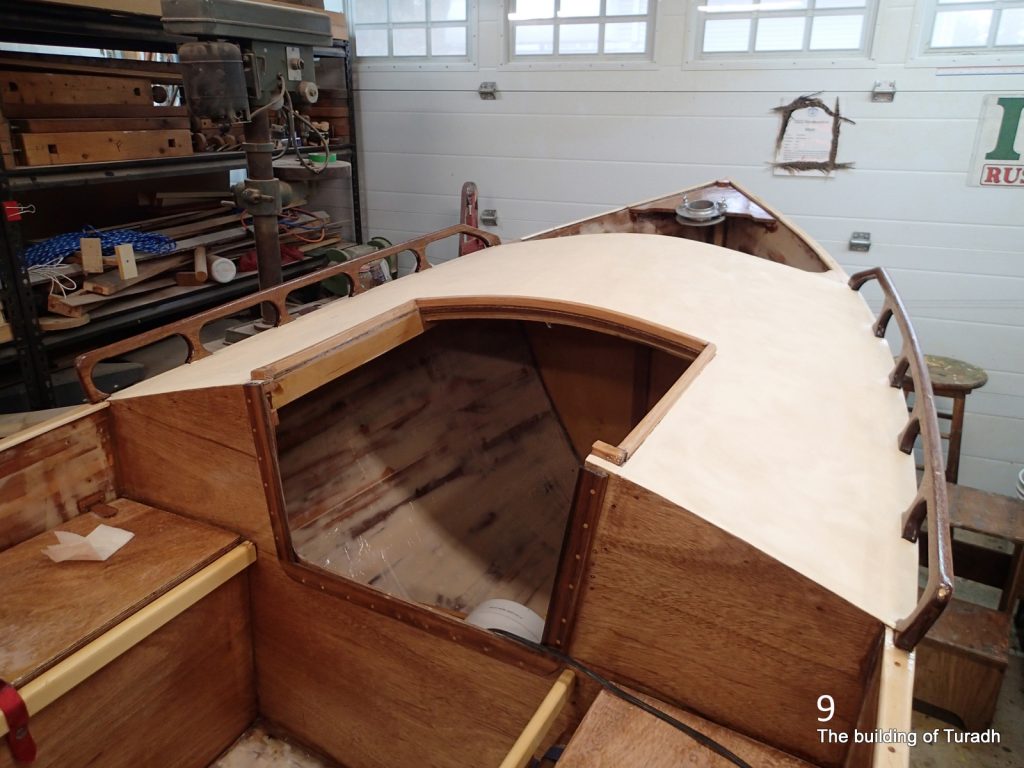
The top of the cuddy canvas gets painted too.

This is the scarfing jig I made. The strip must be clamped at both ends or the action of the circular saw blade will jam. I ran a circular saw between the two strips to make the scarf joint.
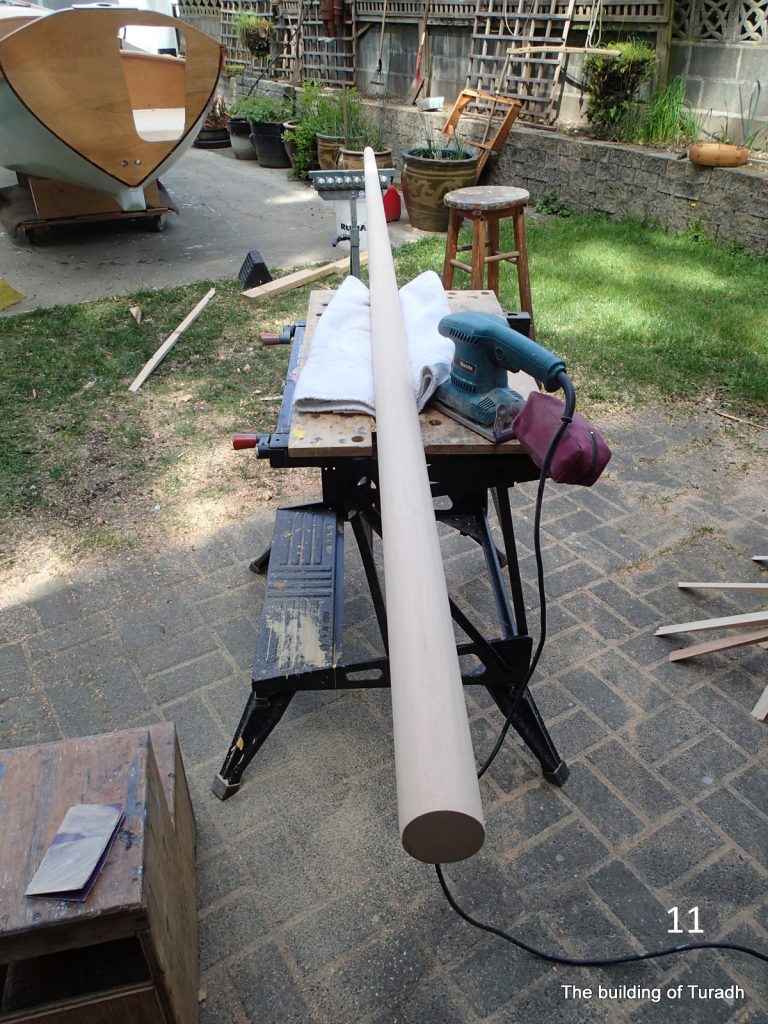
The Mizzen mast is a solid Douglas fir one. Lots of shaping and sanding.
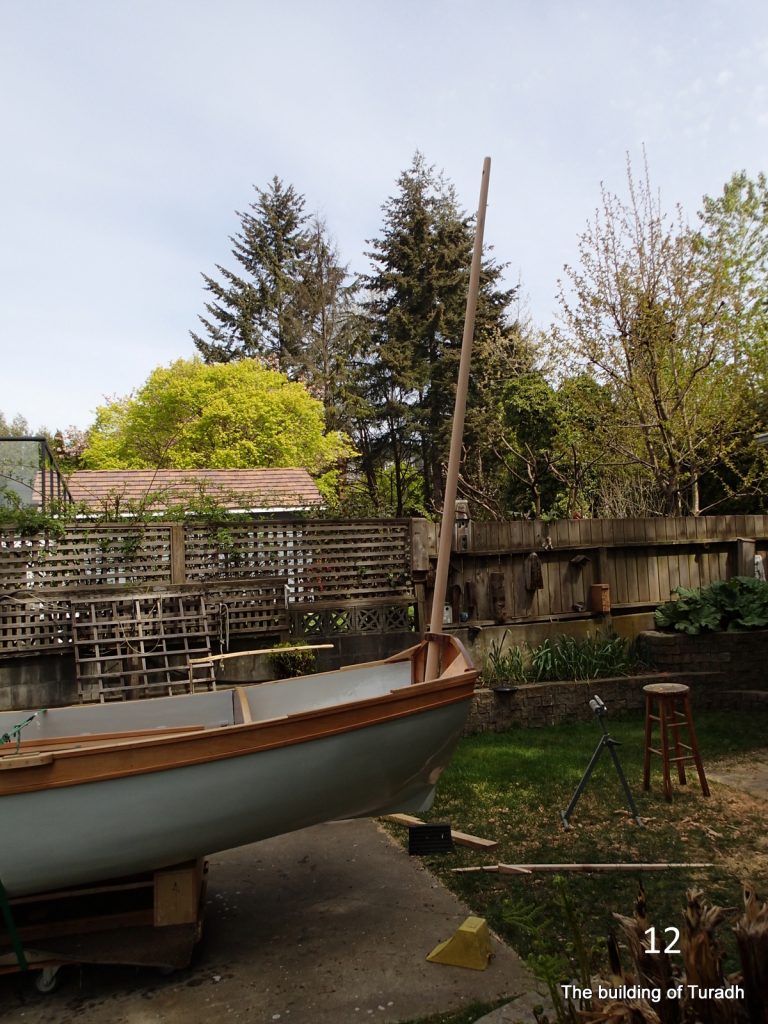
Test fit of the Mizzen. The top collar for the mizzen is epoxied to the top of the transom.
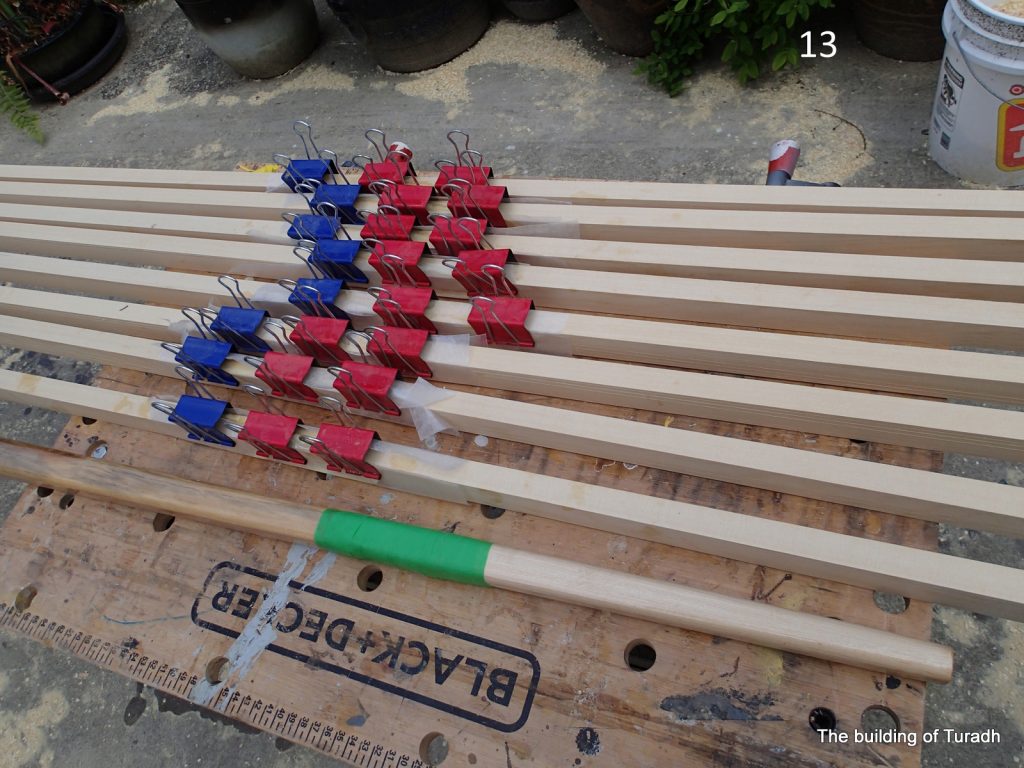
Glueing up the scarfs for the strips for the hollow birds’ mouth mast. The spar with the green tape is the sprit boom.
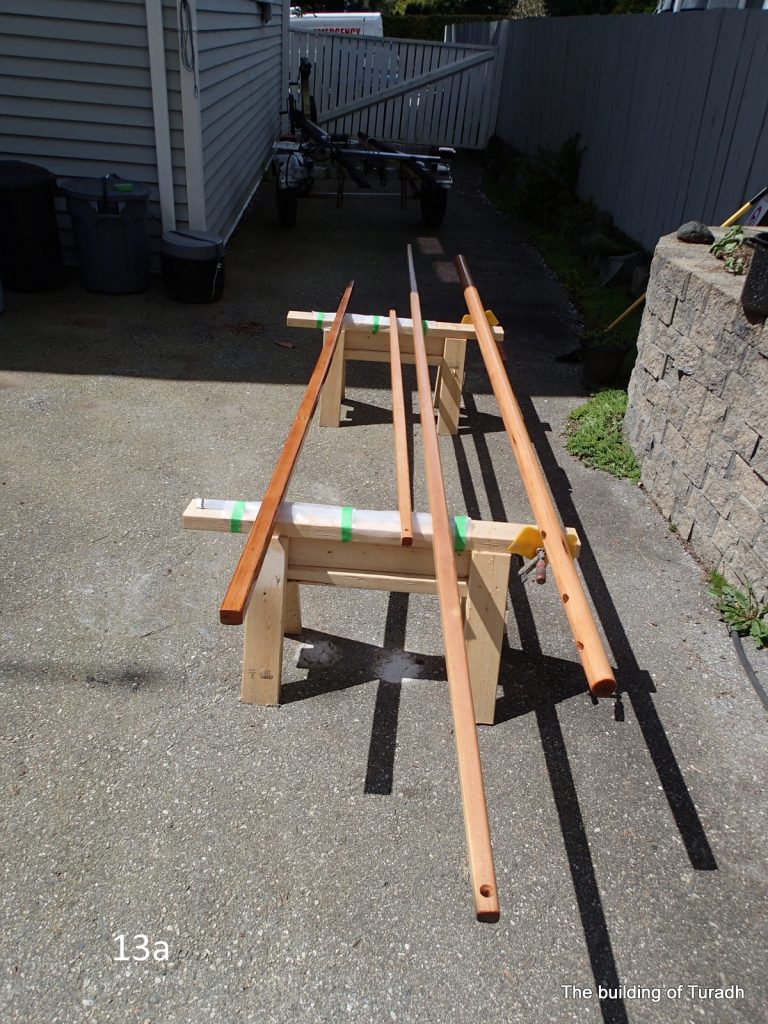
In order, the Boomkin, Mizzen sprit, Main sprit and Mizzen mast being varnished
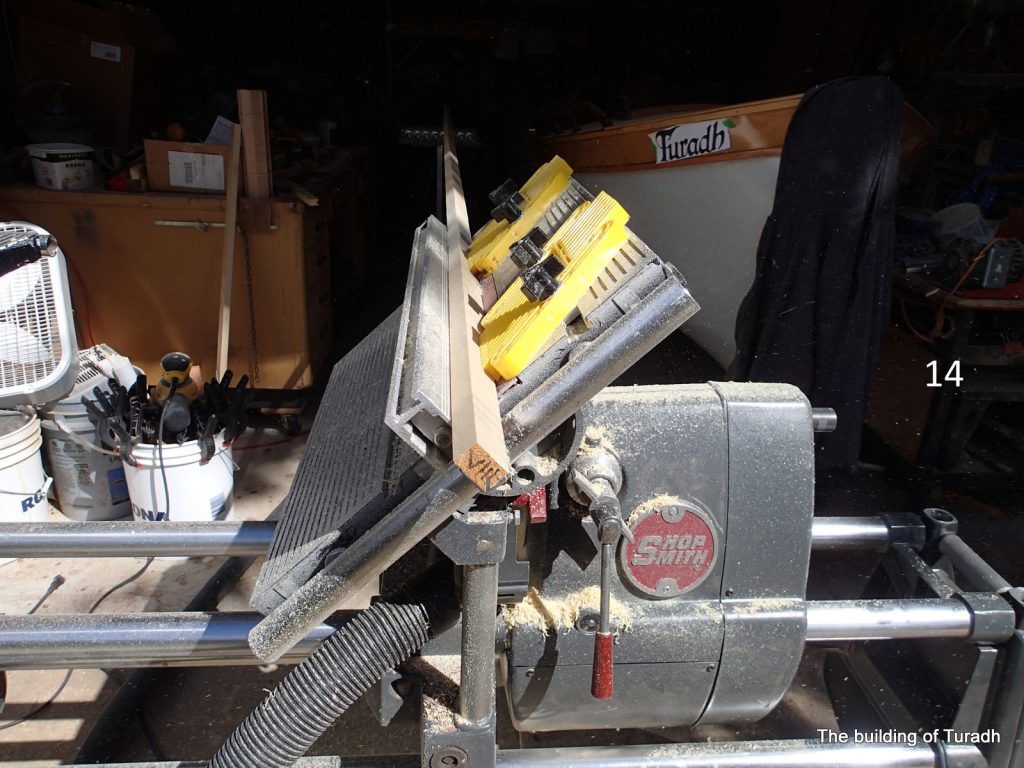
31a Cutting the notch(s) for the birds’ mouth mast in the yellow cedar strips. Each strip is numbered. You can see the her name getting fitted onto the bow wale.
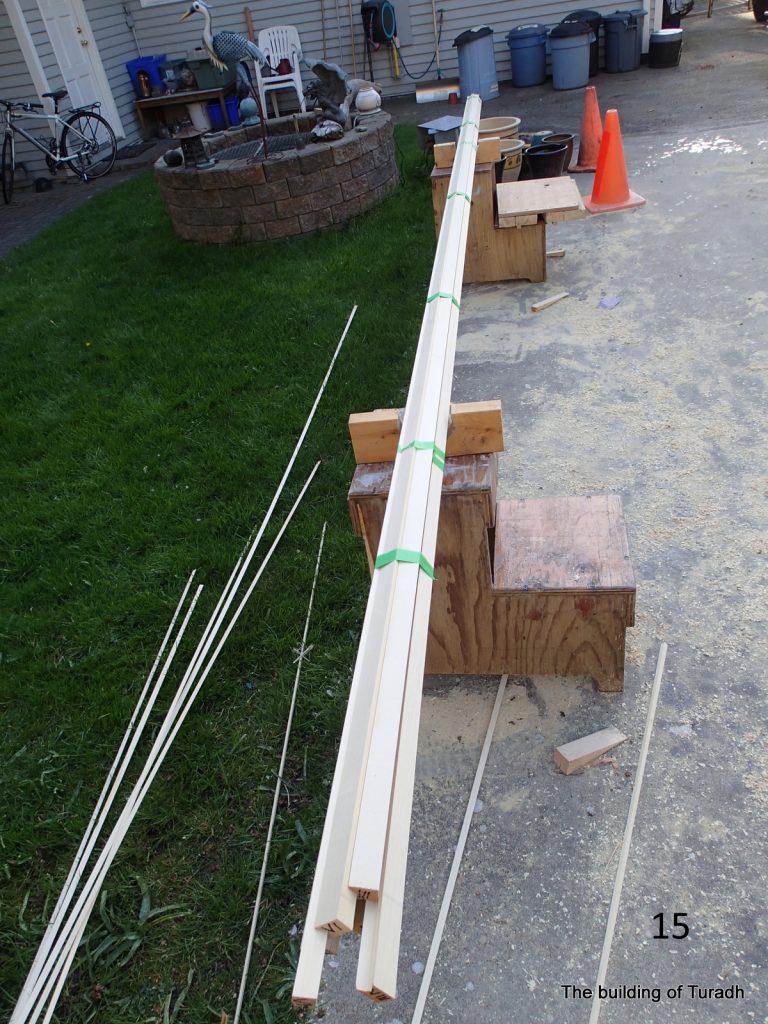
Test fit of the birds’ mouth mast strips, before tapering. Want to insure that everyting fits!
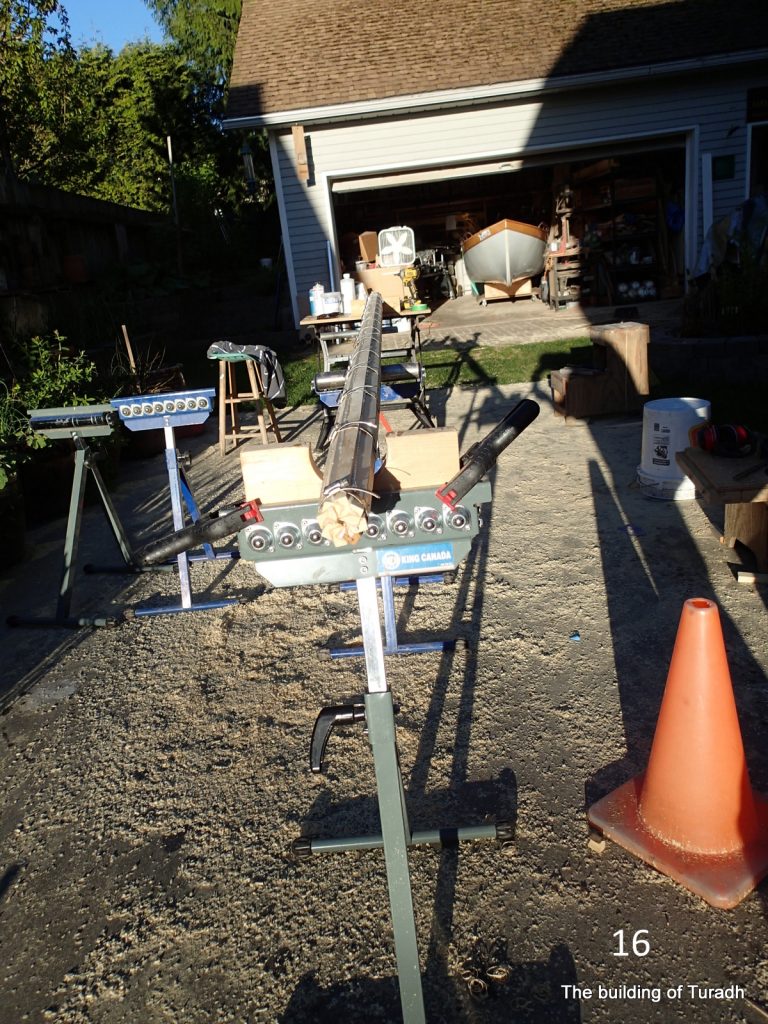
The mast all glued up. The stands are adjusted to compensate for the taper in the mast, to keep the mast straight. I used hose clamps to clamp the staves.
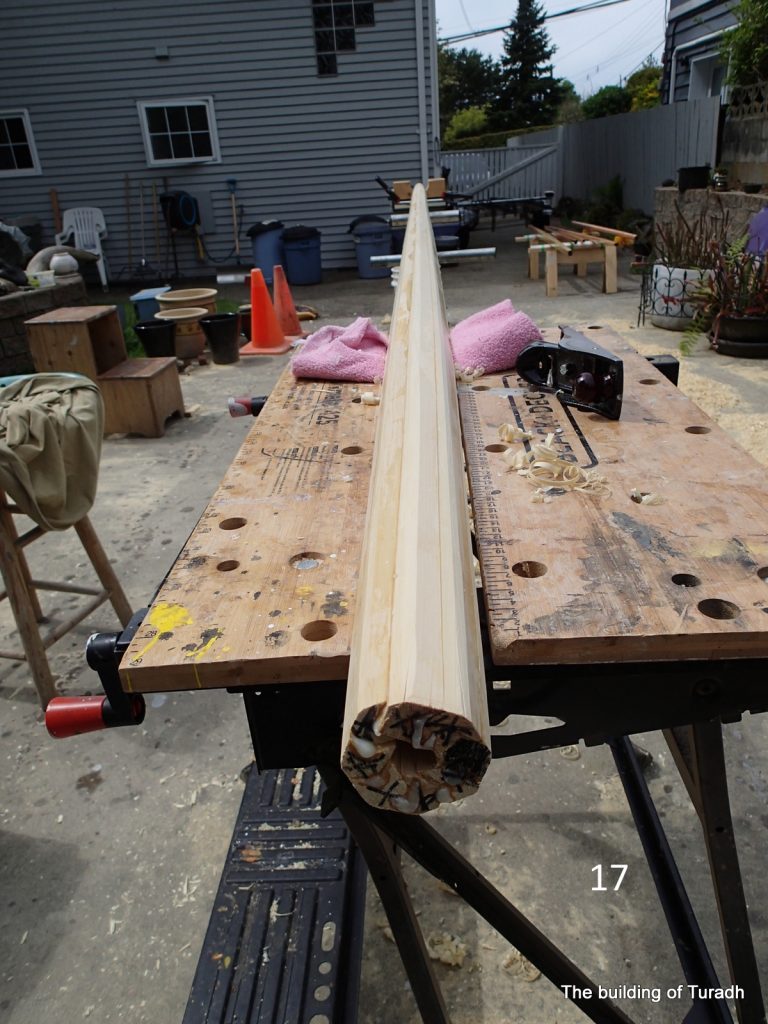
Knocking off the corners in the rounding process. Lots of shaping to go.
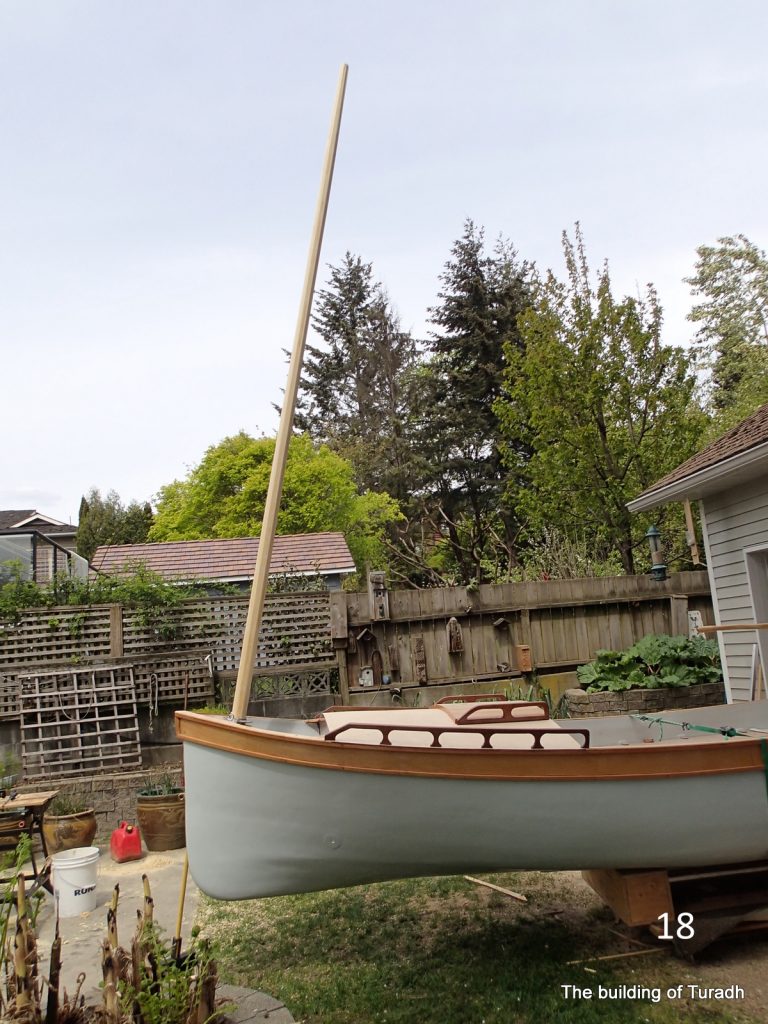
Test fit of the Main mast. The rake of the mast is not correct. I ended up moving the mast collar in the small deck forward slightly to make the mast more upright.
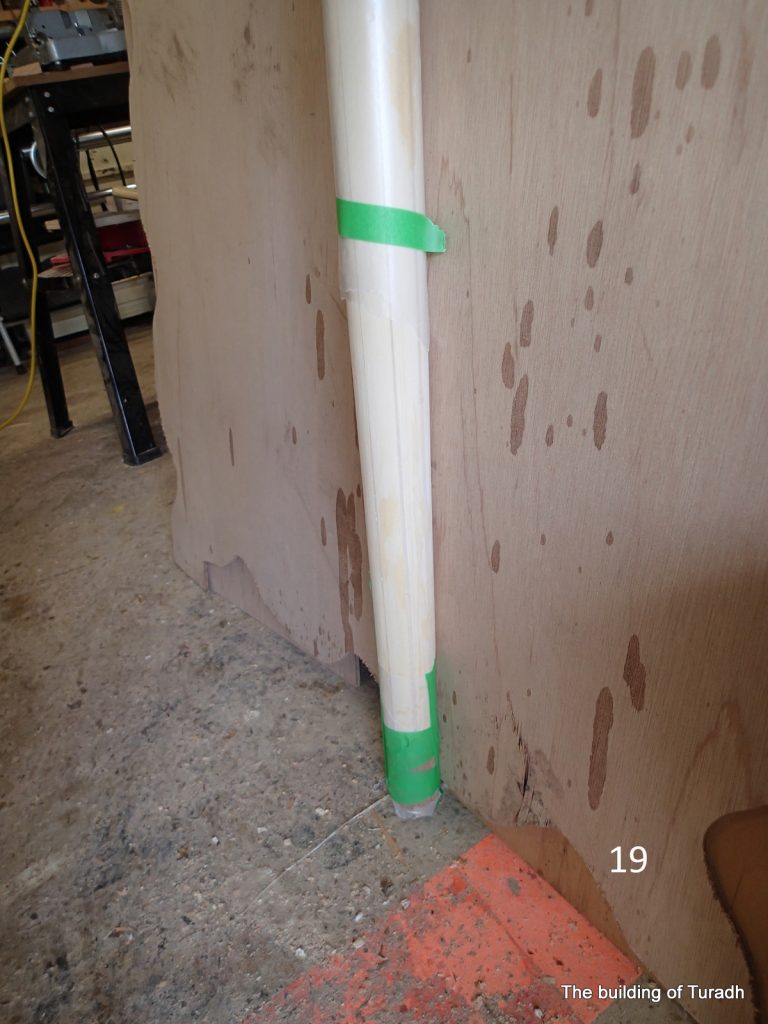
To glue on the bottom of the mast, I made a plug, poured a fluid mixture of epoxy resin and sawdust into the mast and put the mast on its base. The epoxy flowed in and around the plug, glueing it firmly in place. I used the same procedure for the top plug of the mast.
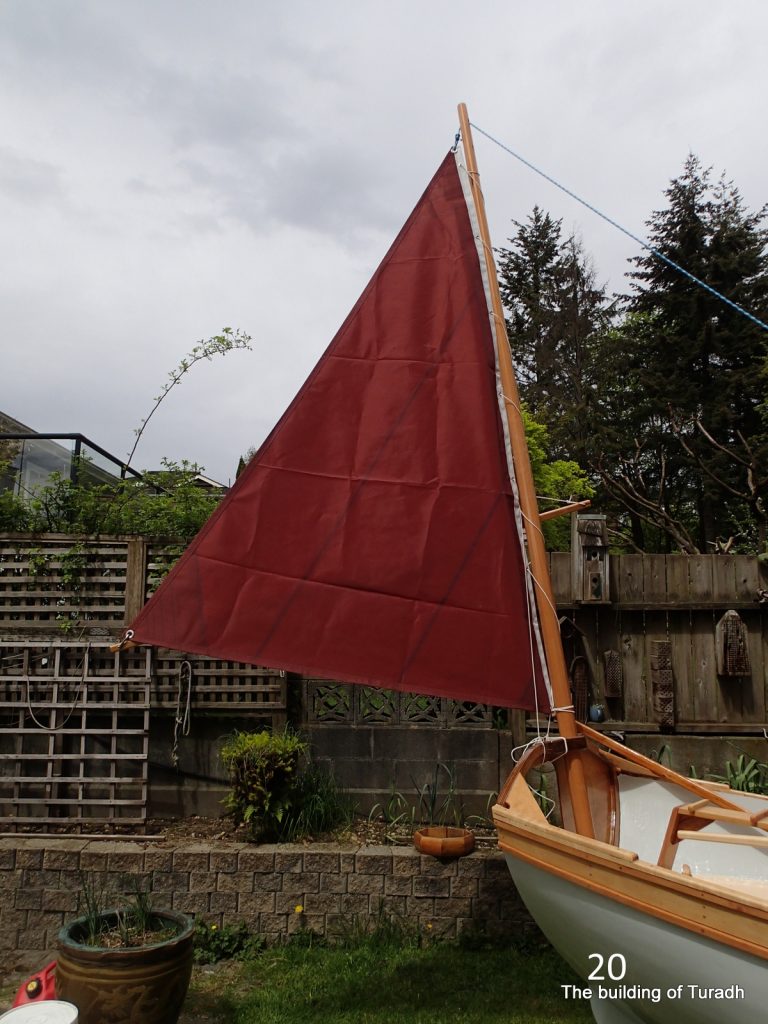
Quick test of the Mizzen mast, sail and sprit.
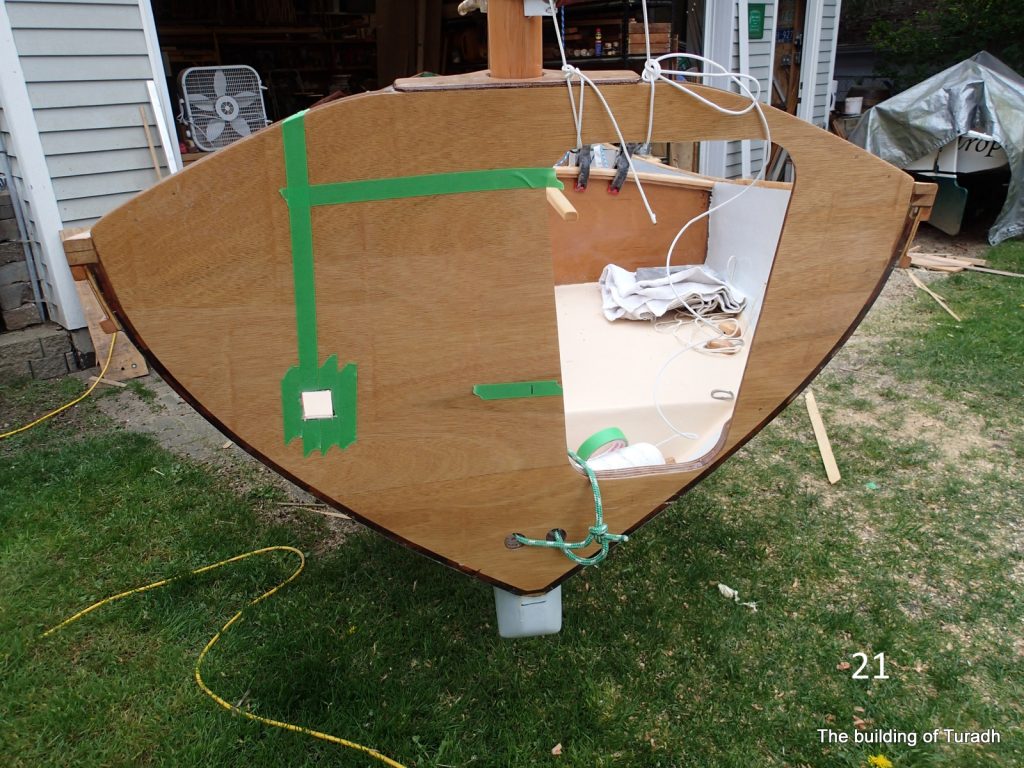
Cutting a hole in the transom for the boomkin.
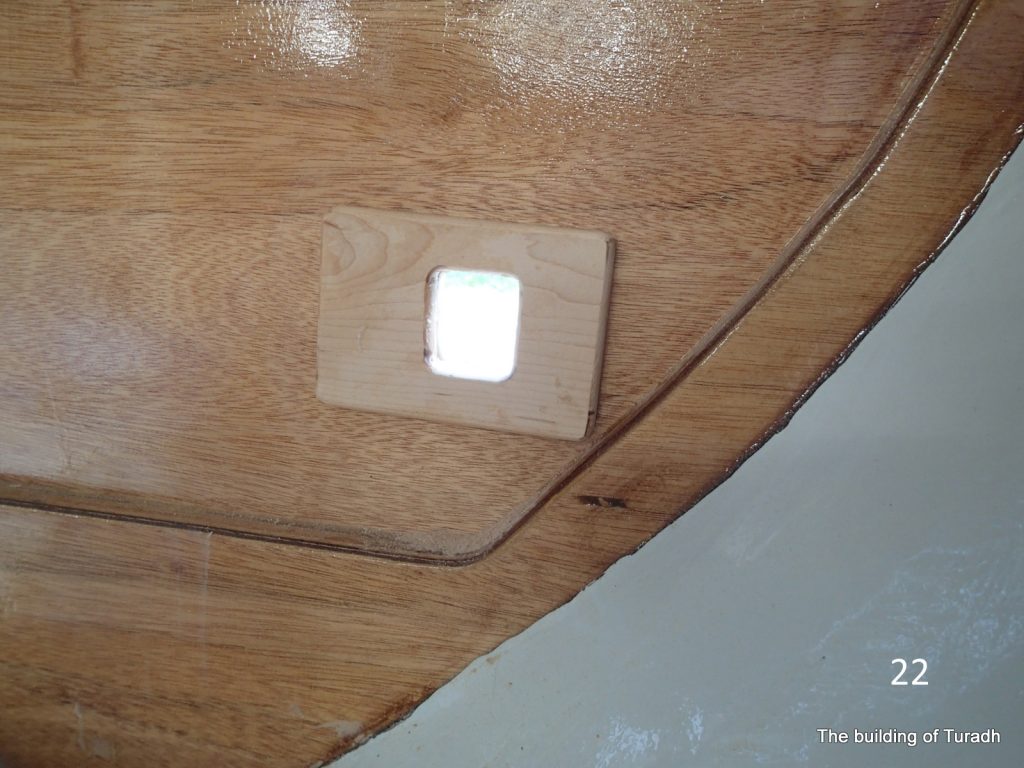
Block epoxied onto the inside of the transom for the boomkin. This will spread any load on the transom.

The inboard end of the boomkin fits into this block and is held in place by an eye screw. All the rigging can be taken down when inside of the boat.
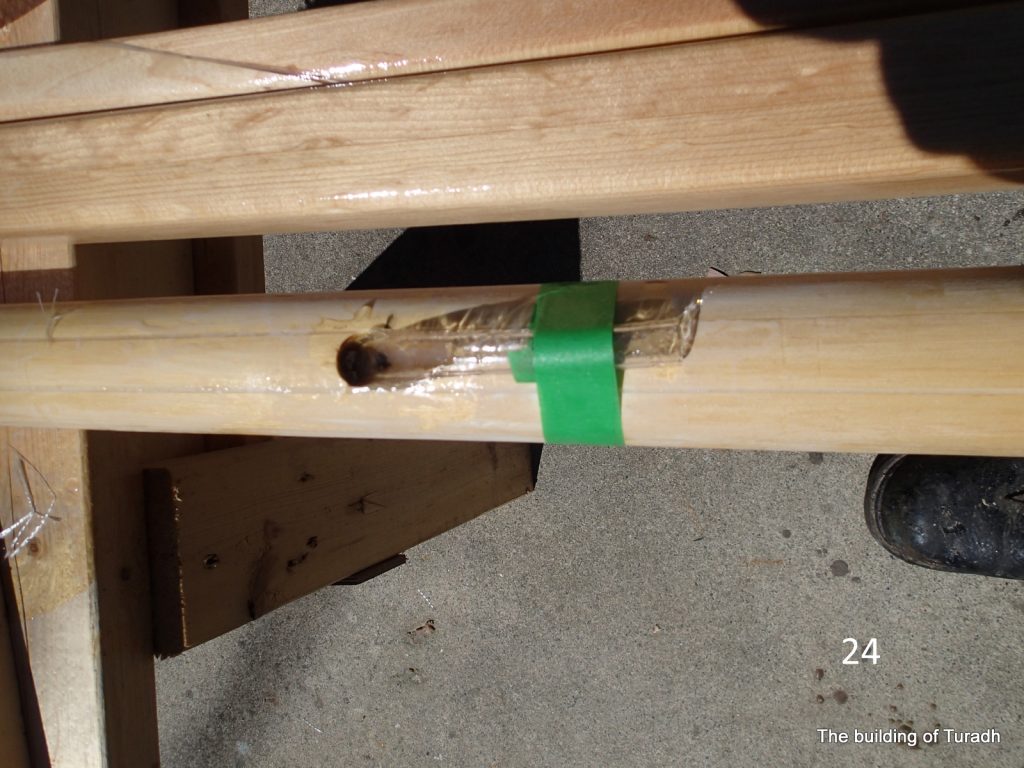
The dumb sheave was formed using epoxy and cloth with a plastic tube to form the shape. The epoxy is just a wear strip for the hailyard.
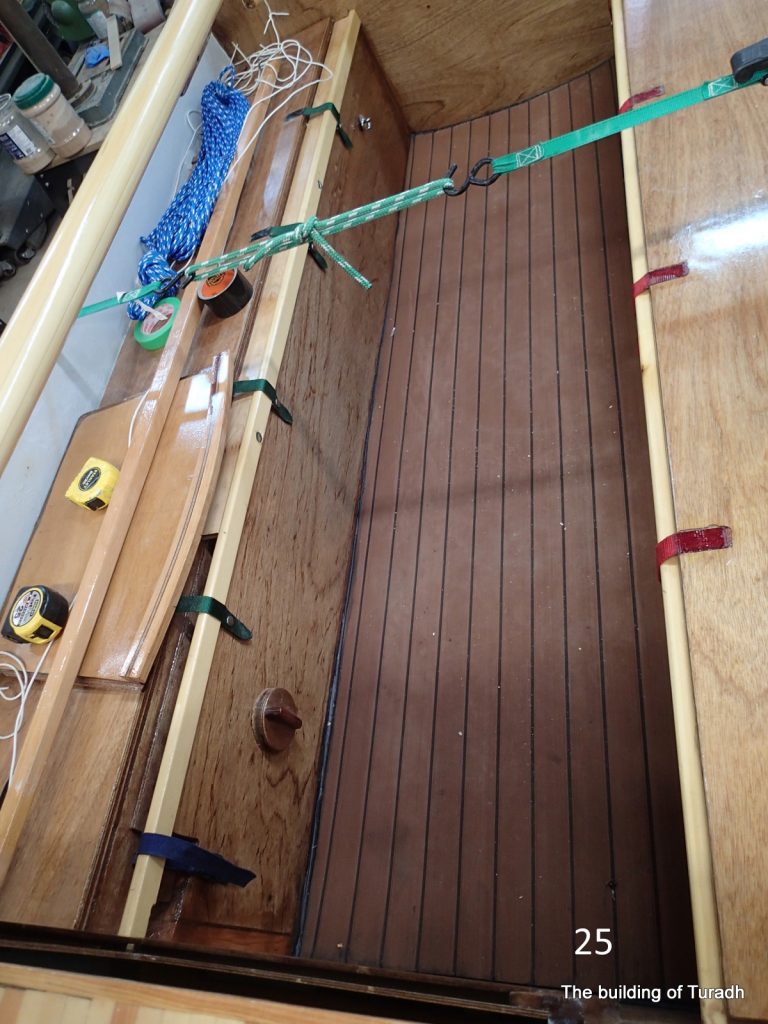
I used some fake-o teak stick-on flooring. Easy on the feet and more or less smooth to enable efficient bailing, should it ever be necessary.
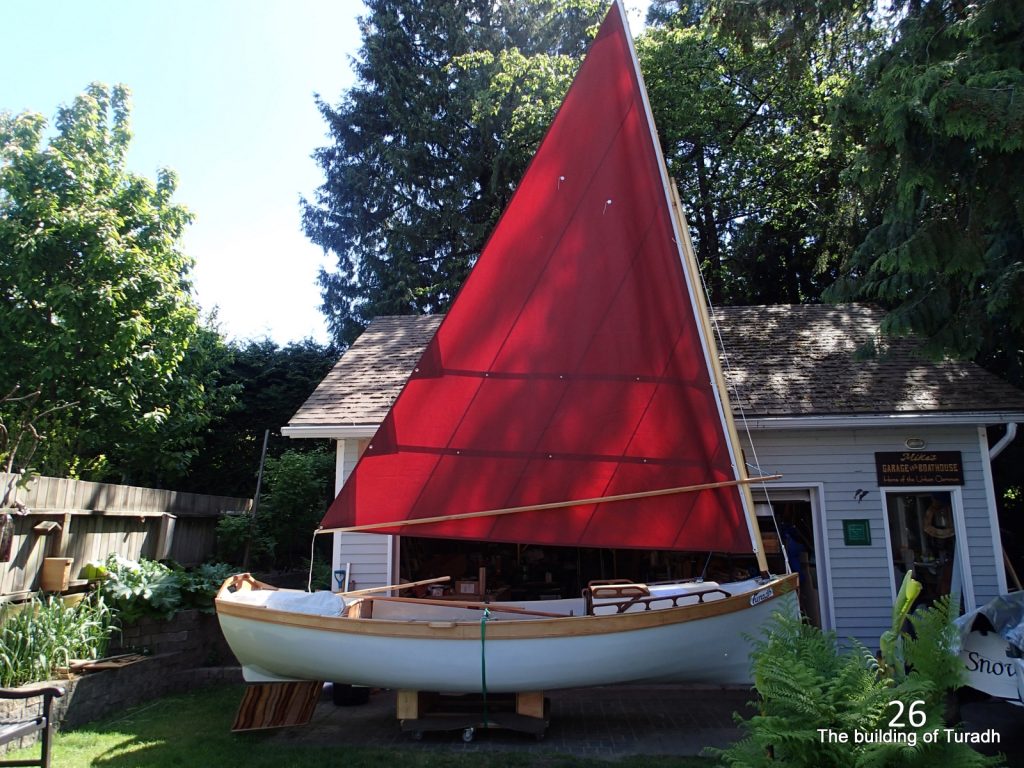
Test fit of the Mainsail, Mast, spar and sprit. With the mast rake adjusted, the sprit boom clears the crew’w heads while sailing. There are two rows for reefing.

Test fit of both sails, sheeting has yet to be done. The halyard winch and clutches have been installed onto the cuddy cabin top. One for the halyard and one for the sprit boom sheet. The sails are furlled by wrappping them around the masts. For the mizzen, you stand on the Aft deck, undo the boomkin sheet and wrap the sail around the mast. For the main, you leave the main yard up and undo the main sheet and main sprit, stand on the forward deck (or sit on the cuddy) and wrap the sail around the mast and spar. I have done this on dry land, so, I know that it could work.
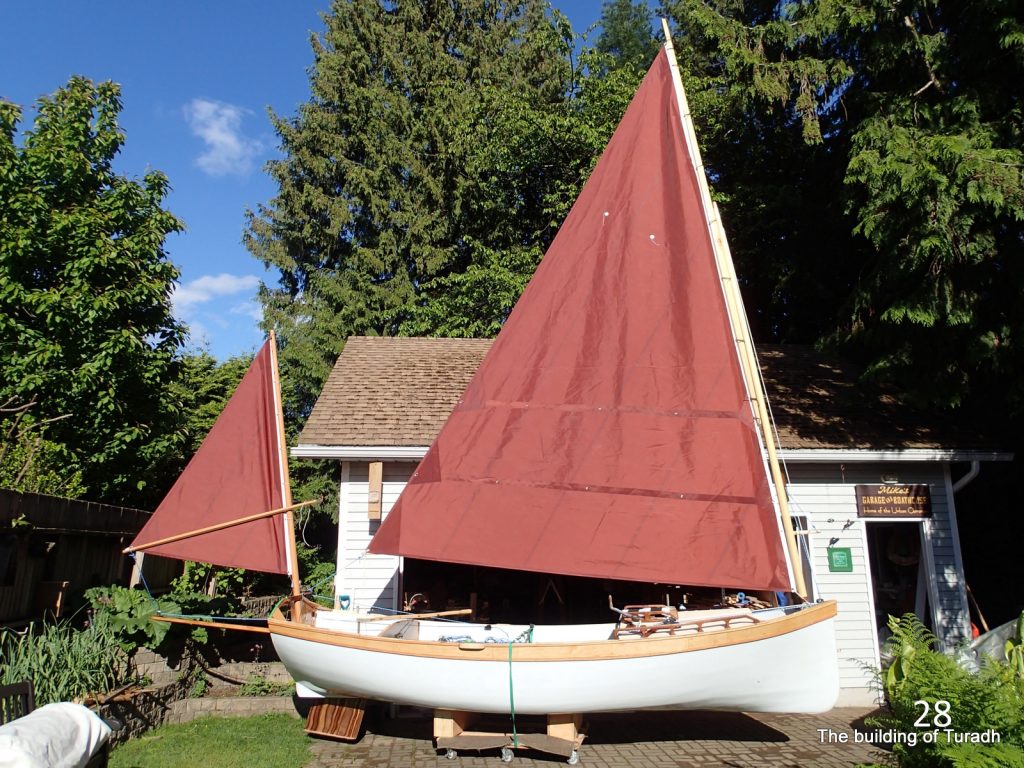
Sails up and all sheets run. Rudder is in. Heavy enough to stay down while afloat. Still have to figure out a good way to keep the centre board down.
Going for a test sail with my son end of May, I will let you know how she sails.

Mike
