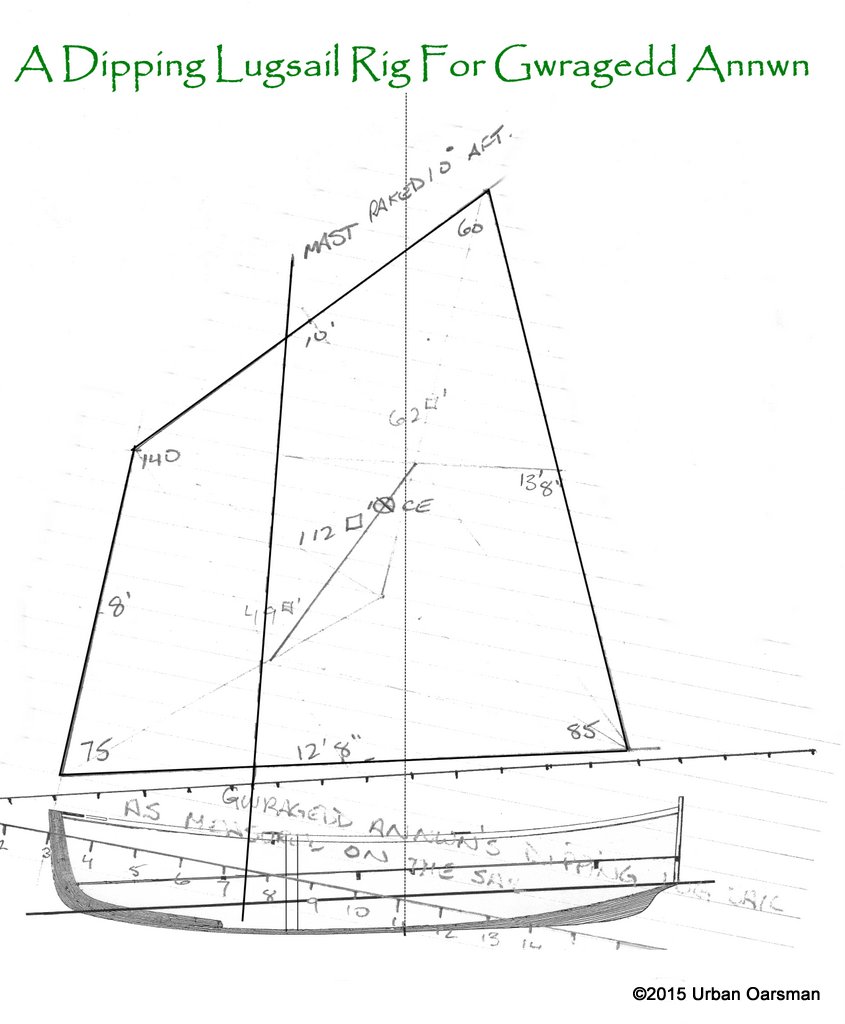
 A mast & sail for Gwragedd Annwn.
Gwragedd Annwn and I were not in the inaugural R2AK. In the lead up to the race, when Dan Campbell, Heather Drugge (Team Coastal Express, in a Mirror 16, from Hollyburn Sailing Club) and I were talking about entering, they said: “She’s a fine rowboat, Mike, but what are you going to do if the wind blows?”
Well they called it. In any breeze much over 10 kilometers per hour, Gwragedd Annwn is very hard to row with any speed. The first leg of the race is from Port Townsend Washington to Victoria, British Columbia, a distance of 60 kilometers. My goal would have been to average 5 km/hr. for a trip time of 12 hours. You are allowed 36 hours. Should be doable but only under favorable conditions.
Dan and Heather are right; I need to have a sailing rig on Gwragedd Annwn if I am to go in the race. Not enough time to get it ready for 2015, I begin to plan for 2016.
I decide on a dipping lug rig on an unstayed mast. Easy to put up and take down. No standing rigging, one halyard, one sheet. For a boat of Gwragedd Annwn’s size, a sail of 100 to 125 square feet is average, on an 18 foot or so mast.
I begin construction of my mast.
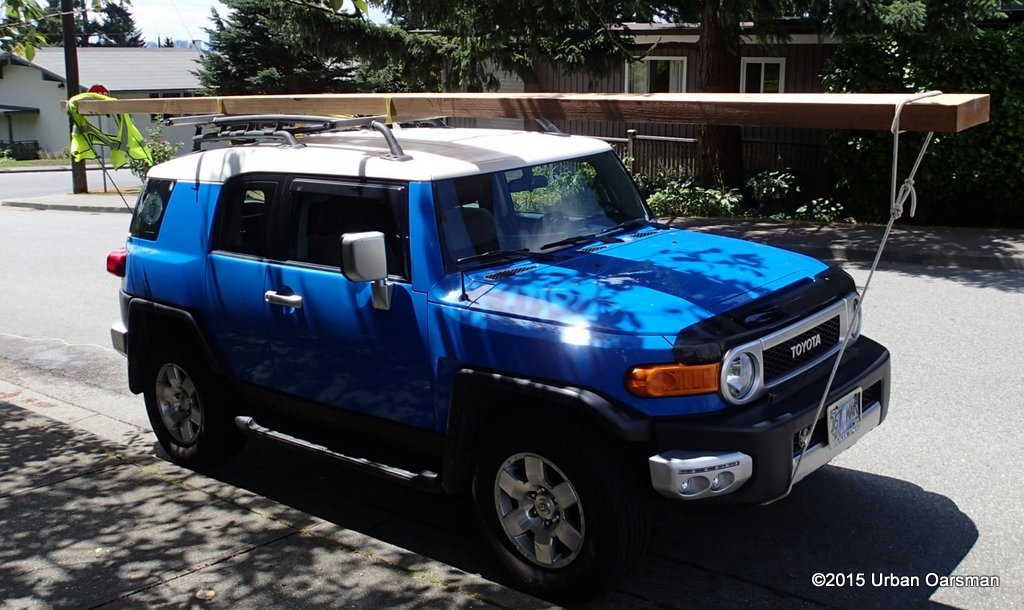
On Craig’s List, Dick’s Lumber in Burnaby has three 20’ by 11 ½” by 3½” fir planks, at $75ea. I drive over and have a look to see if there is enough clear timber to make a mast. It looks like there is. I take both of my sons to help me lift the plank and put it on the FJ’s roof racks.
I put the plank on the saw horses at home and lay out my cutting line. The blank will be 3½” square. It takes three passes with the circular saw to cut off the mast blank.
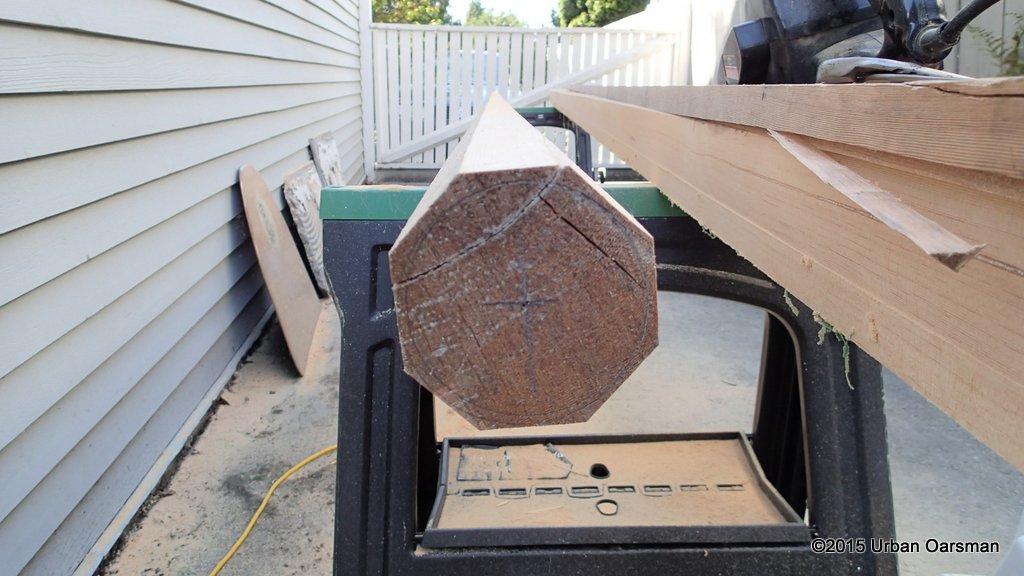
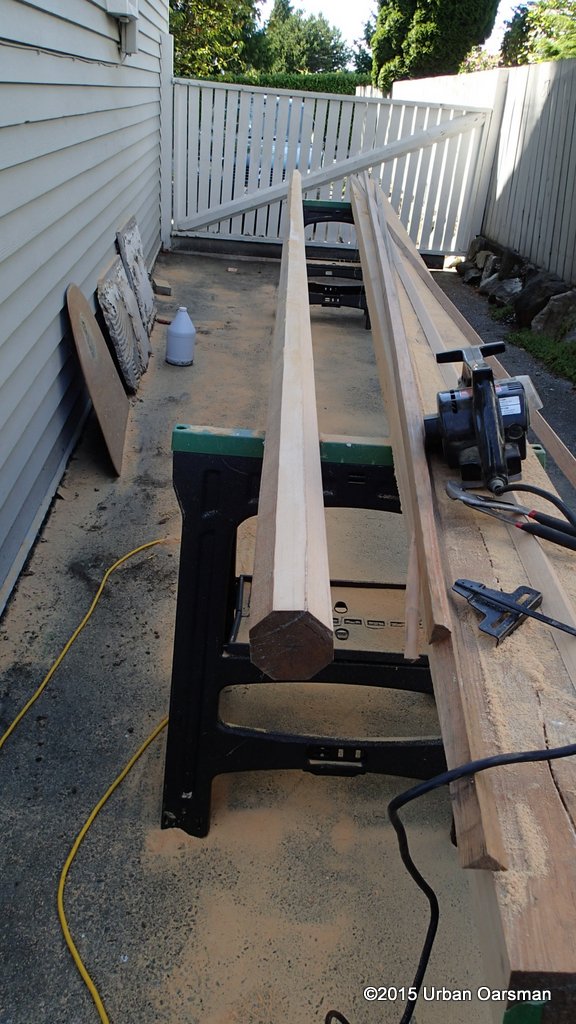
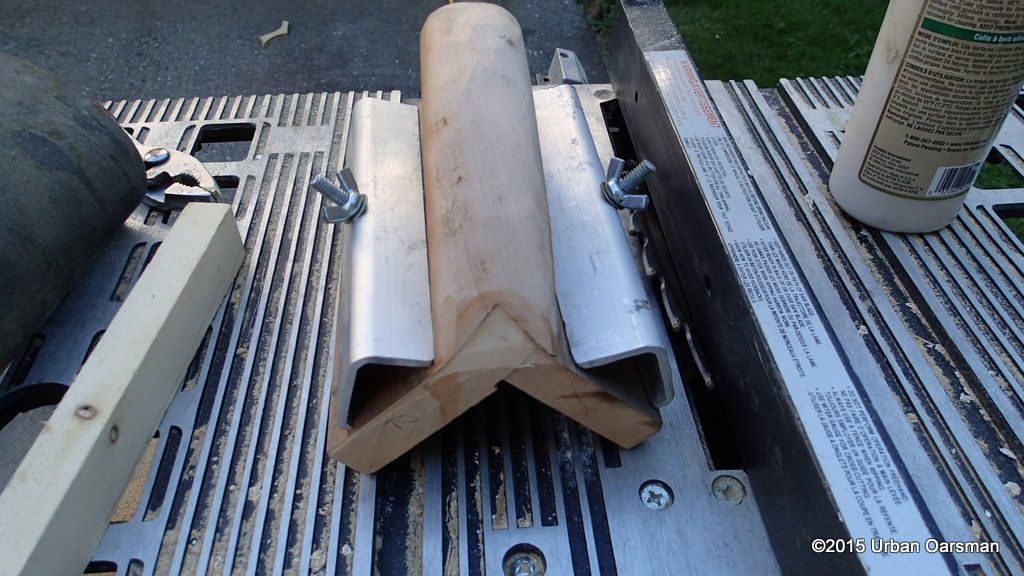
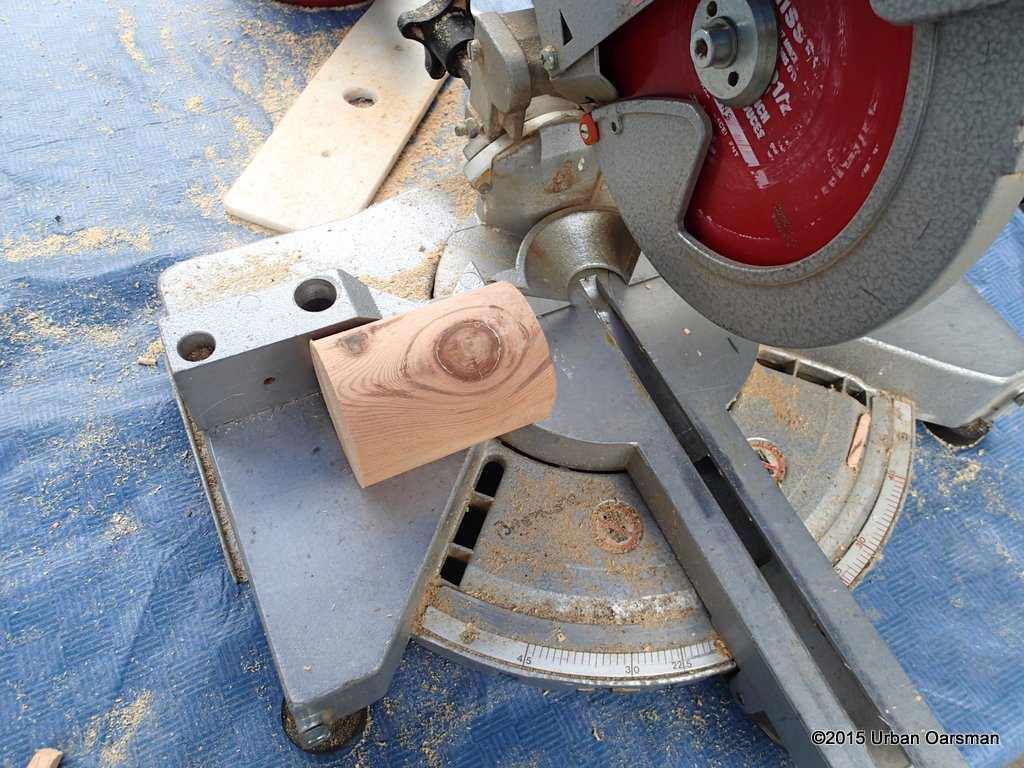
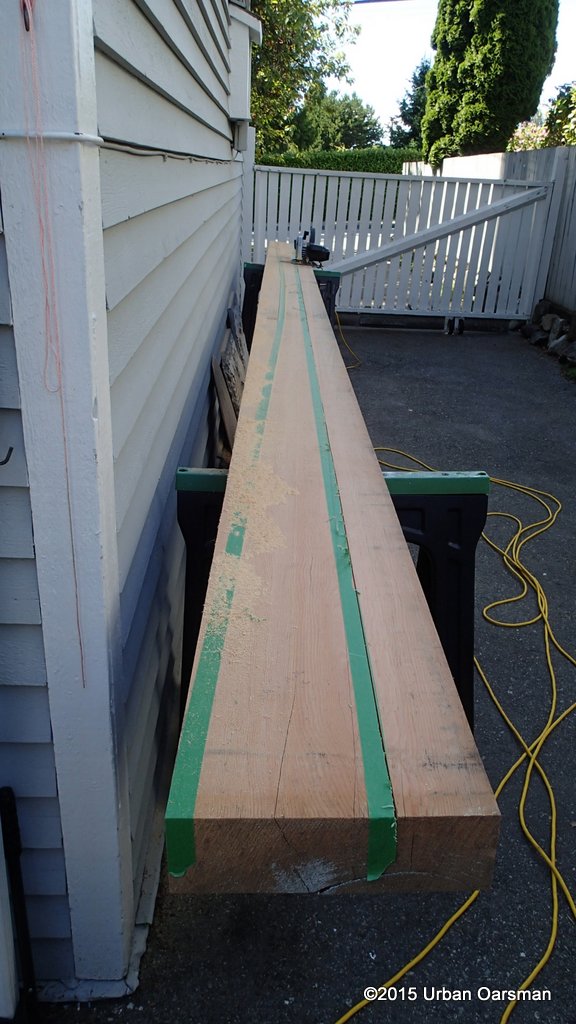 I use the circular saw set at 45° to cut off the corners of the blank.
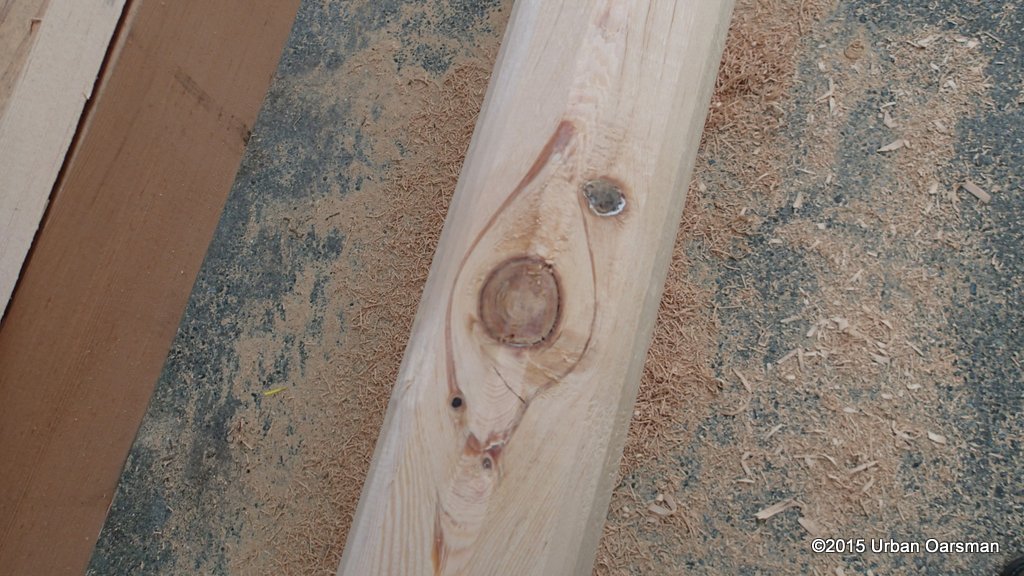
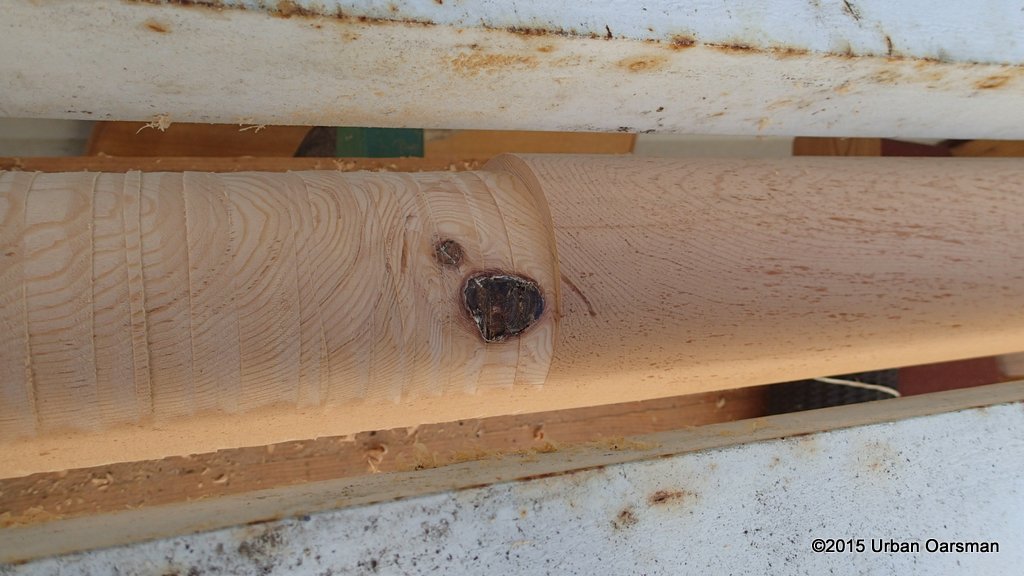
There is an unexpected check in the end of the plank. It is a pitch split. I hope that it will not go too deep. There is also a knot that may give me grief.
I decide to shape the mast and see how it turns out anyway. I can always cut around the knot.
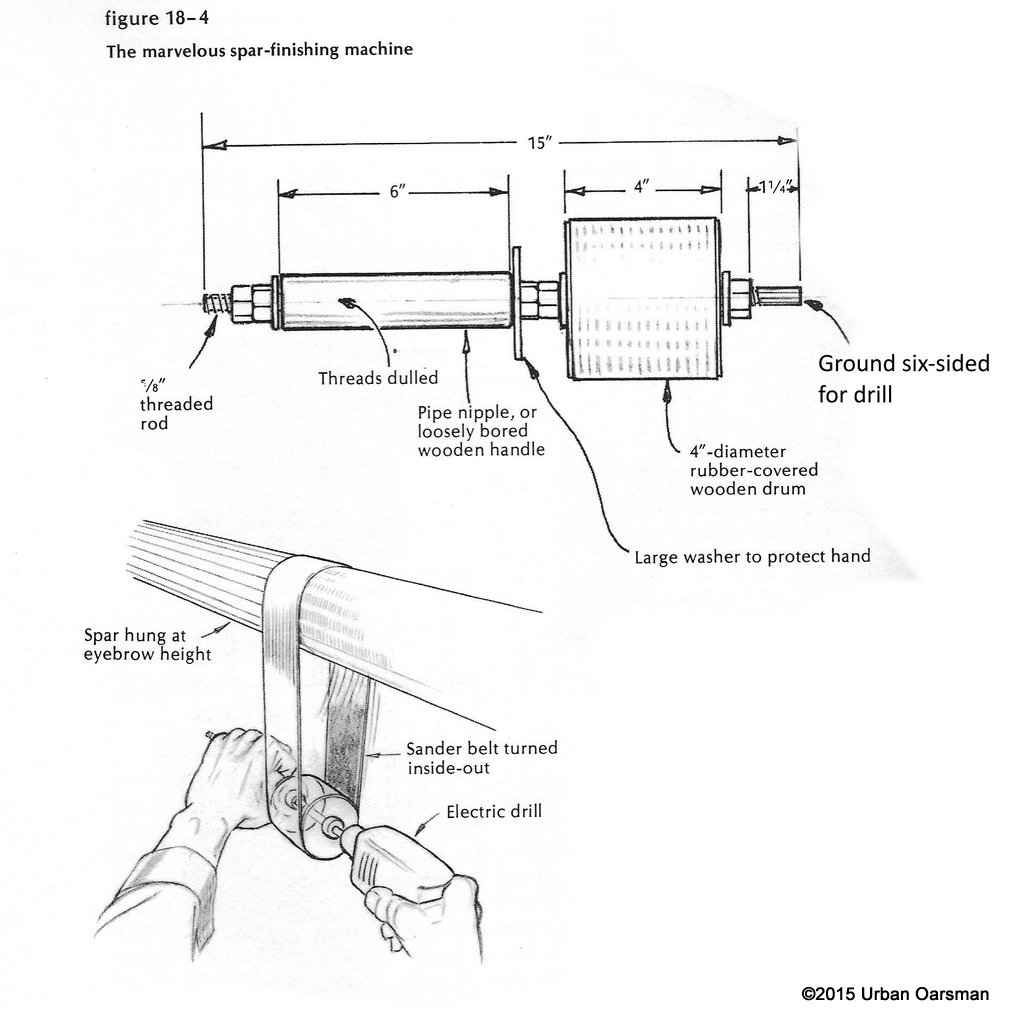
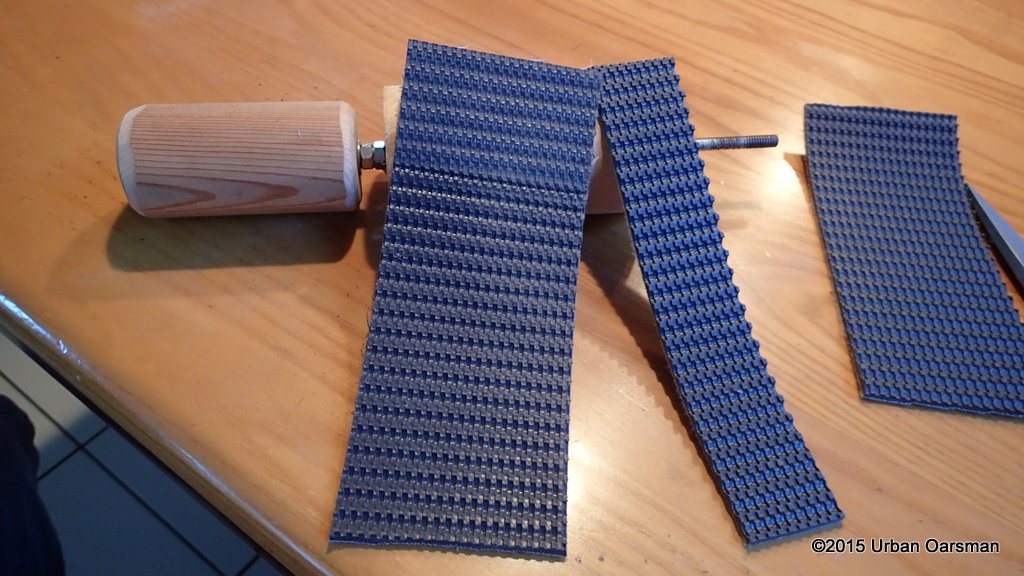
I make a drill mast sander.
Idea from “How to Build a Wooden Boat” by Bud McIntosh.
I use some scrap wood, a piece of threaded rod, some nuts, washers and a sanding belt.
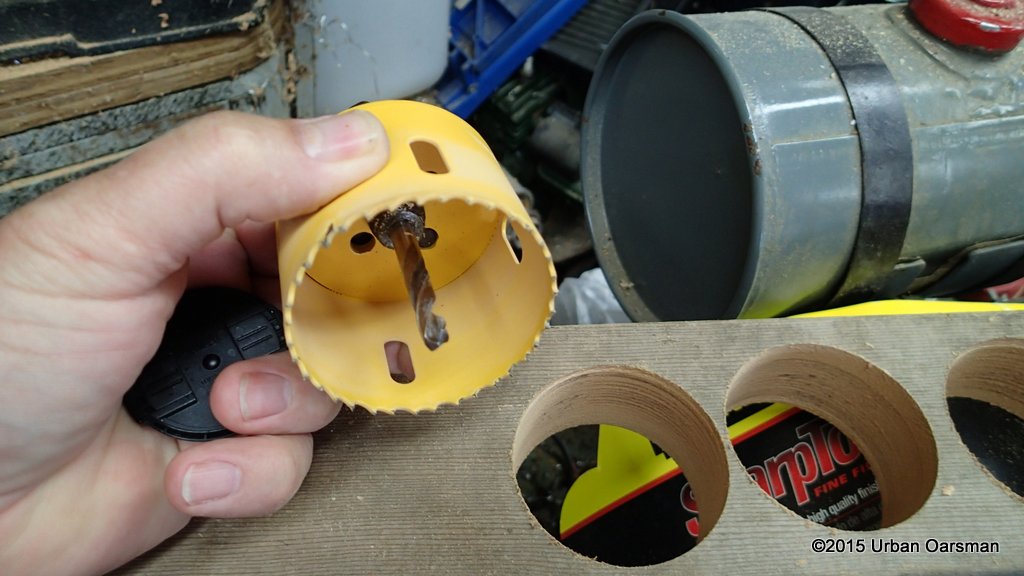
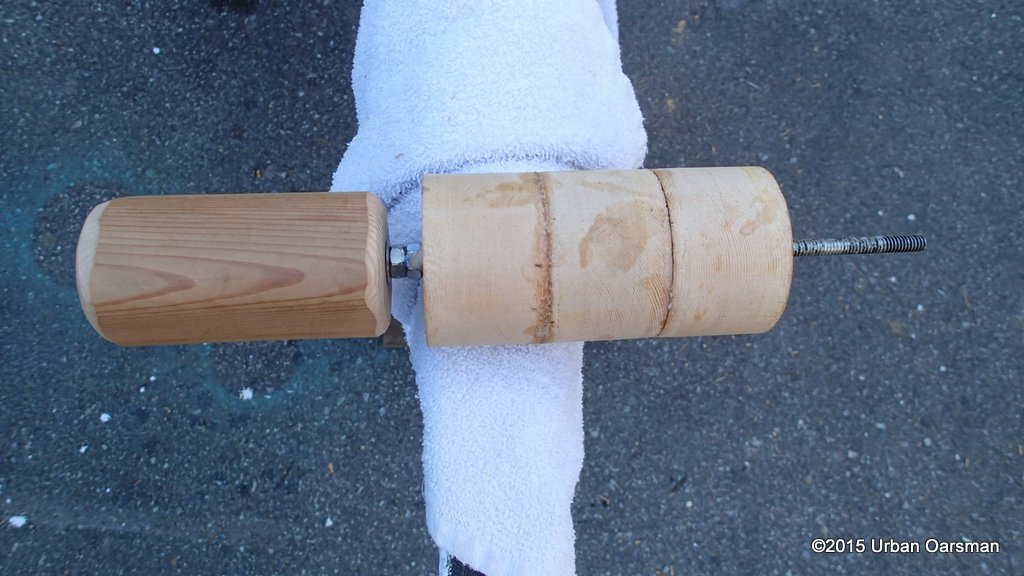
It consists of a handle, a mandrel, and a wooden drum with an old rubber belt glued to it.
You take the sanding belt, turn it inside out, put it over the mast. You take a drill, chuck the mandrel into it and power the mandrel to turn the belt around the mast, sanding it.
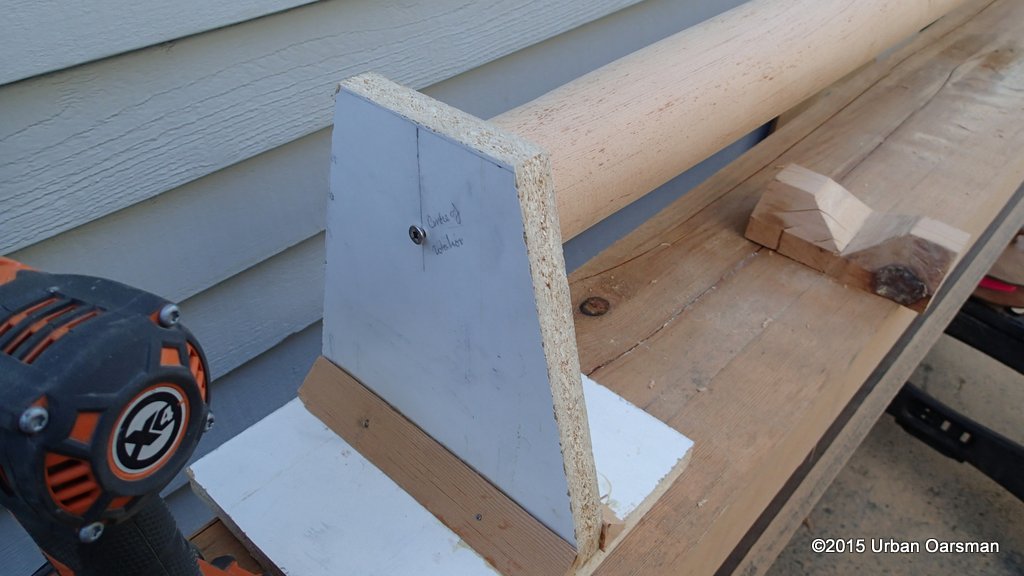
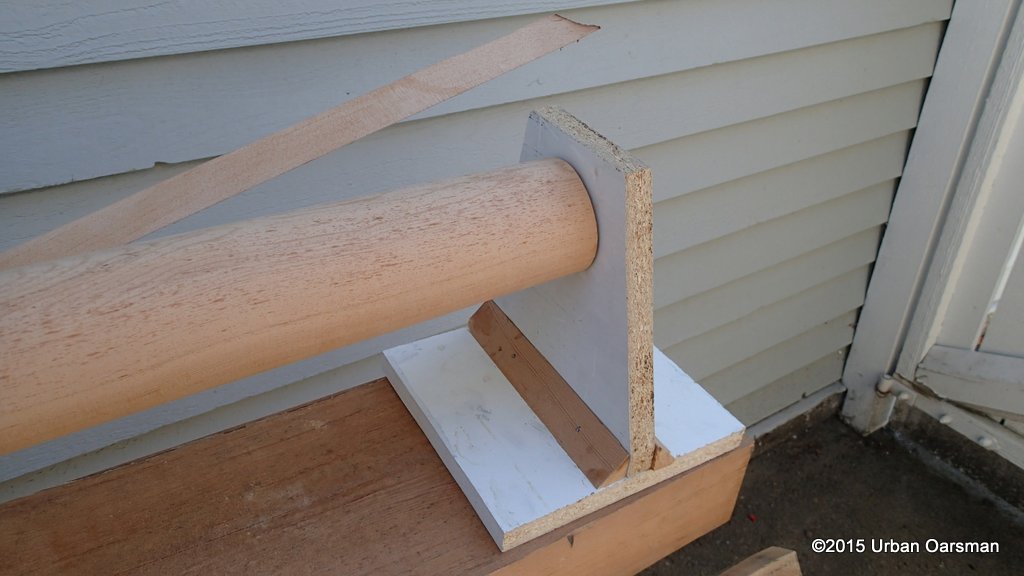
This sanding block uses a duct tape reinforced pad of sanding paper to finish sand the mast. I make another jig to true up and taper the mast. First, I locate the centre of the ends of the mast, and make a jig to hold the mast.
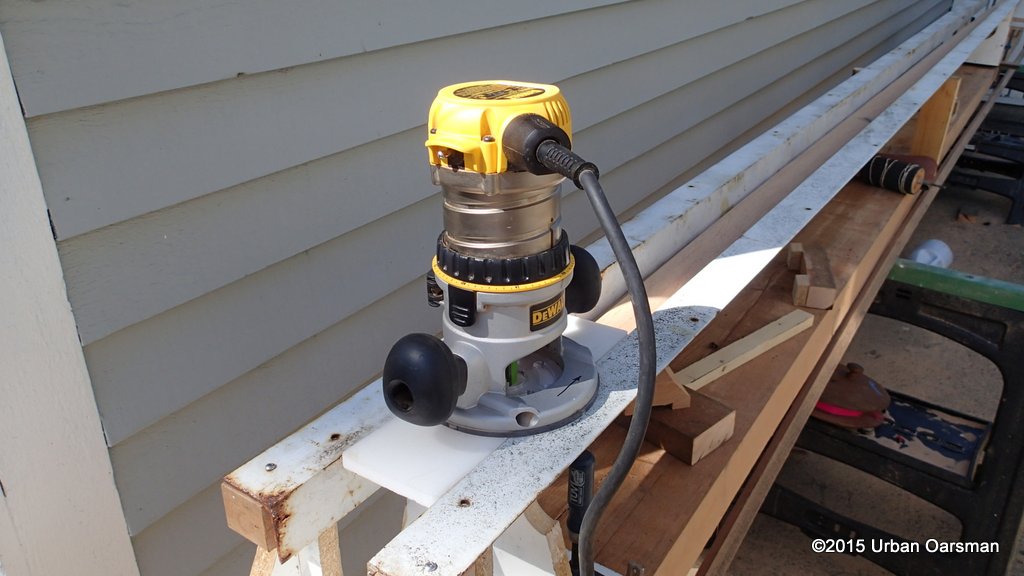
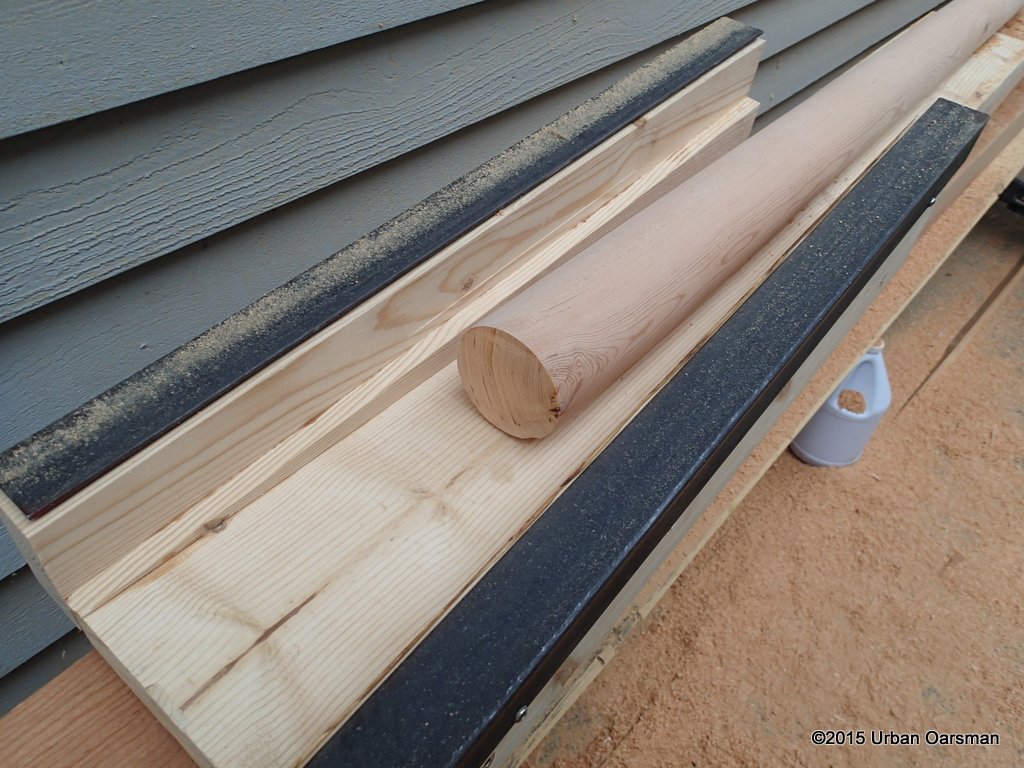
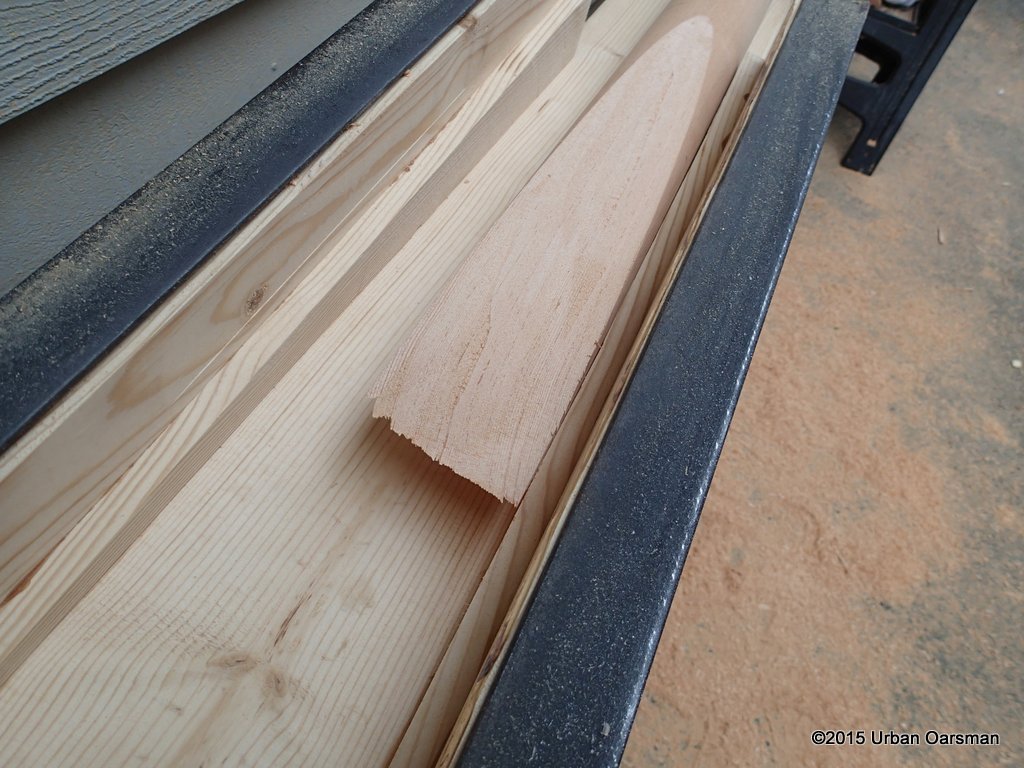
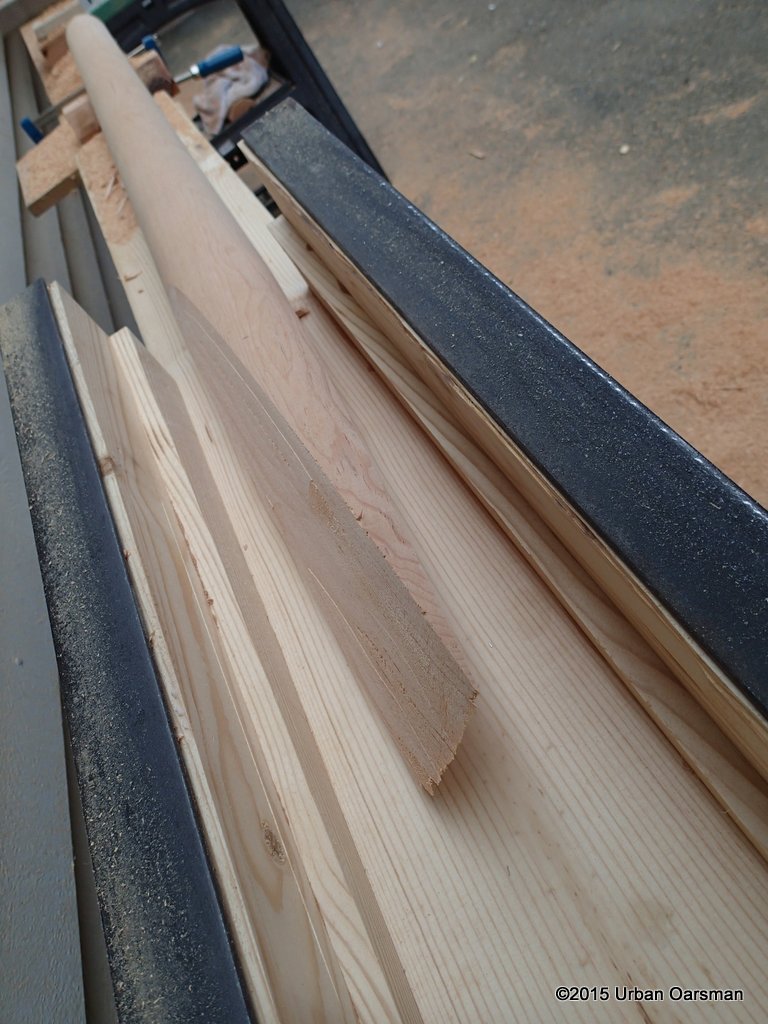
I have two 14’ angle iron pieces left over from Gwragedd Annwn’s construction and use them to make a router jig to round and taper the mast.
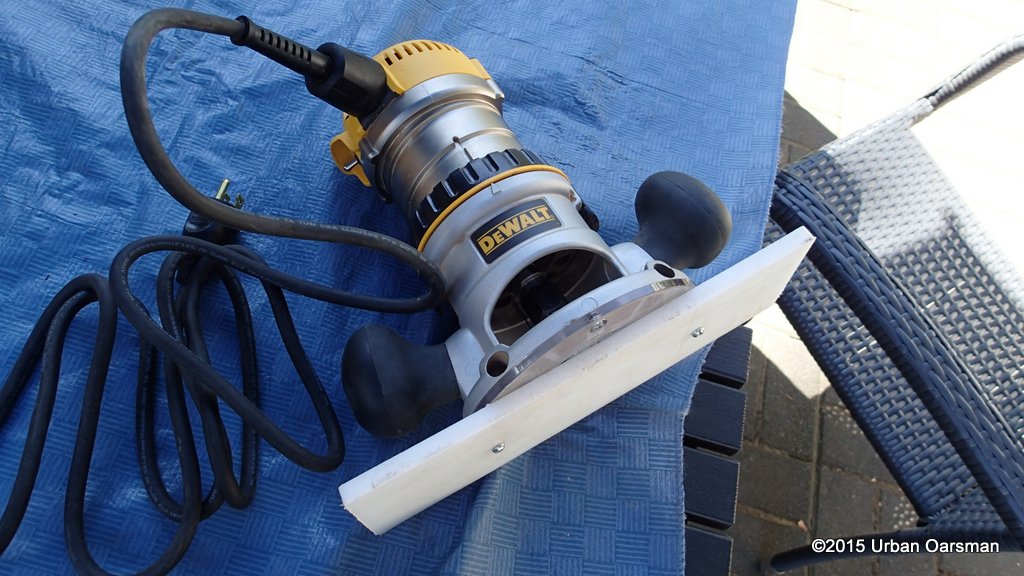
By angling the two angle iron pieces relative to the mast, I can cut a taper in both ends of the mast. I make a wider base for the router out of scrap white plastic.
I cut the bottom taper, my son rotating the mast and I moving the router slowly up the jig.
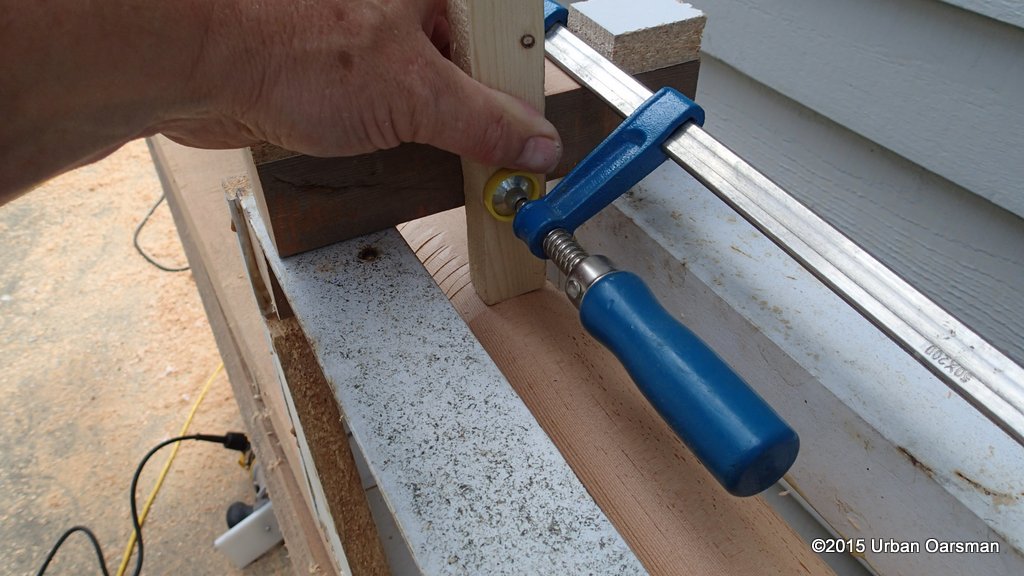
For the taper to the top of the mast, I use a fiddle stick to determine the mast diameter at its thickest point.
I try a different technique, Rotating the mast a sixteenth of a turn with each pass of the router.
A much better idea, resulting in a mast that is almost perfectly round. Time to sand. I get the spar finishing sanding machine and get to work.
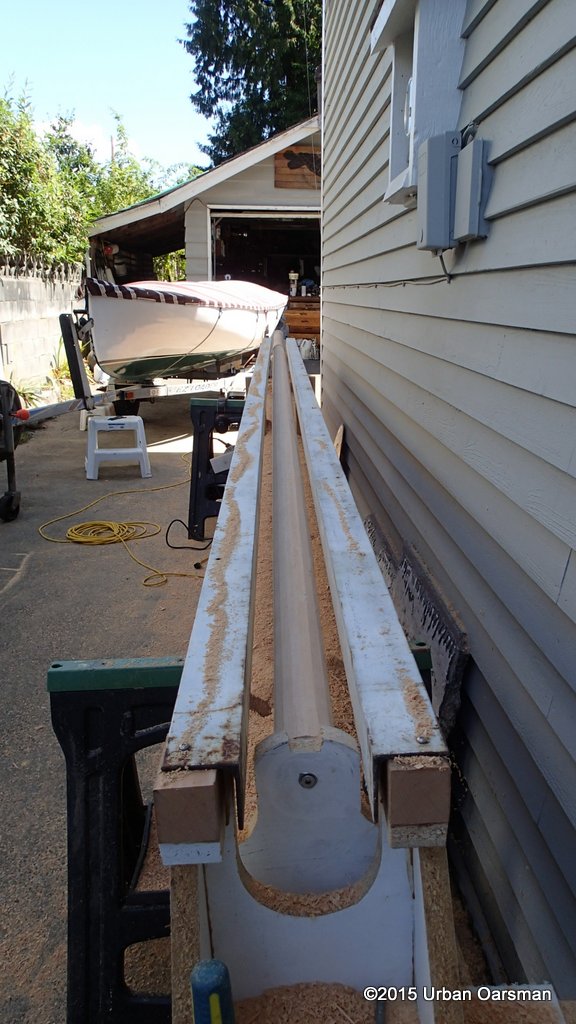
I have decided that the knot must go. Either I will put a hinge at that spot so I can fold my mast down, or cut the knot out and splice in a piece. I decide to splice in a piece just to see if I can do it. I make a spar scarfing jig, using a 8’ 2”by8” and left over angle iron.
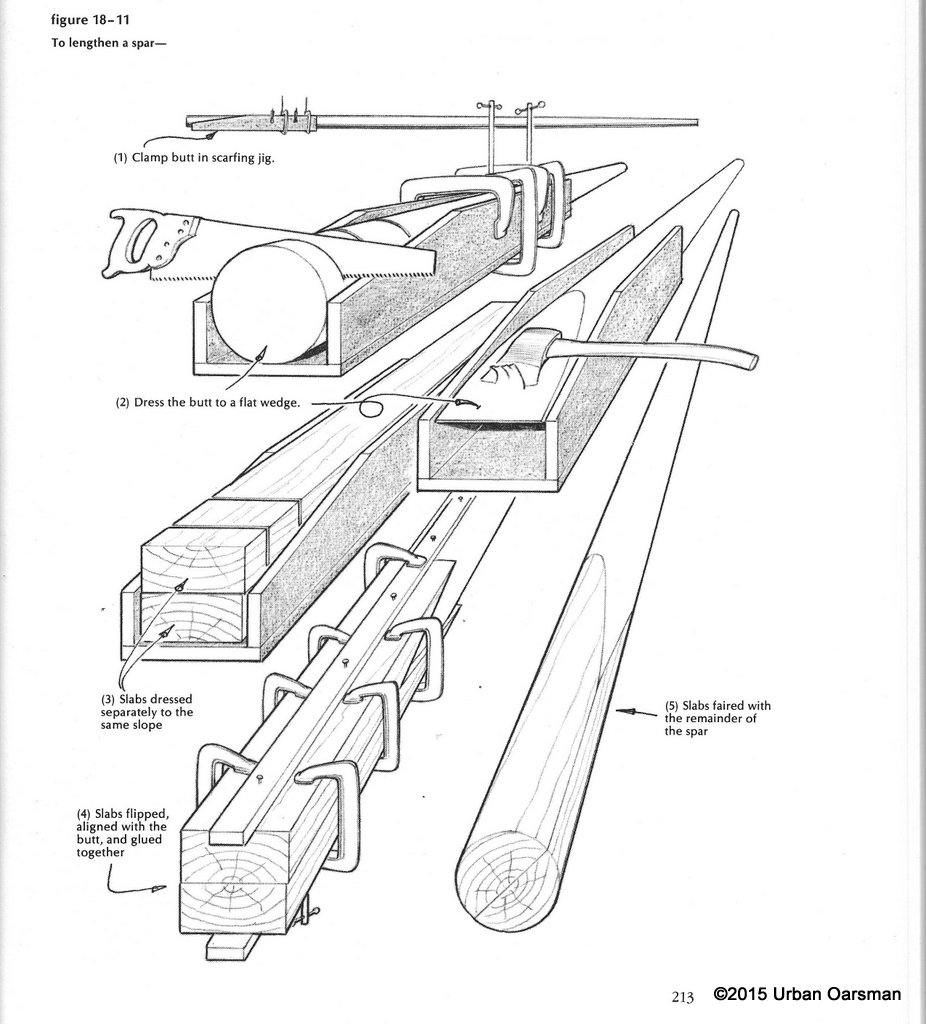
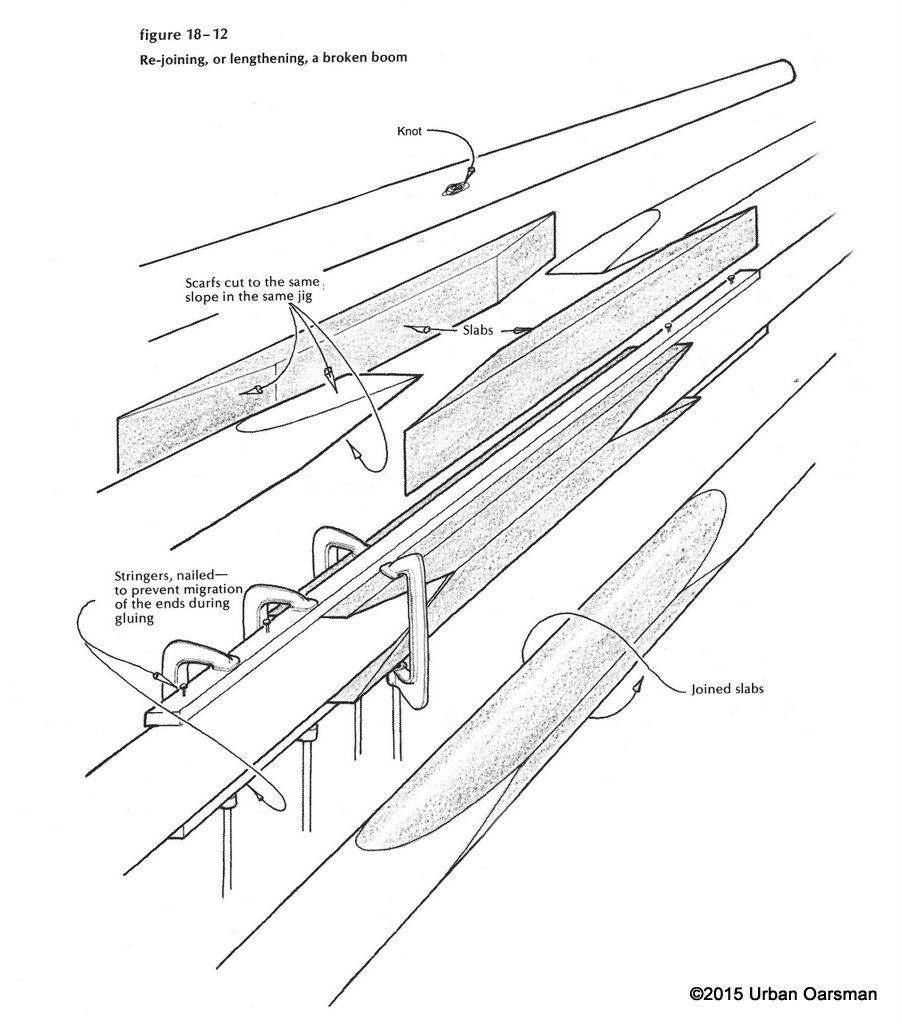
Also from “How to Build a Wooden Boat” by Bud McIntosh.
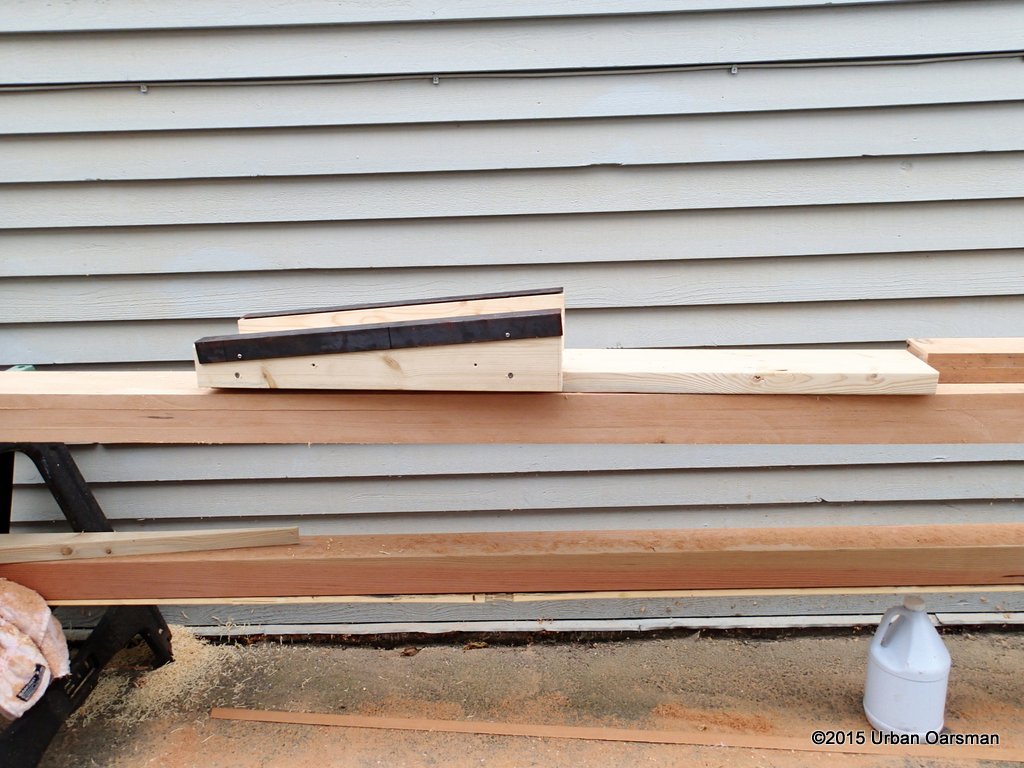
The scarfing jig, here is the splicing jig, also from “How to Build a Wooden Boat” by Bud McIntosh.
I will use a router instead of an axe. The finished scarfing jig:
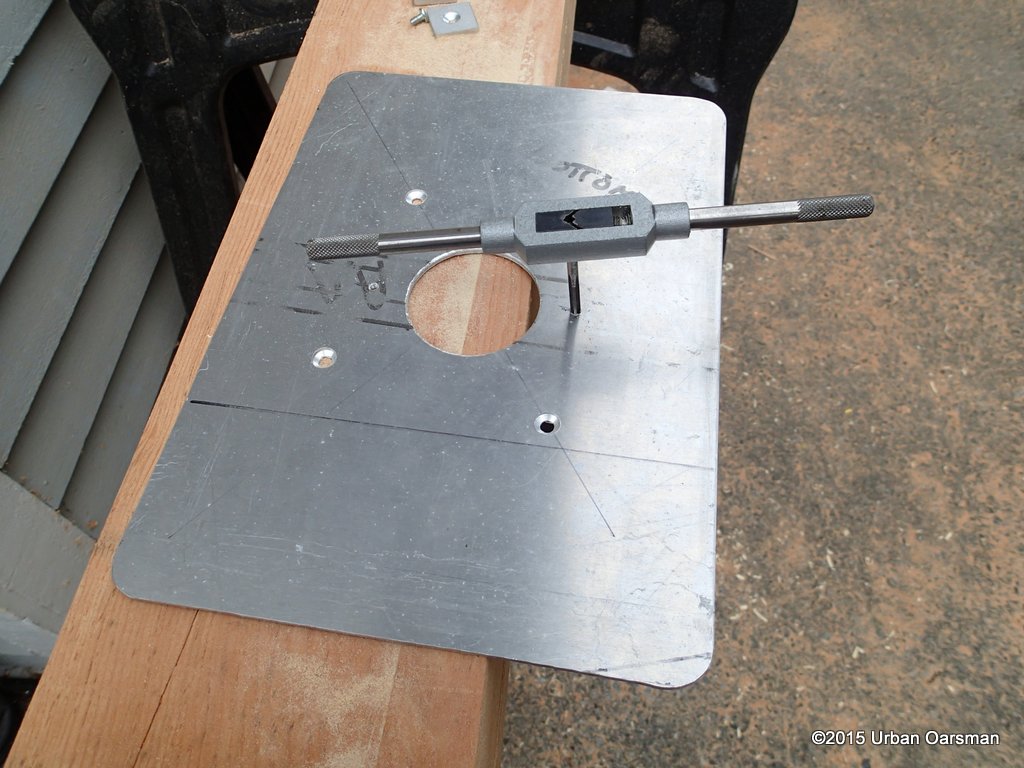
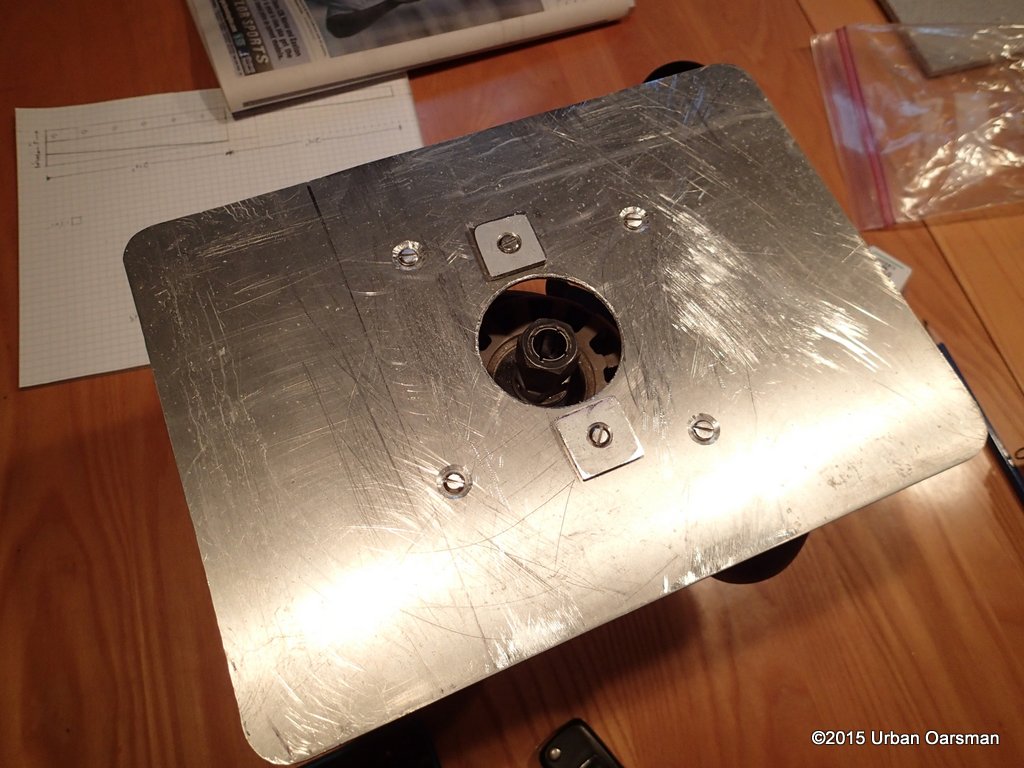
I make a new base plate for my router. Cutting the thread for the screws.
The little tabs on the bottom will keep the blade from hitting the sides of the jig.
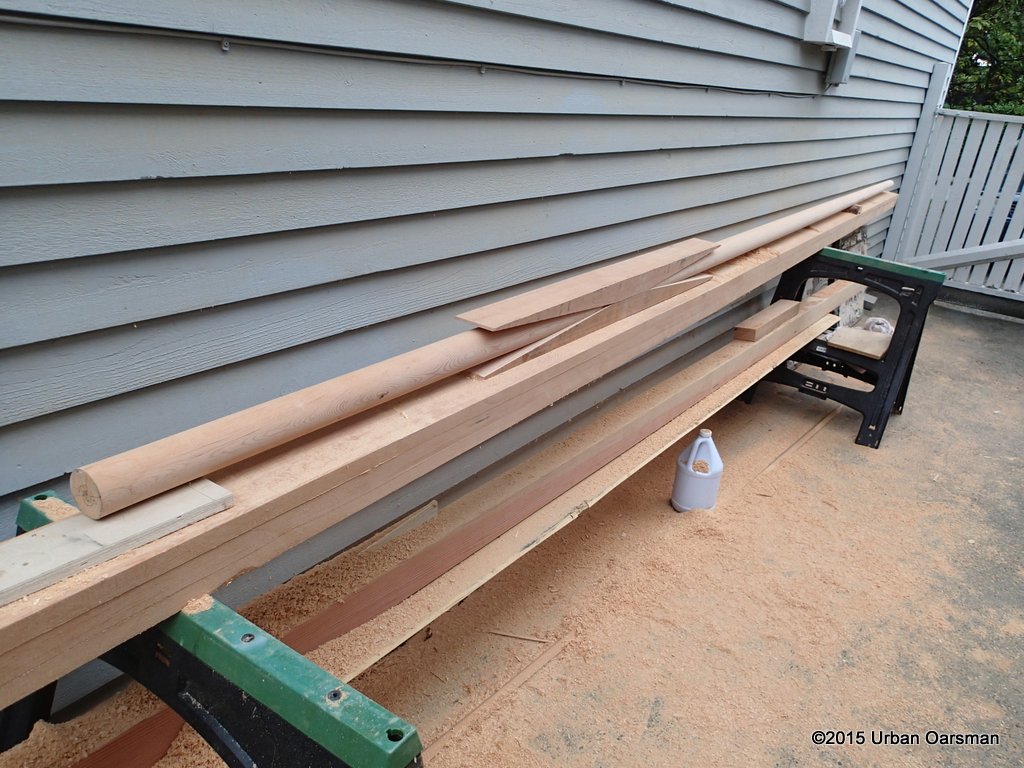
Time to cut the pieces, I cut the two middle pieces from the 20’ 11½”by3½” blank.
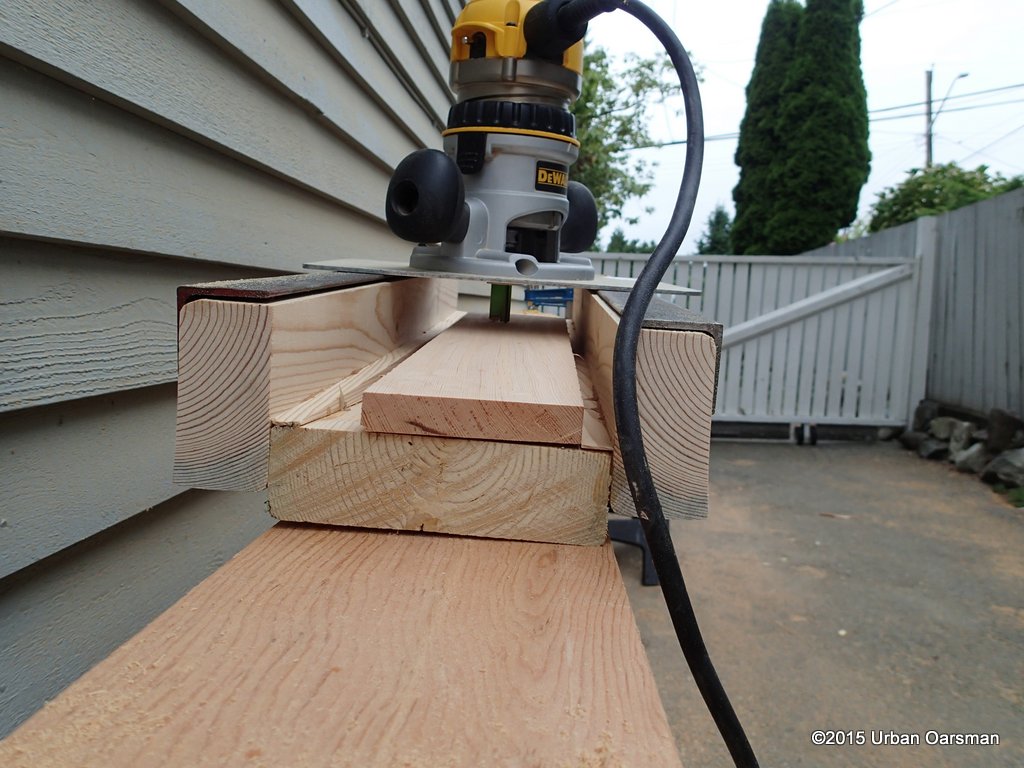
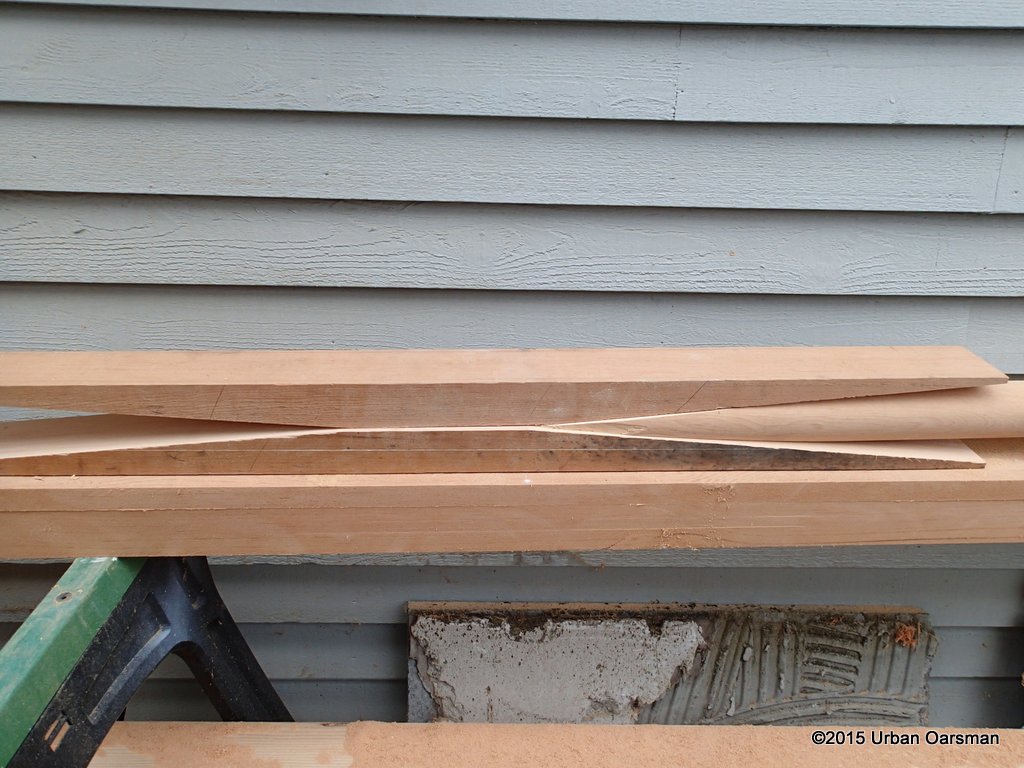
Almost 5’ long, no knots. Flip them back to back and cut the scarfs, taking off ⅛” or so on each pass of the router. Jig works like a hot damn! I cut the knot out of the mast.
To cut the mast scarfs, I mark the middle of the mast and cut the scarfs down to the line.
I record how deep the router bit is.
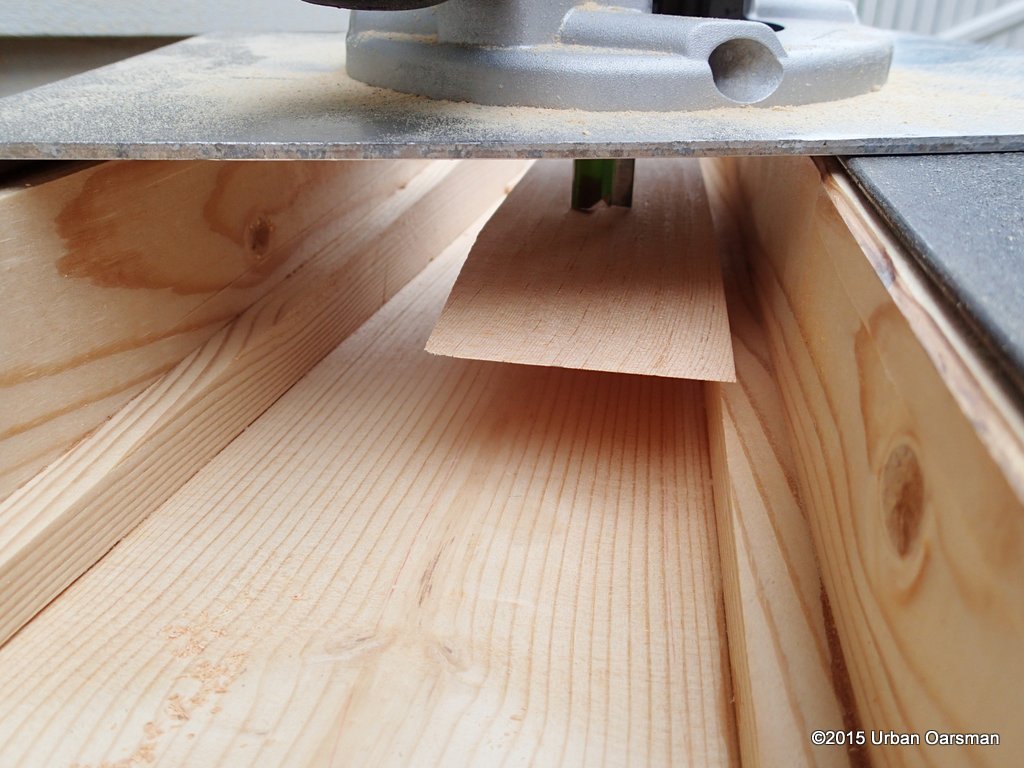
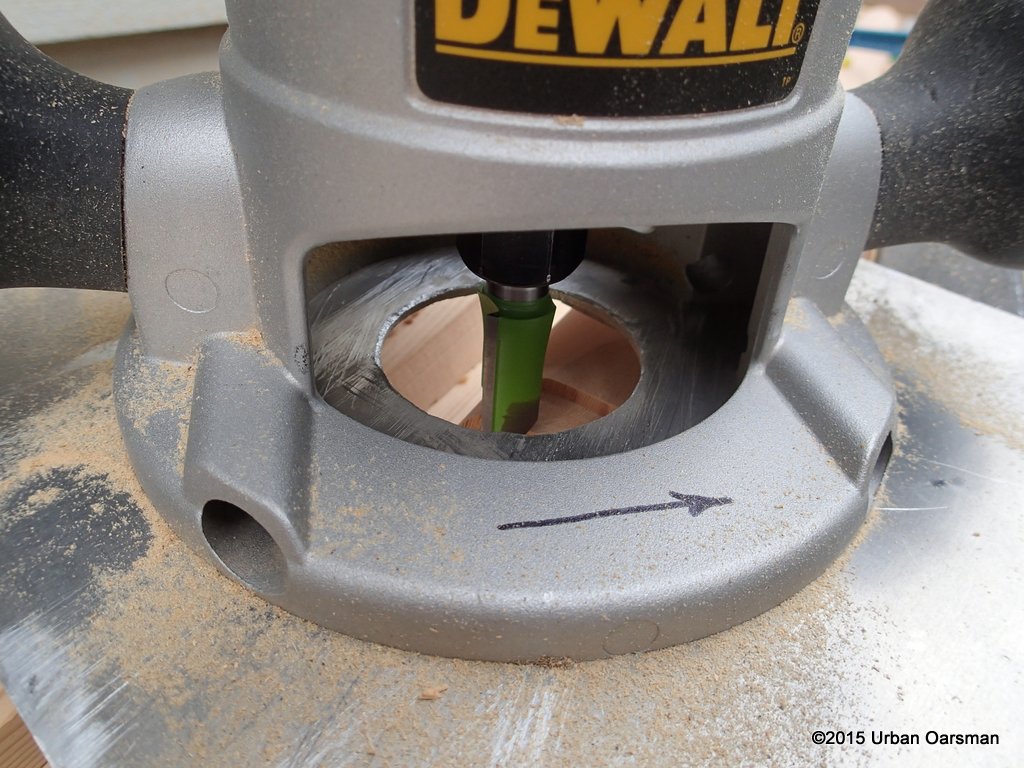
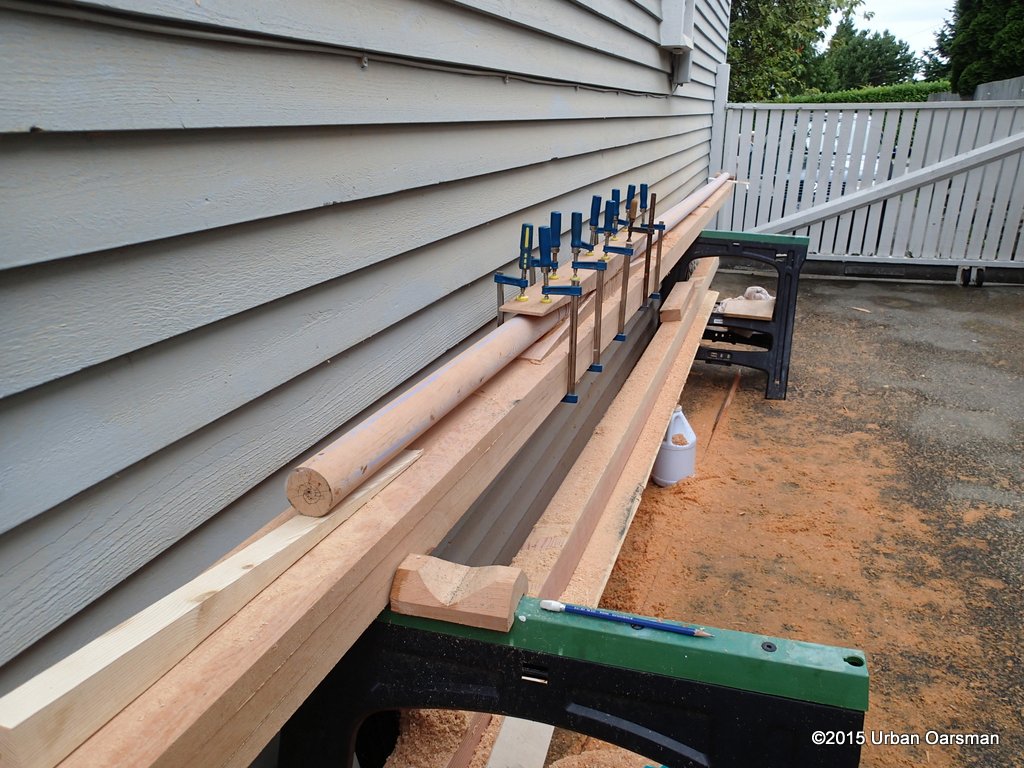
To insure that the scarfs on the mast are parallel to each other, I use a square piece of wood under the first scarf lip to insure that the scarf edge is level to the jig.
The resulting pieces look good to my eye.
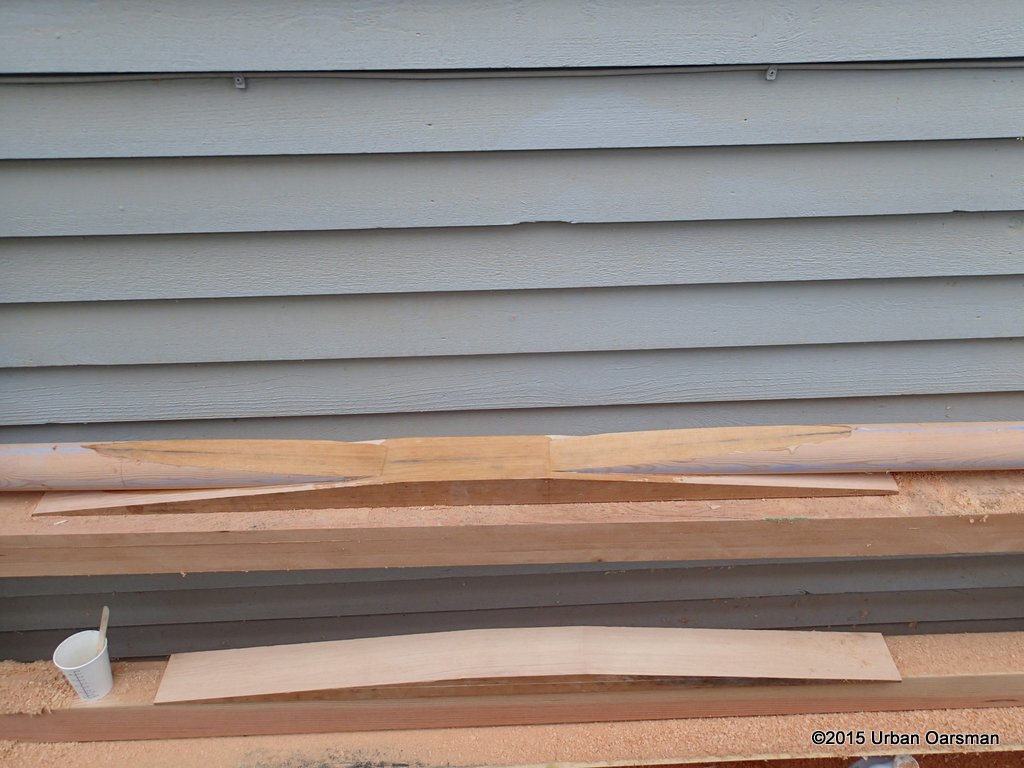
Dry fit time.
I assemble the joint and make sure that every piece fits snugly.
I put two chalk lines on the mast pieces so I can line them up when they are assembled. Looks good to go.
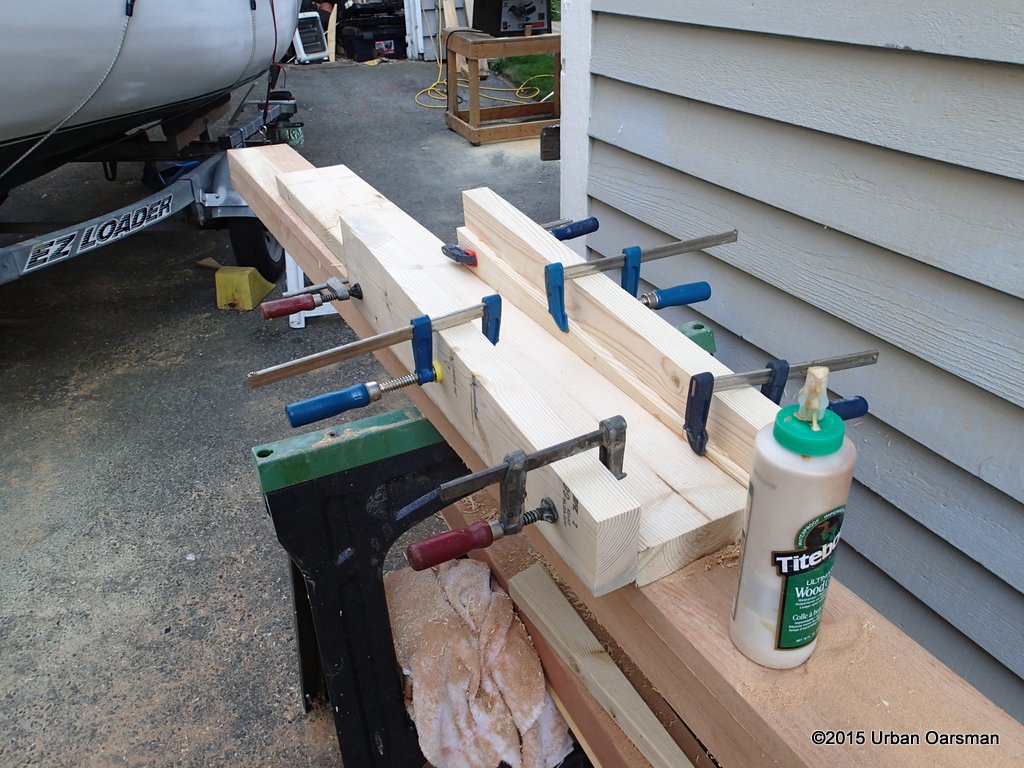
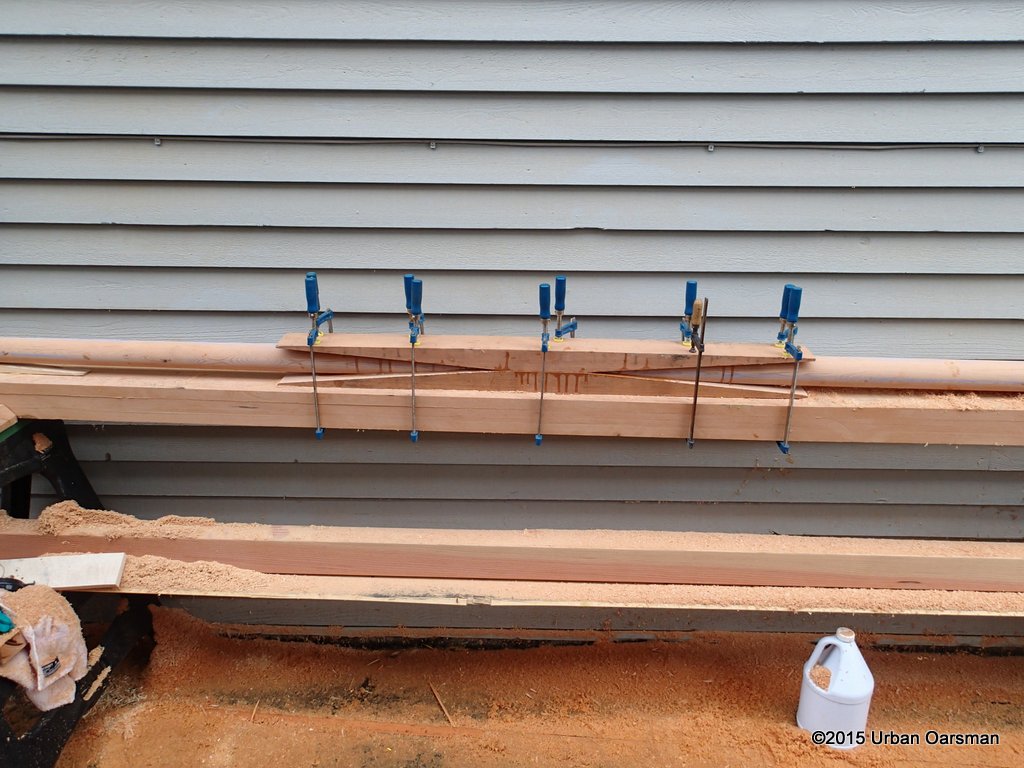
Gluing time. I get the epoxy glue, measure, mix and start gluing. I coat the base piece first, and then the mast ends. I assemble the base piece and the mast ends. I disassemble the parts, to ensure that the epoxy has coated all surfaces. Put back together. I then coat the cap piece with epoxy and place it on top of the other three.
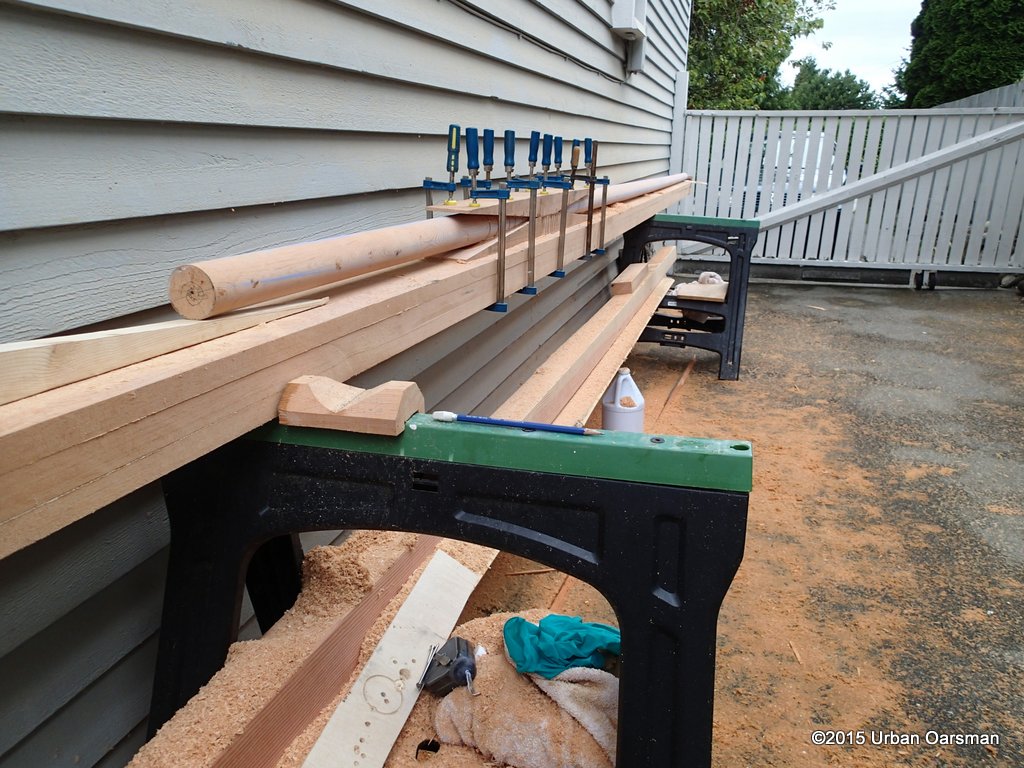
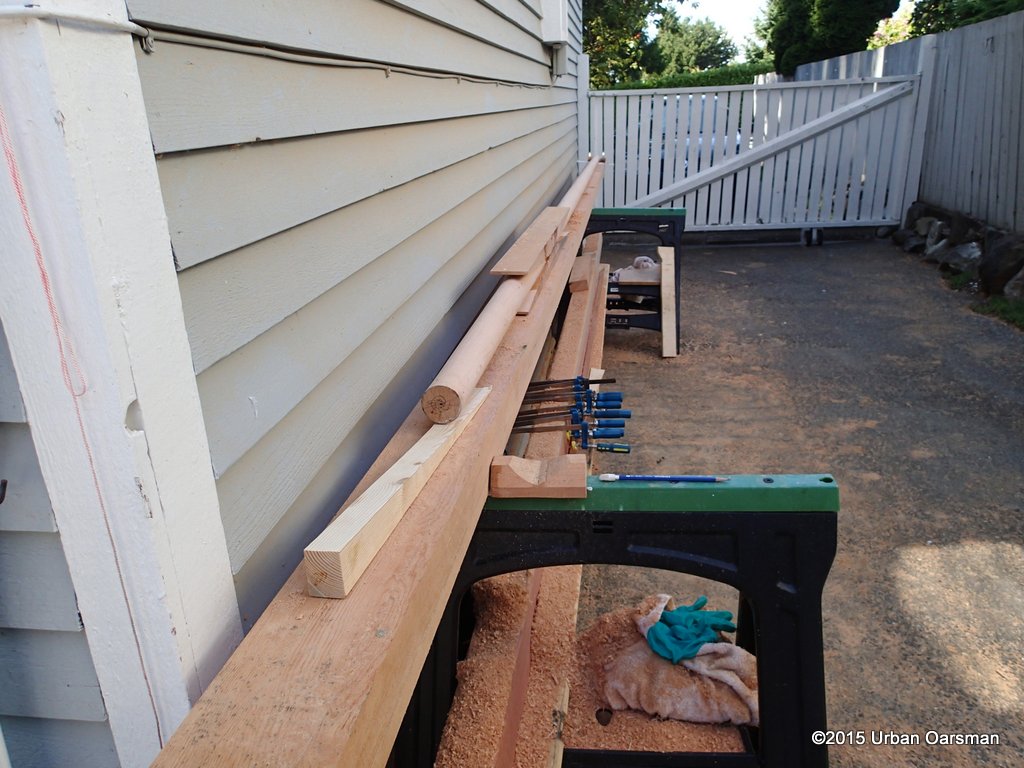
The idea is to have some glue squeeze out. With some eyeballing, aligning, wedging and some light clamping we are done.
I leave the epoxy to cure overnight.
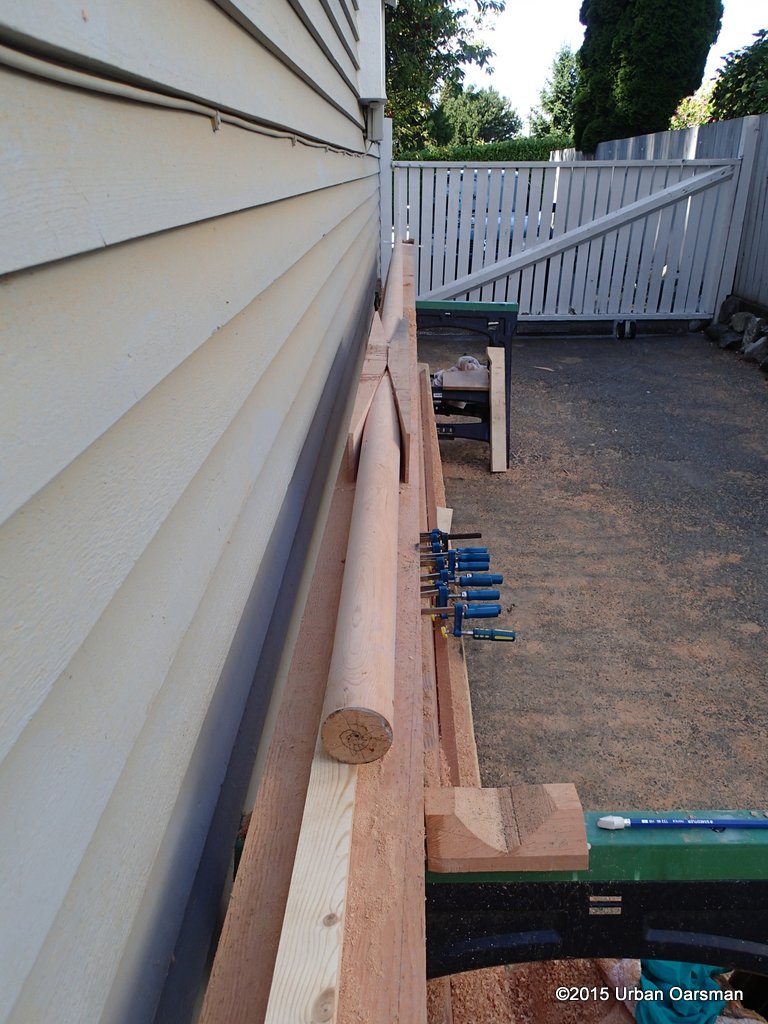 The mast looks quite straight. Skilled gluing!
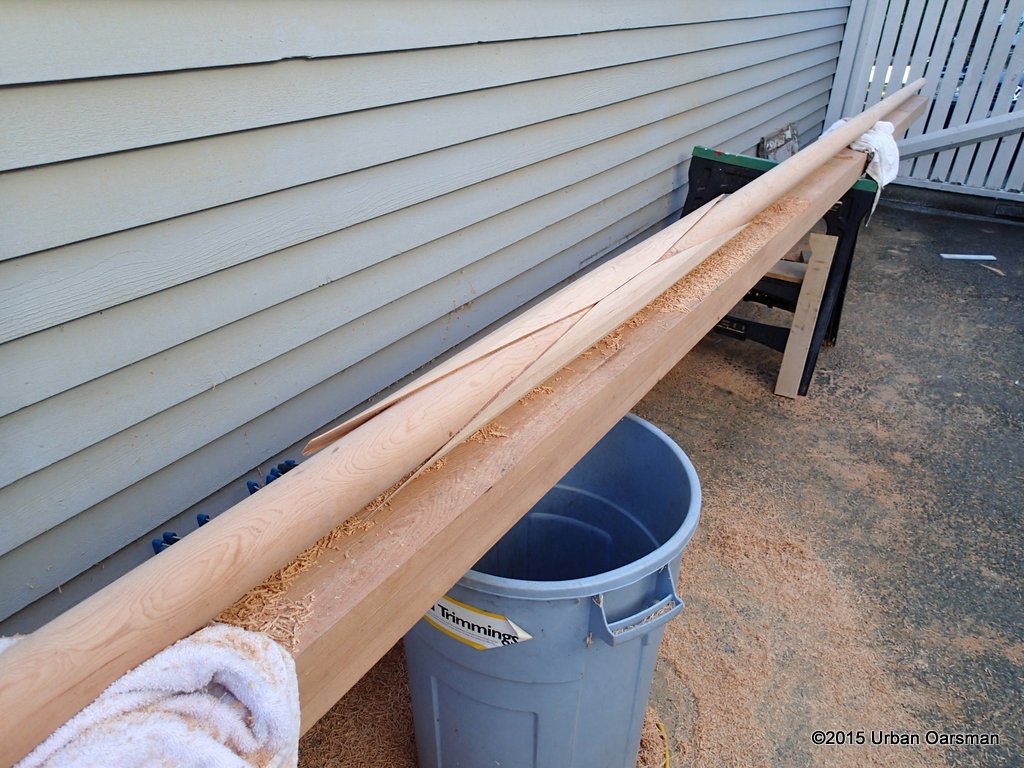
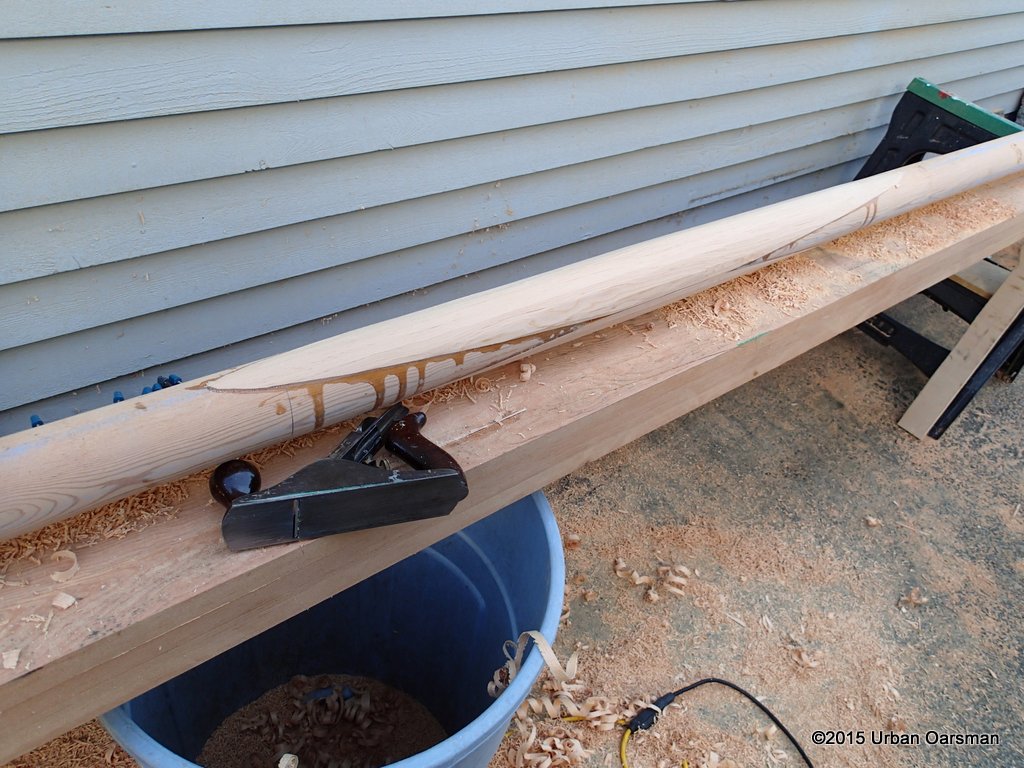
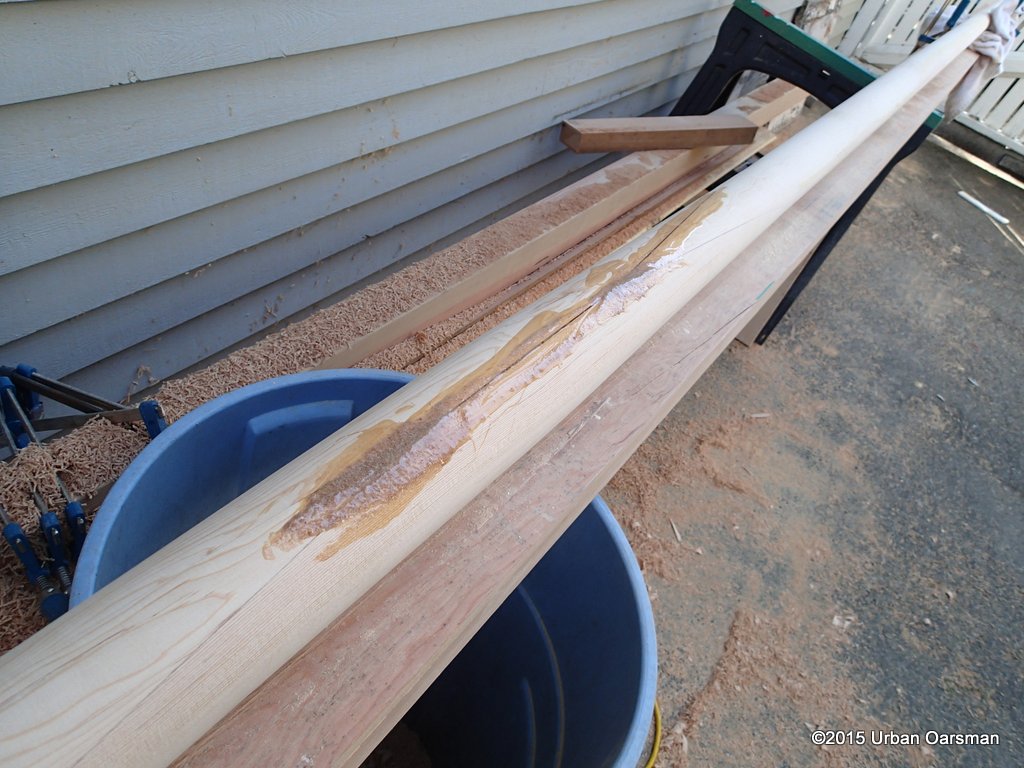
After the glue has set, I use my power planer to rough shape the mast, knocking off the corners of the spliced in piece, finishing with my hand plane.
The spar finishing machine brings everything back into round. A final bit of epoxy to fill any minor blemishes.
Tomorrow I begin the final sanding and to varnish the mast.
I would rather be rowing…… Mike.


Looking forward to the next instalment. You’ve done a beautiful job so far.
Wow, nice mast work! I did mine all with a hand plane (after the birdsmouth staves were cut on by tablesaw) but you’ve got some good ideas here!!
all the best,
Dale