Weekend two of the Canoe Build:
This Sunday we ripped some strips for the stem and stern laminations.
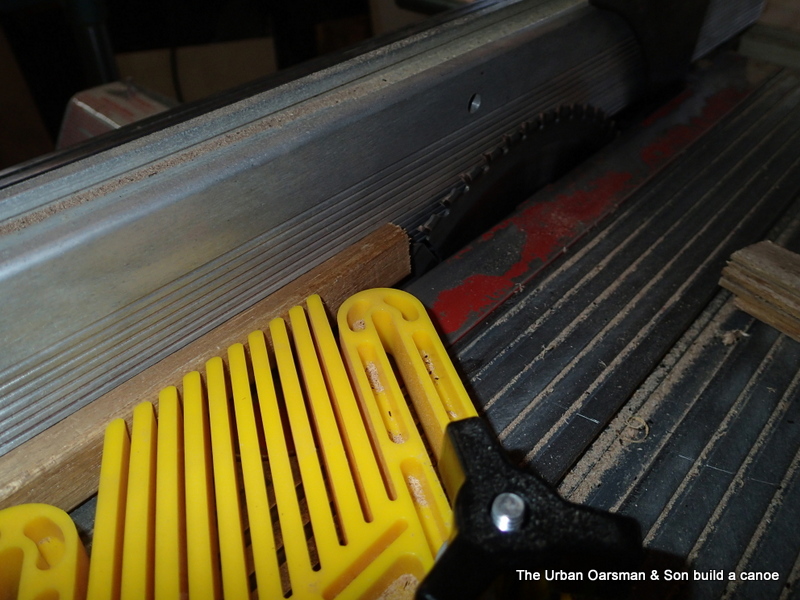
Paul’s Canoe build, ripping strips for the laminated stem and stern.
We used the shopsmith, and a fingerboard to rip some philippine mahogany I had into 3/16″ strips. We cut five strips for each stem piece.
We then used Tightbond II glue to glue the strips together. Here is Paul slathering the strips with the glue.
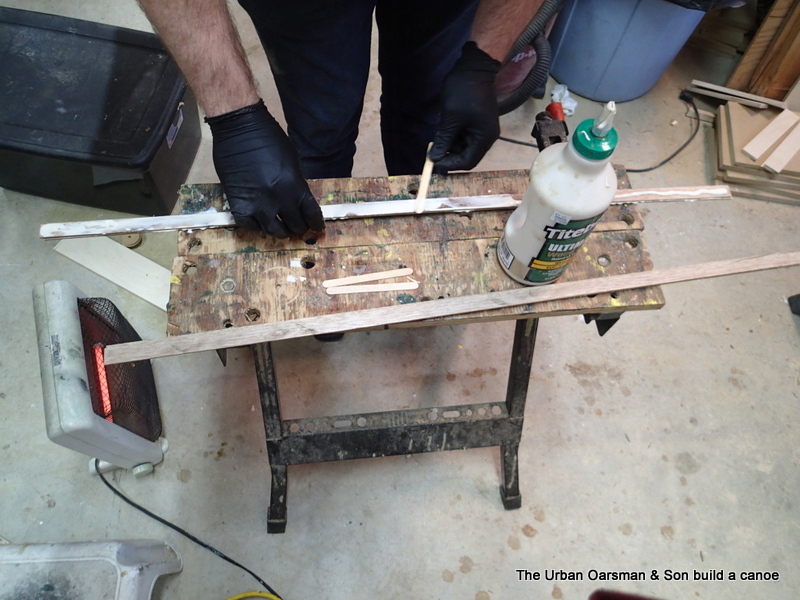
Paul’s Canoe build, laminating the stem and stern pieces.
After the strips were buttered with glue, we clamped them to the forms.
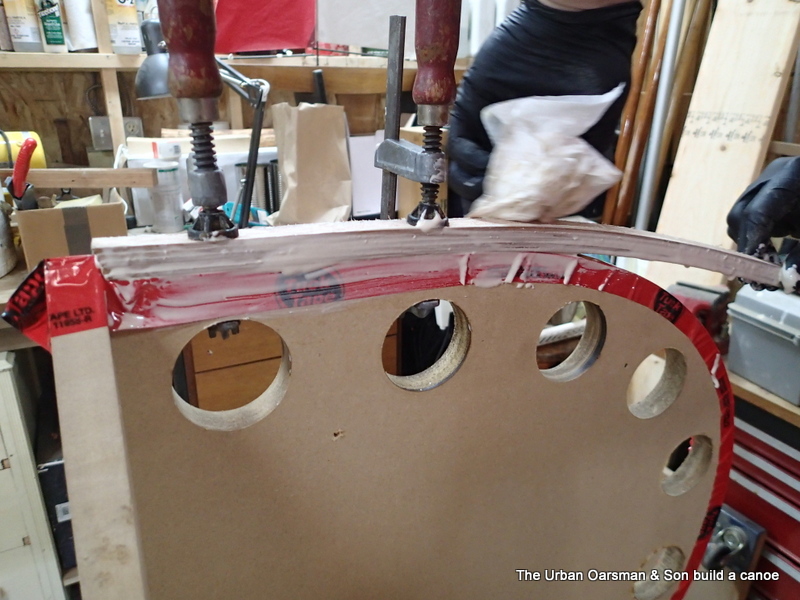
Paul’s Canoe build, lamination the stems to the forms.
Note that we have used Tuck Tape to keep the glue from sticking to the forms.
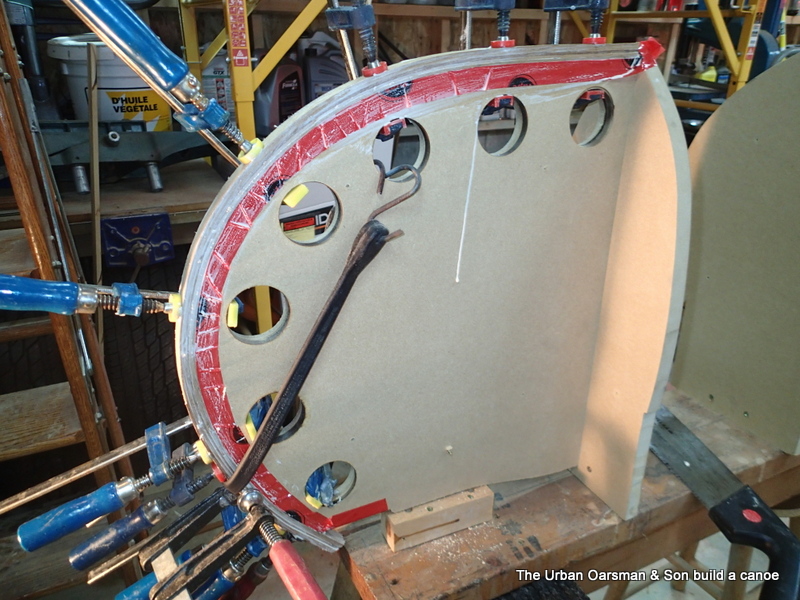
Paul’s Canoe build, stem & stern all clamped up.
We then wiped up all of the glue overflow. Because it is early December and the shop is relatively cold, I set up a heat lamp to shine on each stem piece.
When we bought the wood for the canoe, we got a number of ¼” by ¾” bead and cove strips, a number of ¼” by 1¾” strips and a 1¾” by 7½” cedar board, all about 16′ long. There were enough ¼” by ¾” bead and cove strips to do one-half of a canoe. Paul and I decided to use the ¼” by 1¾” strips as there were enough to do an entire canoe. We graded the strips as to colour. In the photo, the gunwale strips are to the right, keel strips to the left.
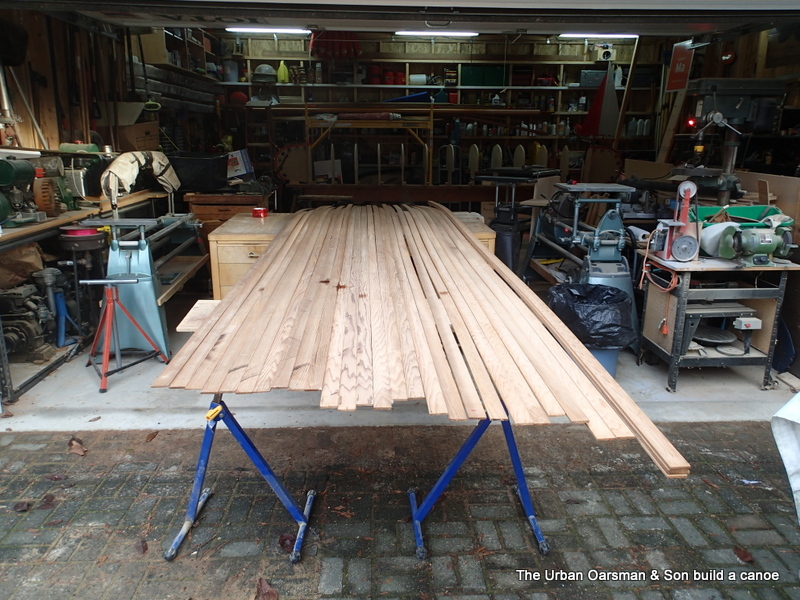
We then ripped each strip in half, putting one in the Port side pile and the other into the Starboard pile…this way the canoe should have the same (or very similar) colour pattern on each side.
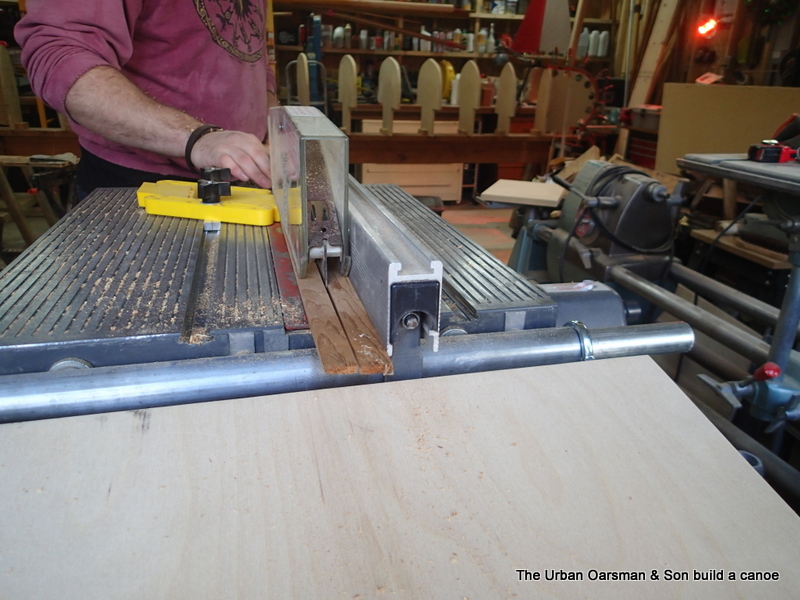
Paul’s Canoe build, ripping the strips into ¼” by ¾” strips. Note the home-made outfeed table.
We measured and we should have enough strips after we bead and cove them. As we get closer to the keel, the length of strip necessary will diminish. We may be able to get “two” strips out of “one” near the keel.
If not, we can always use some of the original ¼” by ¾” bead and cove strips.
Three photos of the stem & stern laminations, the ¼” by ¾” strips in two (Port & Starboard) bundles.
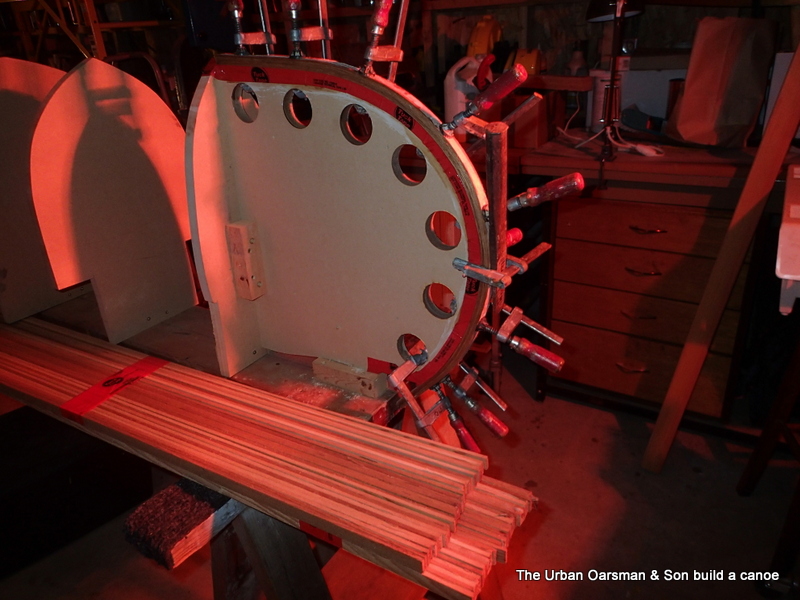
Paul’s Canoe build, stem lamination drying, two bundles of strips.
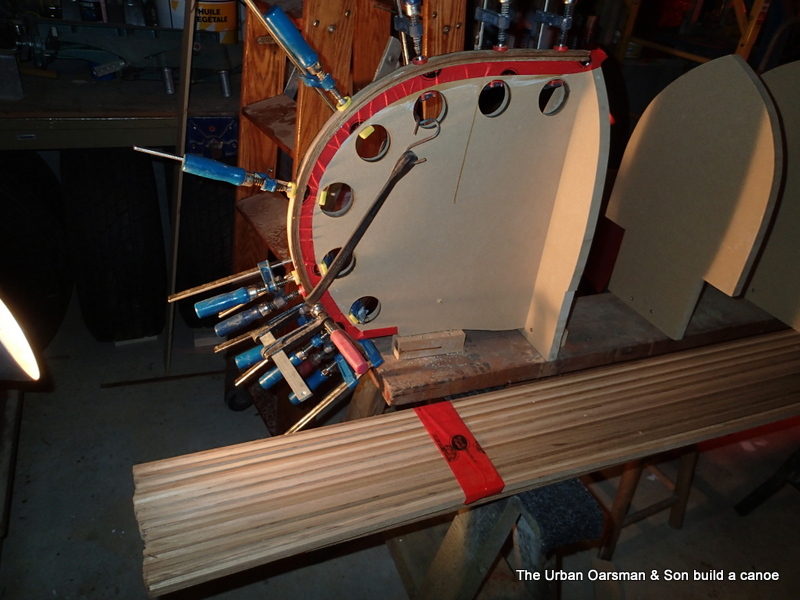
Paul’s Canoe build, other stem lamination drying, two bundles of strips.
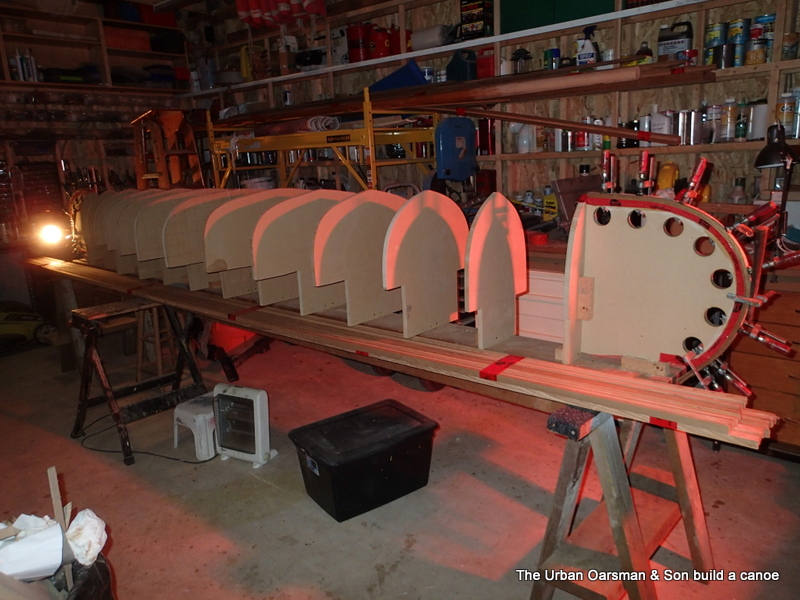
Paul’s Canoe build, ready for the next day’s build.
Next steps? Beveling the stem and stern pieces and routing a bead and cove into the strips. Maybe we will get some strips put on.
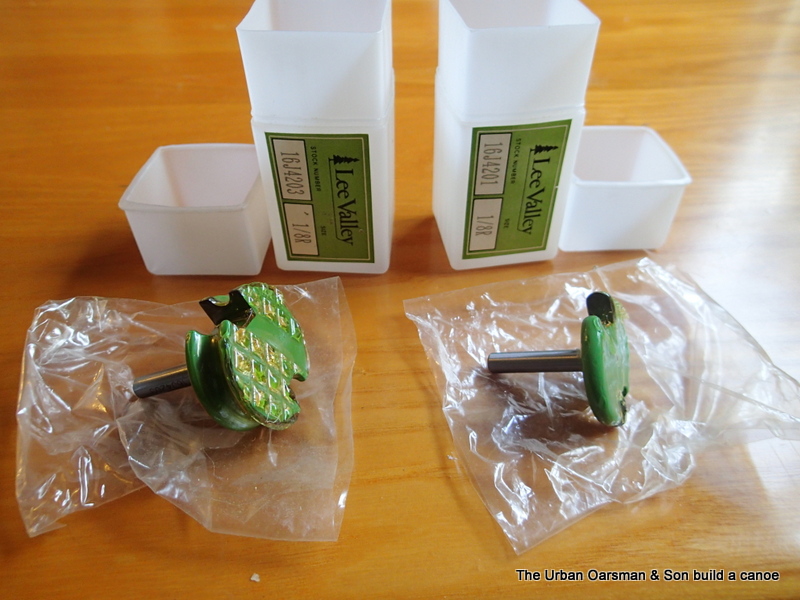
Bead and Cove bits.
Good rowing (maybe good paddling) to you,
Mike
