This is the last chance to get the hull smooth. I kill off an afternoon sanding the canoe. (Again!) When we brought the canoe out into the sunlight, you could see a few runs….We are trying for a good finish…
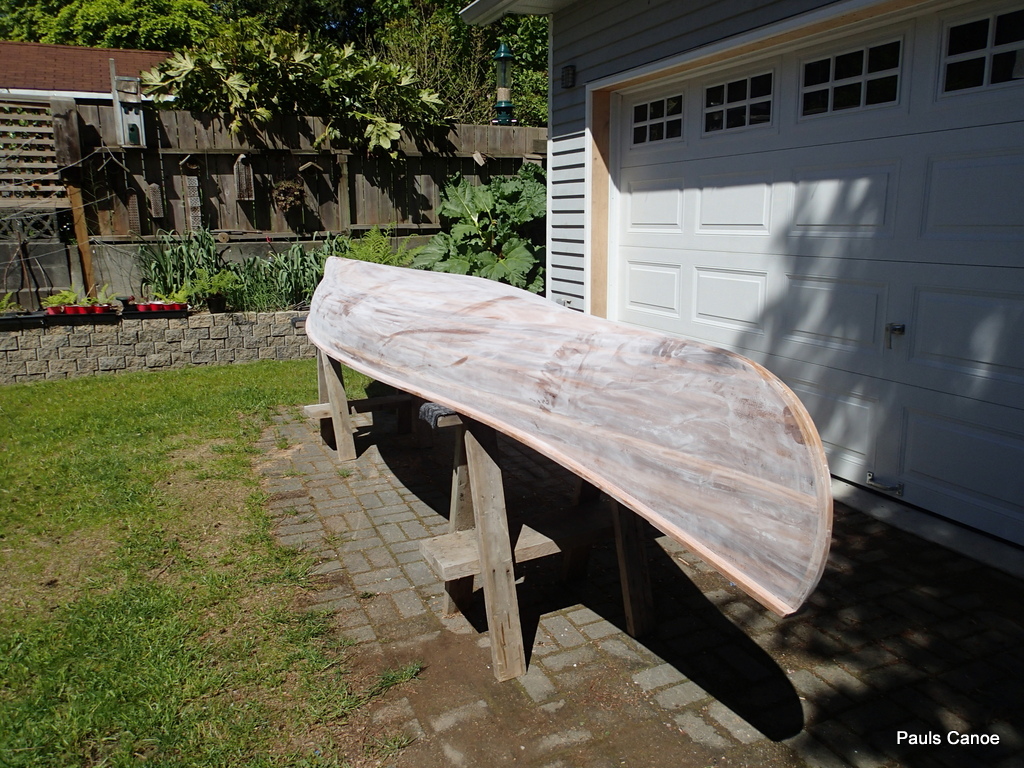
Power sanding with the 220 grit.
220 grit then 320 grit.
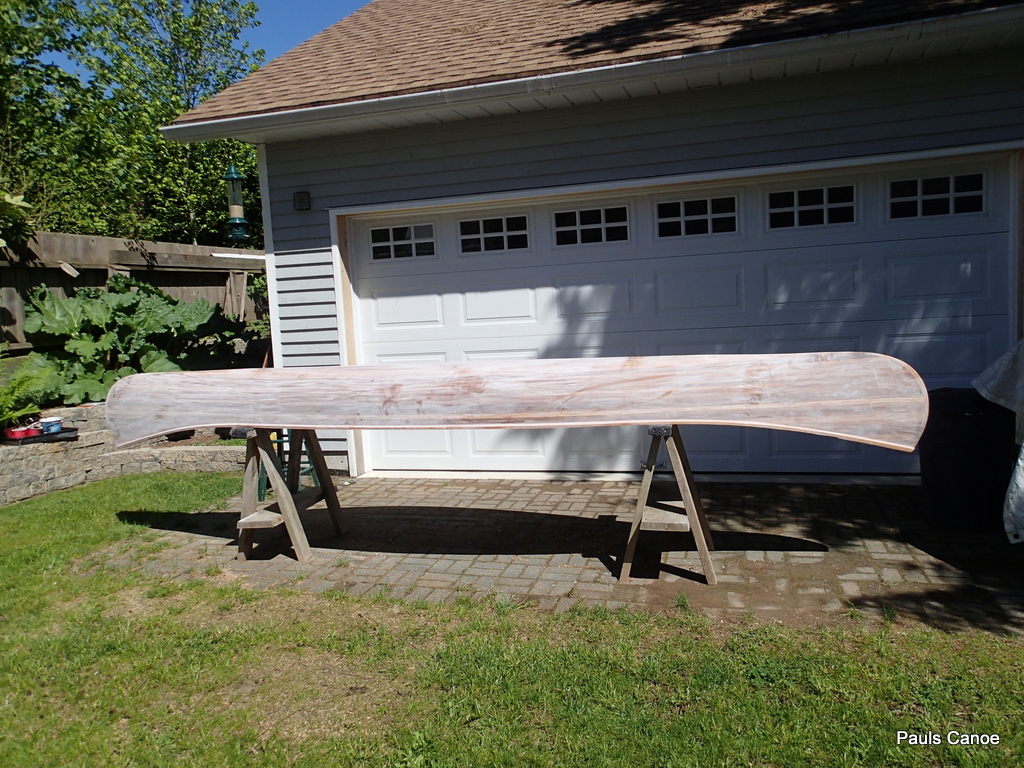
Power sanding with the 320 grit.
Looks the same as the 220 grit.
I finish with wet/dry sandpaper.
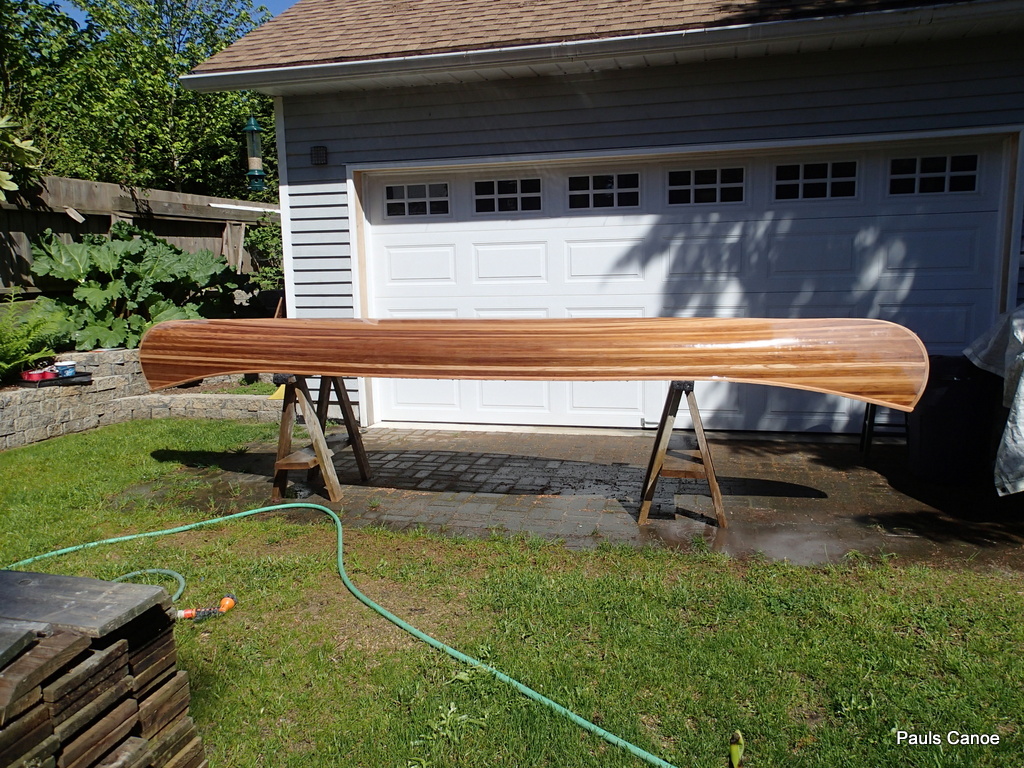
I wet sand the hull with a hand sanding block and 320 wet/dry sandpaper.
After the sanding, I give the hull a good rinse. I am done with sanding.
Even though Ted Moore does not have a bass keel strip on his Hiawatha design, Paul decides that he wants to have one on his. I look at many pictures of cedar strip canoes on line and none have a brass keel strip….I guess that Paul wants his canoe to stand out.
From Alaska Copper, I buy: Three Half Oval Free Cutting Half Hard Yellow Brass Bars (minimum order).
From their catalogue:
Nominal Chemicals: Copper 61.5%, Zinc 35.4%, Lead 3.1%
Average Physical Properties: Tensile 45,000 psi (min), Yield 17,000 psi
Specifications: ASTM B 16, Temper H02 (1/2 Hard)
Size Lbs/Ft
1/8 x 1/2 .181
Paul will use 213″ of half oval at .181 pounds per foot= .181 x 12 x 213 = 3.21275 Lbs.
Paul’s canoe will exceed Ted Moore’s design weight.
Paul wants to use a few screws as possible, so we will use polyurethane goop to glue the keel strip on. Four screws, one at the top of each stem and one at the bottom (on either side of the stem curve) to hold the strip on while the goop cures.
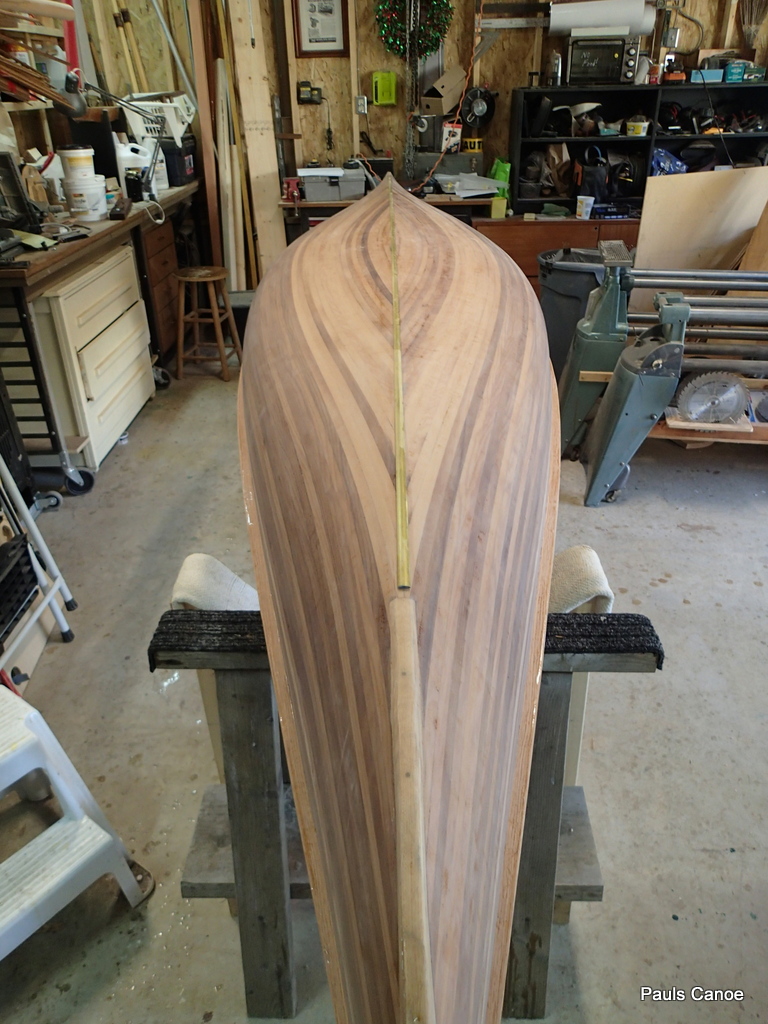
Lining up and planning out the keel strip.
The brass half oval comes in 12′ lengths. We have two choices, a 12′ length in the middle with a (approx) 24″ piece at each stem or two strips from the stems, meeting in the middle.
The first choice will be the easiest, as any excess length will protrude at the stem and can be cut off. The fit need not be as exact as using two pieces that meet in the middle.
Paul wants to have two strips, meeting in the middle for only one “seam”.
We measure and dry fit the keel strips. I use a punch to start each screw hole.
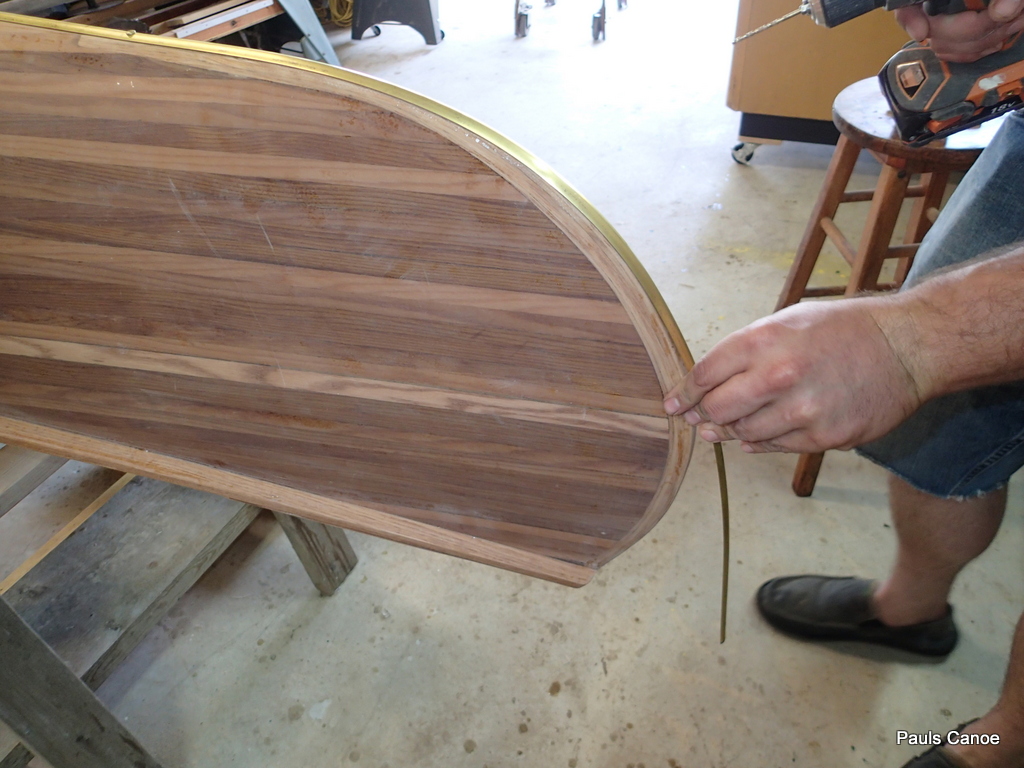
Determining where the two stem screws will go.
You can see the first screw at the beginning of the curve. Paul will now drill the top screw pilot hole. Paul drills the second pilot hole 1/16″ too far away to draw the keel band tight.
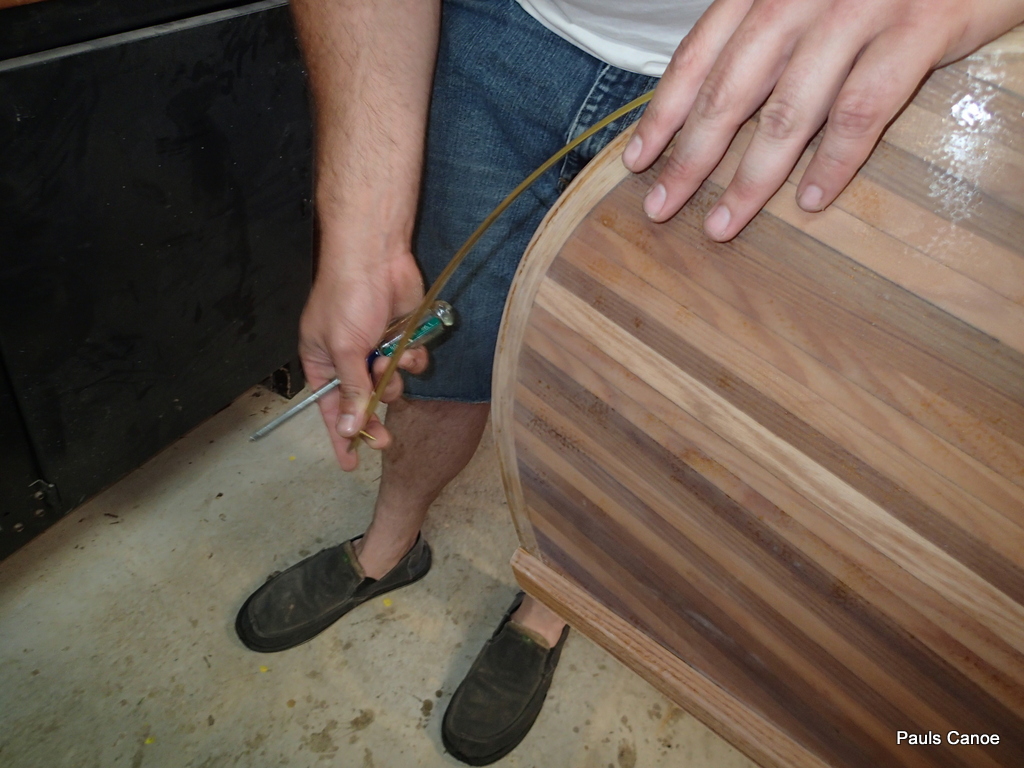
Same “Drill” at the South end of the canoe stem band.
We dry fit the keel strips and then draw a pencil line on either side of the brass strip.
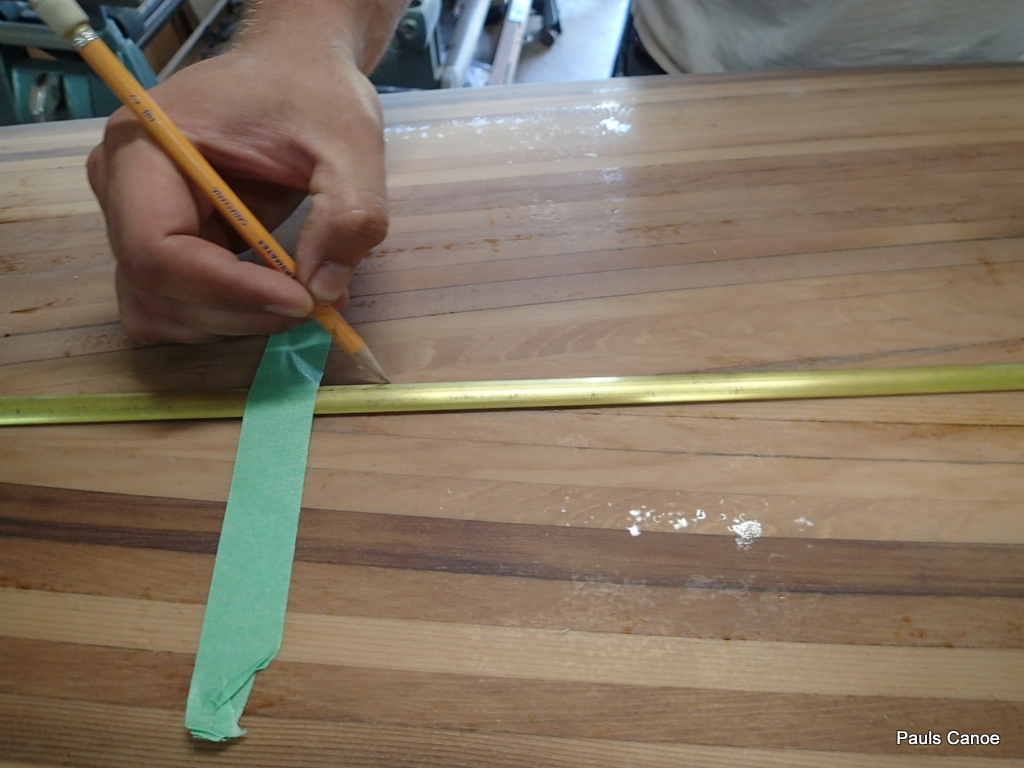
Drawing the pencil line.
We will use tape to mask the keel line.
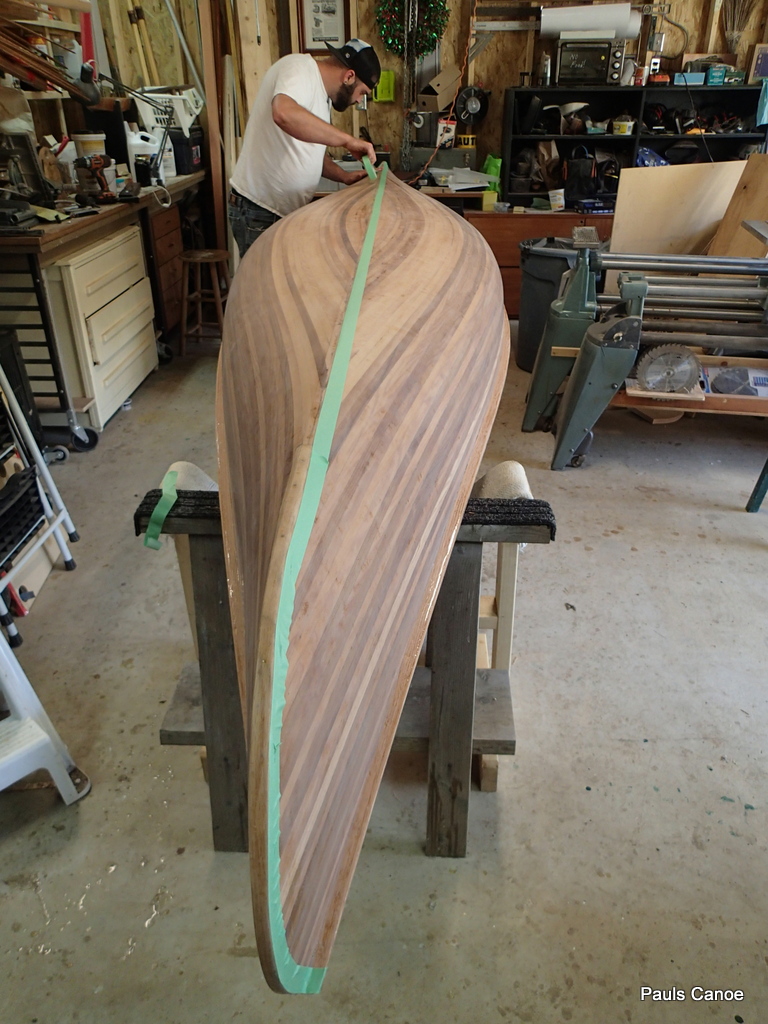
Paul puts tape on the lines.
With the keel strips to one side, time to “Goop up”.
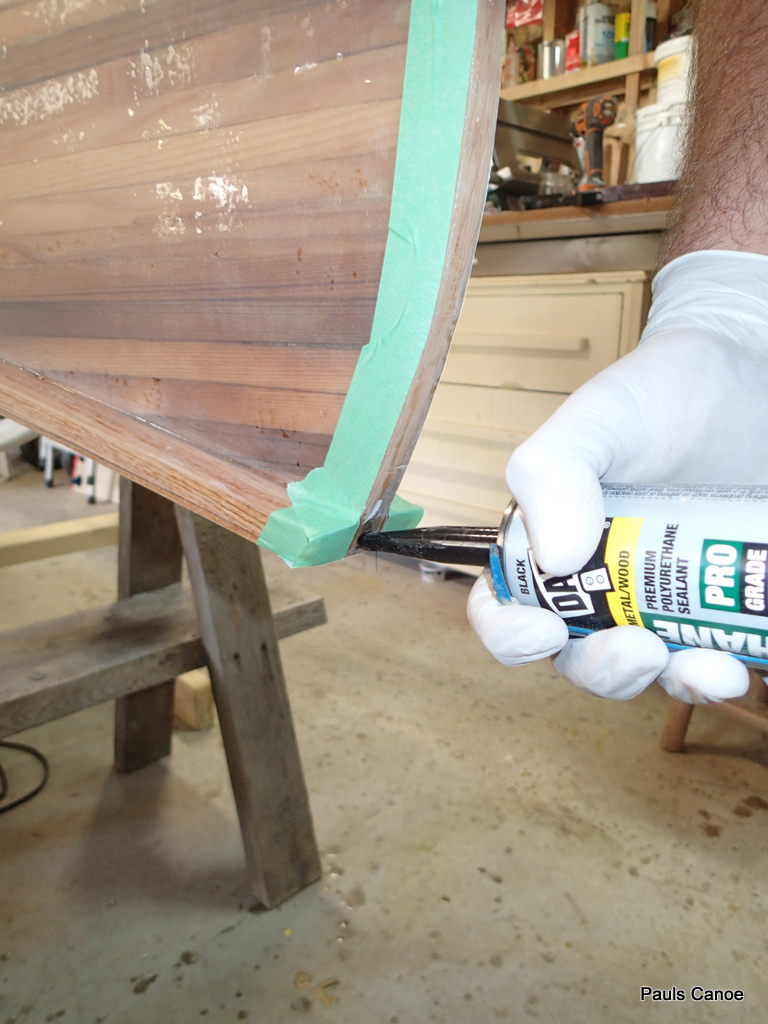
Paul makes a point of shooting goop into the screw pilot holes.
Paul runs a bead between the strips of tape from stem to stem. Gloves are mandatory!
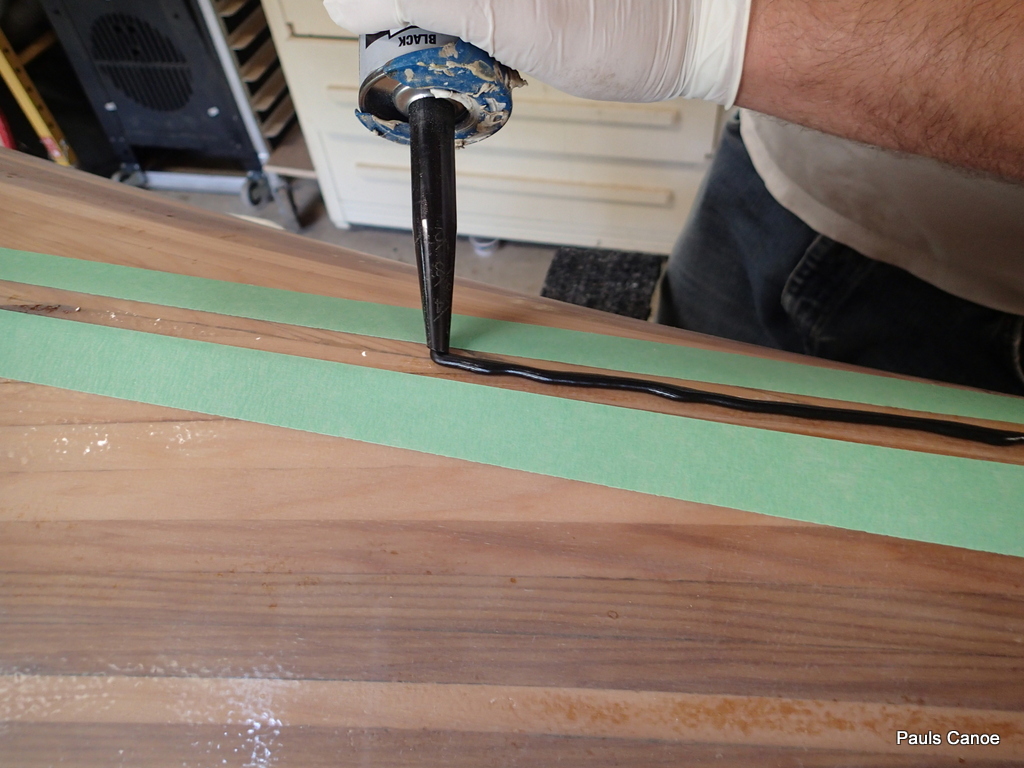
Bead of goop.
I use a Popsicle stick to spread out the goop bead.
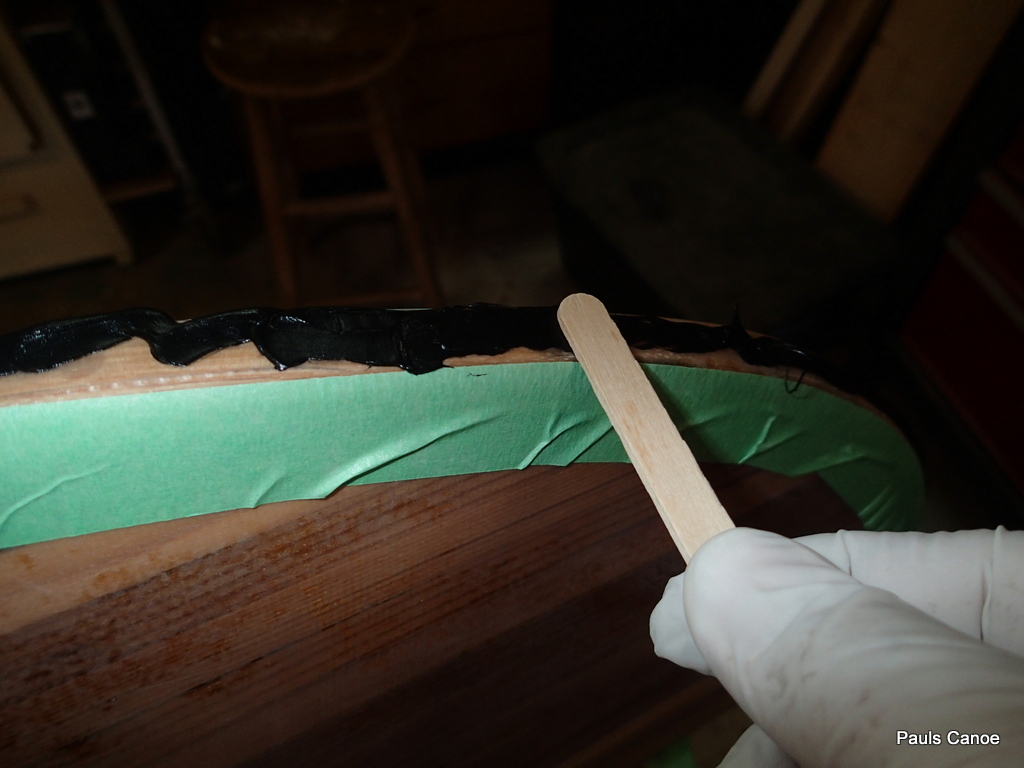
Spreading the goop.
All gooped up and the keel strip is on.
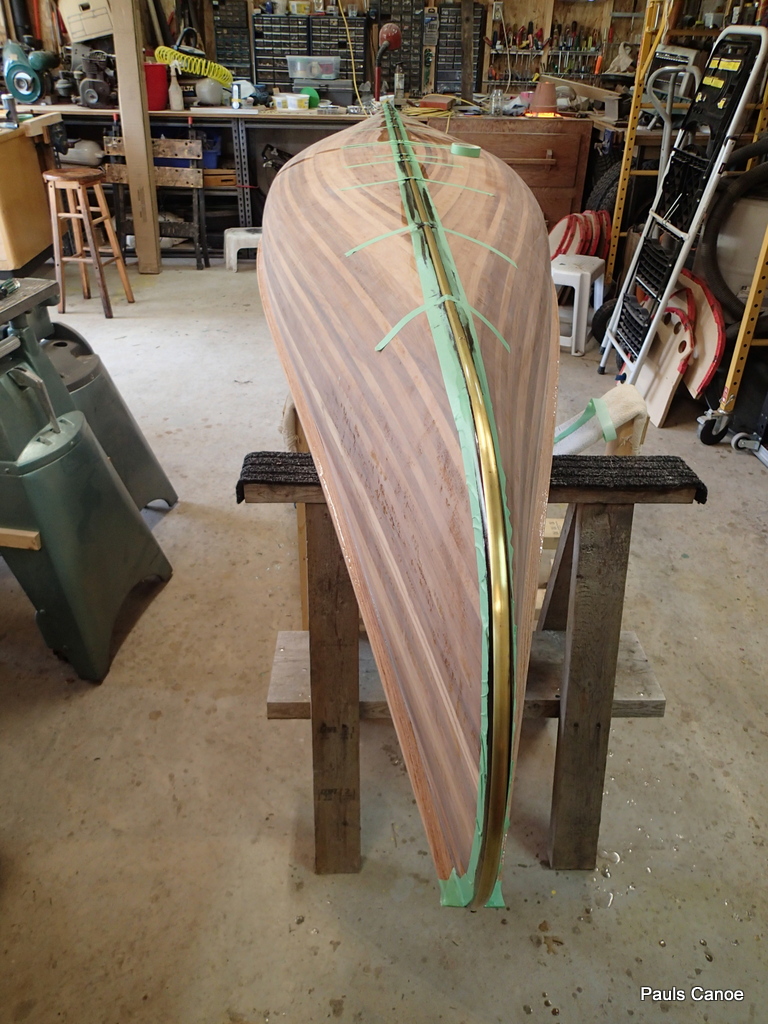
How we did it: I held the keel strip at an angle, so Paul can easily screw in the top stem screw. We slowly bend the keel strip down and Paul puts in the second stem screw. We then lay the keel strip flat.
Paul and I do a lot of “eyeballing” to get the keel strip straight and use tape to hold the strip in place.
The fit is pretty good in the middle of the canoe.
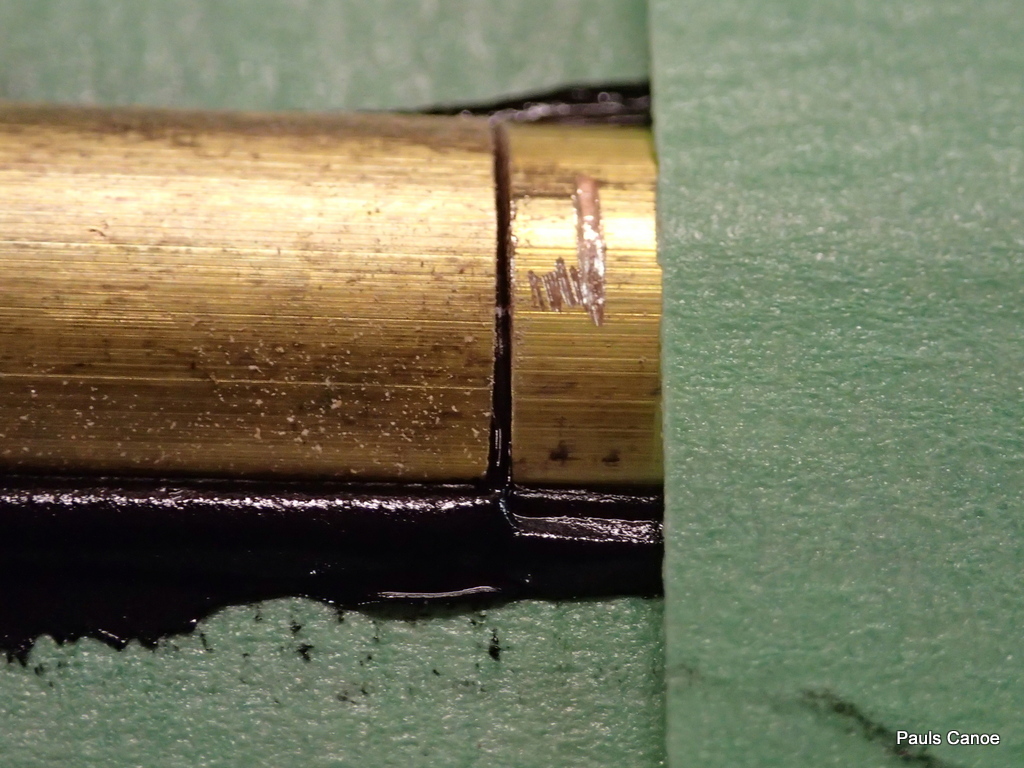
Where the strips join.
A slight gap will allow for the expansion and contraction of the strip. The goop says that it can accommodate +/- 35% movement.
We scrape off the excess with a putty knife and then use Varsol to clean up the rest of the excess goop. After we have cleaned up the excess, we tape the keel strip down every 10″ or so. Time to let the goop dry…3 to 6 hours to be tack free, up to 7 days to cure completely. We will remove the tape tomorrow afternoon, after 24 hrs of drying time.
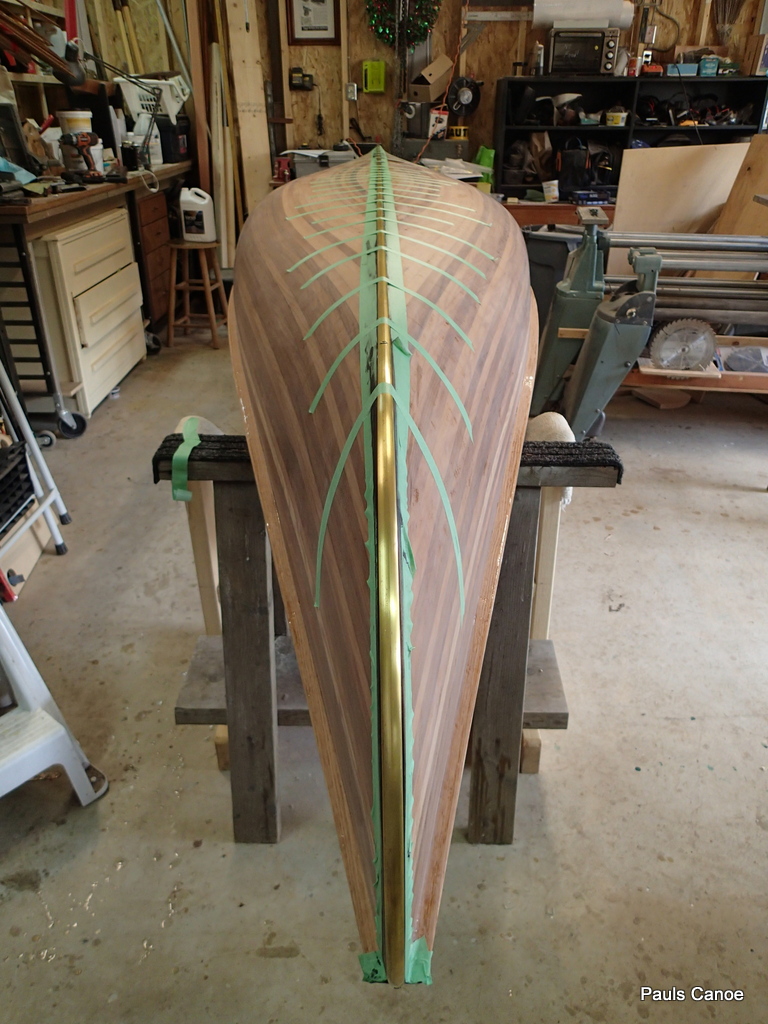
All taped up.
The strip looks really straight….but, will the goop really stick the brass half oval to the epoxy coating on the hull?
I make up a test strip, using a left-over piece of hull and left-over brass half oval.
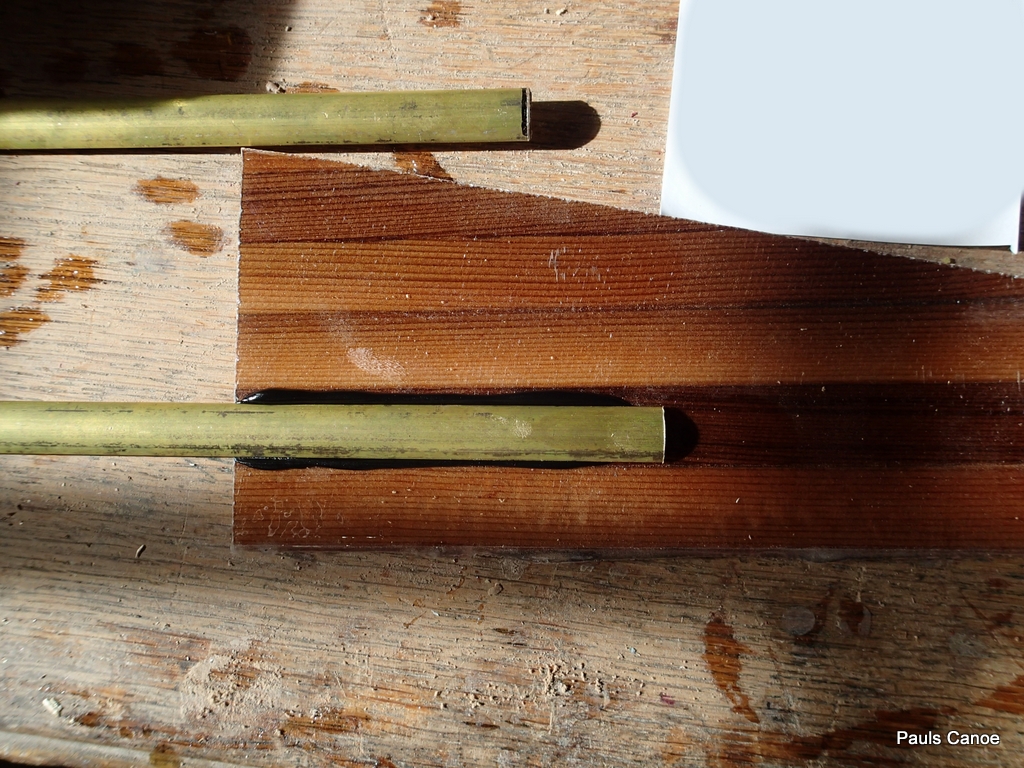
Tester.
In a couple of days. we will try to pull the two apart. The canoe should have a better bond, as it was sanded and washed with solvent. With this tester, I just put down a bead of goop and set the brass strip onto it. If we cannot pull the tester apart (or it is very hard to do) job done. If we can pull the two pieces apart easily, we will consider that the goop is for bedding not bonding and drill the canoe’s keel strip and put in more screws to hold it on. Time will tell.
All the best,
Mike
