With the Covid-19 pandemic breaking out, it seemed as if “Social Distancing” by building a boat would be a good idea. I have always admired the Herreshoff Pram design in John Gardner’s “Building Classic Small Craft” book. I thought I could build her light enough to car-top and she would be big enough for two . I began to build “Crwban” a 10′ Herreshoff Pram on March 29th, 2020.
I will build her using the Glued-Lap method. I will use light ribbands to determine the plank lines. In the book, the plans have suggested plank widths at three of the stations.
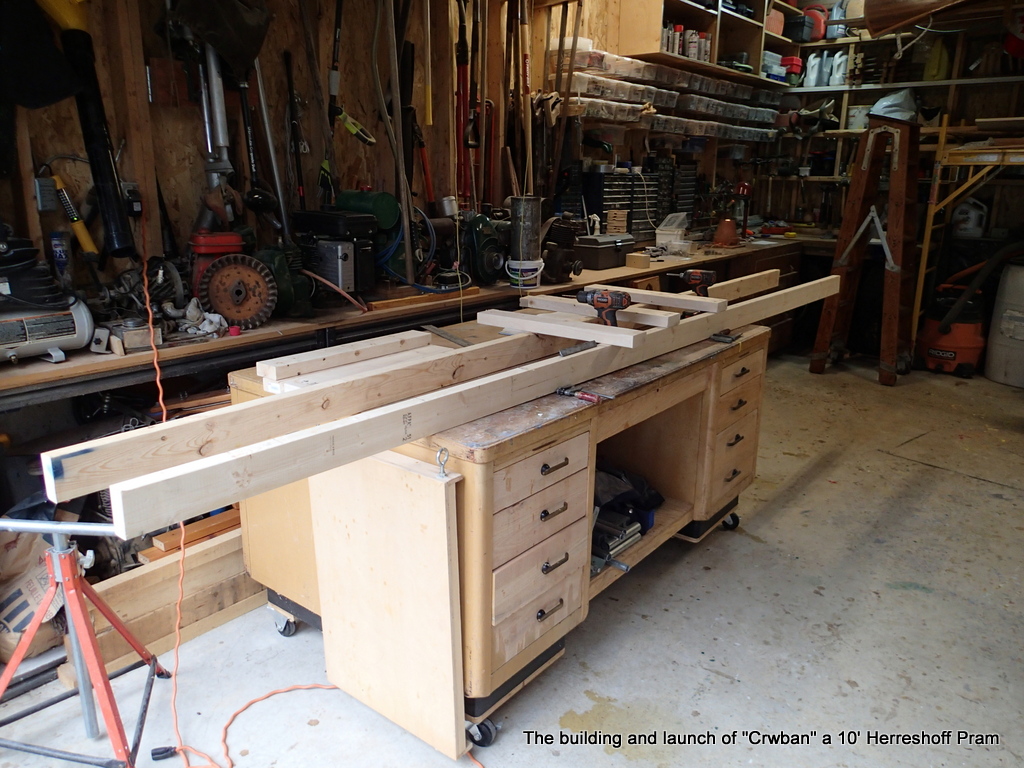
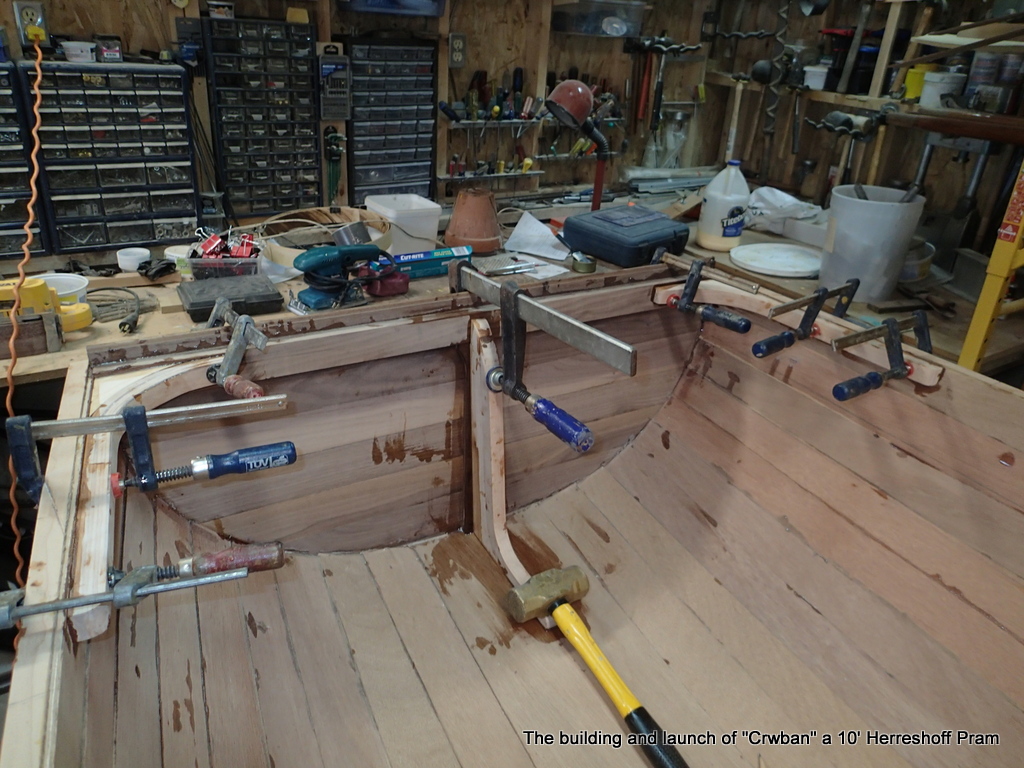
My first step was to build a building frame for the station molds. I picked through a lot of 2 by 4s to get two relatively straight ones.
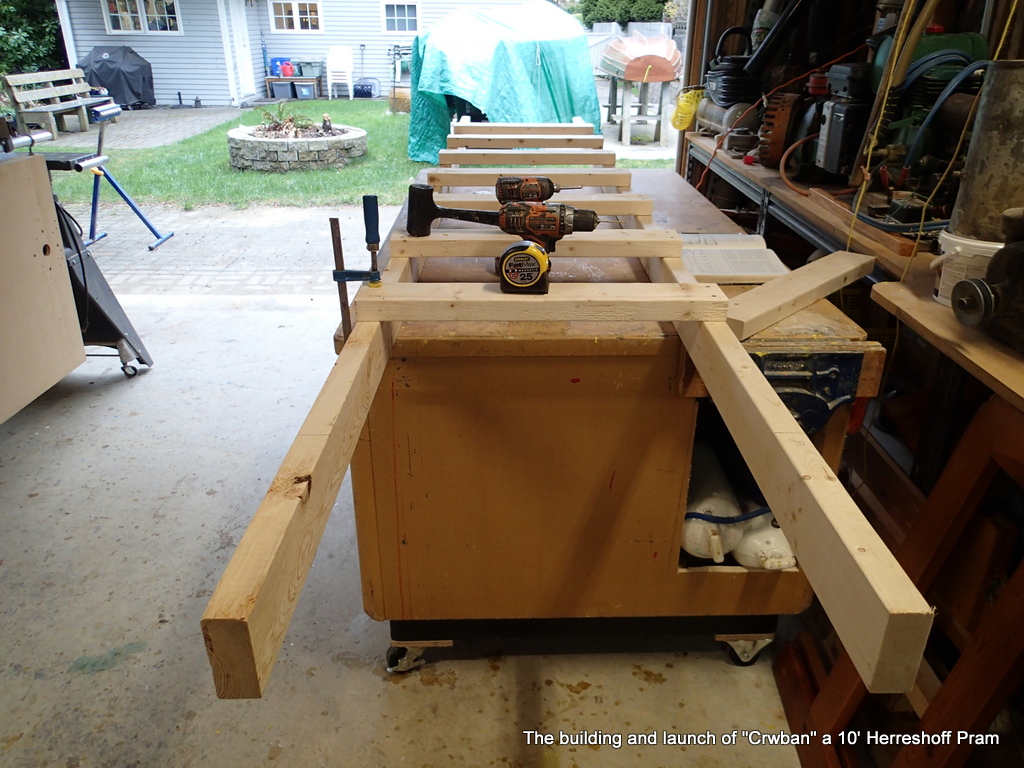
A crosspiece for each station mold. Trying to keep the base as “square” as possible.
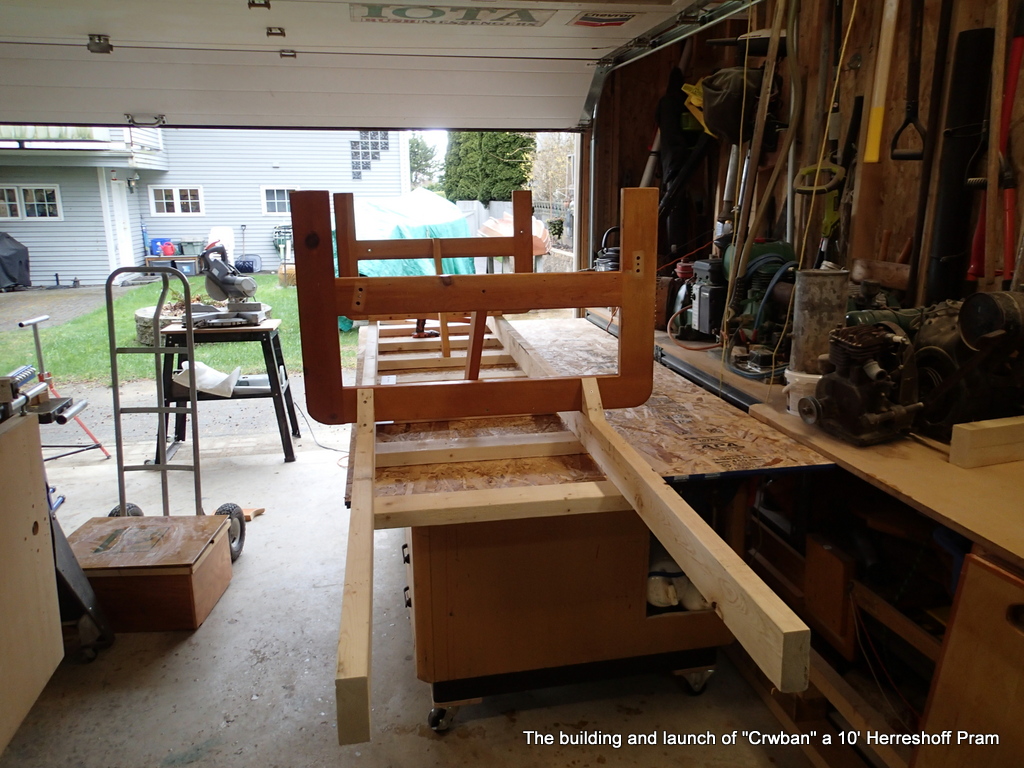
The legs for the base are repurposed pieces from a futon frame.
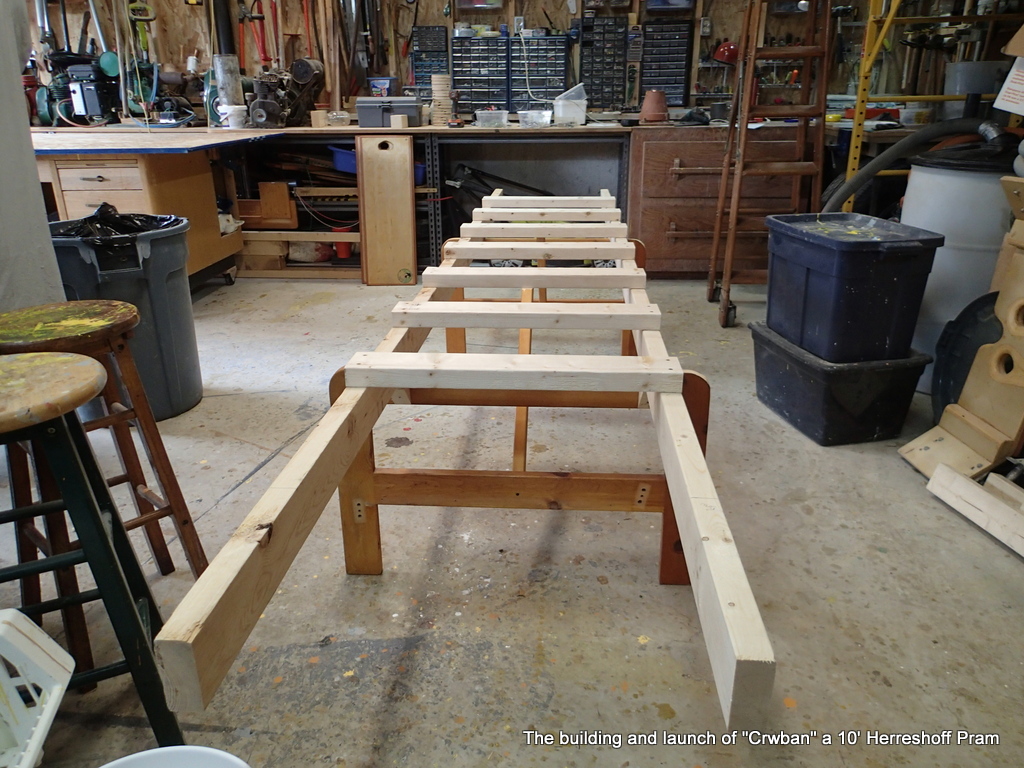
The building frame is complete and as “square” as I can make it.
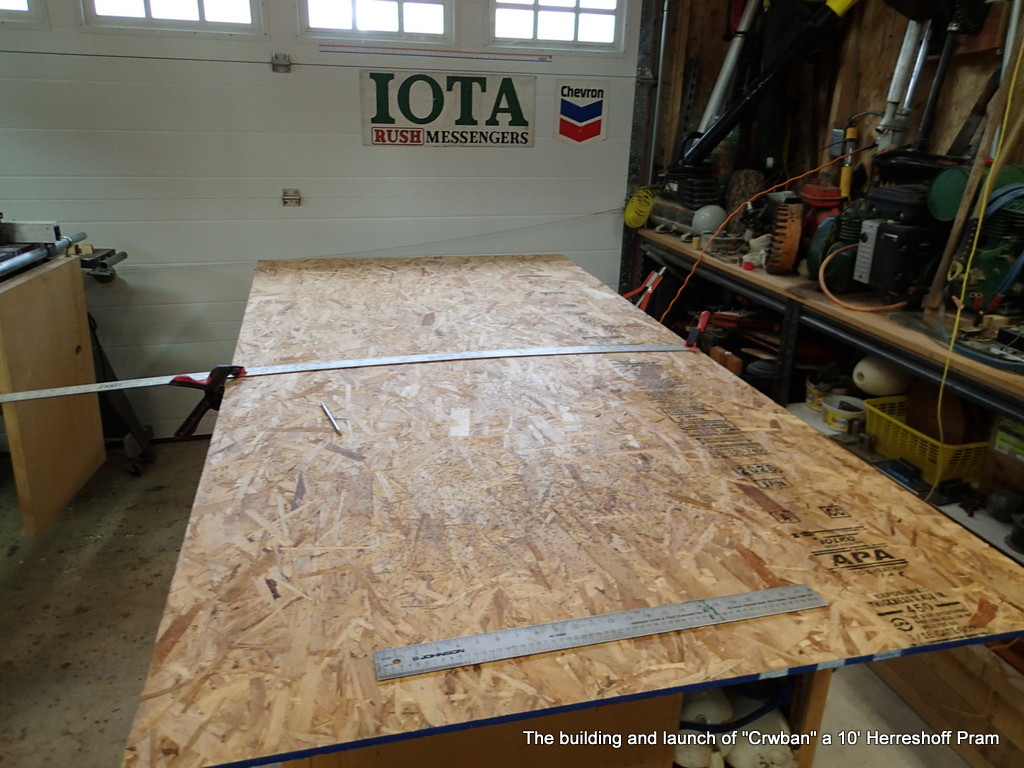
I have gotten a deal on some chipboard. I am laying the molds out on them. I am cutting the chipboards down to the mold size.
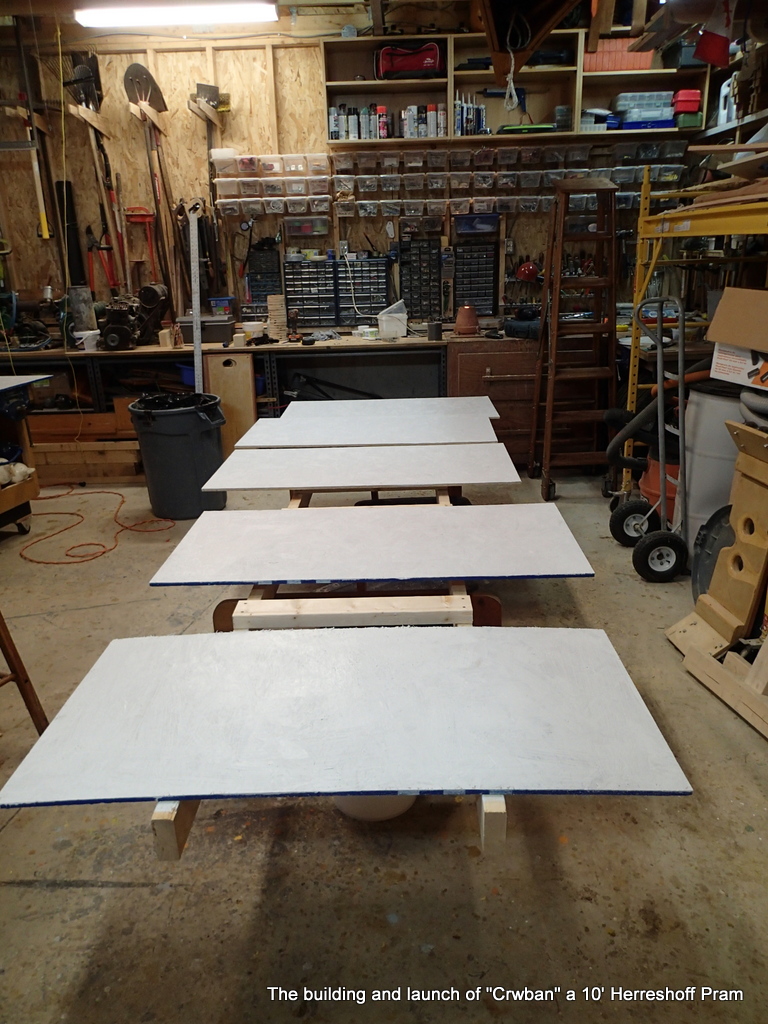
Laying out the molds onto the chipboard is hard, so I paint the boards white so the lines will show better and it is also a better surface to draw on.
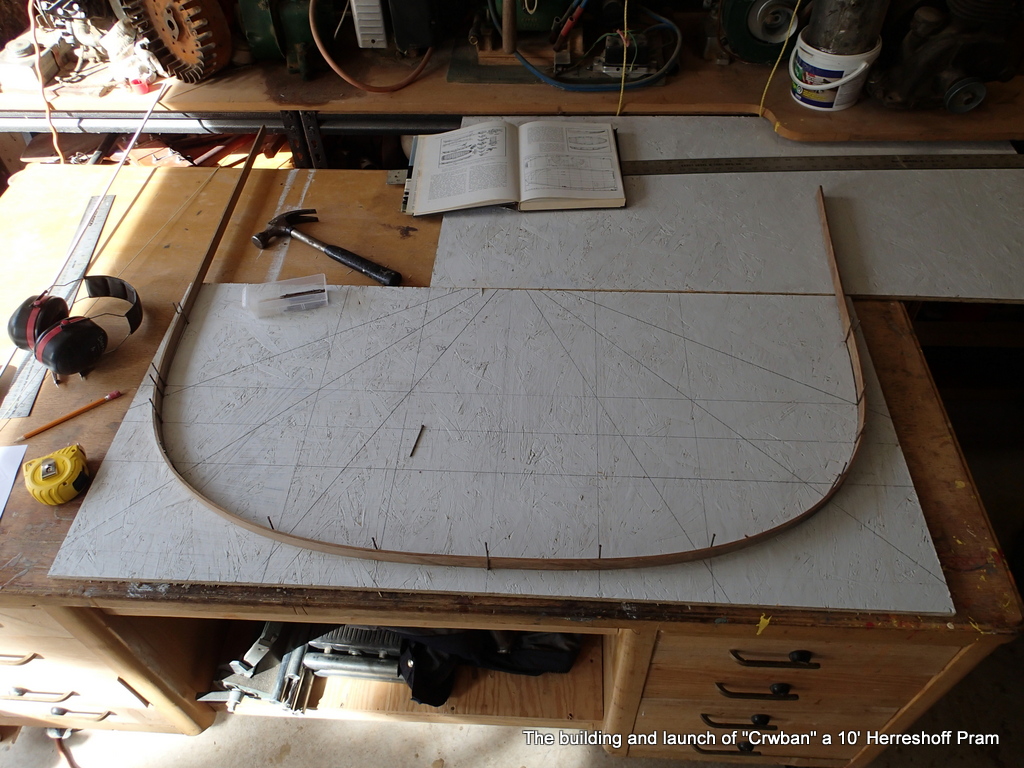
Here I am drawing the lines for the mold. I am using a flexible piece of oak strip to draw the outside mold line. I will be building the boat upside down and have adjusted all of the measurements for this.
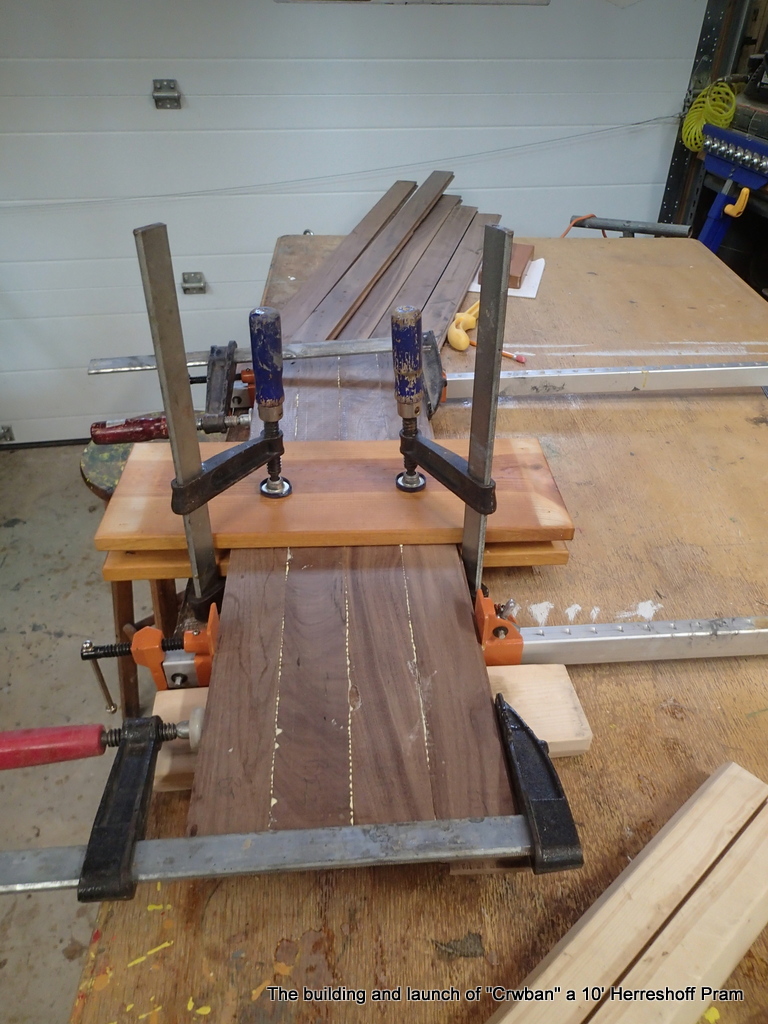
I recently acquired some walnut flooring. I mill the flooring pieces and glue them together getting a 1/2″+ bow and stern transom.
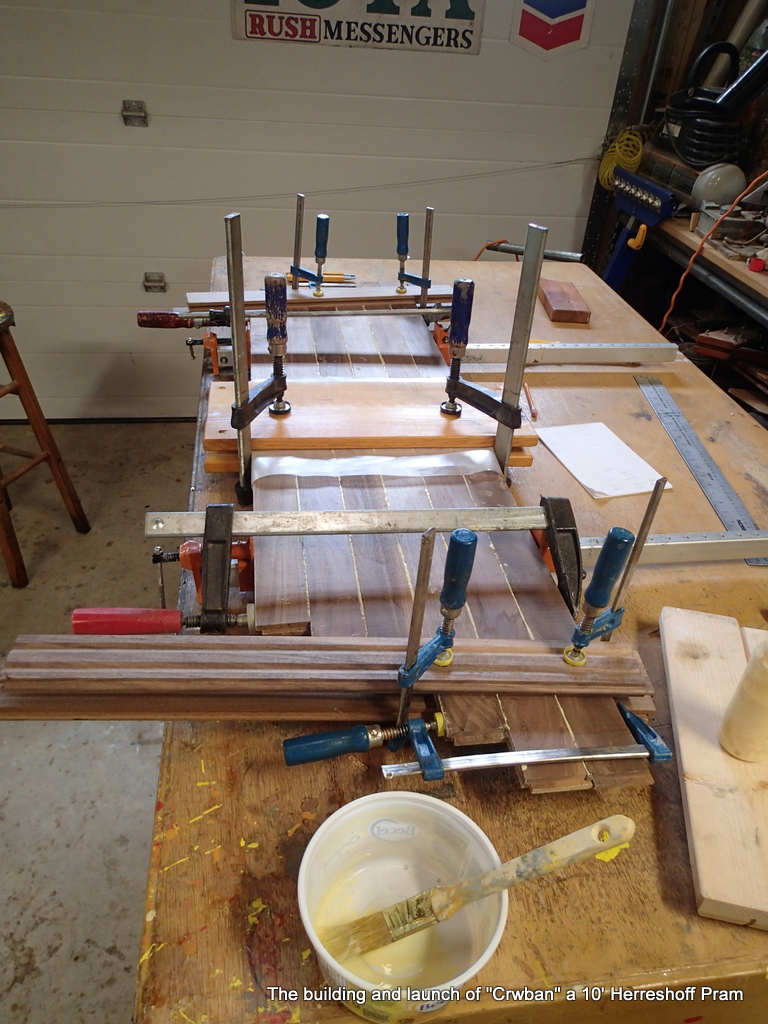
I am using Titebond II to glue-up the transoms.
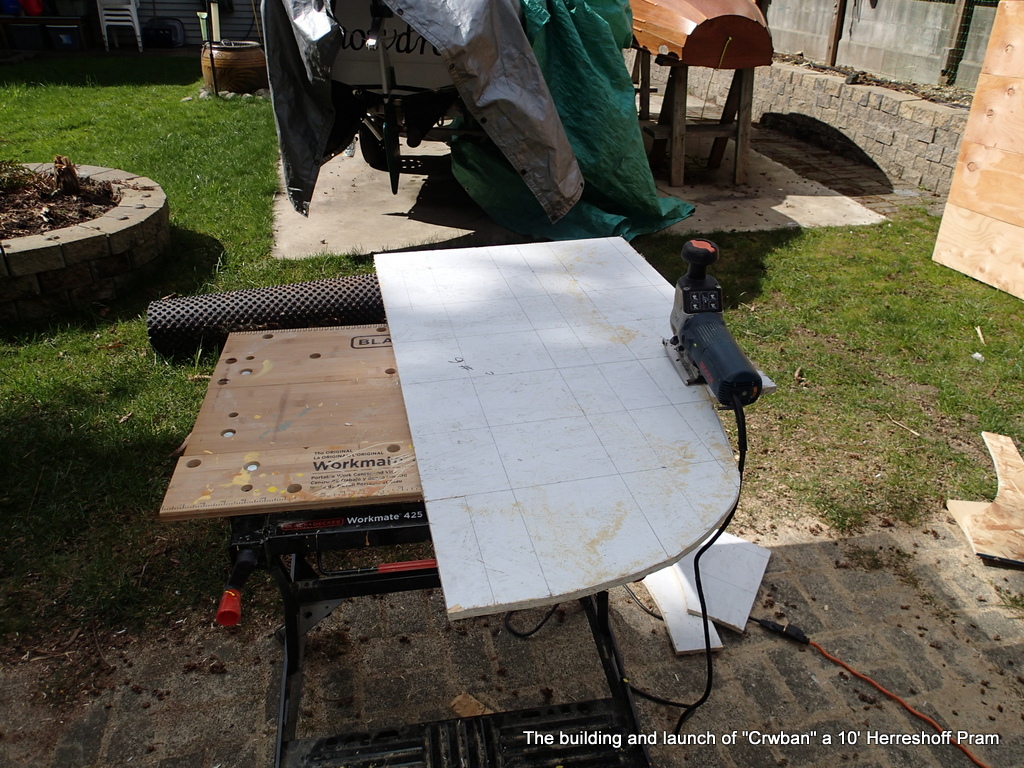
I cut all of the station molds out using my jig saw.
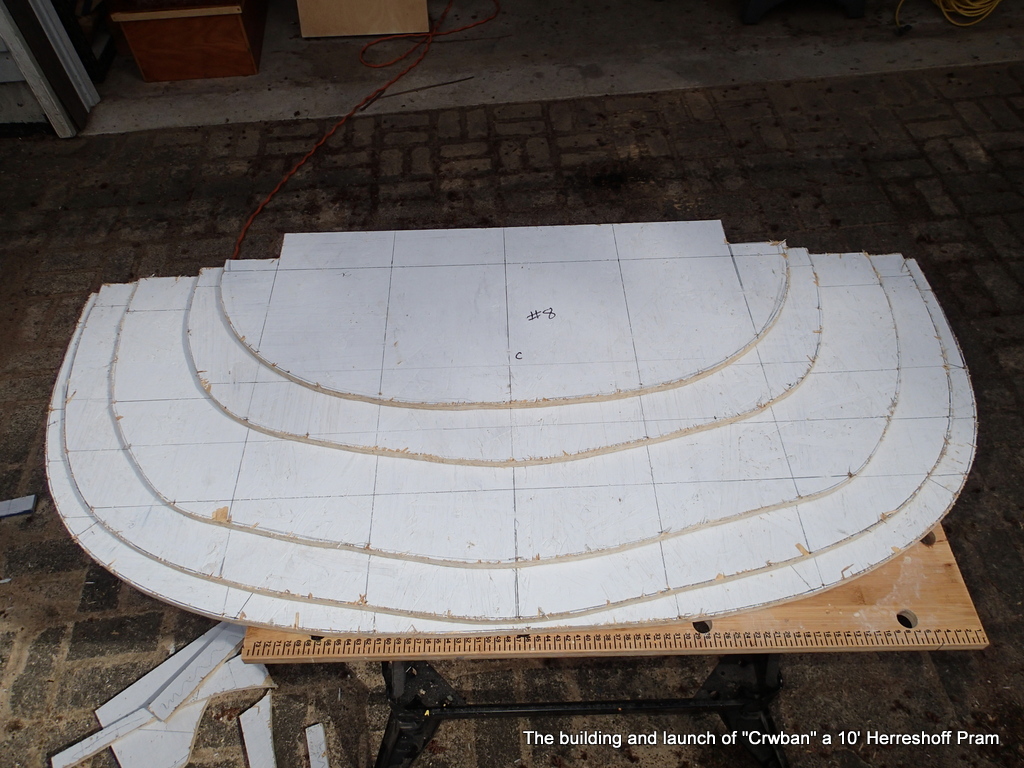
With the molds rough-cut out, I will use my disk sander to fair the curves.
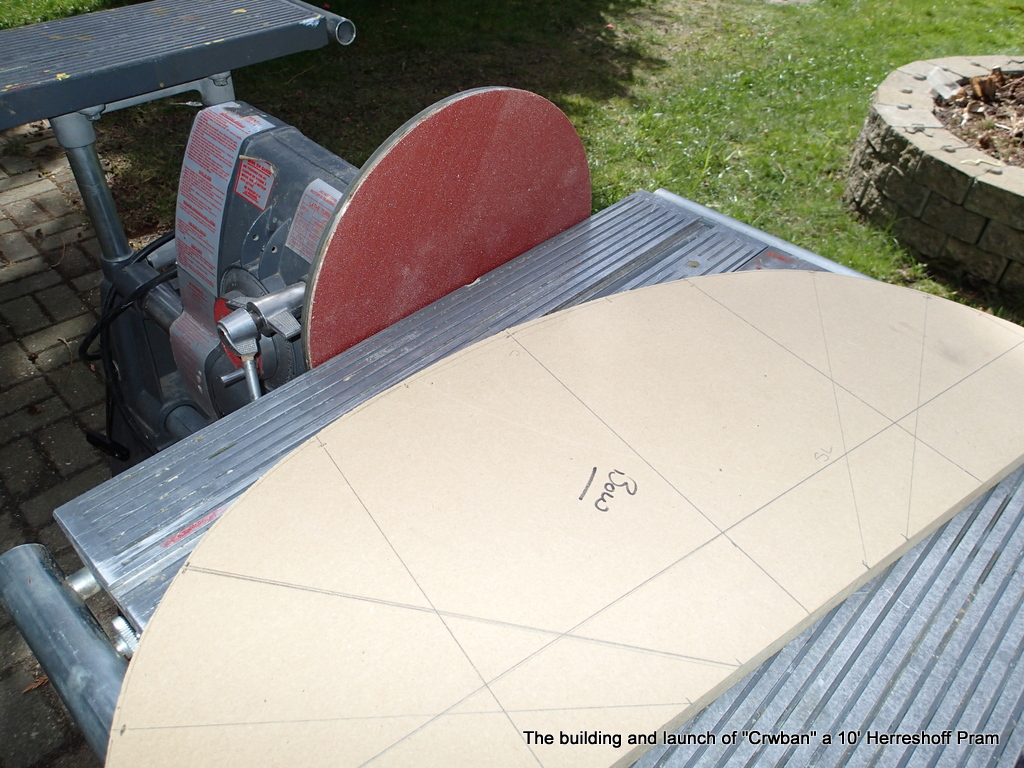
I sand the molds and the bow and stern templates to get a fair and even curve.
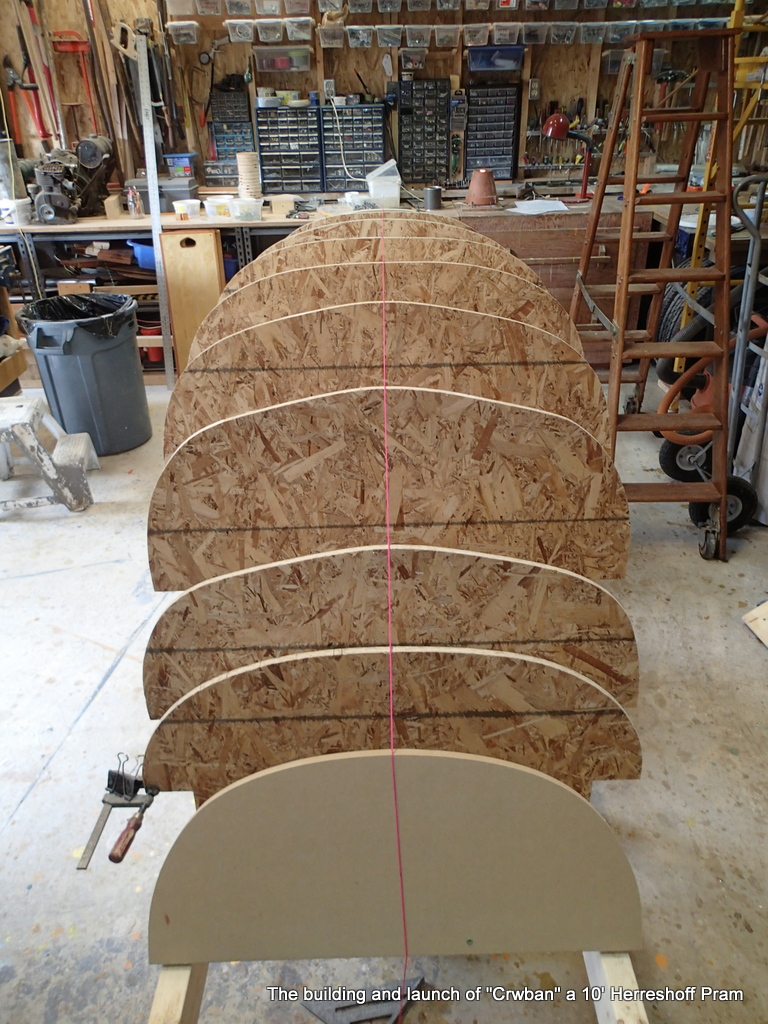
This is the most finically part of the process. The pieces are held in by screws to the cross members. I can adjust the height and sideways placement until all the marks line up. I then clamp everything up. Double check the alignments, then, screw it all together.
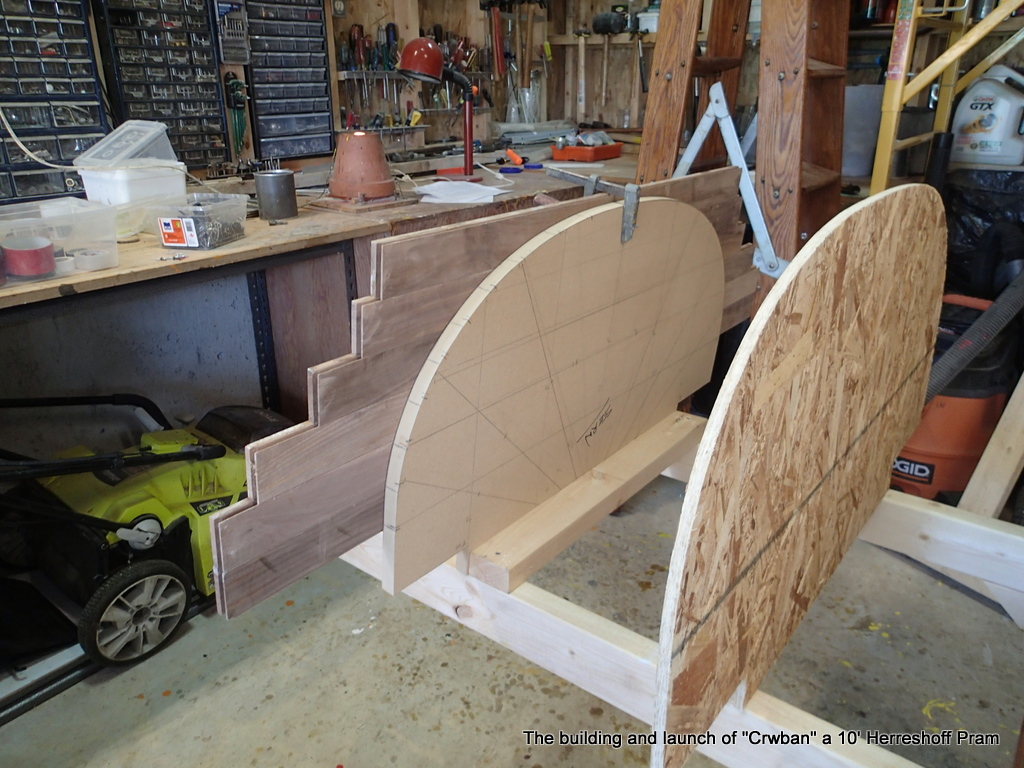
I am fitting the stern transom for a rough cut to shape…Final shaping will be when the planks are laid.
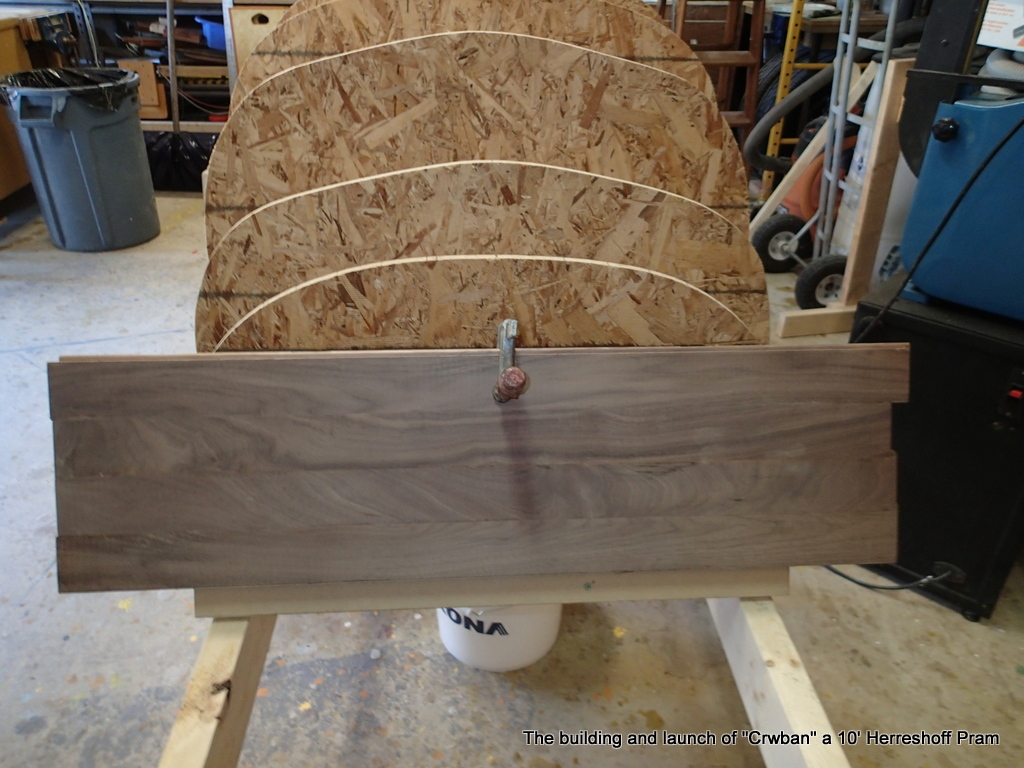
Getting everything roughed out and aligned.
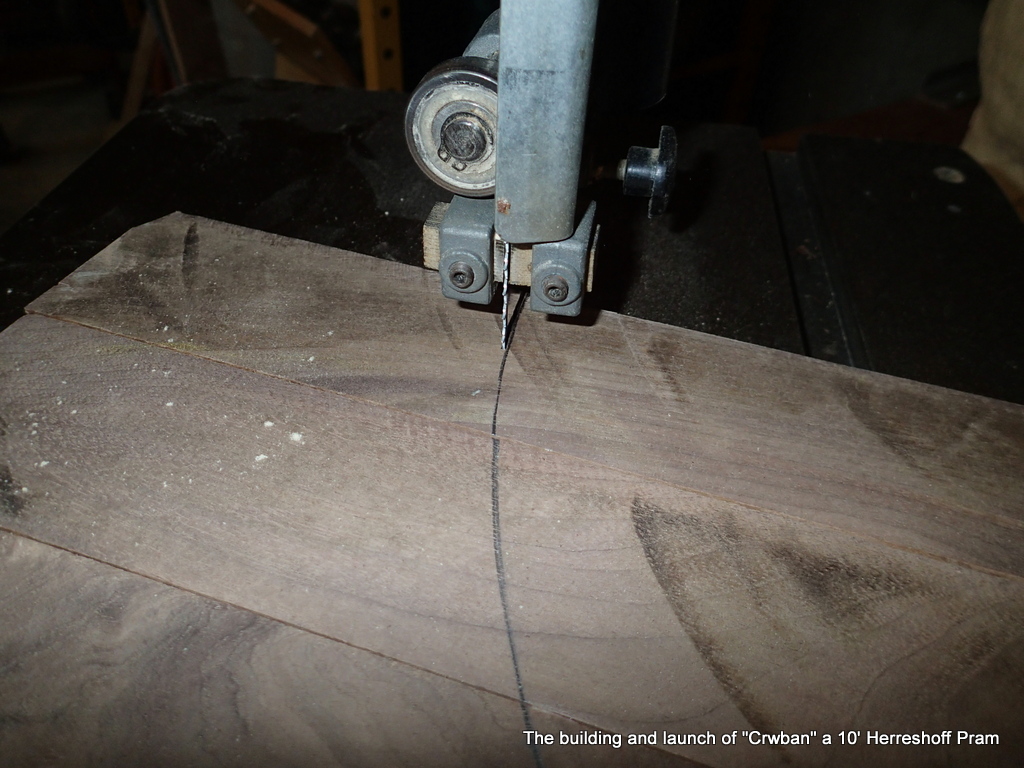
I use my 14″ bandsaw to cut out the transoms.
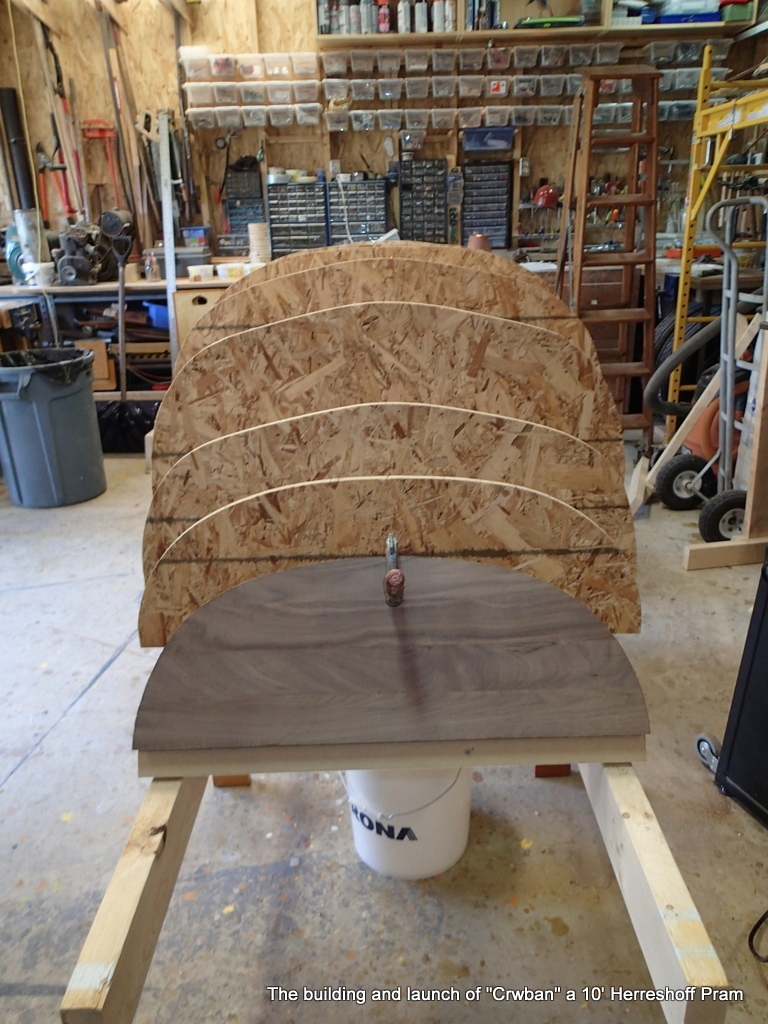
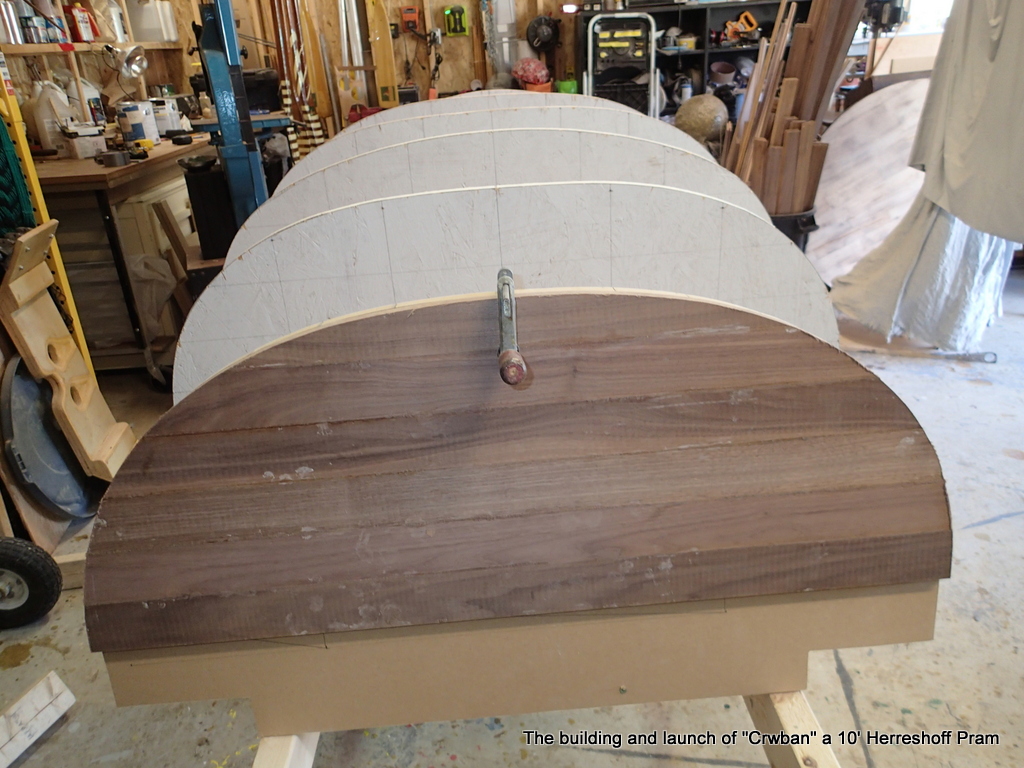
With the transoms roughed out, I begin to put the ribbands on.
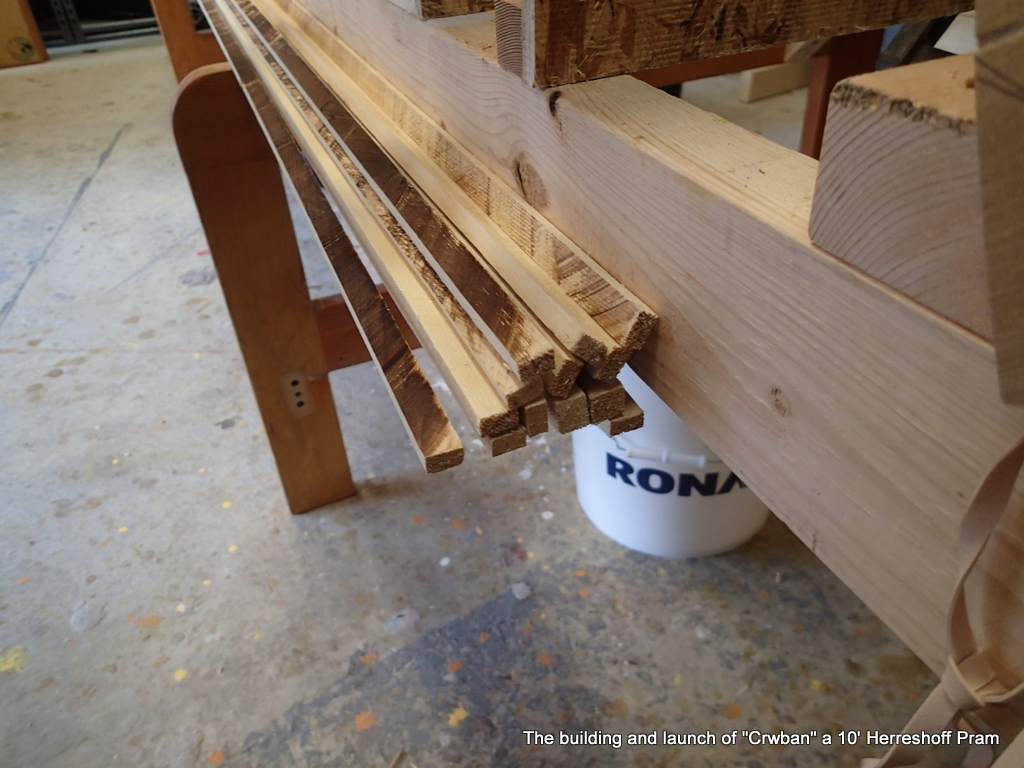
I am going to use the ribbands to determine the plank shapes.
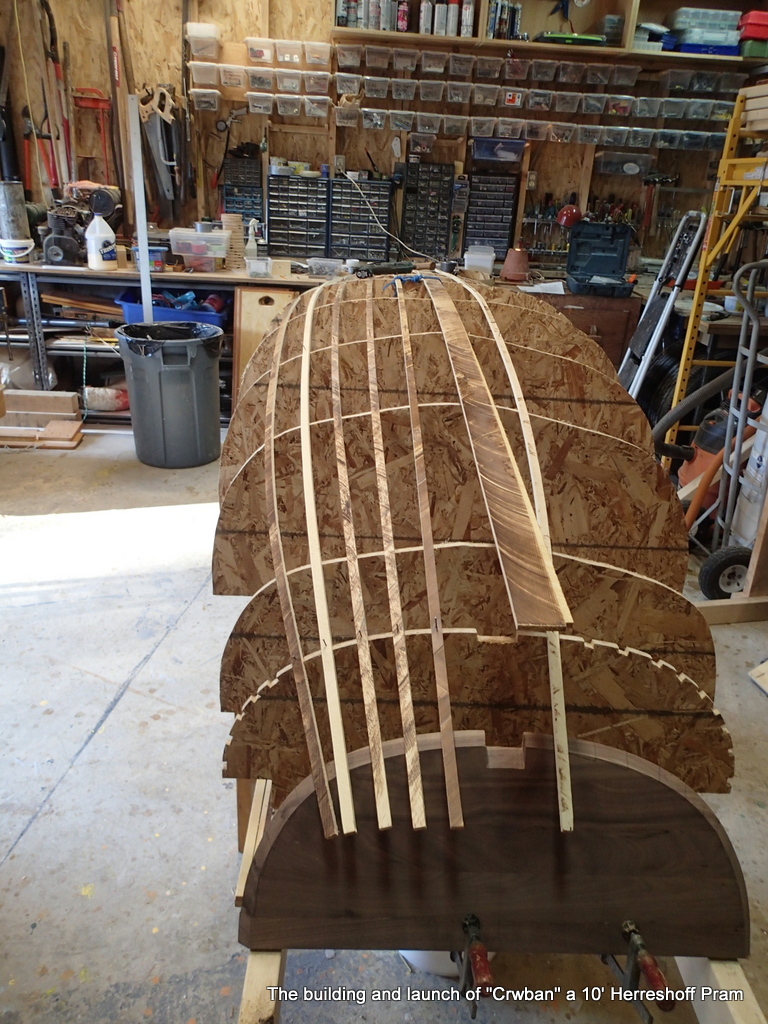
The plans have plank widths for station #8, station #3 and the stern transom. I cut notches in stations #8 & #3 for the ribbands.
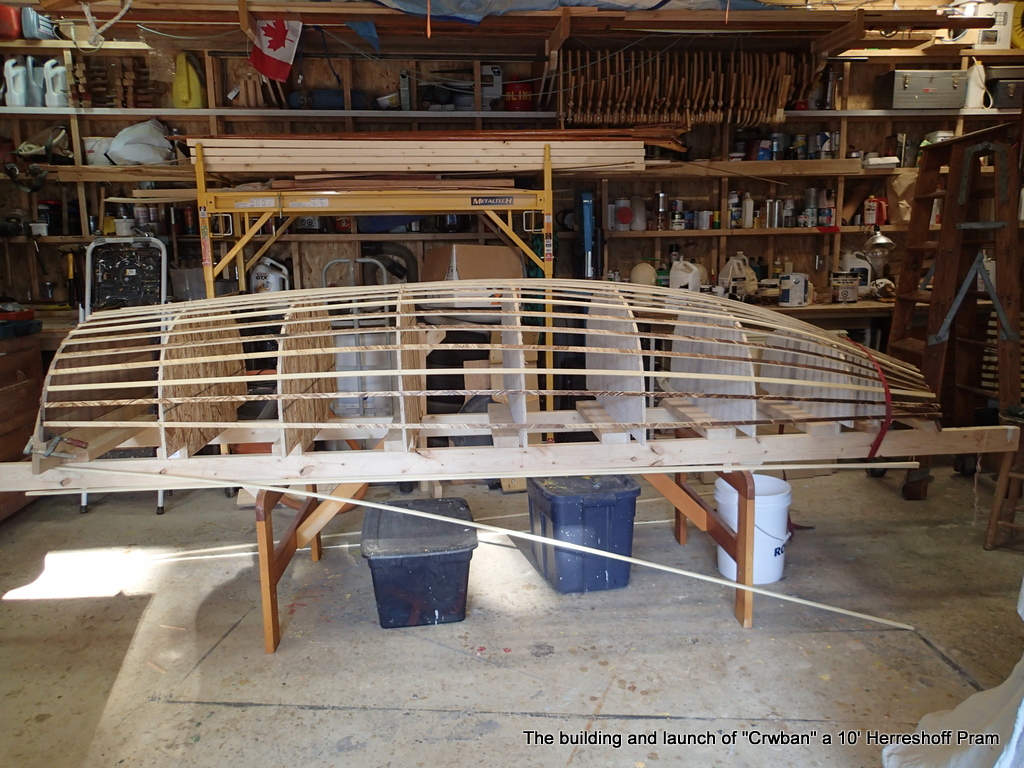
This is another finically operation. Put the ribband onto the molds, have a look and see if the plank outlines look good…maybe adjust one which makes you adjust another…and so on.
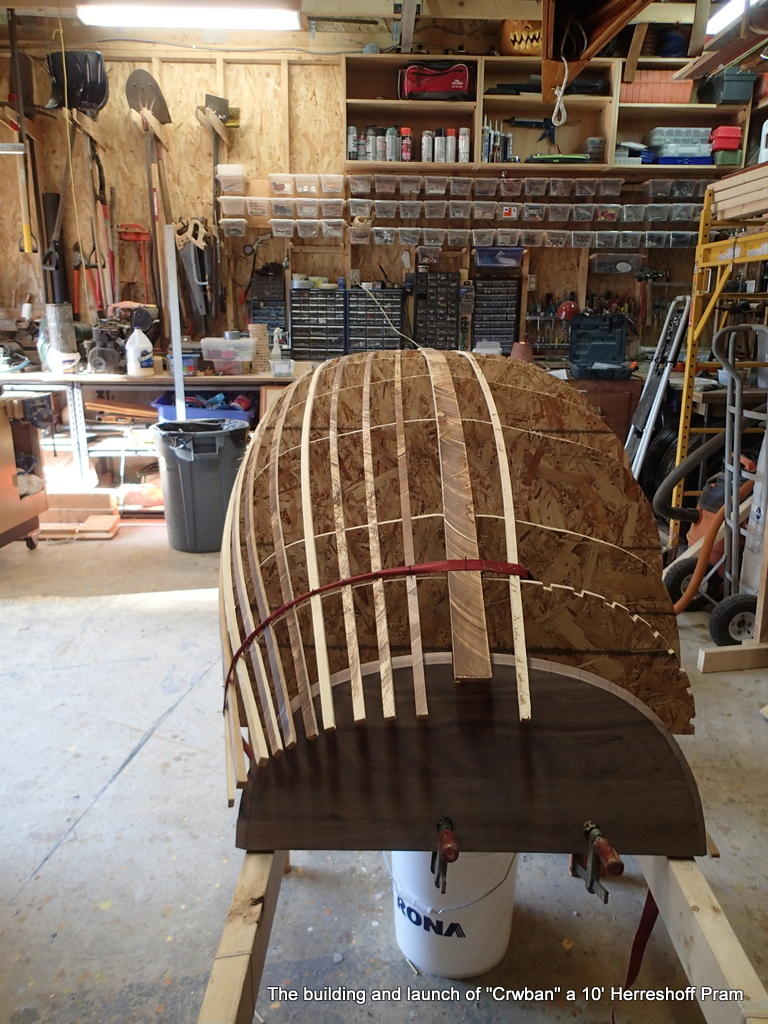
When I am satisfied, I duplicate the measurements to the other side.
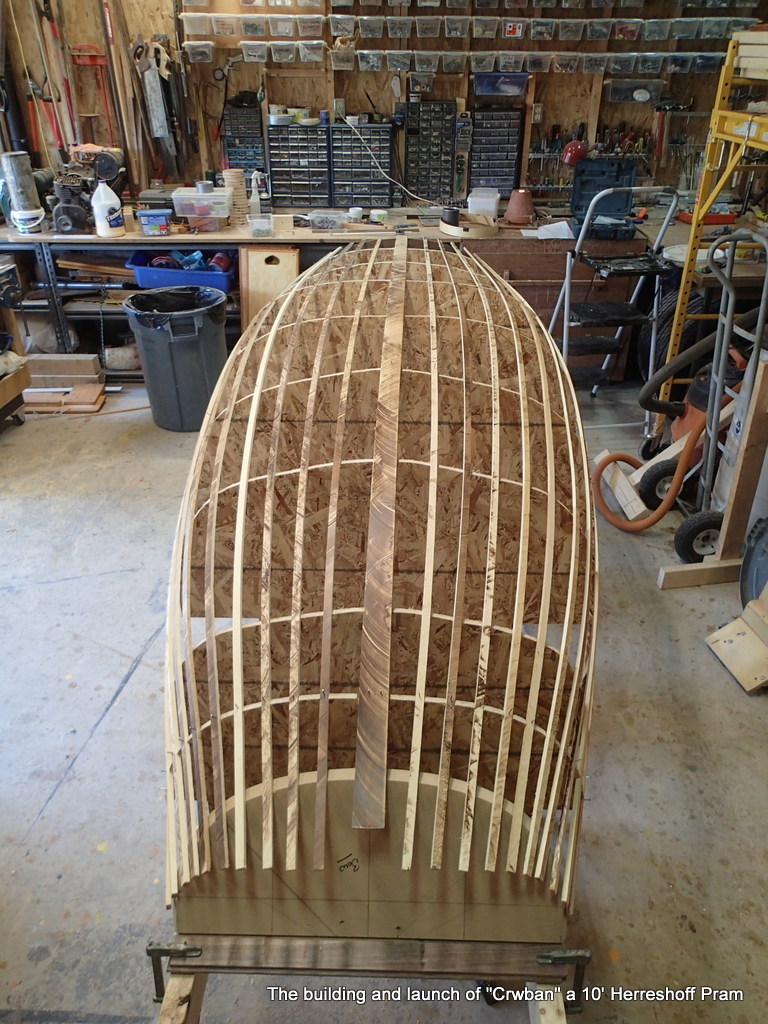
I decide to take the ribbands to the transoms. I will trim off all of these ends.
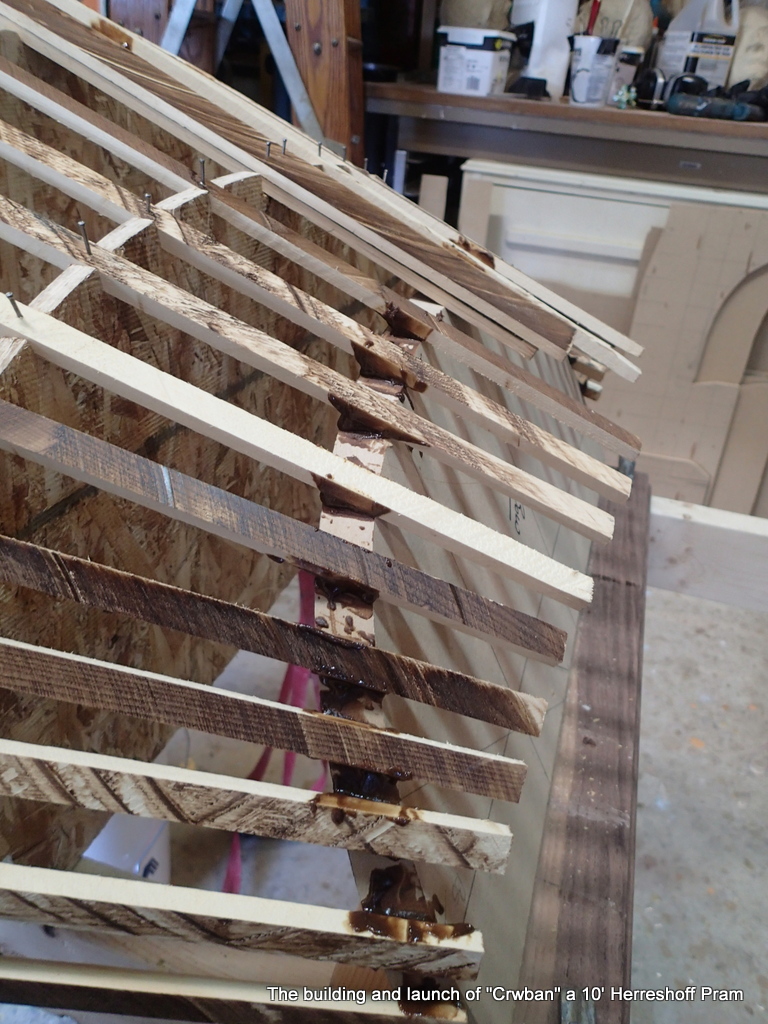
I lock all of the ribbands down with epoxy and remove all of the finishing nails.
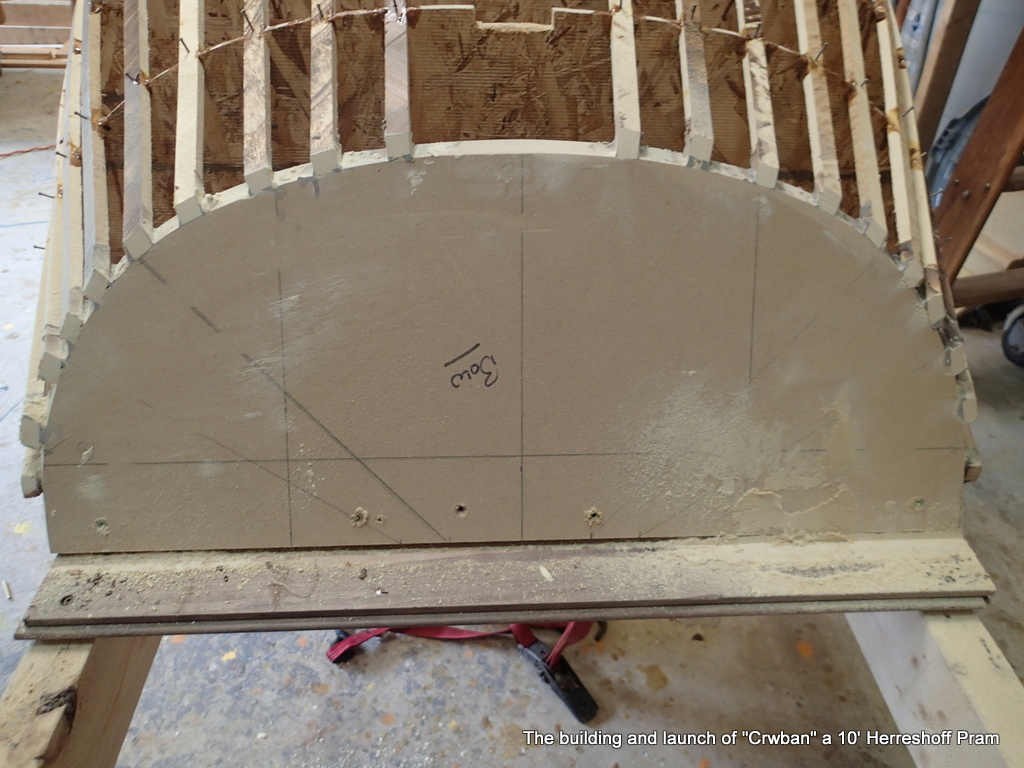
I have trimmed off all of the ribband ends and the bow transom will be rough cut and have its final shaping when the planking goes on.
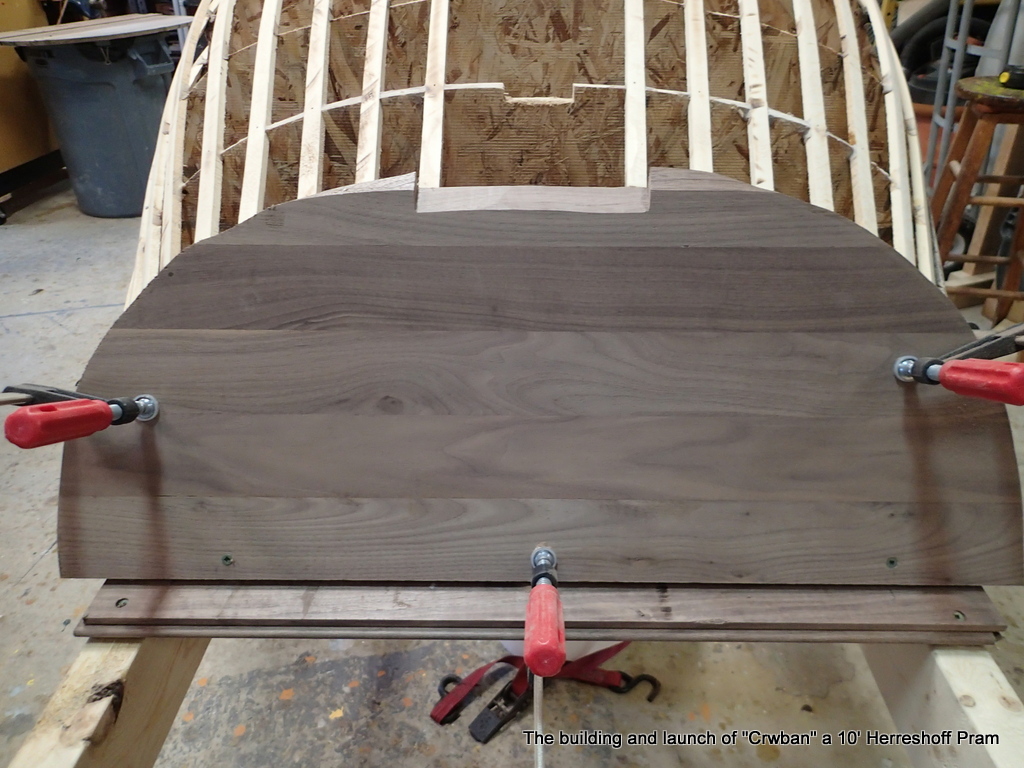
The bow transom is ready to start planking. The wide notch is for the garboard plank…I decided to do a plank keel instead of two planks with a keel piece.
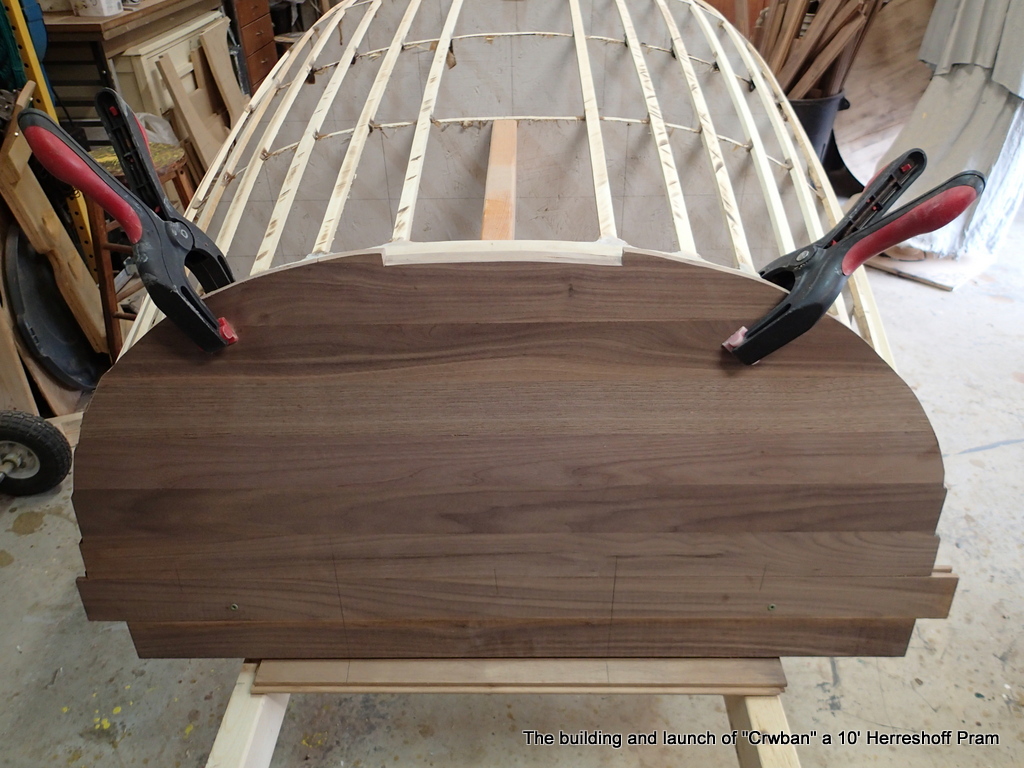
It was my intention to use that stiff floor protector construction cardboard (Ramboard) stuff to get a pattern for the planks. Place a strip along the ribbands, draw to the outside of the ribbands. Presto! a plank pattern.
Sadly, due to the Covid-19 pandemic, my supplier of floor protector is closed and Ramboard is out of my budget. After a lot of thought, trial and error I develop an alternate plan.
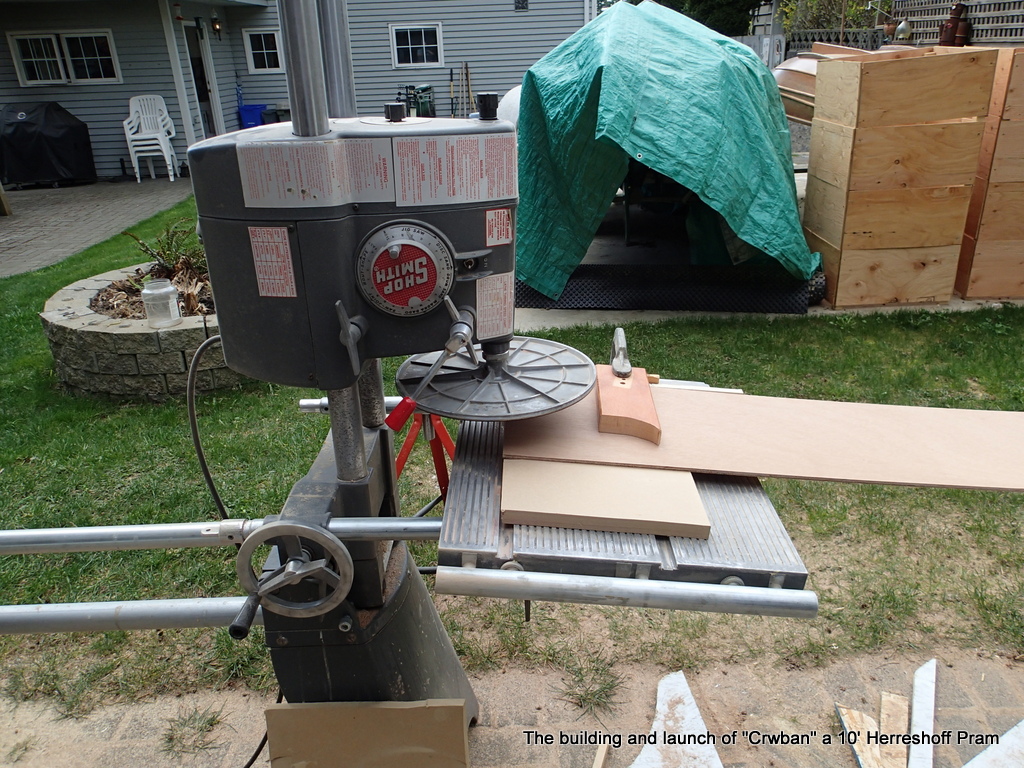
I am going to cut all of my plywood into strips, splice them together to get planks and then lay the planks onto the form to get the plank shapes. To quote John Gardner: “Fortunately, our pram has an easy shape to plank. Strakes can be lined out nearly straight, for the greater part, and go on without twist or sny.” “Building Classic Small Craft, pg 27)
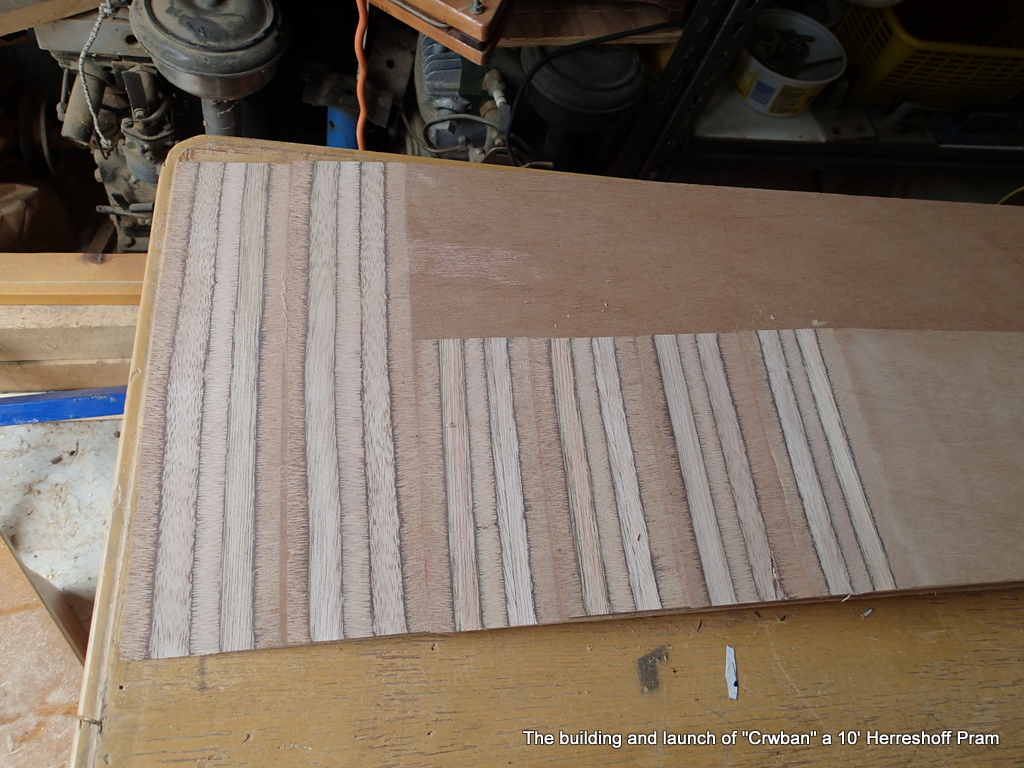
The bevel for the scarf joint cut with the sanding disk jig. 8 to 1.
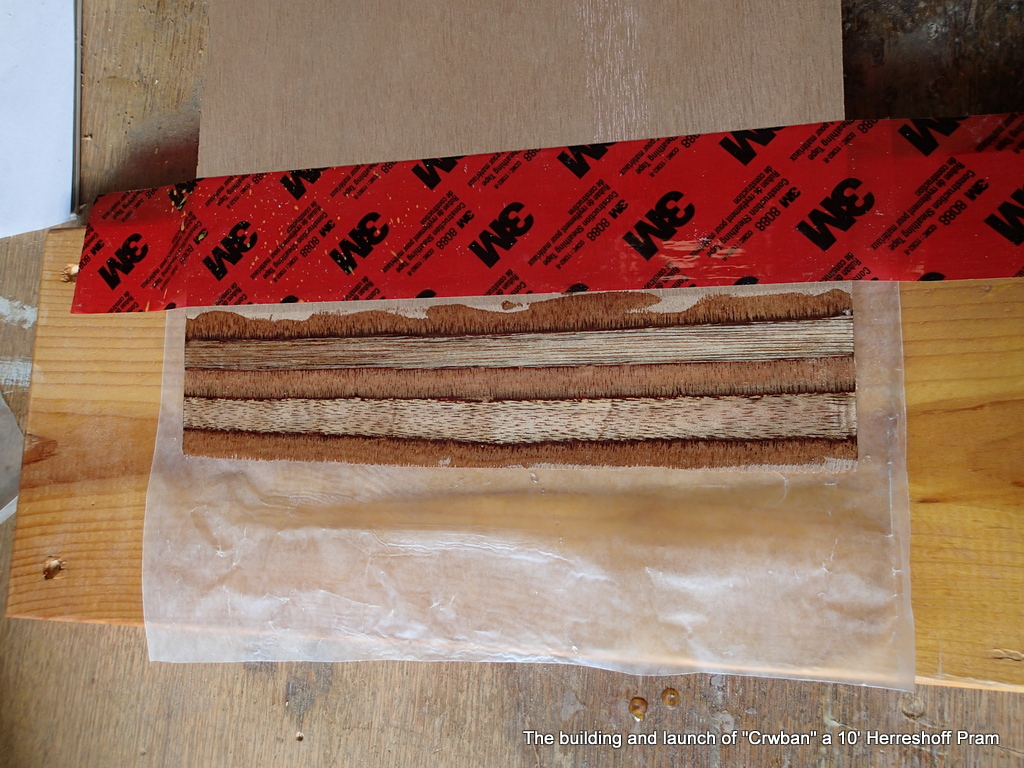
I am using epoxy glue for the scarfs.
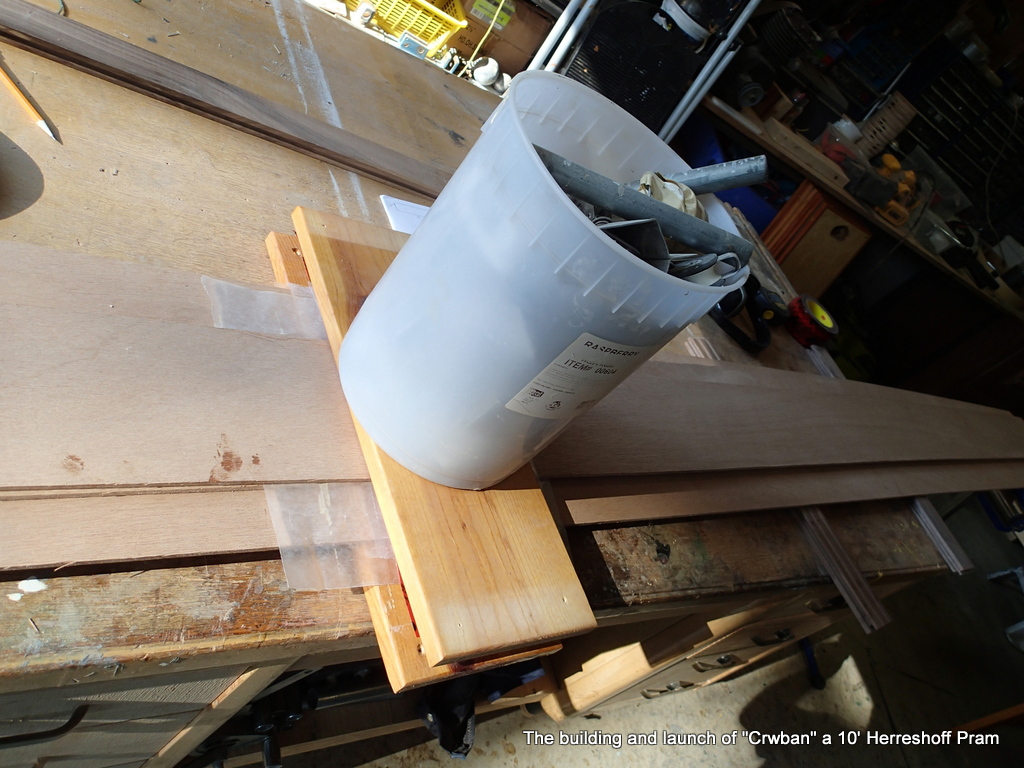
I just have to insure that the epoxy does not soak into the wood and starve the joint.
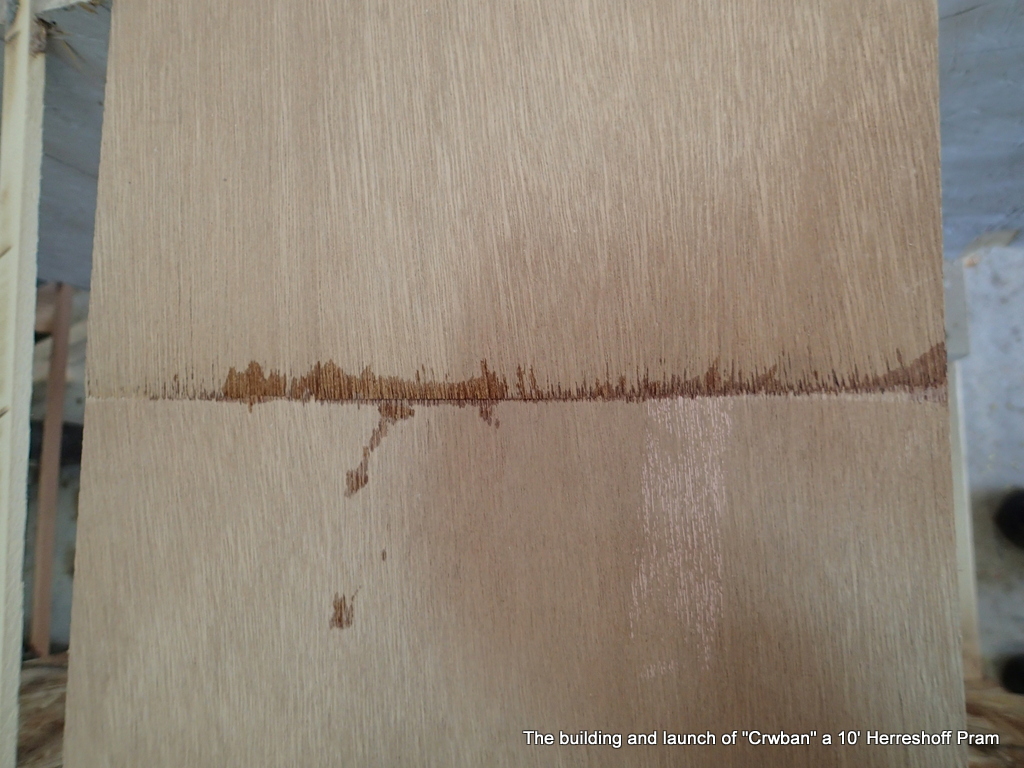
In trying to make the pram light, I am using 6mm marine plywood for the first three planks, 4mm marine plywood for plank 4, 5, 6, 7, 8, & 9. Back to 6mm fo the sheer plank.
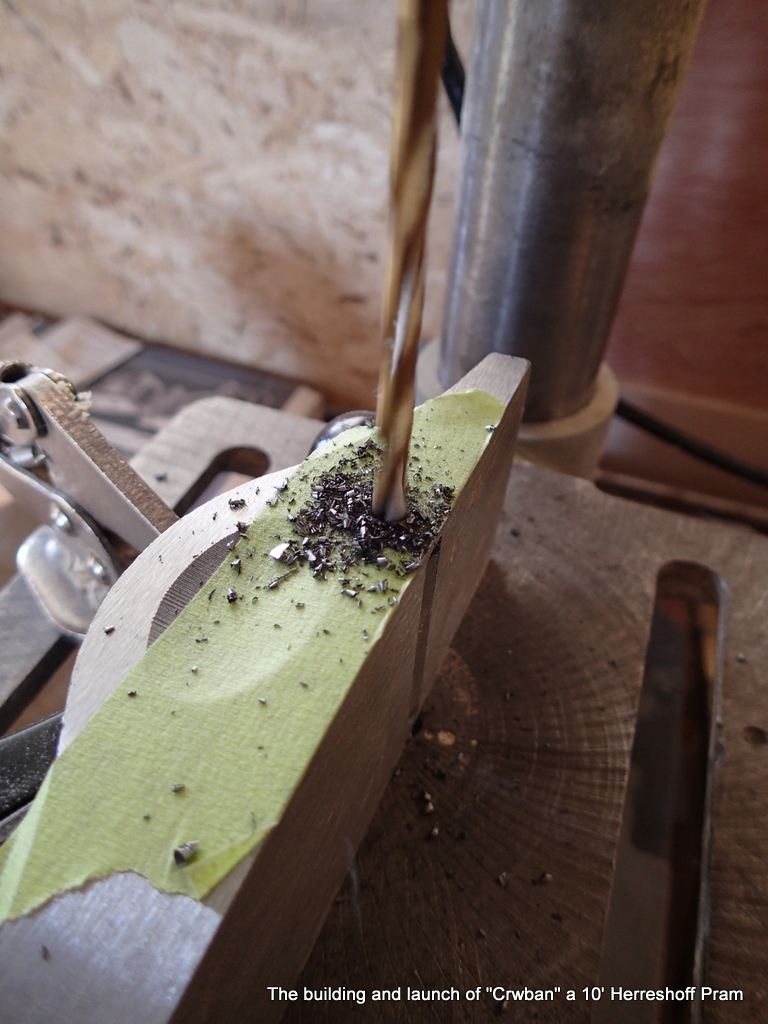
To cut the plank bevels, I am using an idea I saw in Tom Hill’s book, “Ultralight Boatbuilding”, where you take a block plane and attach a guide to it.
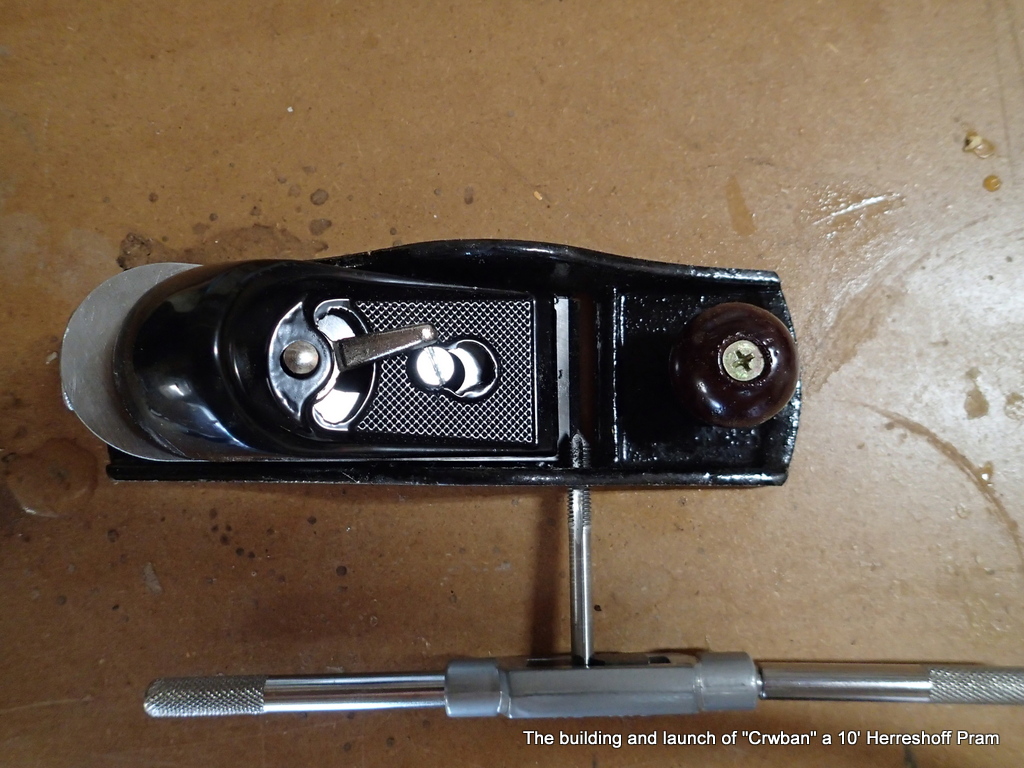
I drill a hole in the side of my block plane for a guide and tap it.
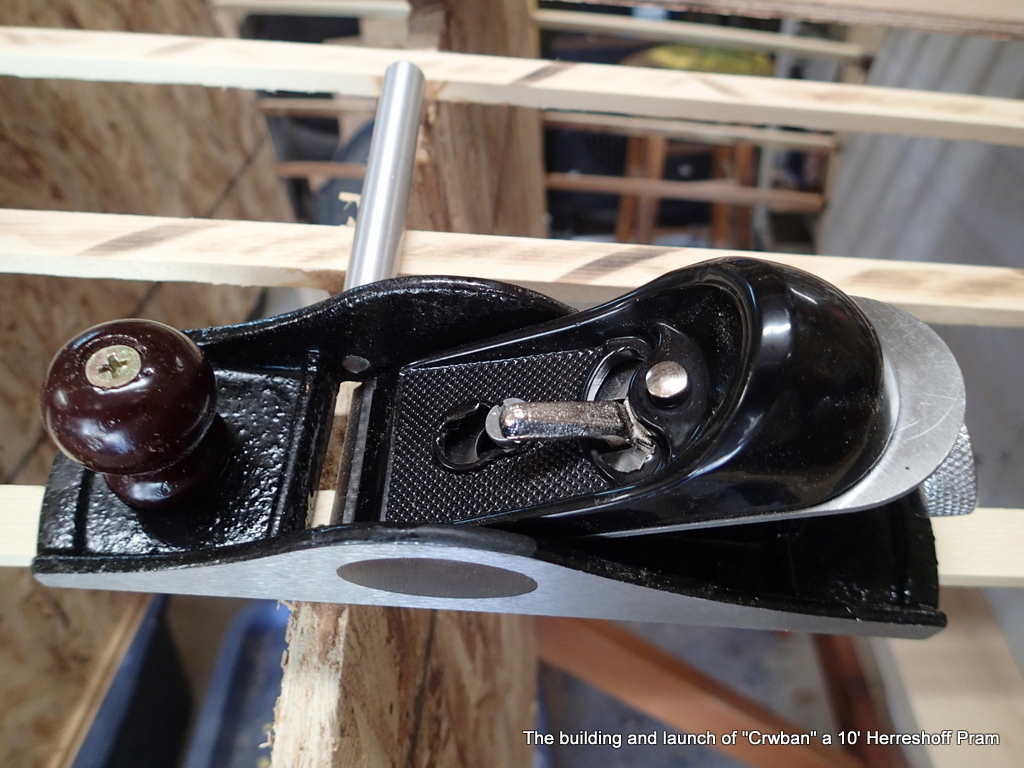
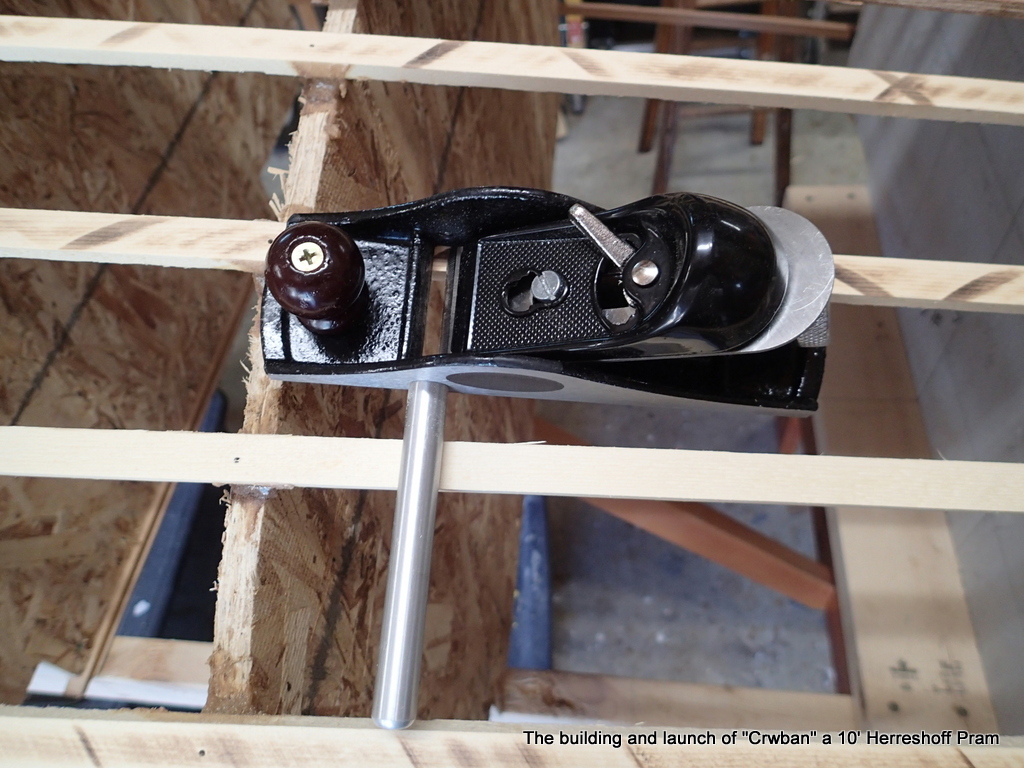
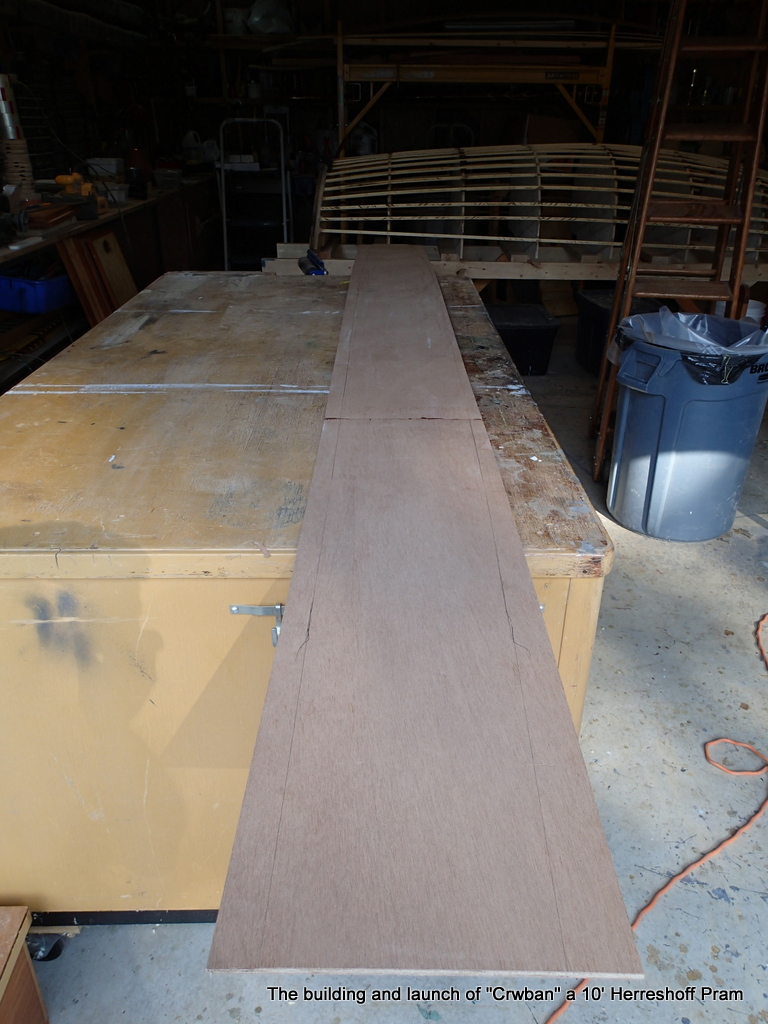
So the procedure is as follows: place plank onto form. Insure that plank covers appropriate ribbands. Mark plan with pencil. Edge nearer to the keel is the overlap mark. Edge closer to the sheer strake is the edge of the plank. This garboard/keel plank has two plank edge marks.
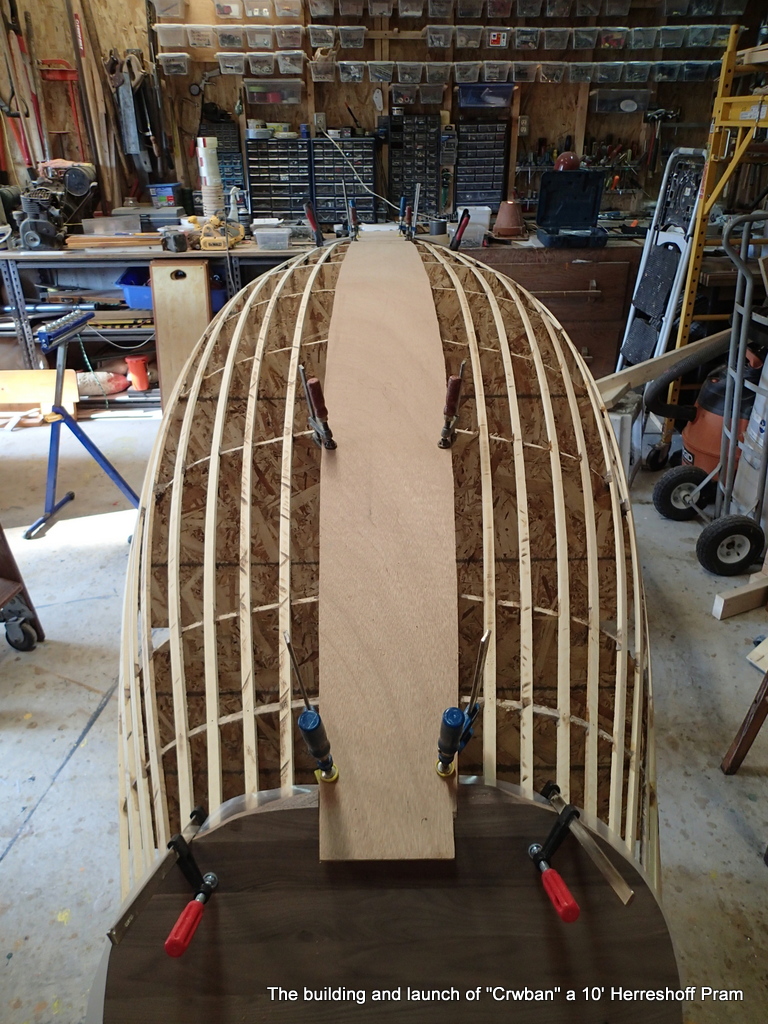
Now I attach the plank to the bow and stern transoms.
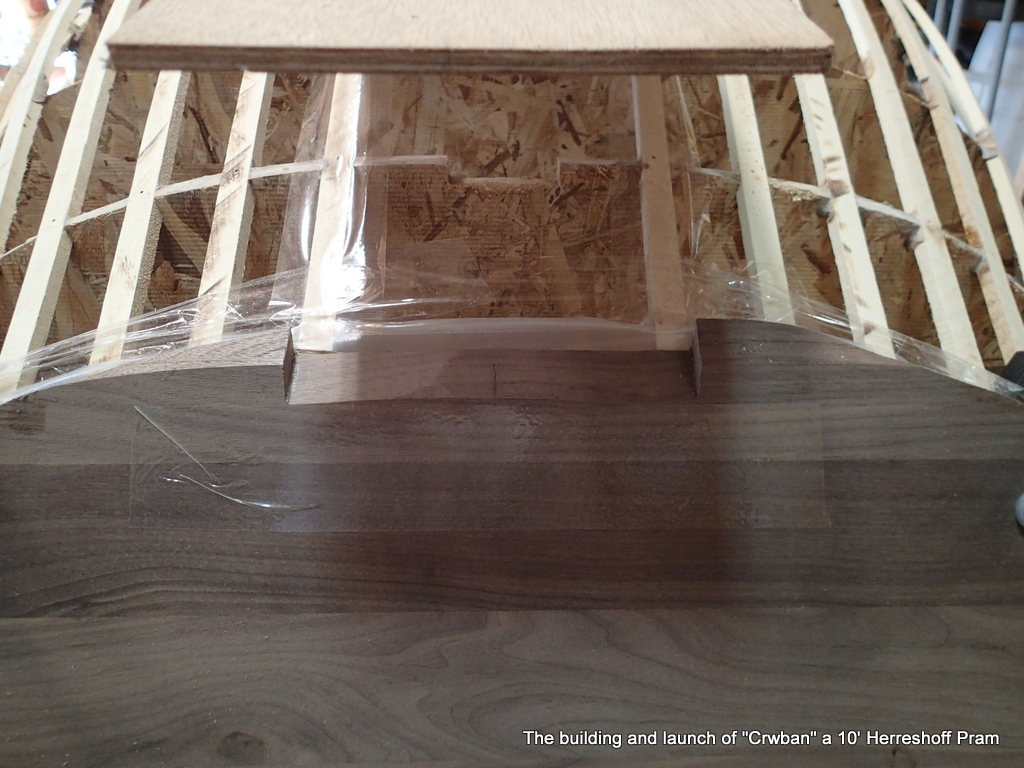
I use a barrier of cellophane tape to keep the plank from sticking to the forms and the ribbands.
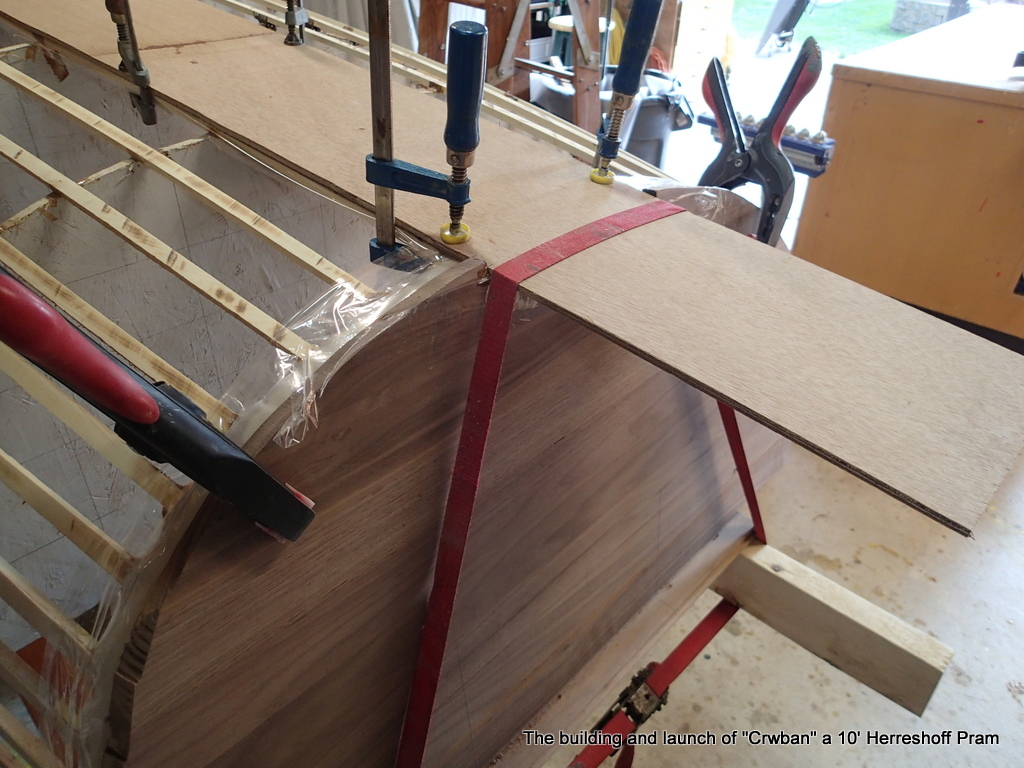
Lots of room for the clamps. I am using the ribbands to clamp to.
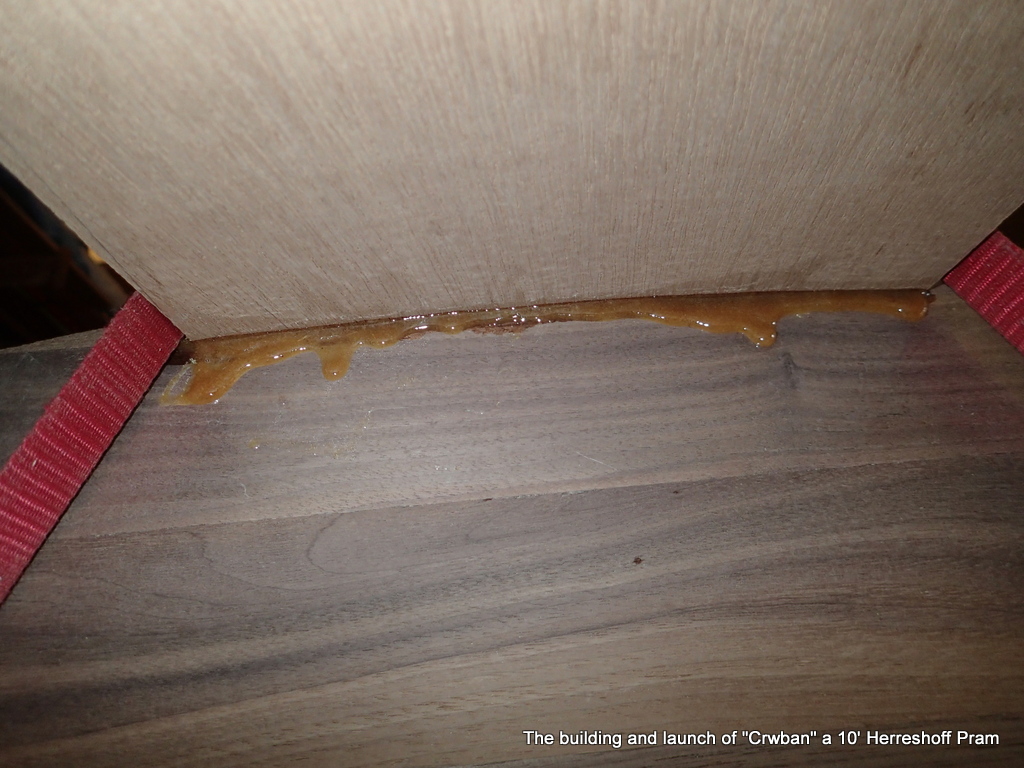
I am trying not to use any nails/screws in the construction, so, one plank a day.
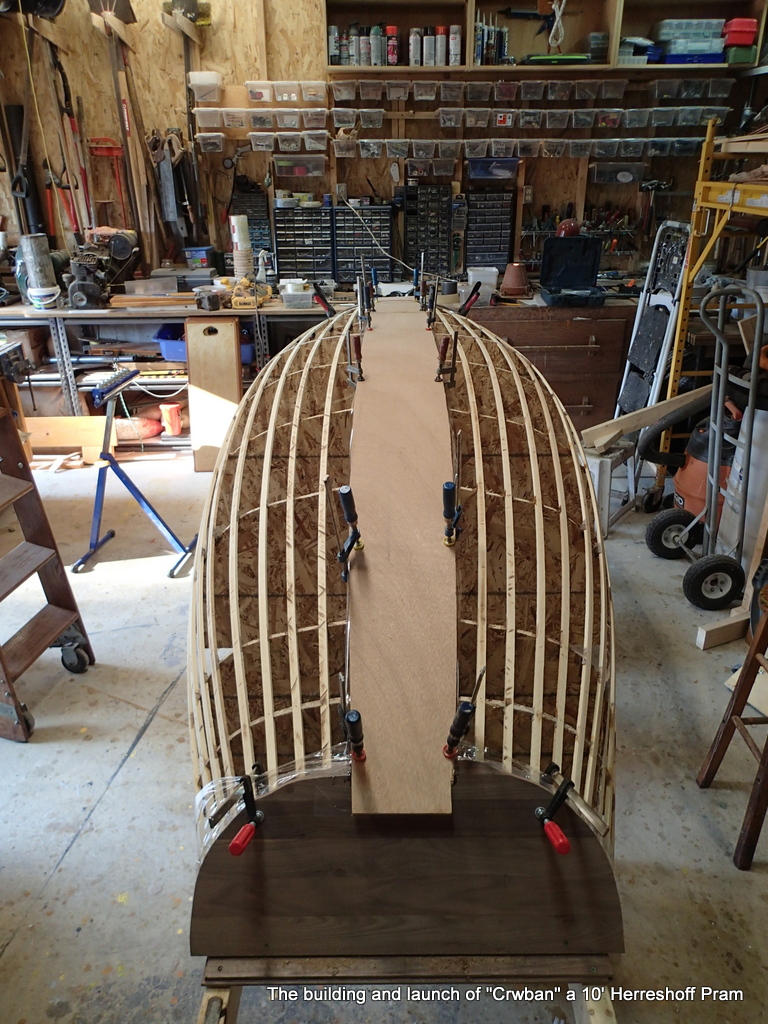
It is still quite cold, so I leave little heat on under the hull.
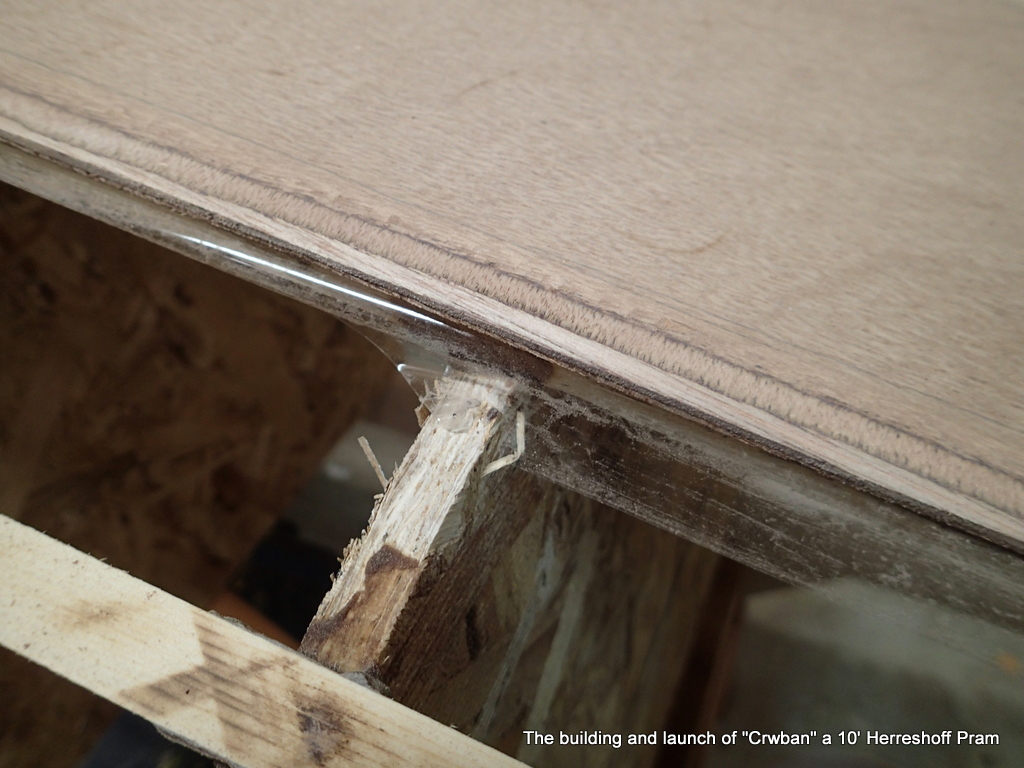
The block plane with the guide works great! Mark the overlap and then plane the plank edge down using the next ribband as a guide. If I was going to use this method again, I would not notch any of the station molds. The plane hits the molds at the notches.
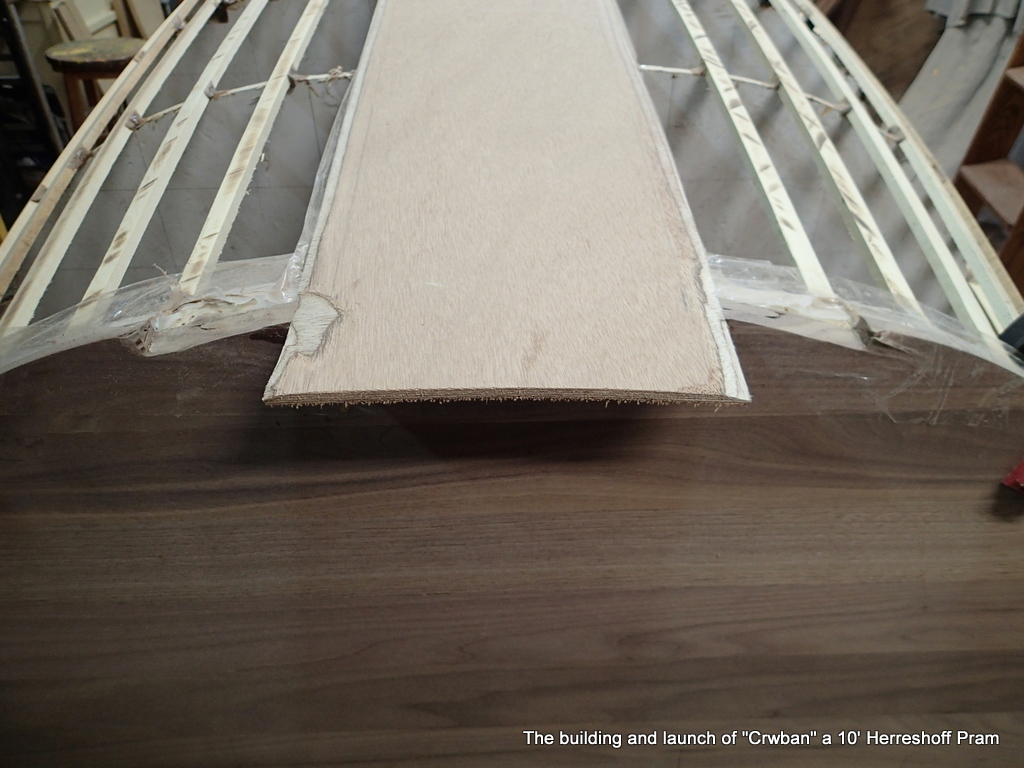
The first three planks are 6mm.
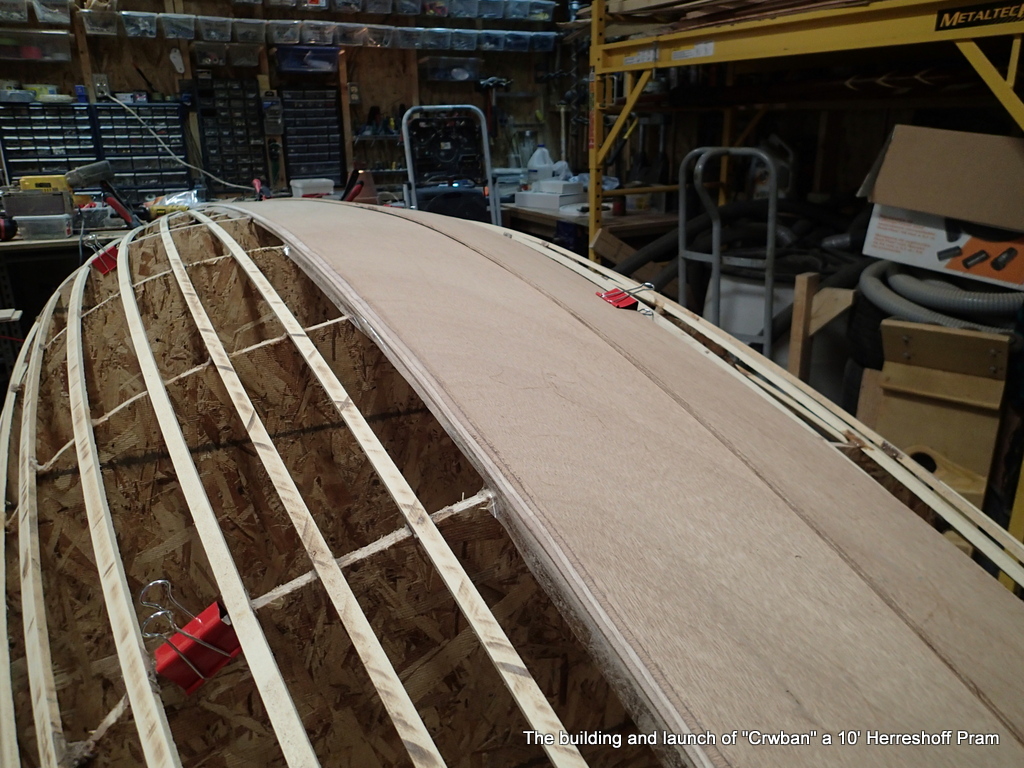
I lay the plank along the ribbands and insure that the plank covers them.
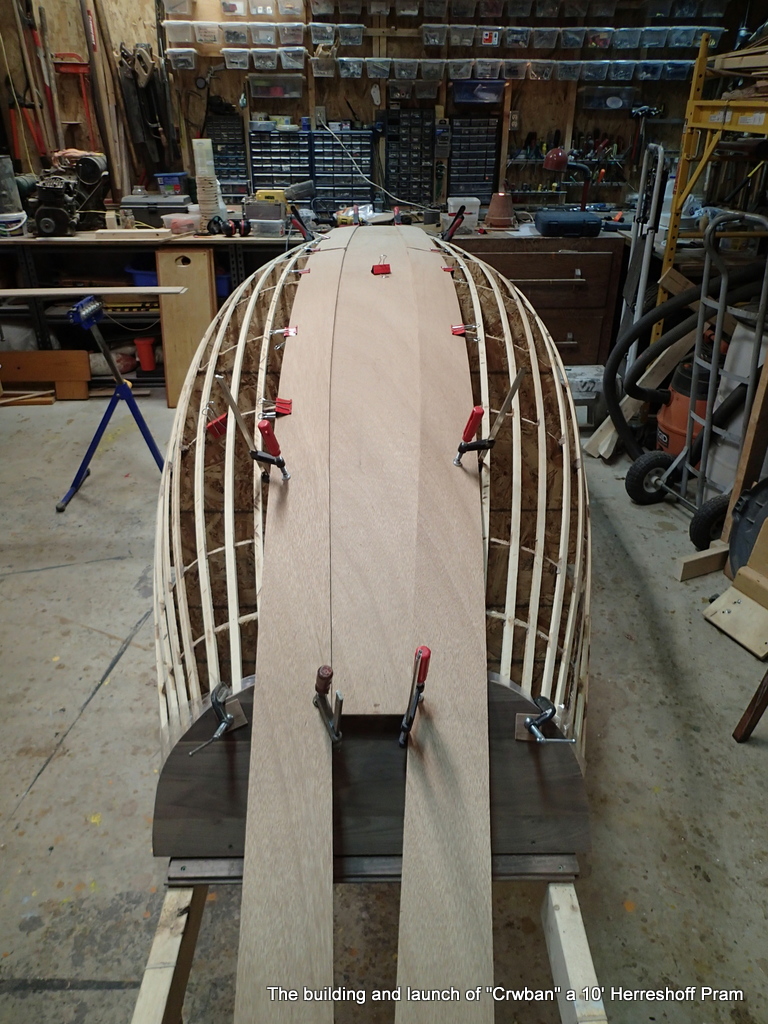
The planks are almost 16′ long so I can stagger the scarf joints well.
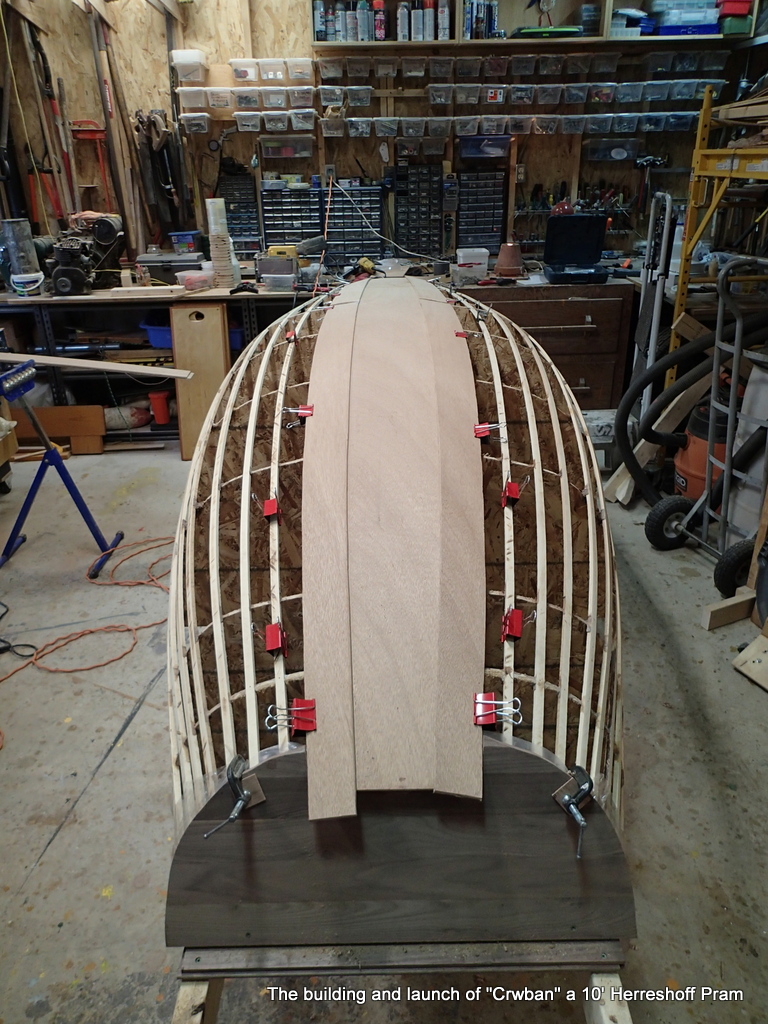
If I have fitted the planks well, I can use bulldog clips to clamp the planks together.
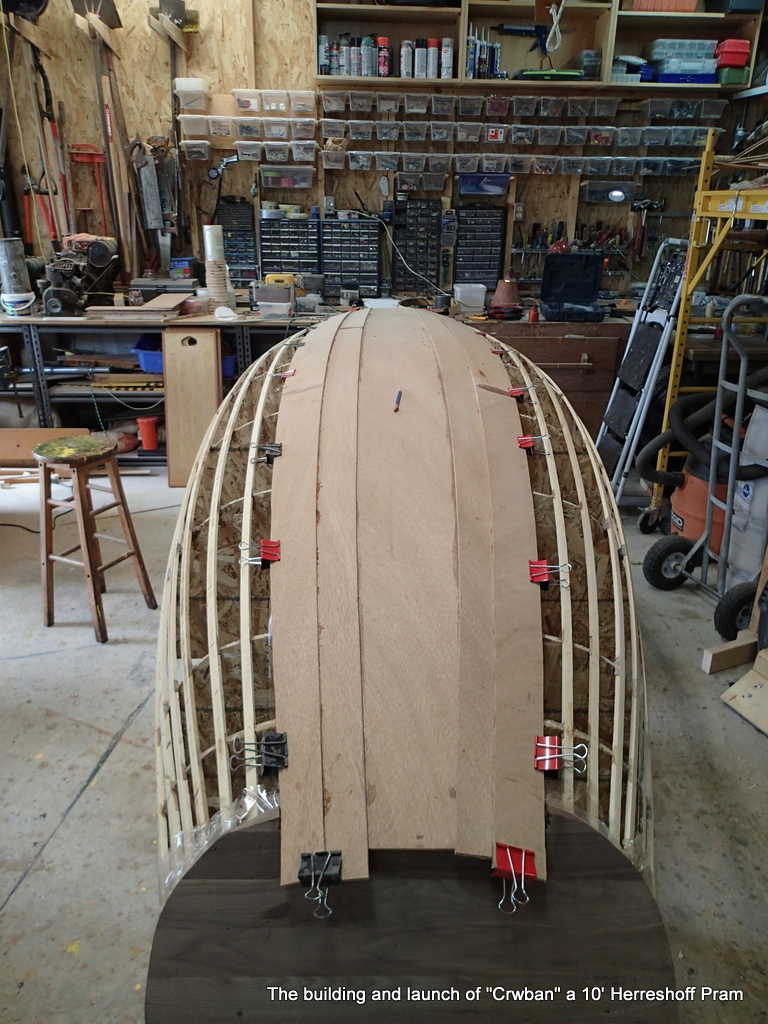
I am putting on a plank a day. So, ten days to plank.
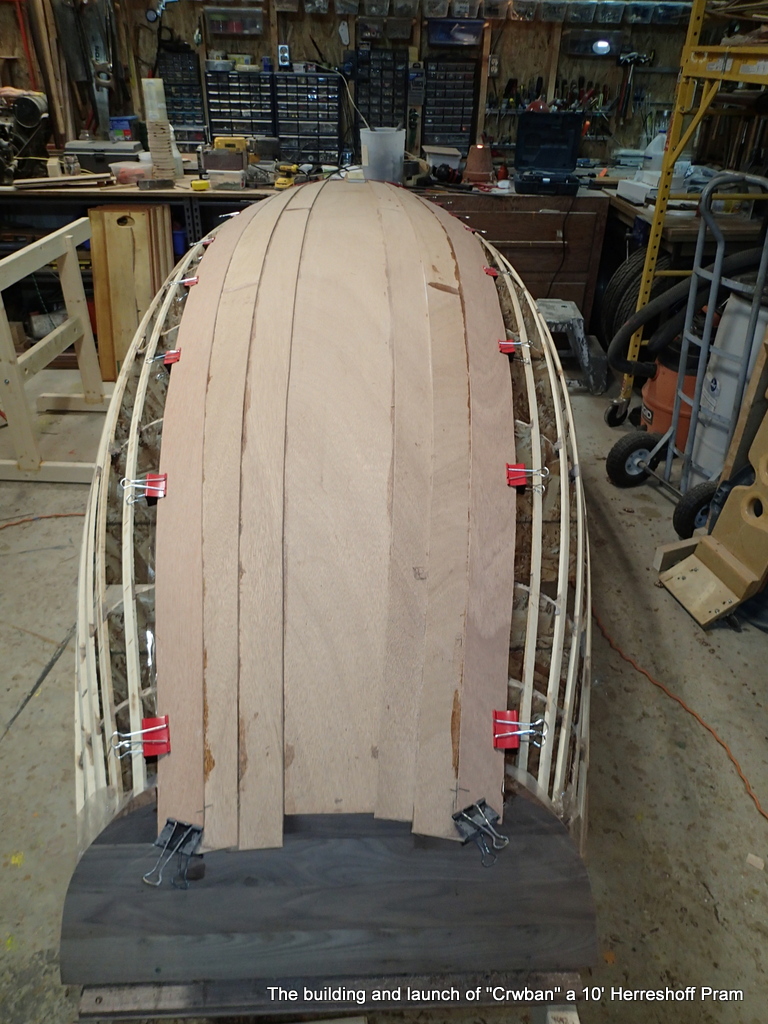
I cut a notch in each transom for each plank. The better the fit, the tighter the seam between the planks.
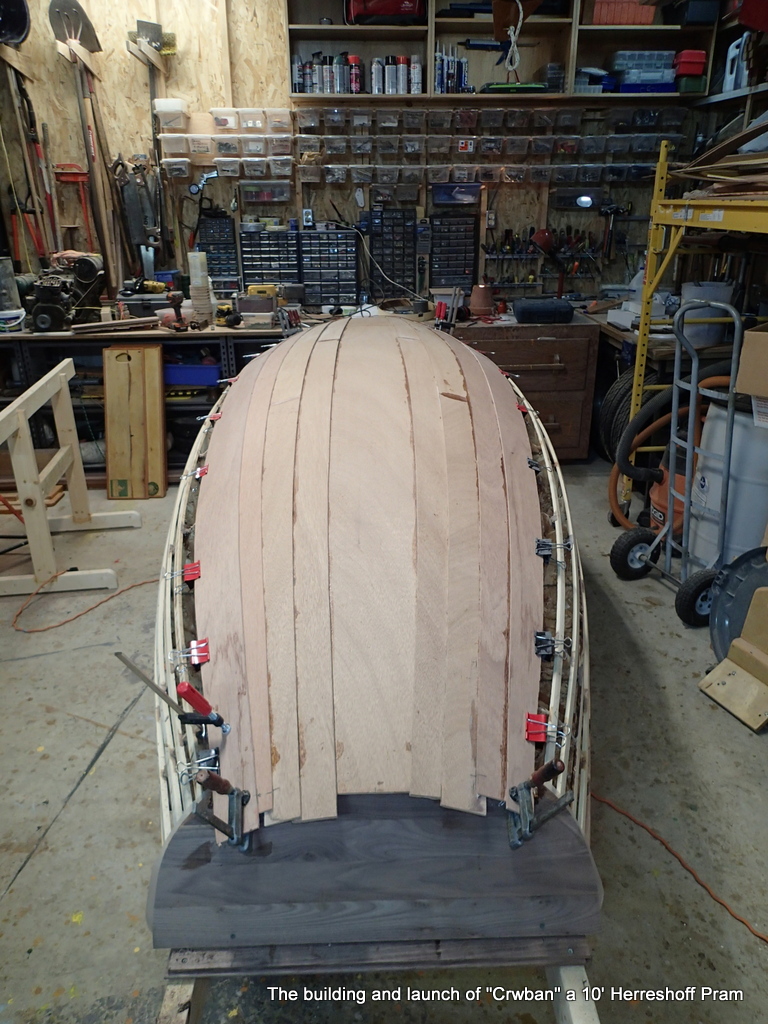
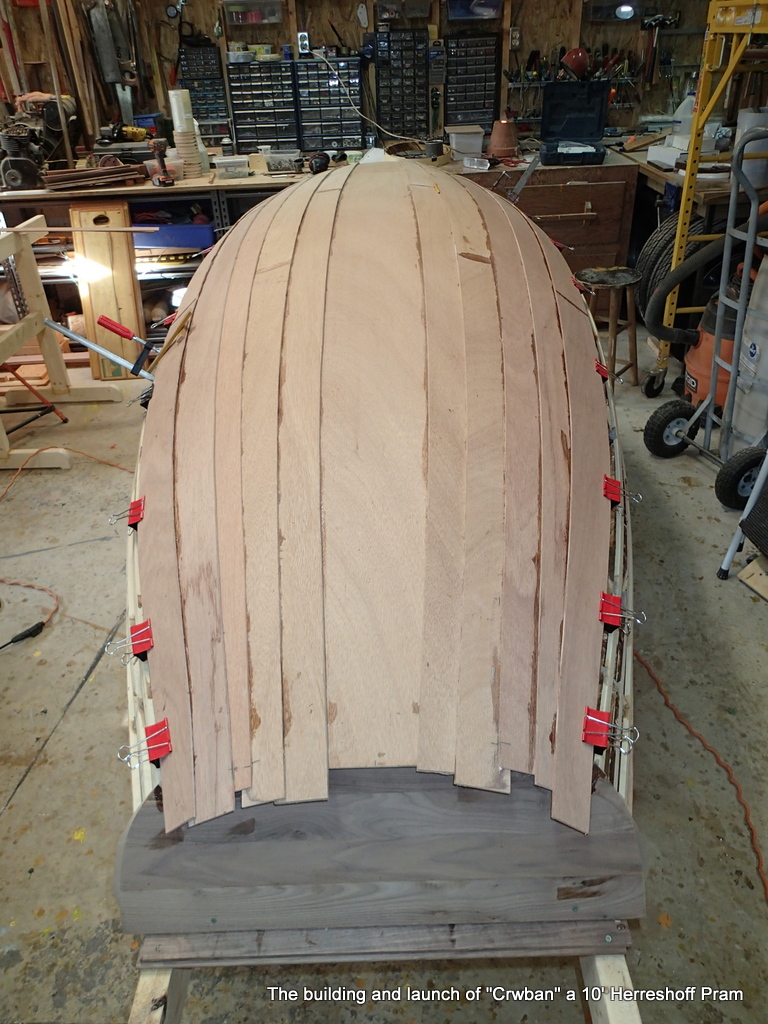
I have to be careful fitting the planks. Some of the planks are not identical to their sibling on the other side.
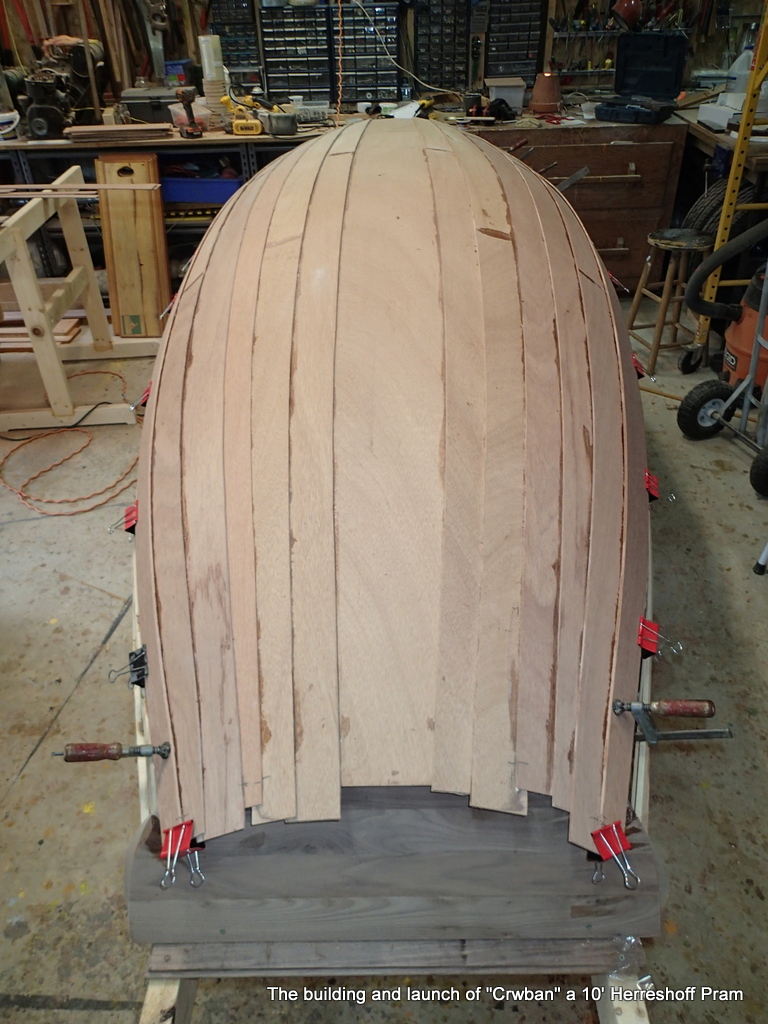
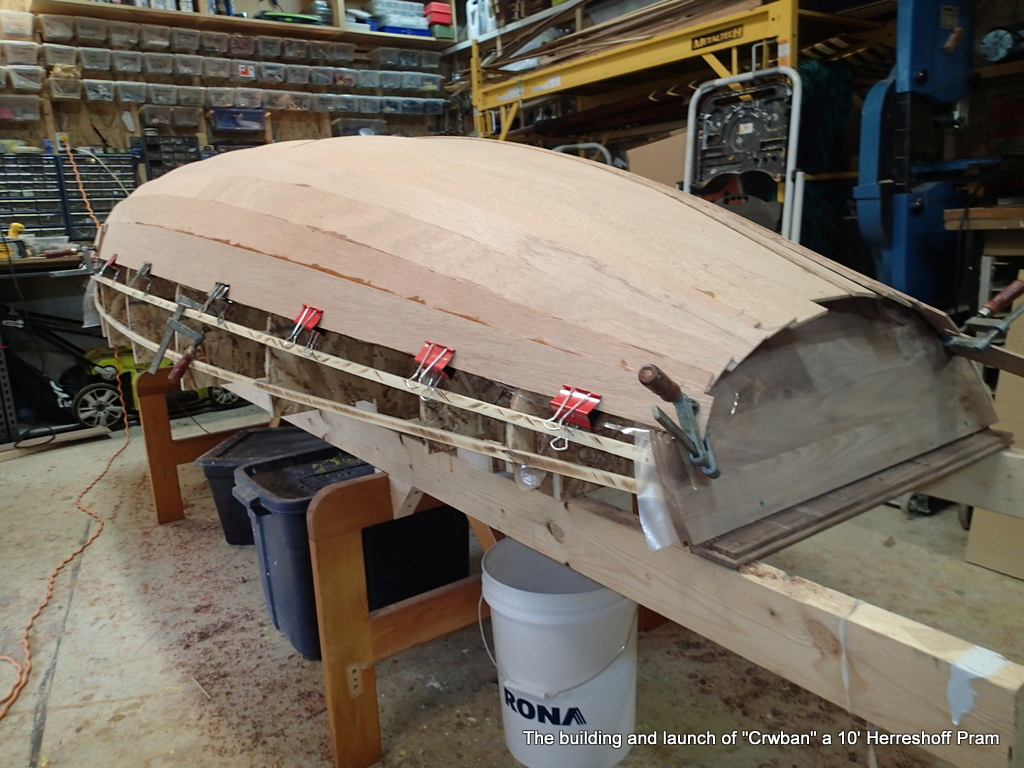
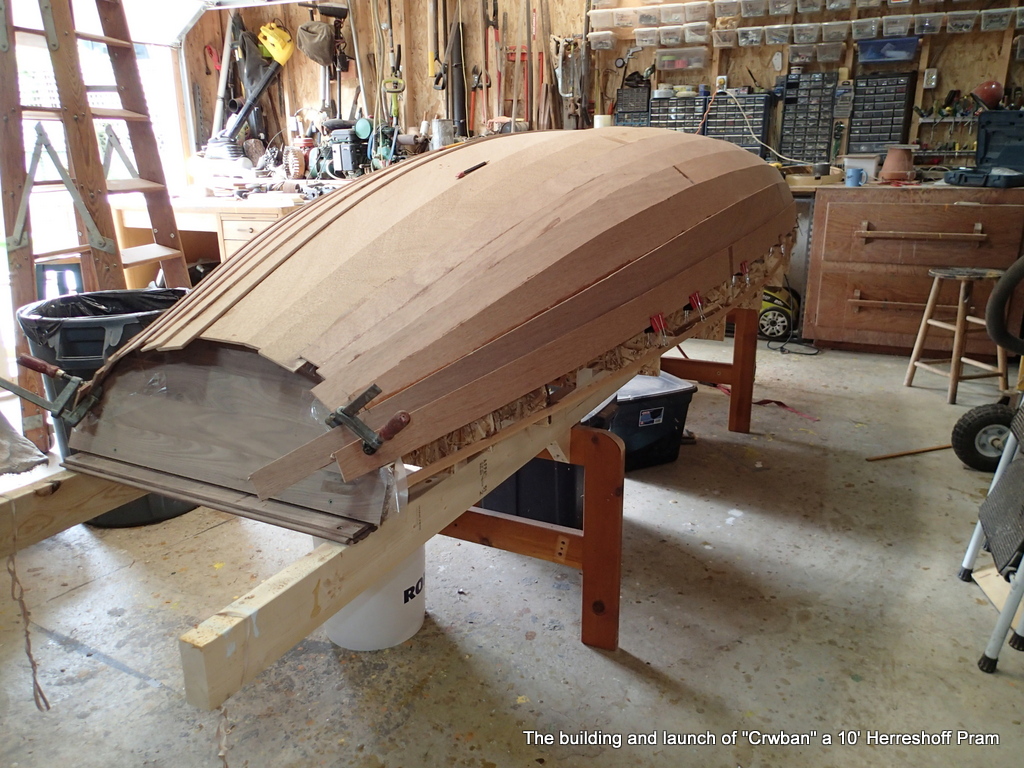
Plank nine is the last of the 4mm planks. Plank ten, the sheer strake, will be 6mm.
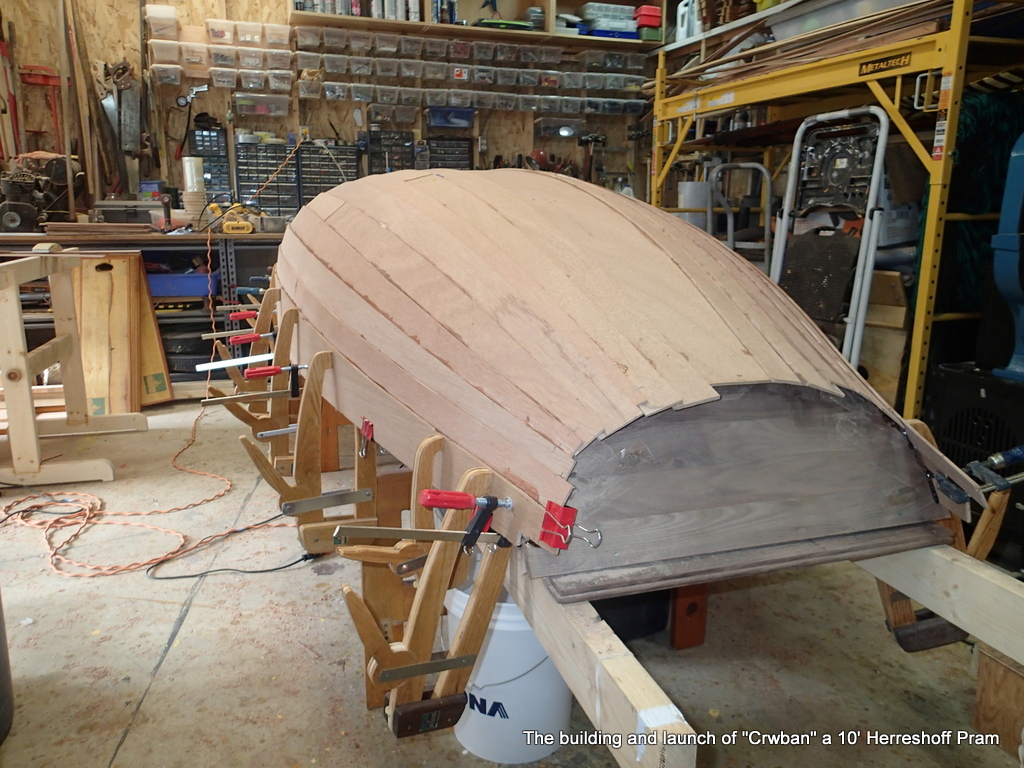
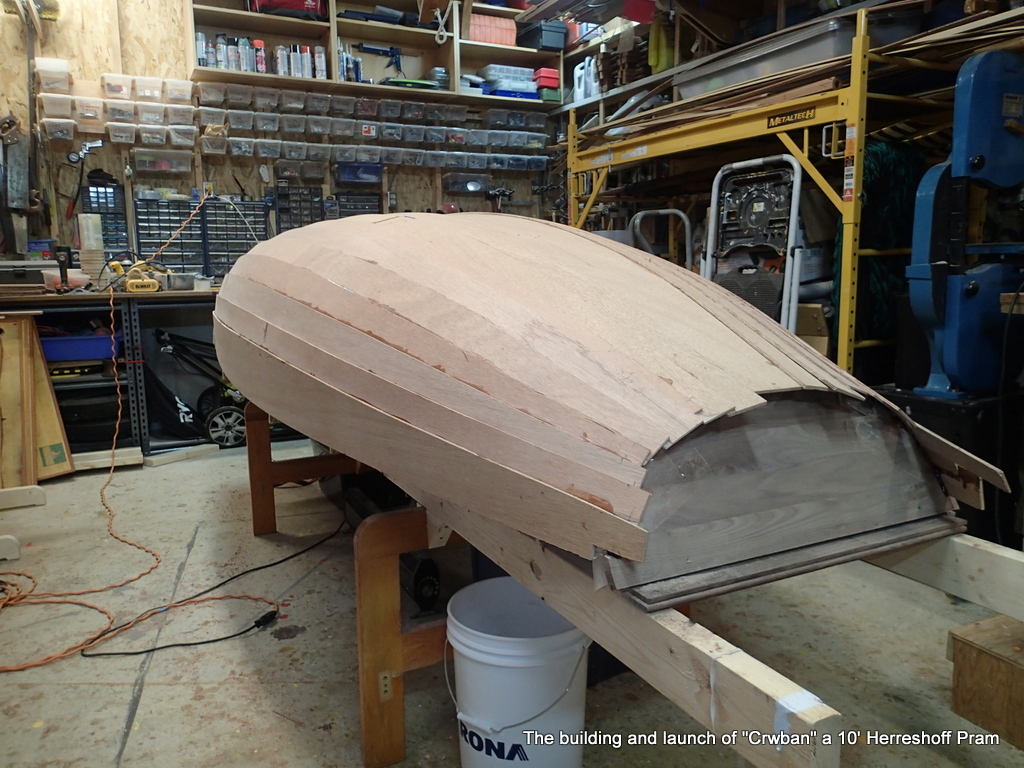
With the hull planked, time to set the sheer line.
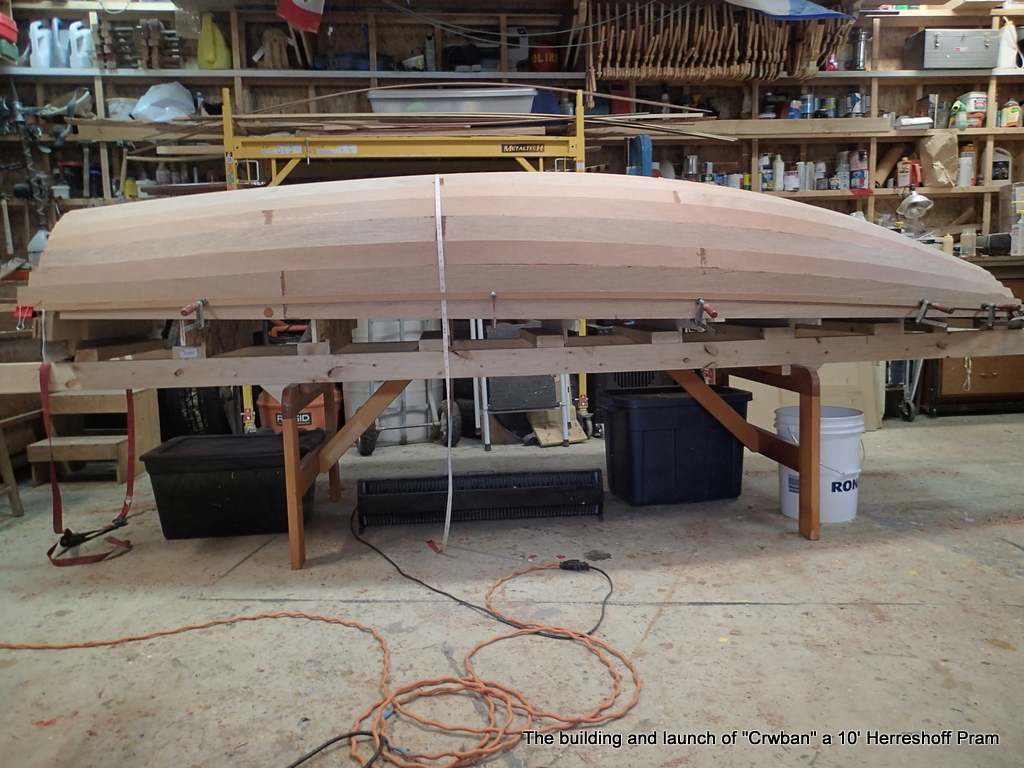
Using the measurements from the plans and a lot of eyeballing, I mark the sheerline.
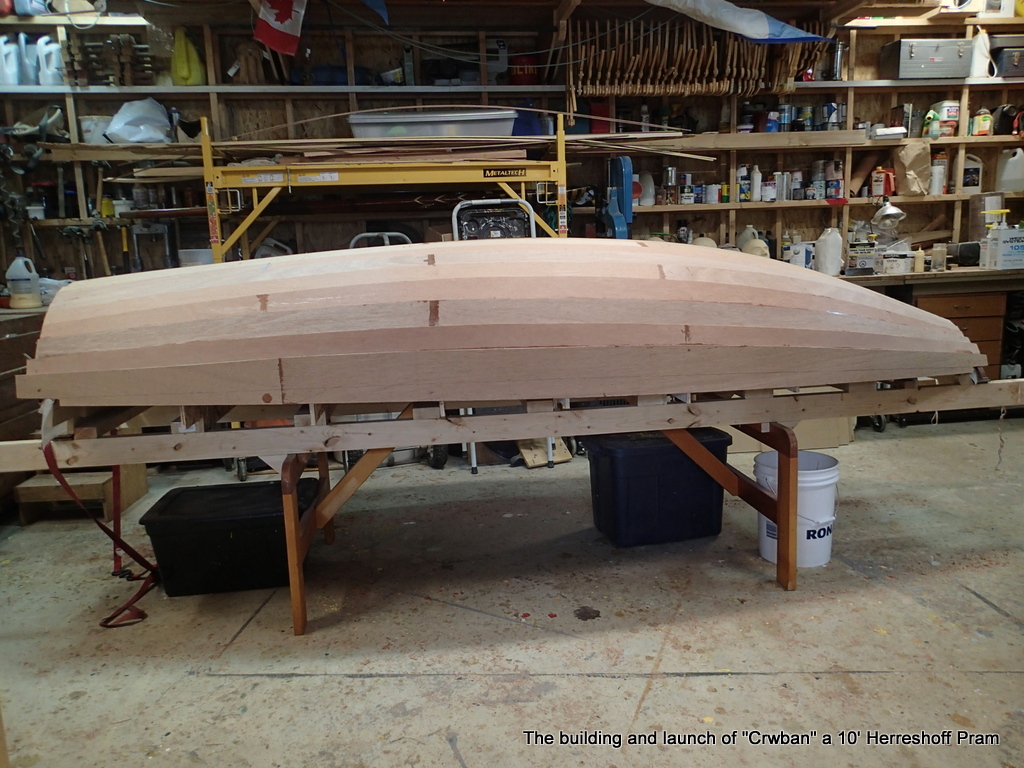
With the sheerline marked, the next step is to cut it out. I will have to remove the boat from the forms to cut the sheerline.
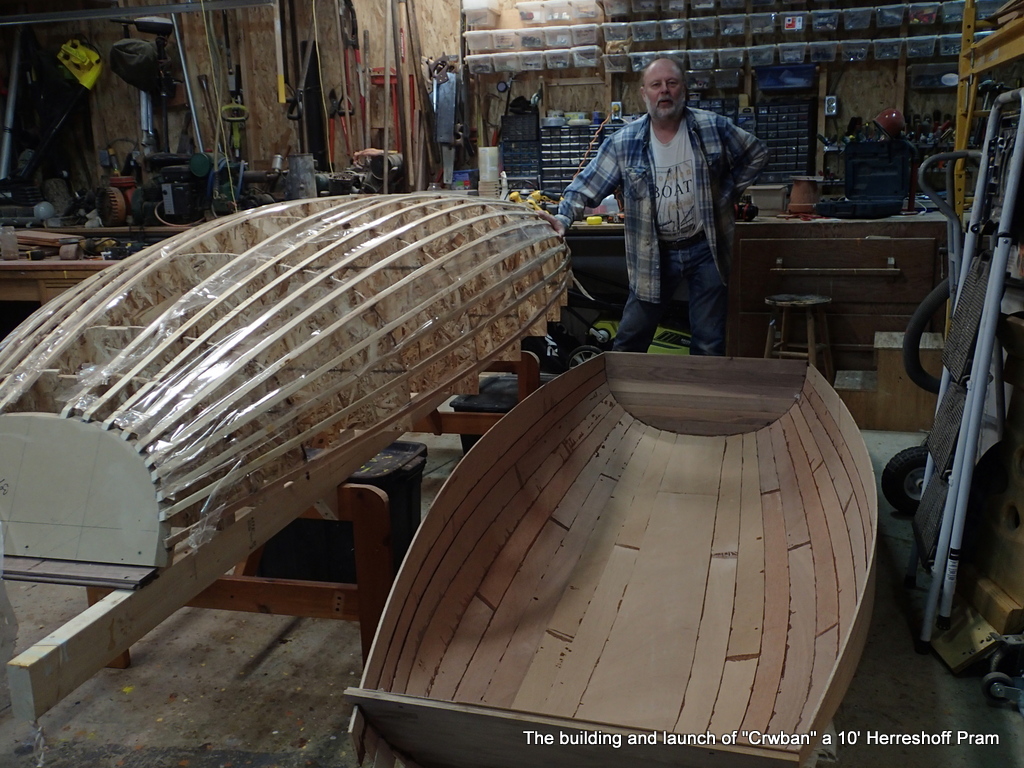
Now I disassemble the form to make space for the boat while I finish her.
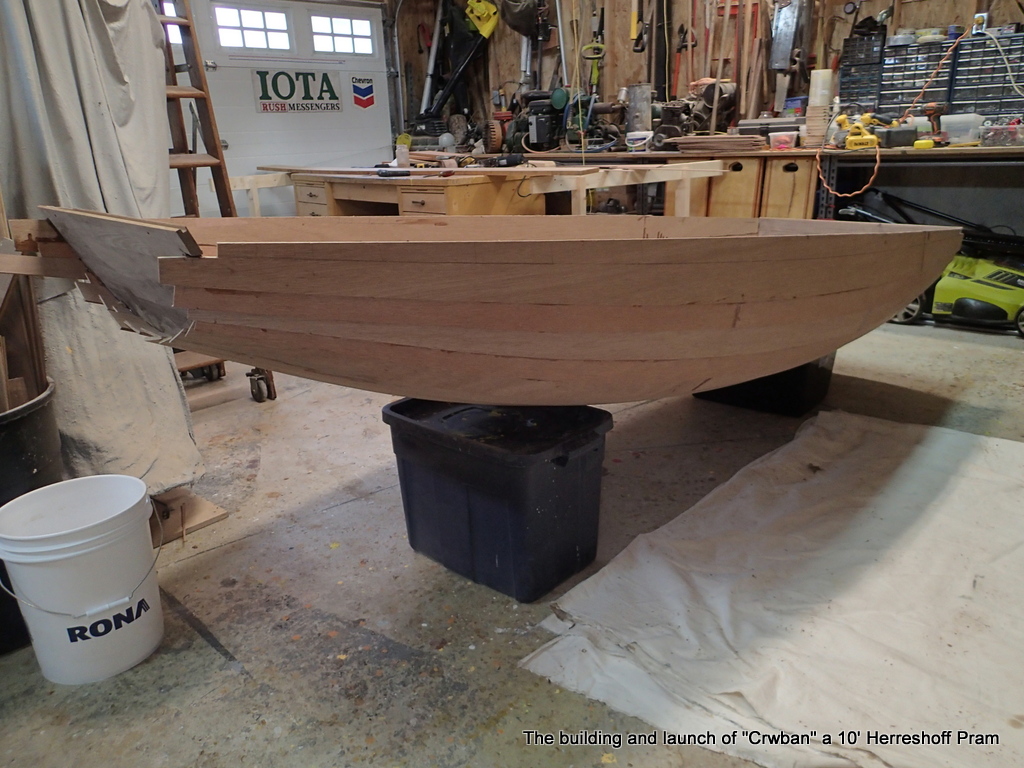
To cushion the hull, I use a big dropcloth.
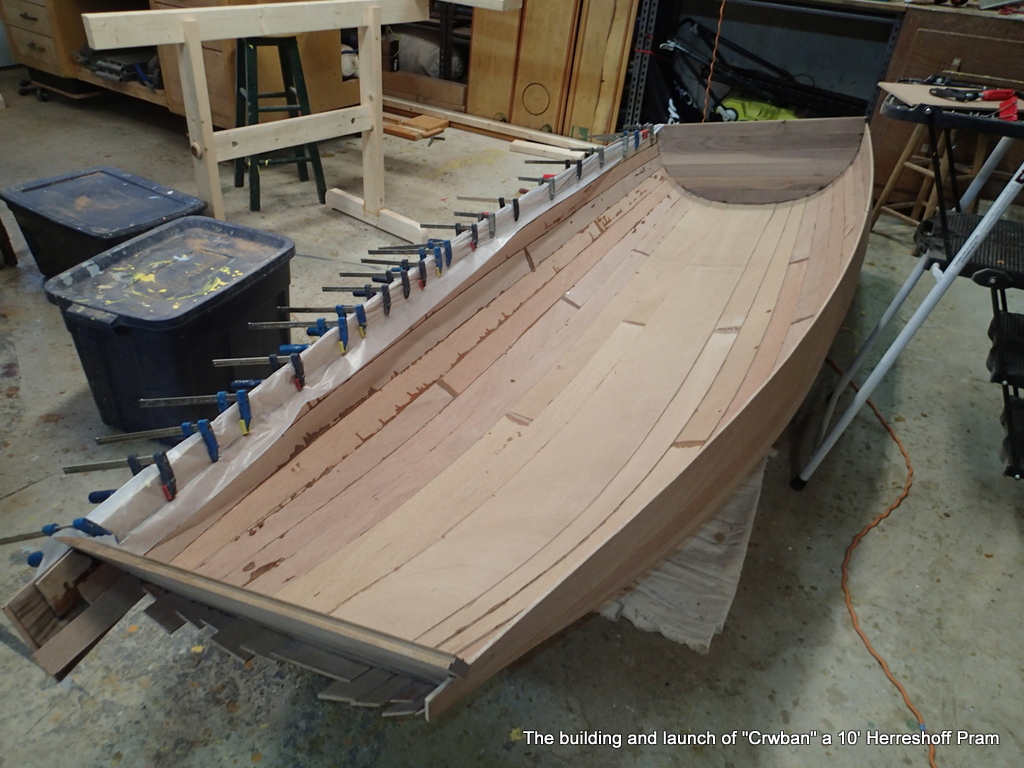
To tie the colour scheme together, I am gluing a walnut veneer to the sheer strake.
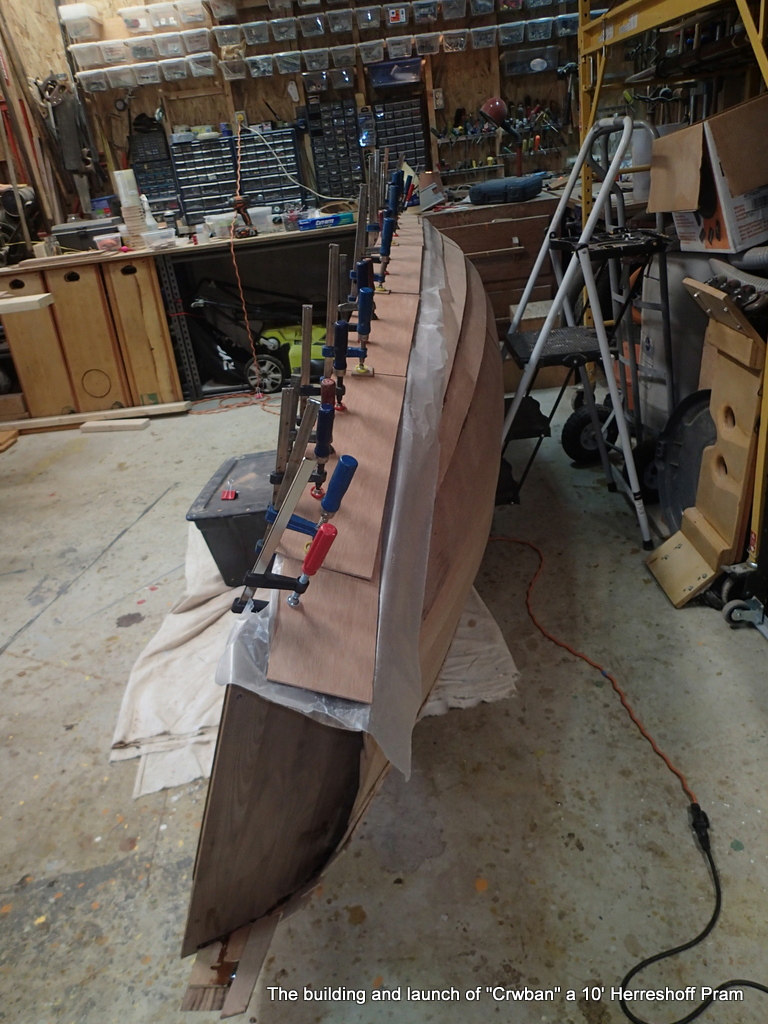
I am using Titebond II to glue the walnut veneer on with.
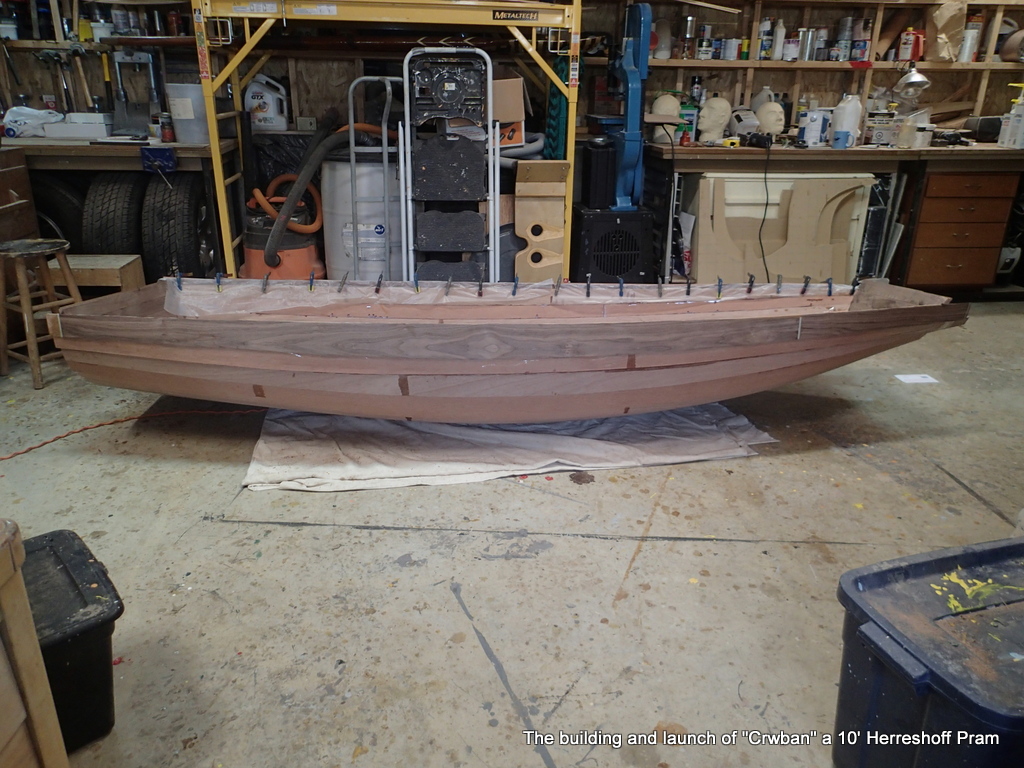
I am going to use maple for the gunnels and along the bottom of the sheer strake to highlight the walnut,
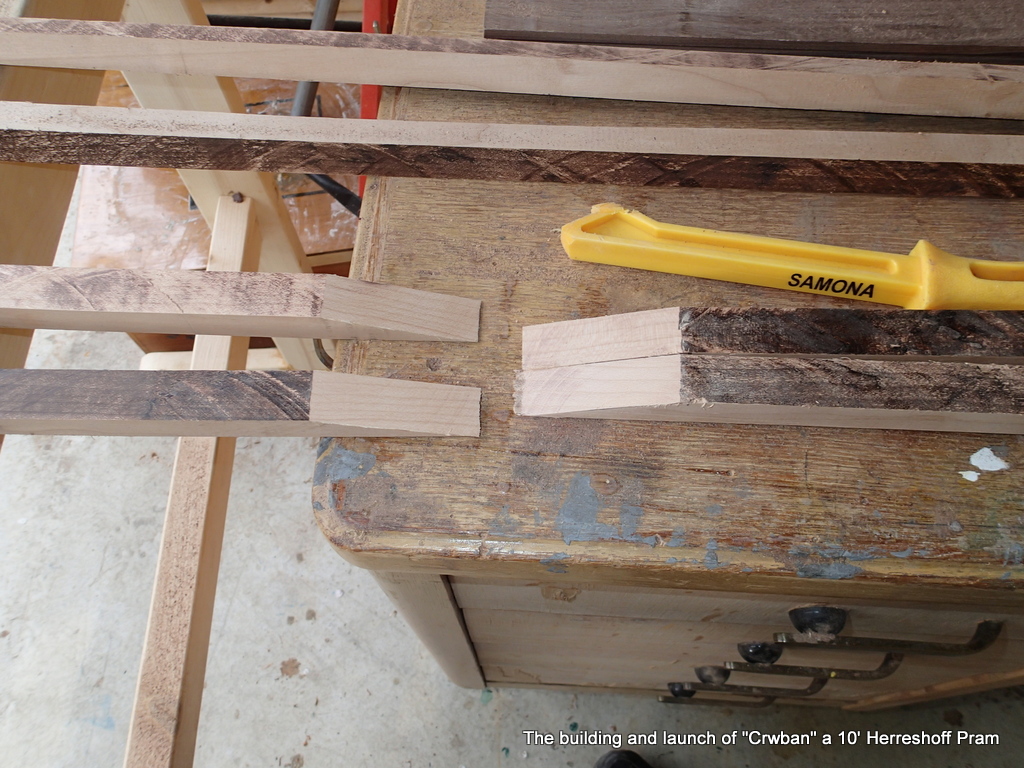
My pieces of maple are not quite long enough…Time for another scarf joint.
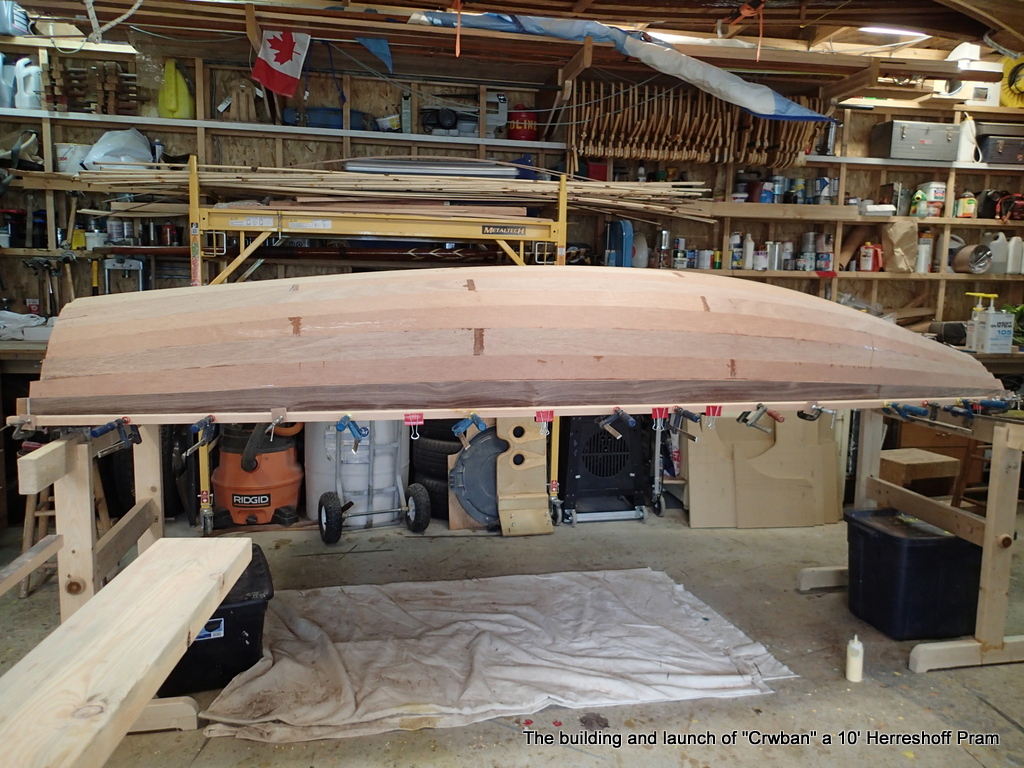
I made two sawhorses using Tom Devries’s ideas from Small Boats e-Magazine. (April 2020)
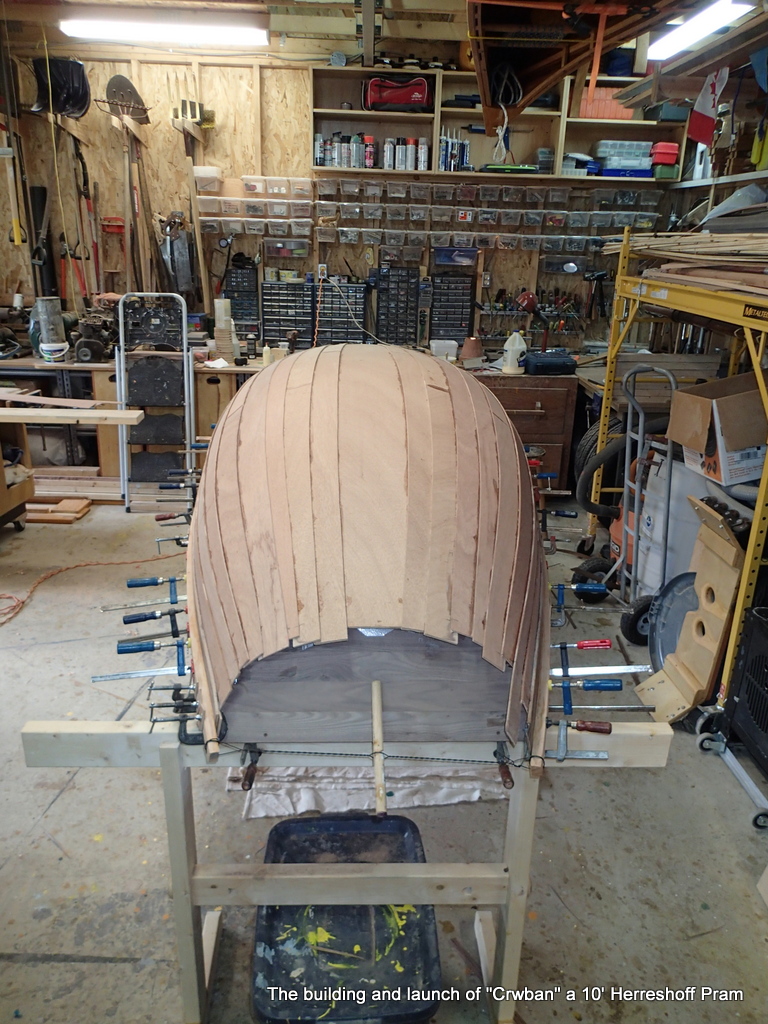
Lots of clamps help, as I have to pull the gunnel strips in for a tight fit.
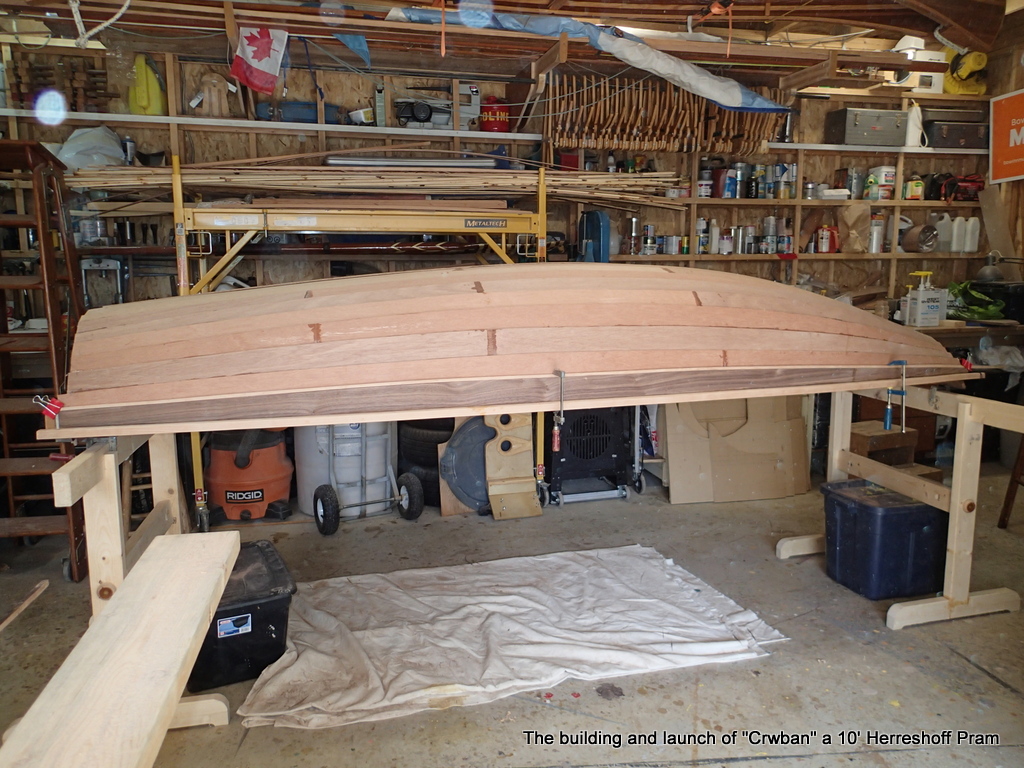
To highlight the walnut sheer strake, I am epoxying a maple accent strip to the bottom the the plank. It will look good and protect the bottom edge of the strake.
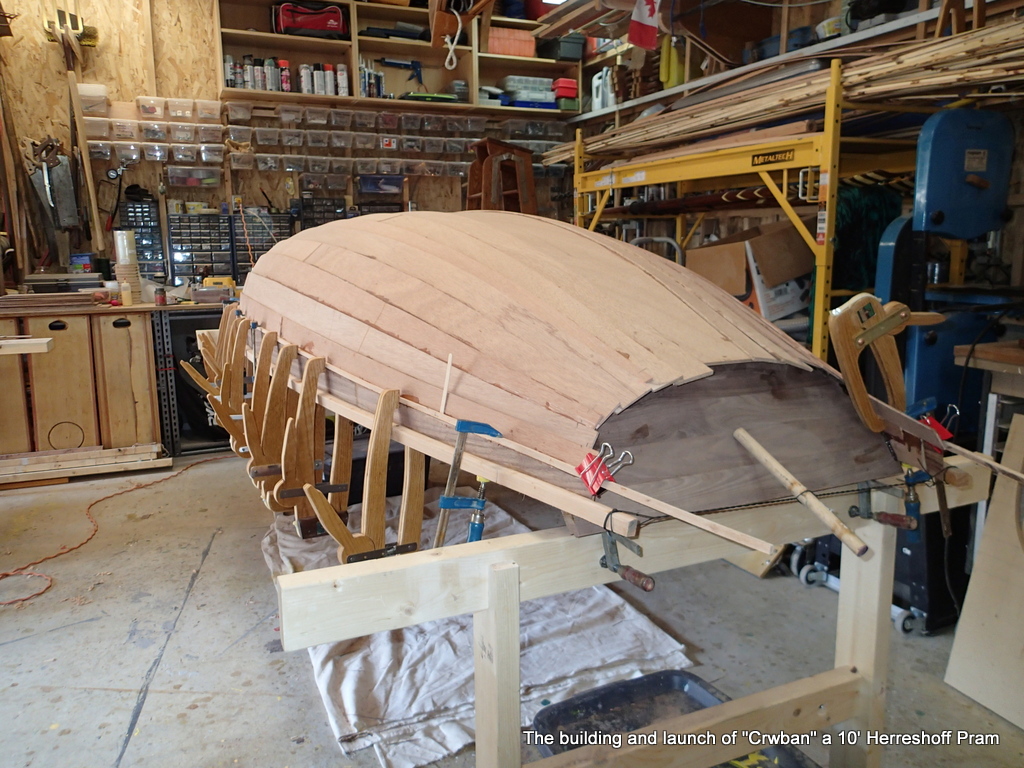
Get to use the Brenne clamps again. They actually work really well.
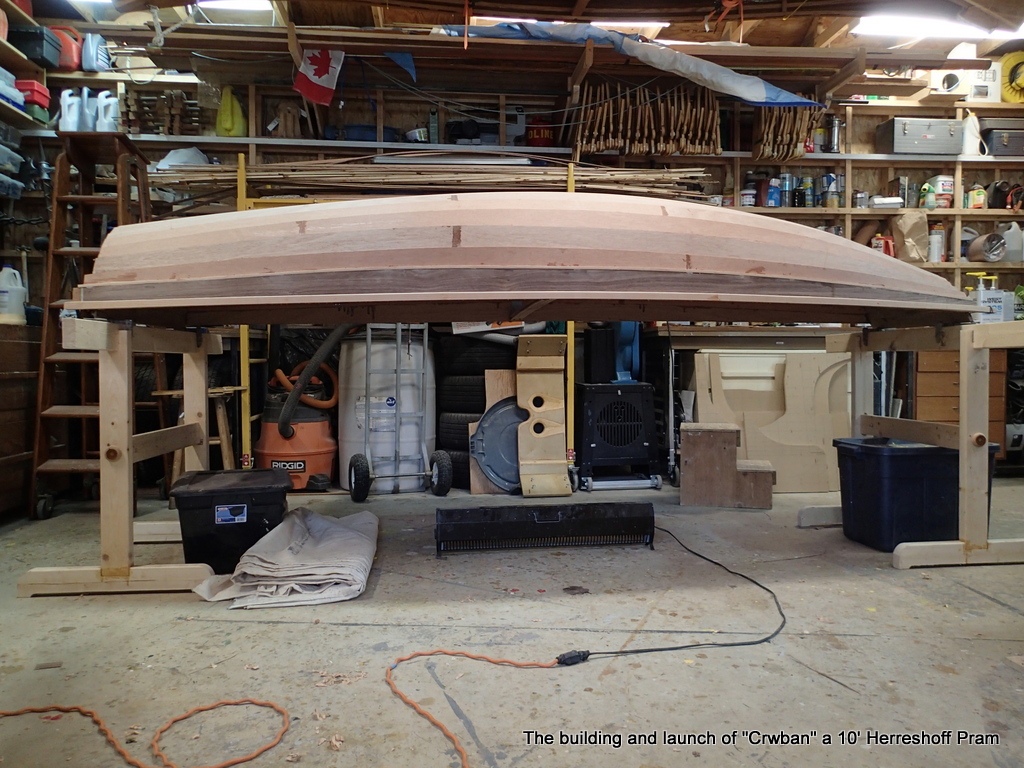
There will be a lot of sanding to do. I am aiming for a bright finish.
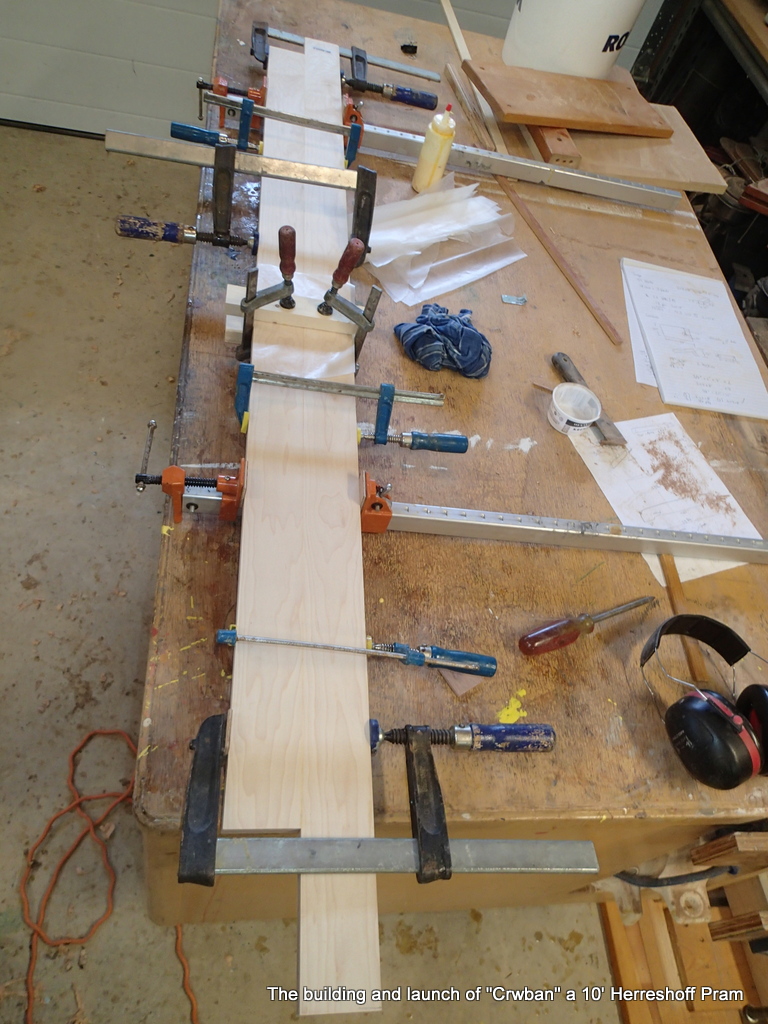
I am making it out of 3/4″ maple.
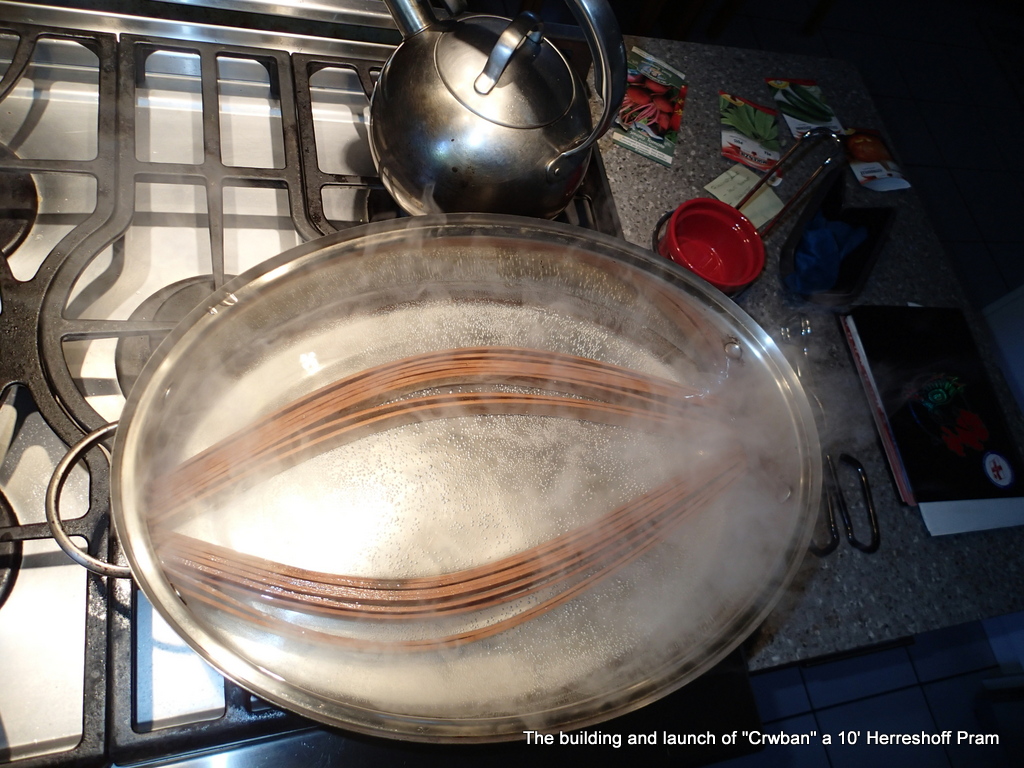
I am going to laminate all of my knees. I rip up the rest of my maple stock and boil them up for bending.
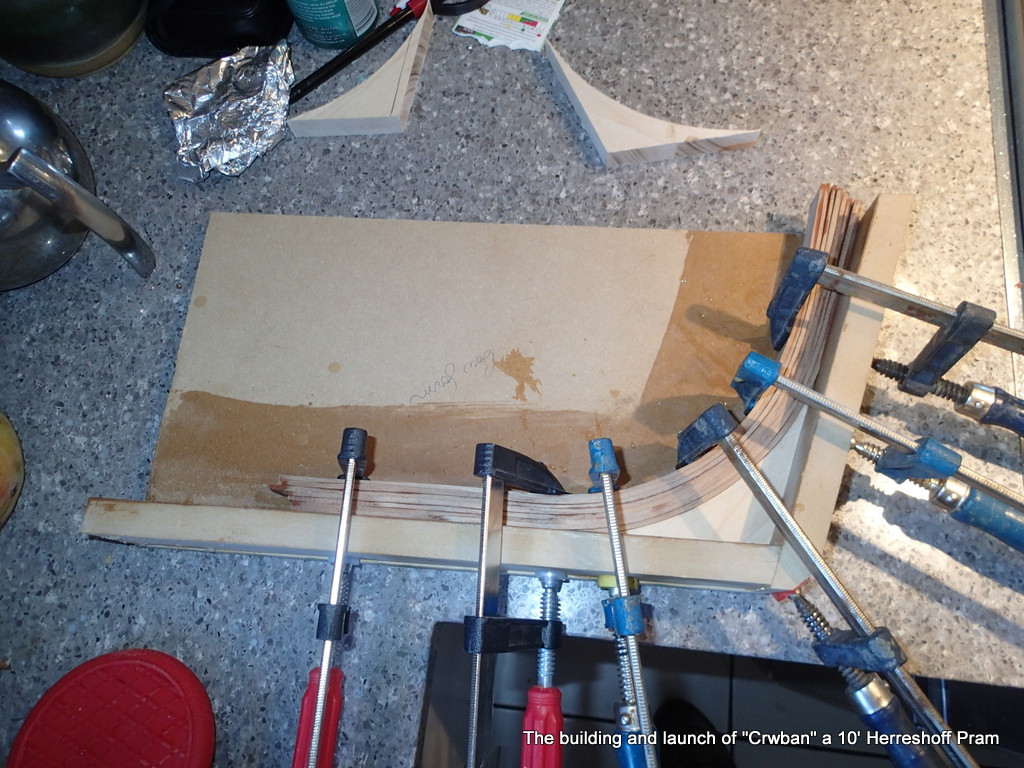
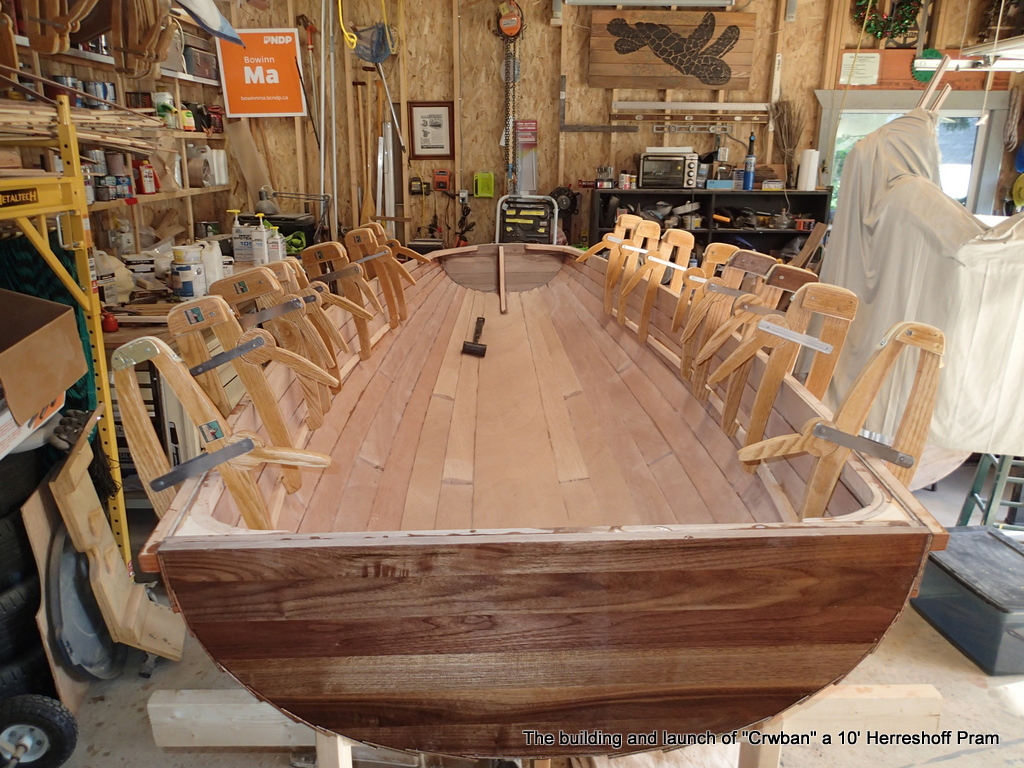
I make up a form for each type of knee. Keel to Stern, Keel to Bow, two Stern to Gunnel and two Bow to Gunnel. I will make up the 12 thwart knees (Each seat will have two knees) when I do the thwarts.
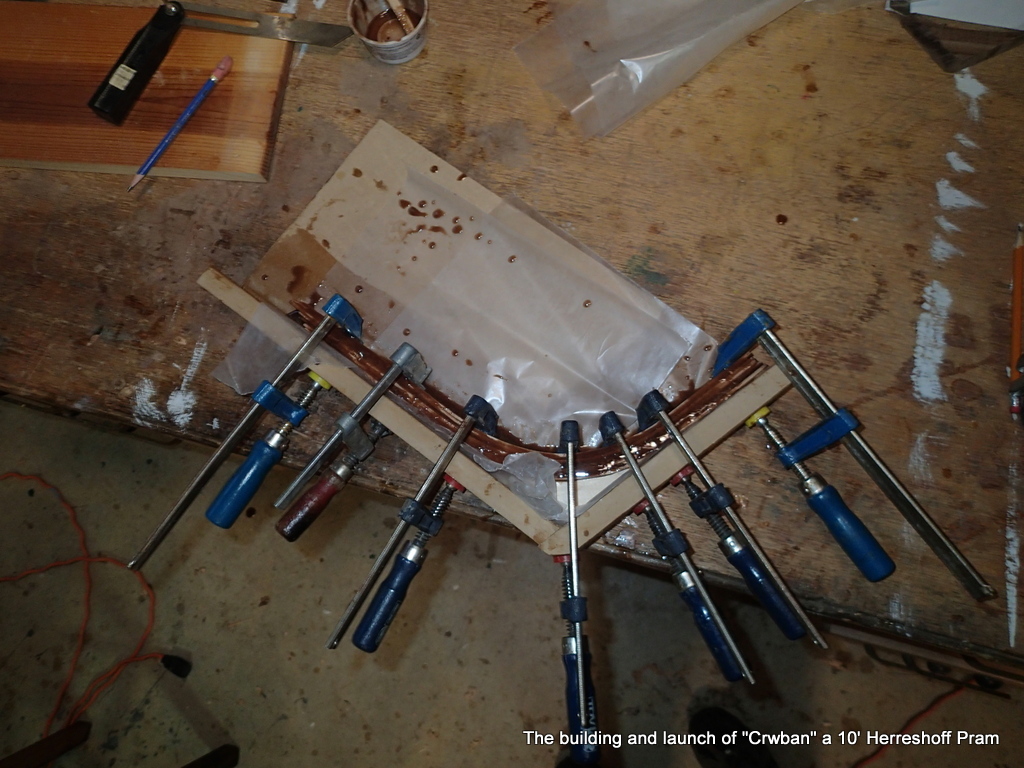
I only have one form for each type of knee. The epoxy cures overnight.
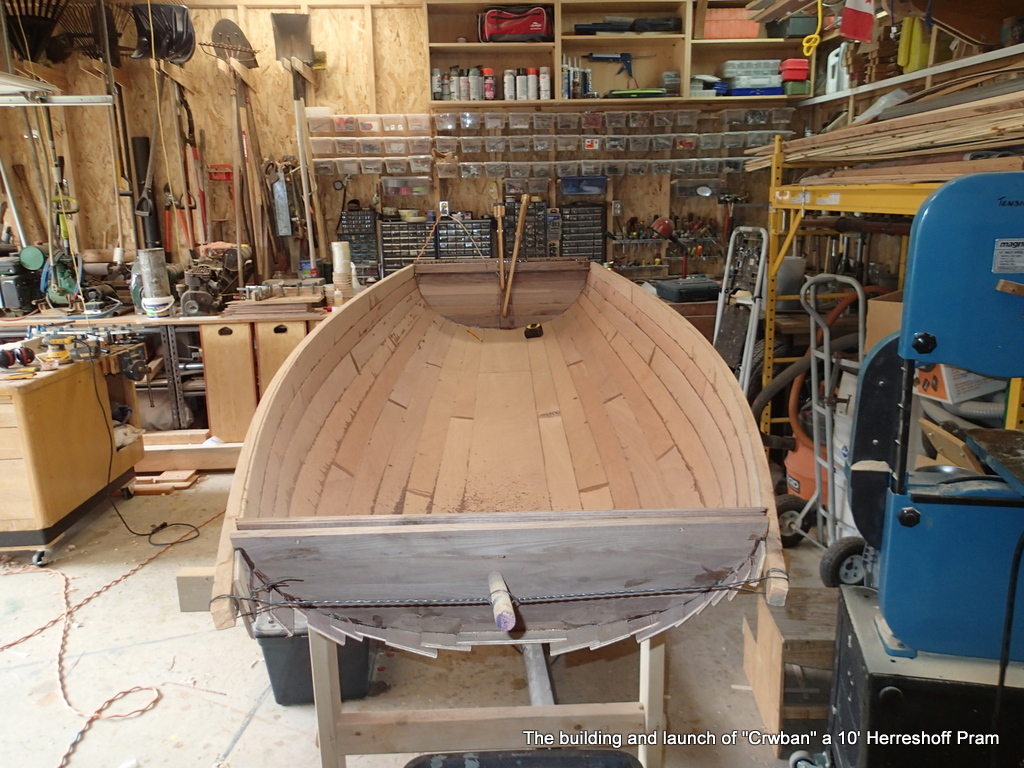
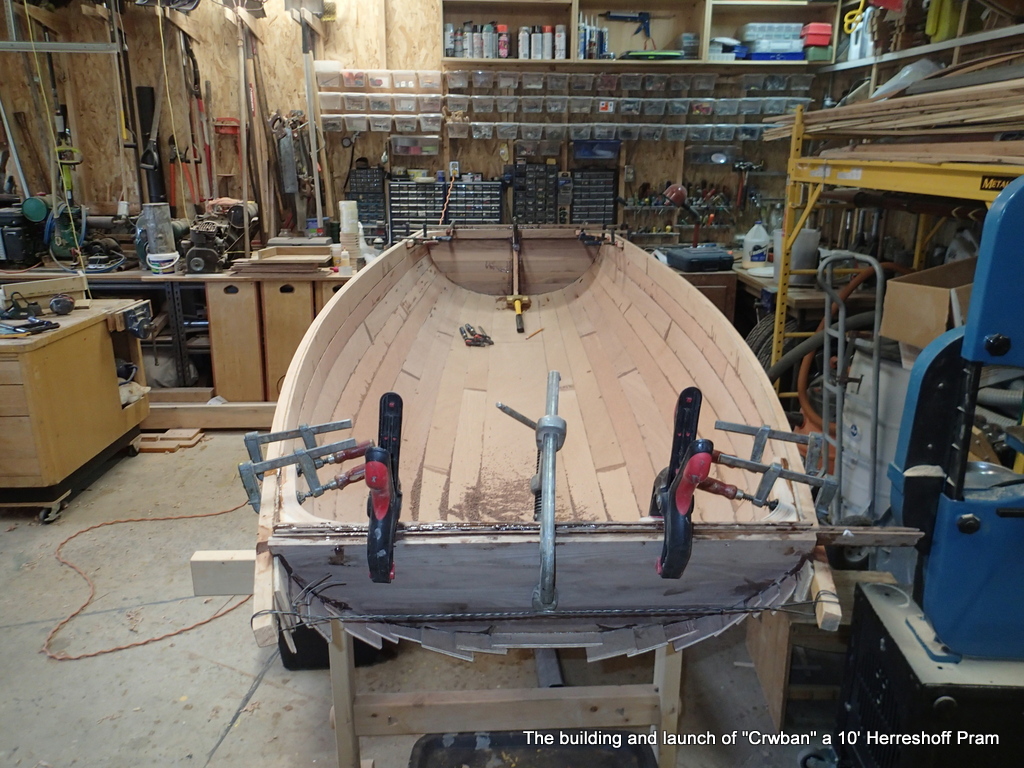
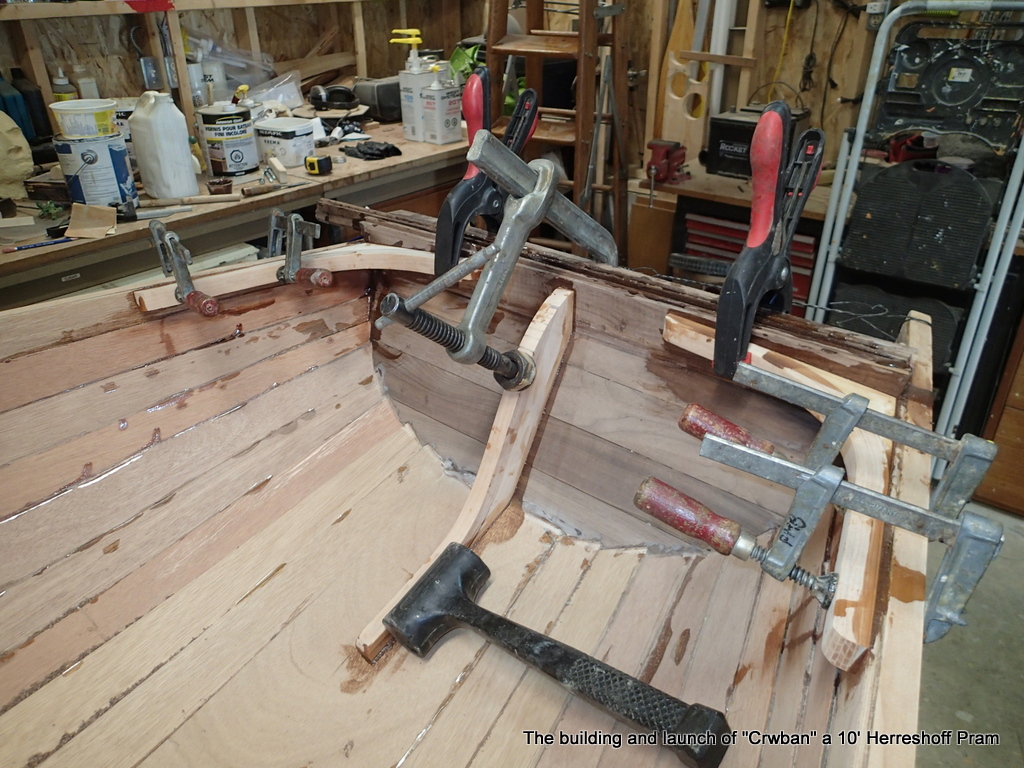
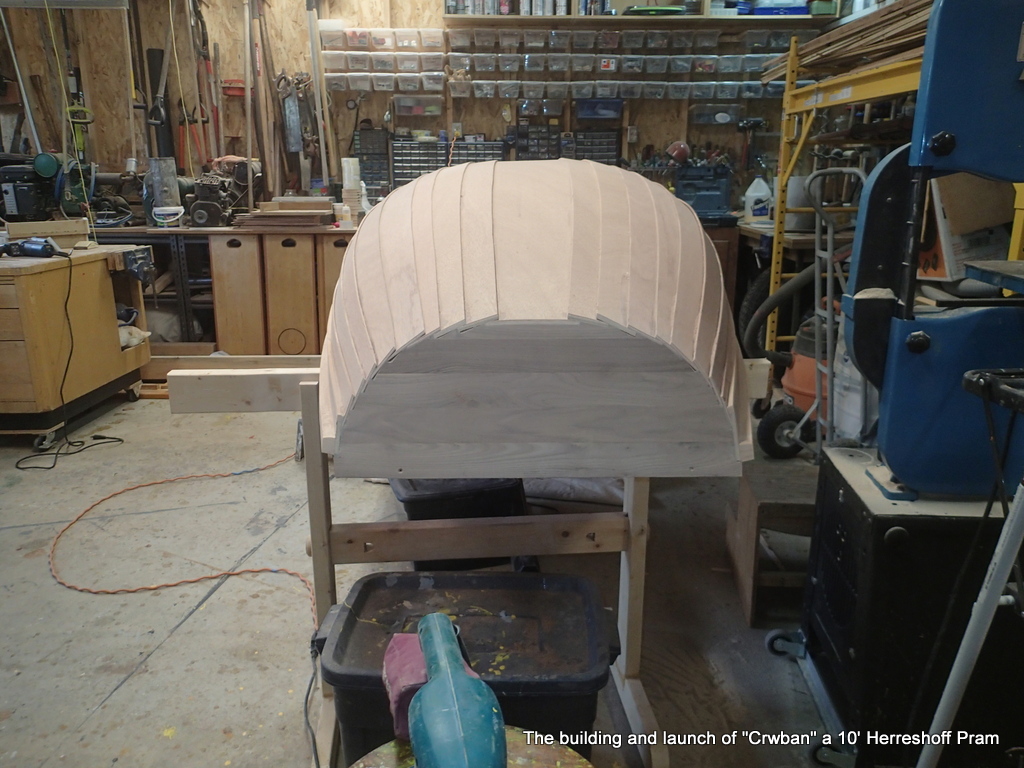
With all of the hull knees in, I trim the planks flush with the bow transom.
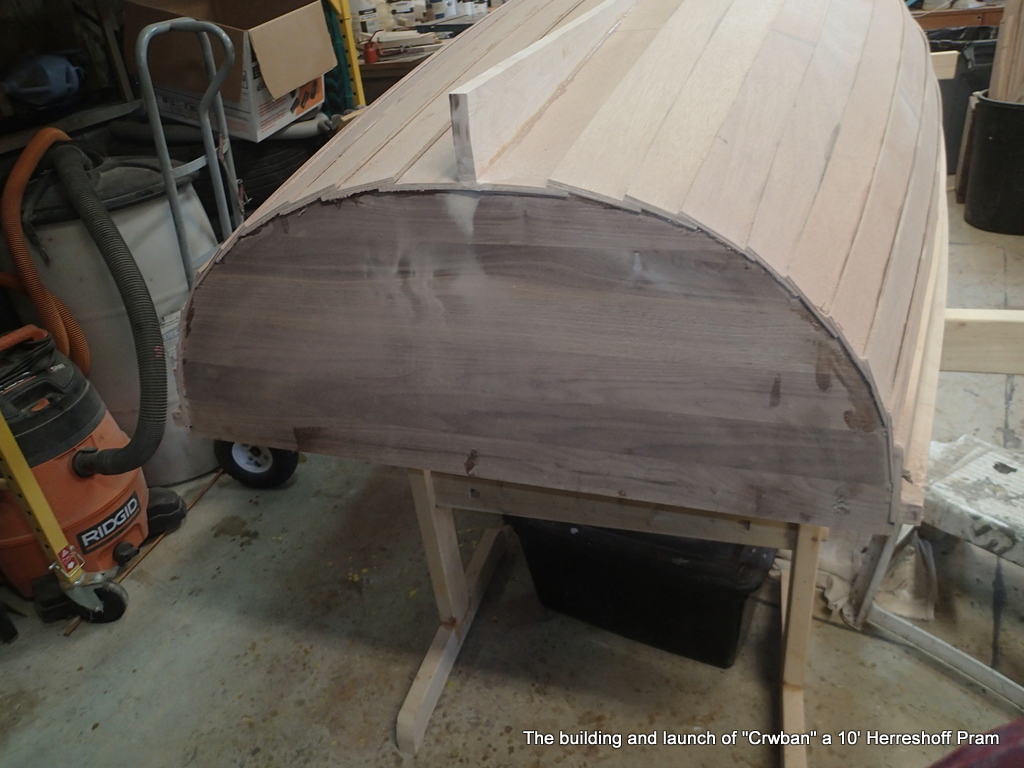
The keel is going on in two laminations. I glue on the first piece. There is enough plank left to clamp to.
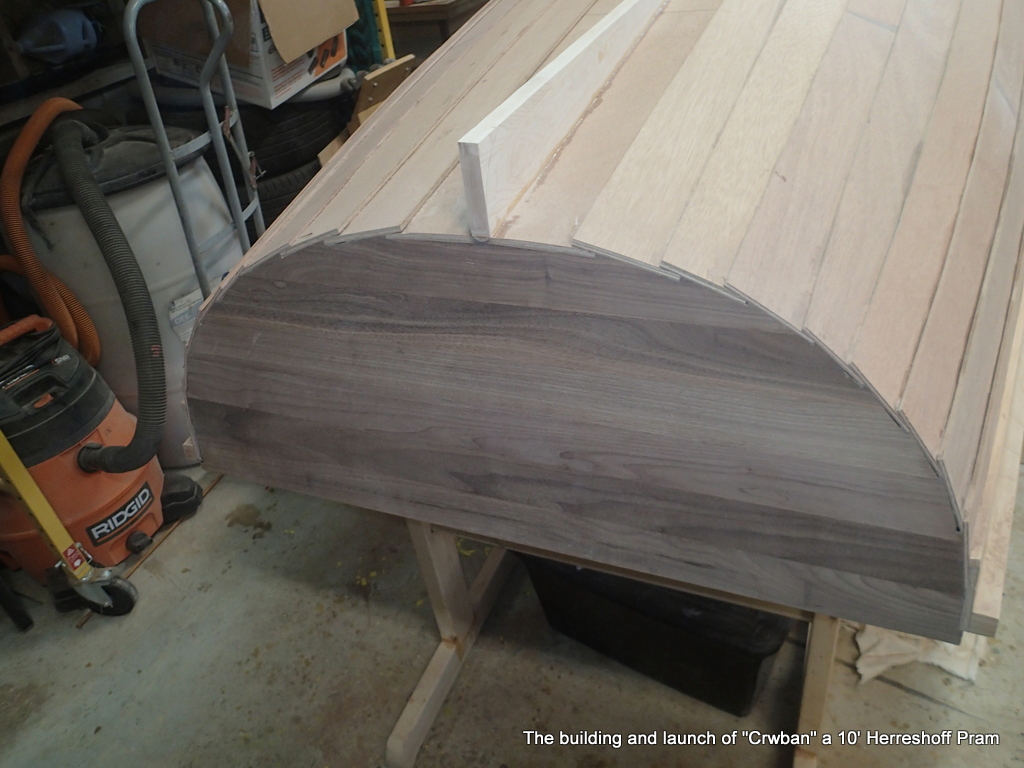
When the epoxy has cured, I trim the planks flush. Ready for the next piece.
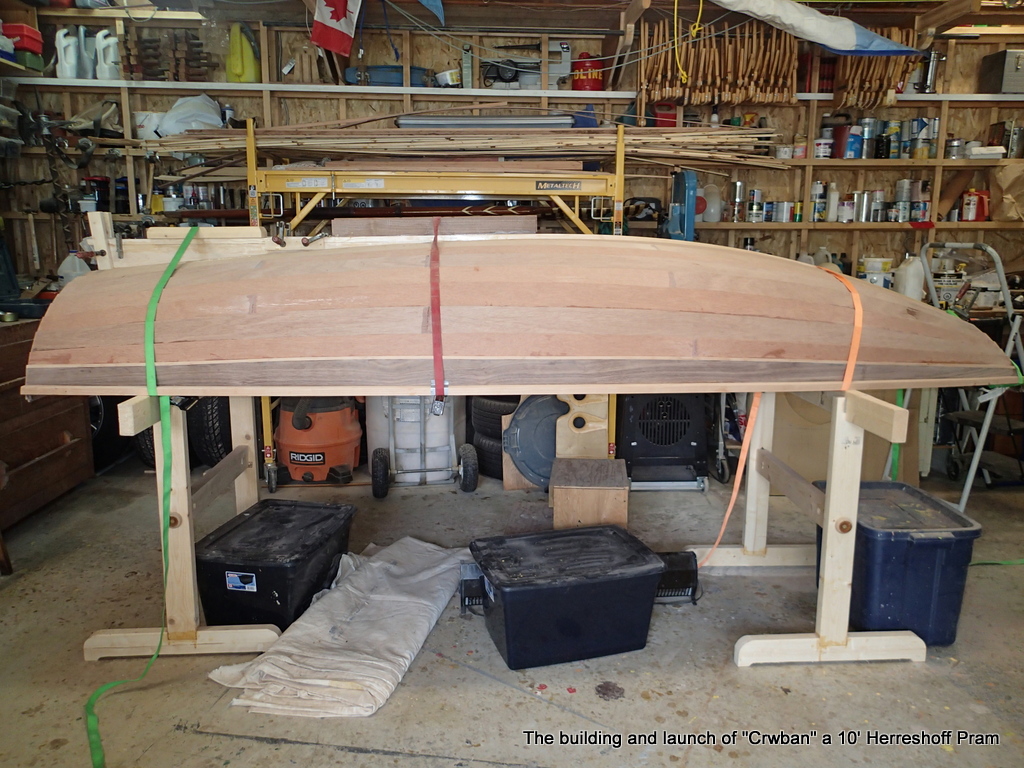
More sanding occurs now
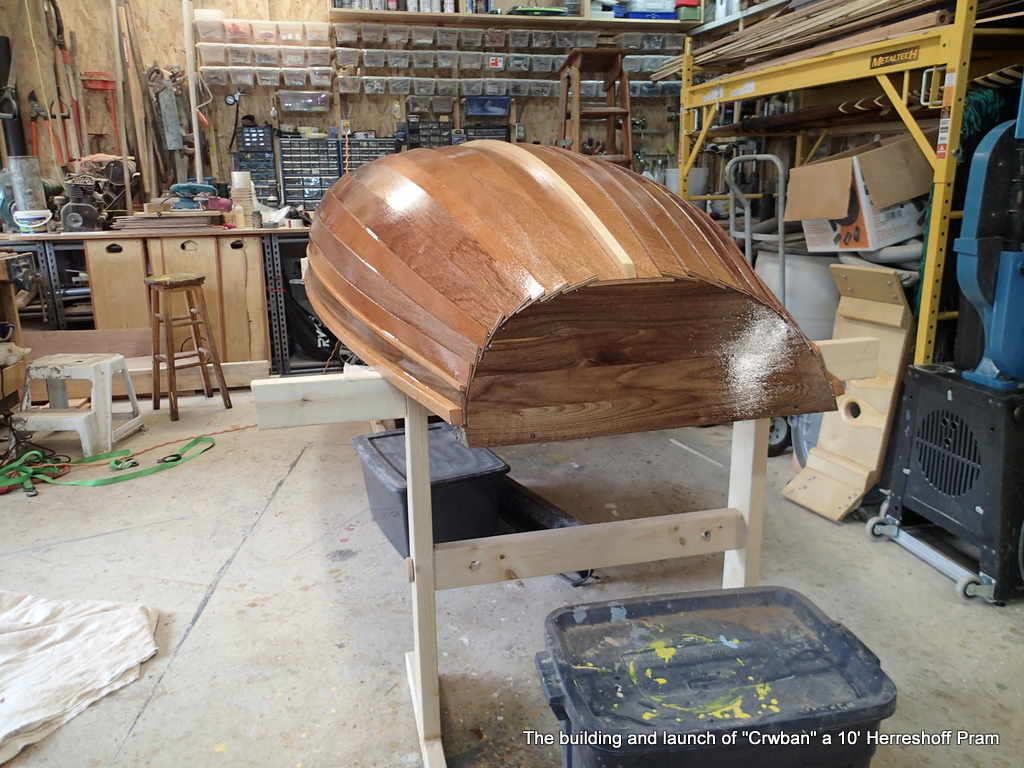
A coat of epoxy seals the marine plywood and insures that all of the plank laps are glued together.
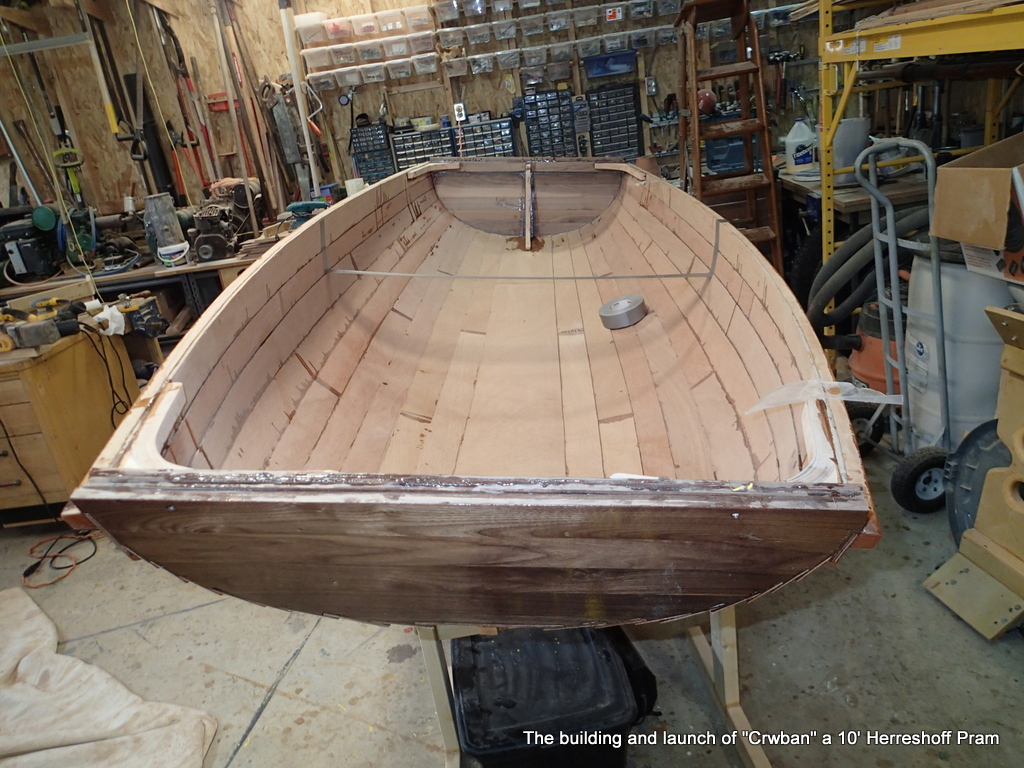
Some of the drips visible on the inside are from gaps in the planks. The tape is marking where the centre thwart will go.
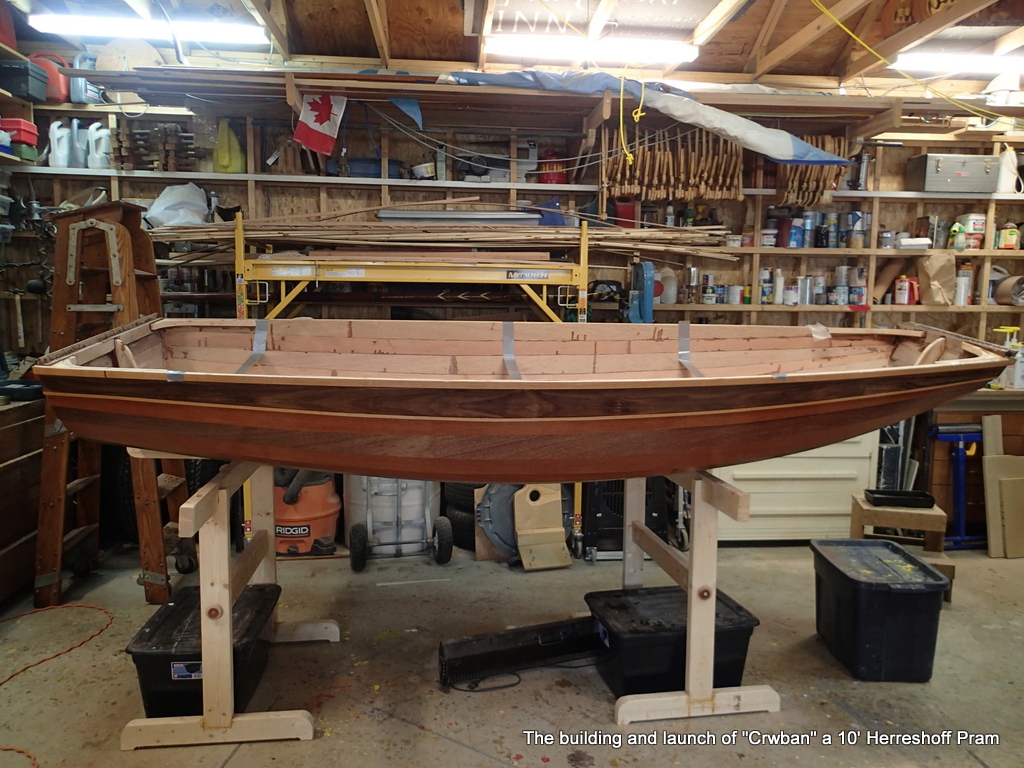
I am doing this to determine how much material I need to make the seats. I have not yet decided how I am going to make the seats.
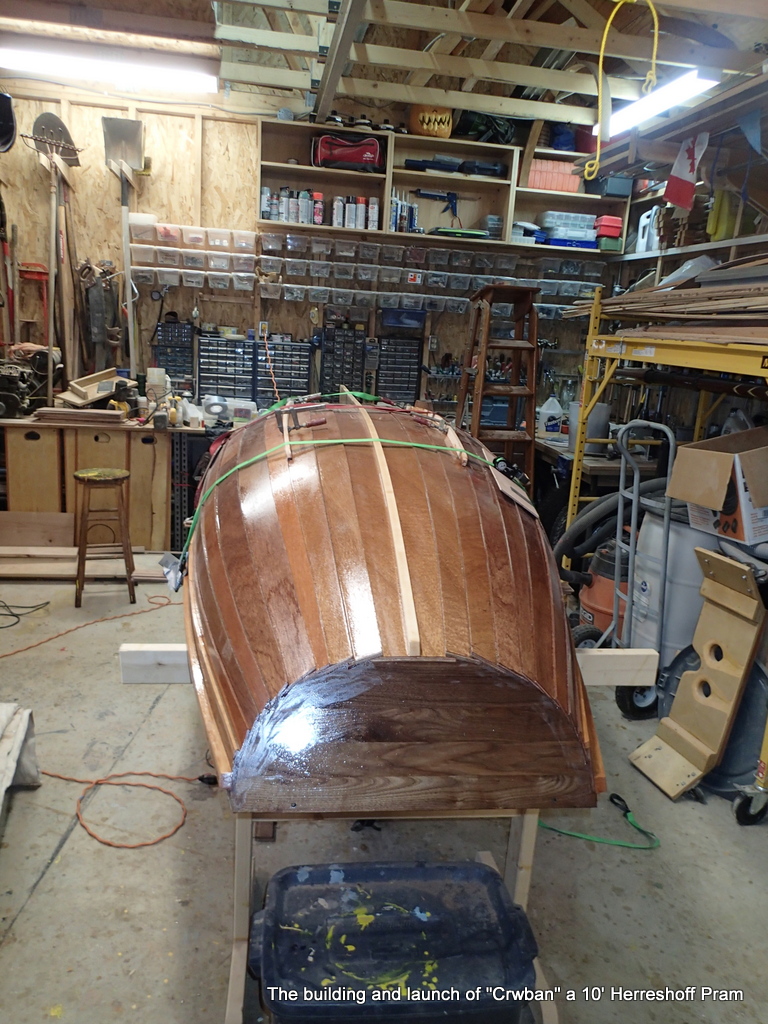
In the meantime, I make and epoxy on the rub strips.
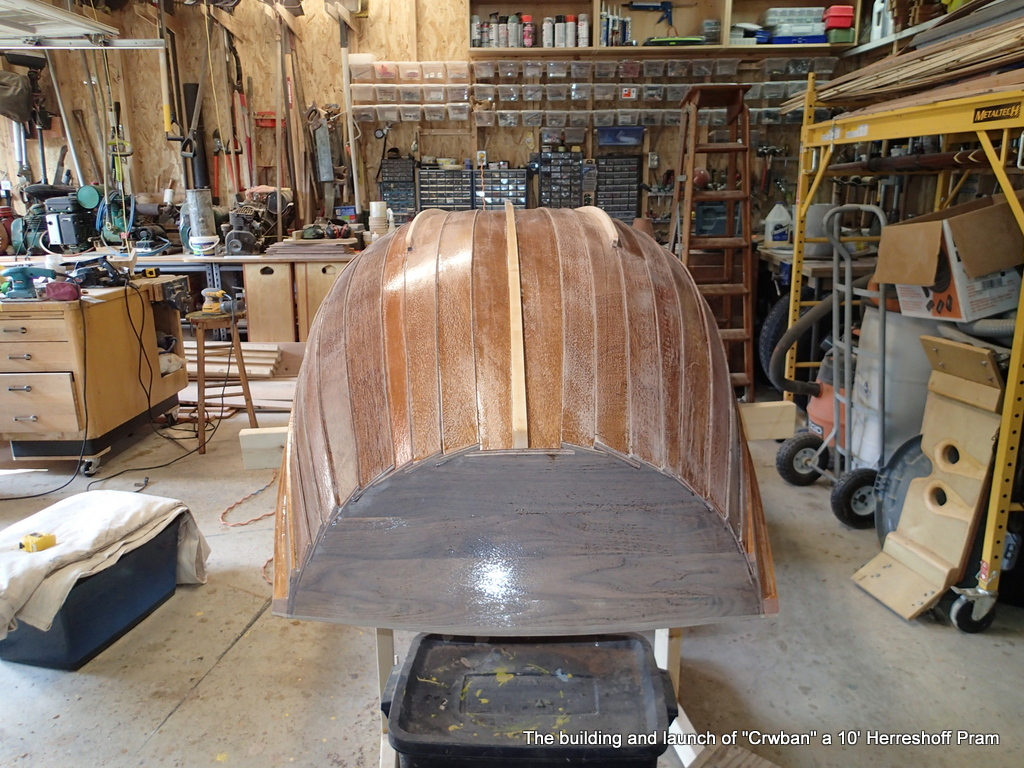
The hull is prepped for another epoxy coat. Lotsa sanding.
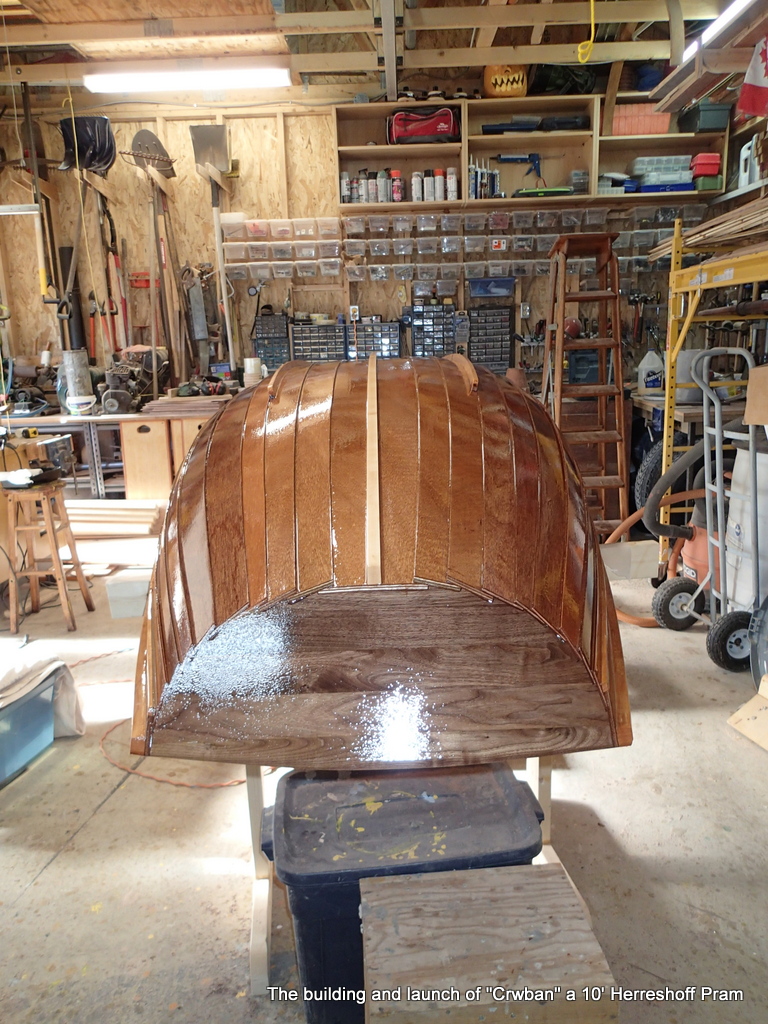
With the outside of the hull more or less finished, I work on the seat knees.
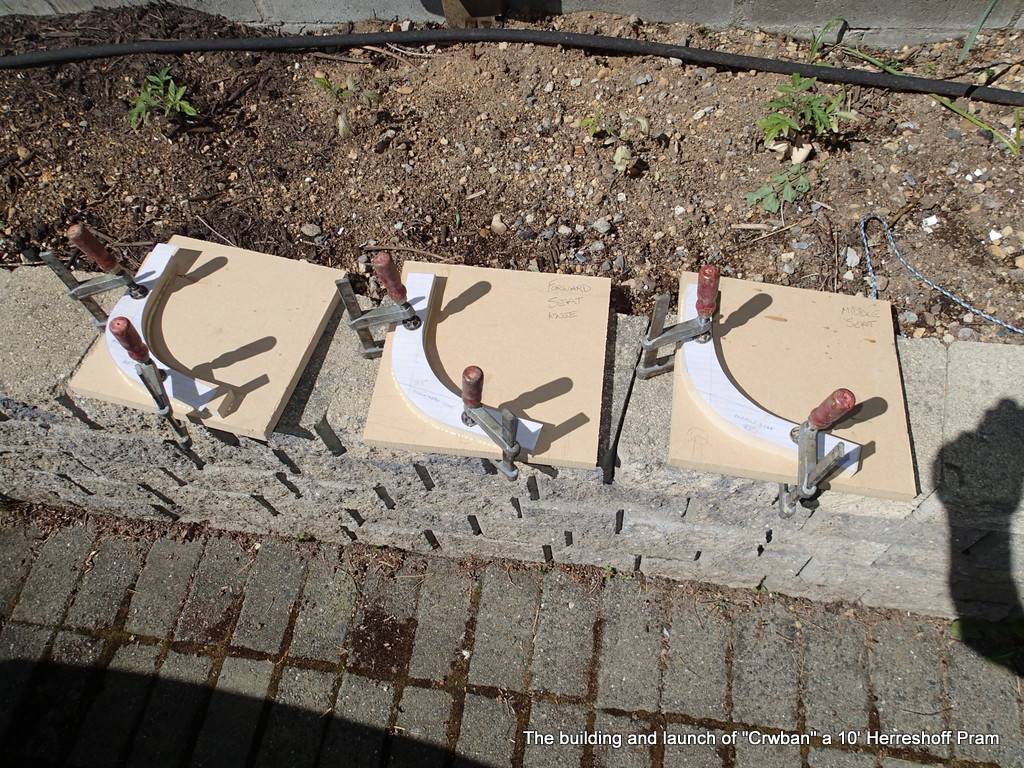
More ripping of maple stock.
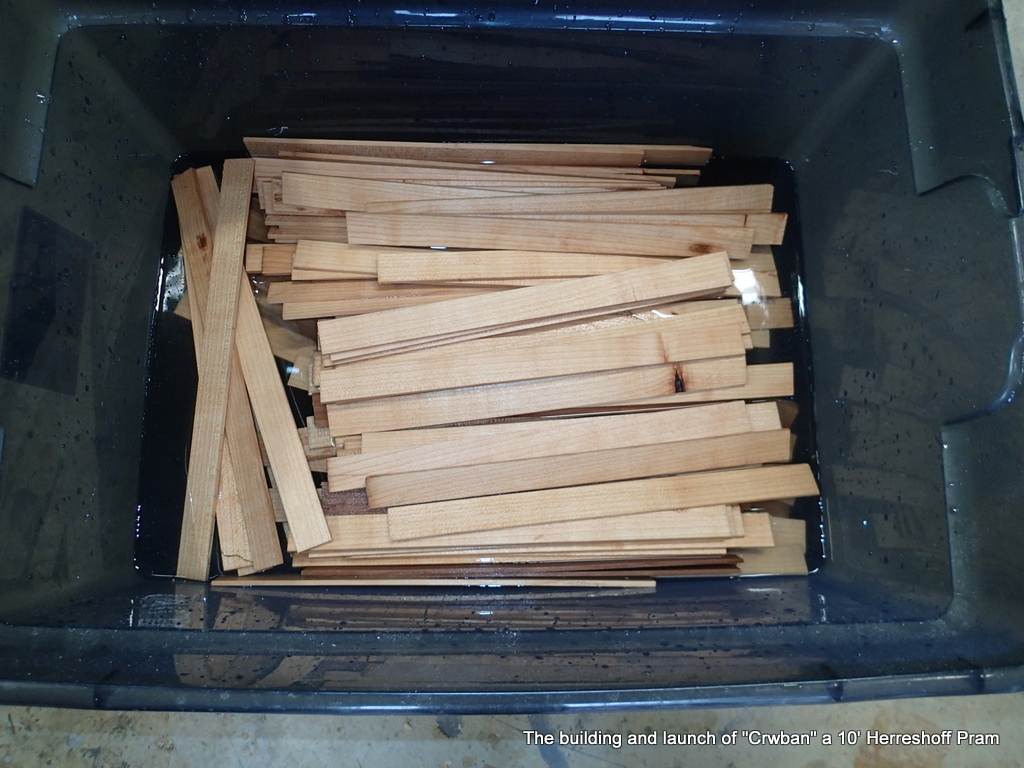
While the maple strips soak, I work on the seat risers…maple strips
I mark the hull where the seat risers should go…6″ below the gunnel.
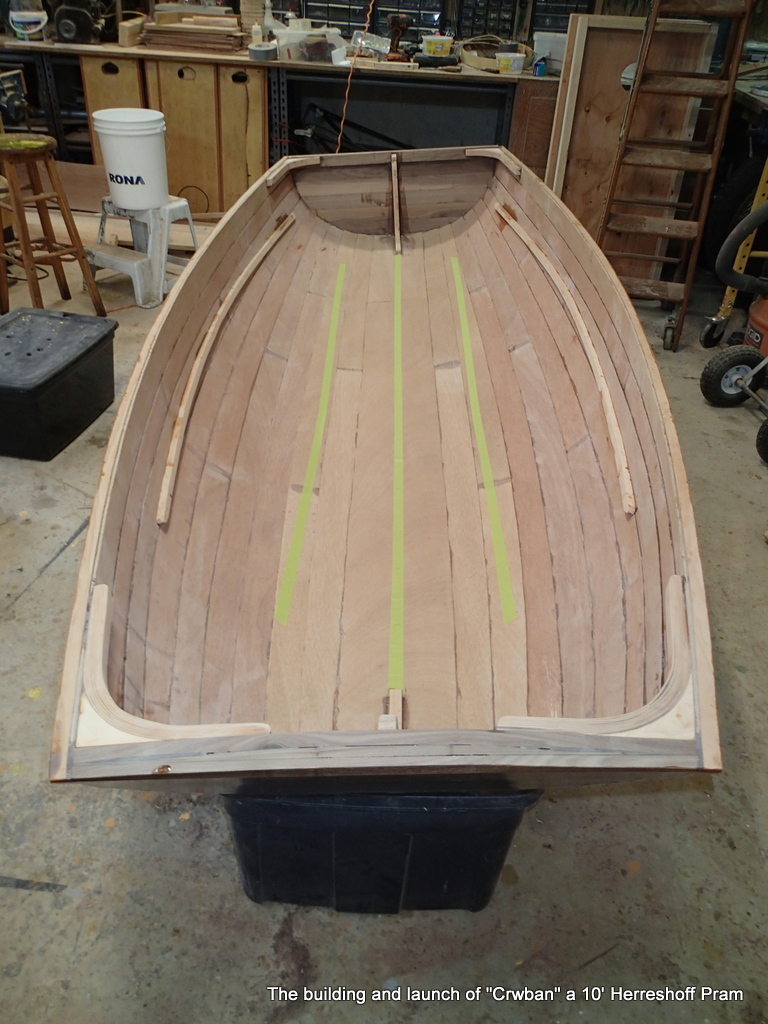
The floors will be fitted to the first three planks, with limber holes.
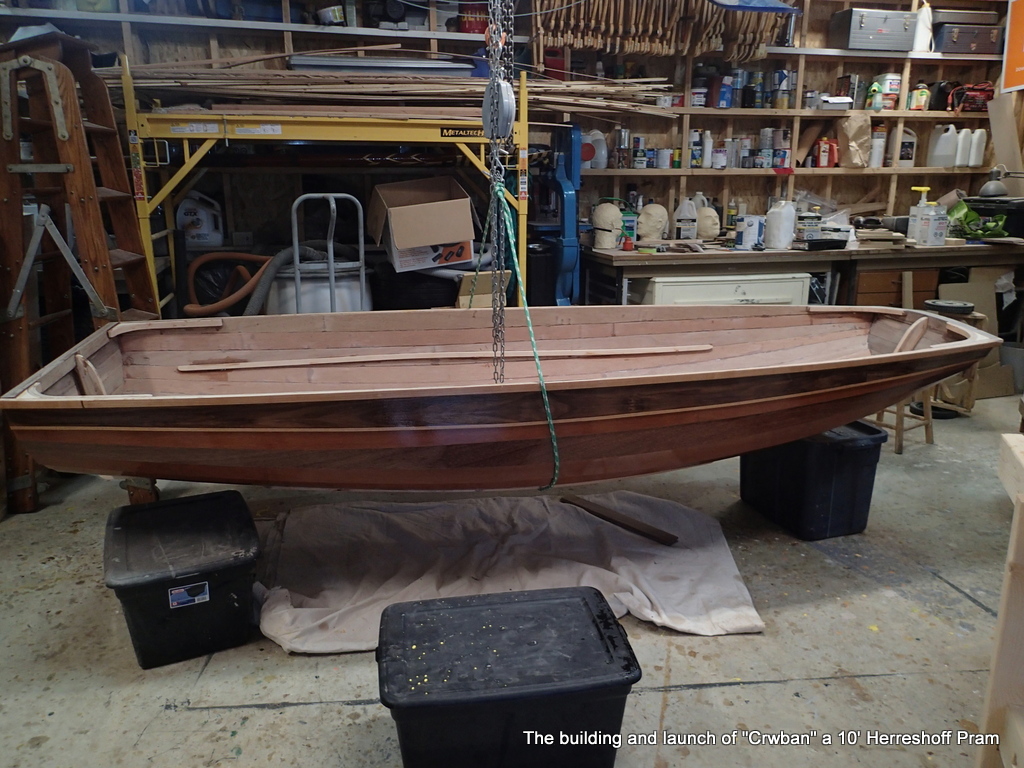
I am going to weigh the boat. I had predicted a hull weigh (planking only) of 60 lbs. What will she weigh with the knees, gunnels, seat riser and keel?
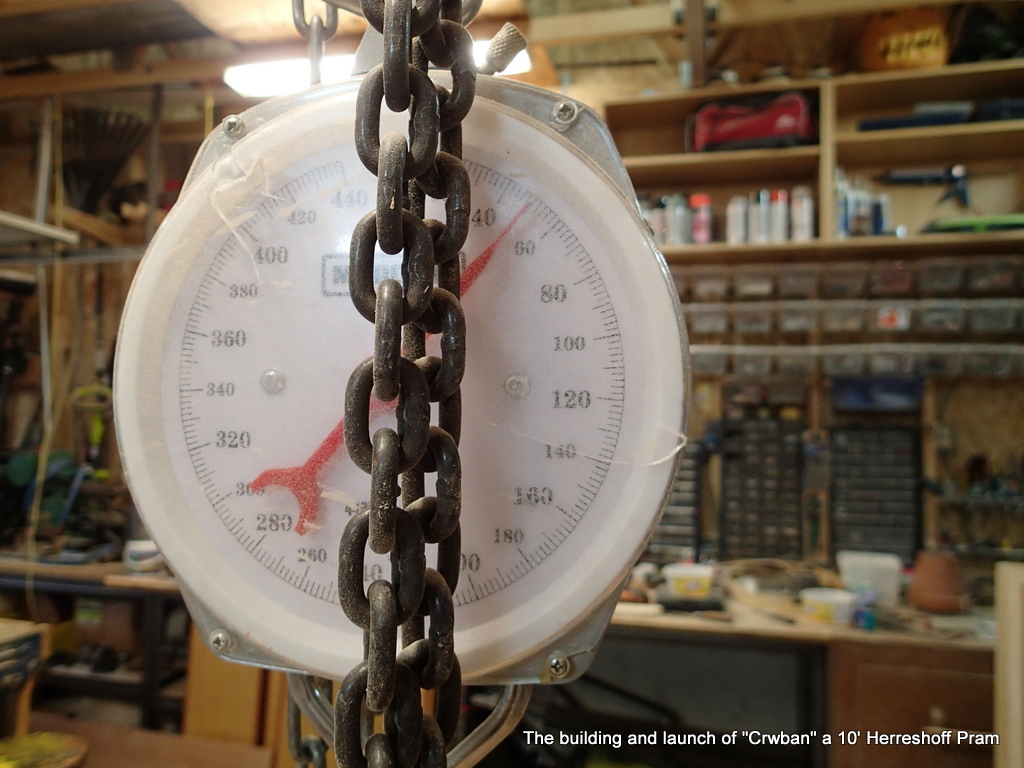
The hull weight is good. I am hopeful for a light boat
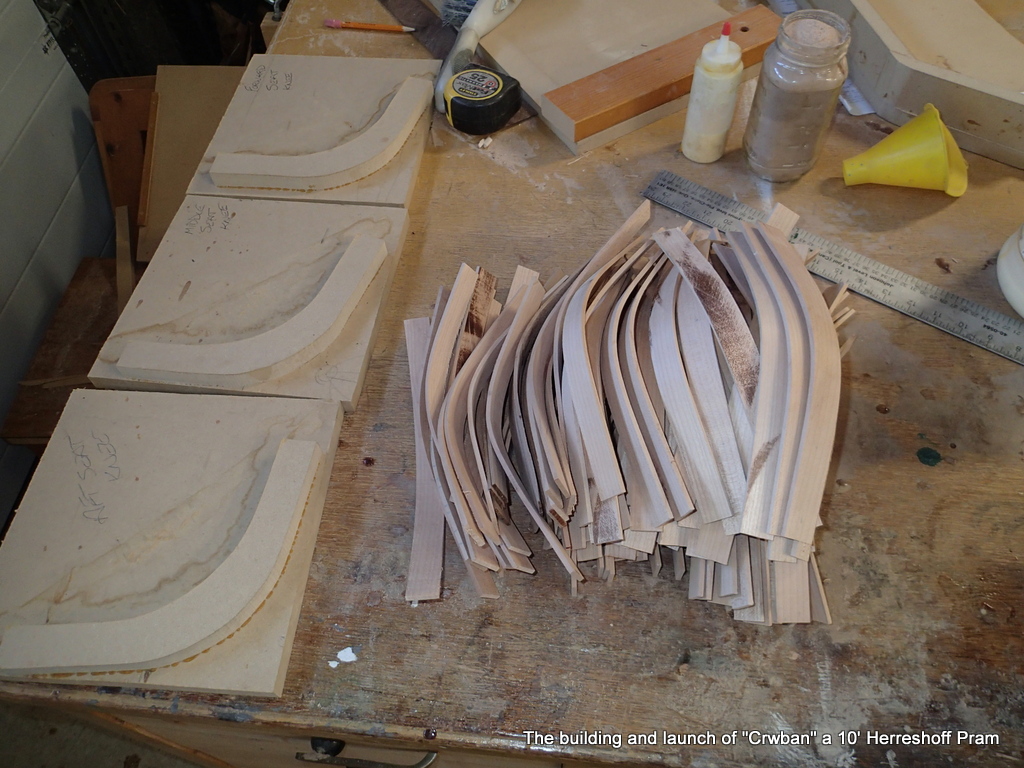
The knee strips are bent and ready to be glued up. Titebond II and lots of clamps.
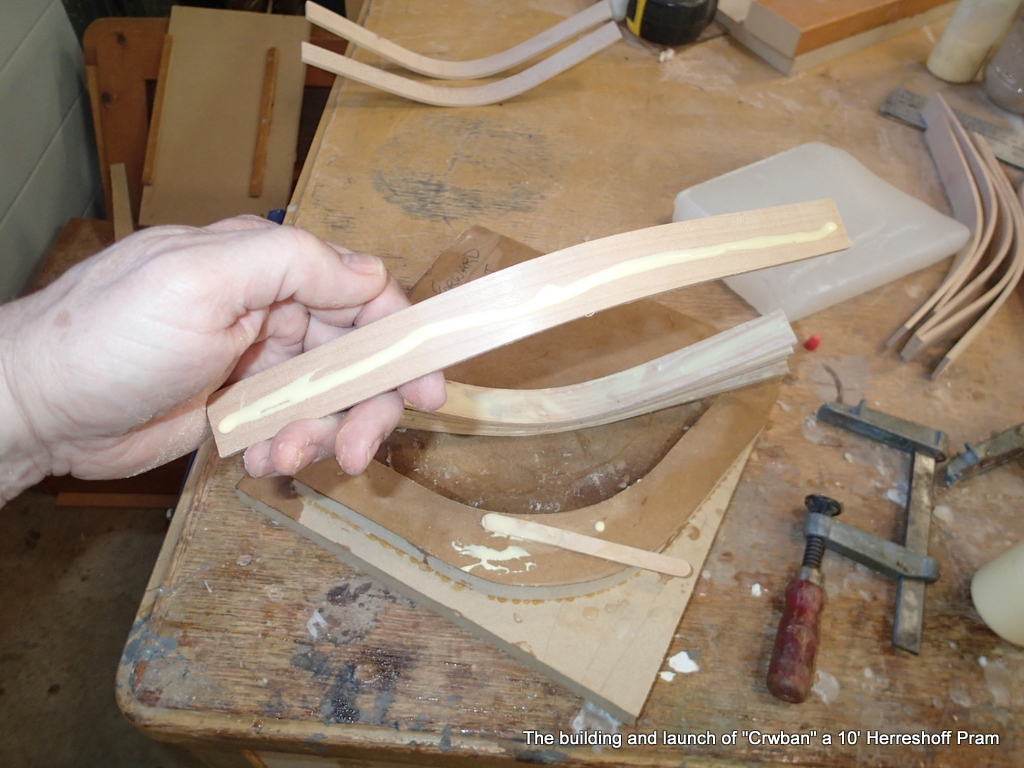
Each strip is coated on both sides with Titebond II. The form has been waxed to prevent sticking.
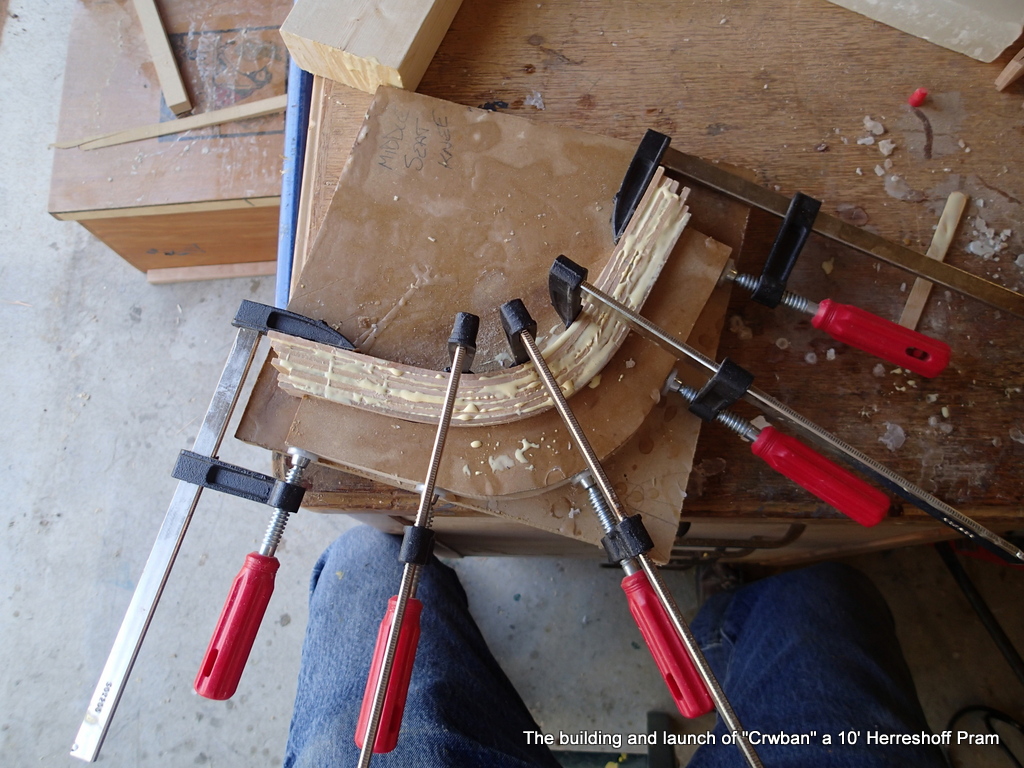
While I am making the seat knees, I begin work on the floors.
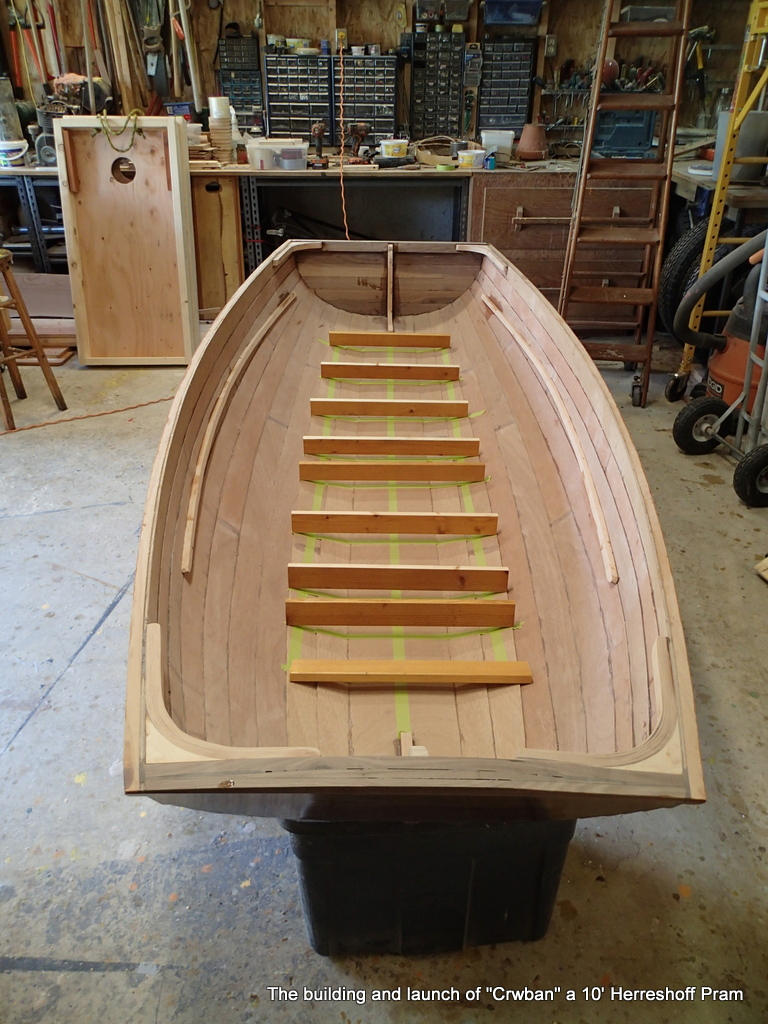
The floors are scribed and then cut. I use the 12″ disk sander to fine fit them.
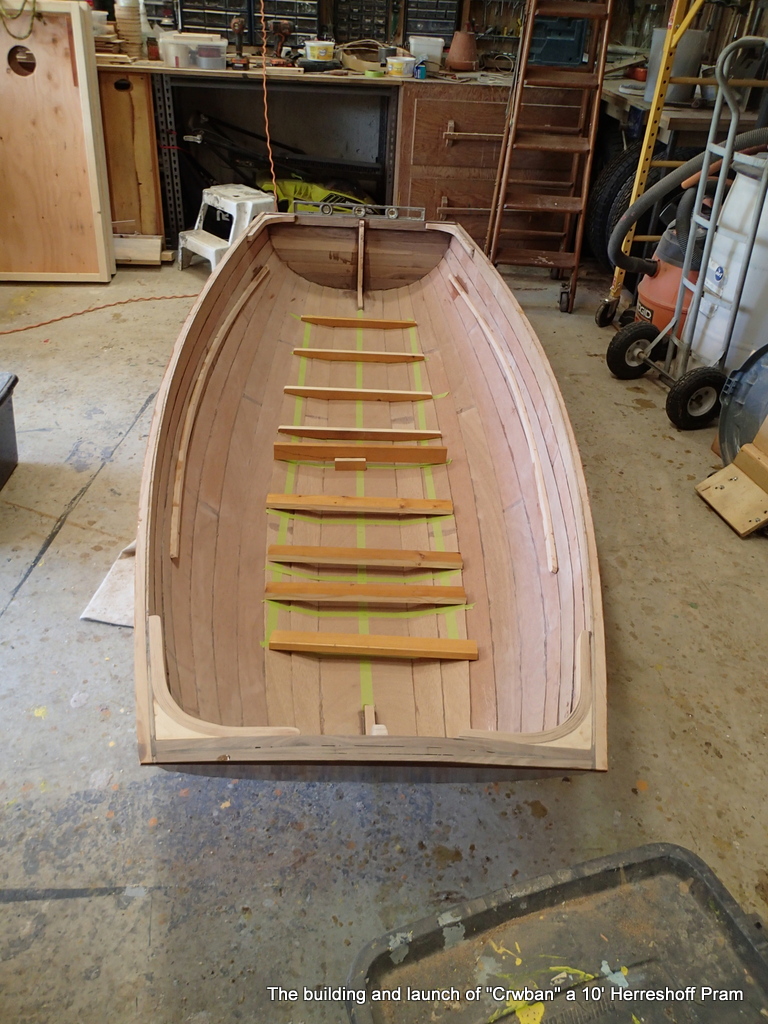
I use a pencil on a block to mark the cuts, then the disk sander to fine fit.
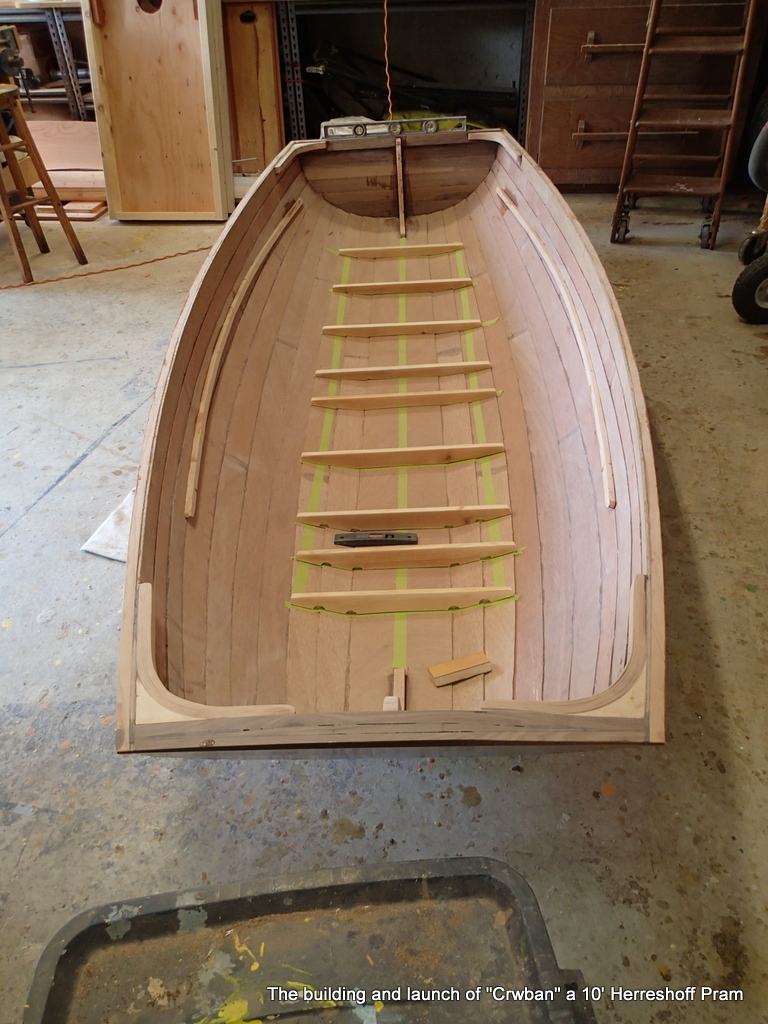
I cut limber holes for drainage.
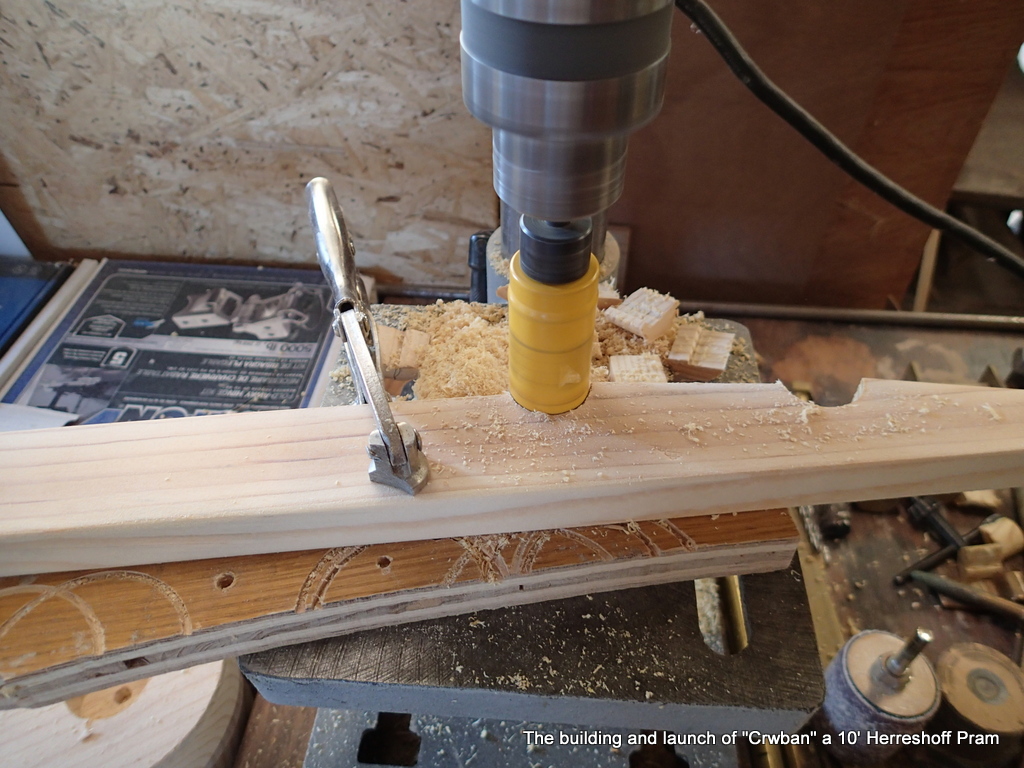
I use my drill press to cut the limber holes. I used a 1″ hole saw, clamped the floor in place to make the cut. I sand the limber holes smooth with a drum sander.
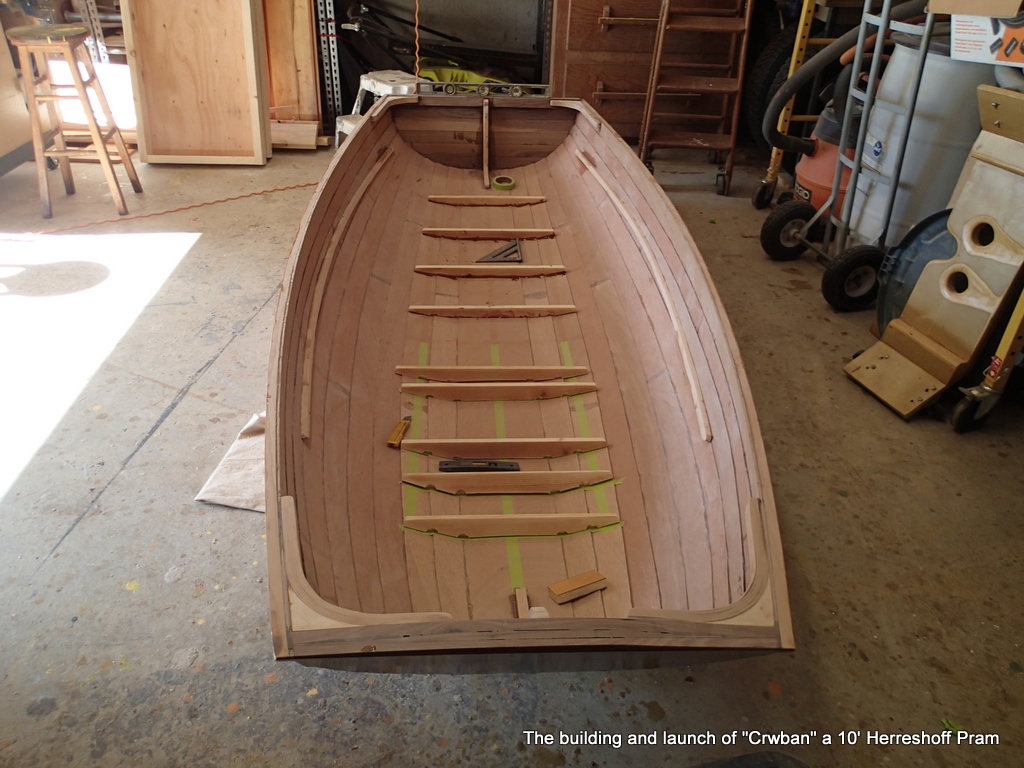
I have leveled the hull and level the floors as I epoxy them in.
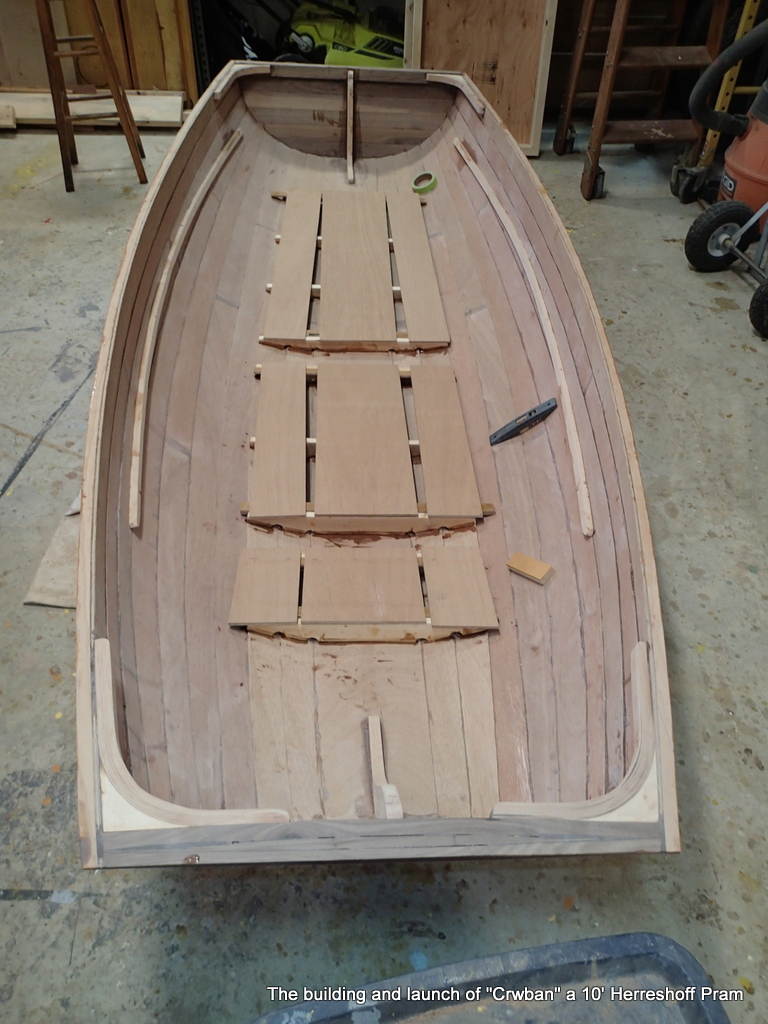
After the floors have been epoxied in, I begin to fit the walkway. I am using leftover 6mm marine plywood. The gaps between the panels are for bailing access. They will be under the thwarts.
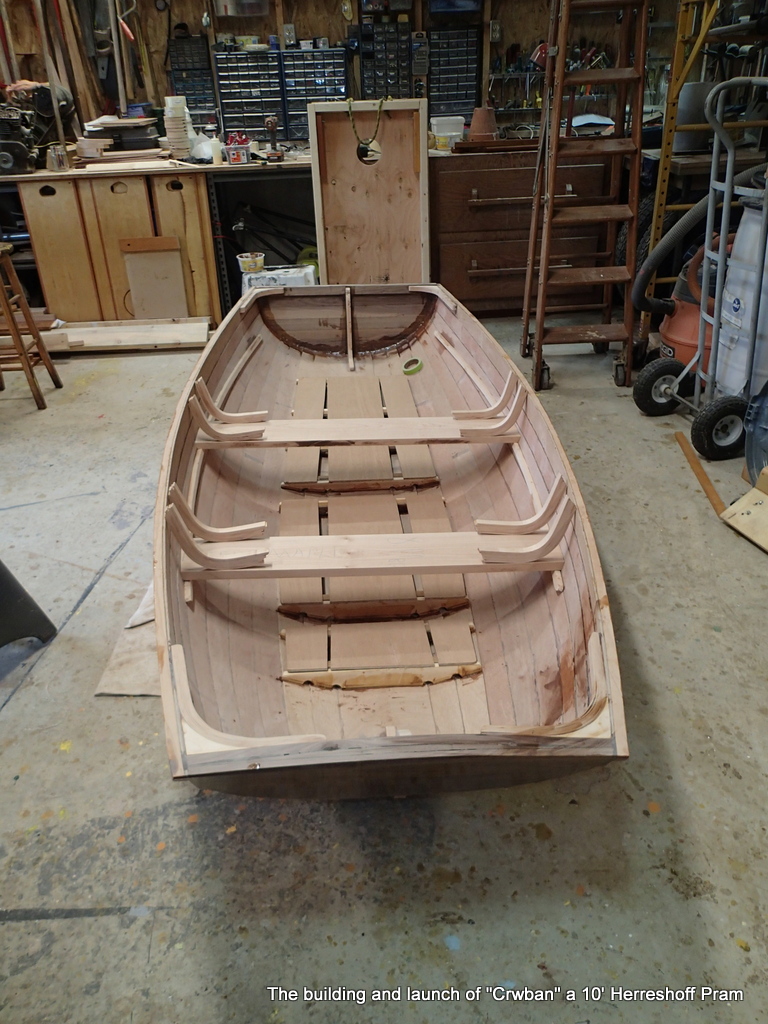
With the walkways more or less fitted, time to do the seats. I got a deal on “White Maple”. I decide to use the nearly 1″ thick material for the thwarts. They will not need a centre support. I decide to add a walnut trim to the seat edges.
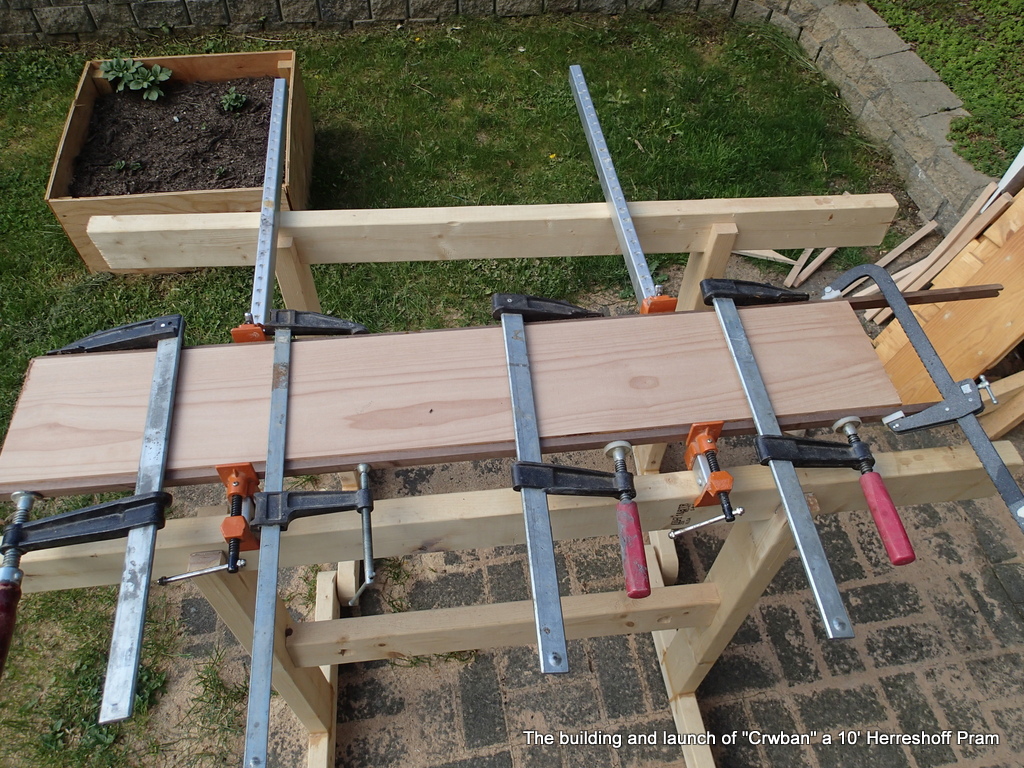
I have to laminate up a piece for the stern thwart.
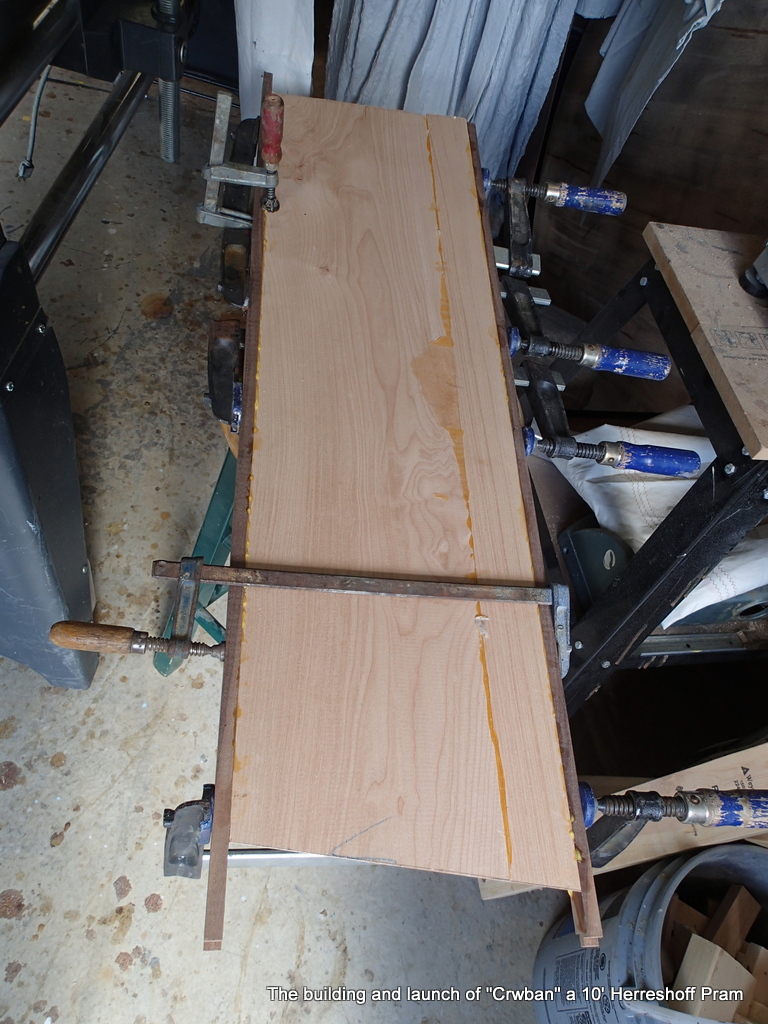
Using Titebond II for the thwarts
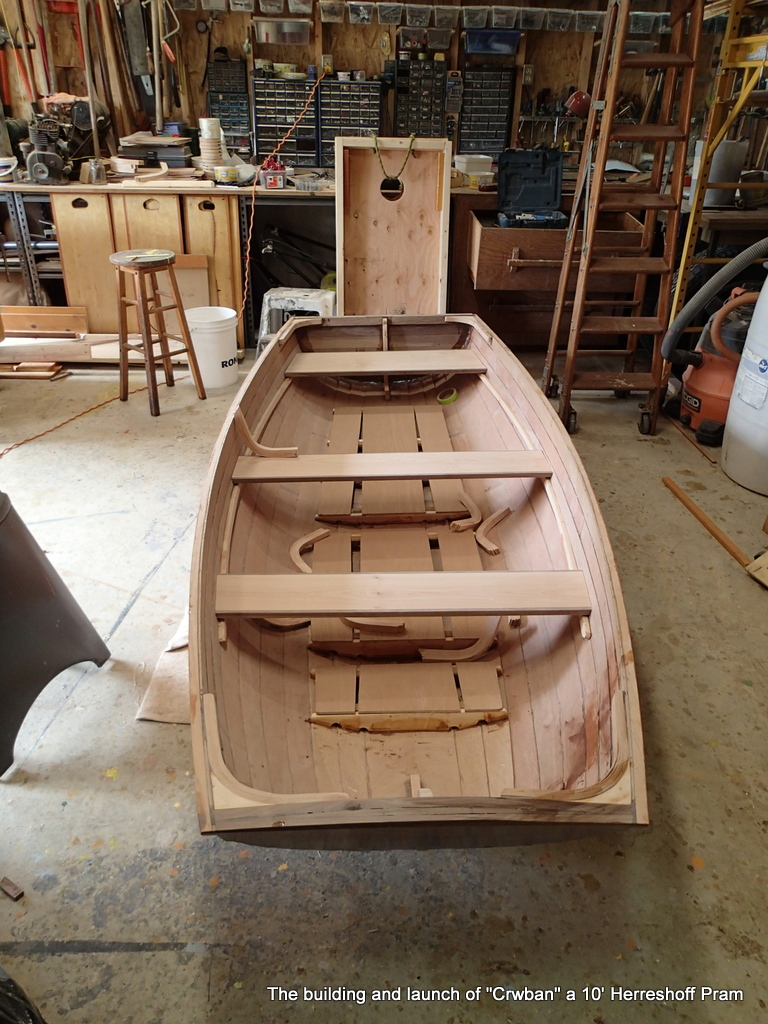
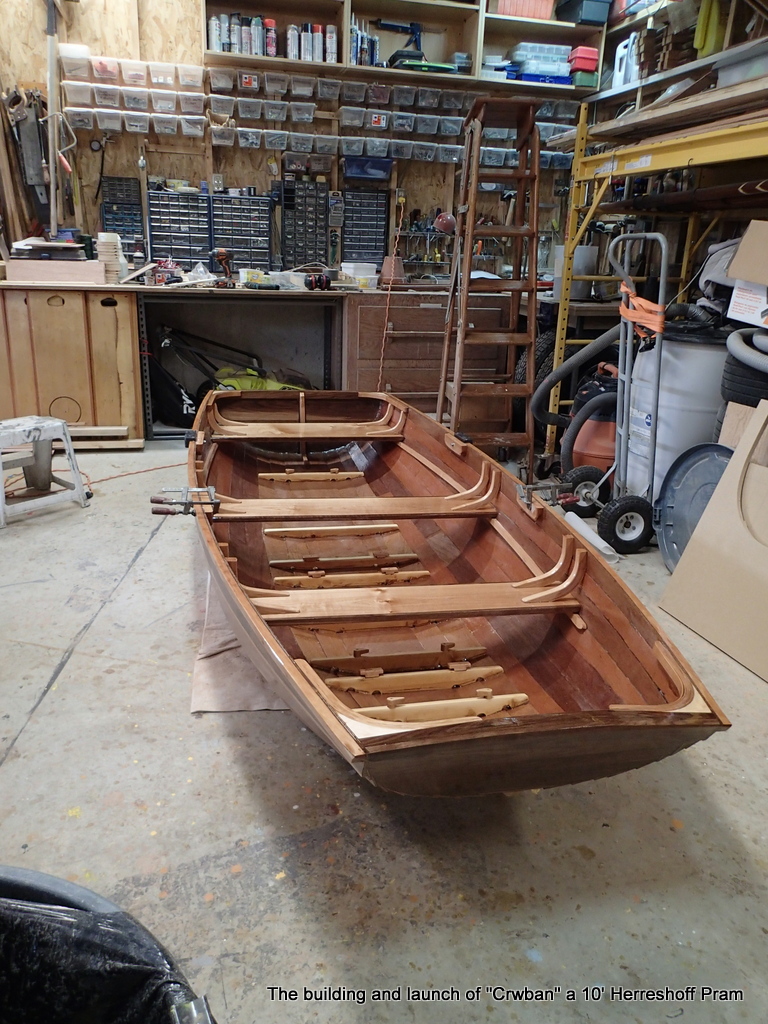
With the thwarts all glued up and sanded, I fit them into the boat.
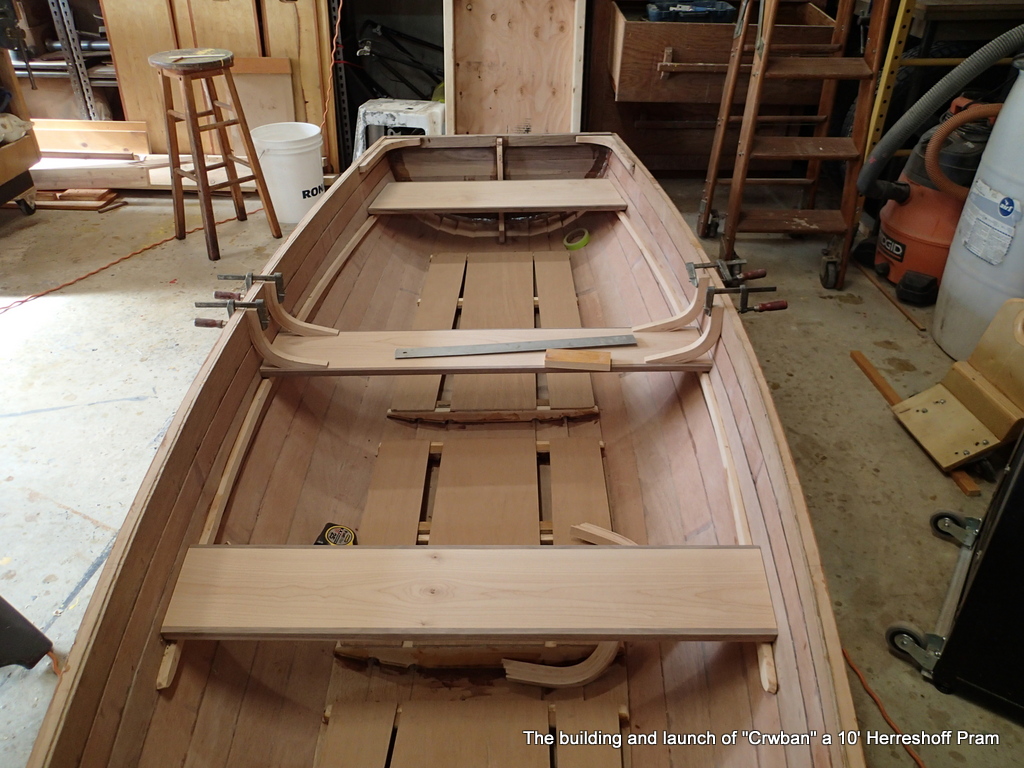
Fitting the knees. I mark them out and use the 12″ disk sander to shape.
I will be epoxying them in using a low clamping pressure method.
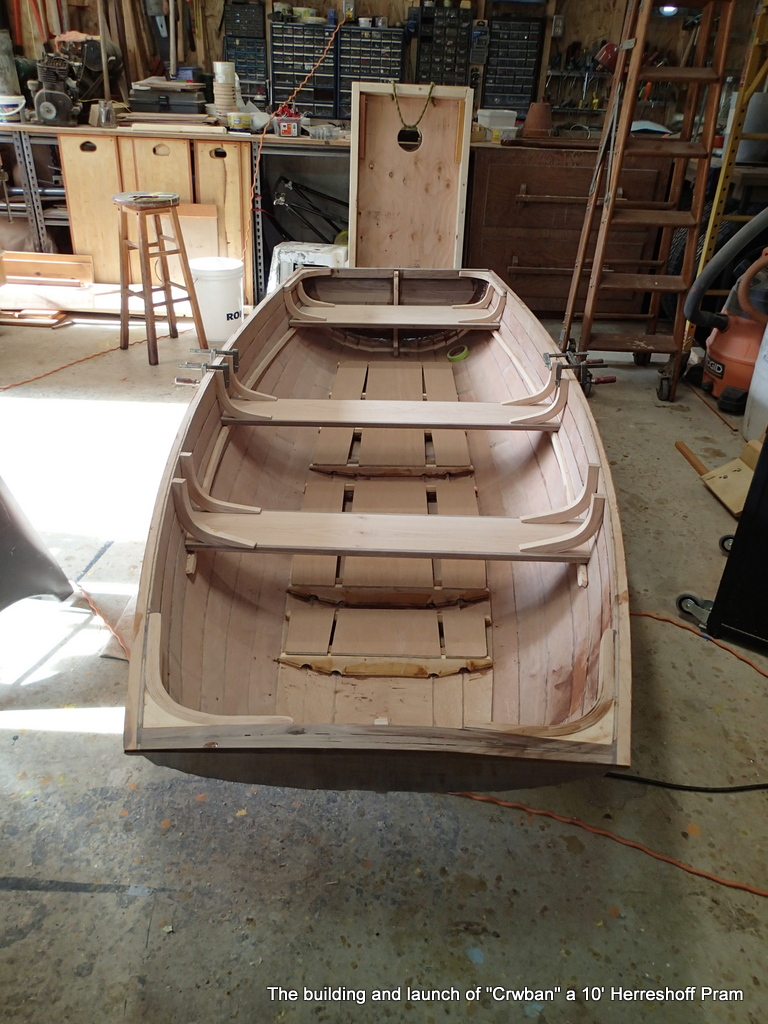
With the thwart knees fitted and ready to go, I finish up the walkways. They need a way to keep them in place.
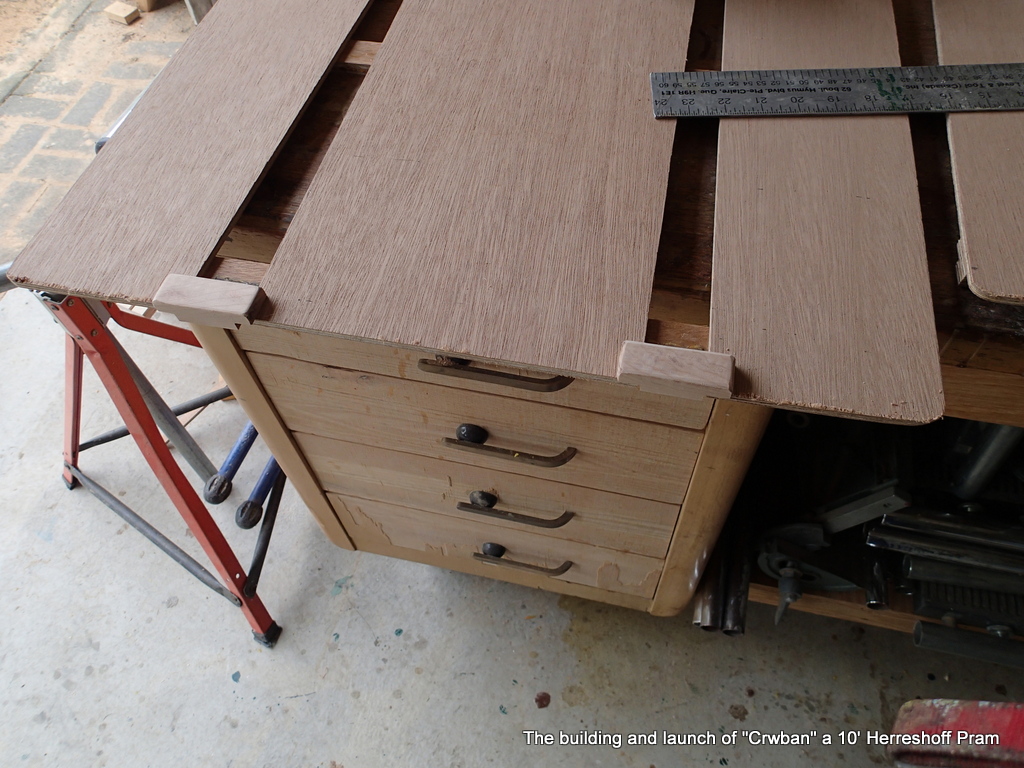
I make up some maple catches to hold one side of the walkways…Six in total.
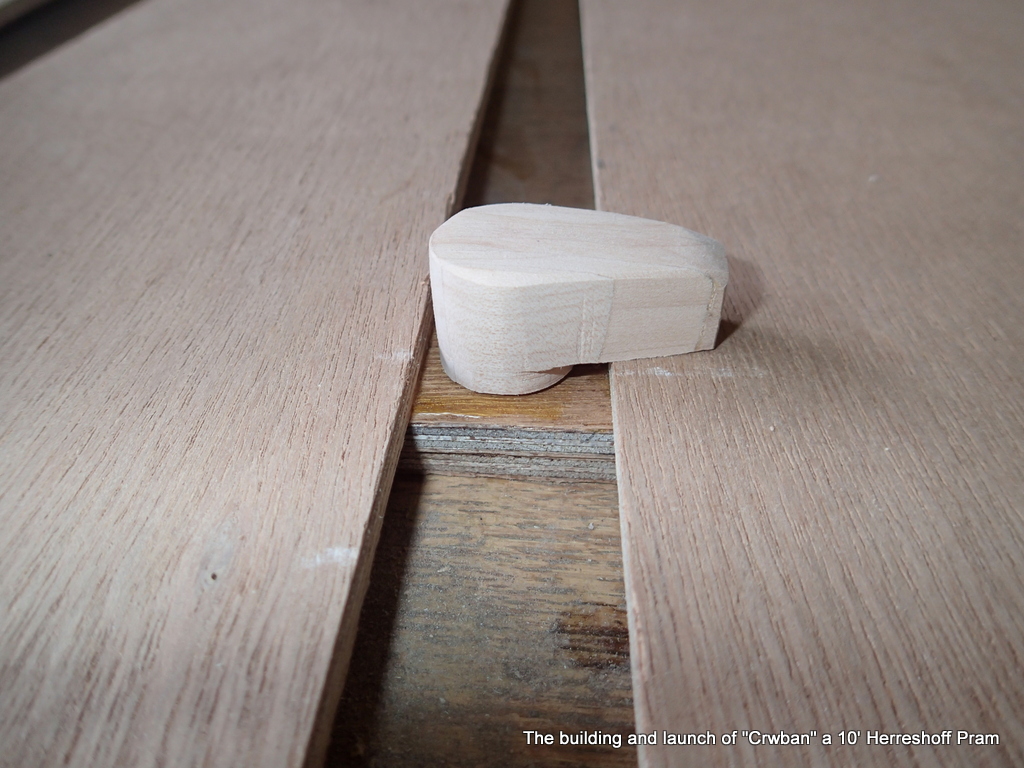
I design a maple latch for the other edge of the walkway. Twist to lock, twist the other way to unlock and remove the walkways.
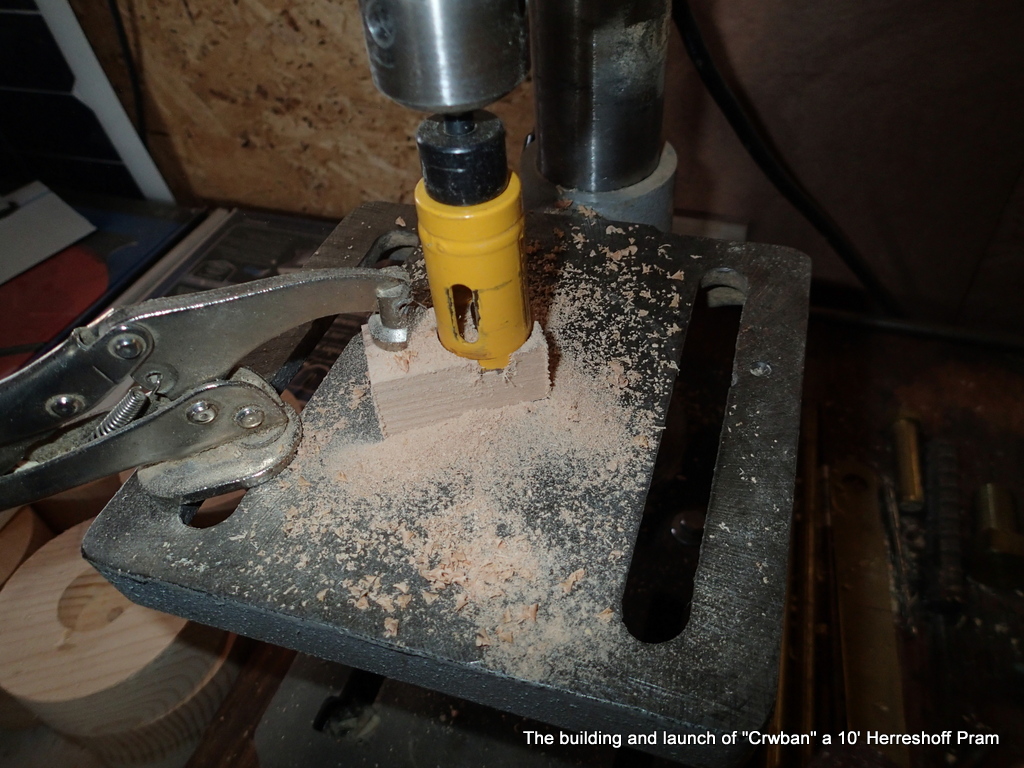
I cut a guide hole about half way into the block for the base of the latch.
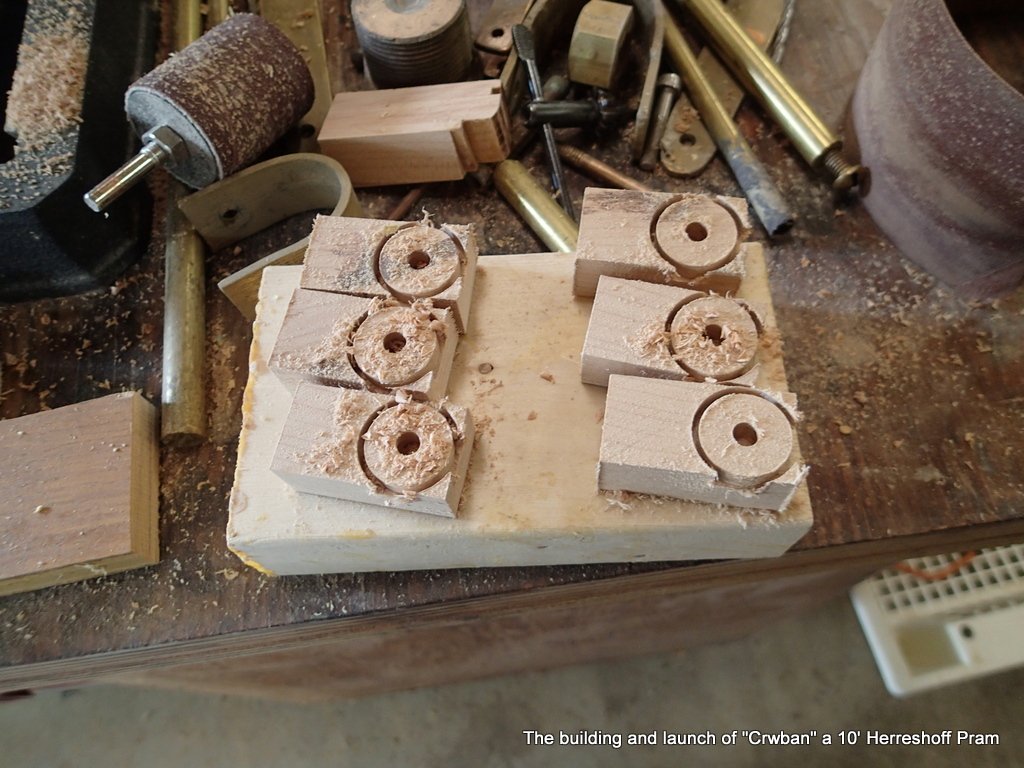
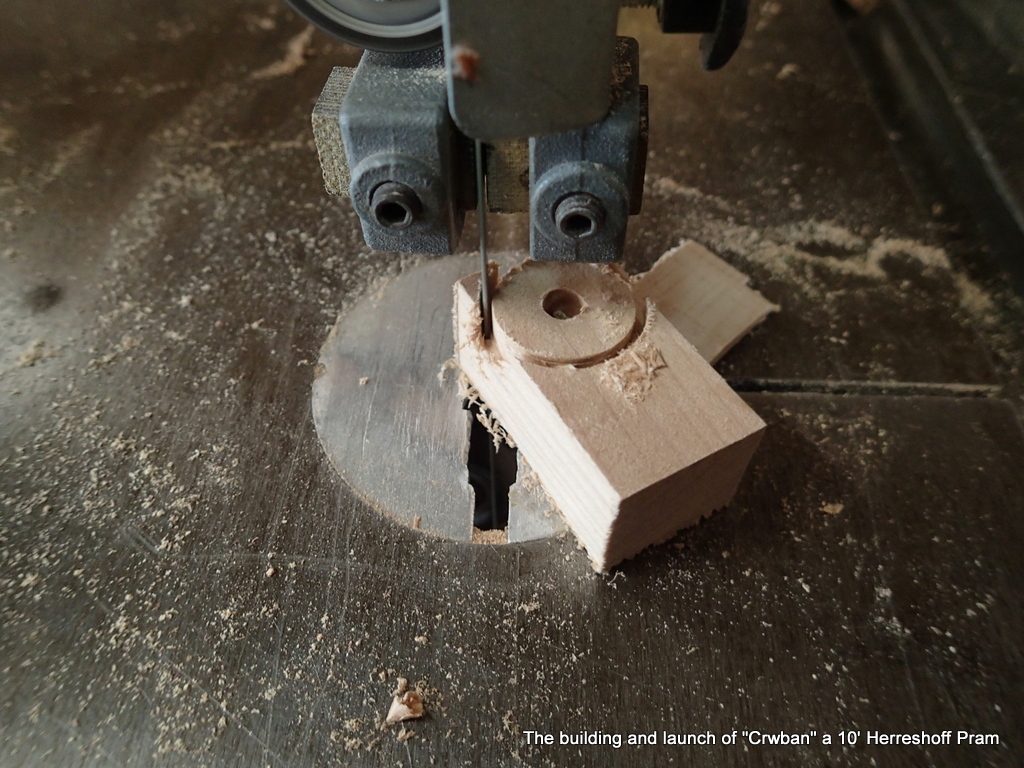
The second cut is done on the bandsaw. The latch is cut to shape.
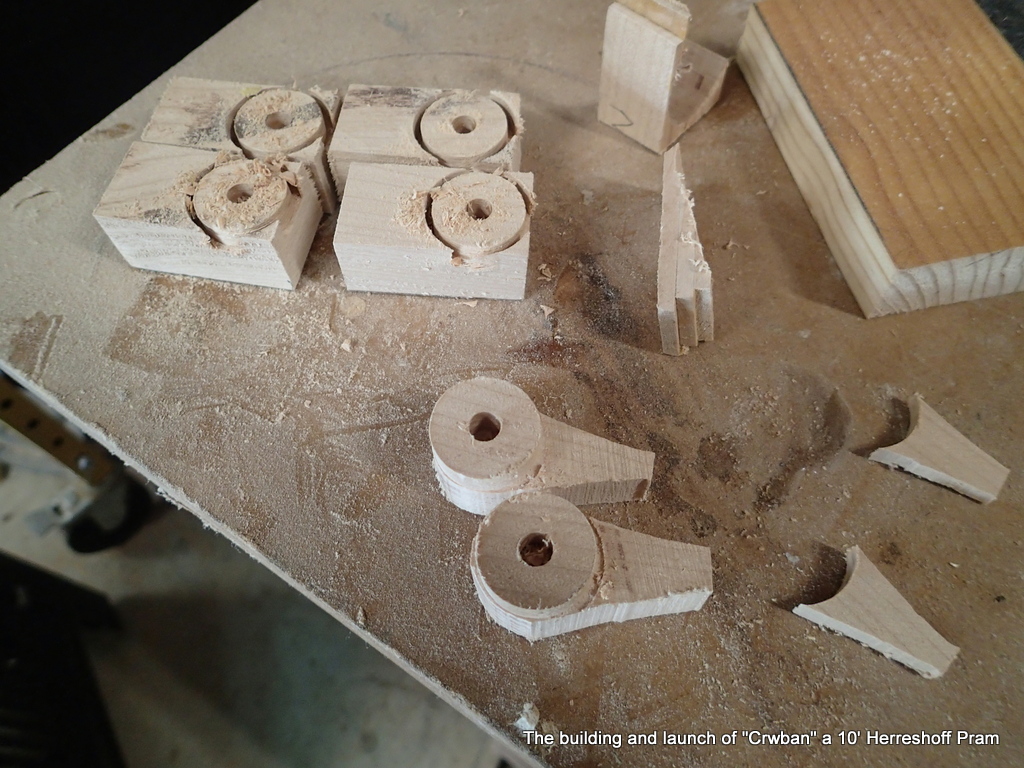
The third cut makes the sloped section that goes over the walkway.
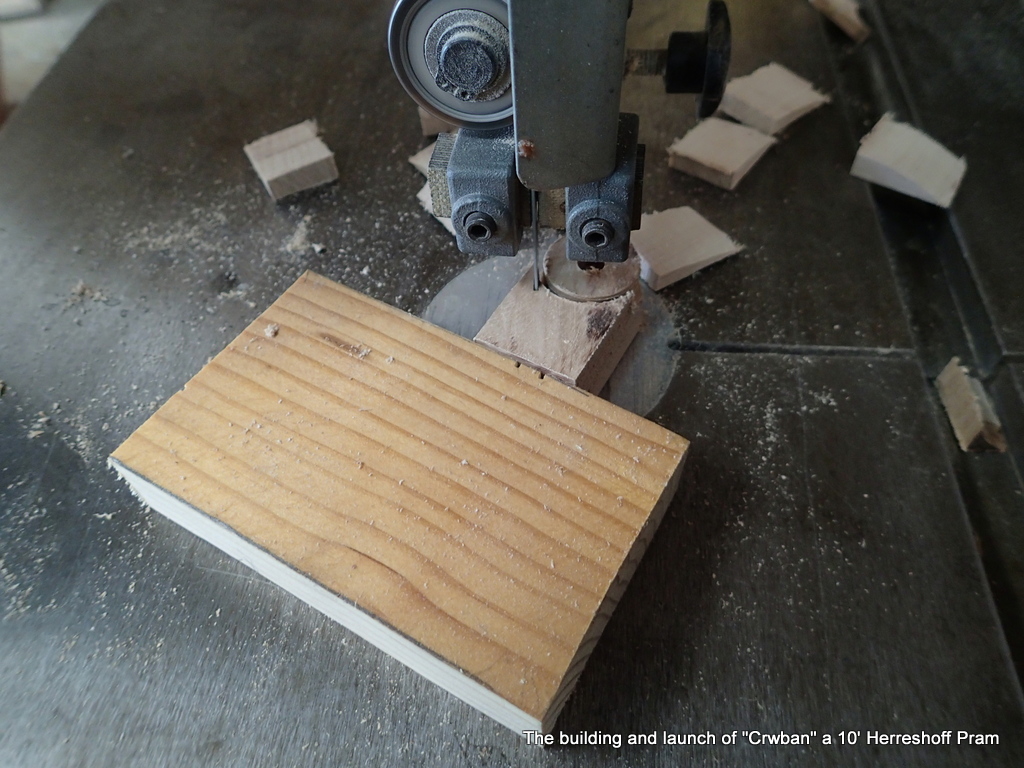
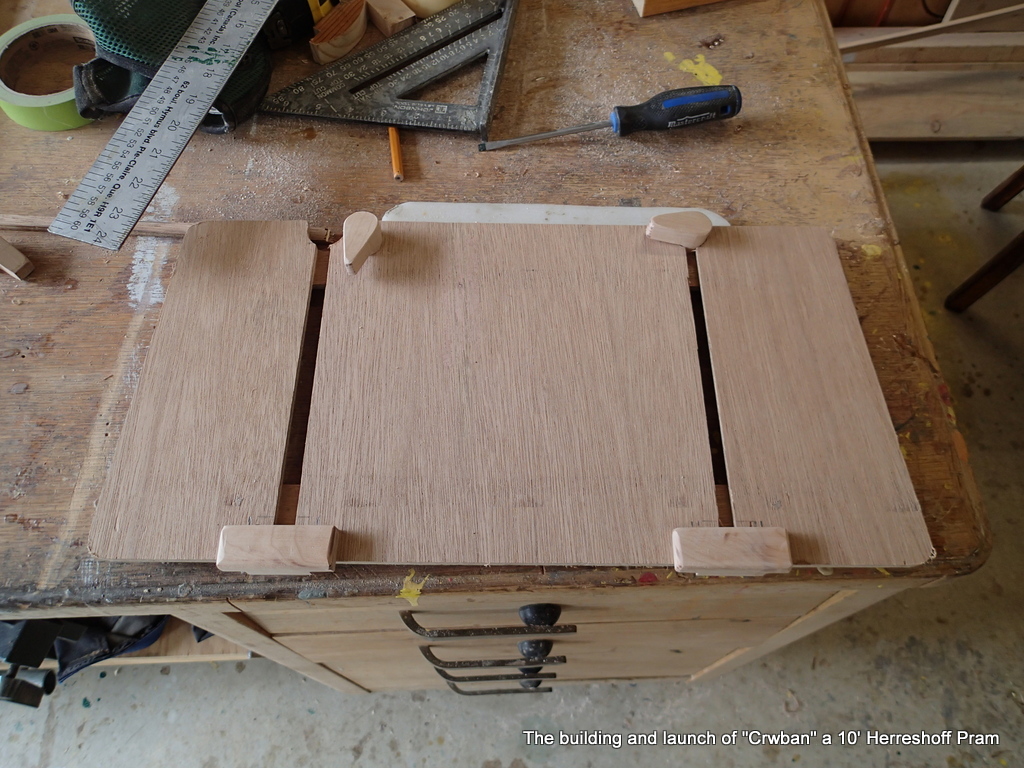
The walkways have a half-circle cut into them for the latch.
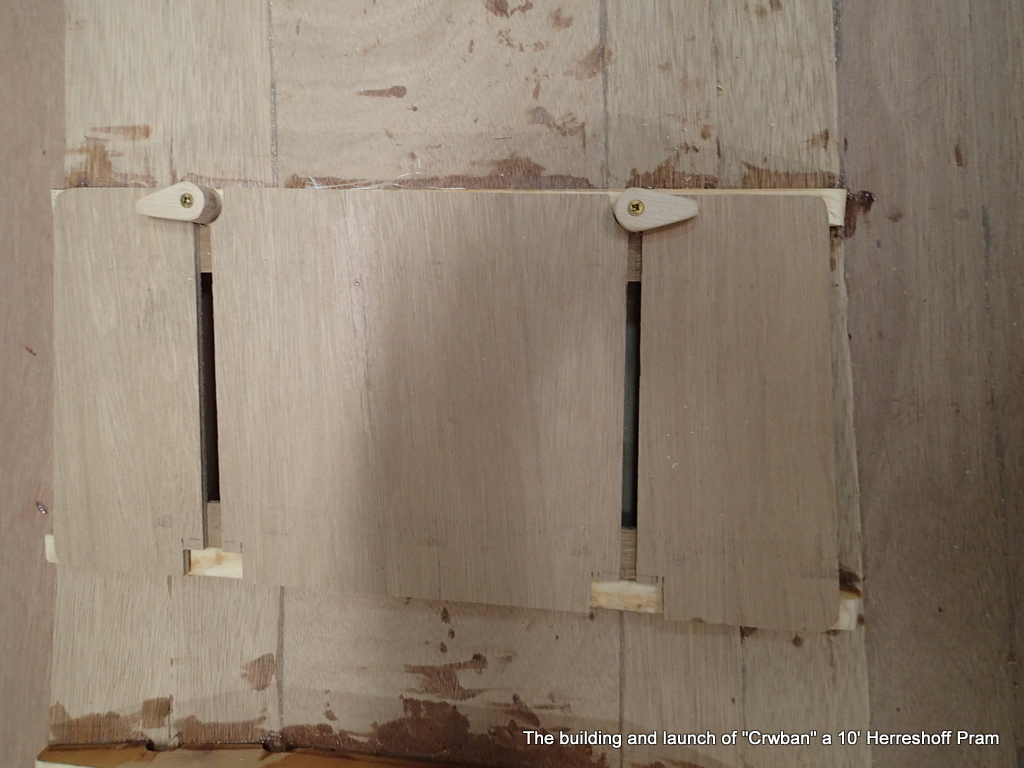
I dry-fit the walkways in the boat. Seems OK.
To glue in the clips, I drill a screw hole, epoxy the clip to the floors and when the epoxy has cured, I remove the screw and replace it with a bamboo dowel.
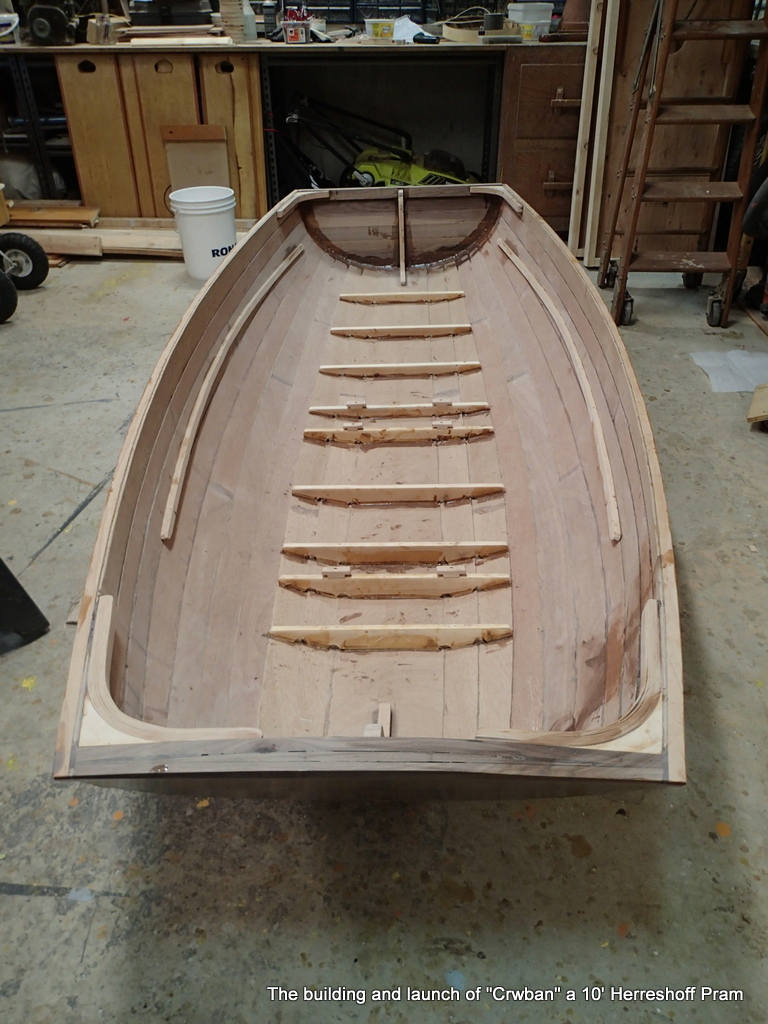
With the walkways fitted, I am varnishing them. Time to sand the inside of the hull.
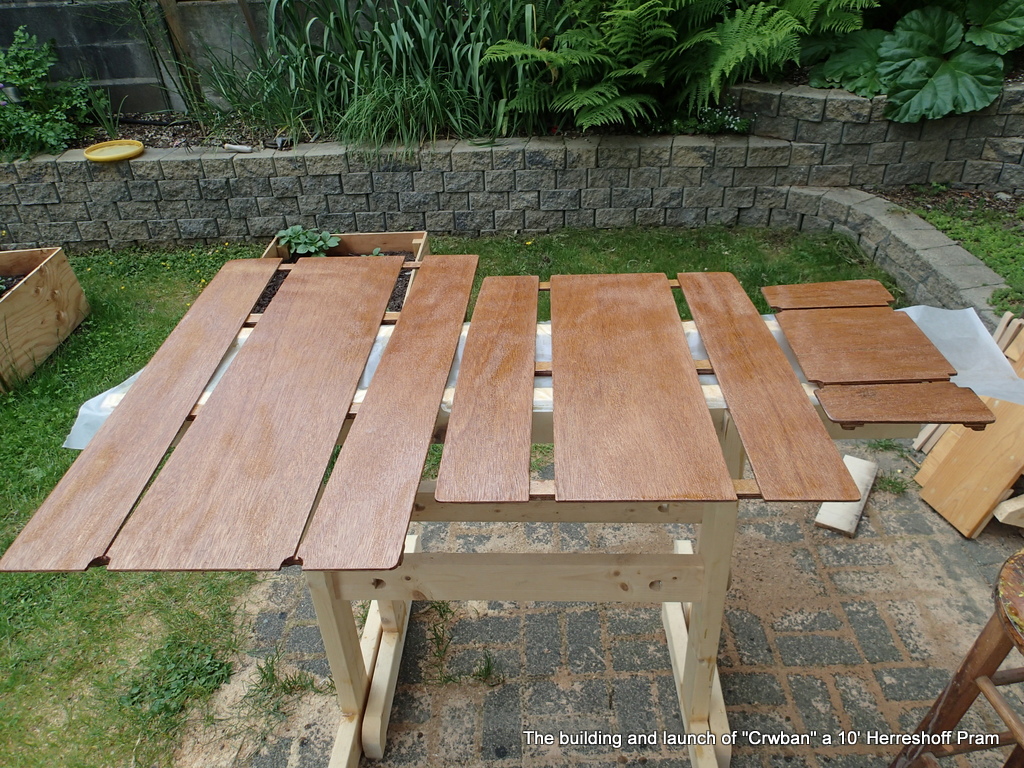
After the second coat of varnish, I sprinkle some ground up walnut shells for non-slip.
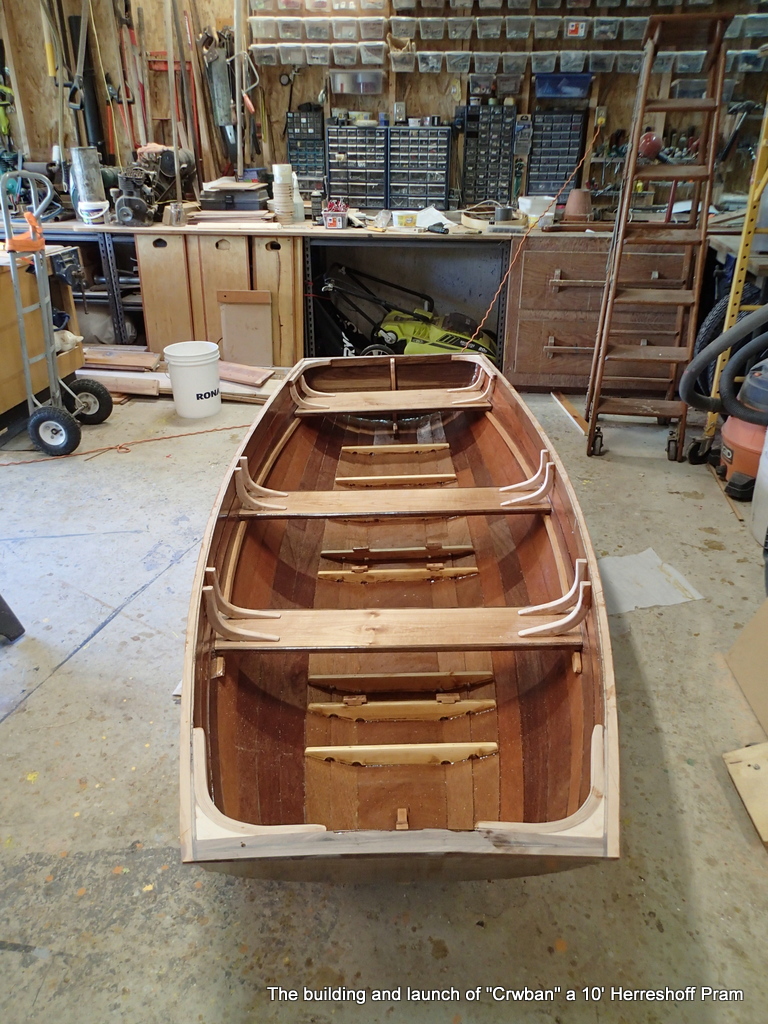
After the epoxy cures, the inside and outside of the hull gets a through sanding in preparation for varnishing.
Flip her over and install the brass half-rounds and we are ready for Varnish, Varnish, Varnish….I drill the bow transom painter hole before varnishing so I can varnish the hole too.
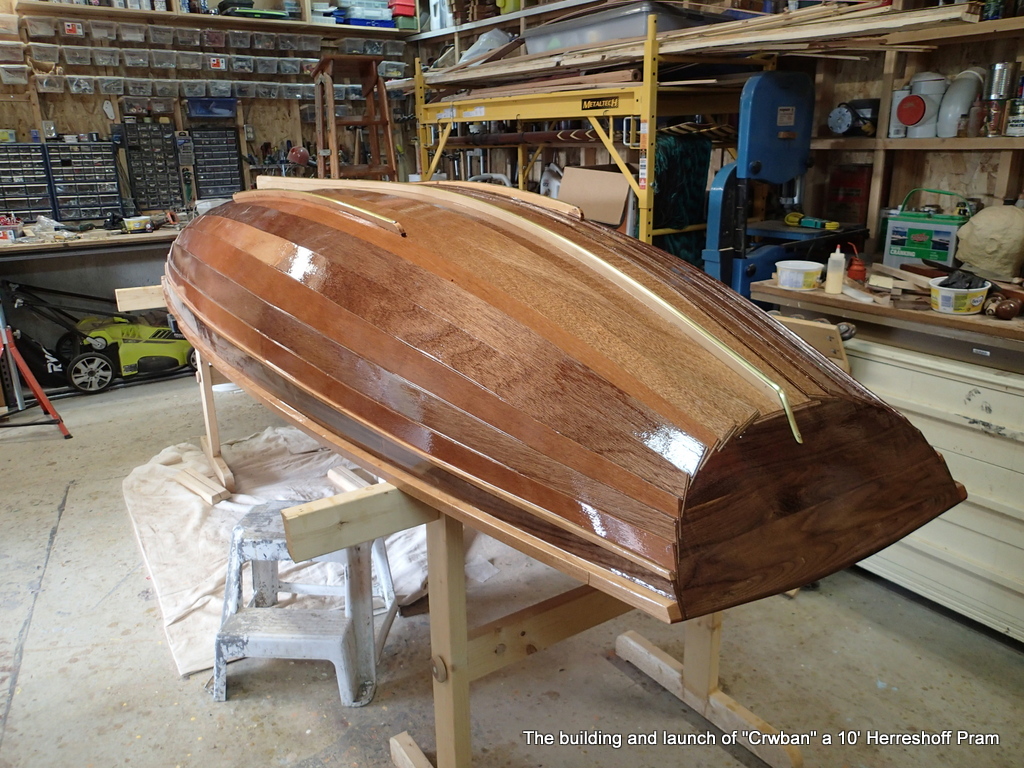
I put two coats a day on the outside of the hull. Rolled and tipped. One in the morning and one in the evening. Eight coats in total on the outside.
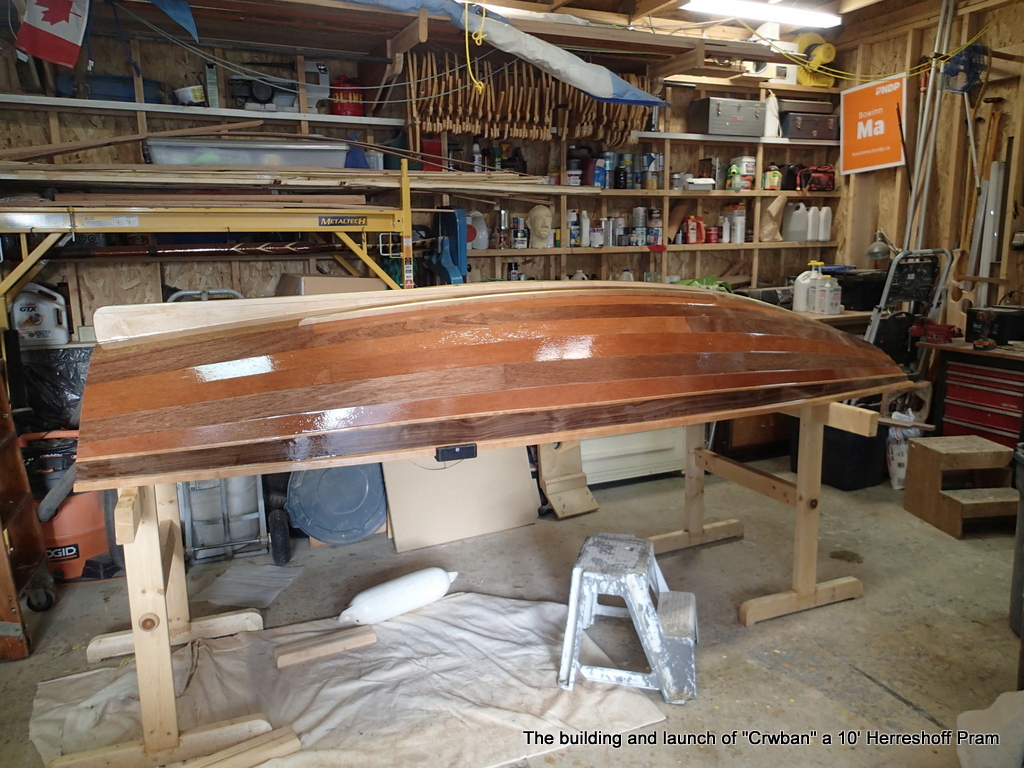
I then flip the hull over and brush on eight coats on the inside, Thwarts and all.
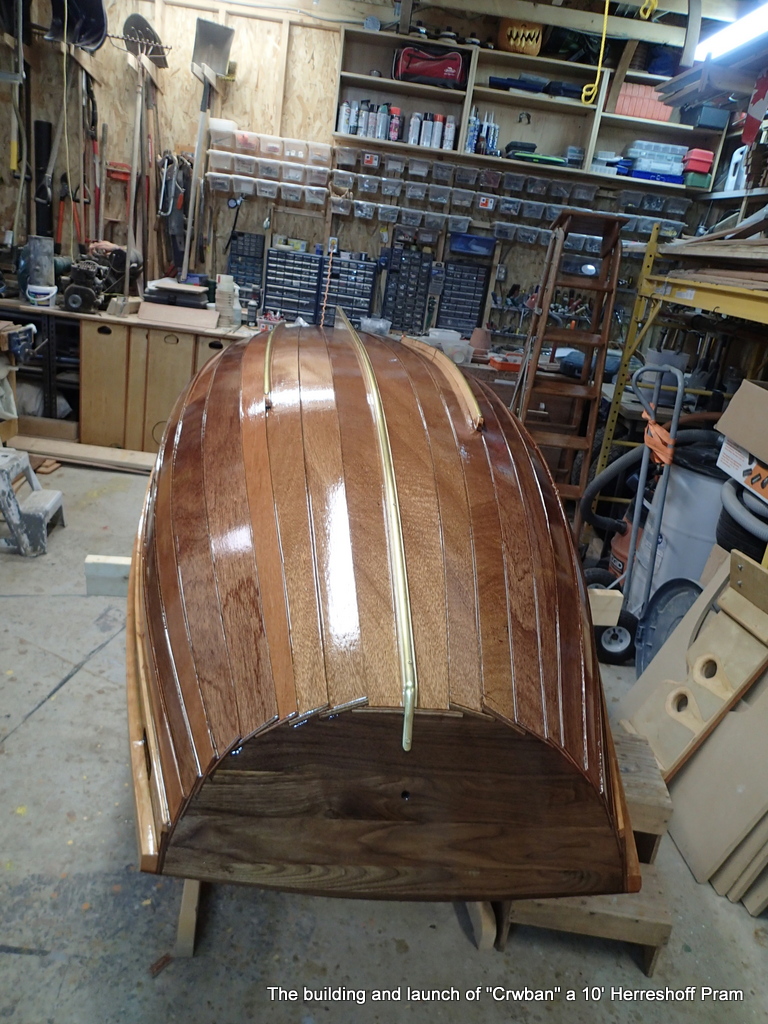
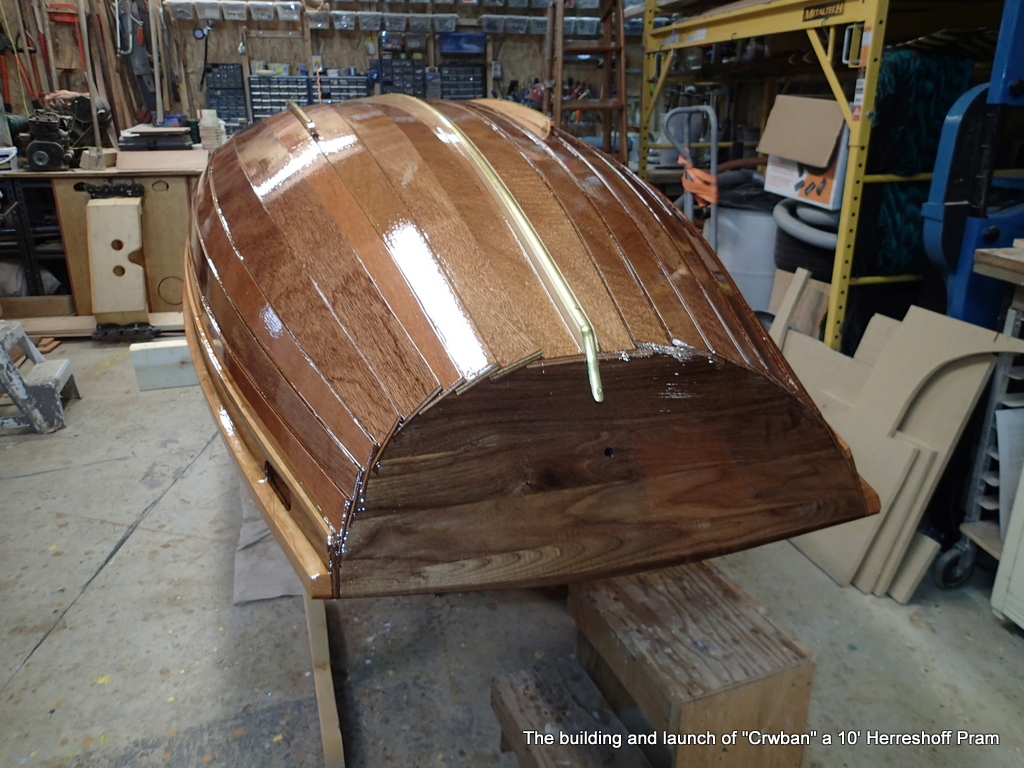
Crwban will have only one line…The painter. I will use the hawseholes to run lines through.
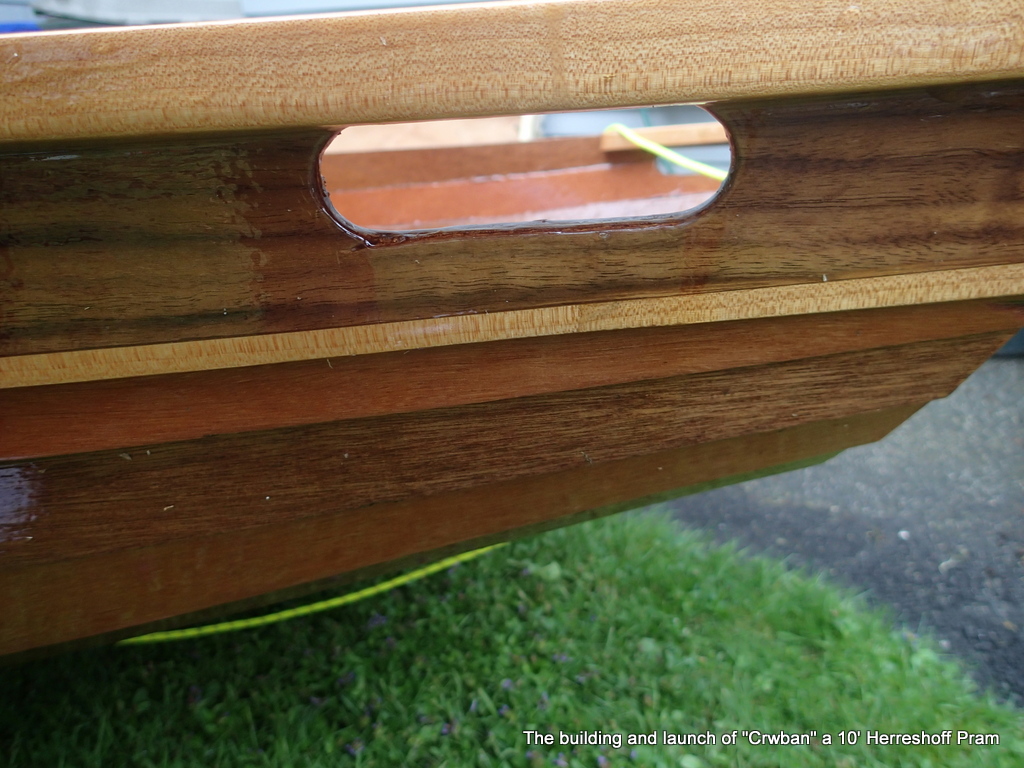
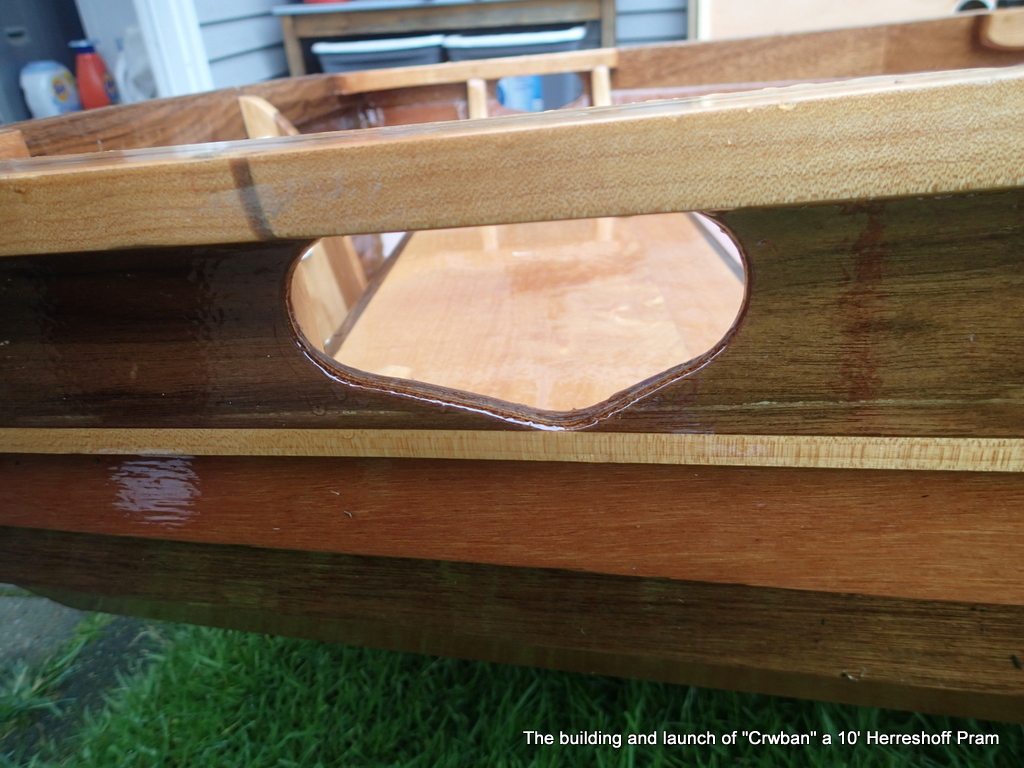
The hawseholes are more hand grips for carrying than hawseholes for hawsers.
I flip her right side up and paint on her name using the Papyrus font in white paint.
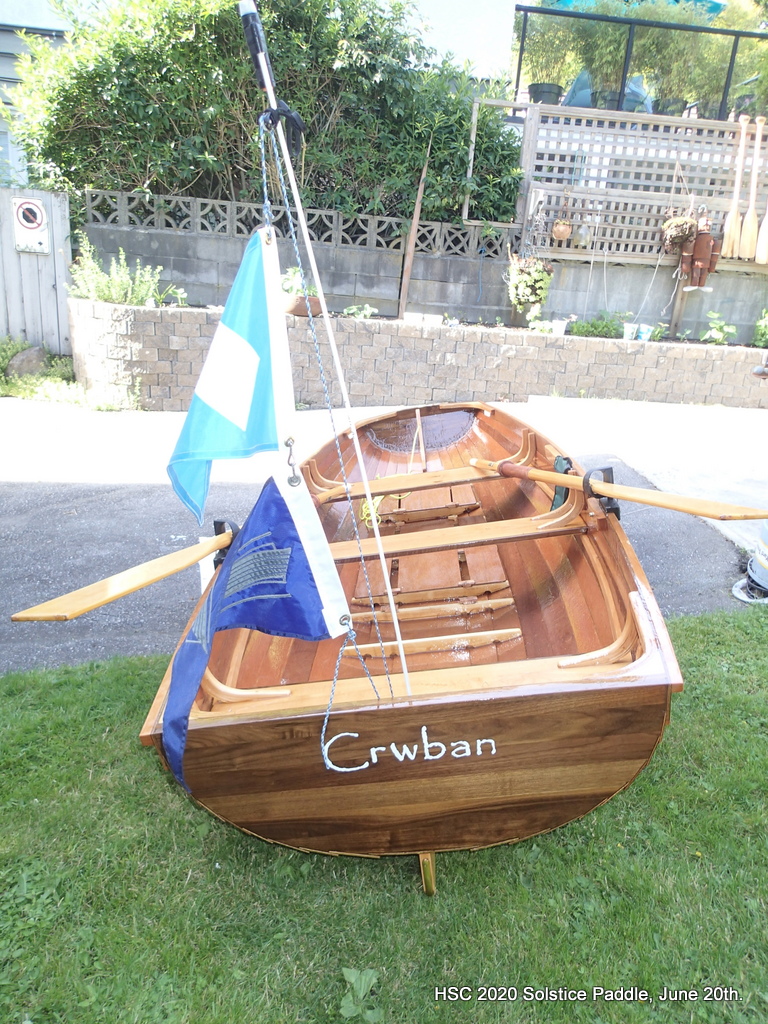
Crwban (pronounced ” Crew-ben”) is the Welsh name for a turtle. Land turtles are not found in Wales, but Leatherback Sea turtles frequent their shores. The backs of Leatherback turtles look a lot like the clinker planking on the pram.
Crwban is flying the Hollyburn Sailing Club burgee and the Vancouver Wooden Boat Society burgee. She has a Port (red) and Starboard (green) clip-on bag for stuff. Her 1/4″ bow painter runs through a painter hole in the bow transom.
Bare hull weight: 90lbs. Rowing weight: 105lbs (floor boards, bailer, bowline & oars)
Good rowing to you.
Mike
