The Building of Gwragedd Annwn.

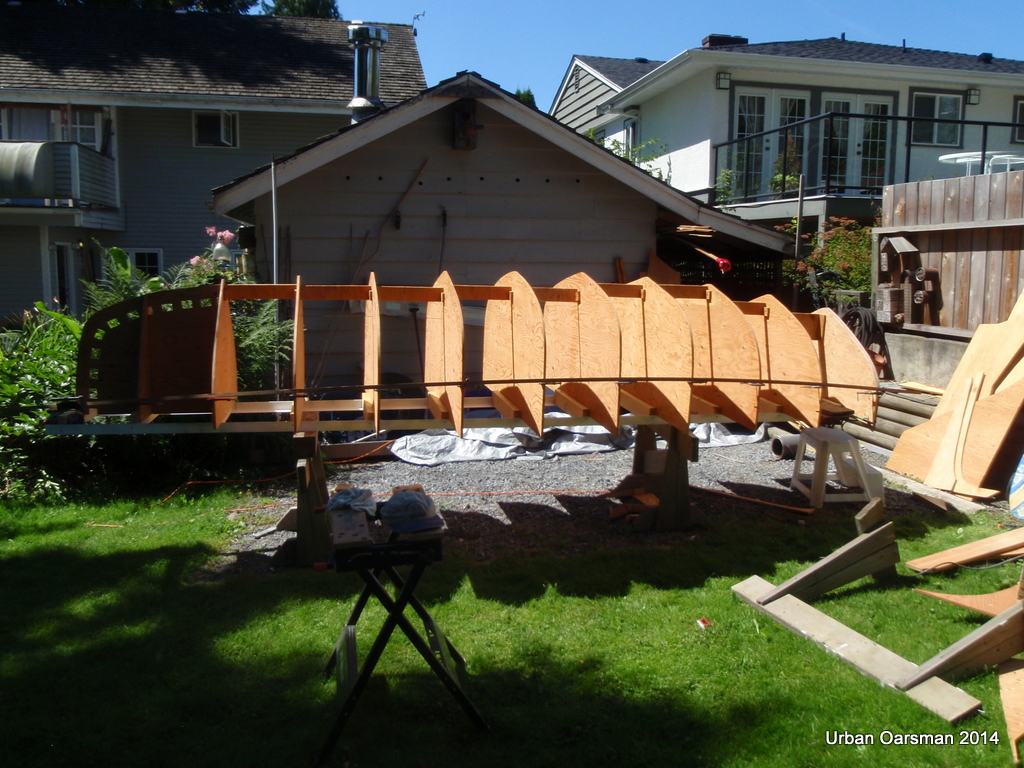
August 1st, 2011. I begin construction of “Gwragedd Annwn”. I have taken the Philip Bolger design “Defender”, increased her by 130%. She is now 14′ 6″ long and 5″ wide. I have set up my building area behind my garage in the back yard. I am using steel angle iron for the building frame. Here I am fairing up the building frame and moulds. The moulds are cut from 1/2″ plywood.

Laminating up the stem. Note the square holes cut into the mould for the clamps.

Laminating up the transom. The transom is curved. It is made up of three layers of 6mm marine plywood.

The stem piece is faired for the cedar strips. After much humming and hawing, the first cedar strip is put on the mould.

I am putting the strips on evenly. I am using finishing nails to hold them to the moulds. Since I am going to paint her hull white (I had decided on the colour scheme earlier), I will not see the holes in the finished hull. I did test using hot-melt glue to hold the strips, but since the hull is being built outside, the glue let go after a few days, because of the overnight dew/moisture cycle. I am gluing the strips to the stem and the transom with epoxy.

Planked to the transition line. At this point the planks begin to have too much twist to put on the moulds.I begin to plank from the keel down.

Planking from the keel down. Now I have to cut the strips to fit. I use my 1″ belt sander to get a close fit.

Gwragedd Annwn planked and painted with epoxy to glue the strips together. Now I can remove the finishing nails.

Finishing nails out, boat off of the moulds. I am going to re-coat the moulds with wax to ensure that the epoxy will not stick the hull to the moulds.

Back on the building frame for sanding. This is when it is the easiest to get a smooth, even hull.

Sanded with the first layer of cloth ready for epoxy. The second layer will over lap the first at the waterline, giving Gwragedd Annwn two layers below the waterline.

Both layers of cloth on, time to start sanding for a smooth finish

Laminating/gluing the keel on. The finishing nails are just to keep the strips in line, they are in pre-drilled alignment holes.

Gwragedd Annwn on my FJ going for a test float to determine where the rowing stations should go.

Test float, Seymour River Estuary. I determine where the two rowing stations will be.

Back home, I shape the keel and put the brass rubbing strip on.

While putting in the seating framing, I notice that the bow is twisted to the Starboard. I have to fix this before I put the seating in.

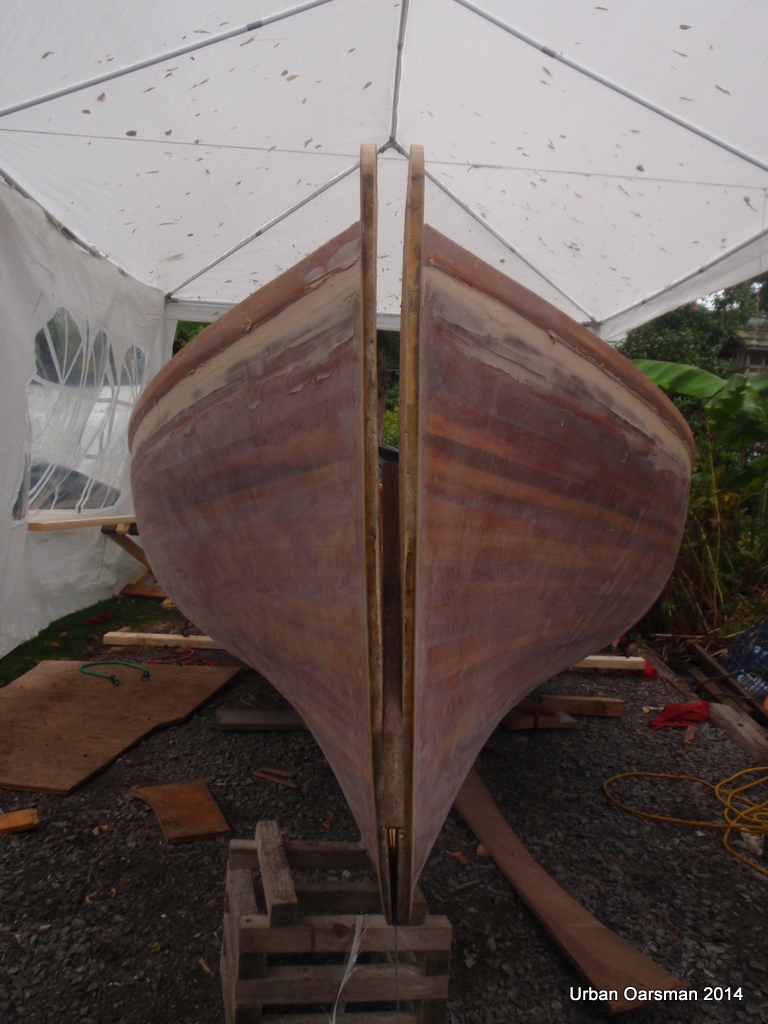
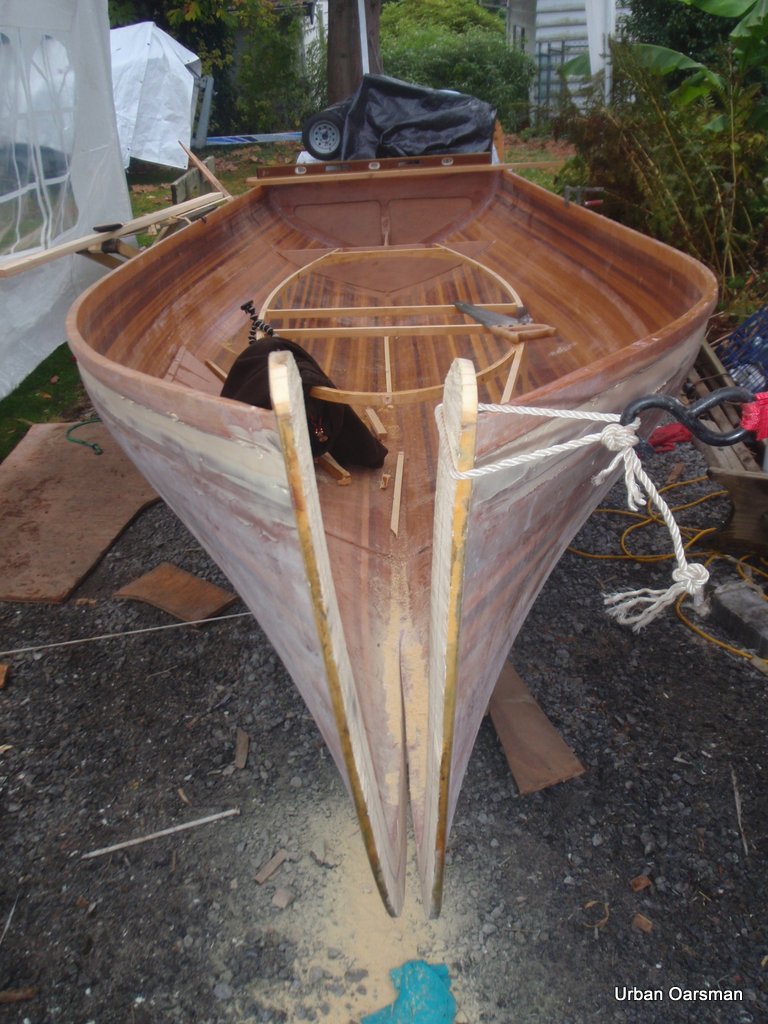
I make a cut down the stem, and I will epoxy-glue the stem back together after twisting the bow back into alignment.

The bow cut down the centre, ready for gluing and re-alignment.

Pulling the bow into alignment. I have to compensate for any spring-back there may be.

After the epoxy has set. Just about dead on. Note the straps holding Gwragedd Annwn level.

The seat framing and bulkheads go in. I am filleting them in.

Gluing the seat flats in. The square hatch at the bow will be a storage compartment for her seagull outboard.

Corner knee braces are glued in.

Gluing up her breasthook. It is made from a piece of oak from a church pew. (for luck!)

Gluing in the breasthook.

Spacers glued in, ready for the inwales.

Inwales and coaming go in.

Good thing that I have a lot of clamps.

Painter eye installed.

Just about ready for paint and varnish. It is just a little too cold to paint or varnish.

Making the “D” section spoon oars. These are the shaft blanks, cut from red cedar. That is a 10 degree angel cut on the sides of the blanks, this will form the angle for the spoon blades. The thin strips will be glued on to make the oar shafts thicker.

Spoon oar blade blank. This piece will be cut length wise to make a blade for either side of the shaft. I am transferring the shape to the shaft for cutting.

The oar shaft with the angles cut for the blade pieces.

Gluing on the oar blade pieces.

Gluing on the spline for enough depth for the “D” section. Next is to glue oar tips of oak on.

The oar shafts ready to have the “D” cross-section routered in.

Painting the hull. I used Interlux marine paint. Note the motor well opening.

Spoon Oars ready for varnishing.

Varnishing the oars.

I made two sets of four oars. One set was made from spruce (the light coloured ones) and the other from red cedar. The spruce oars were a little smaller in diameter and the blades were carved from one piece, not laminated.

Fitting the oar lock socket.

Socket and oarlock installed.

Painting the waterline. Note the motor well plug.

The pattern for Gwragedd Annwn’s transom.

Painting on the border characters.

Transom painting finished.

Interior painted a cream colour and the seats are varnished. Seat cushions and the frame for the cover is in.

Fitting the cover. I bought a canvass tarp from Princess Auto that was big enough to cover Gwragedd Annwn and then altered it to fit.

Gwragedd Annwn on her trailer ready to launch. Her cover has faded. I managed to smash my left middle finger and had to postpone the launch for a month. That is why her cover is so faded.

Mike


