The Urban Oarsman makes Bailers
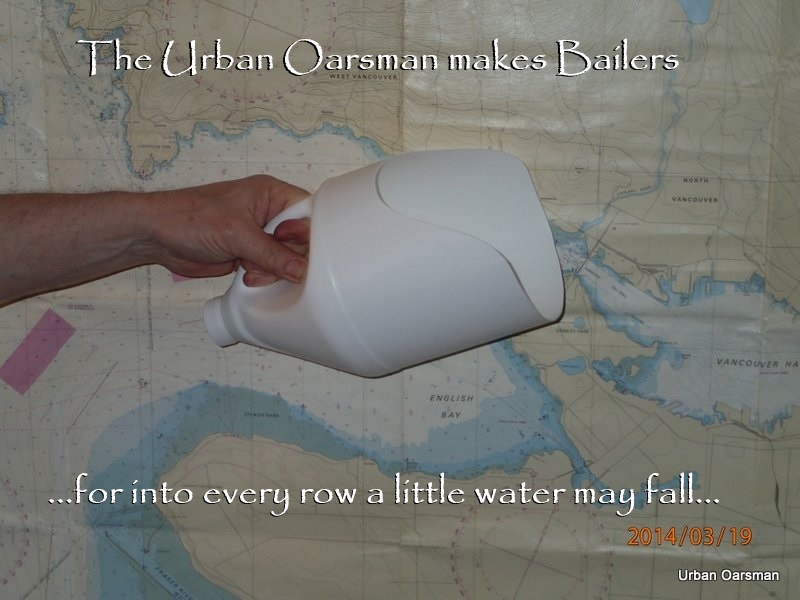
The Urban Oarsman Makes Bailers for Gwragedd Annwn from plastic 1gal. bleach bottle jugs
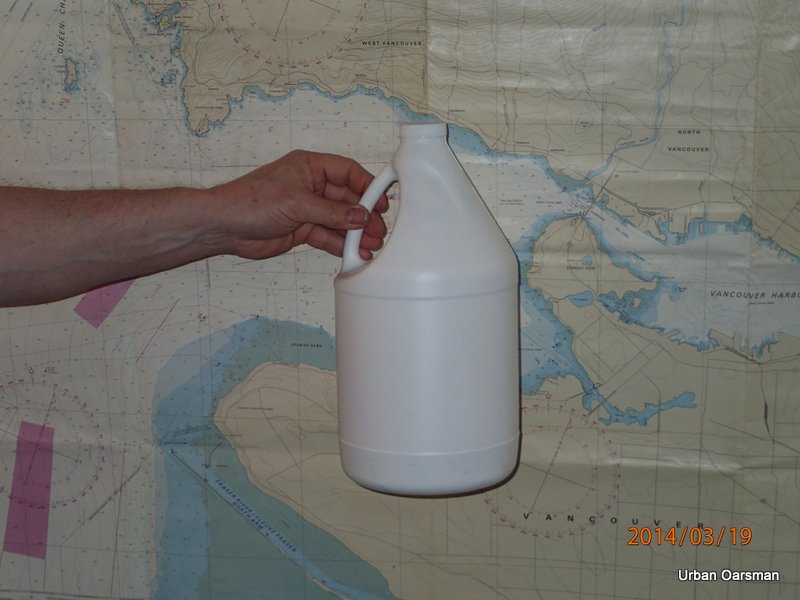
The Urban Oarsman will turn this ordinary 1 gal. plastic jug…
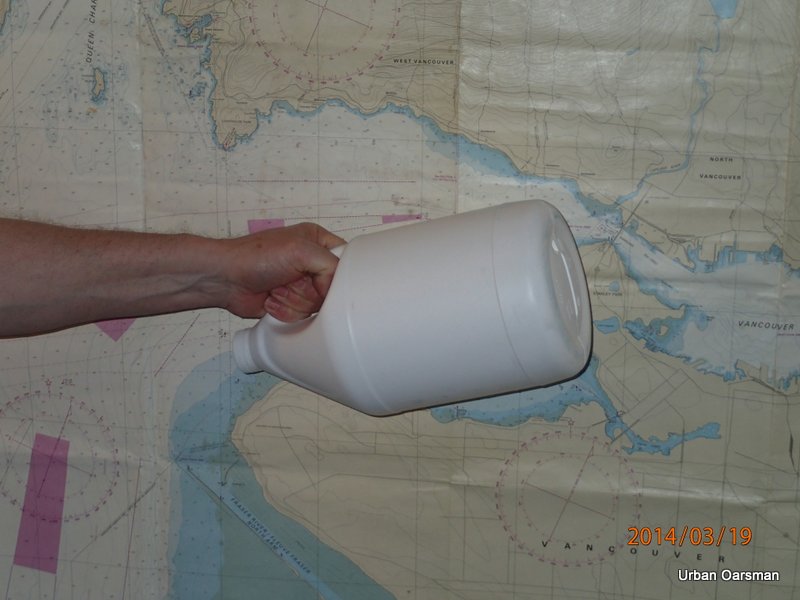
From recycleable plastic trash…
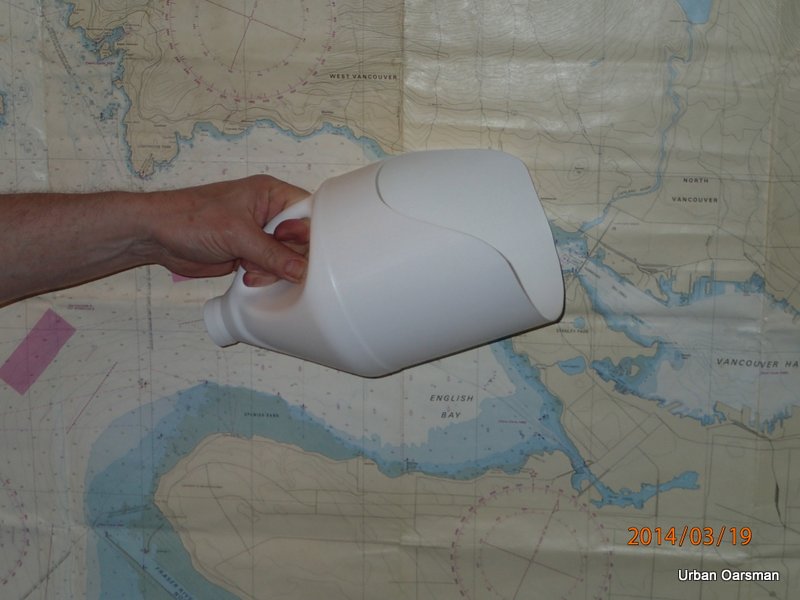
To a bailer capable of saving your boat.
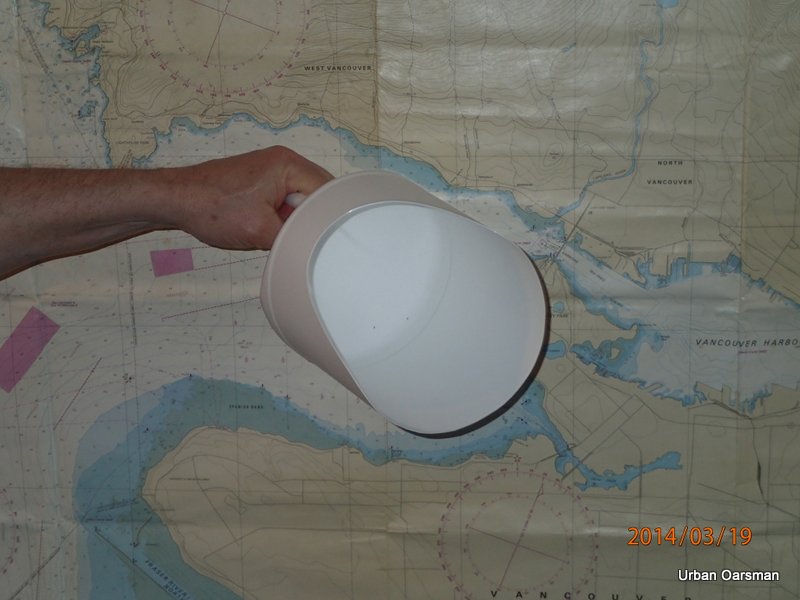
Or drenching your enemies with untold gallons during a water fight.
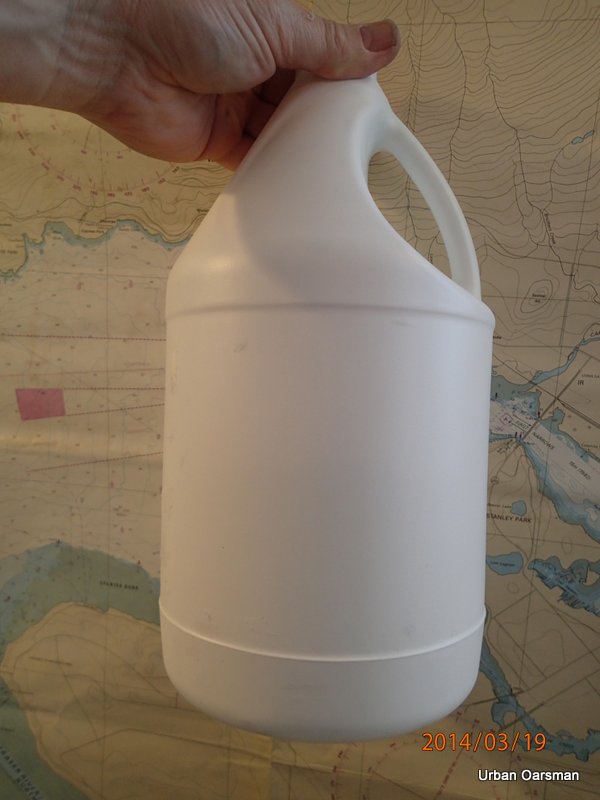
Typical plastic 1gal jug. Quite often you can find them in laundromats. I get my plastic jugs from work, ask the janitors, many cleaning products come in them.
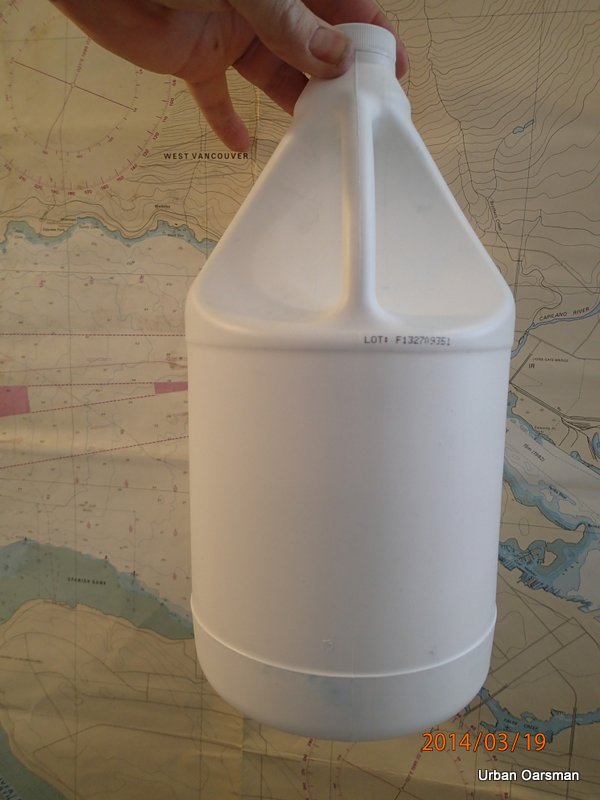
To turn this ordinary plastic jug into a bailer extraordinaire, follow these steps:
1-Make a template for the mouth of the bailer:
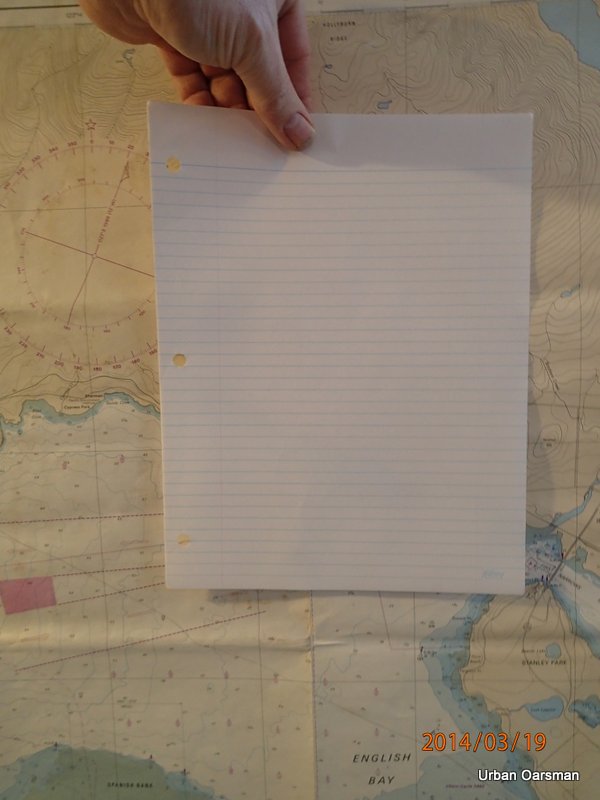
Fold a letter size piece of paper in half.
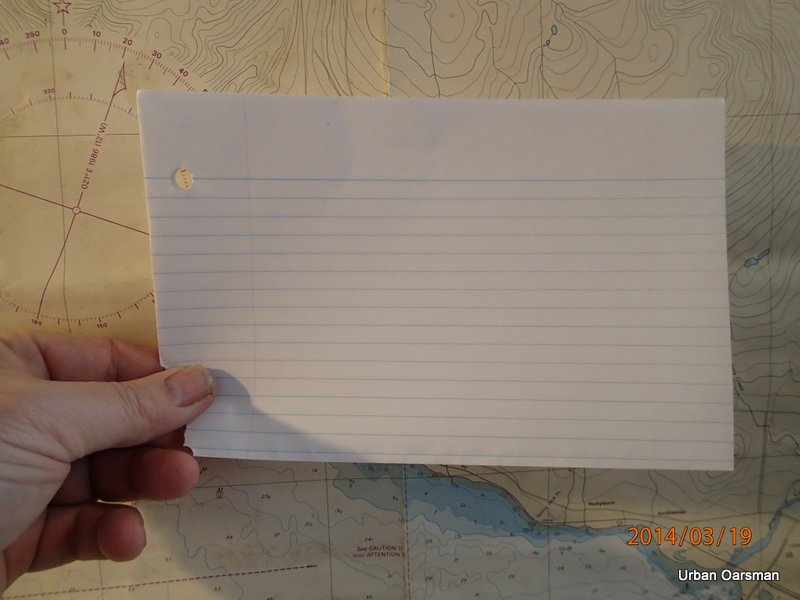
Fold into half again.
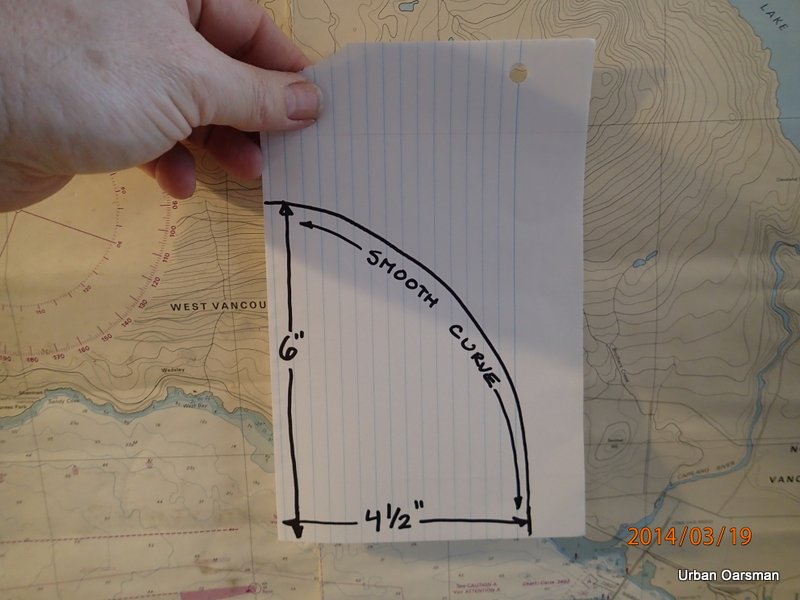
Draw a smooth curve approximately 6″ tall and 4″ inches wide.
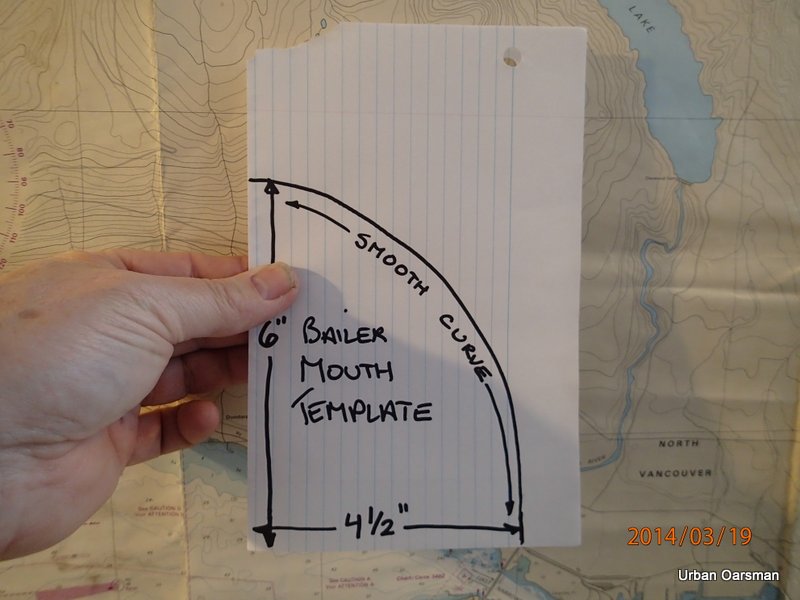
Cut out the template.
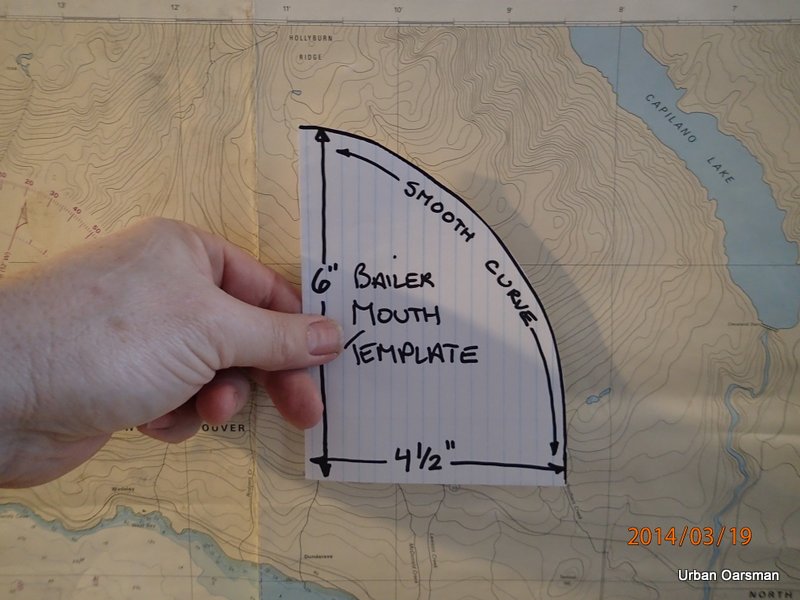
Unfold the template.
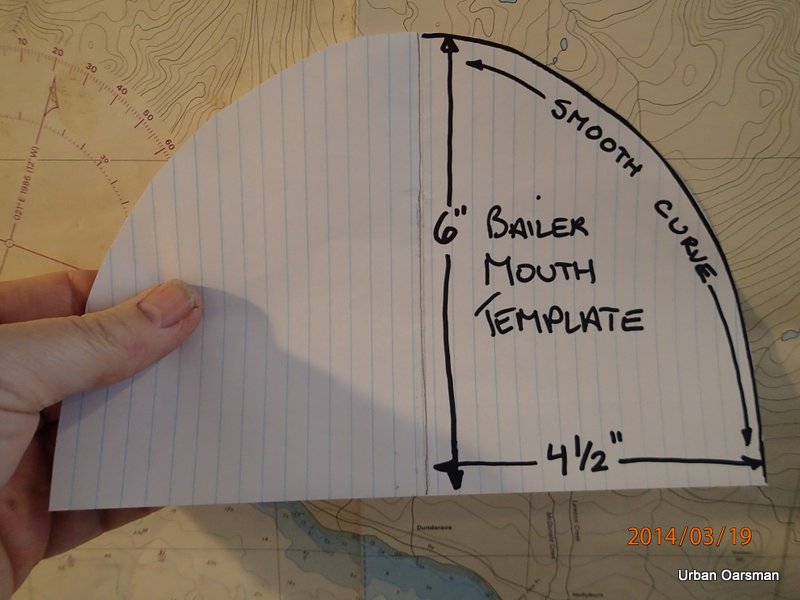
Finished Template for the bailer mouth.
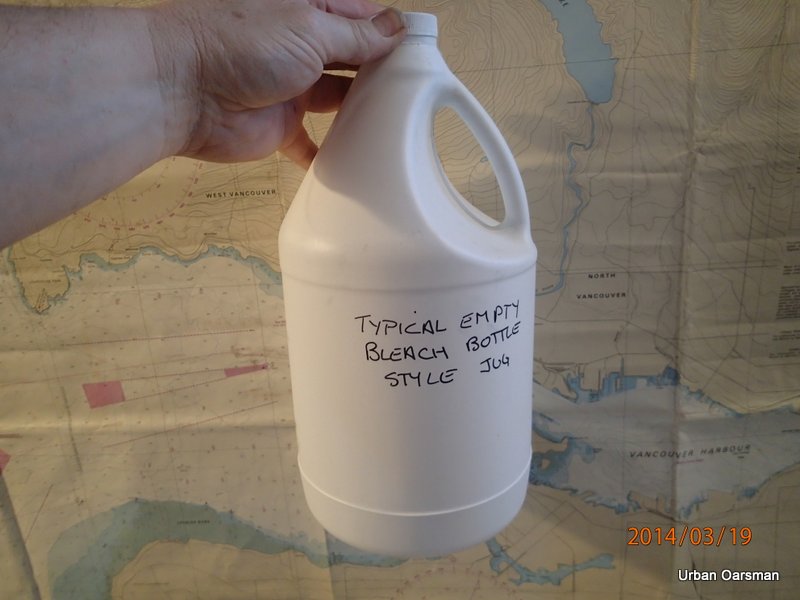
Take your jug. find the seam that runs along the handle.

Make sure that the handle is big enough for your hand to fit.
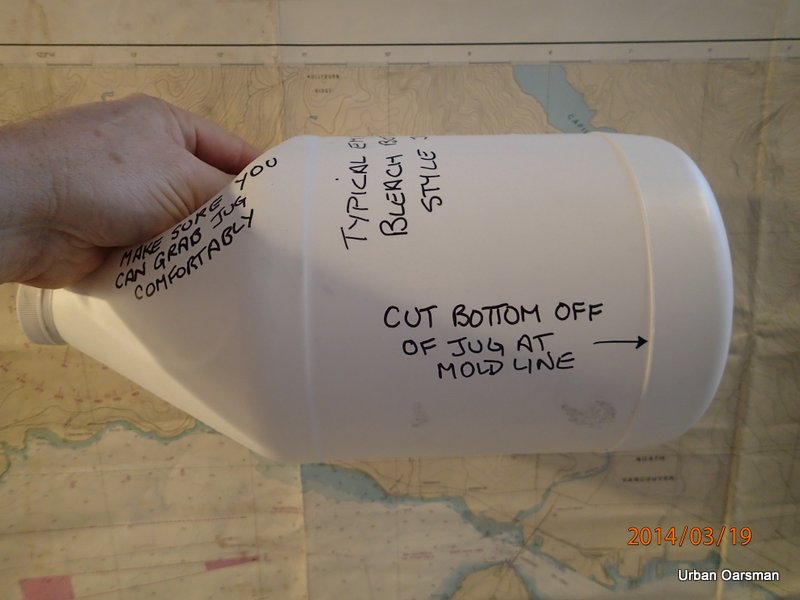
Mark the bottom mold line
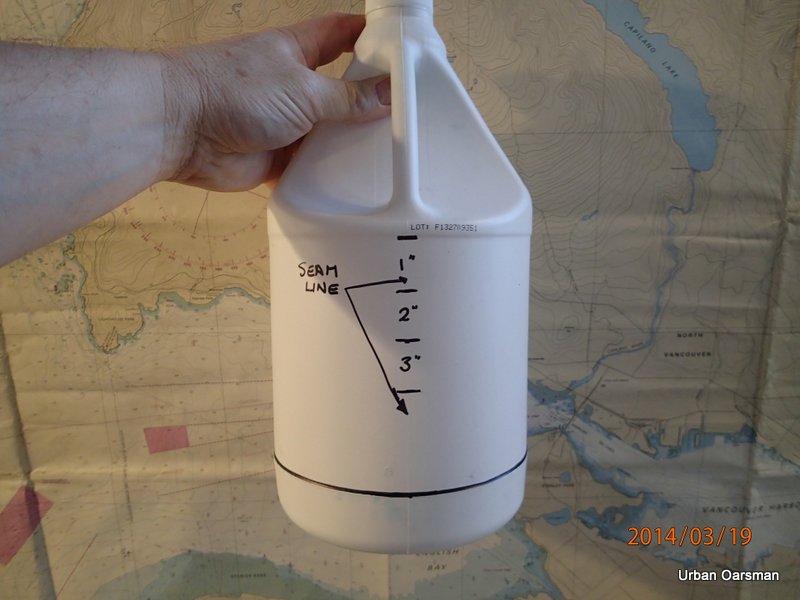
Determine how far from the handle you want the mouth of your bailer.
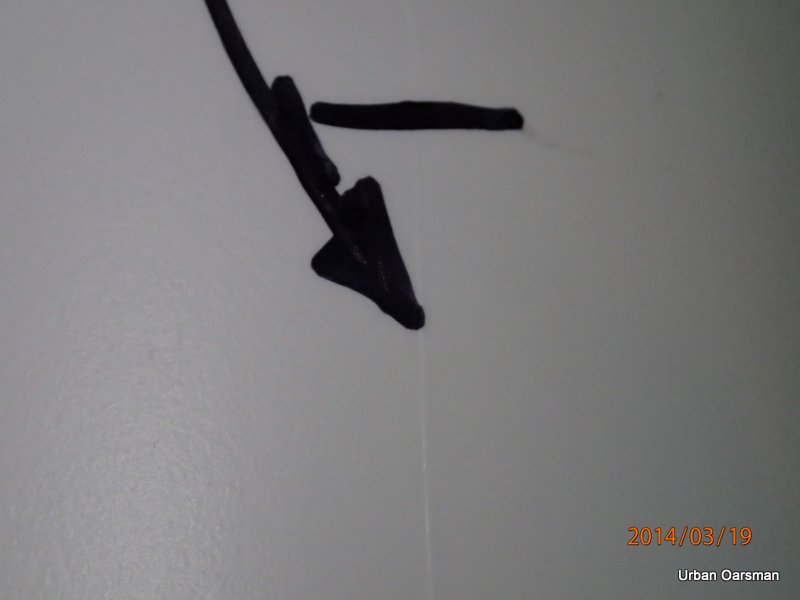
Close-up shot of the mold line/seam.
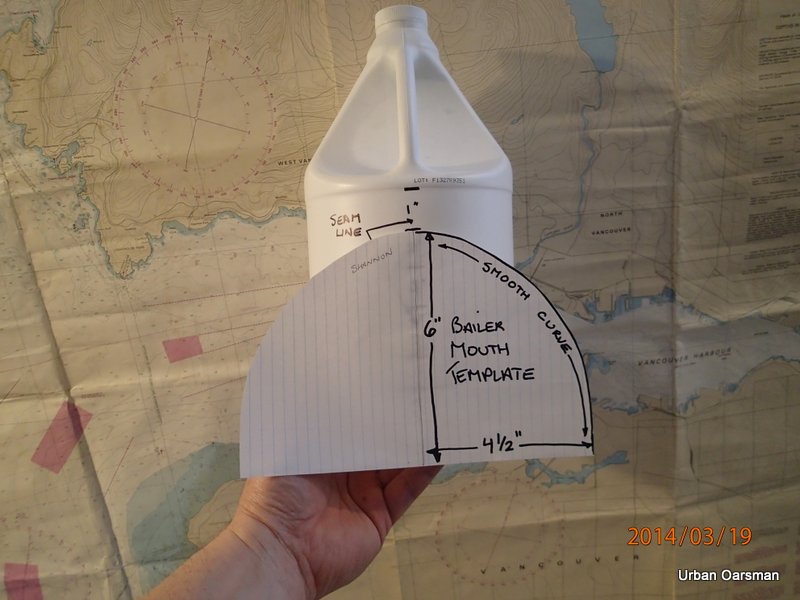
Put template on jug, aligning the centre fold with the mold line/seam.
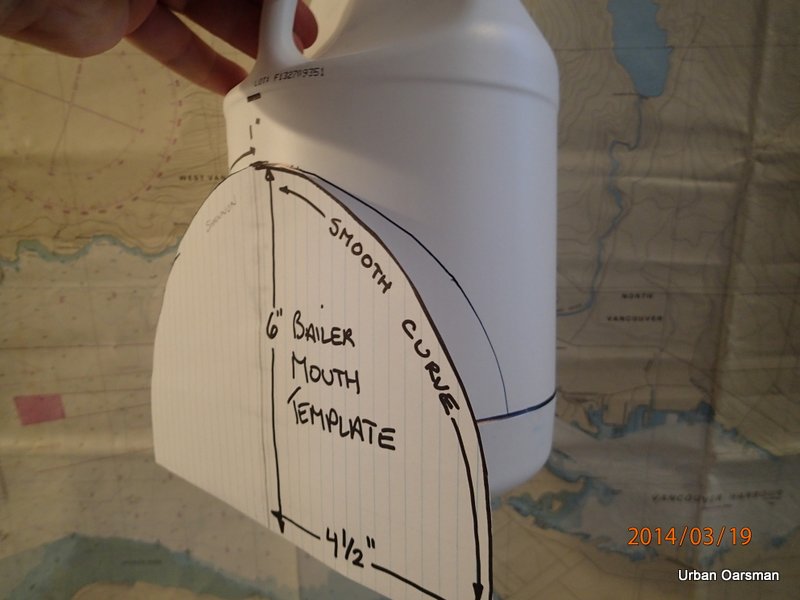
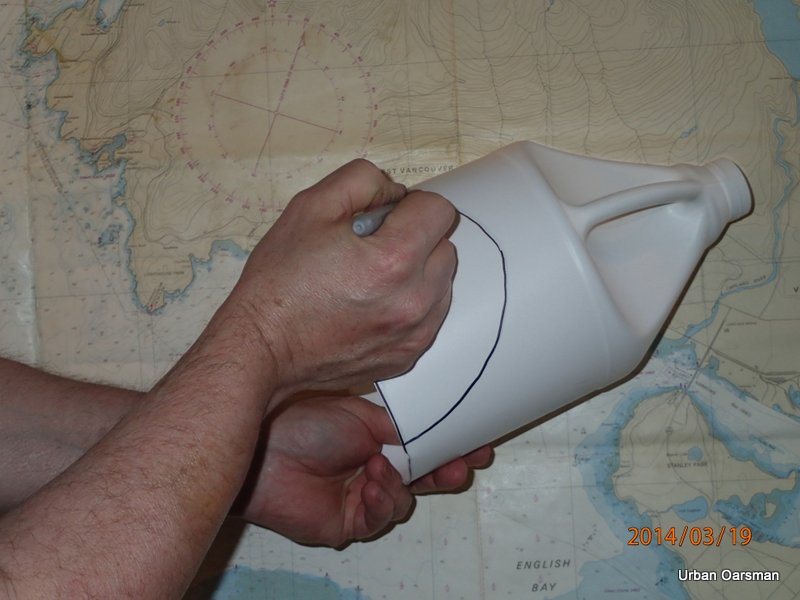
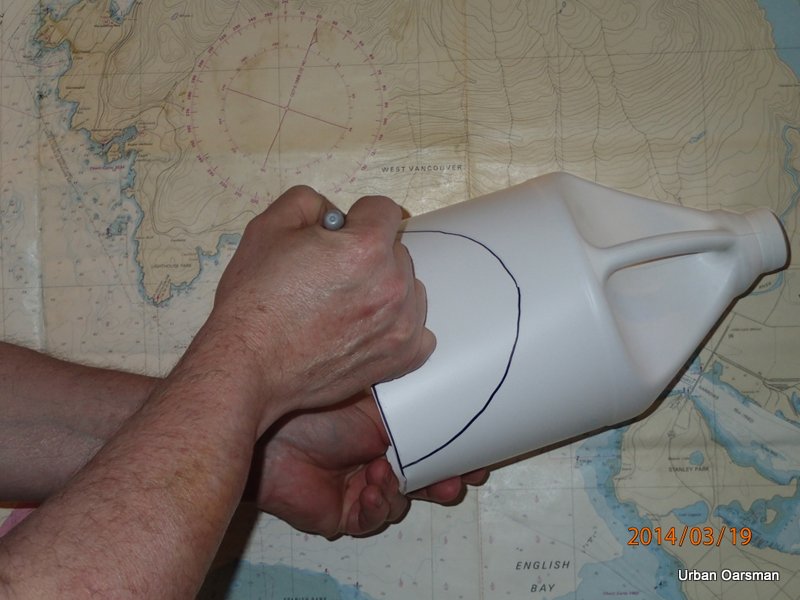
Trace the curve onto the jug.
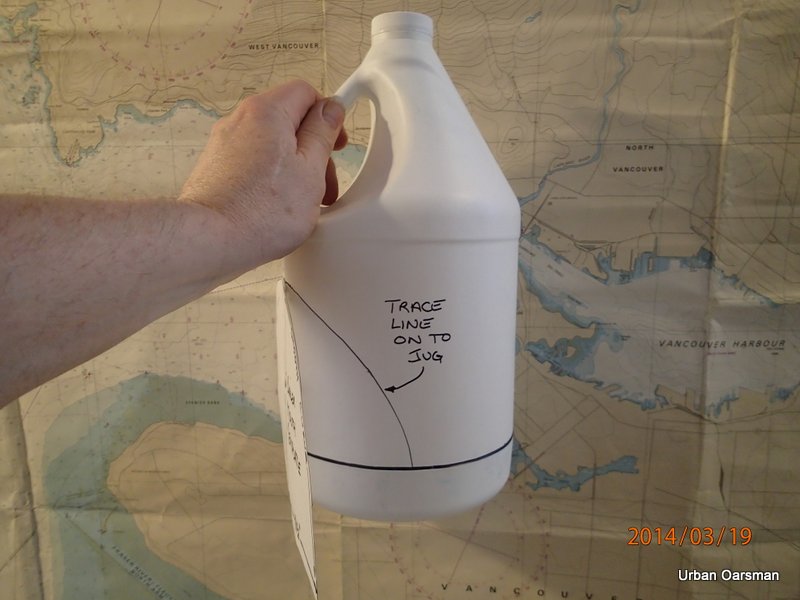
Bailer mouth lines traced onto the jug.
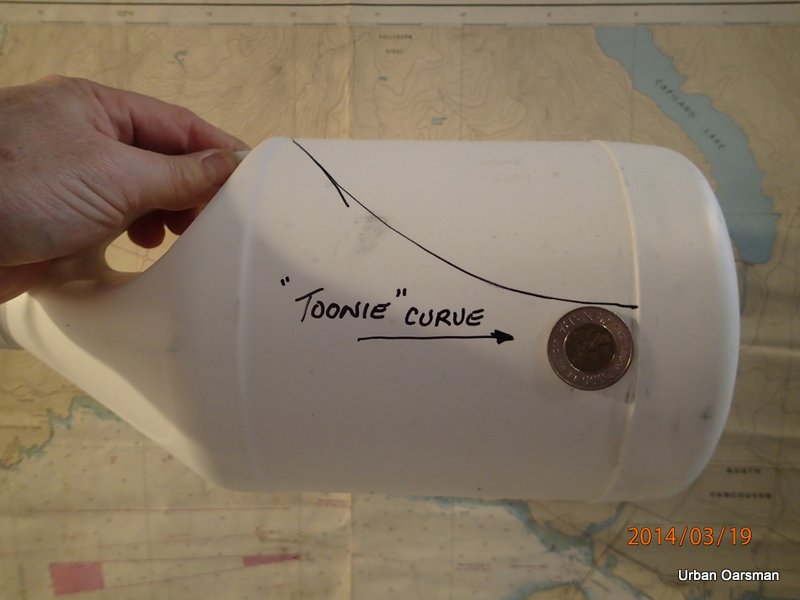
There is usually a smooth curve from the Bailer mouth line to the jug bottom seam line. Here I am using a “toonie” to draw the line.
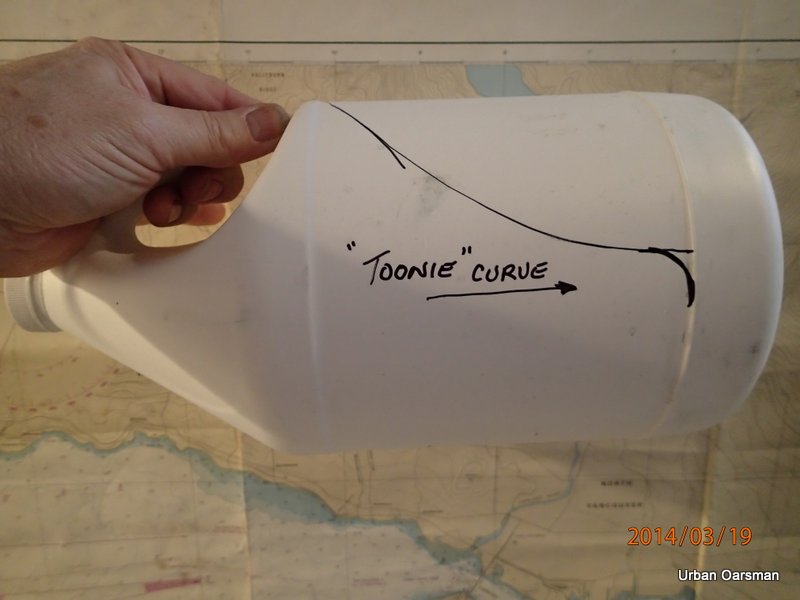
The resulting “toonie” curve drawn in.
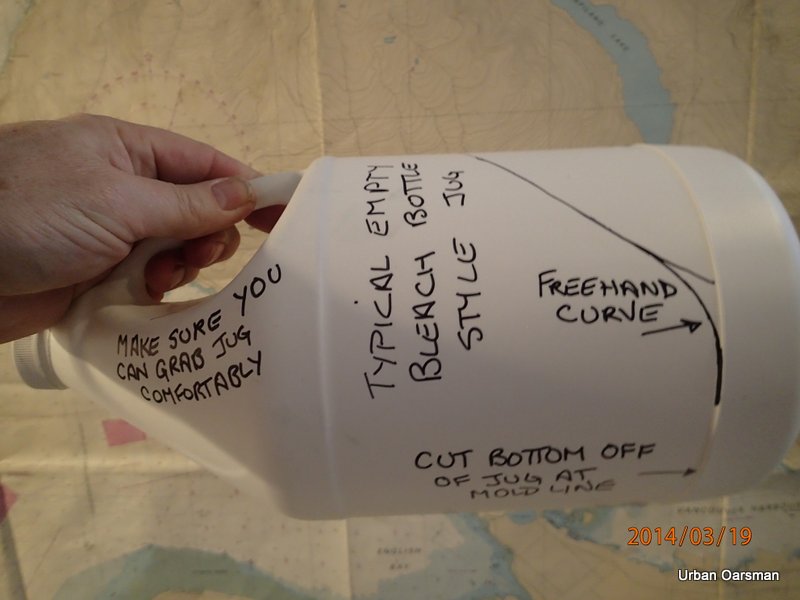
You do not have to use something to get your curved line. Here I drew it freehand.
Another way is to cut off the bottom of the plastic jug and use it as a template to draw your bailer mouth curve.
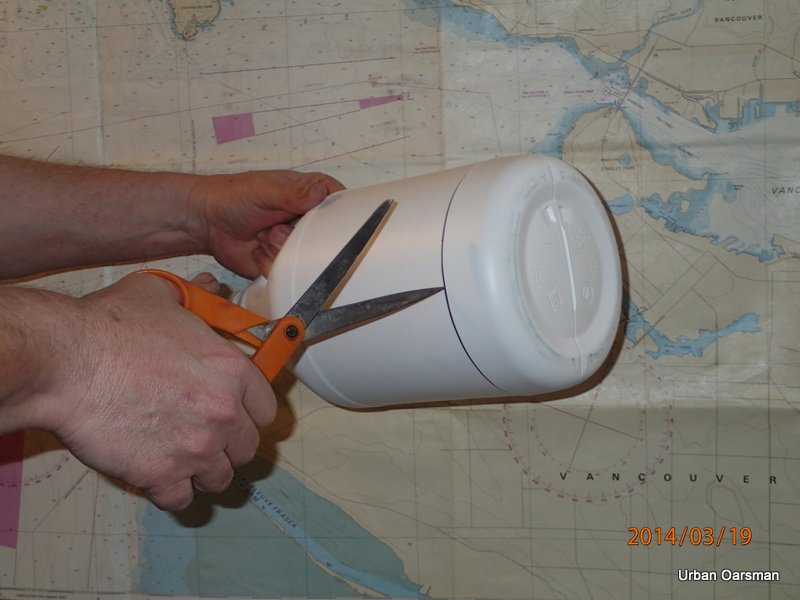
Cutting off the jug bottom.
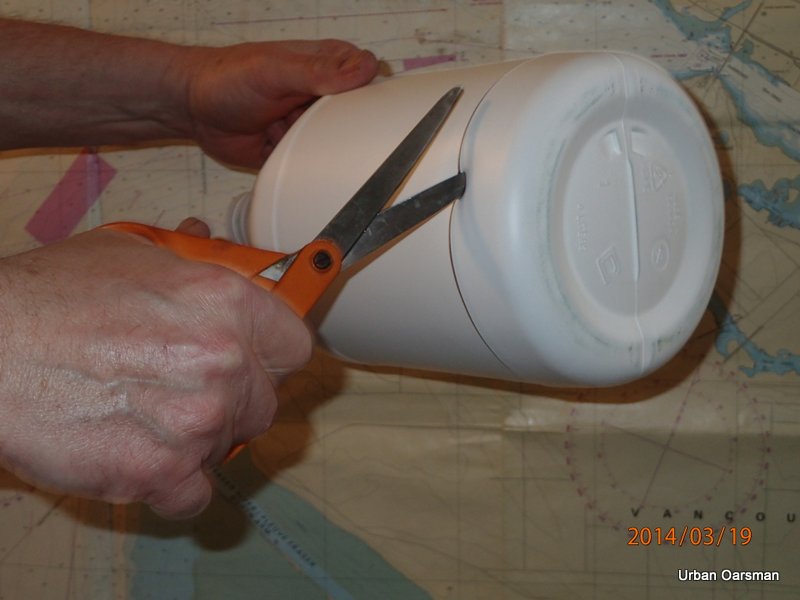
Carefully poke the scissors into the jug and cut the bottom off.
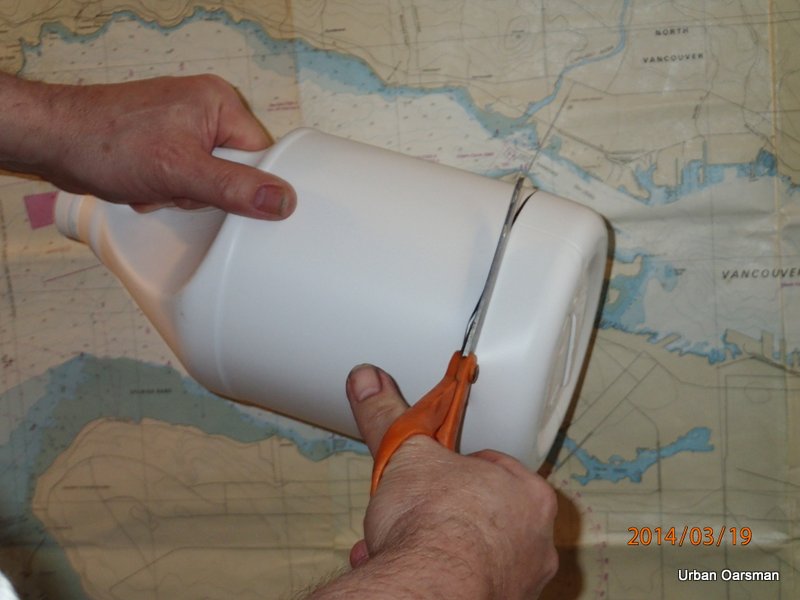
Try as much as possible to follow the mold line. If you leave any of the mold line behind, the bailer will not work as well as it should.
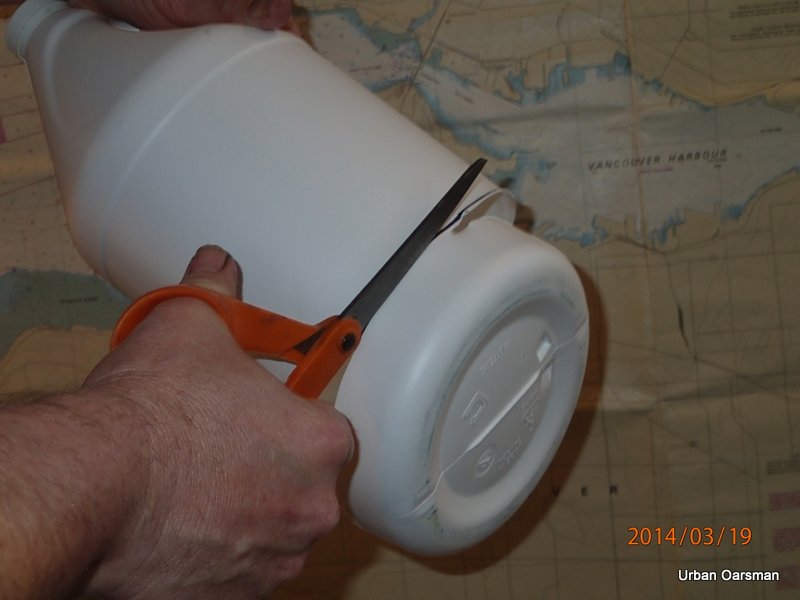
Almost cut off.
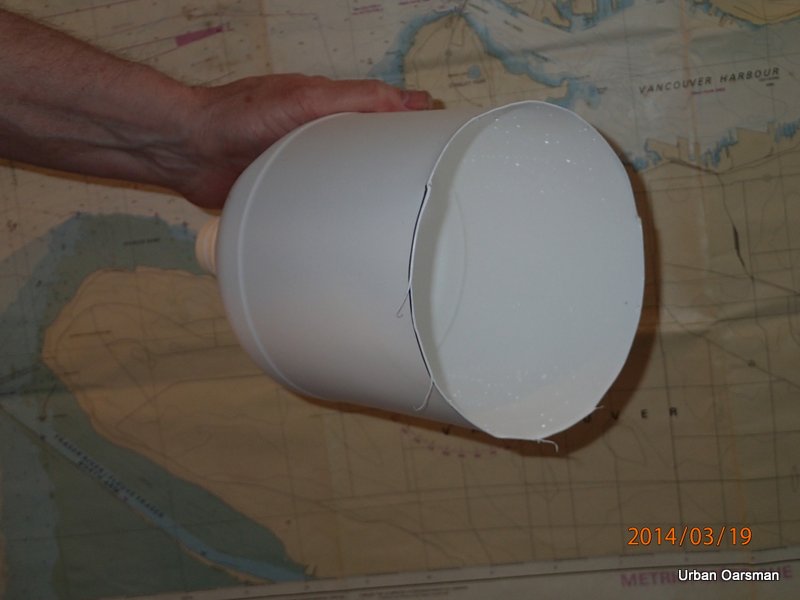
I will trim the cut edge so that it is smooth and there is not mold line edge left.
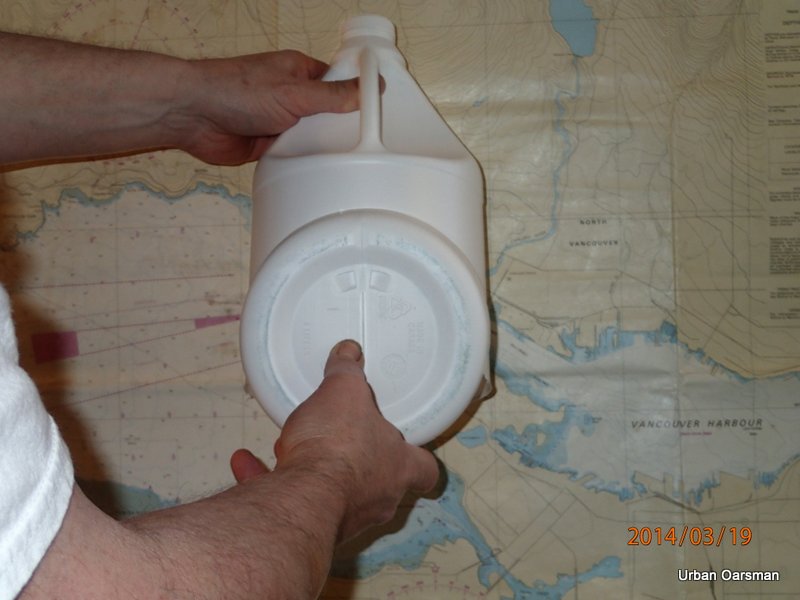
Using the bottom of the jug as a template for the bailer mouth line.
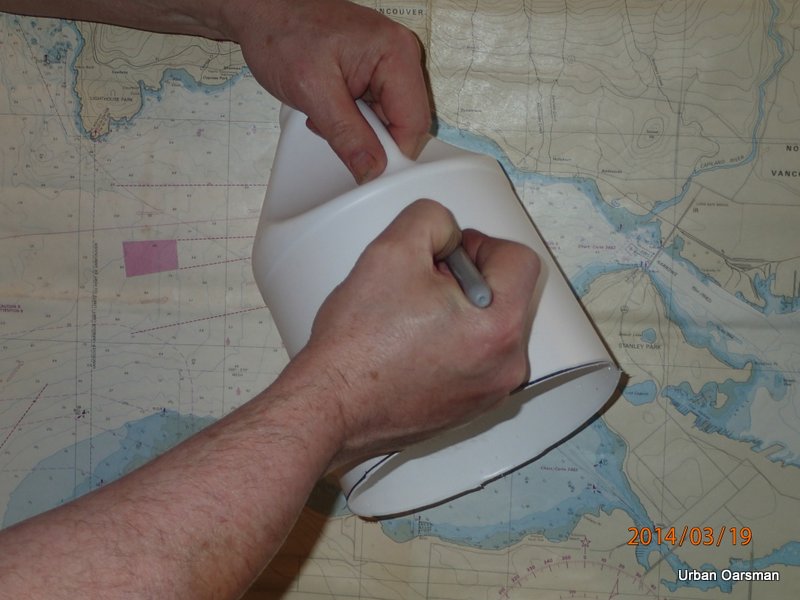
Drawing the bailer mouth line freehand.
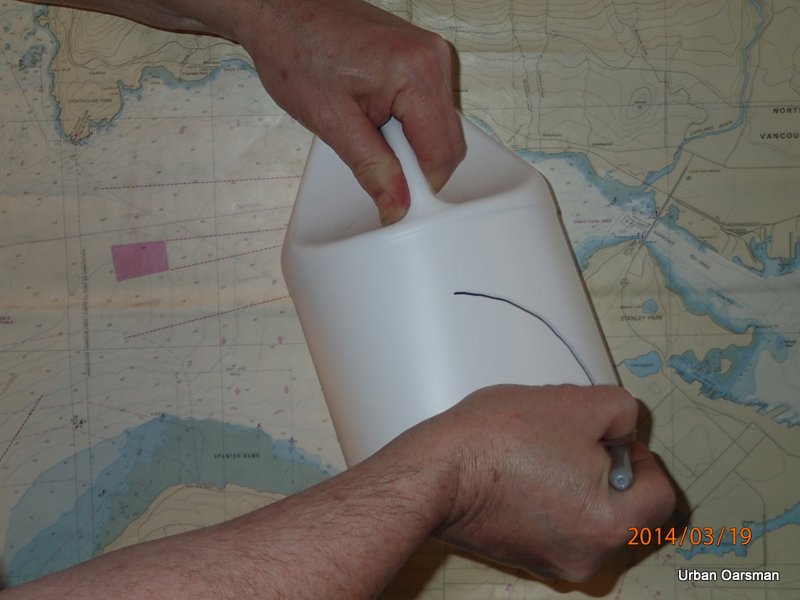
If I am making these at work, I will do all the cuts freehand. After a couple of hundred, you tend to “get the song in your head” and can crank them out quickly.
I am a member of the Hollyburn Sailing Club. The club runs a sailing school in the summer. I make enough bailers for the entire fleet for the summer training season.
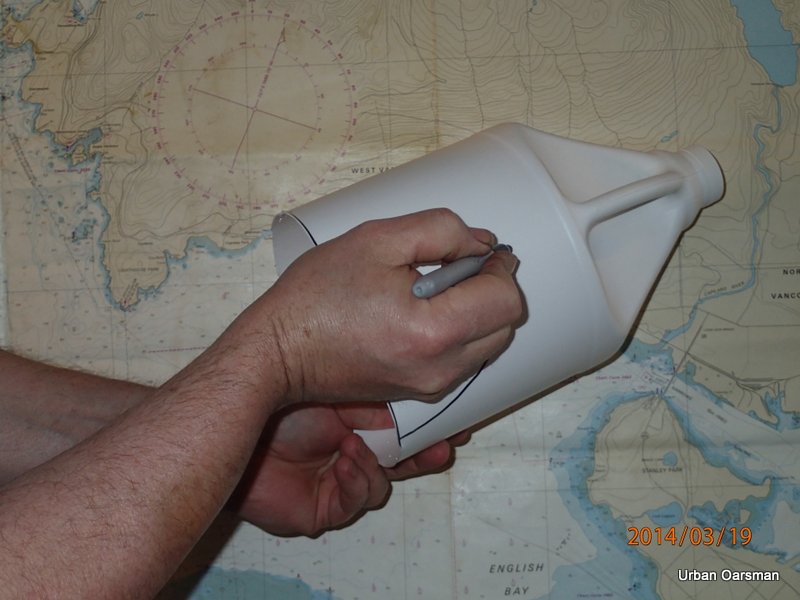
Actually, I make enough for every member of the club to have one in their boat too.
If you do not have a bailer (as required by law), if you drop by the club, I am sure that we could spare one for you too.
You never know, a bailer could come in handy some day.
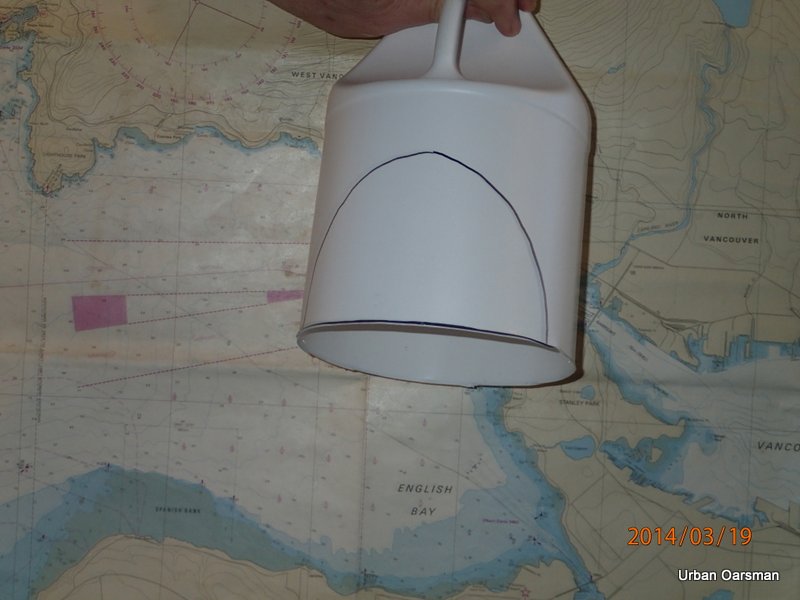
Ready for cutting.
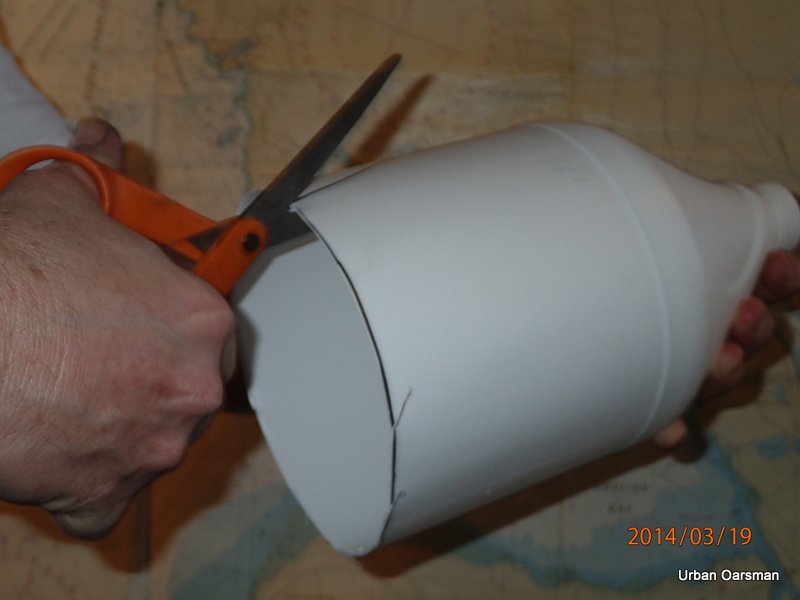
A quick snip with the scissors.
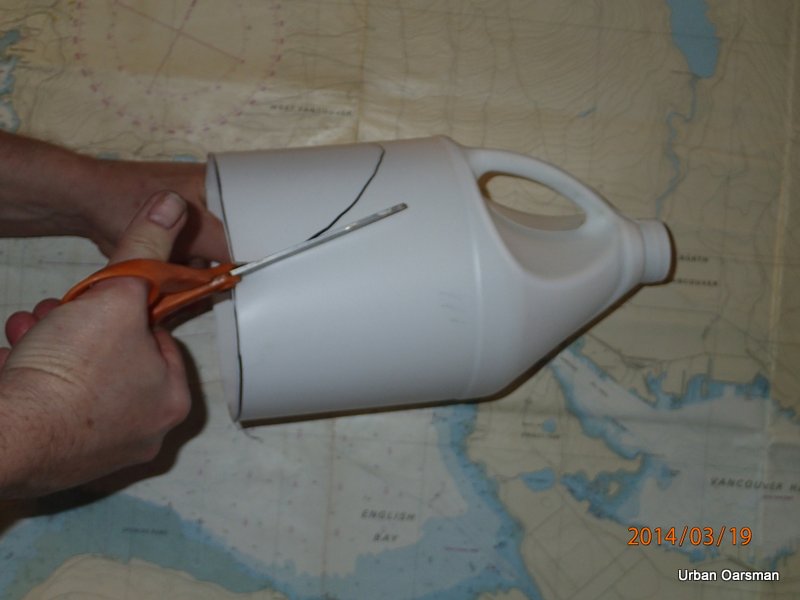
Following the line.
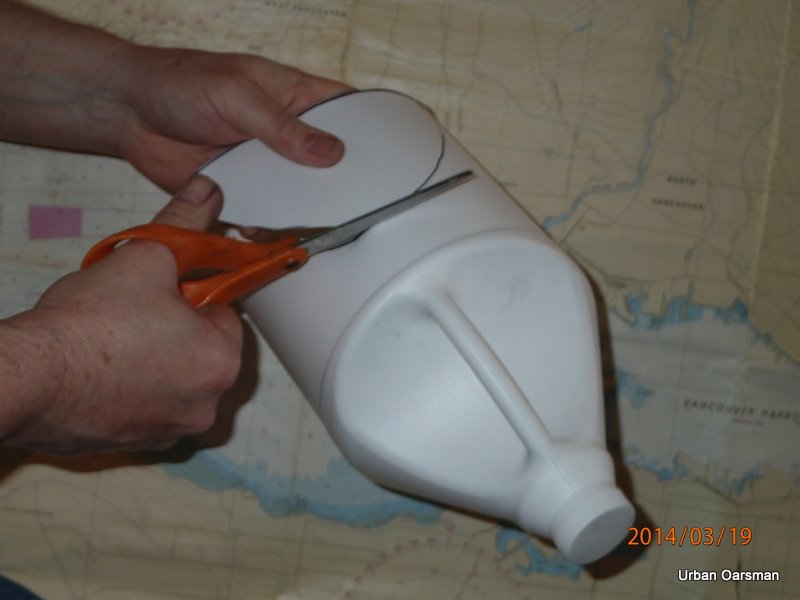
It takes longer when you are trying to get pictures of the cutting.
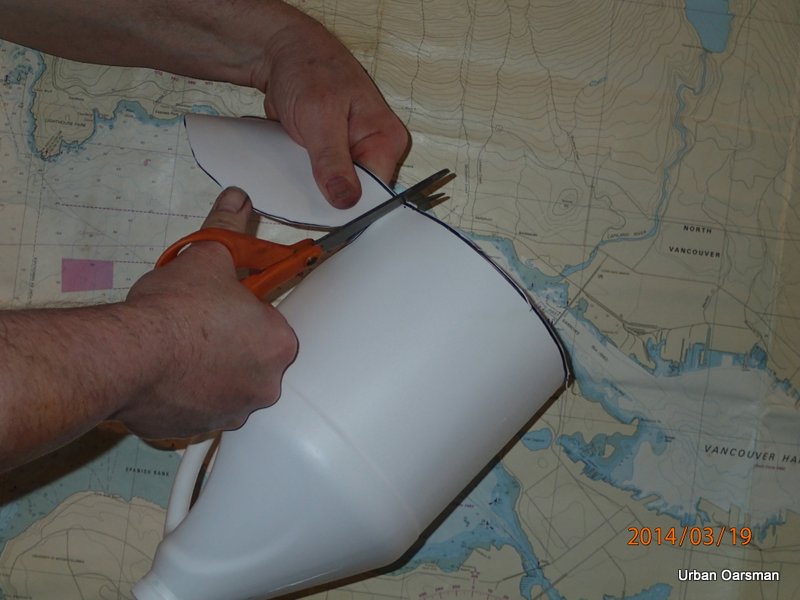
Note that I have yet to remove the “flash” line from the side opposite on the jug. The “flash” line on the underside of the handle is visible too.
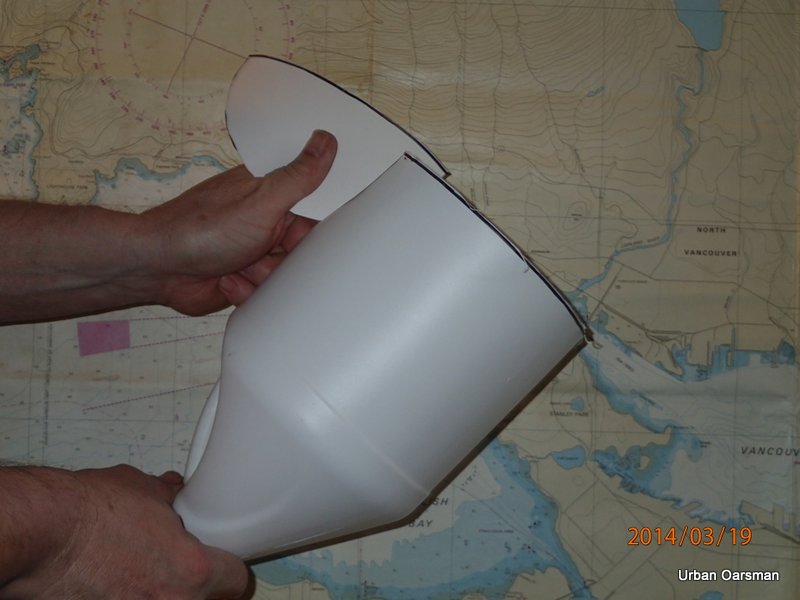
Bailer mouth piece cut out.
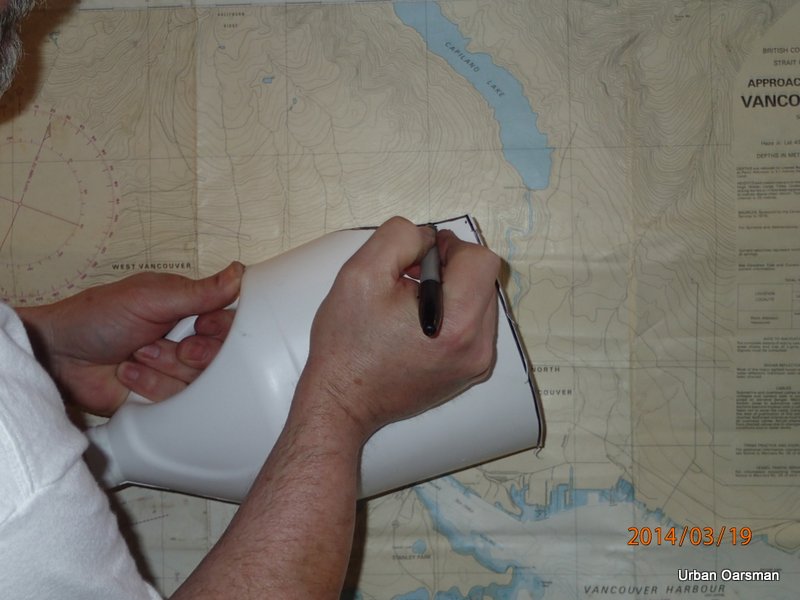
Drawing the curves for the side of the mouth.
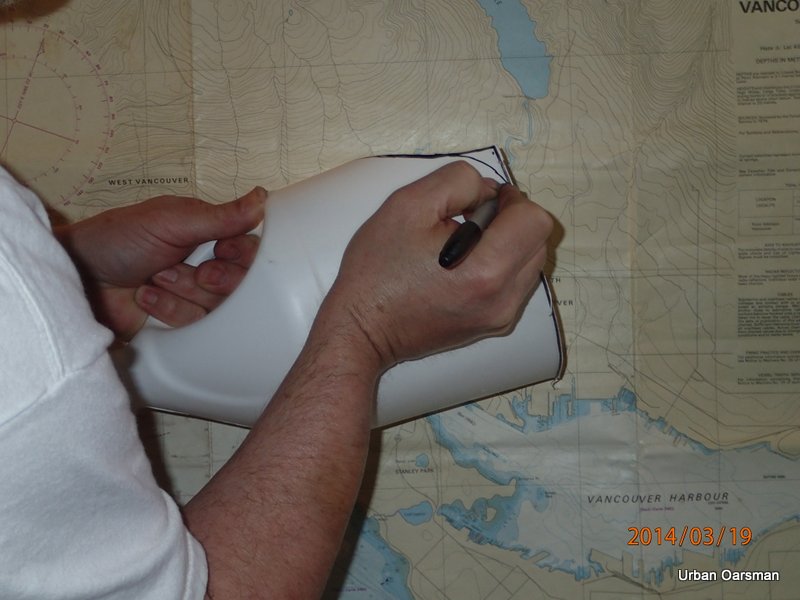
Most of the times I just eyeball the curve.

Time to cut the curves. I will smooth out the bailer mouth cut out and the bottom cut. Any lumps or real unevenness will prevent the bailer lip from following the curve of the bilge and scooping up most of the water.
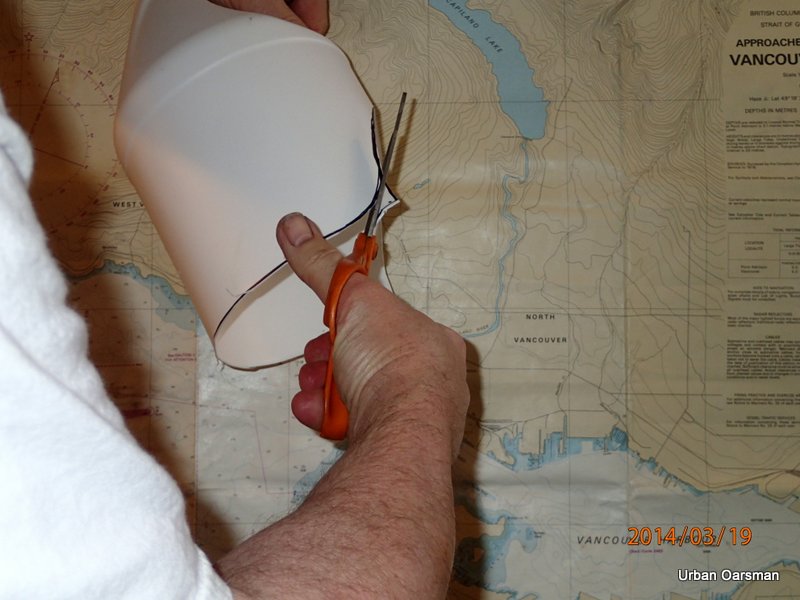
Finishing the cut.
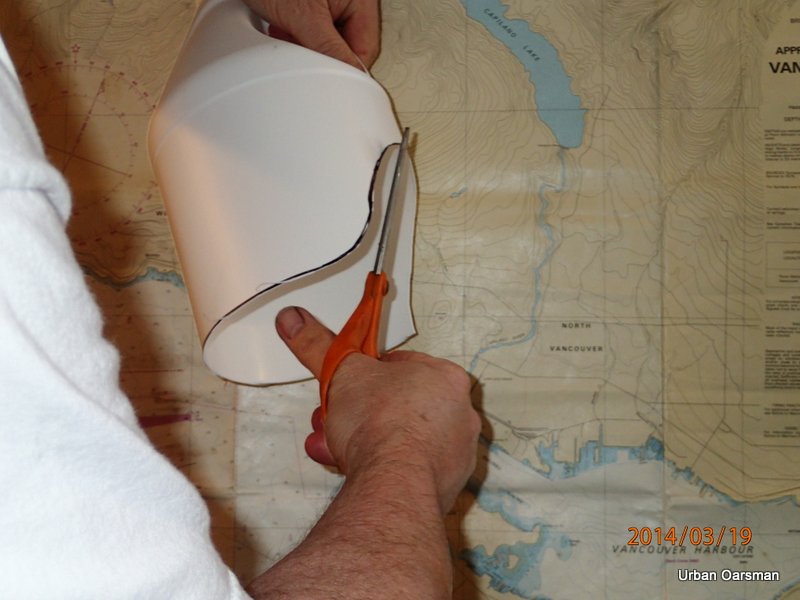
Smoothing out all of the cuts.
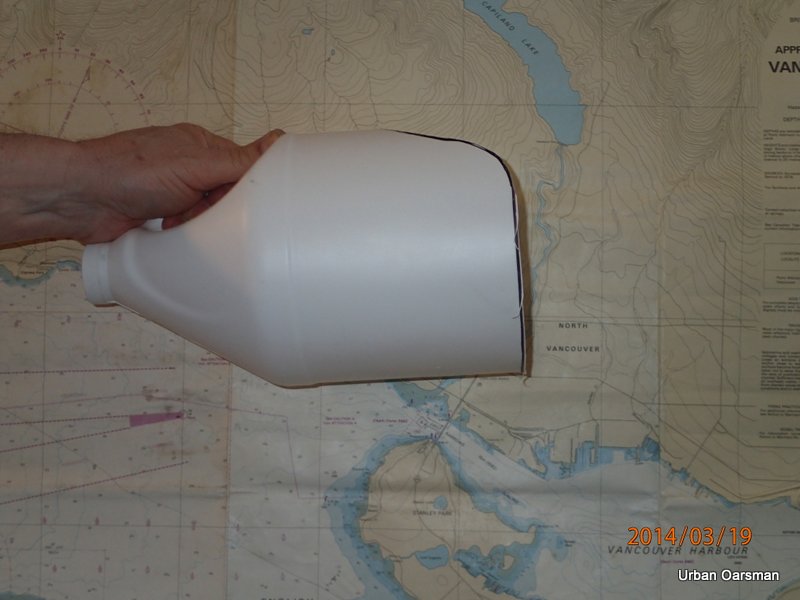
Still have the bottom cut to smooth out.
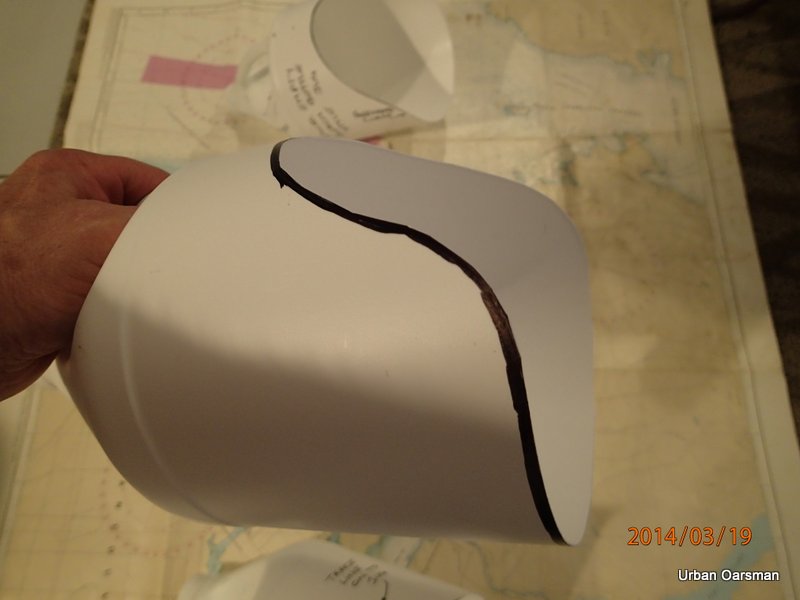
The finished Bailer. I outlined the edges in black to make them more visible.
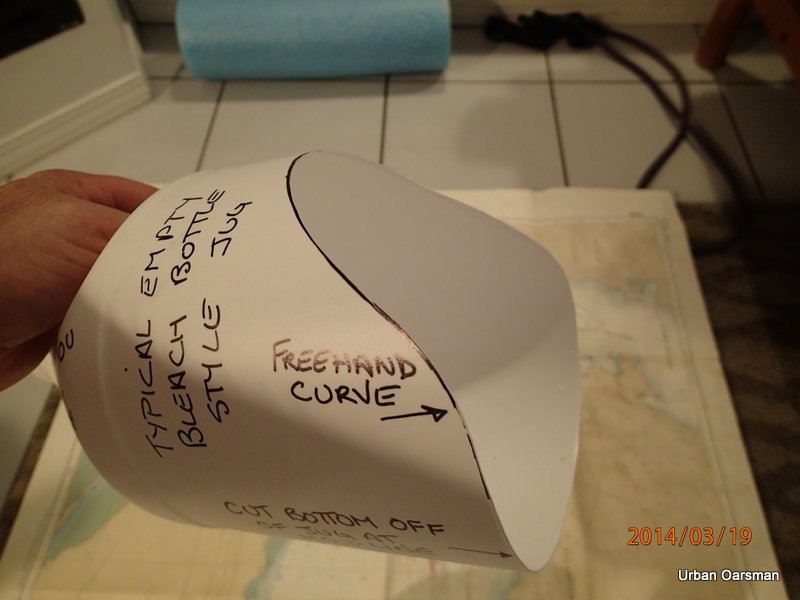
The freehand curve Bailer. Note that the mouth cut is relatively shallow.
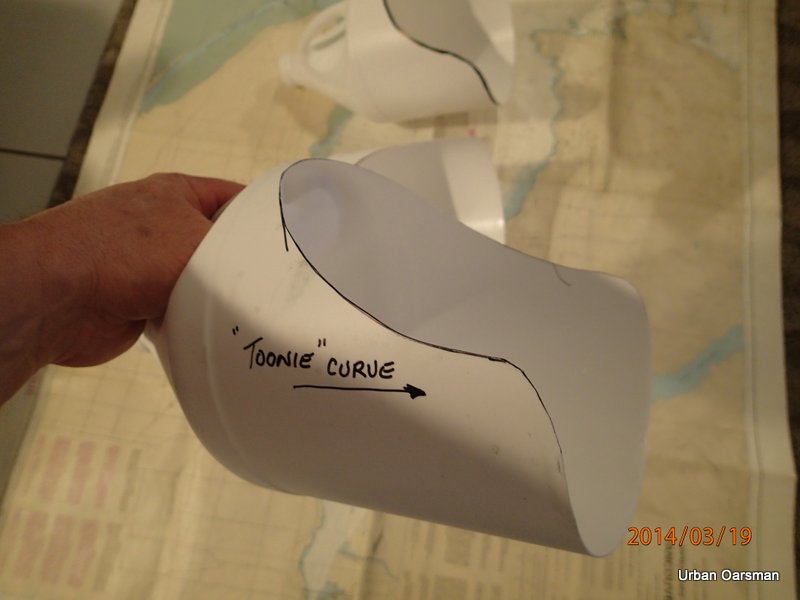
The toonie curve Bailer. The mouth on this bailer is relatively deep.
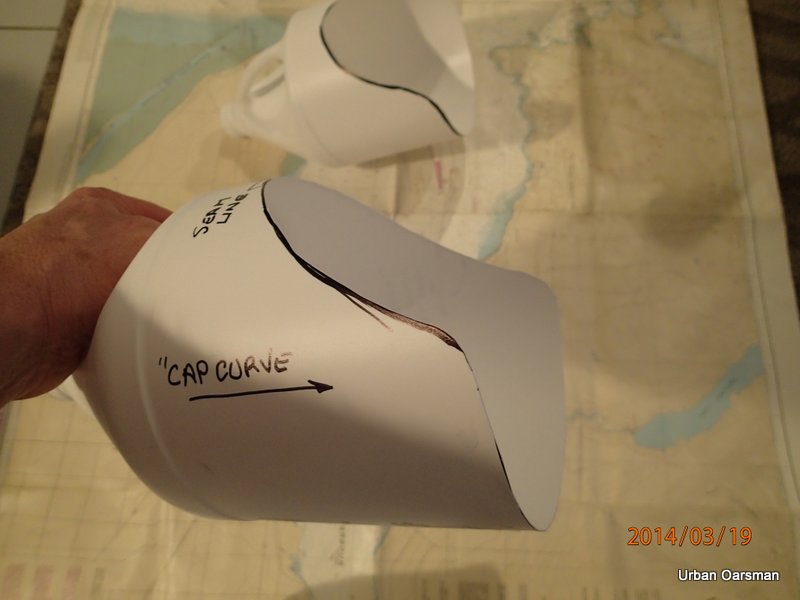
The cap curve Bailer. The mouth cut for this one is of average depth.

The deeper you make the bailer mouth cut, the more flexible the leading edge of the bailer becomes. It can usually get the last bits of water better with a deep mouth bailer, but the deep mouth bailer is not as strong as a shallow mouth one.
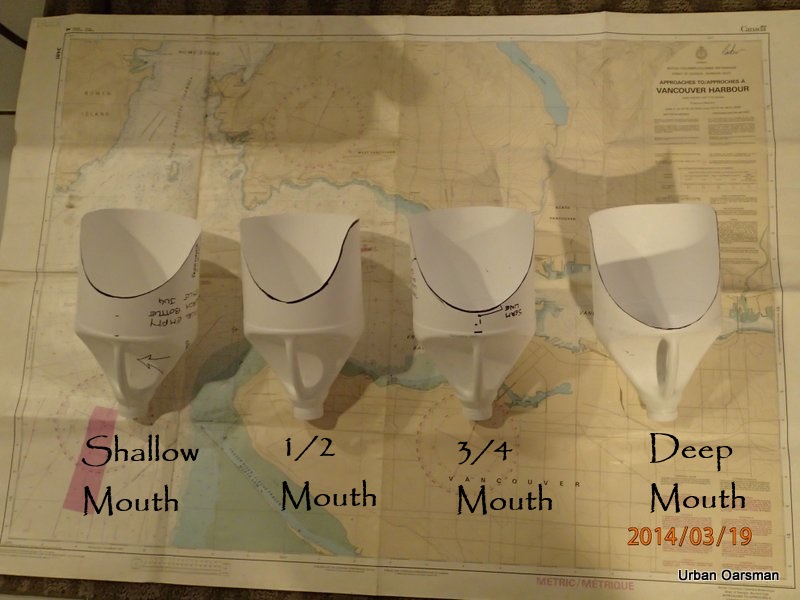
Comparison of Bailer mouth depths. I usually have two bailers in Gwragedd Annwn. Just in case I break one.
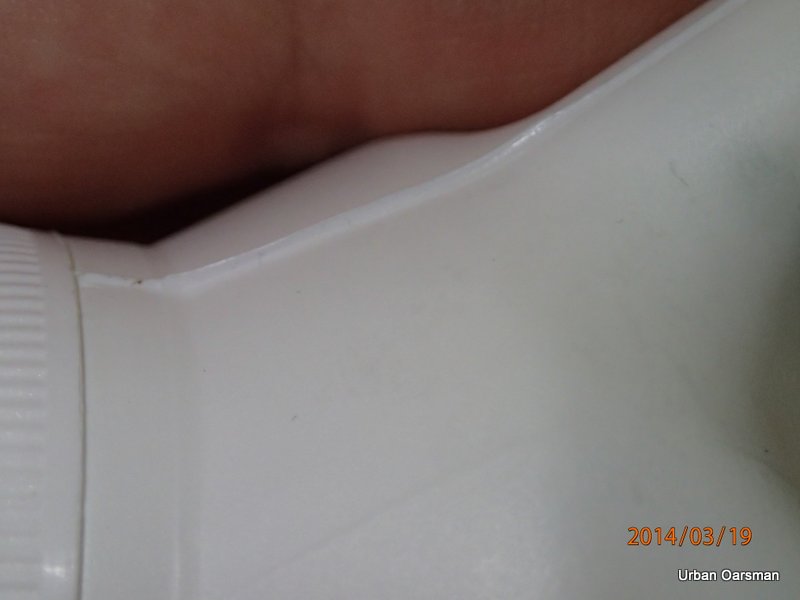
“Flash” on a plastic jug neck.
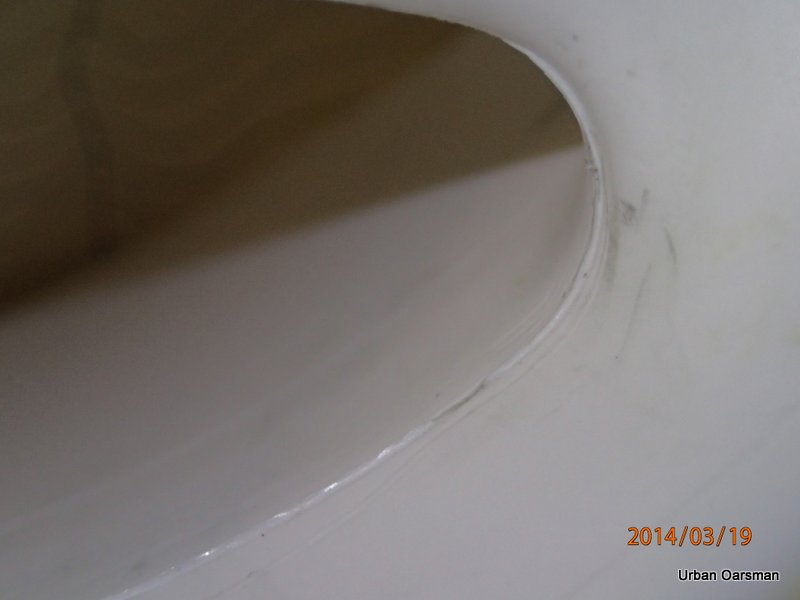
“Flash” in the handle.
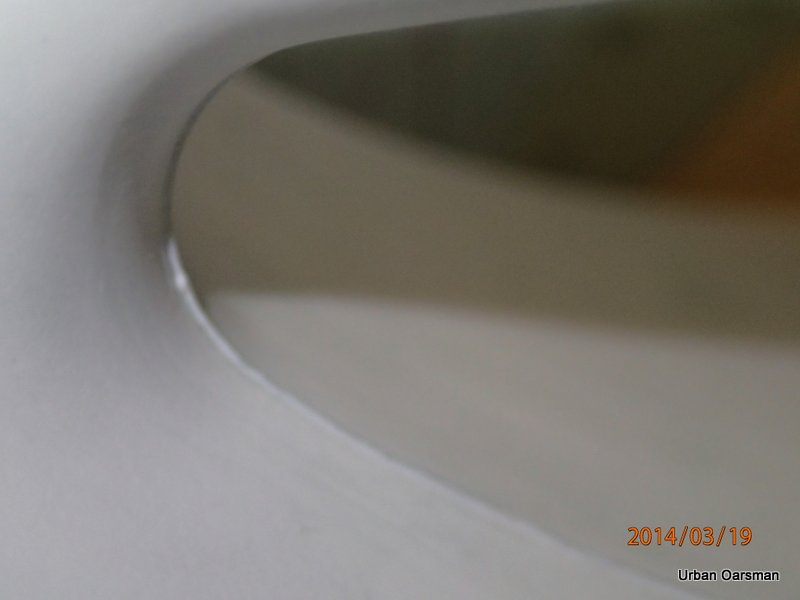
More “flash”. “Flash” is caused by the molds used not fitting together perfectly. It is annoying and can cut your hands when they are wet and soft. You should remove the flash.
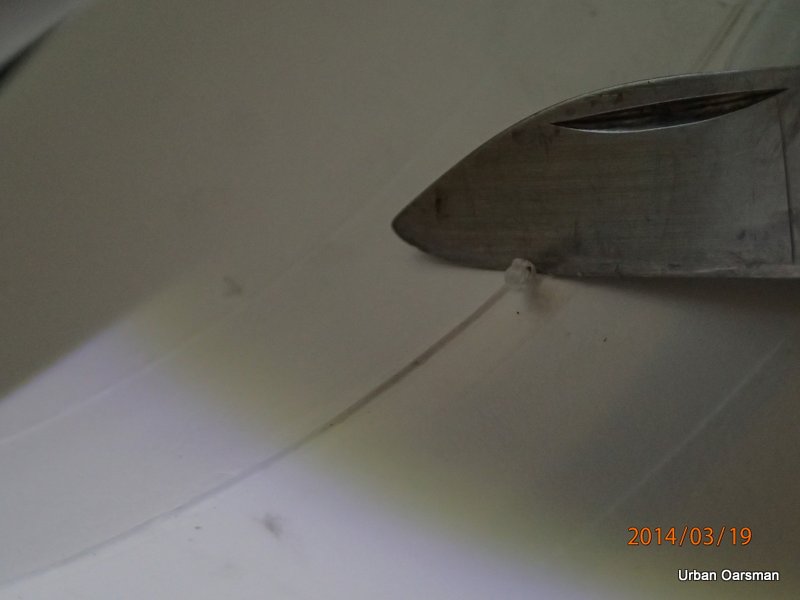
I cut and scrape it off with my pocket knife.
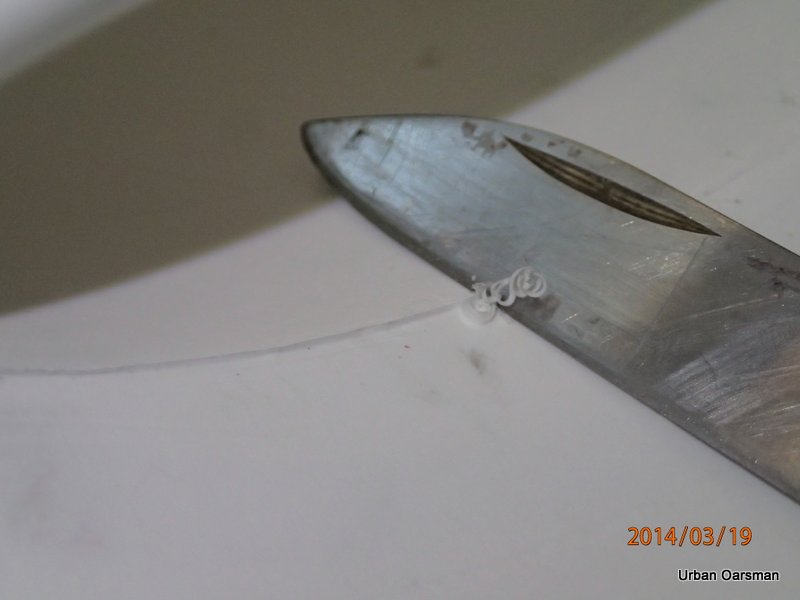
Some times I use a piece of sandpaper to smooth the seam out.
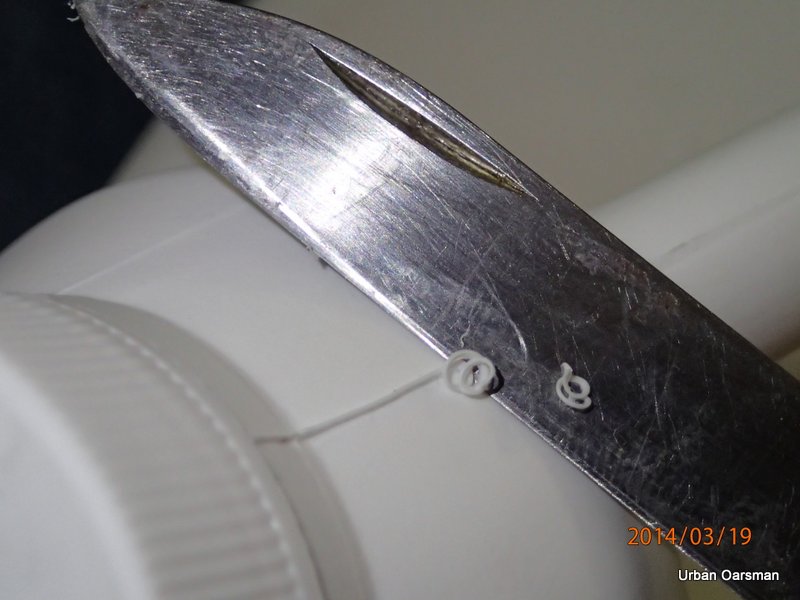
Almost done. Another Bailer ready for action (bailing).

Happy rowing in a dry boat.
Mike


Hey man – nice bailer! If I may, I’d like to offer a bit of (no doubt unwelcome)advice on your design.
If you cut right up to the ridge next to the handle, and leave a gap slightly wider than your thumb, it works better. Now you can grip it with your thumb. Less fatigue during vigorous bailing! Happy to send a pic if my words are inadequate.
Cheers, Sandy from Maine
Hello Sandy from Maine,
You are absolutely right. In a further bailer build, I did make a “notch” for my thumb…perhaps not a big as you describe, but it did help me hold the bailer better.
If you send me a pic, I will add it to the blog.
All the best, and I trust that your bailer does not get much use!
Mike
Is it possible to sketch out what you are describing here with the thumb notch? I am having a hard time figuring it out. Thank you!
Hello SP,
I am sending you four photos explaining the “notch”.
Mike
This is a great tutorial, thank you for making this.
This was excellent! Thank you!
I was looking for instructions on how to turn a bleach bottle into a bailer for my Old Town Saranac canoe.
Fair winds and following seas…