The Urban Oarsman & Son build a Canoe, part eighteen…………. Varnishing the seats and carrying yoke, taking the hull off of the strongback/moulds, taking apart the strongback.

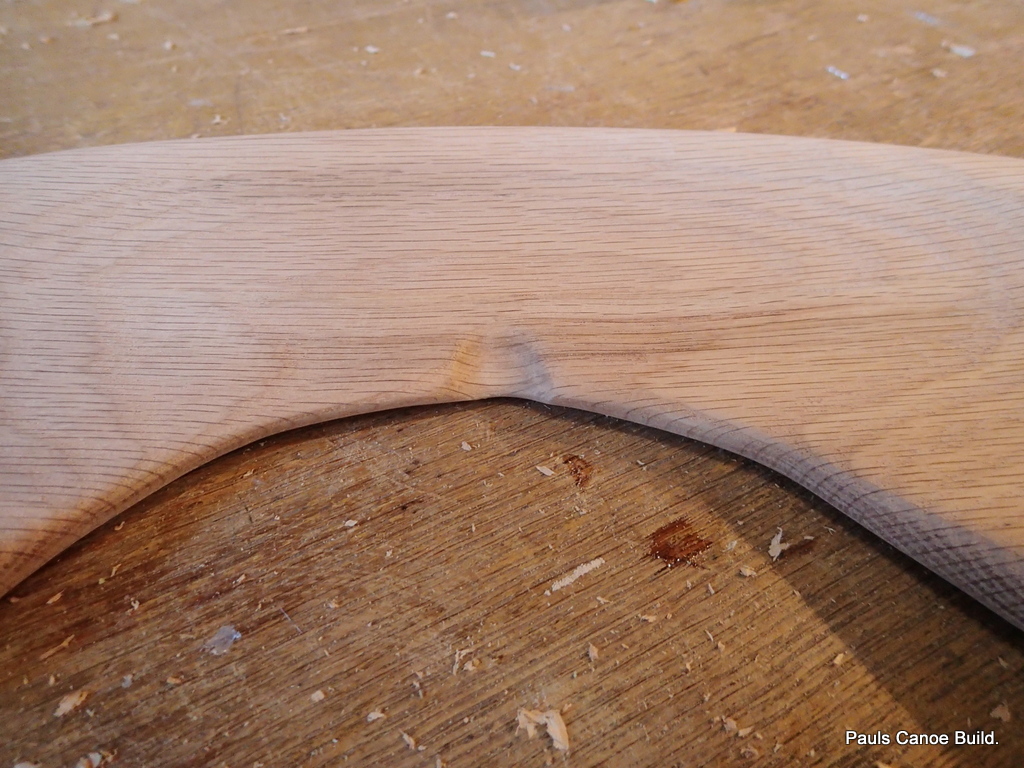
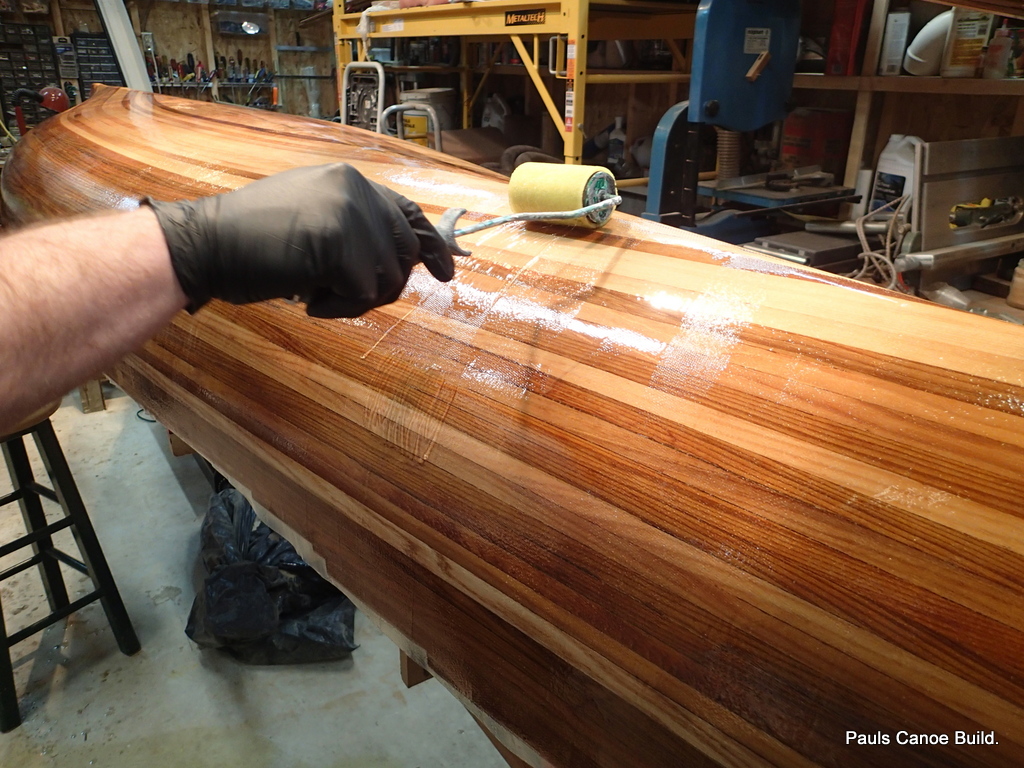
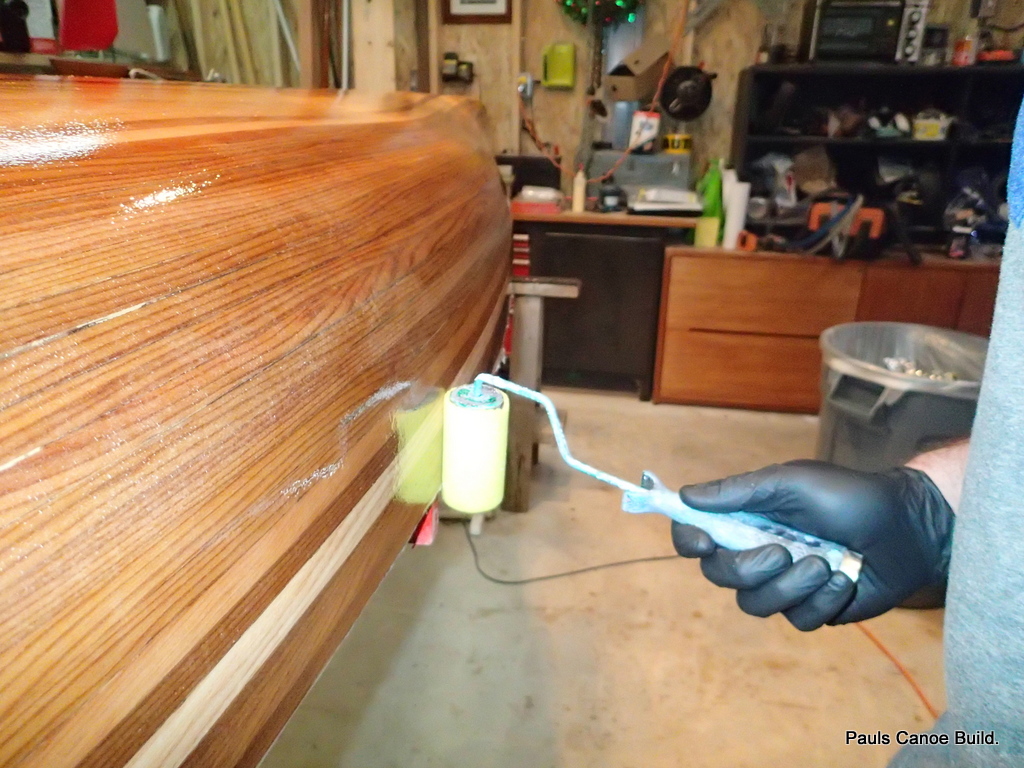
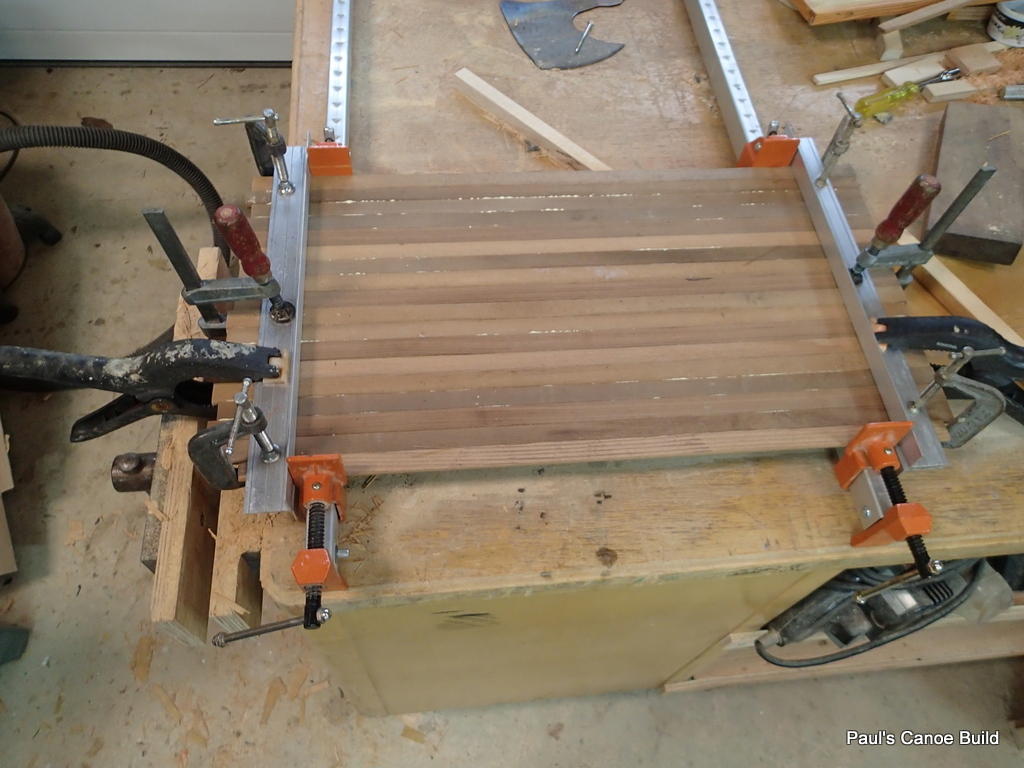
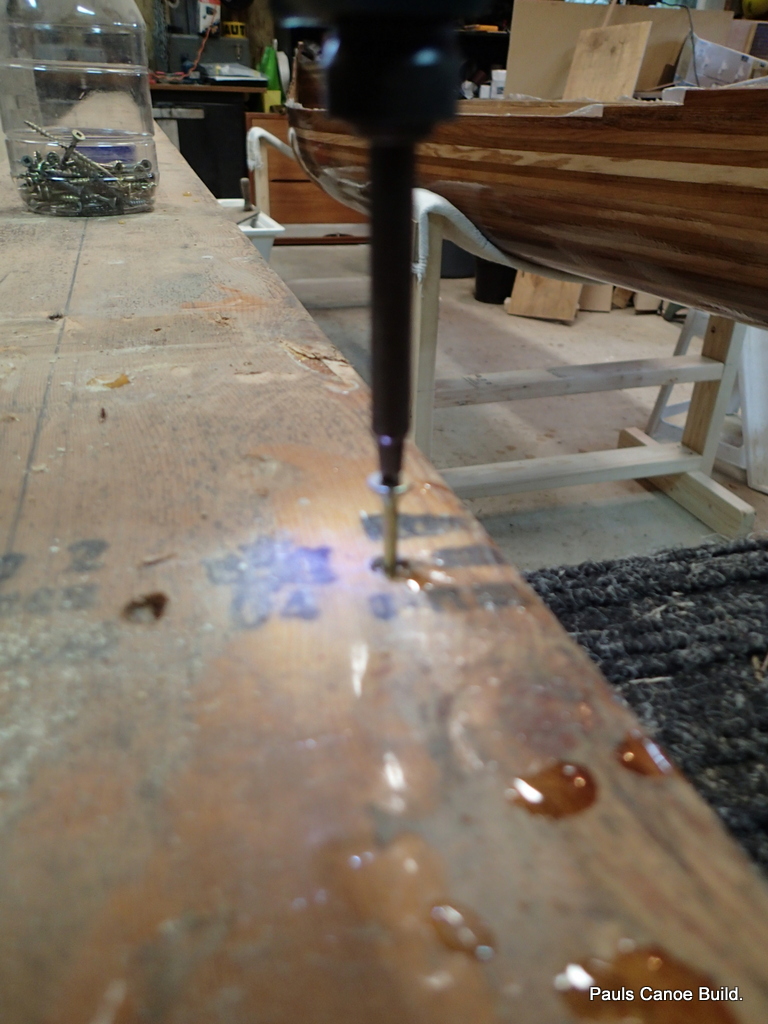
The seat frames and carrying yoke have been given a coat of epoxy resin.  We let them cure for several days.  I then give them a light sanding and begin varnishing.

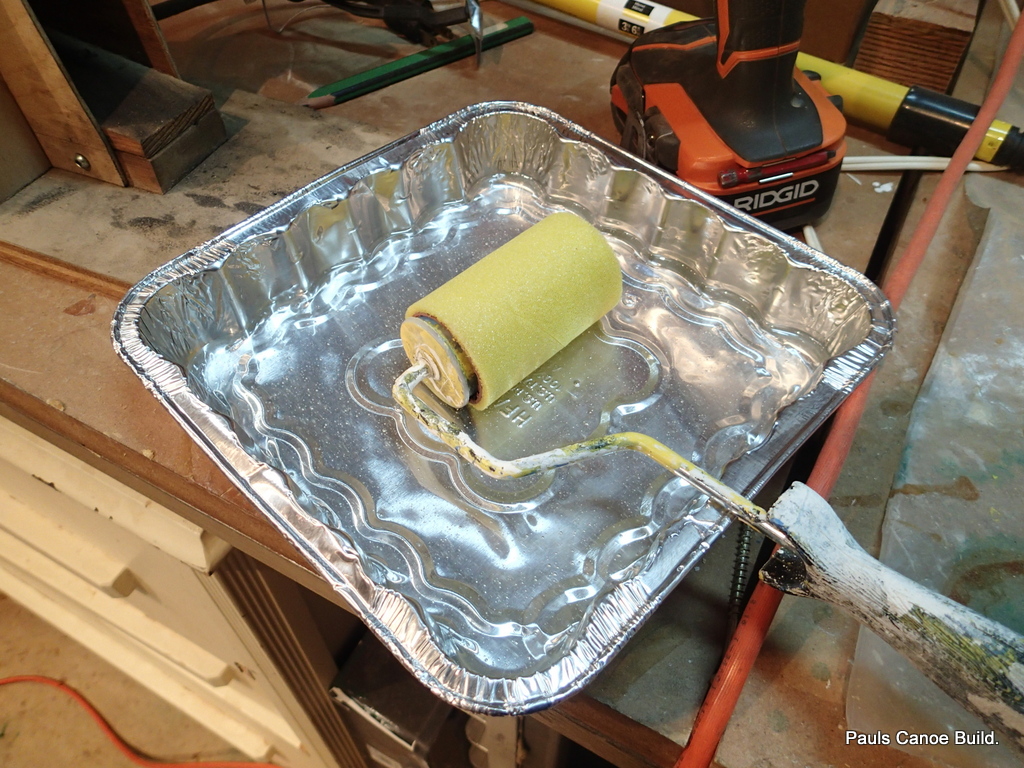
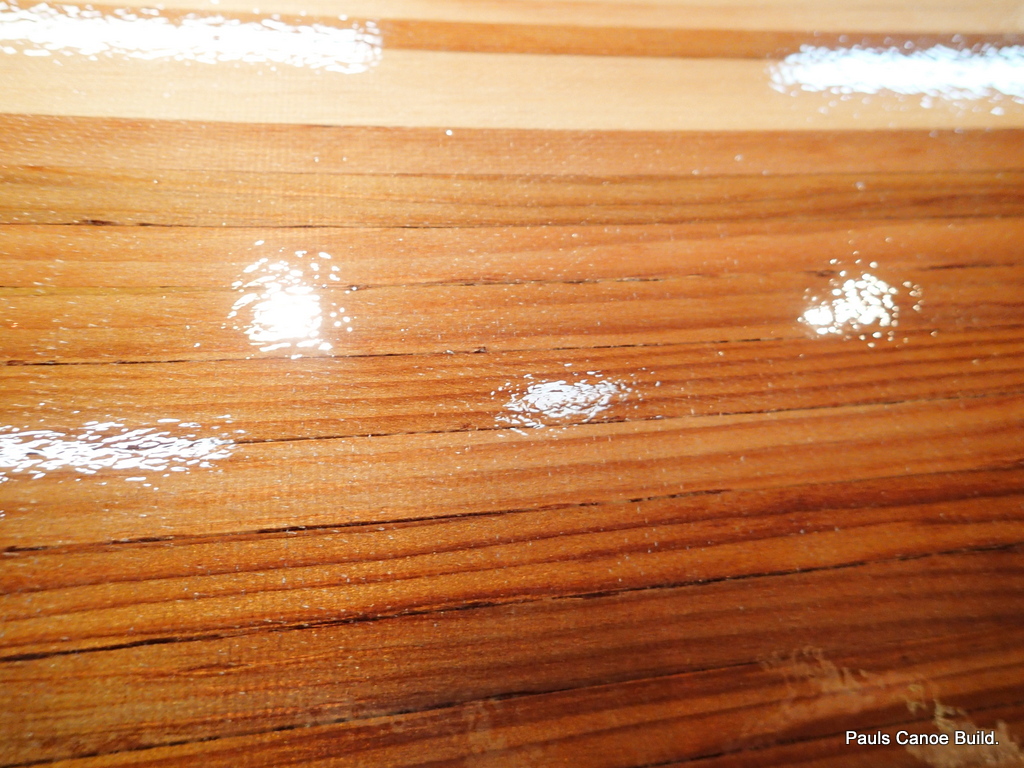
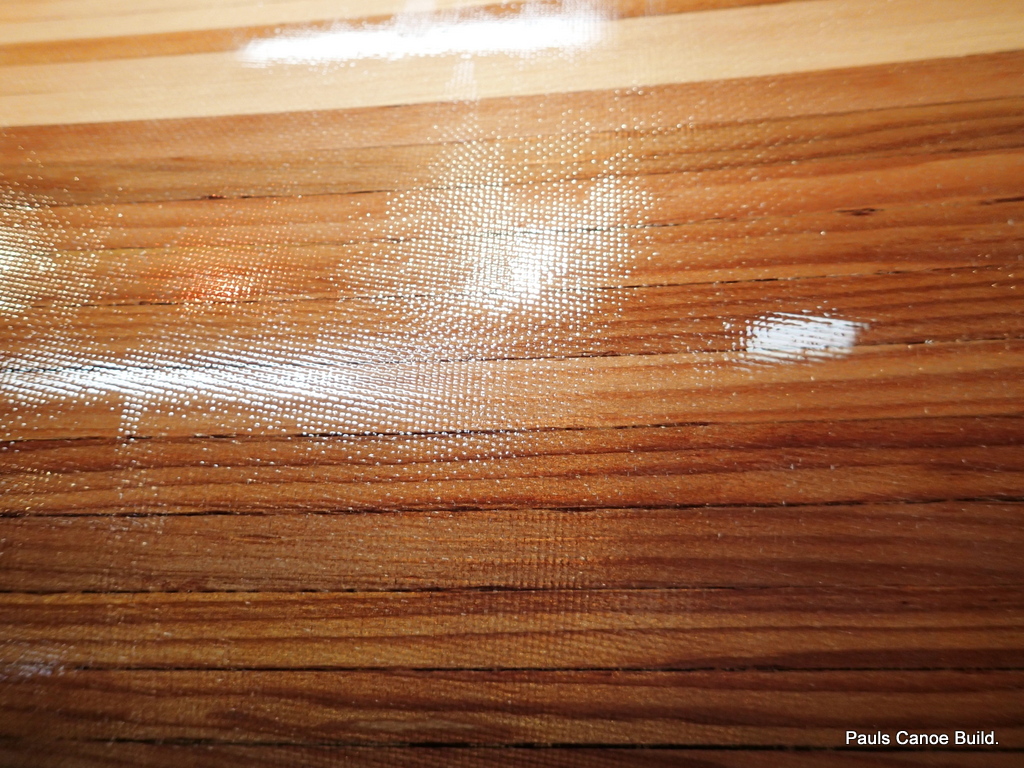
First coat of varnish.

I put eye-hooks in one end and hang them in front of the radiant shop heater.  I hope for two coats a day.  Second coat later in the day:

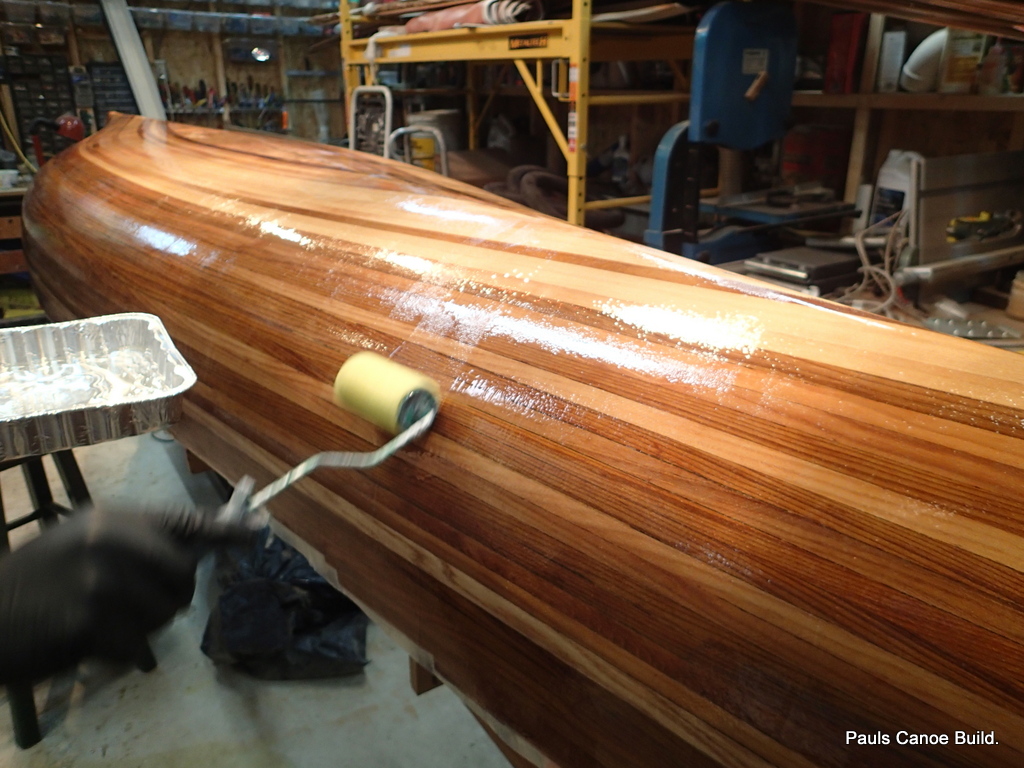
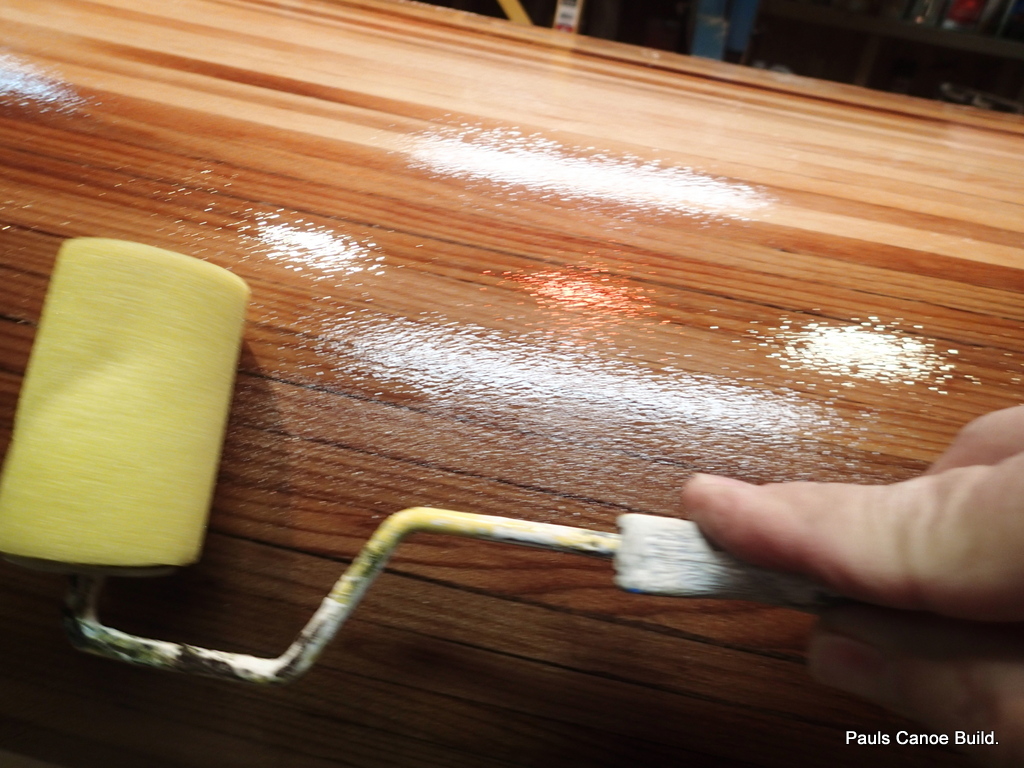
Second coat of varnish.

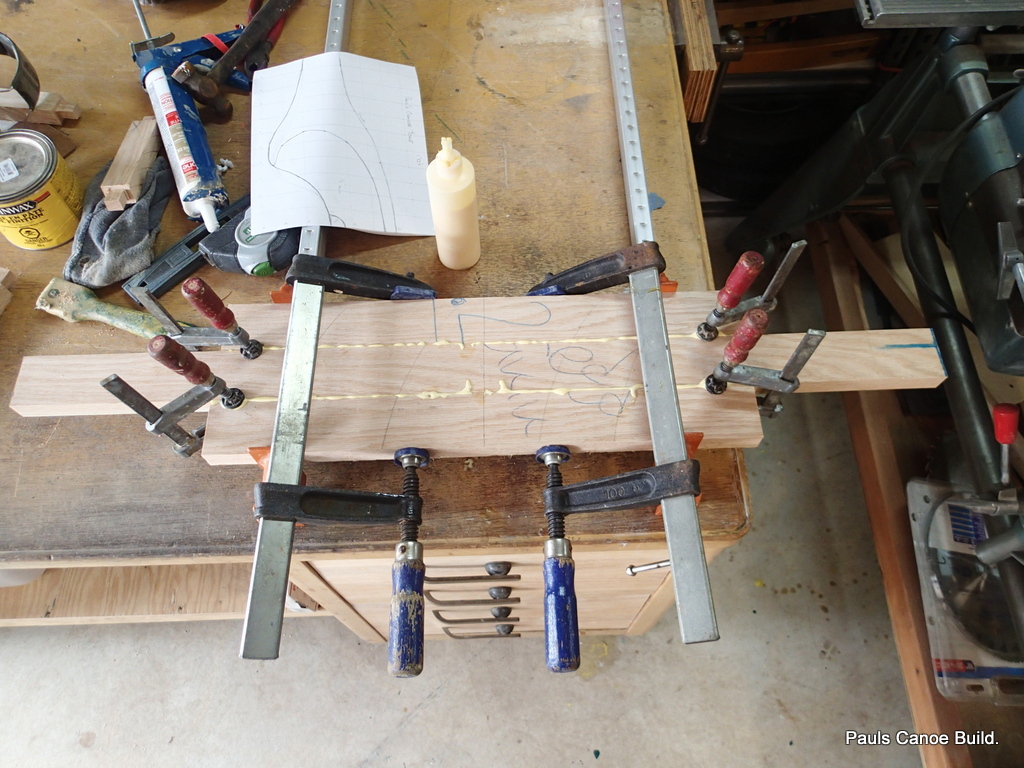
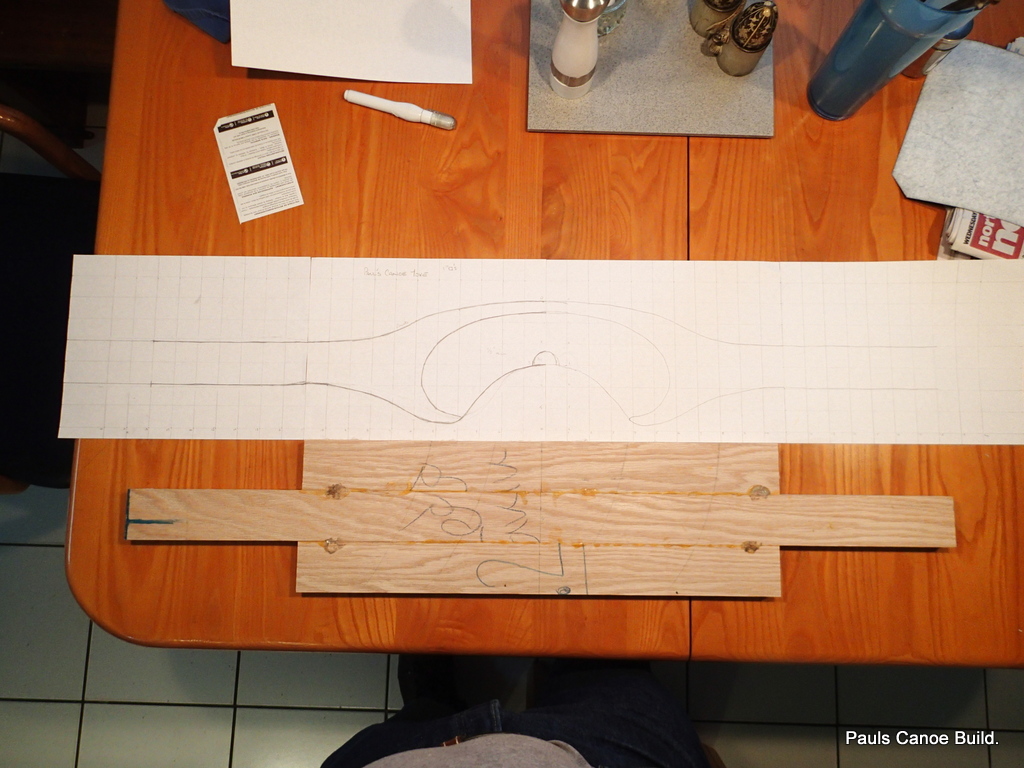
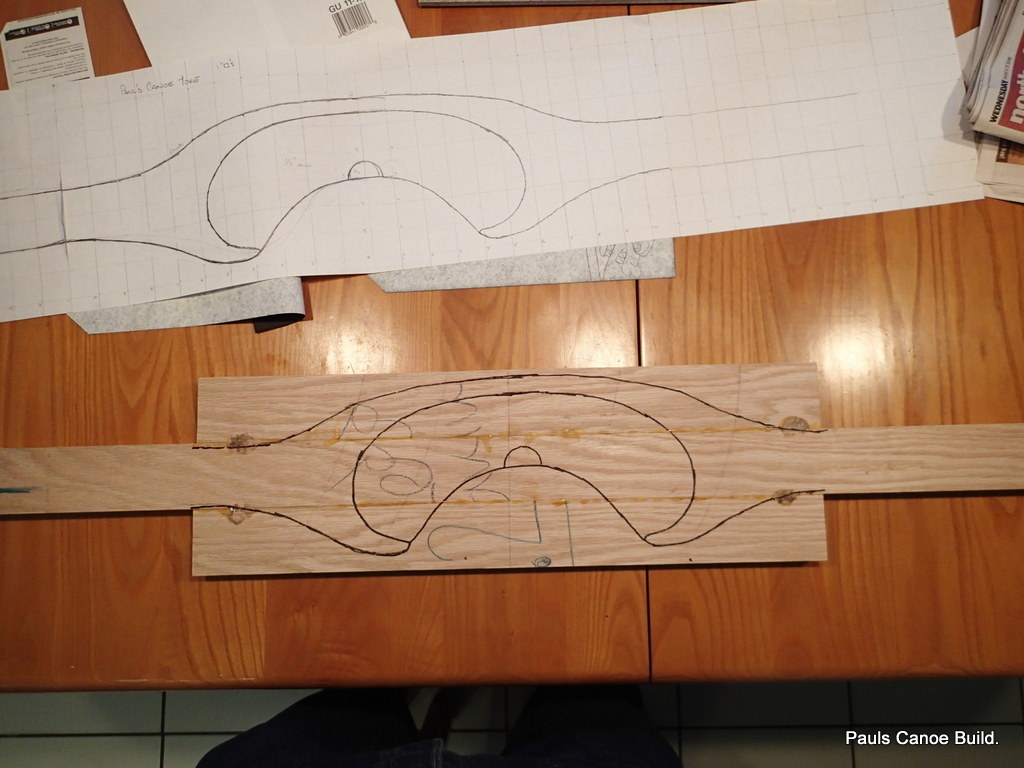
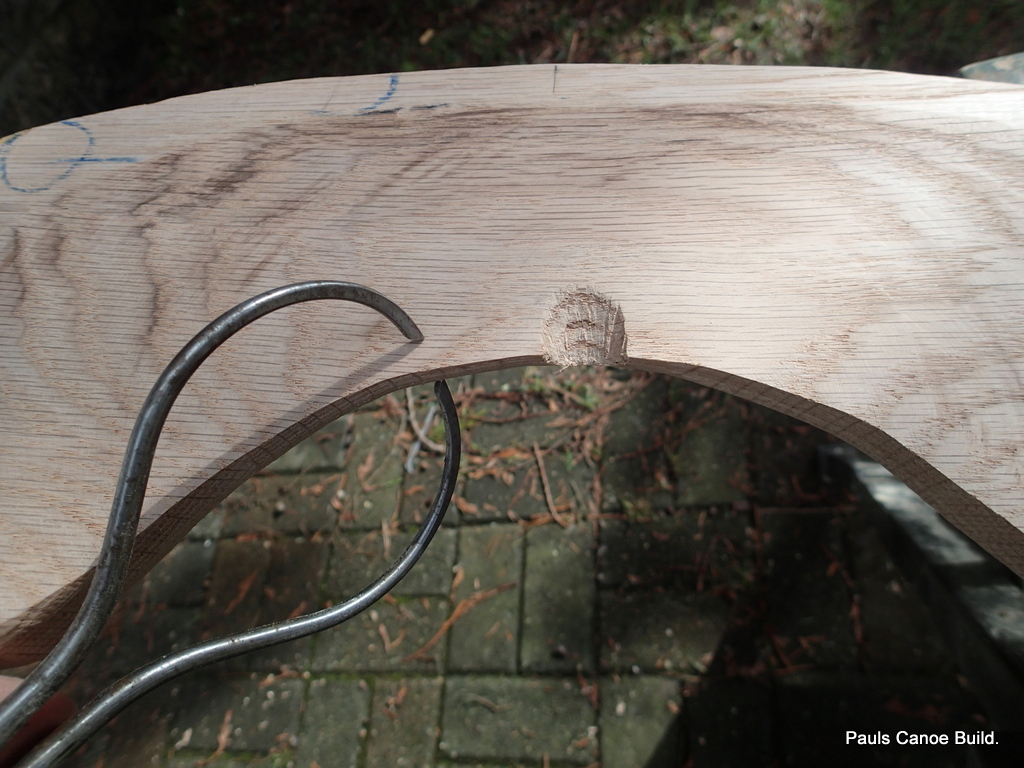
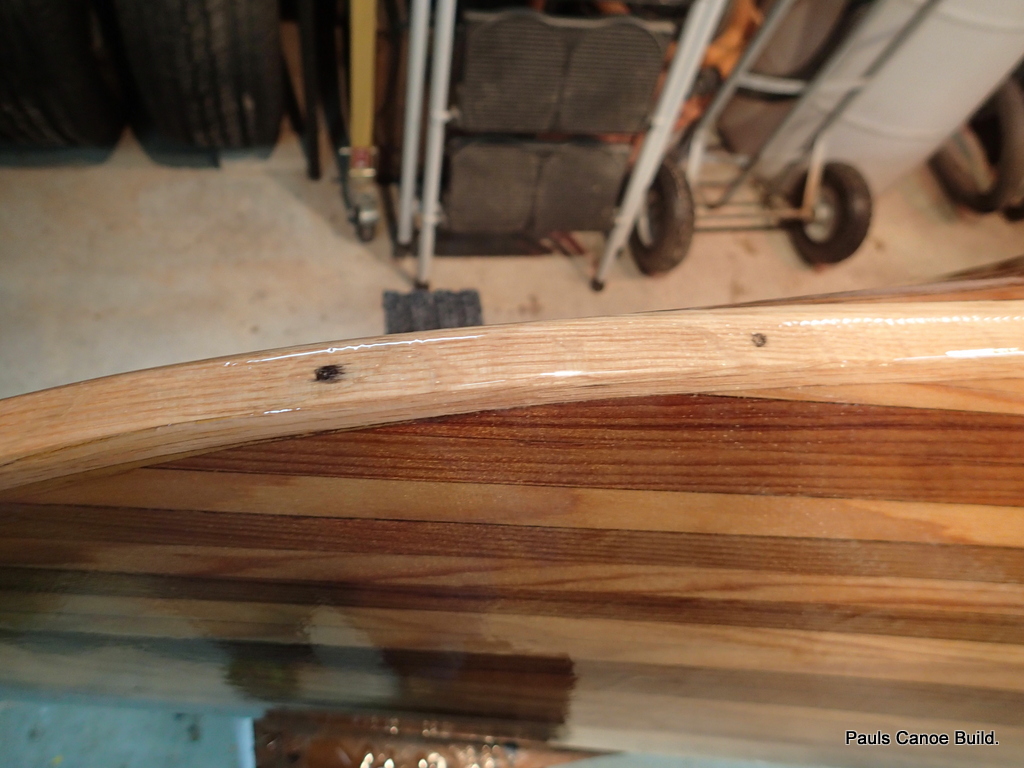
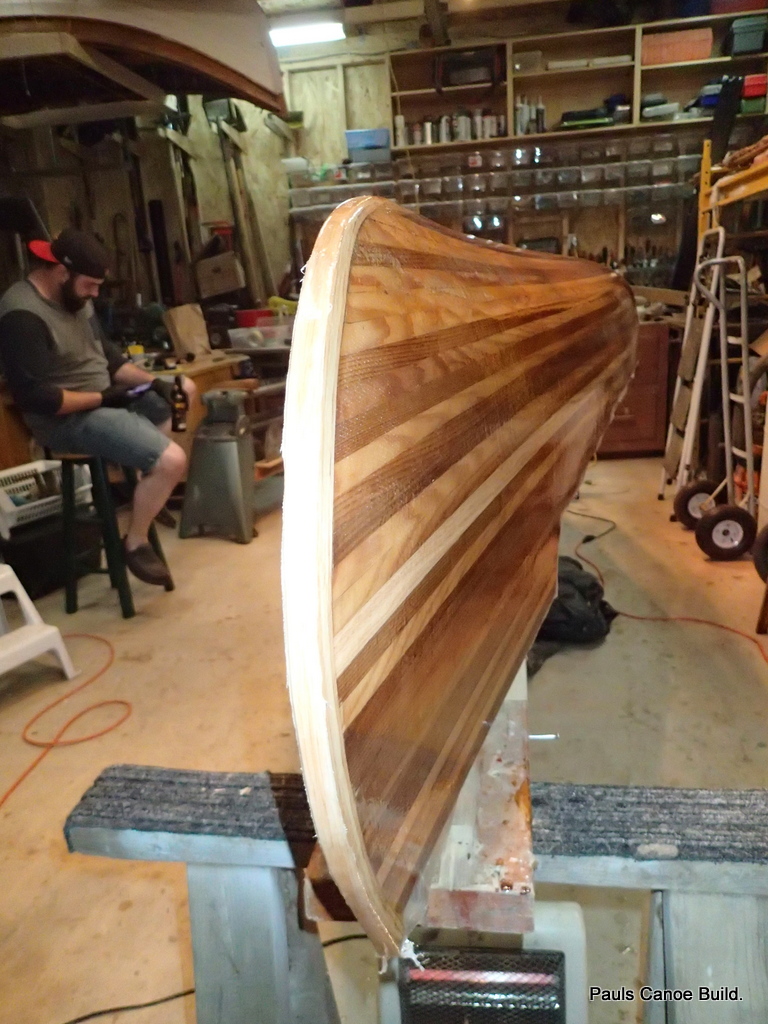
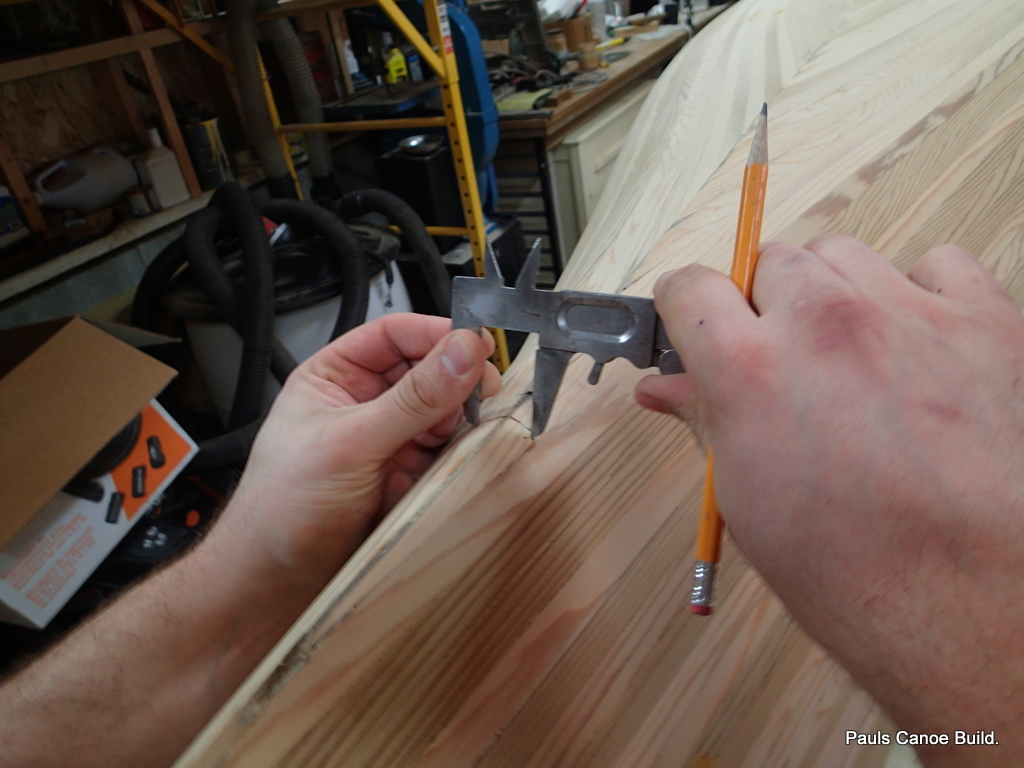
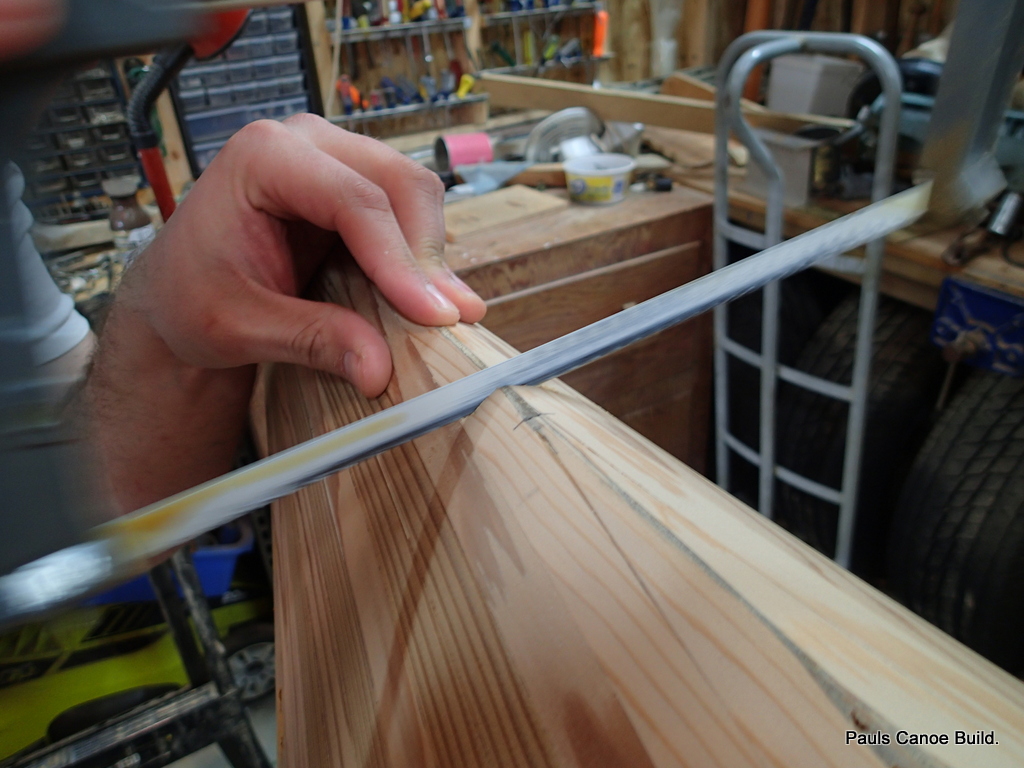
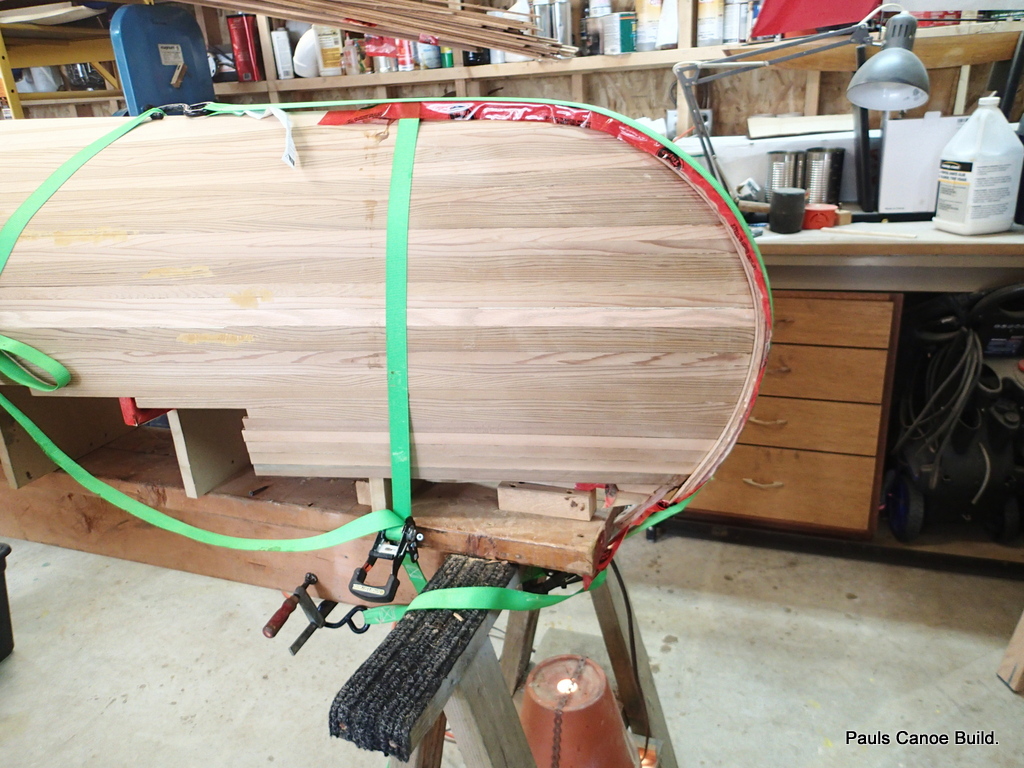
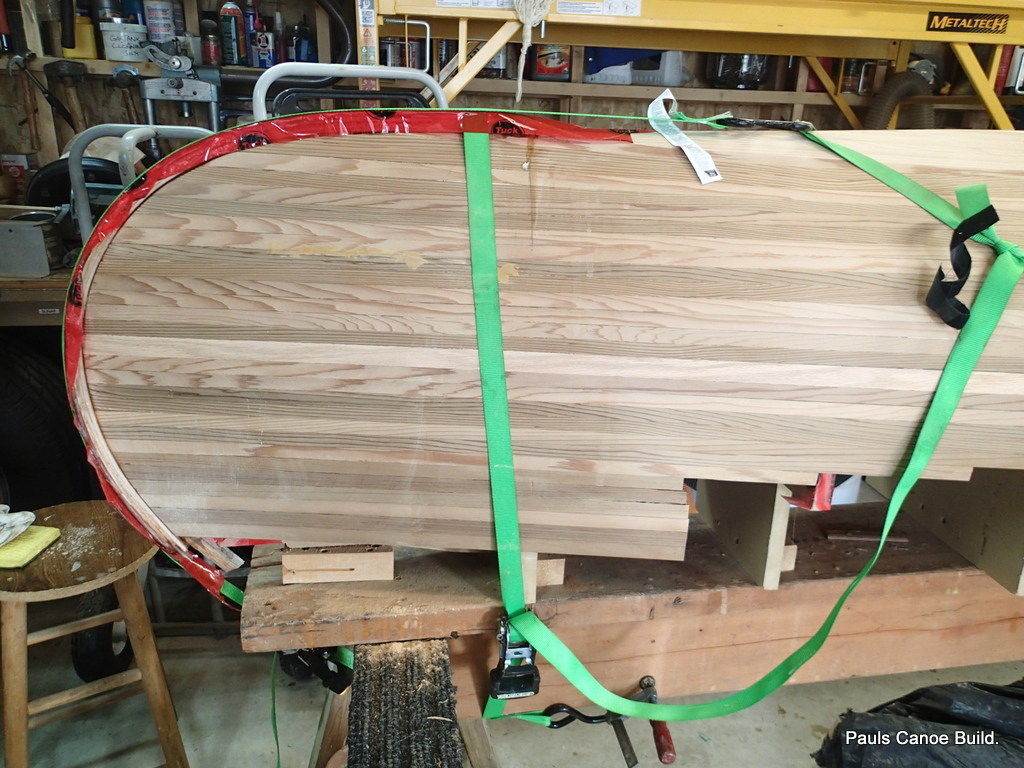
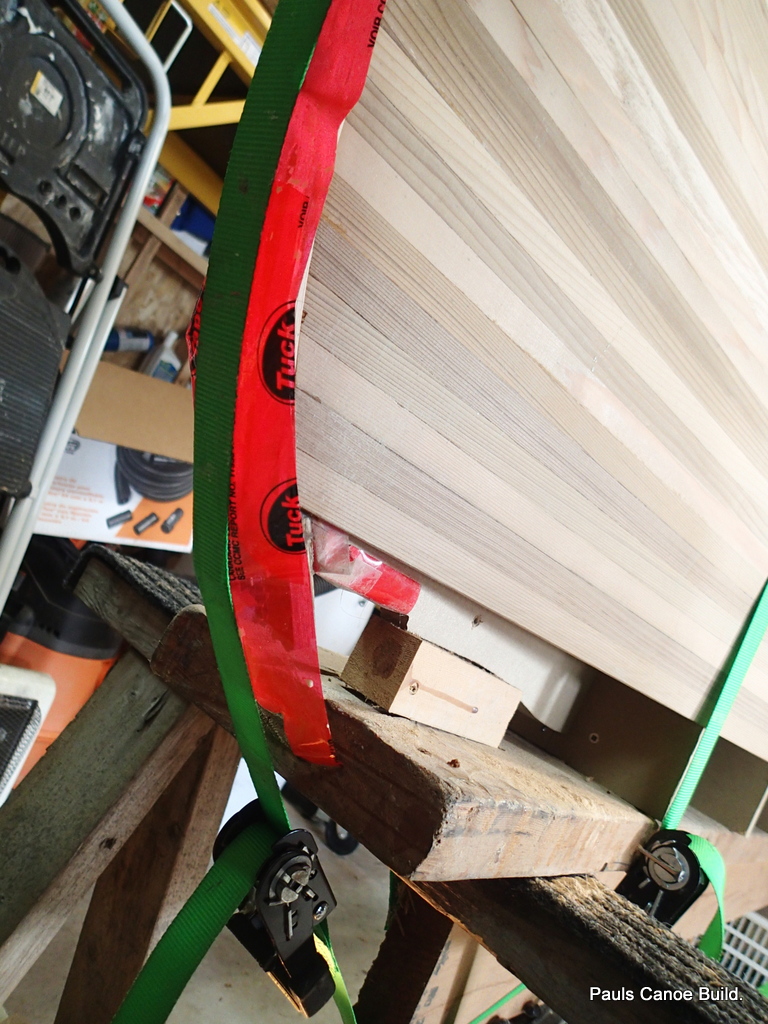
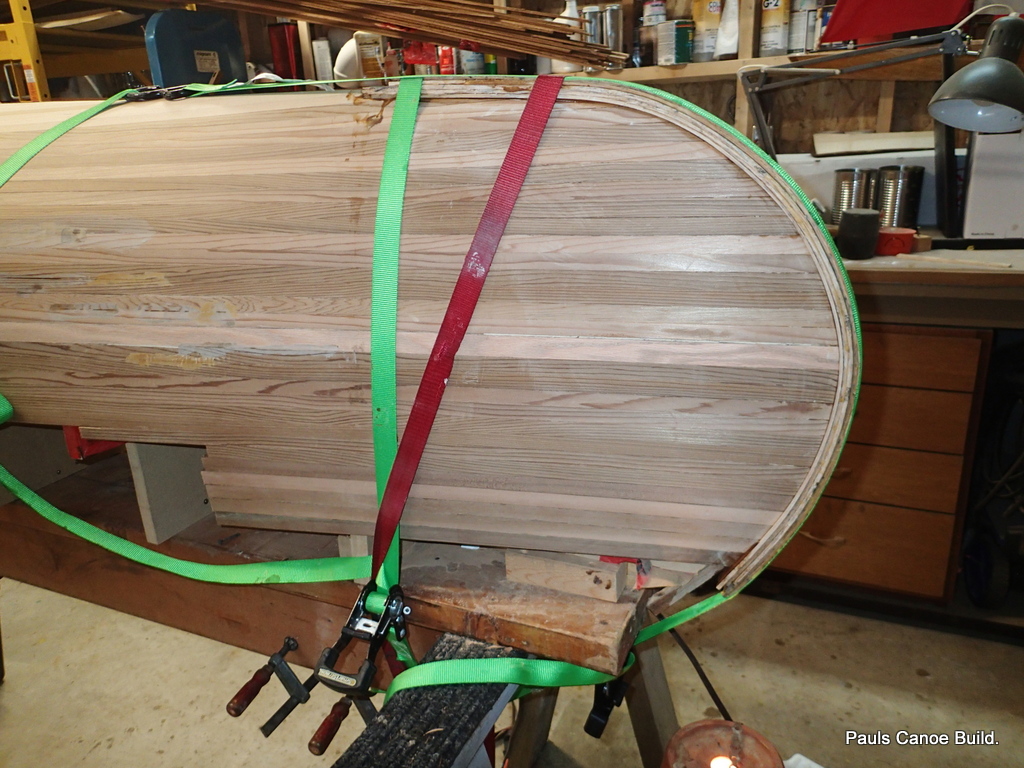
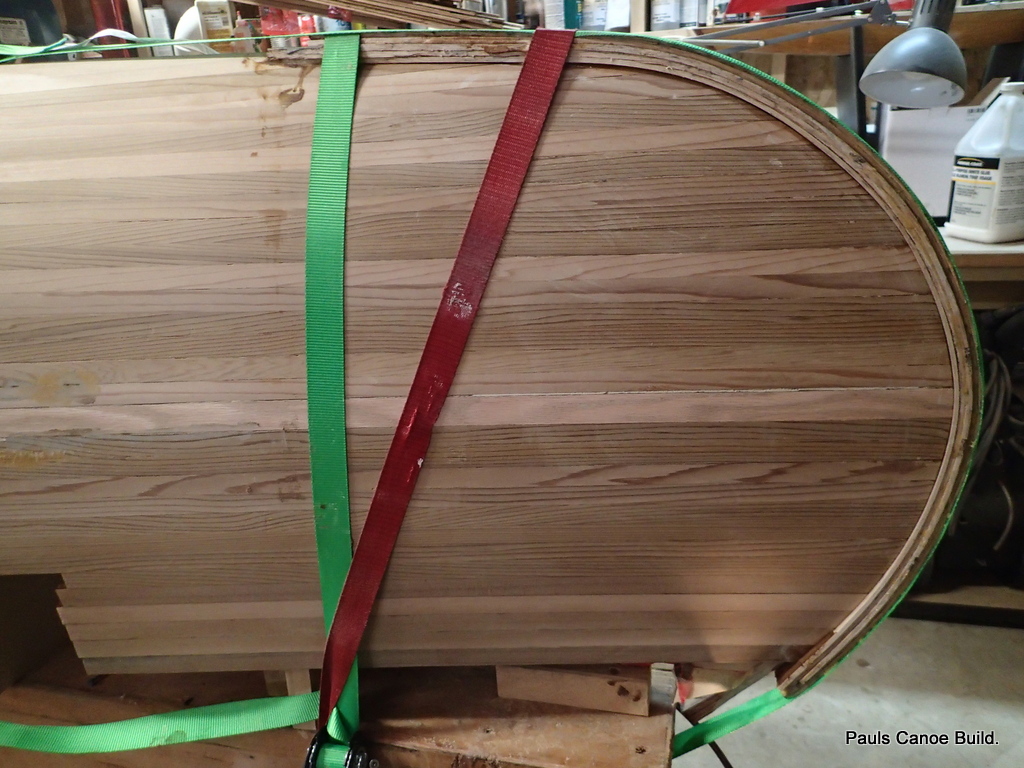
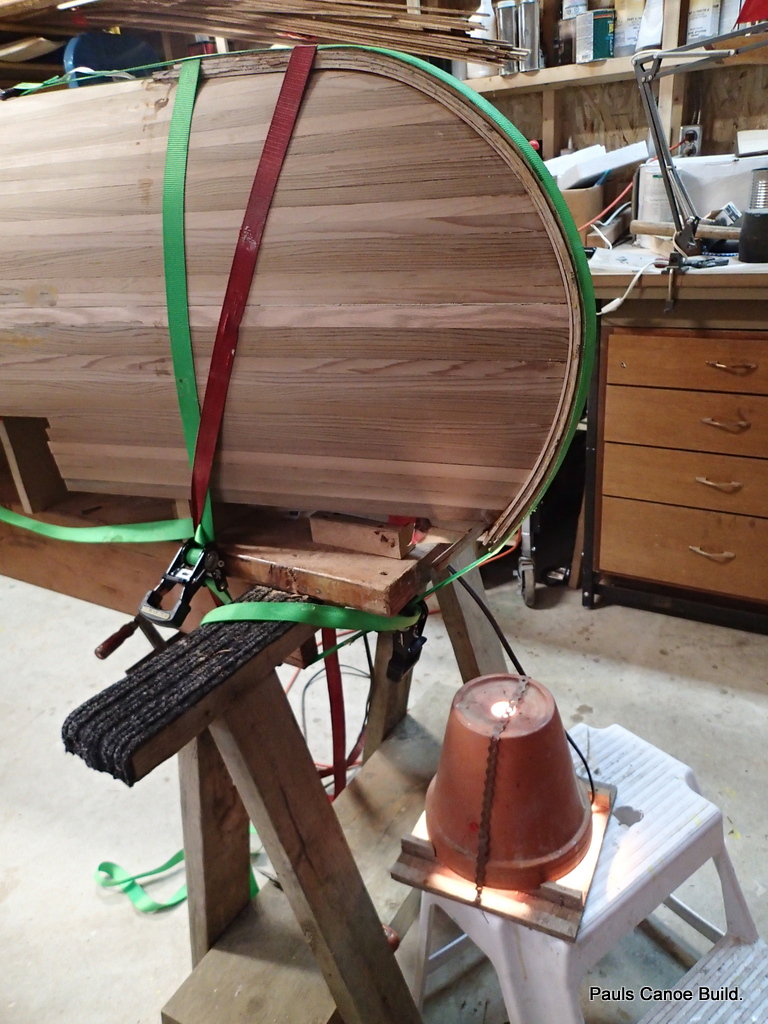
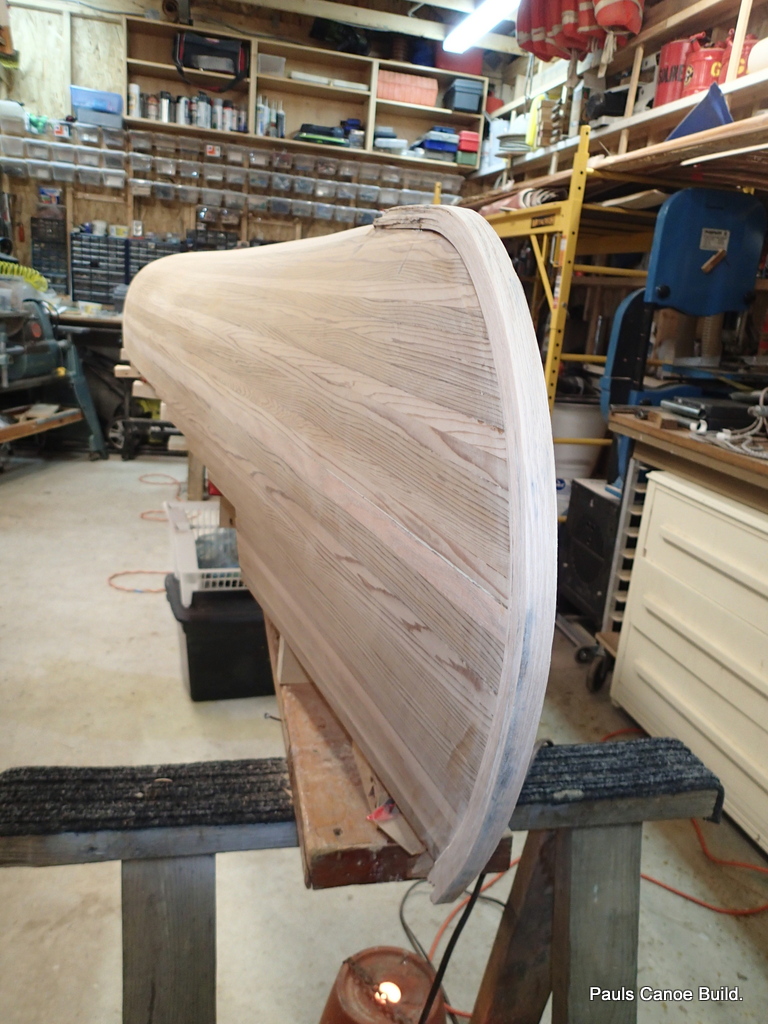
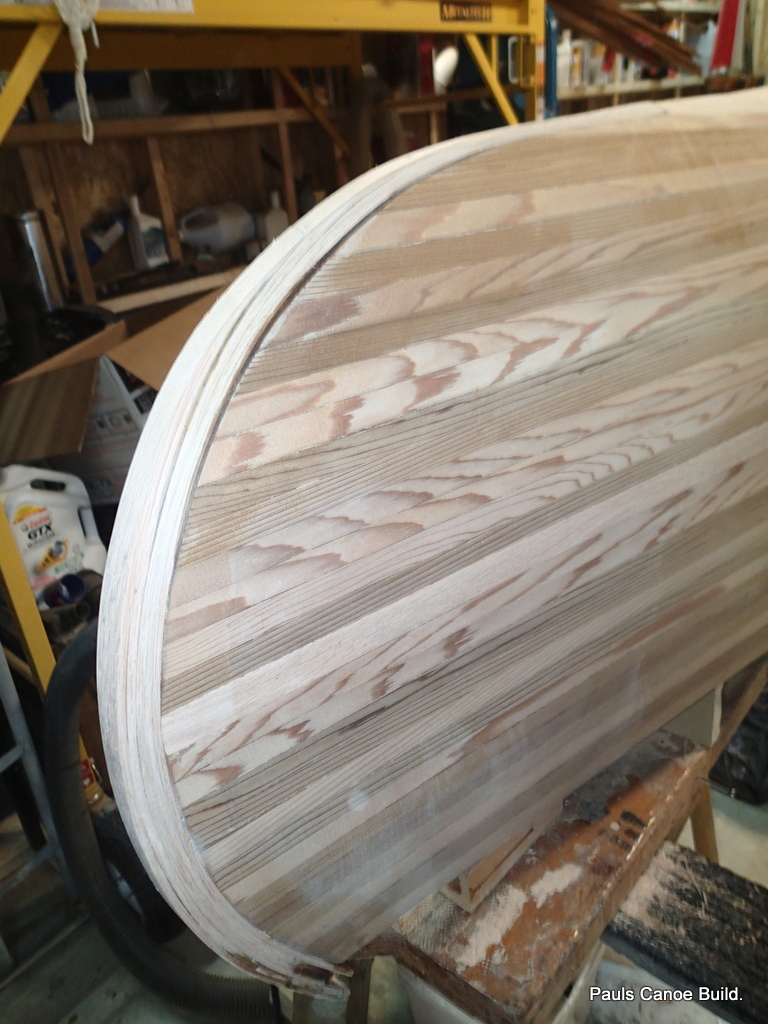
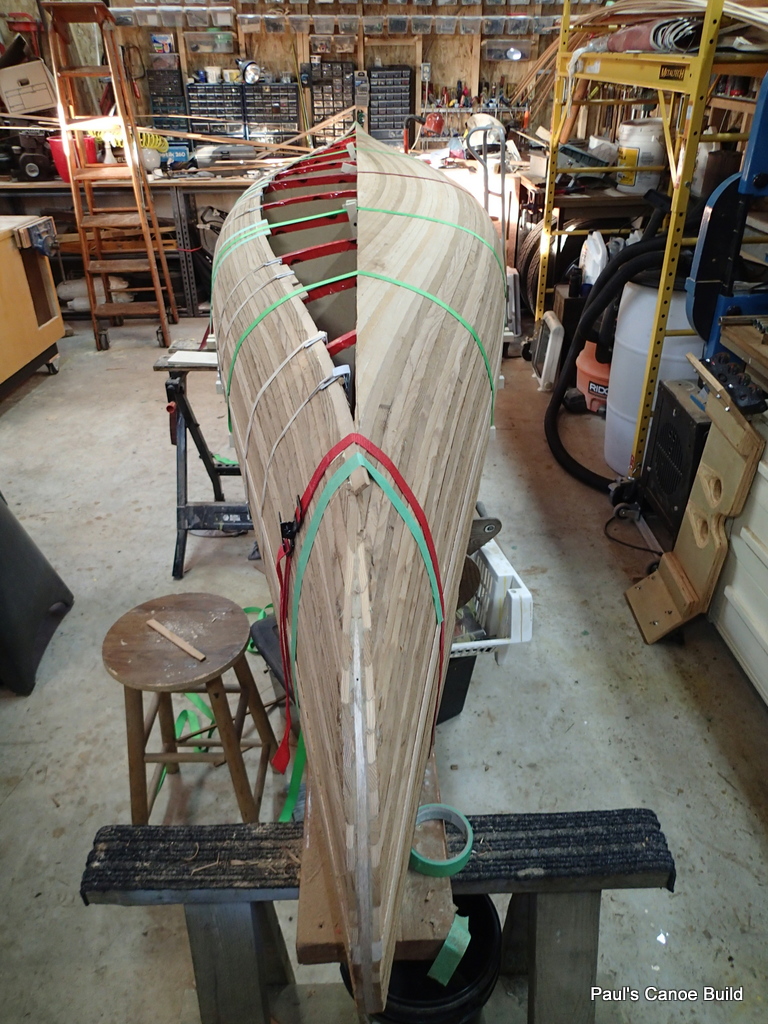
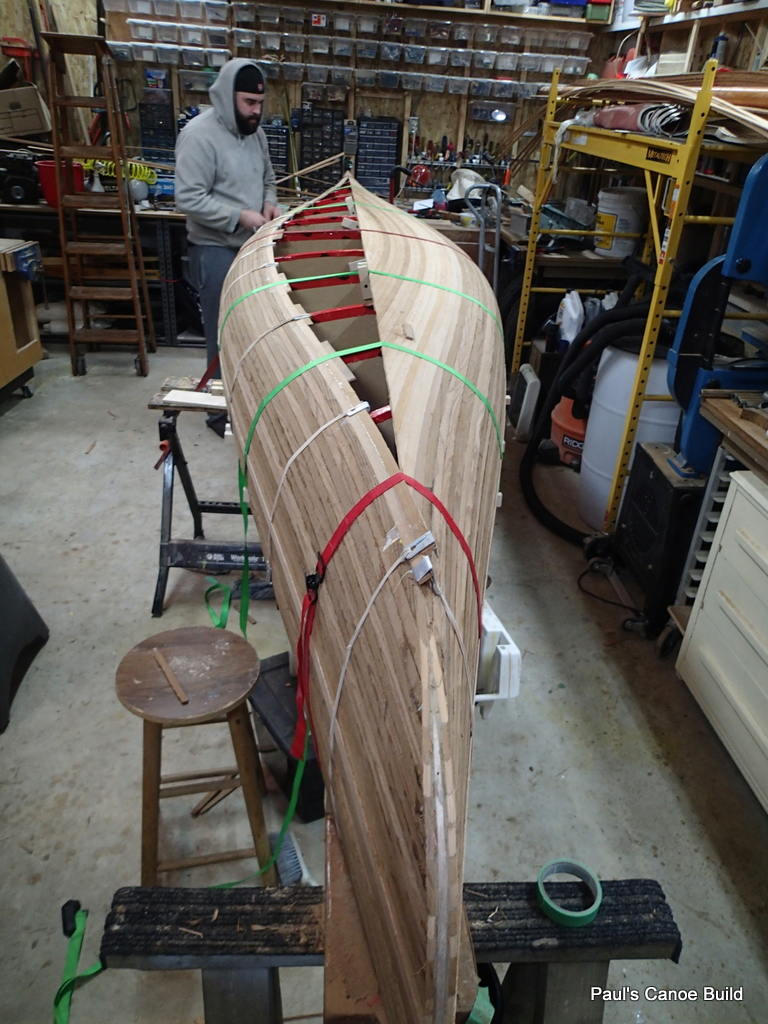
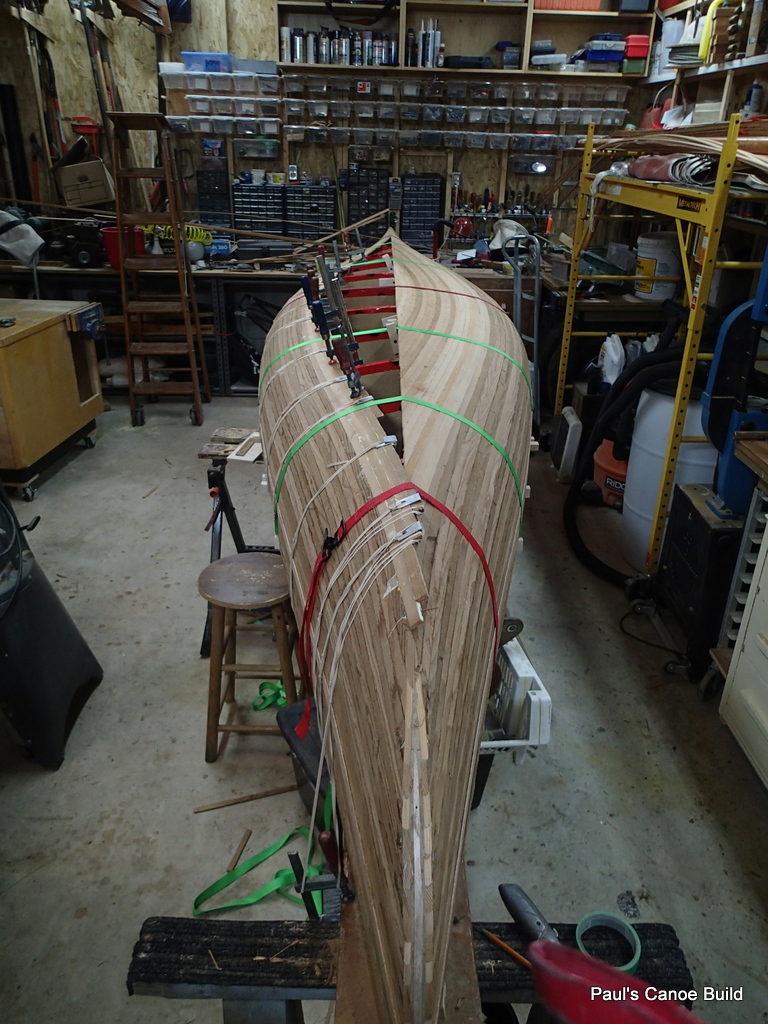
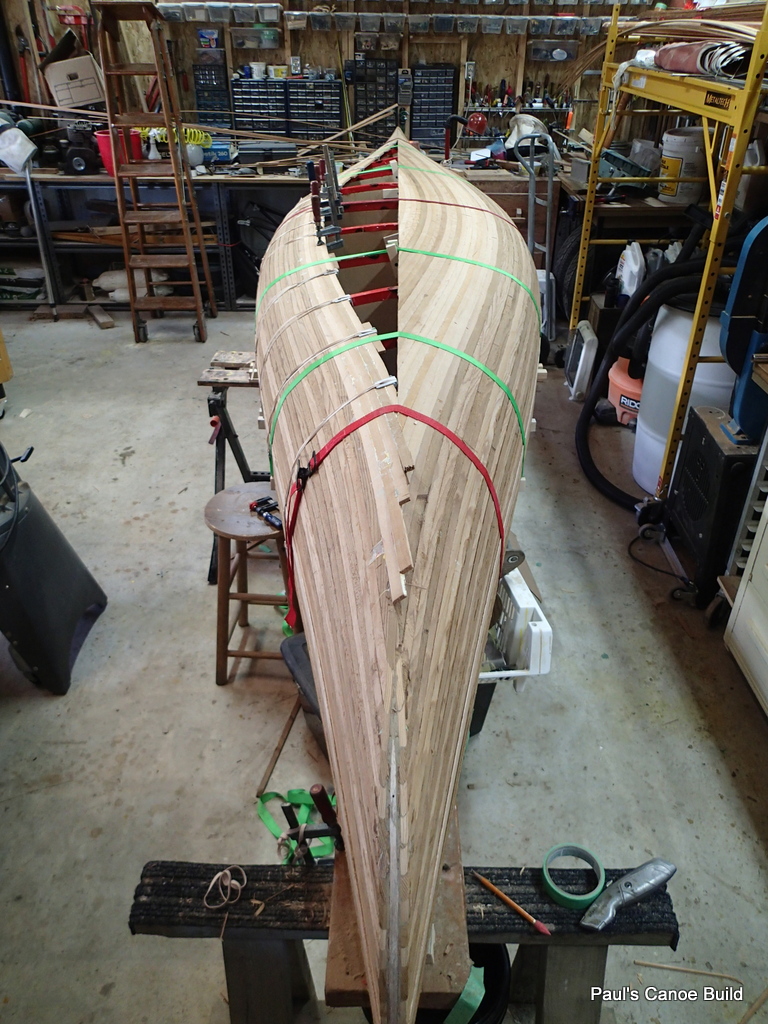
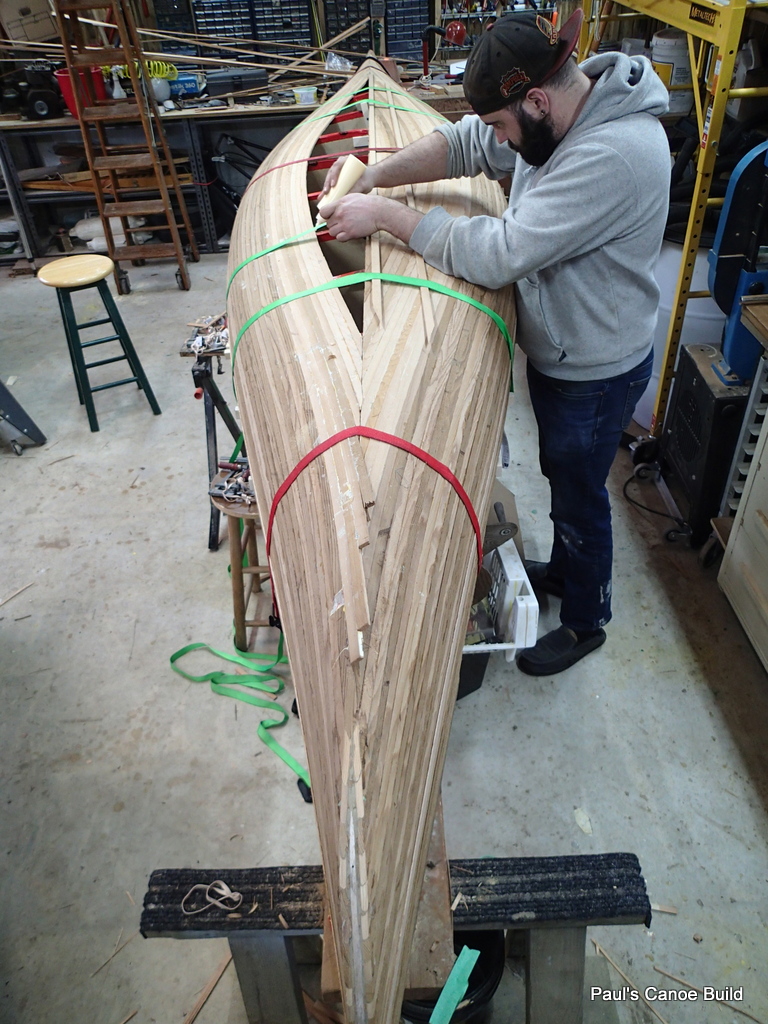
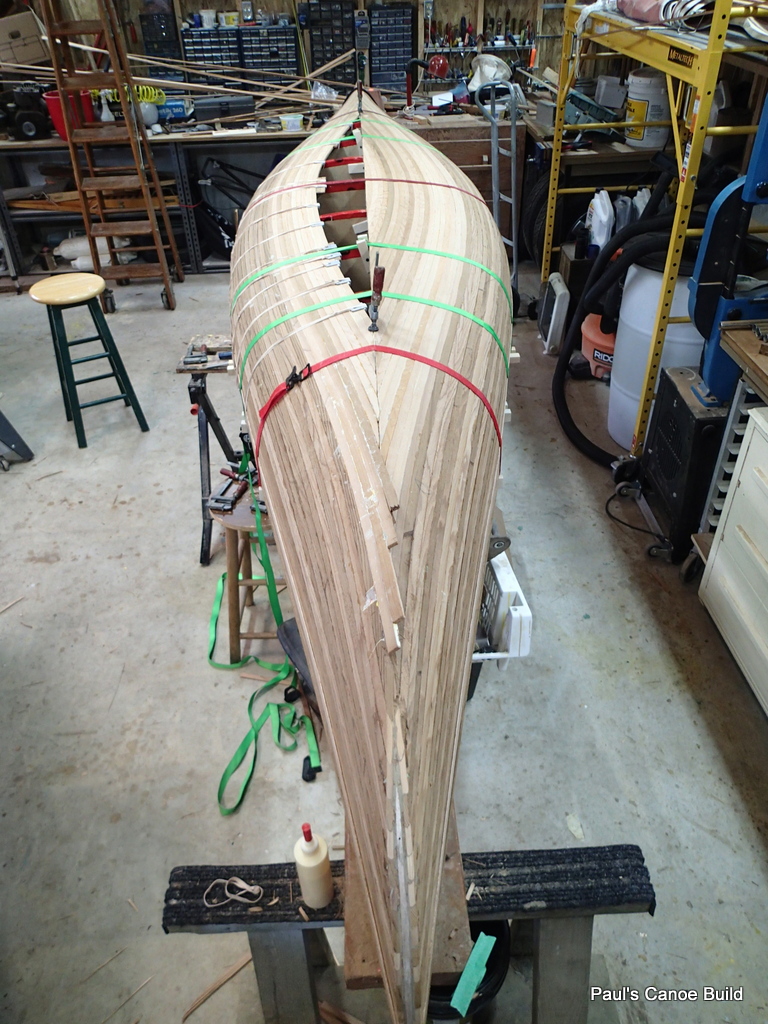
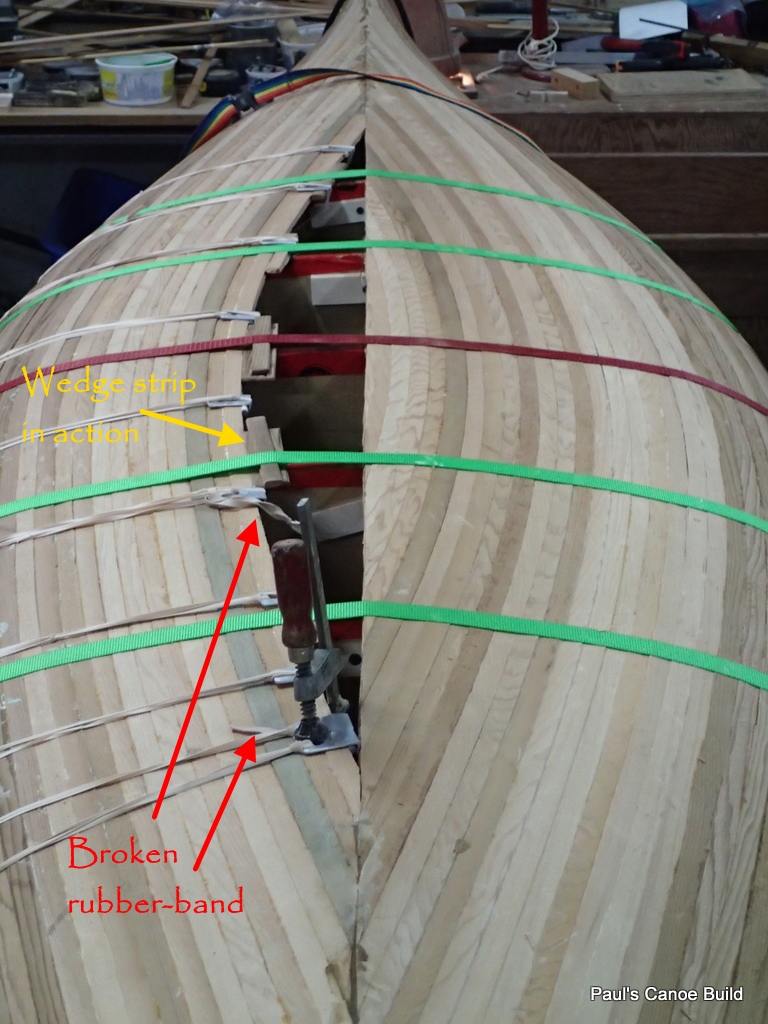
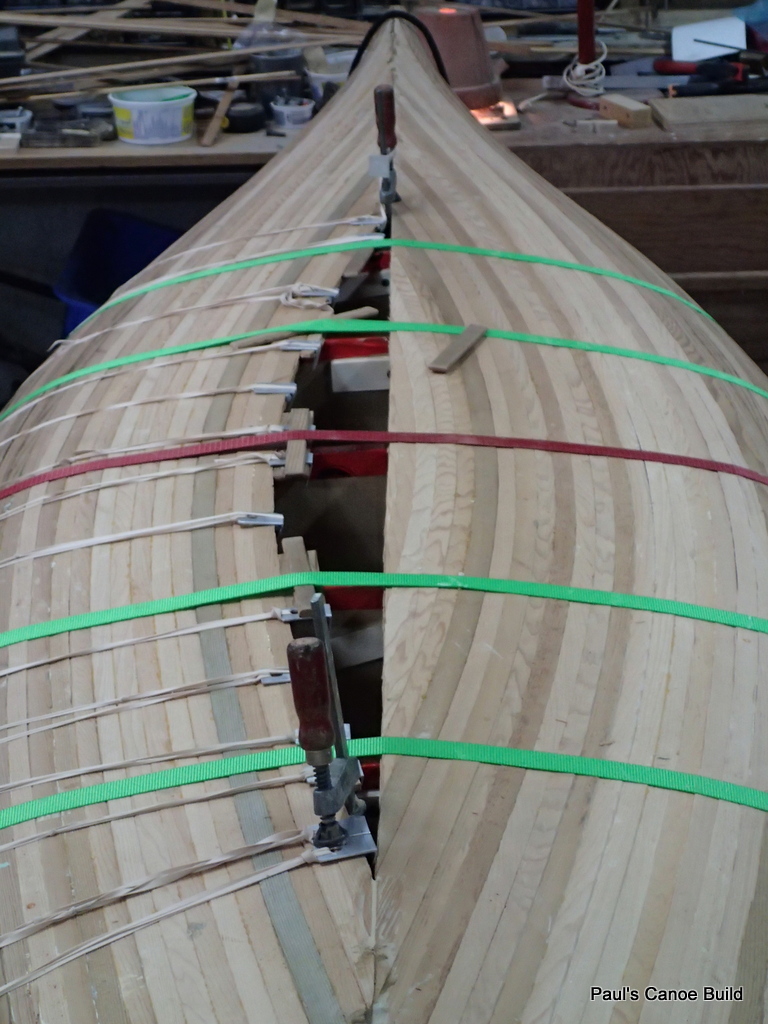
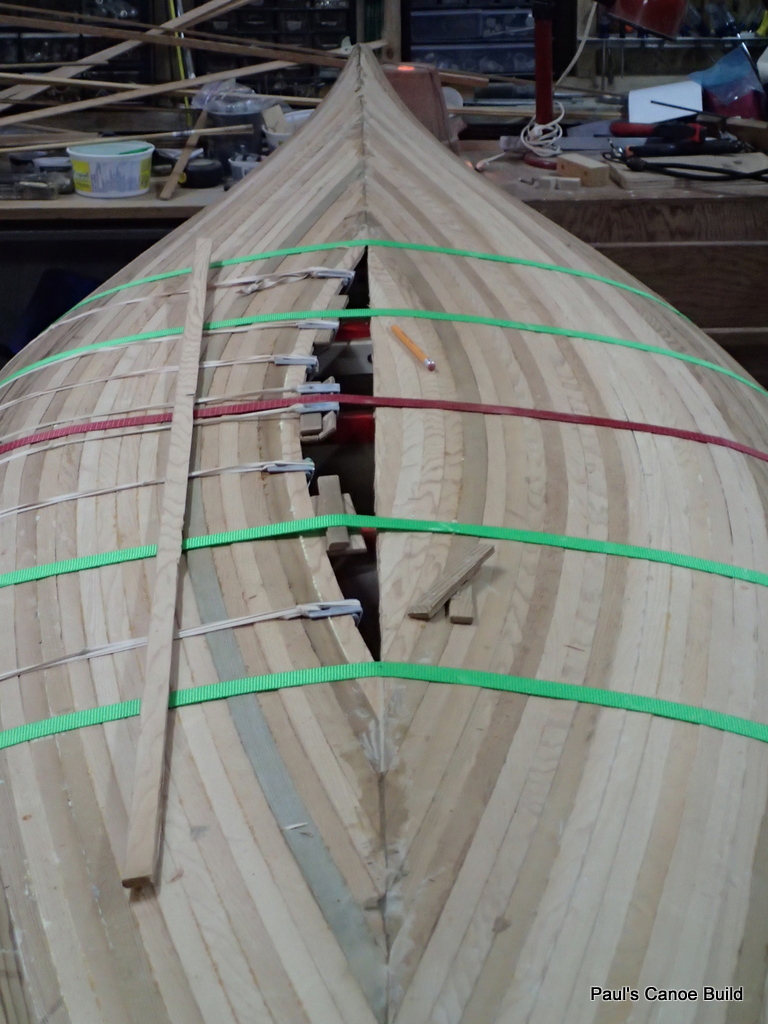
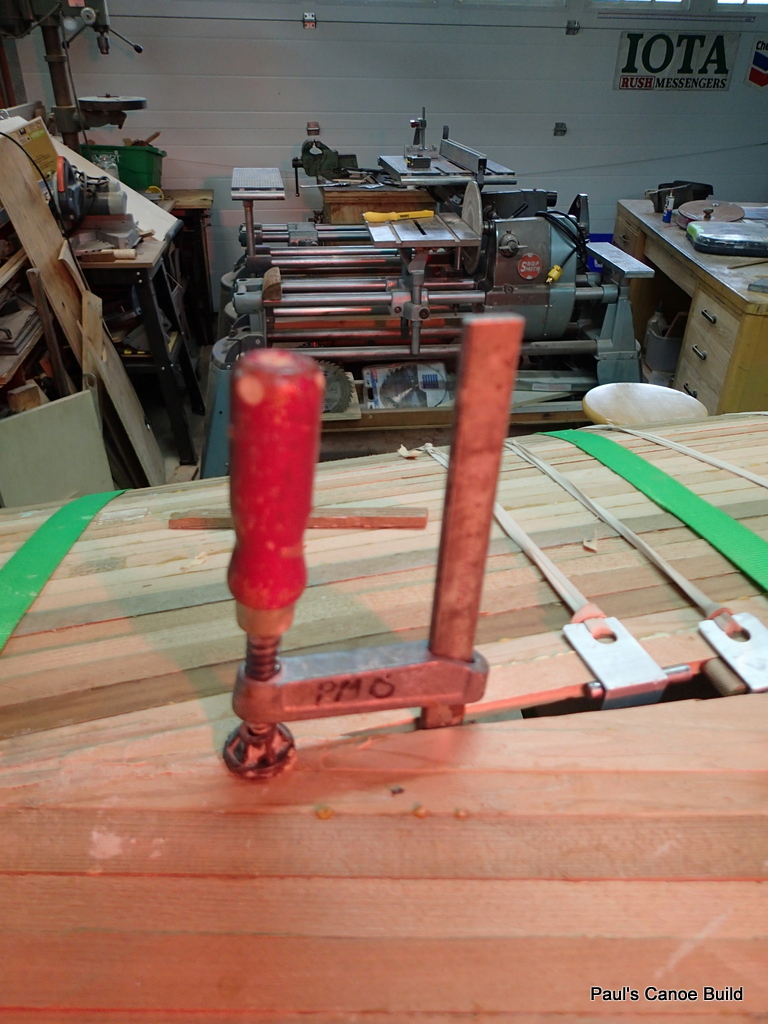
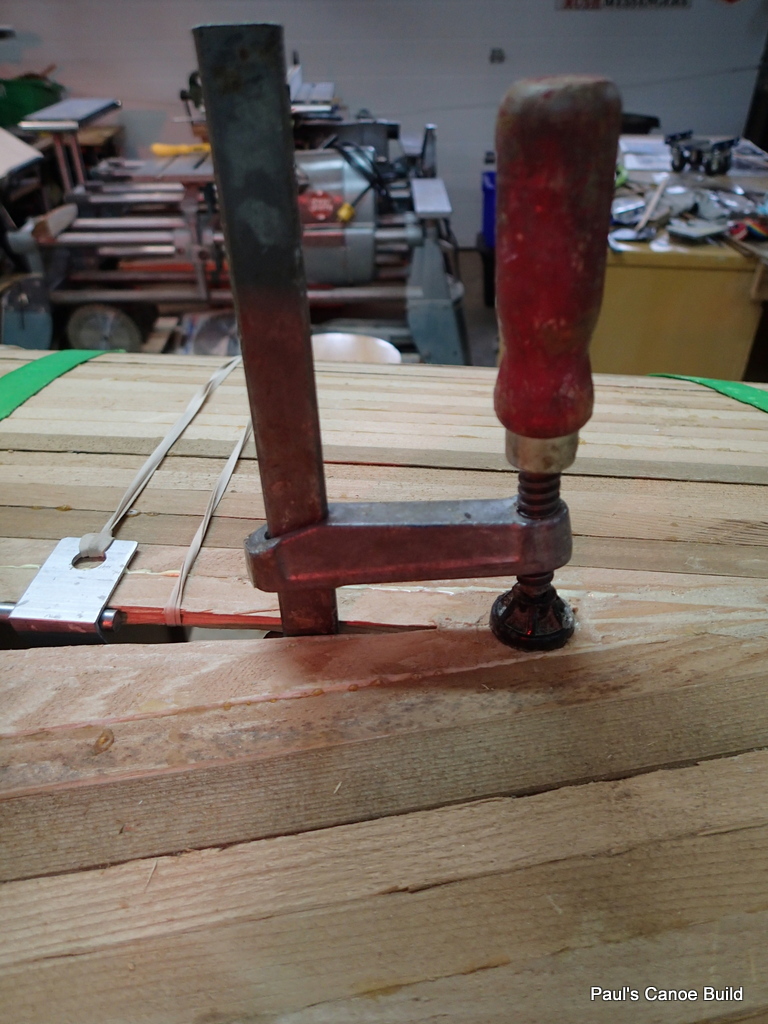
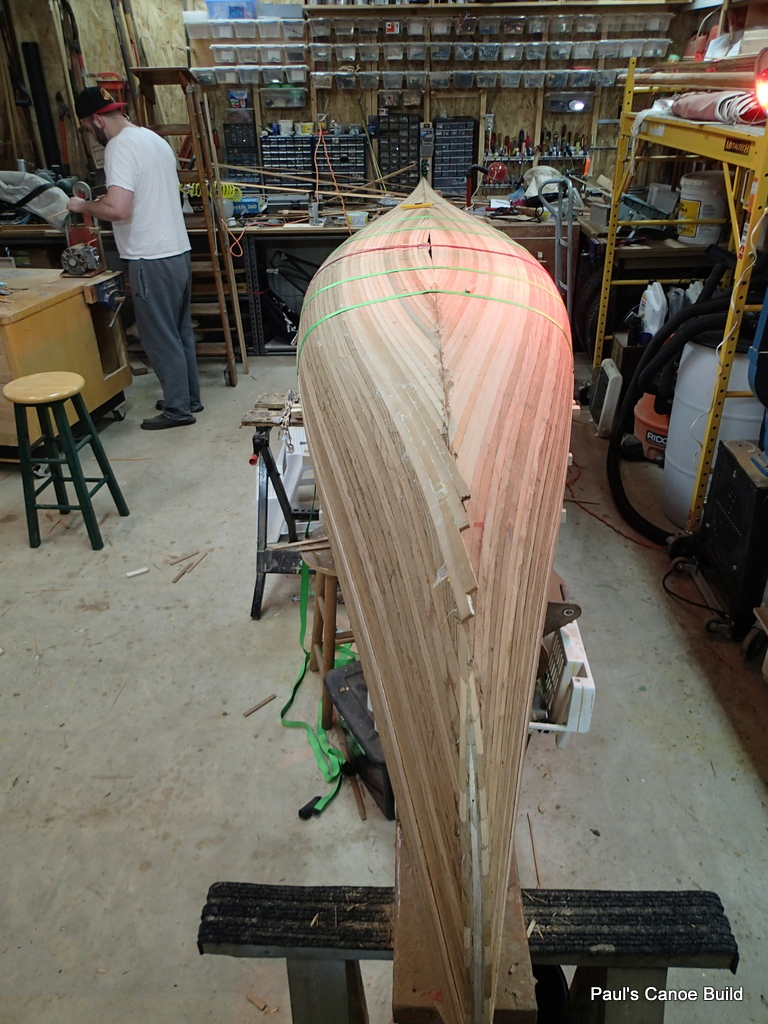
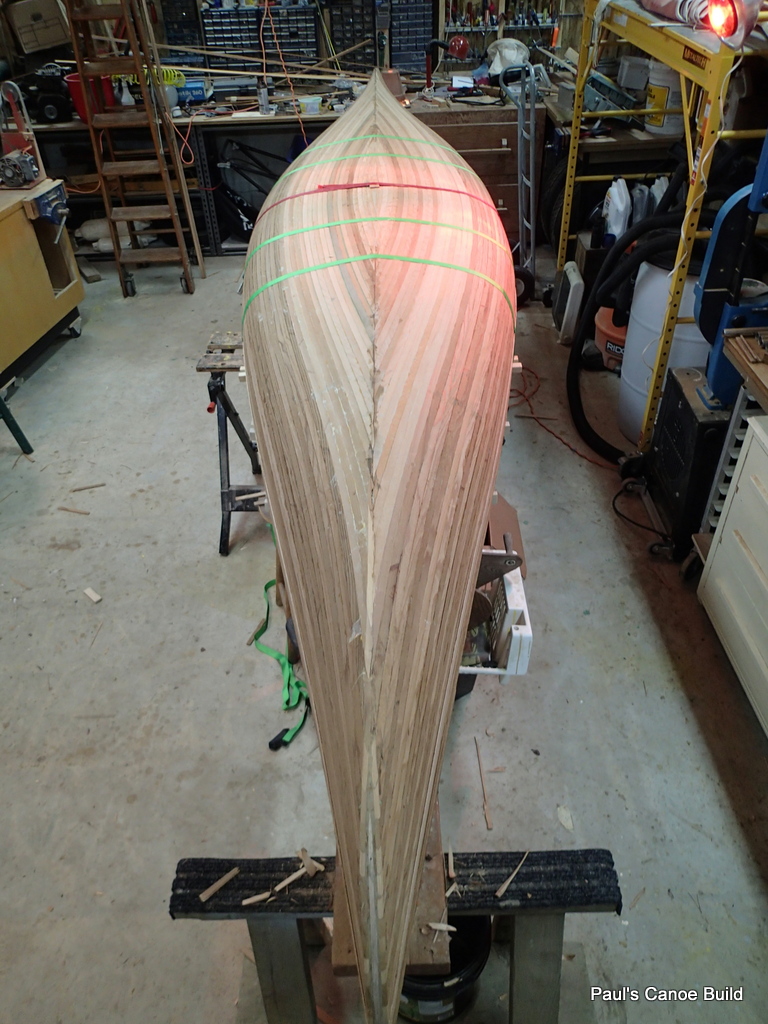
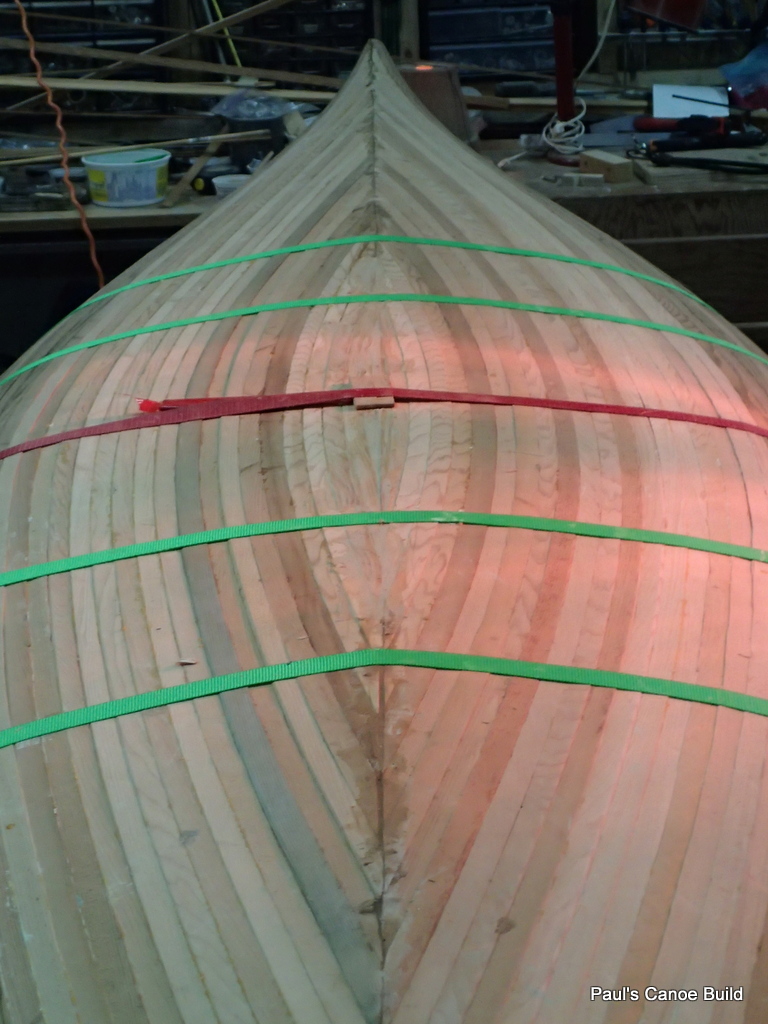
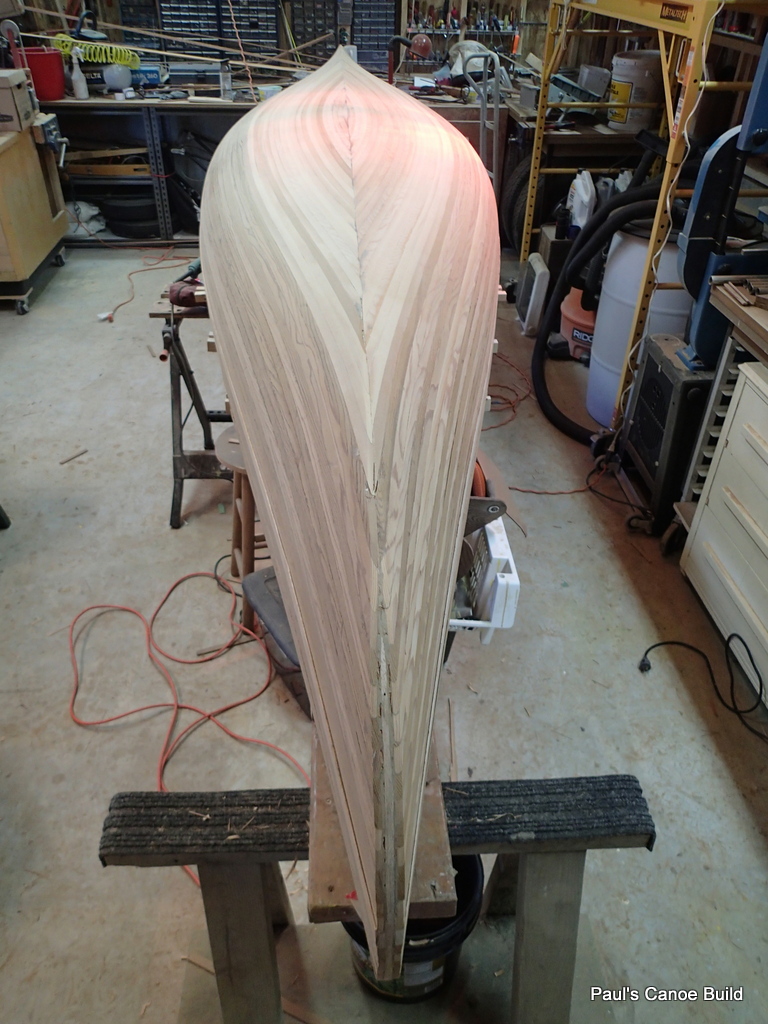
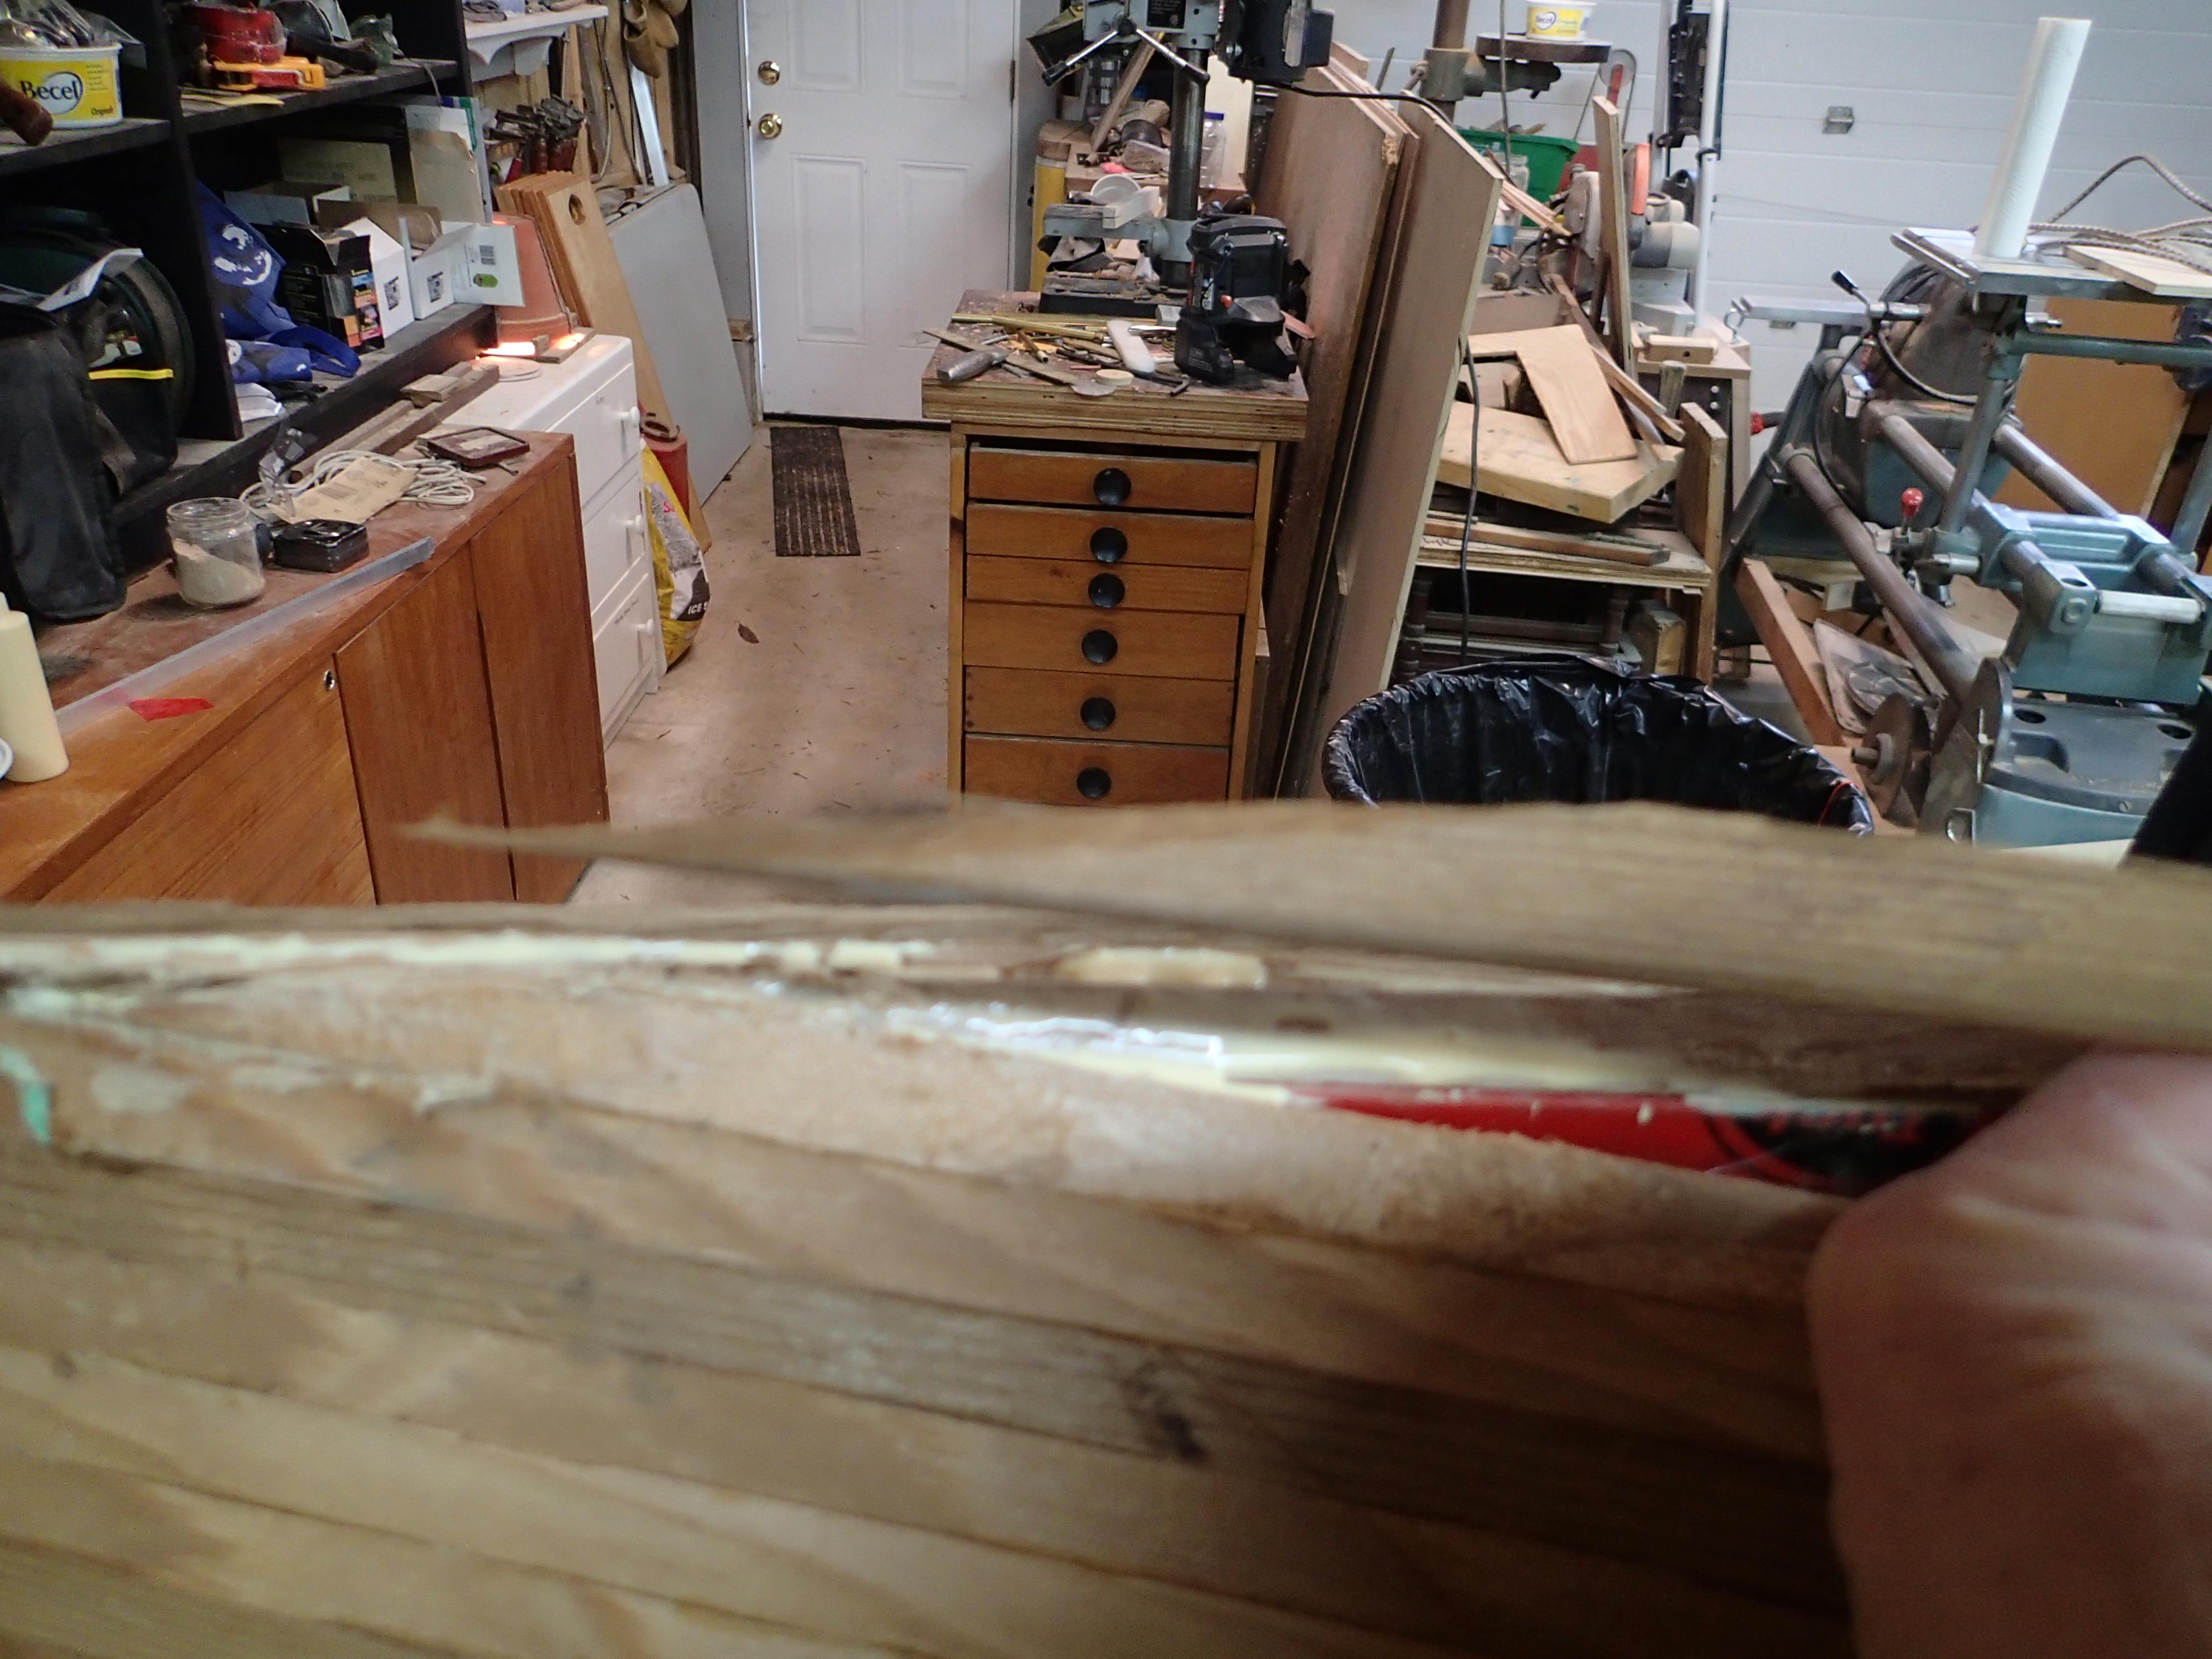
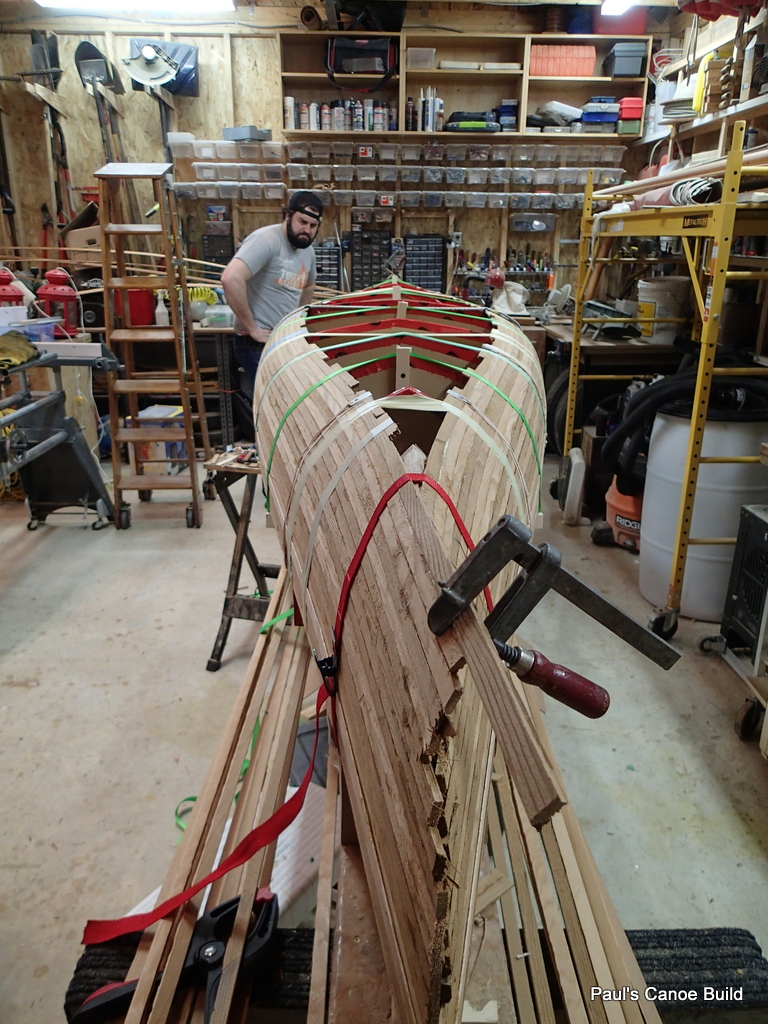
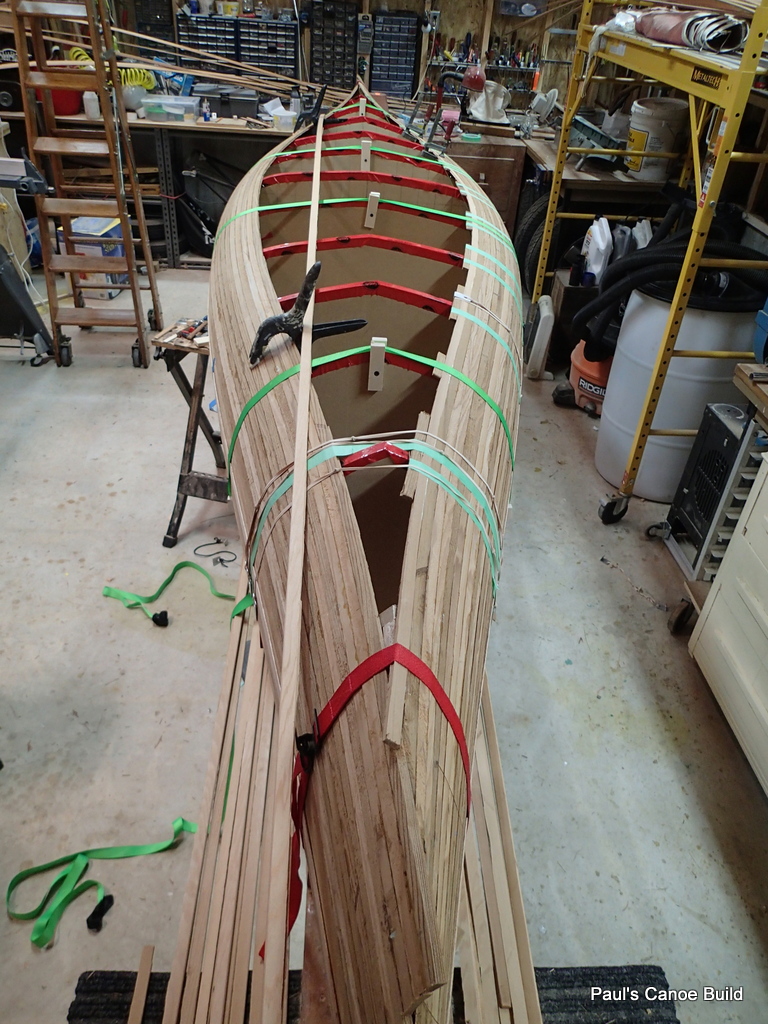
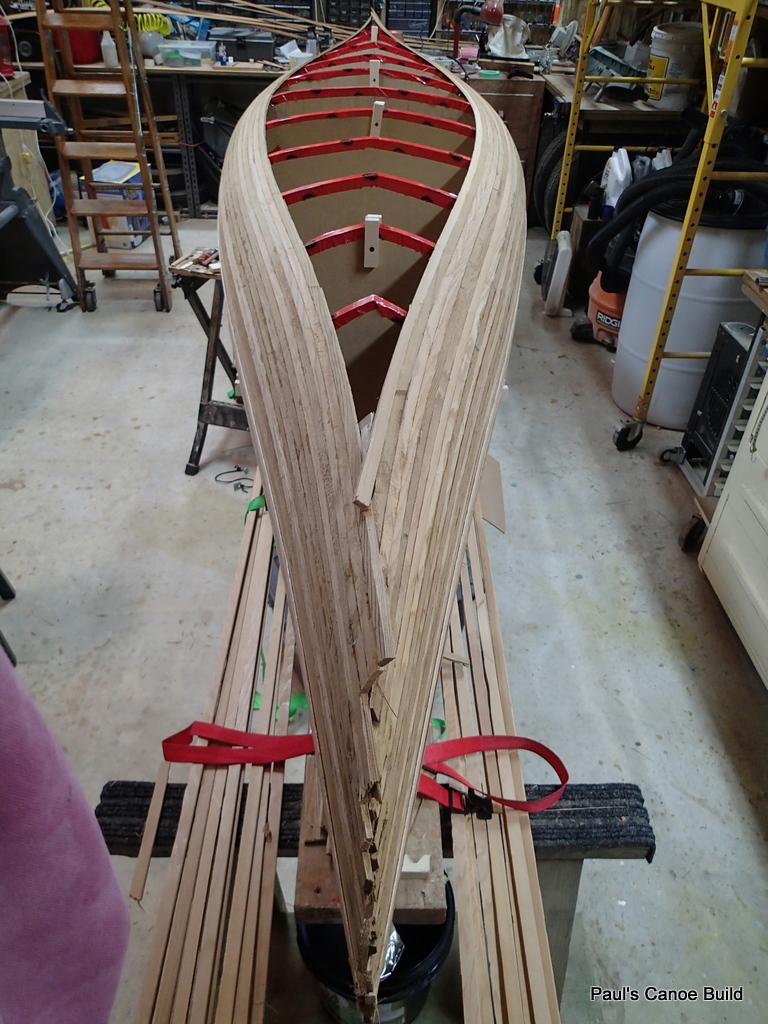
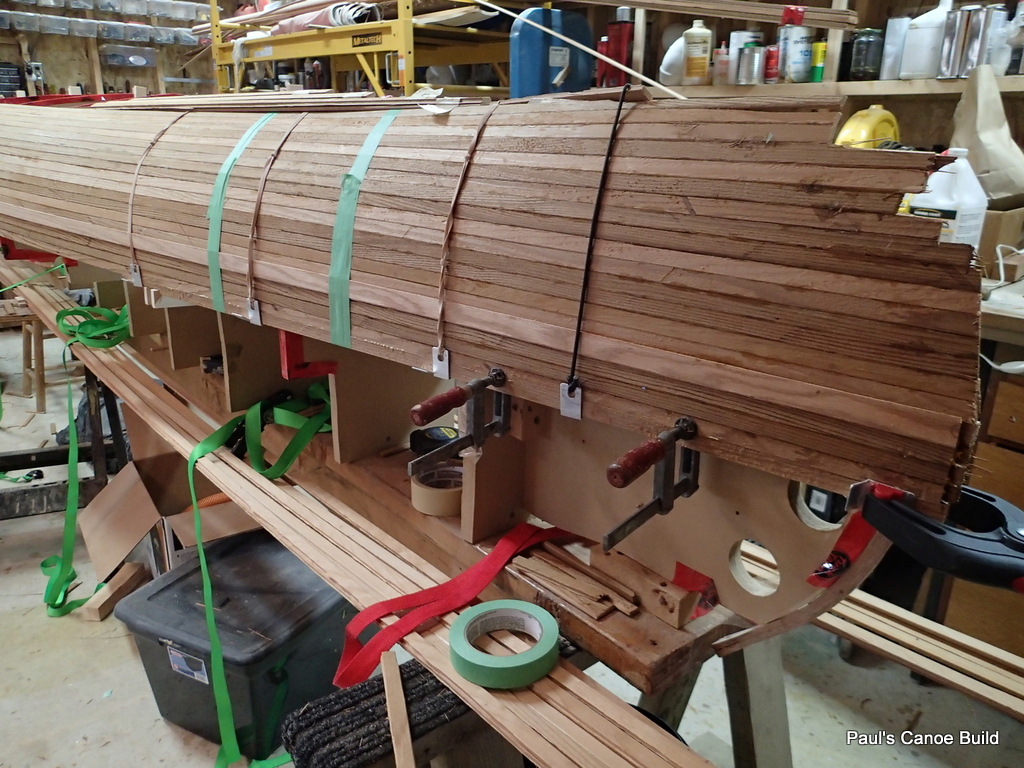
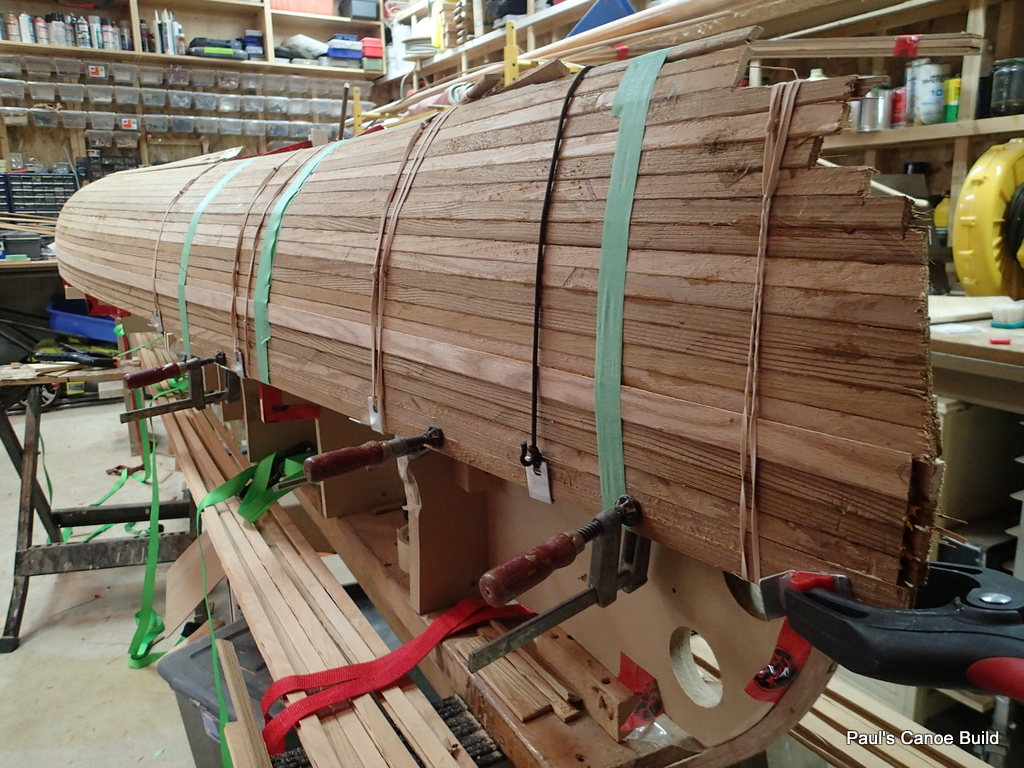
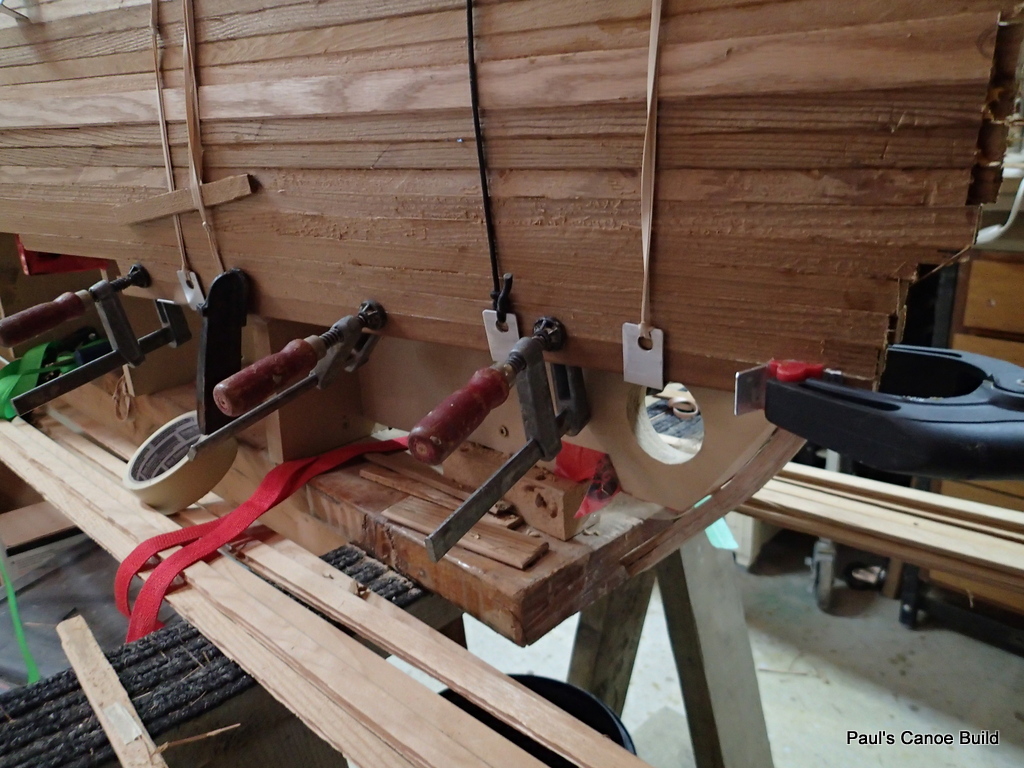
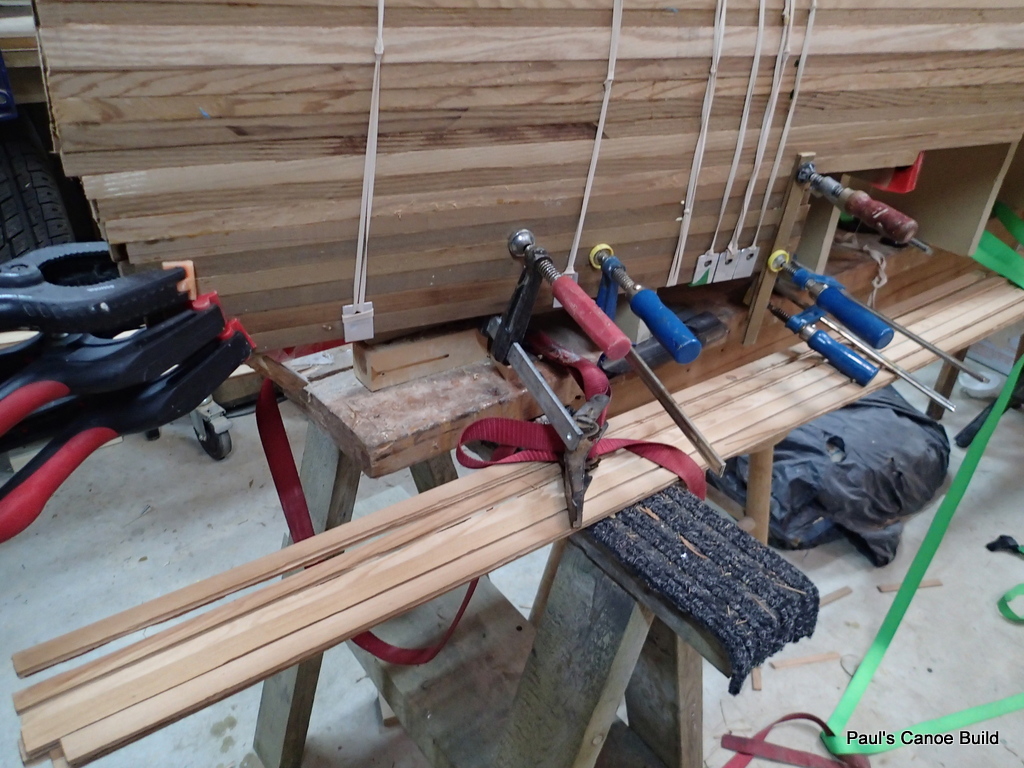
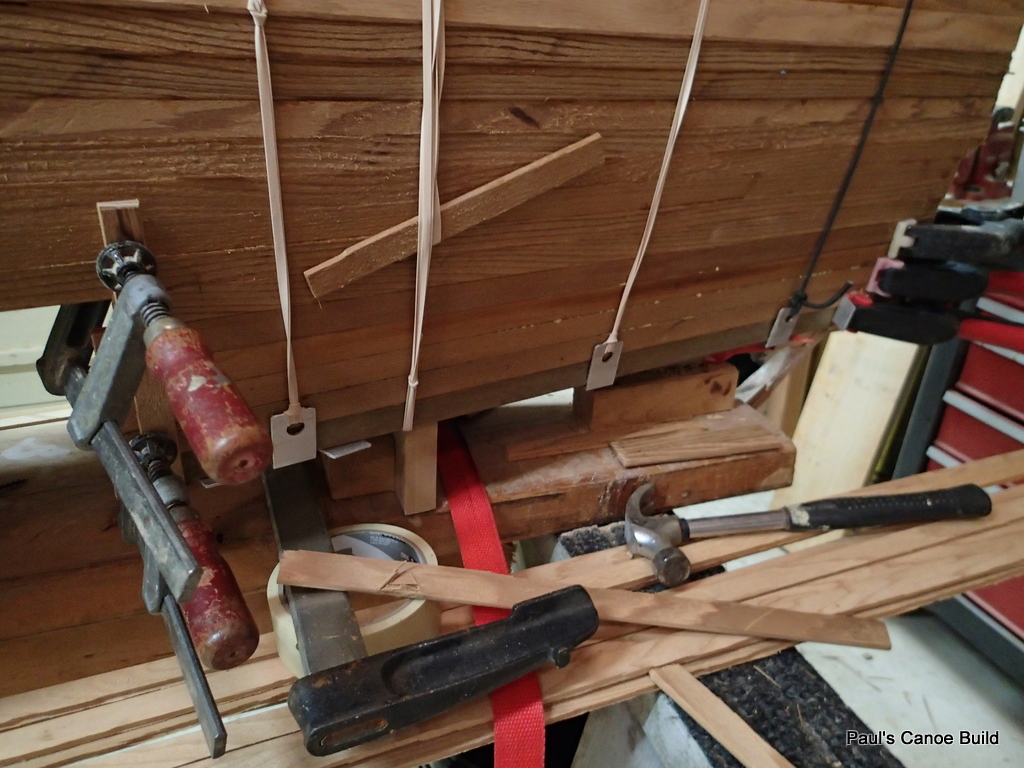
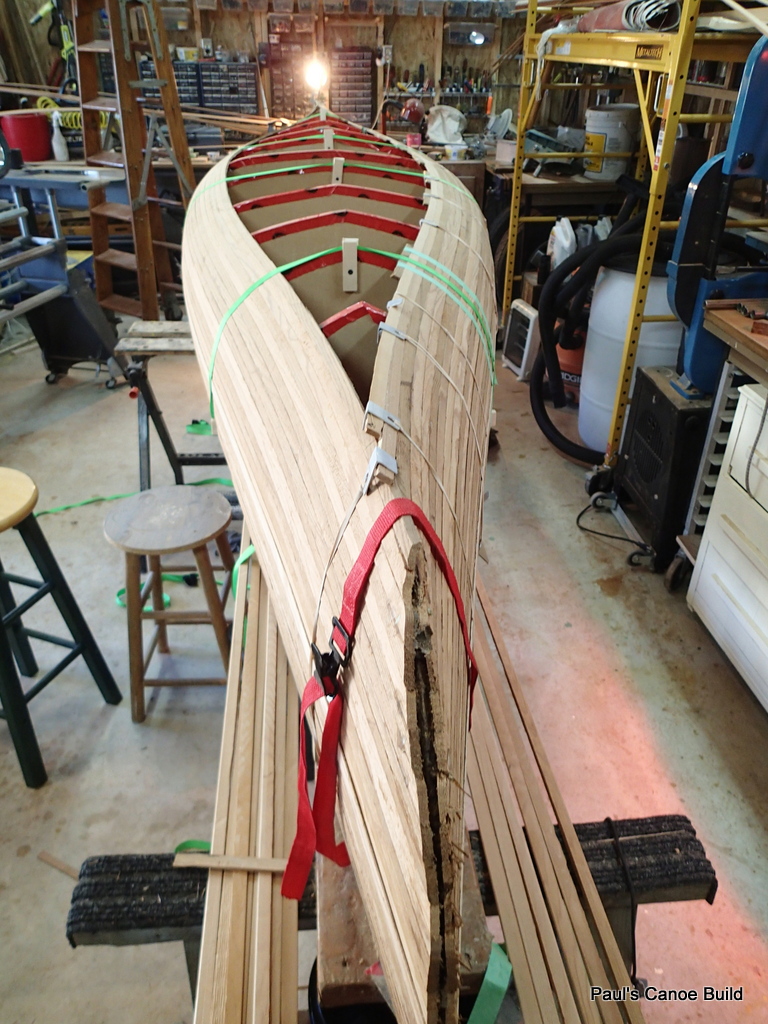
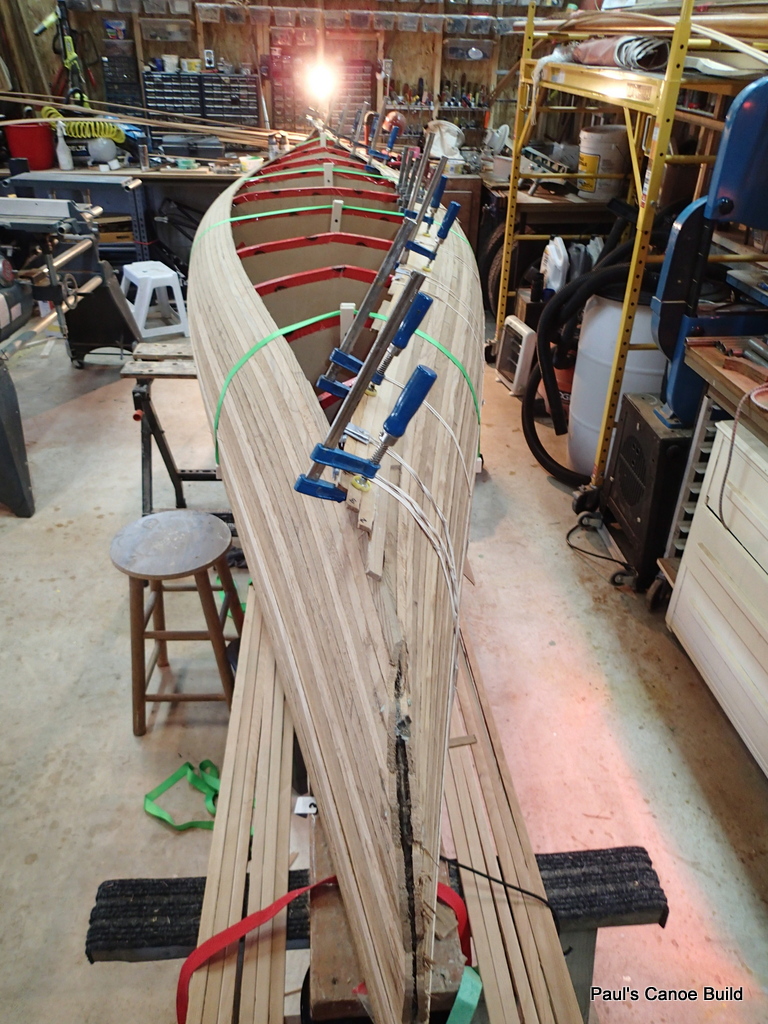
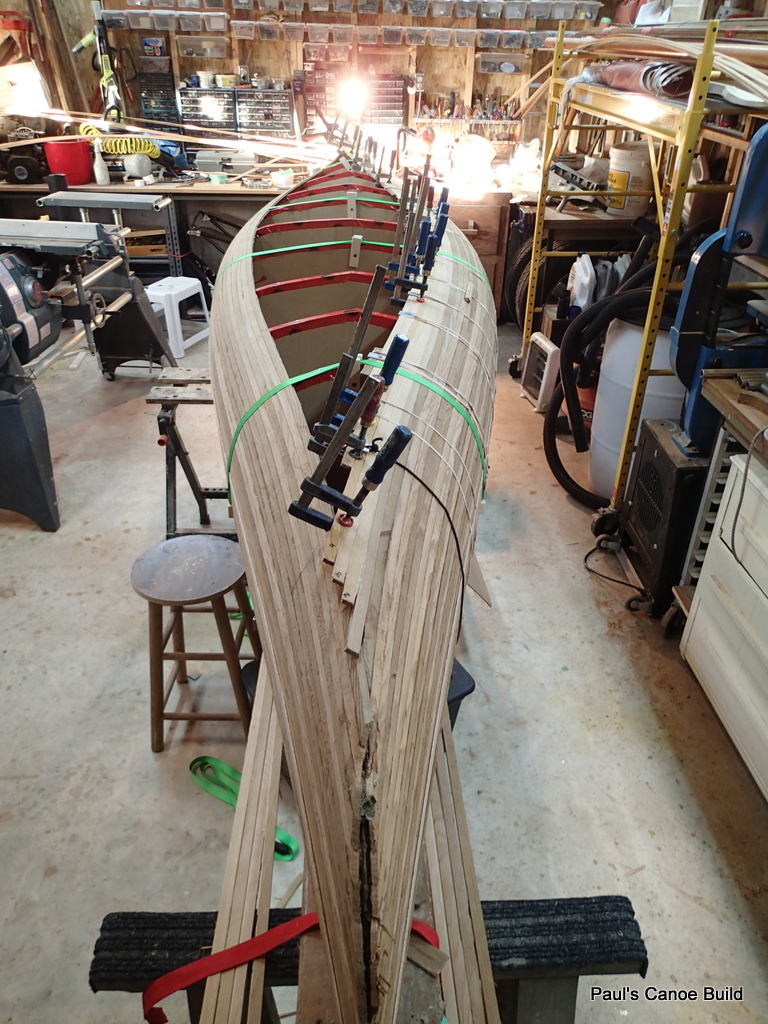
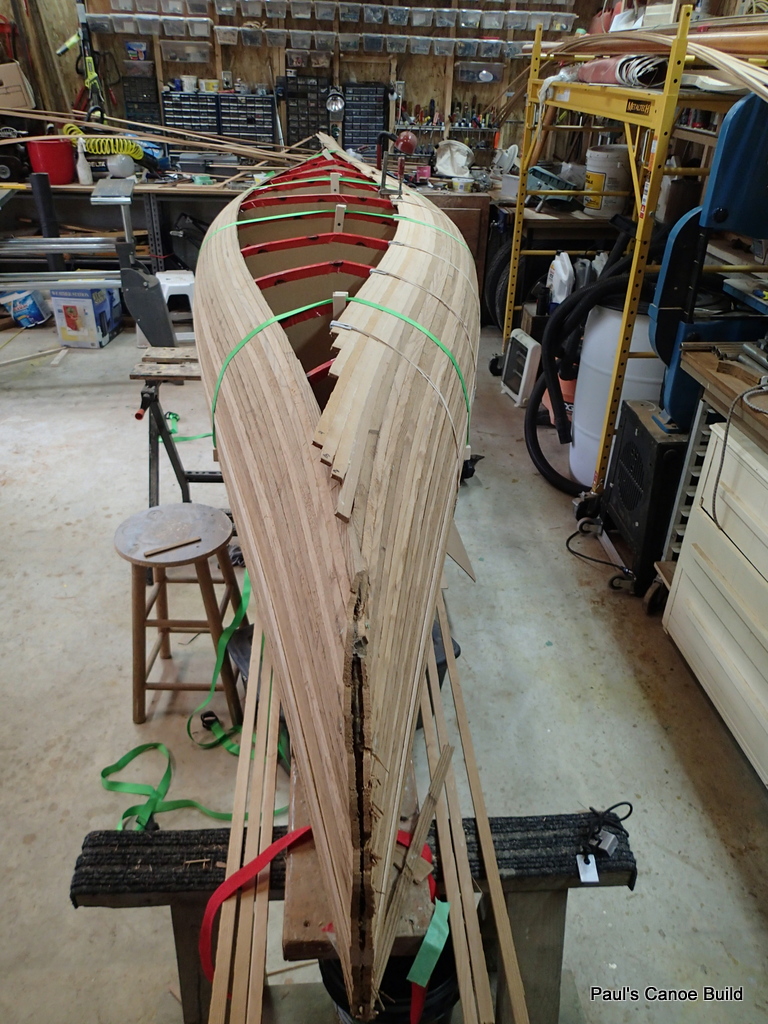
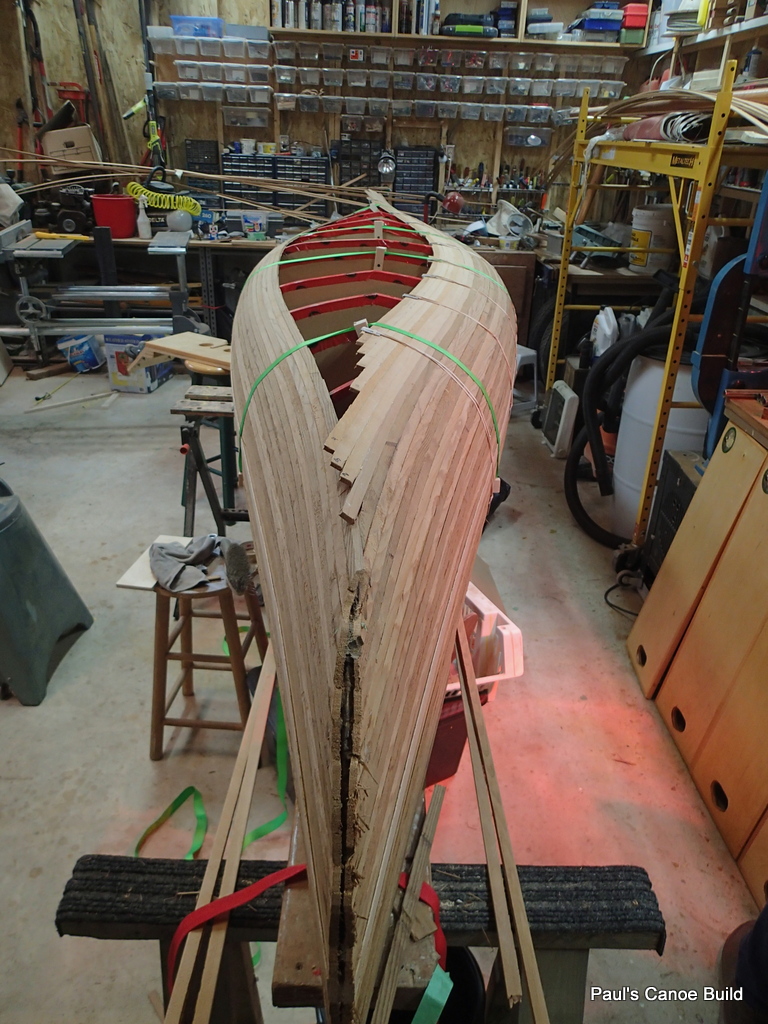
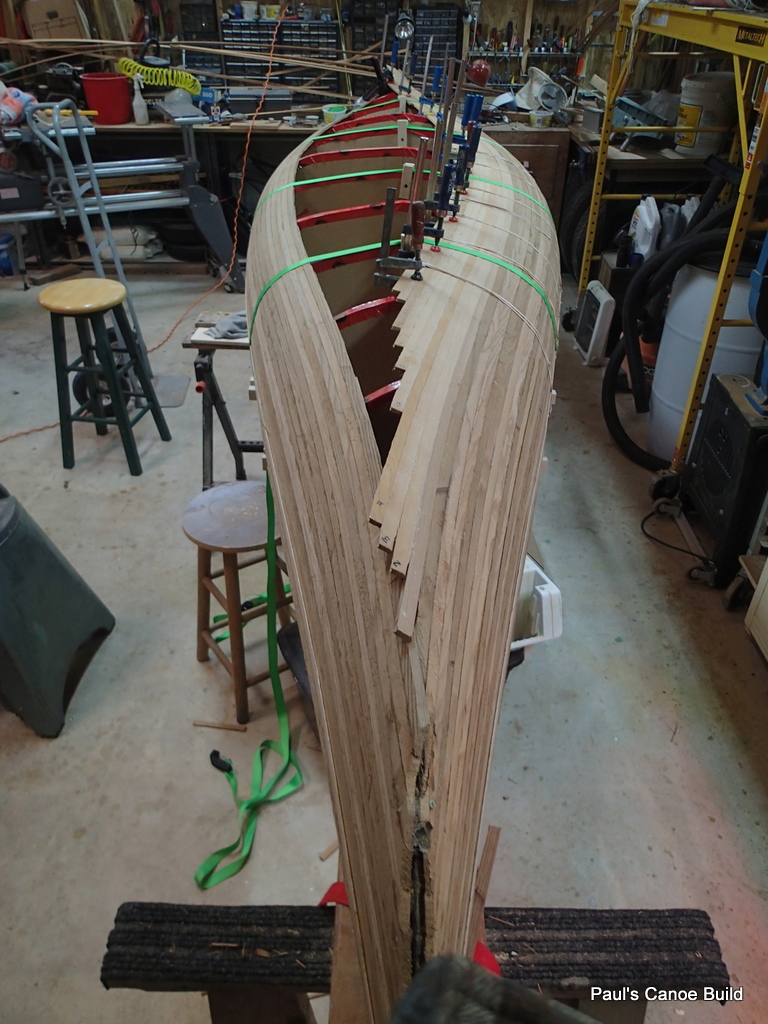
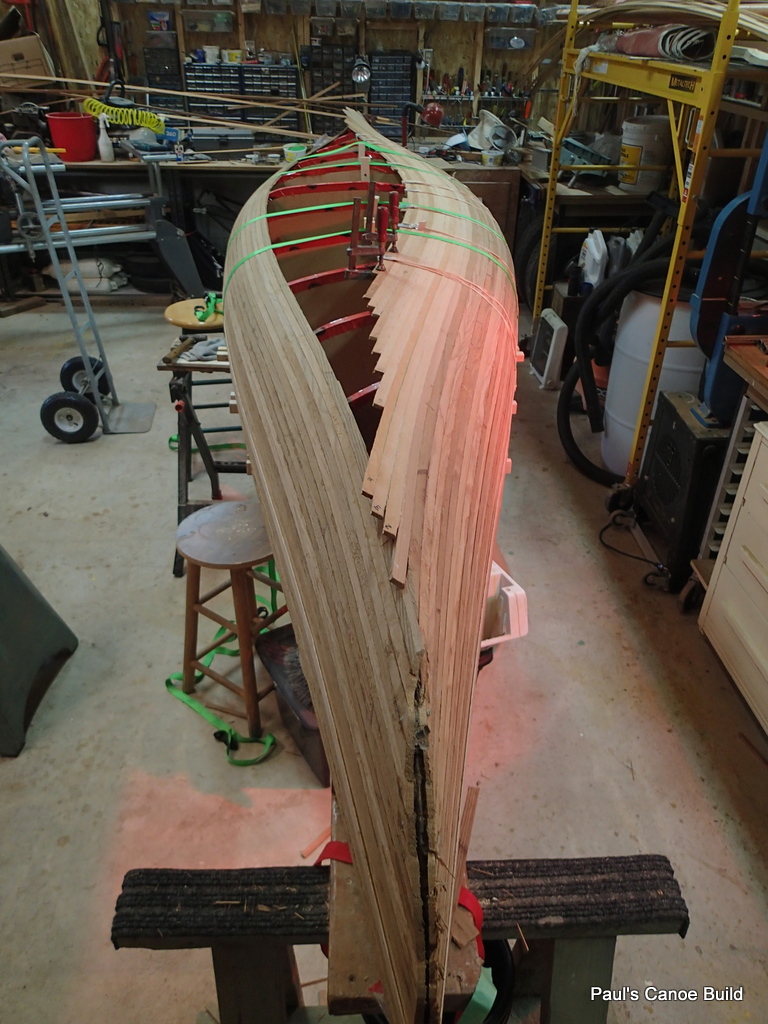
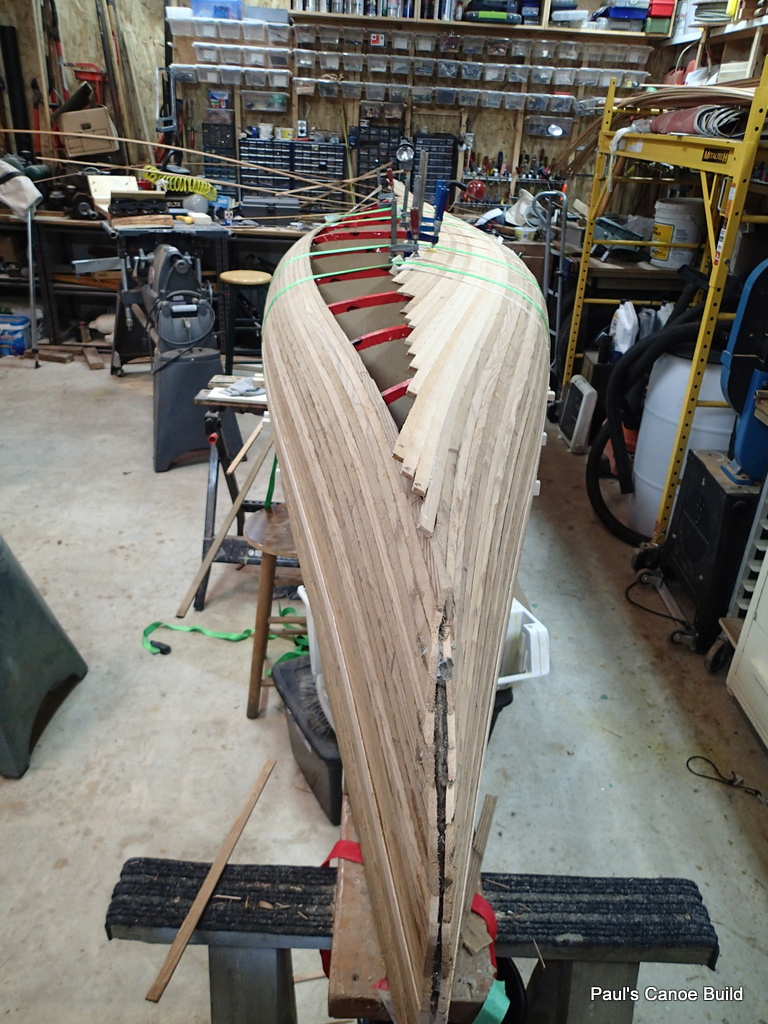
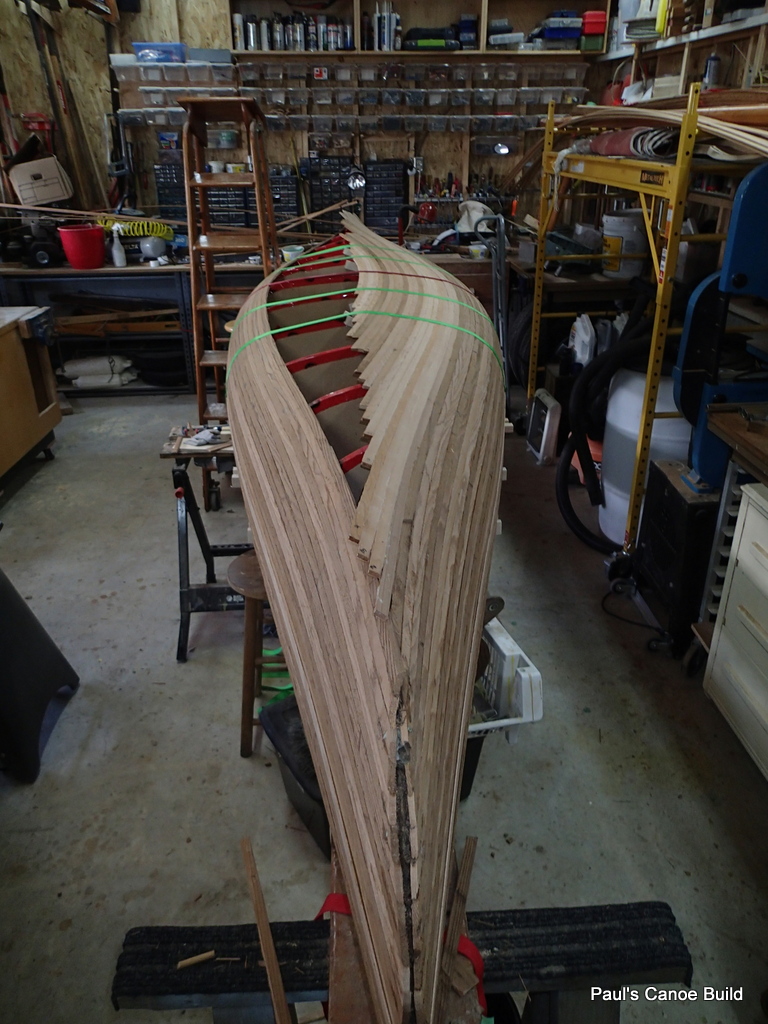
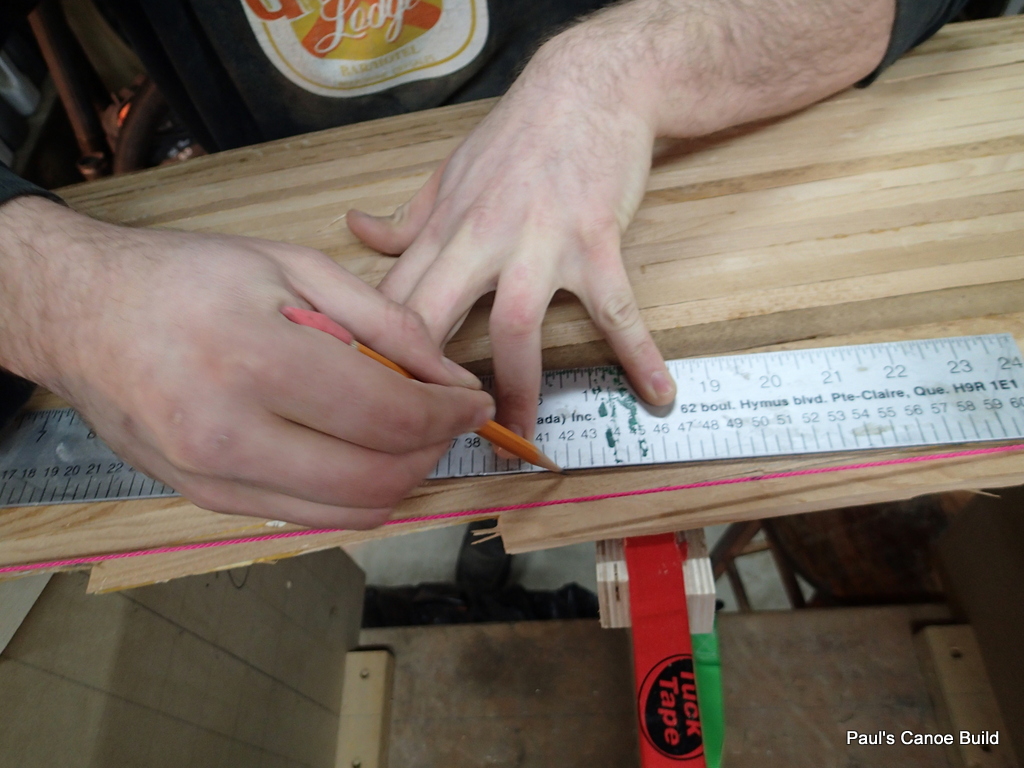
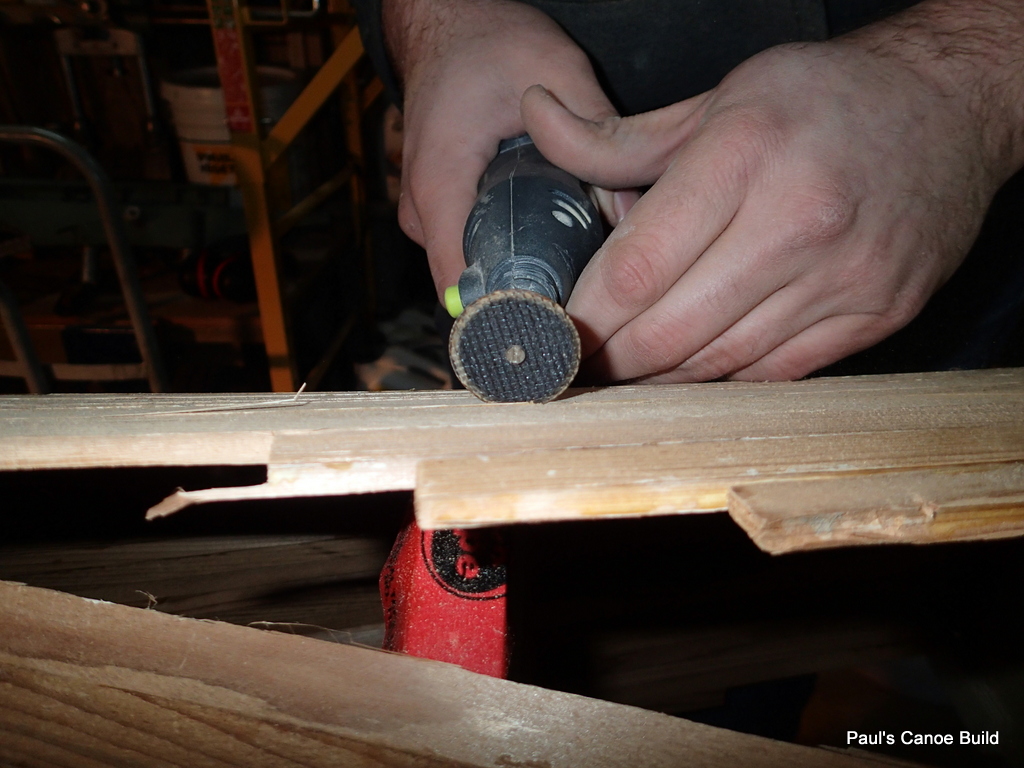
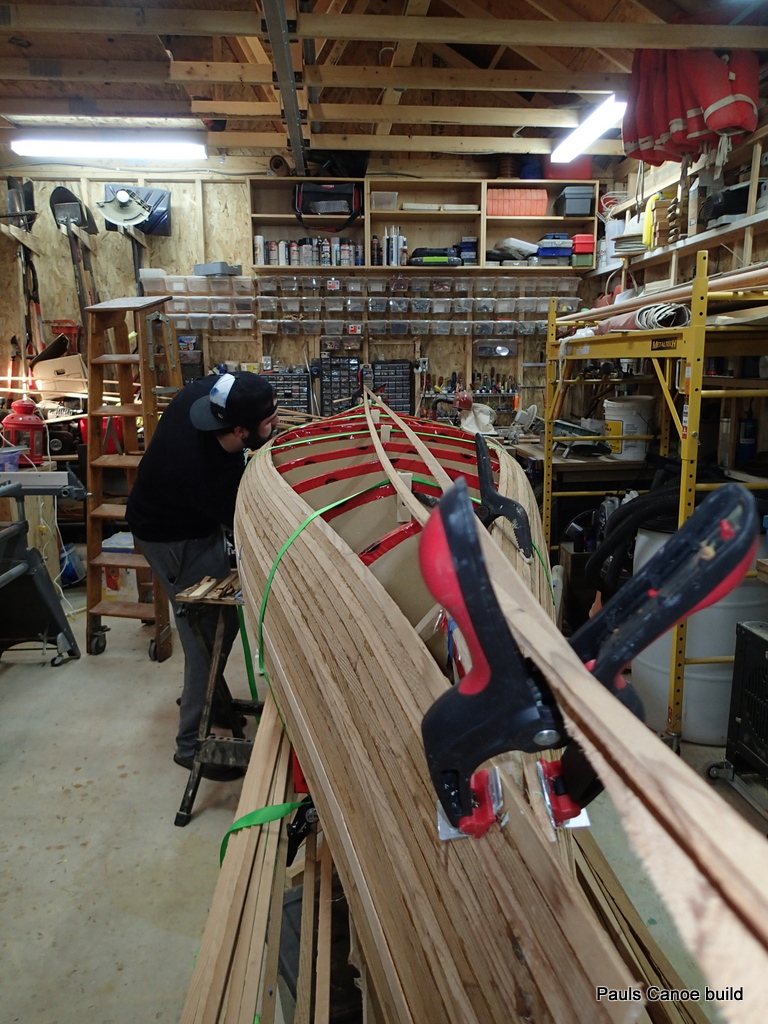
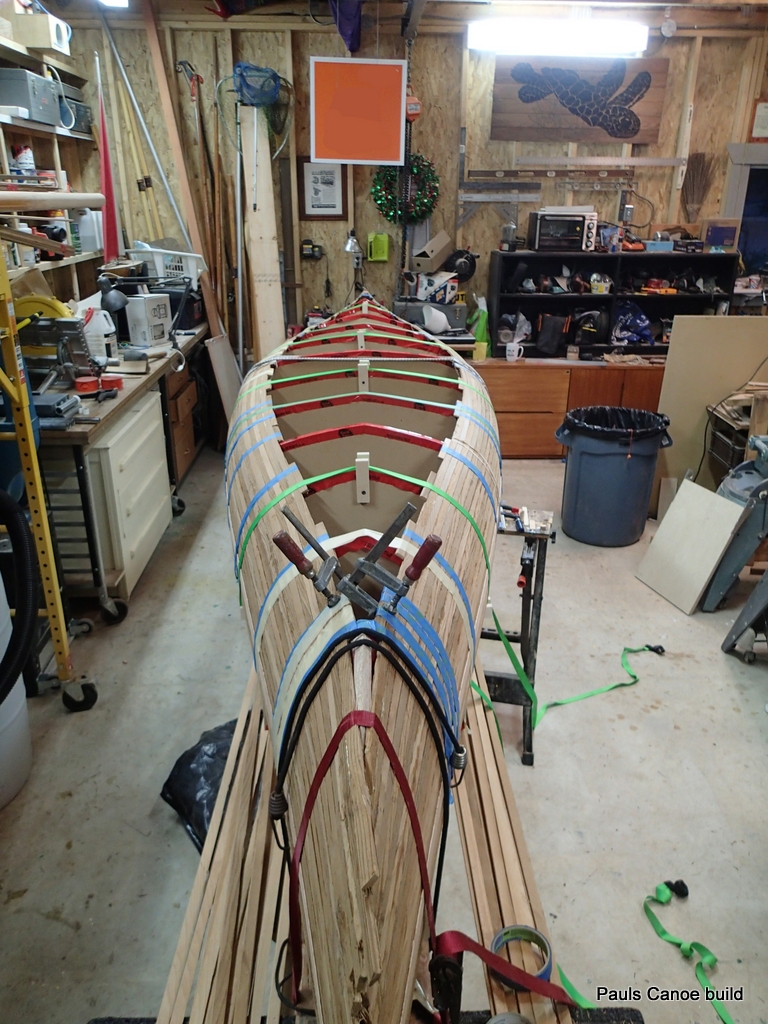
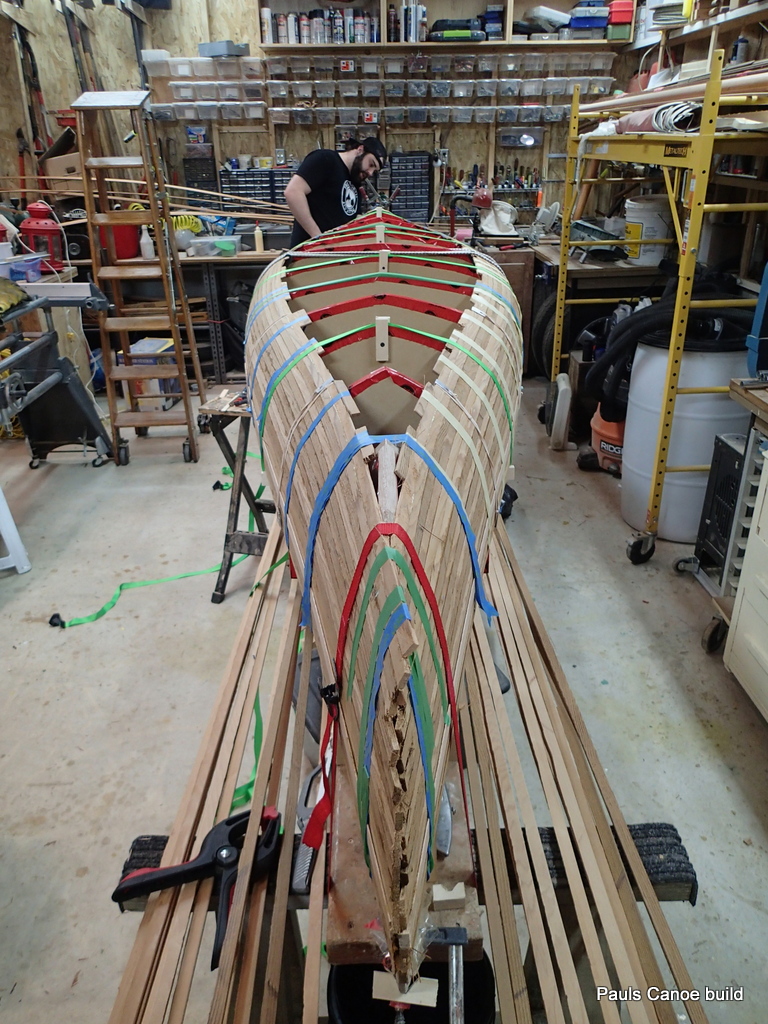
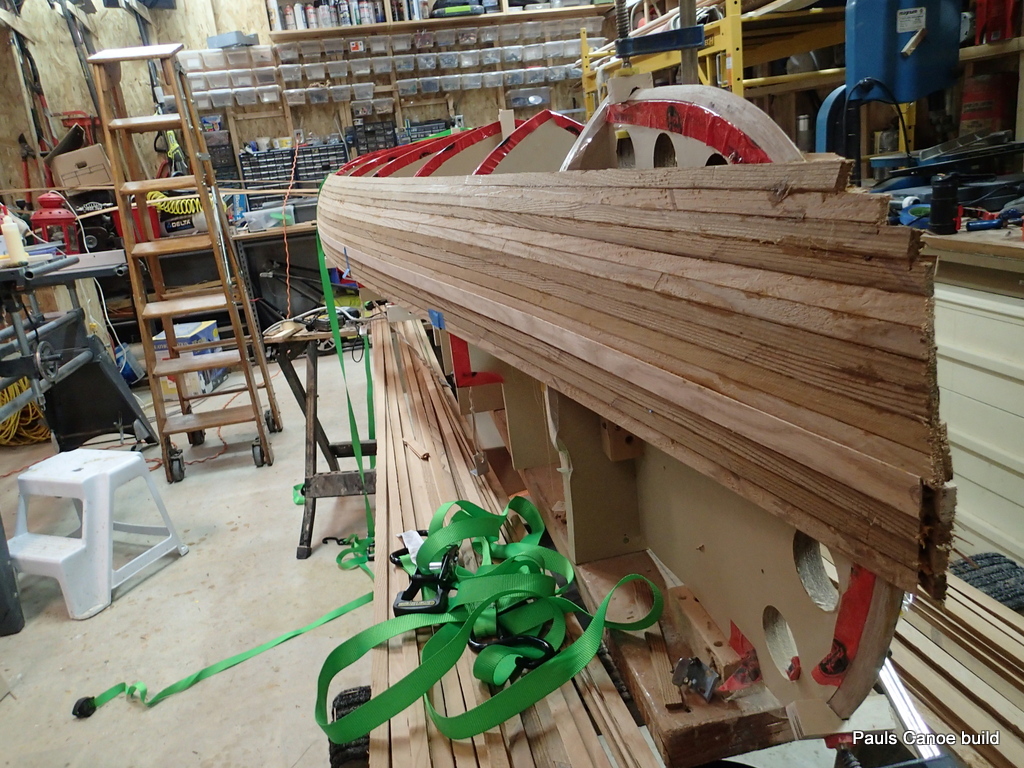
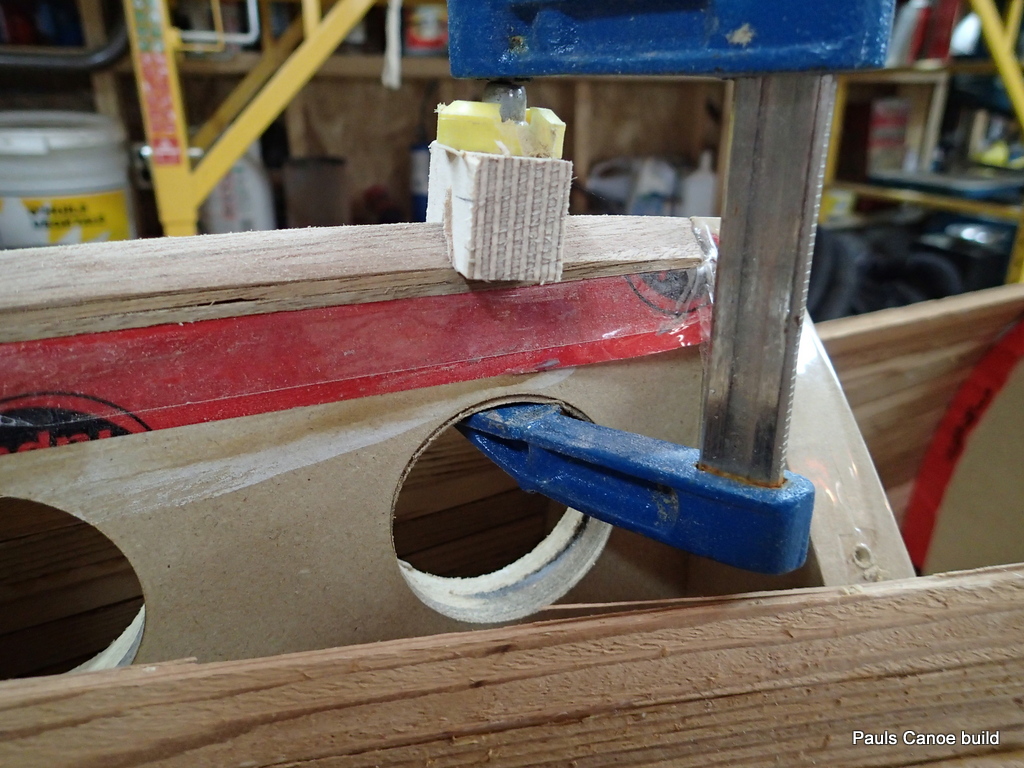
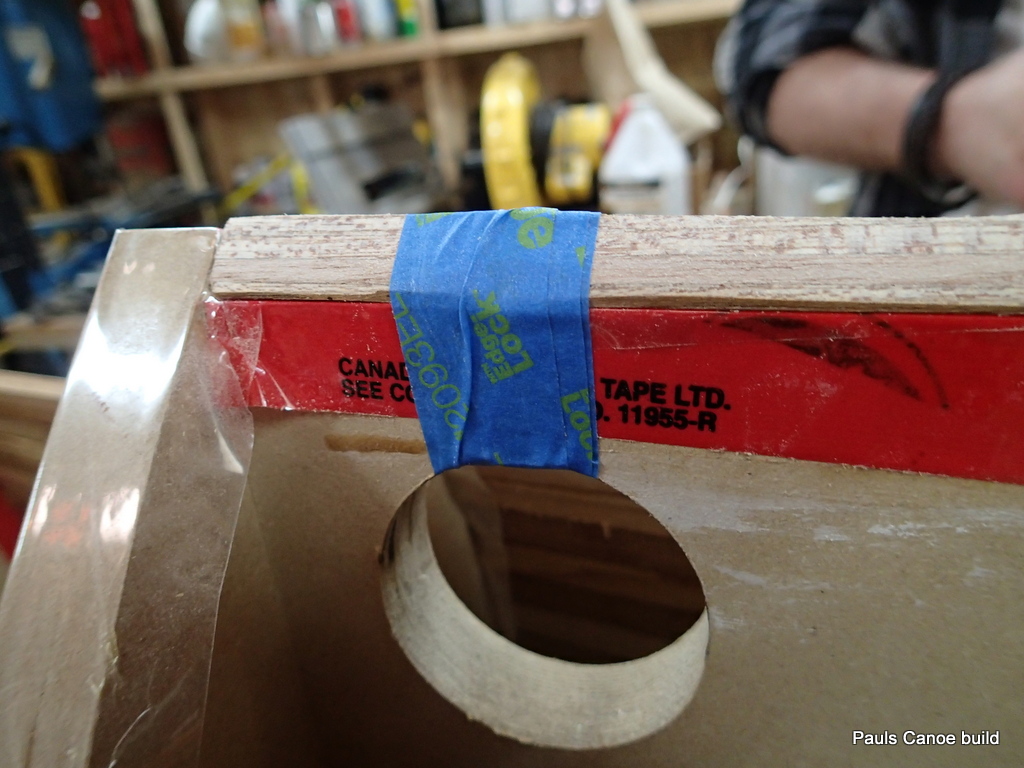
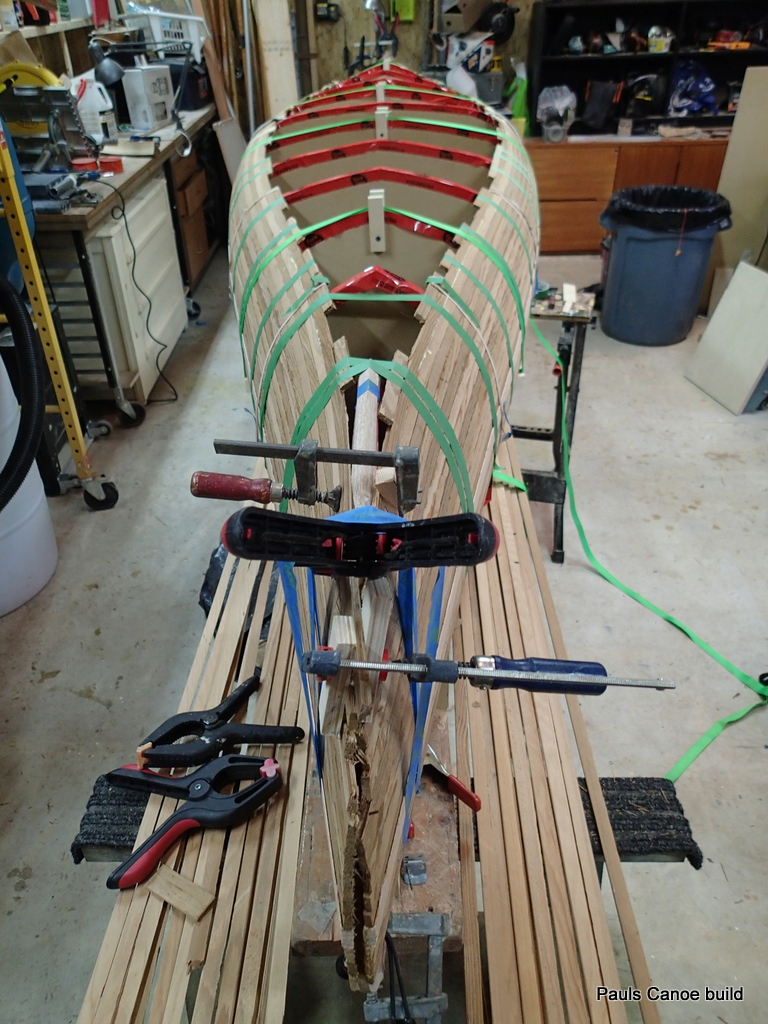
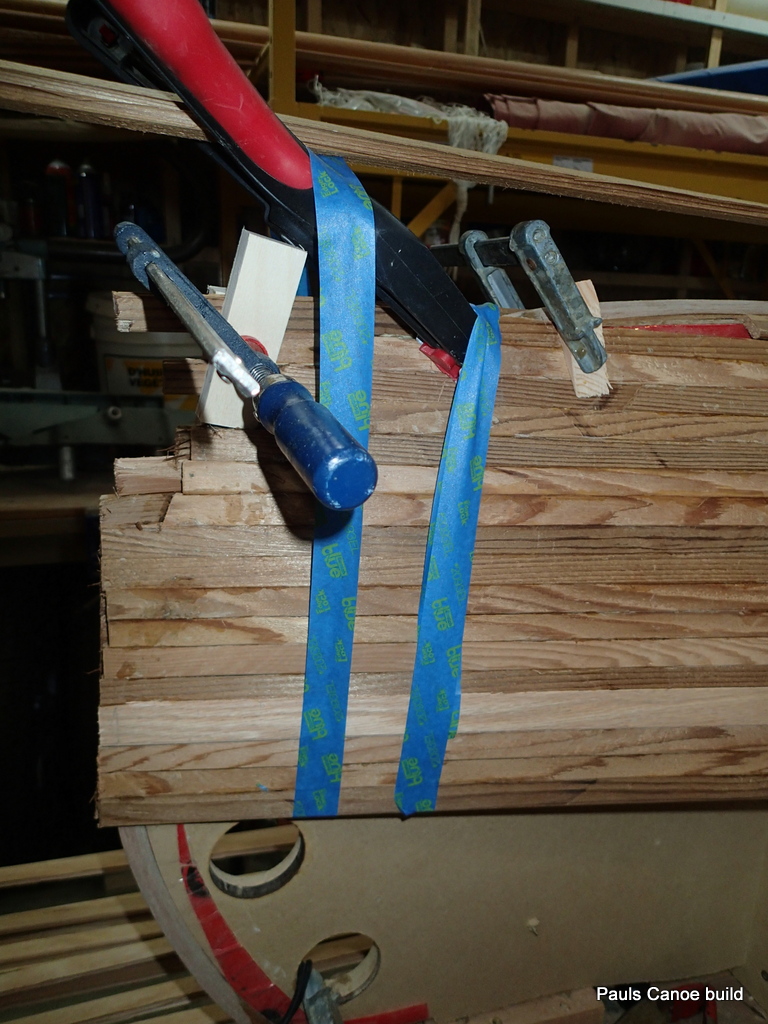
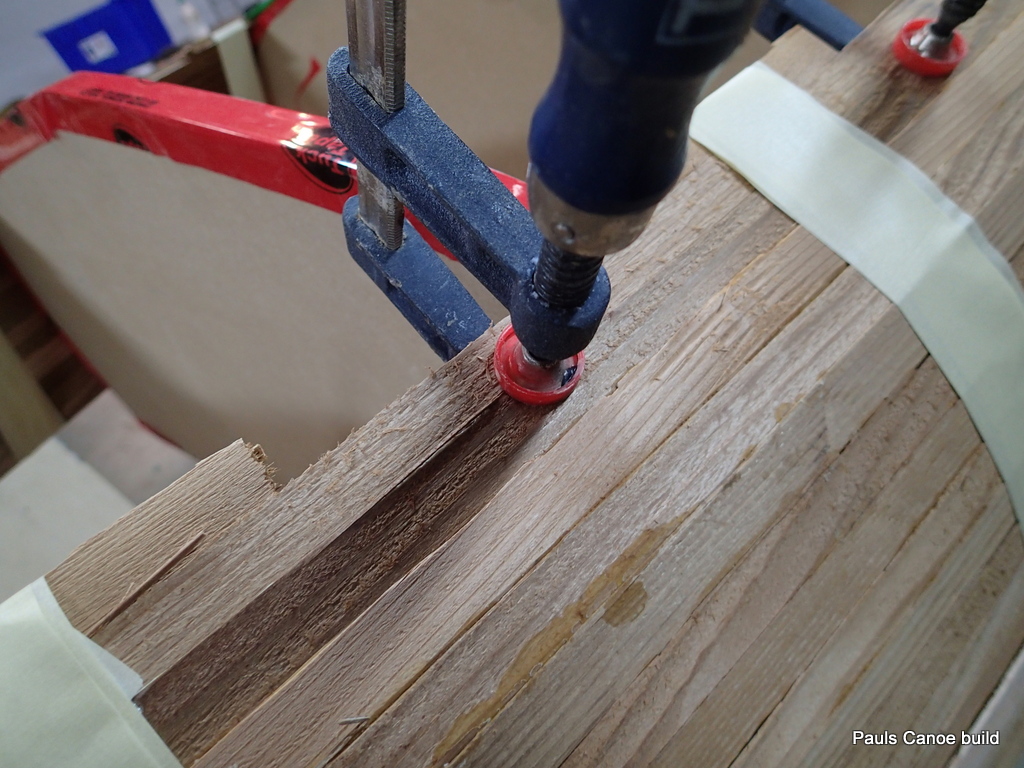
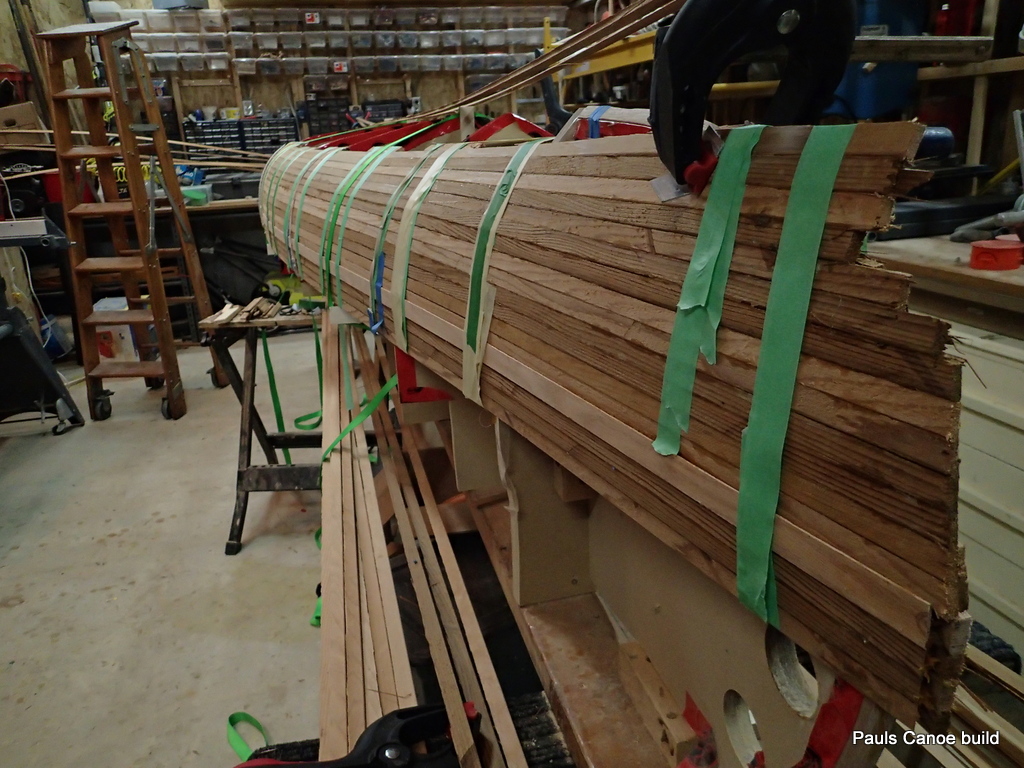
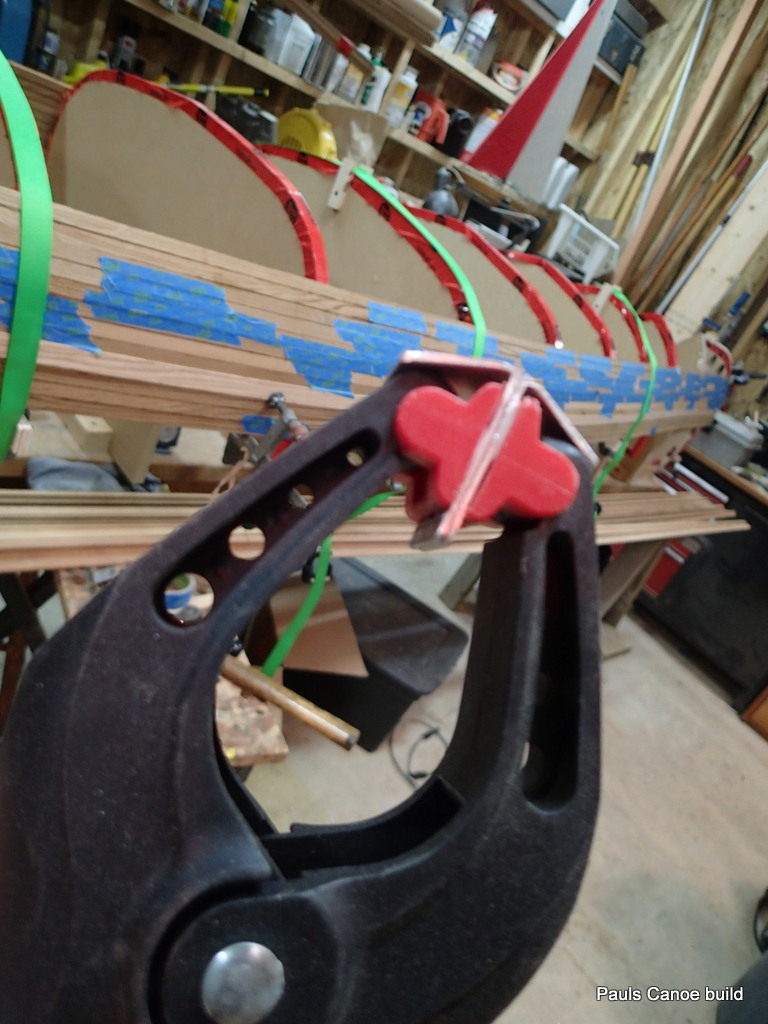
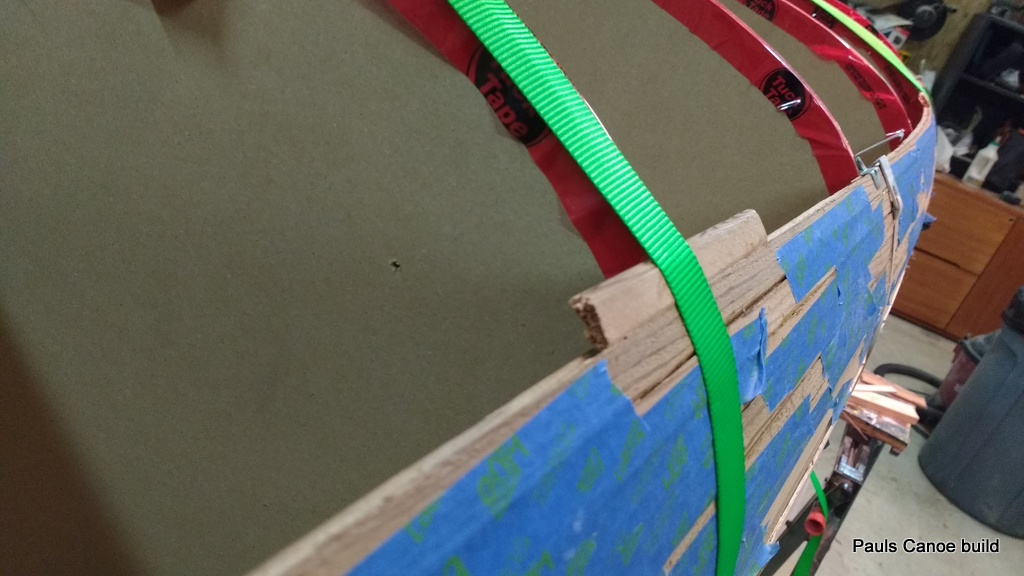
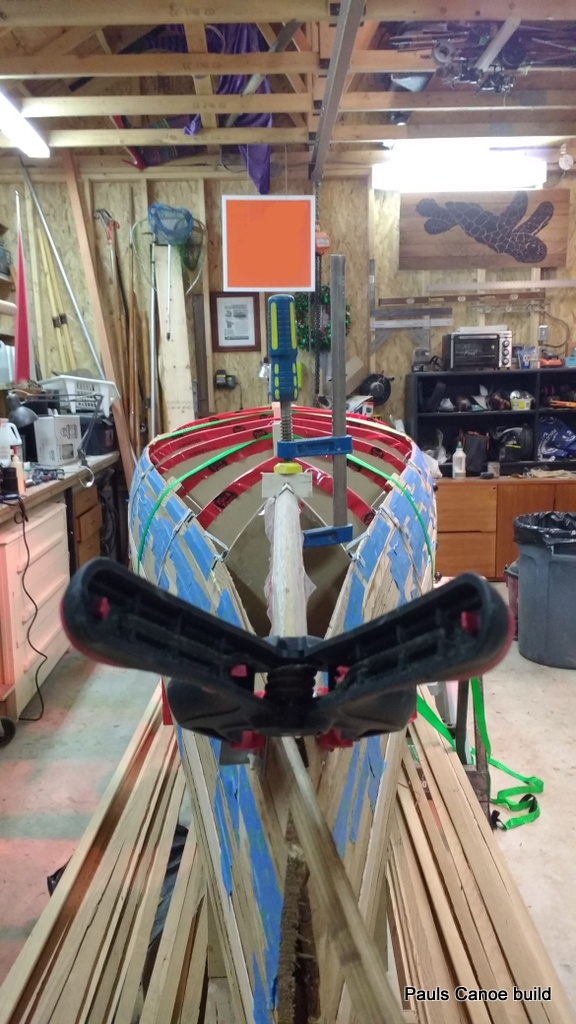
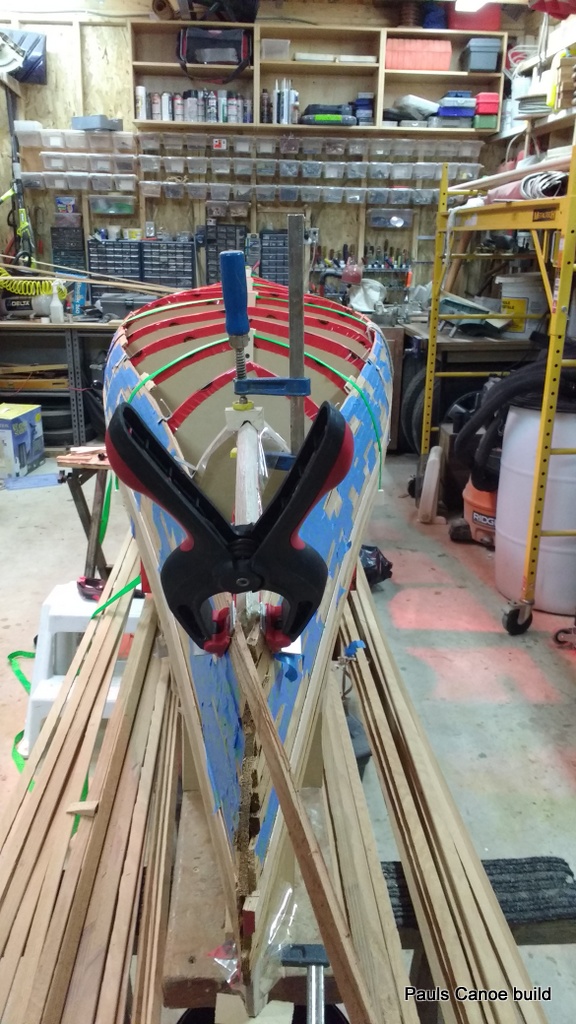
In these last two pictures, You can see a batten clamped to the gunwale.  Paul and I are looking a shear lines for the canoe.

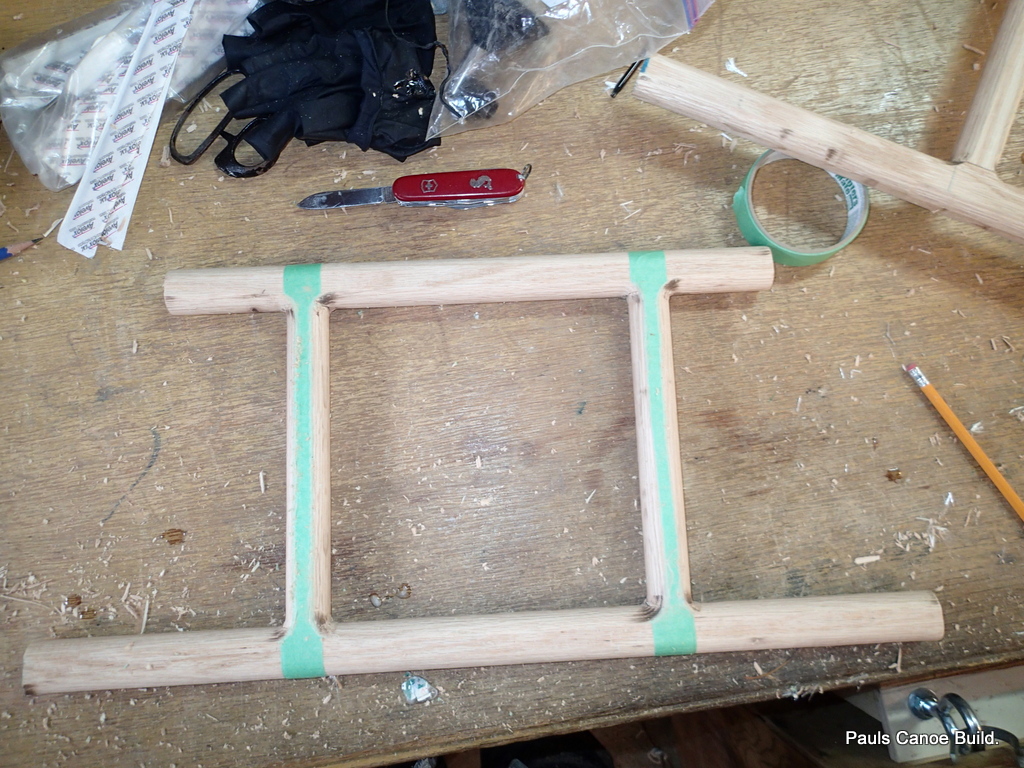
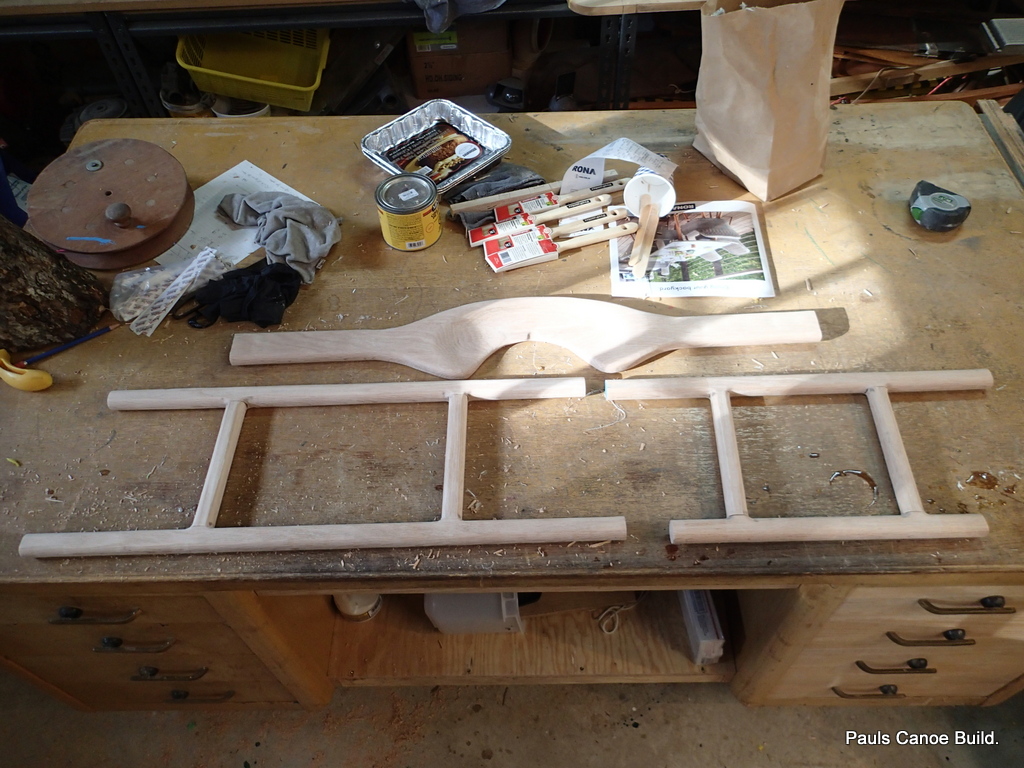
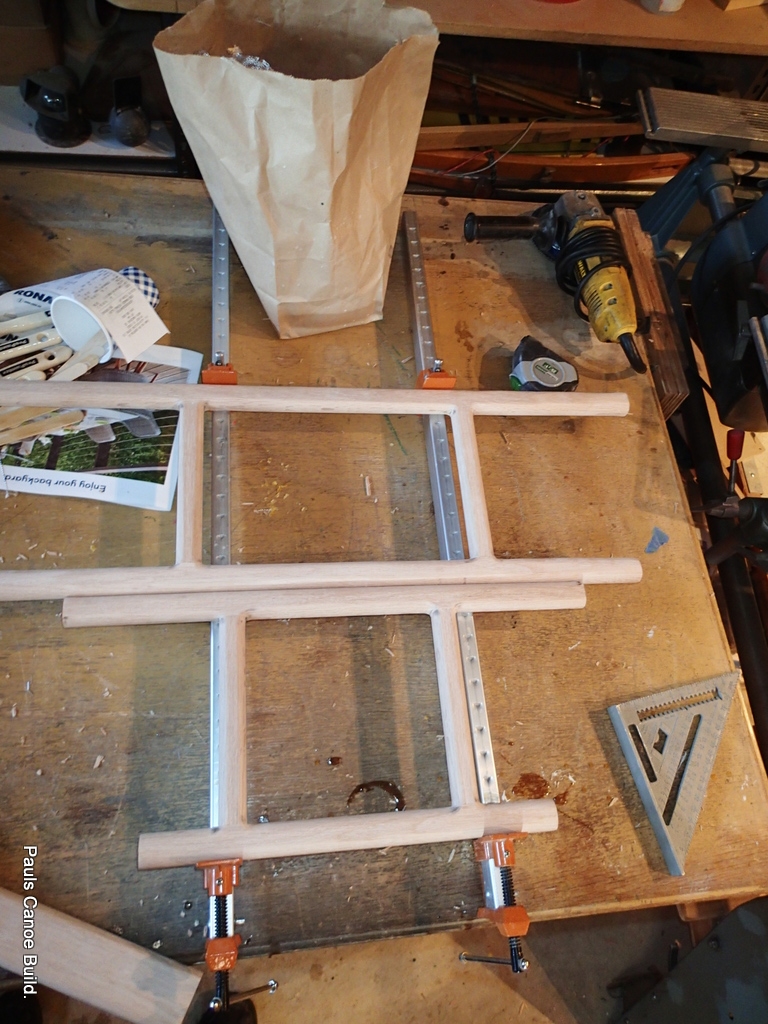
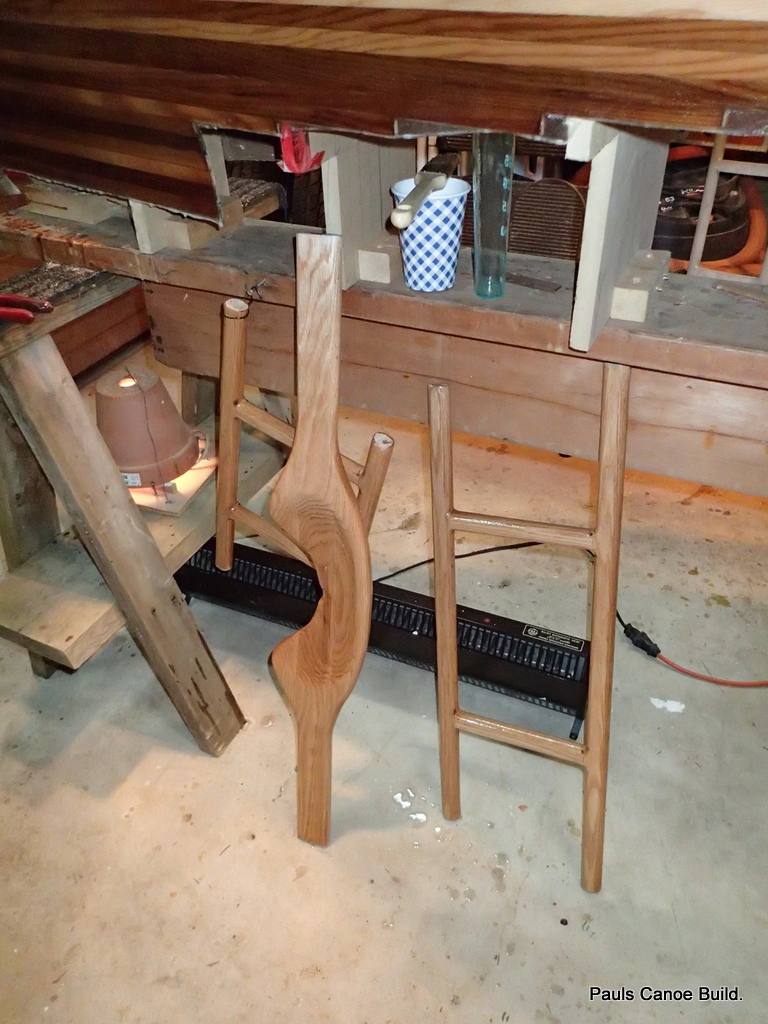
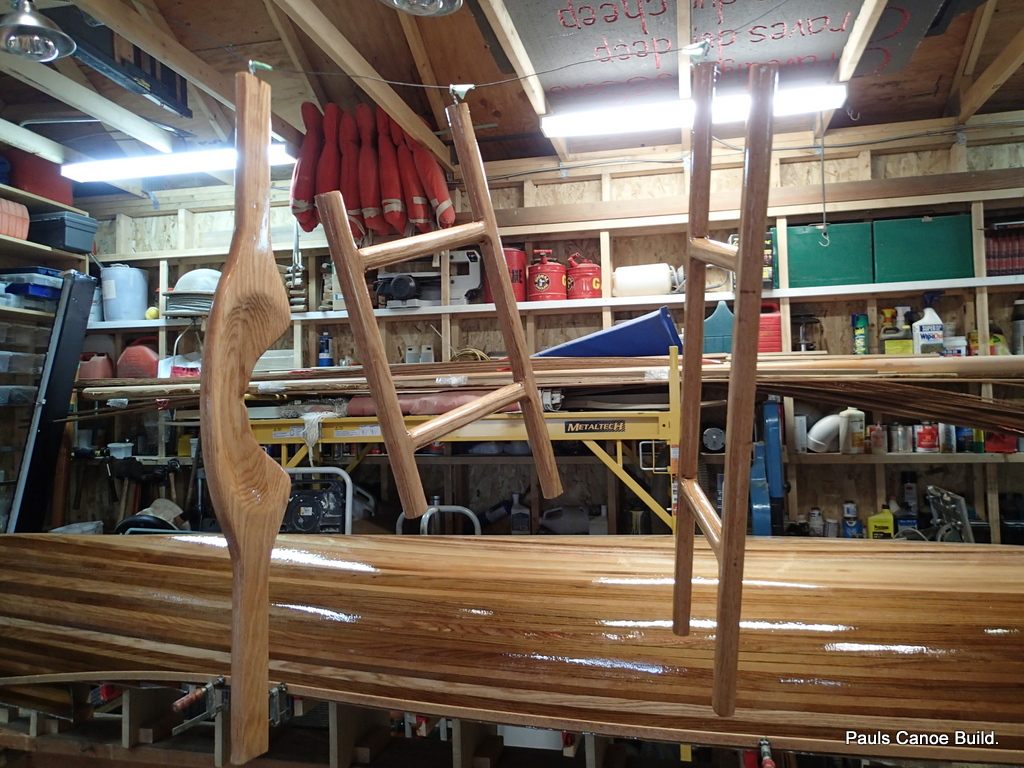
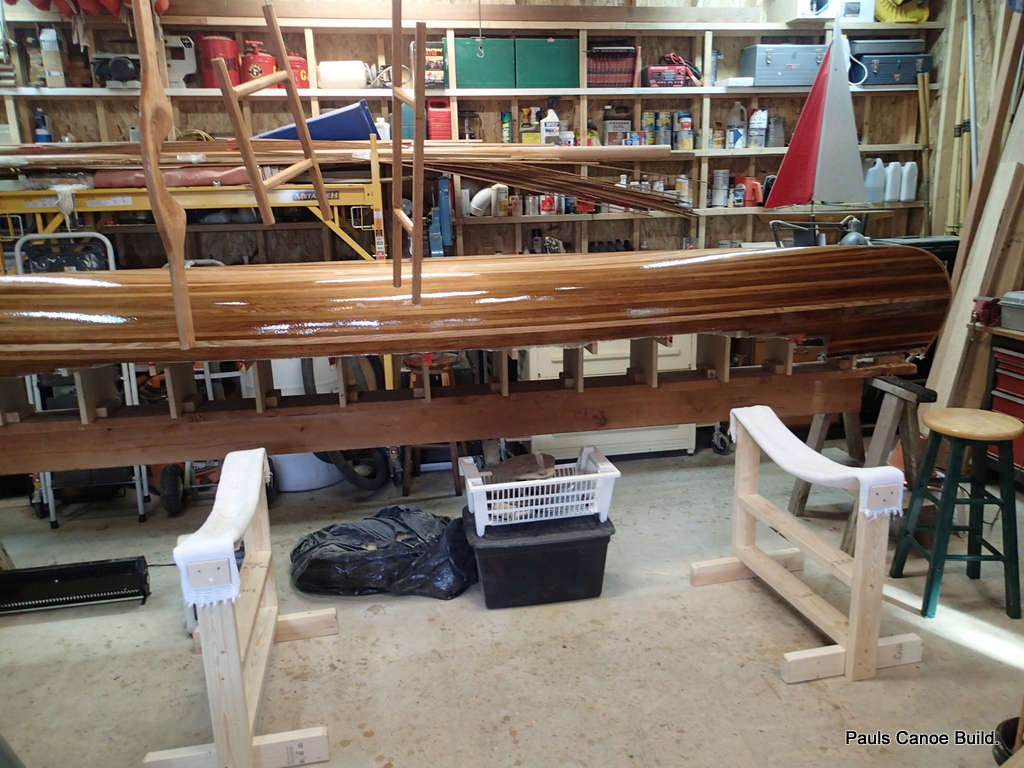
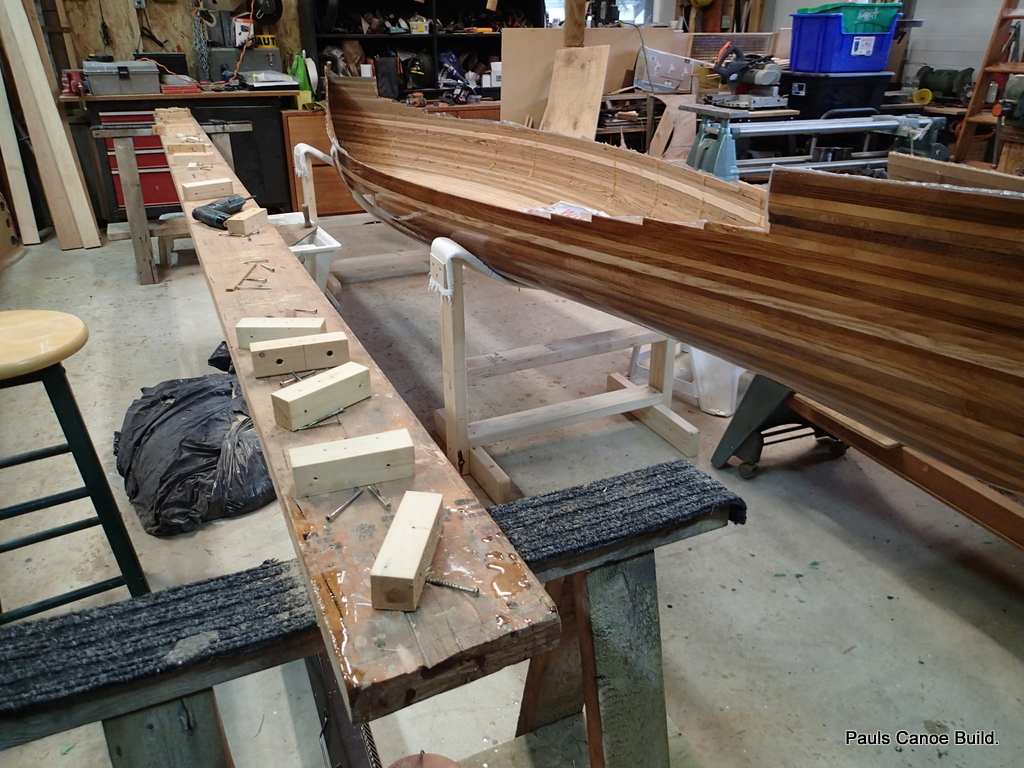
While the varnish dries,  I make up two canoe cradles to put the canoe before Paul and I take the canoe off of the strongback and moulds.
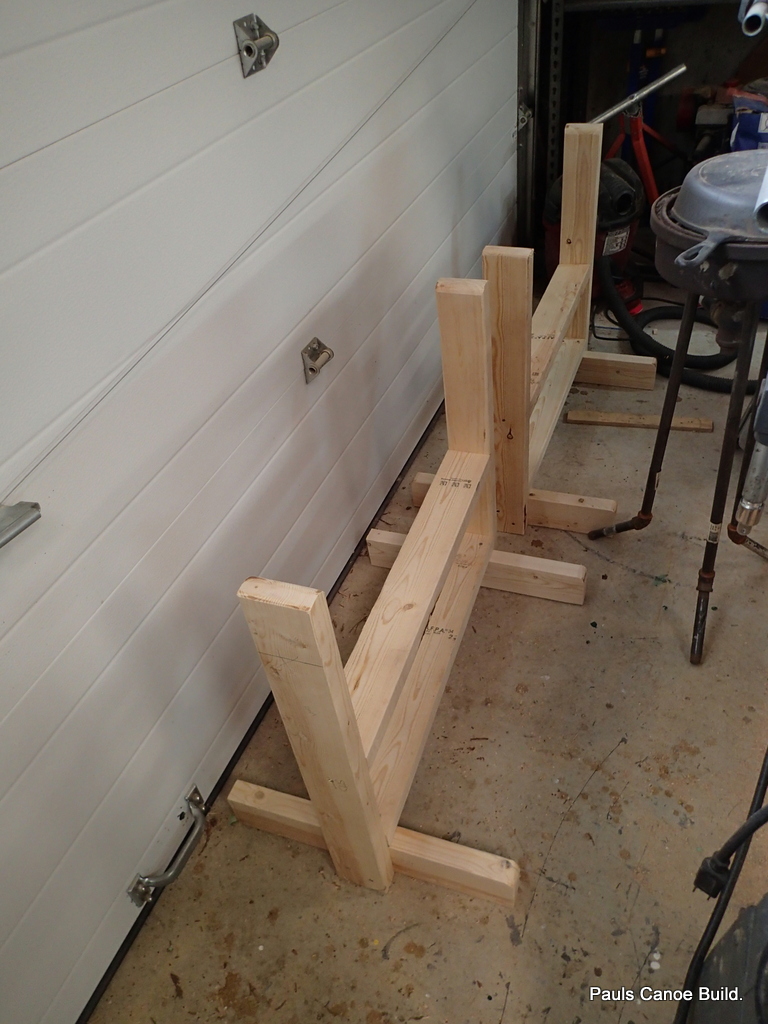
Canoe cradles

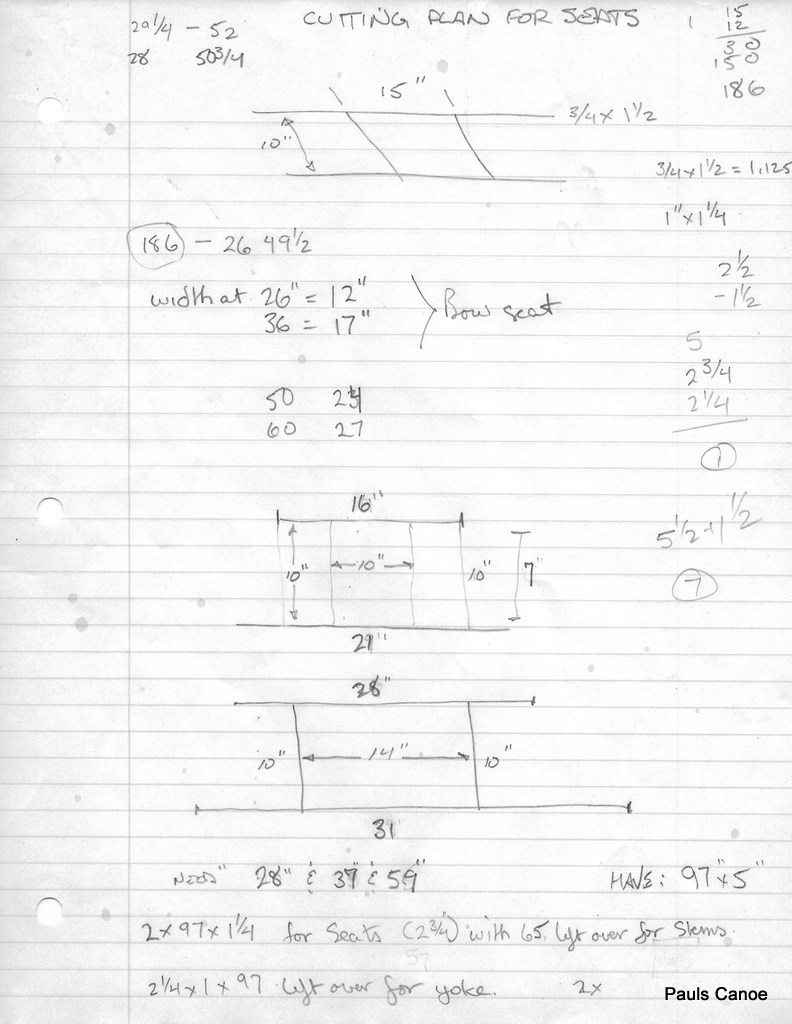
The cradles are made from four 2×4’s.  The feet are 20″ long, the legs are 28″ high and the cross braces are 28″ long.  The feet are rounded off as are the tops of the legs.  I just have to find some carpet for the tops.

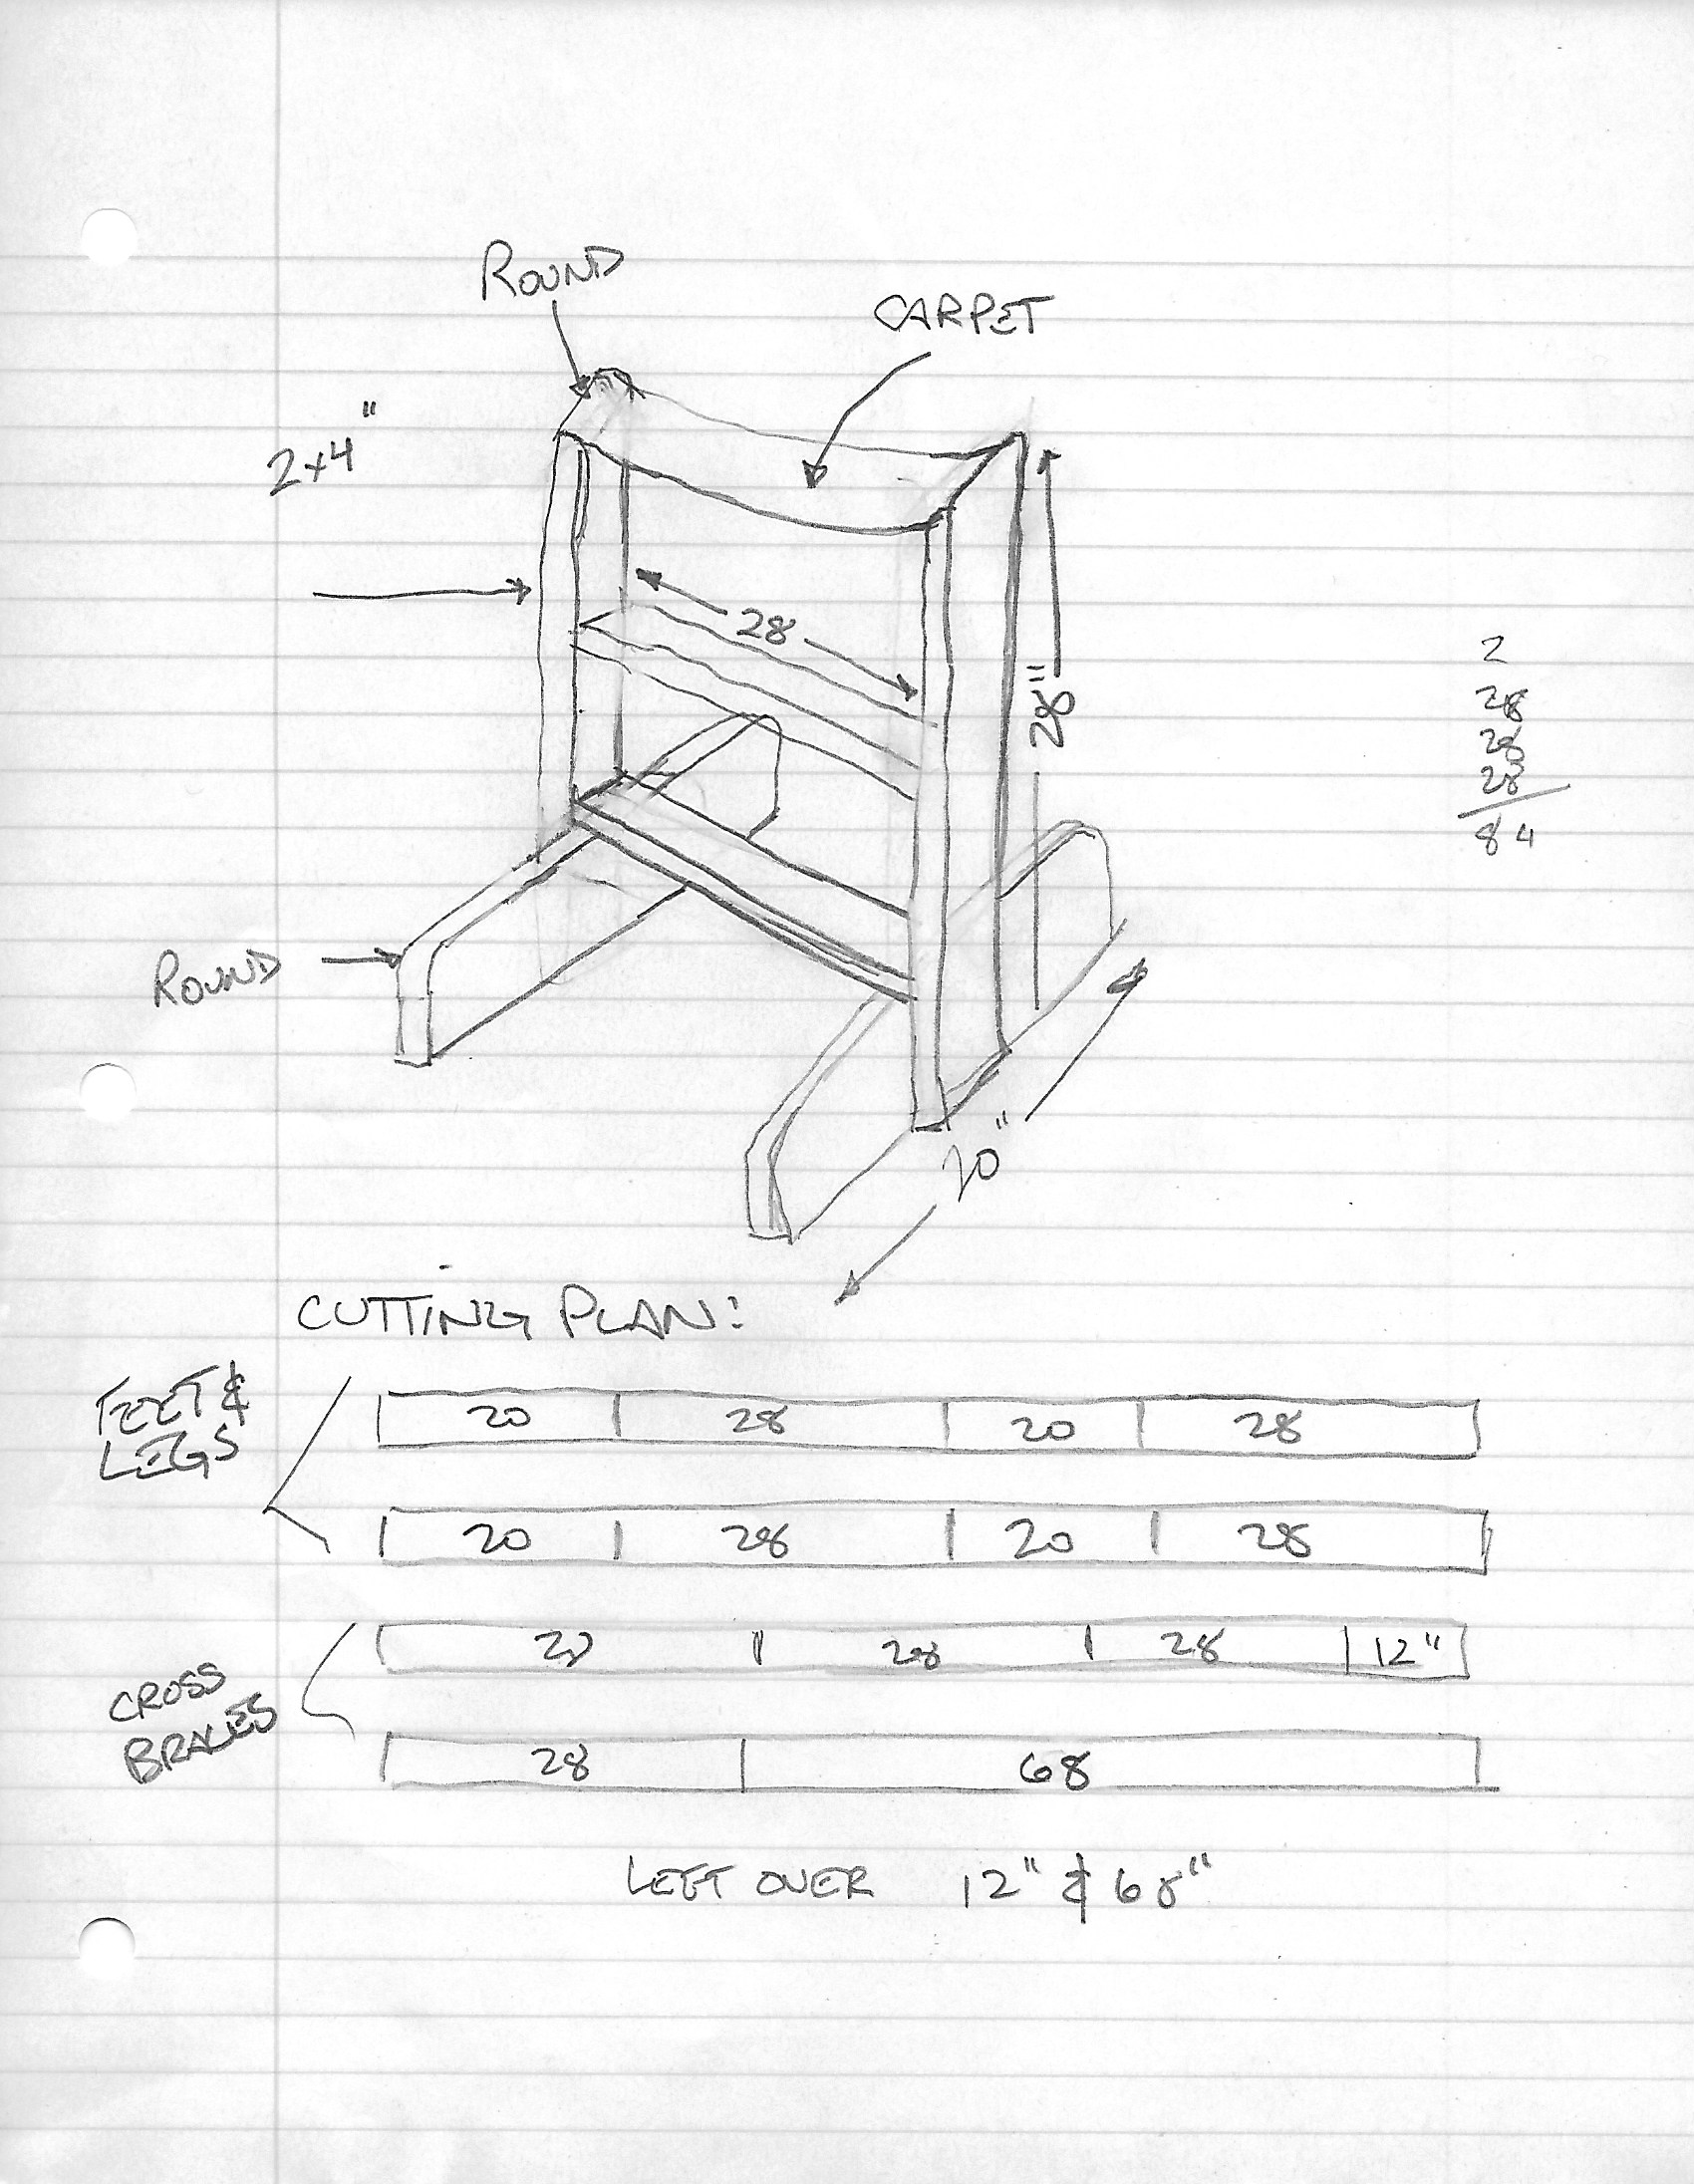
Sketch of the Canoe Cradle plans.

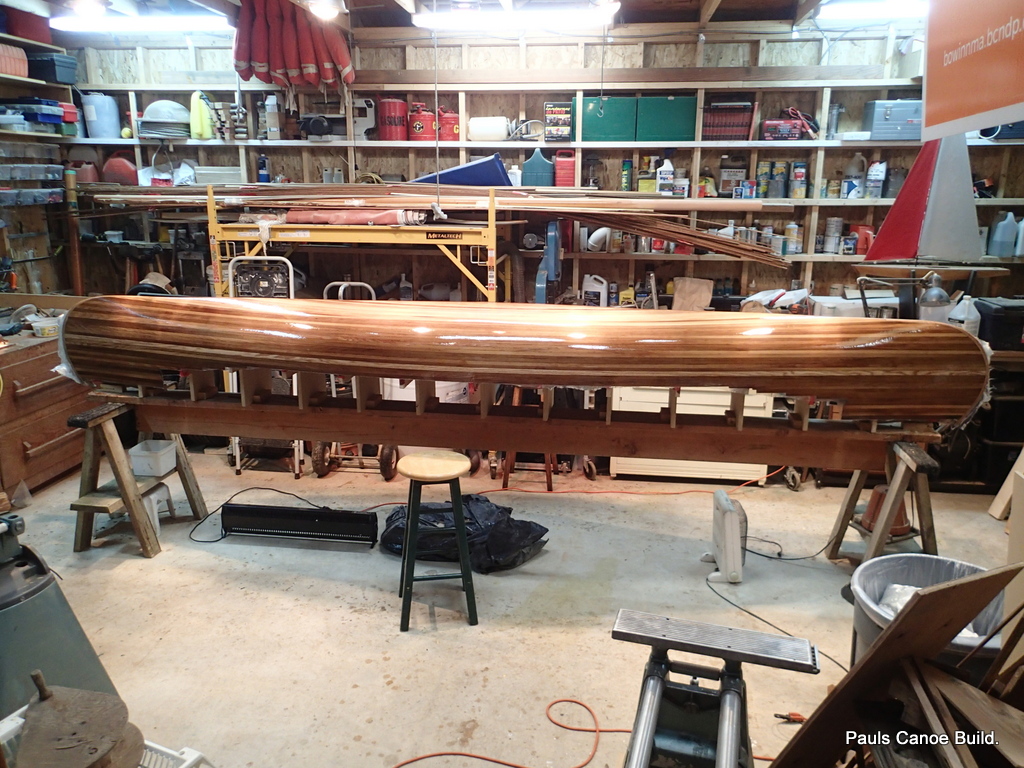
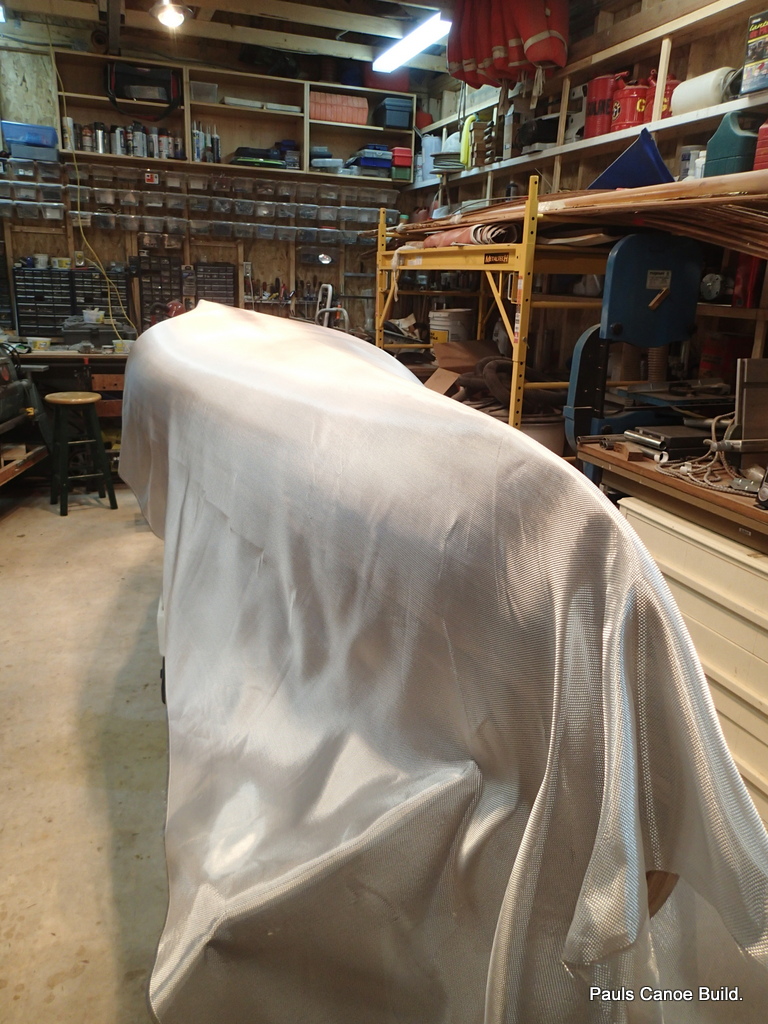
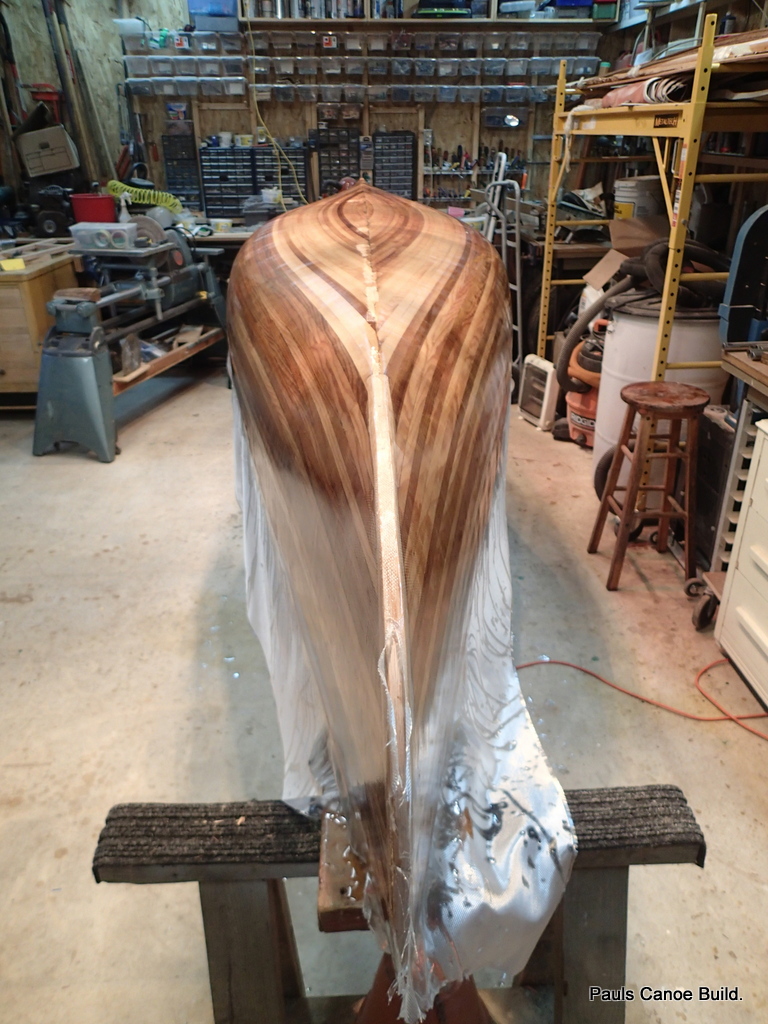
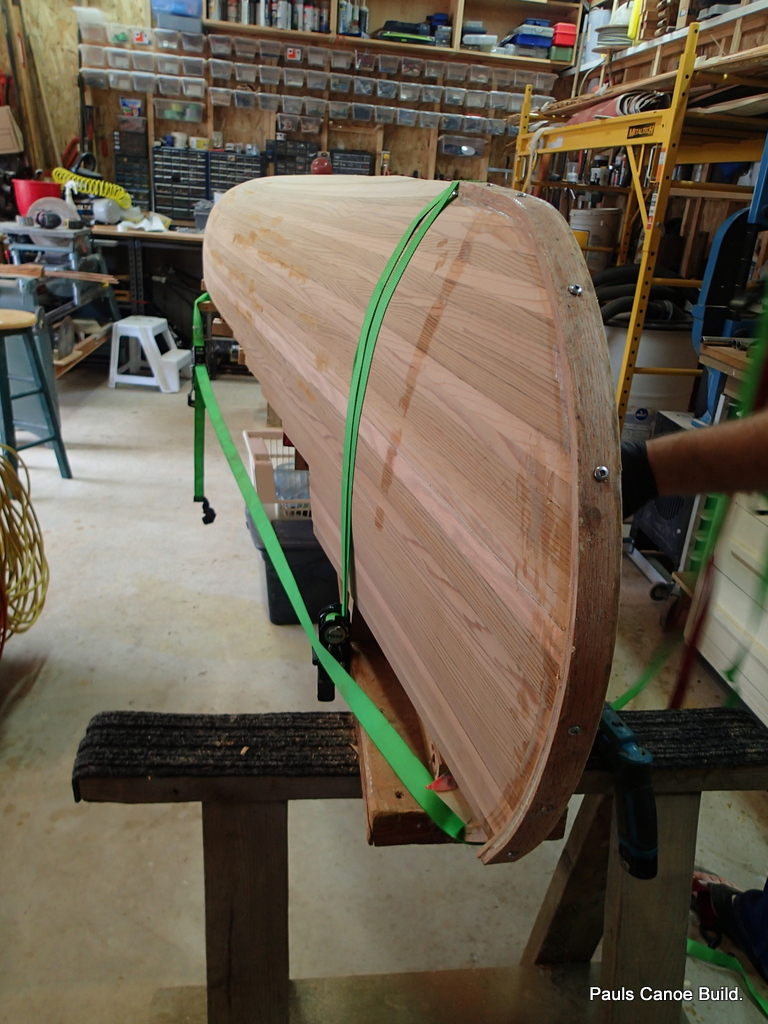
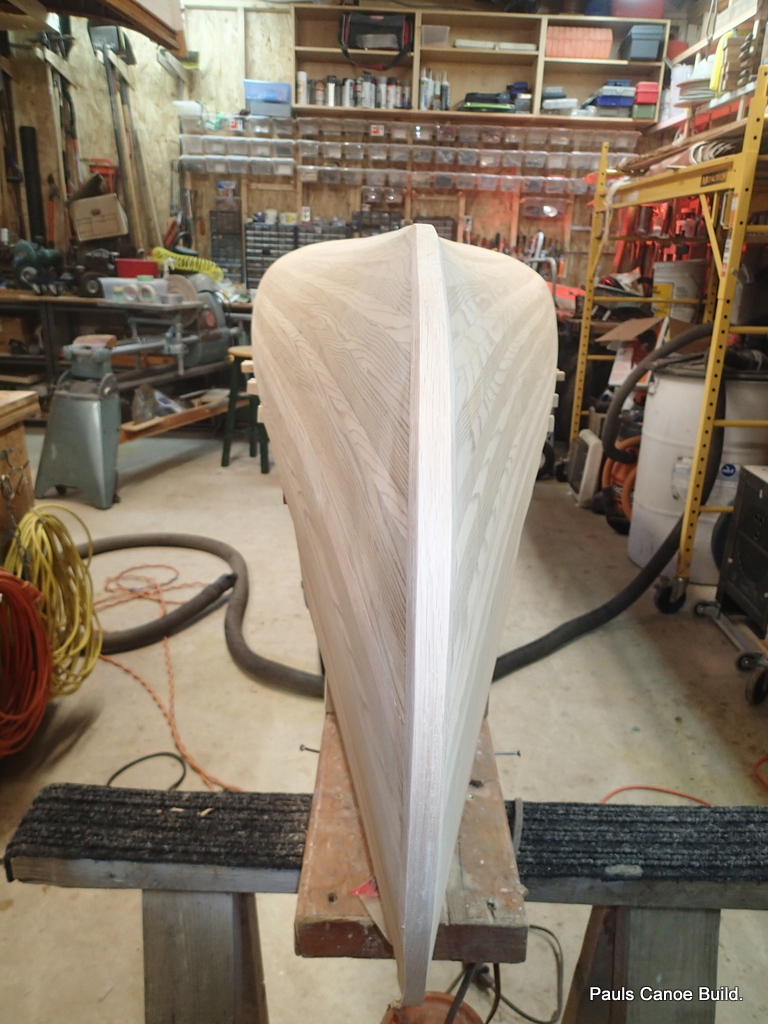
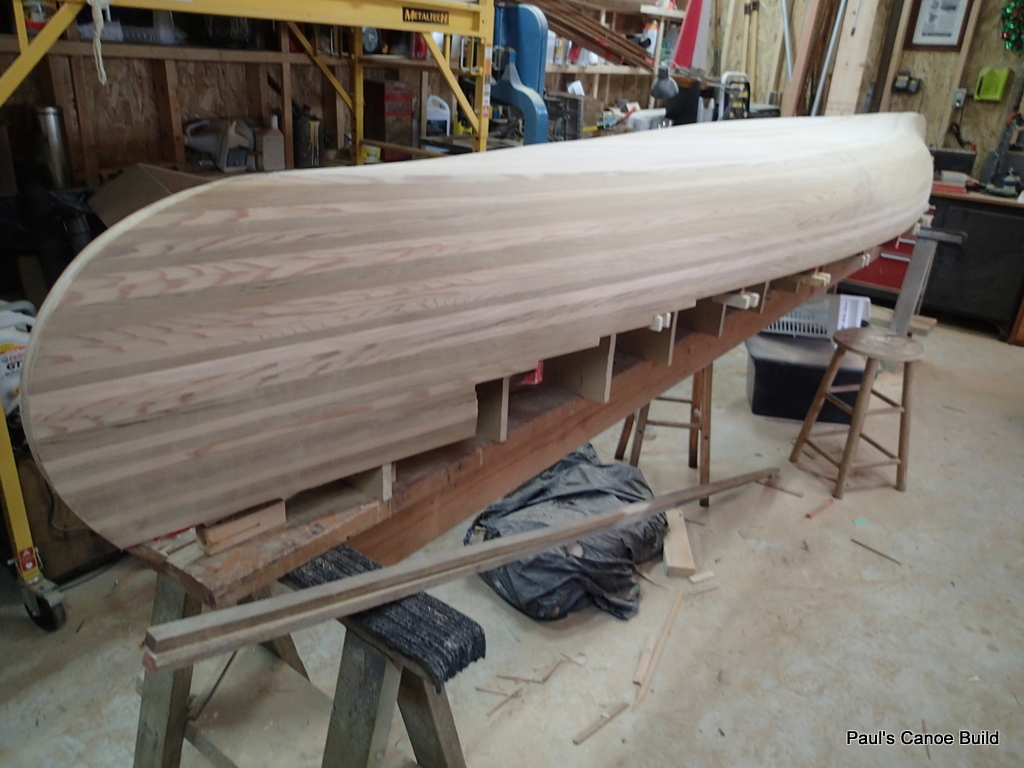
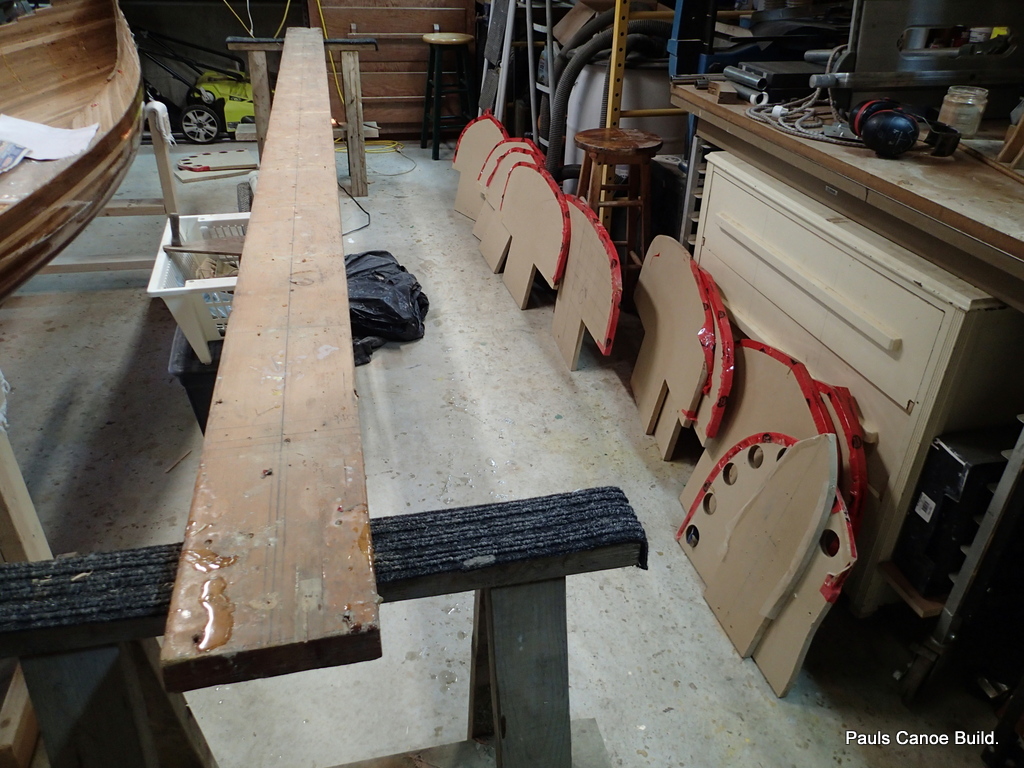
Old bath mat as carpet, ready to take the hull off of the strongback/moulds.

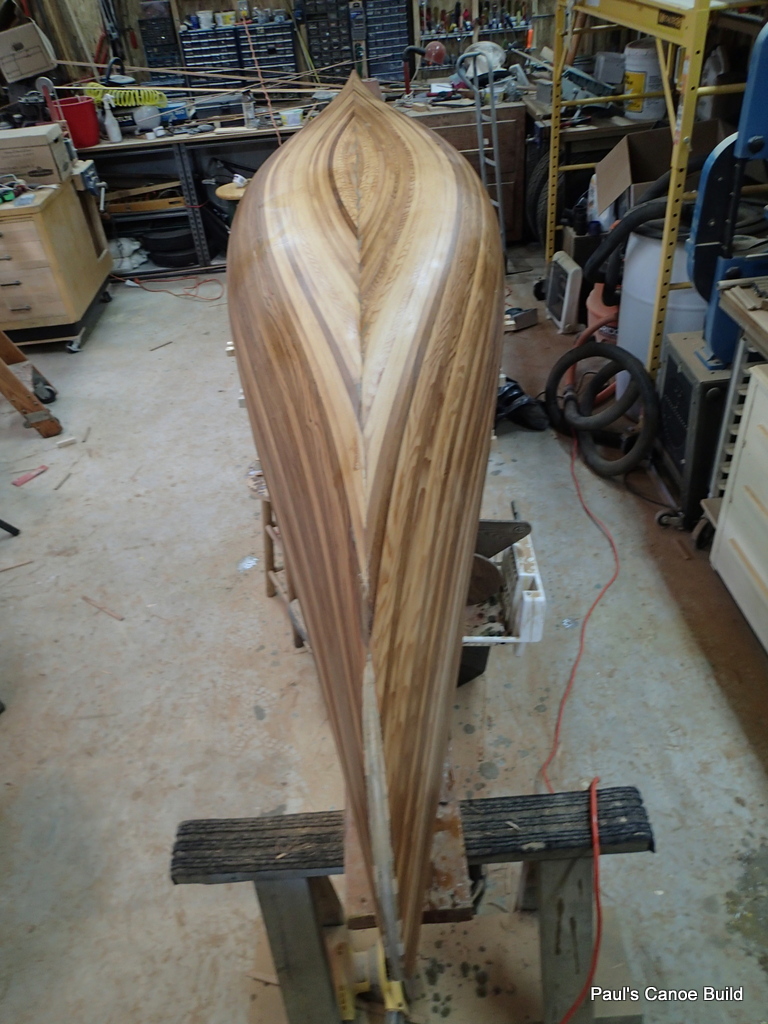
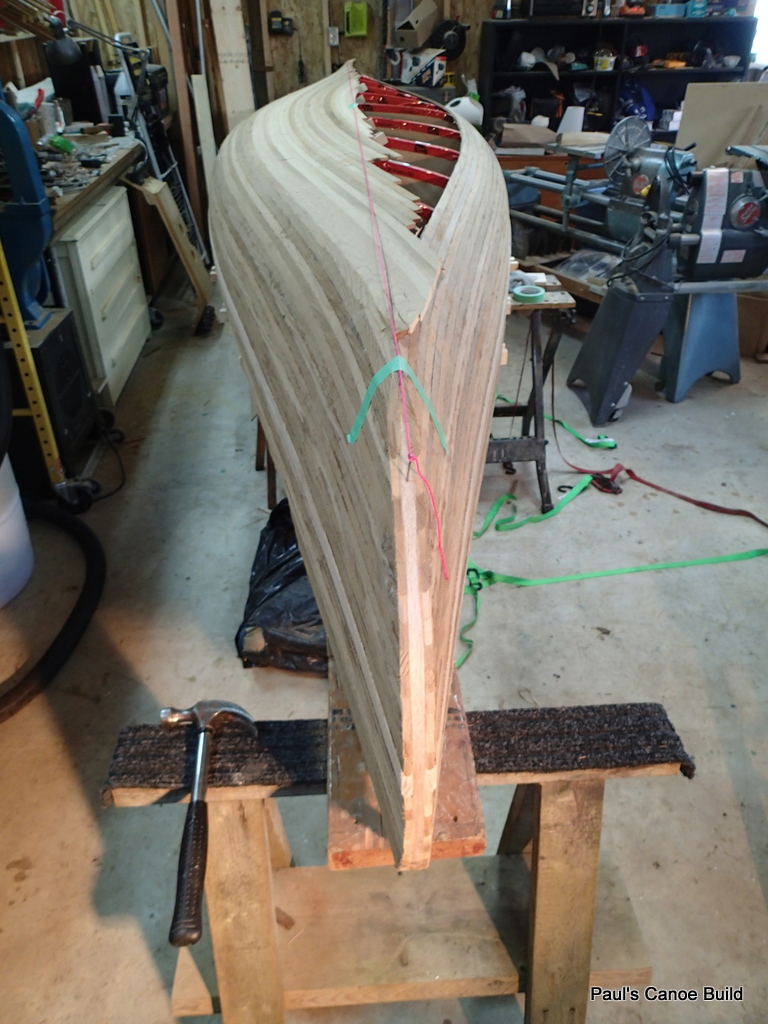
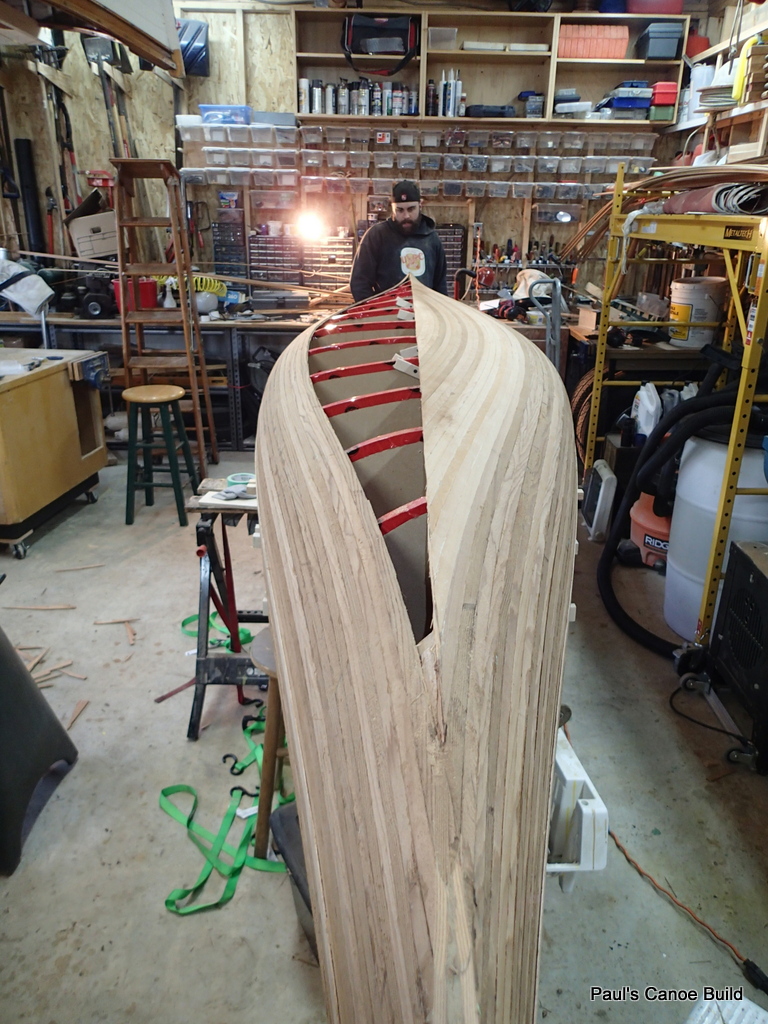
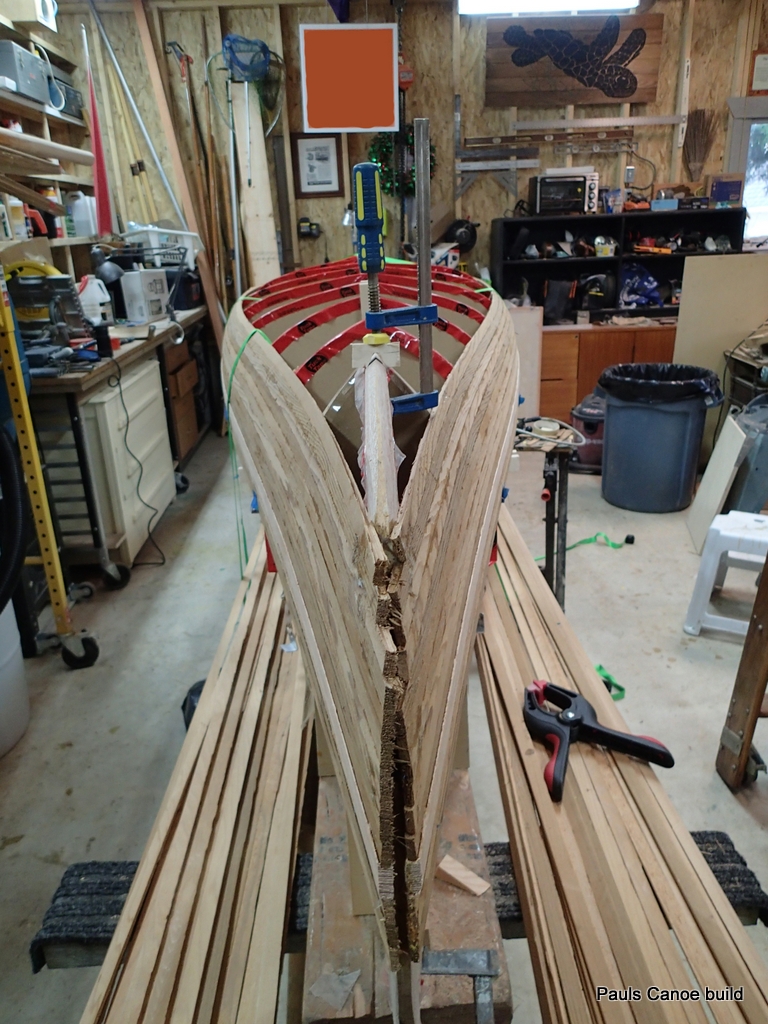
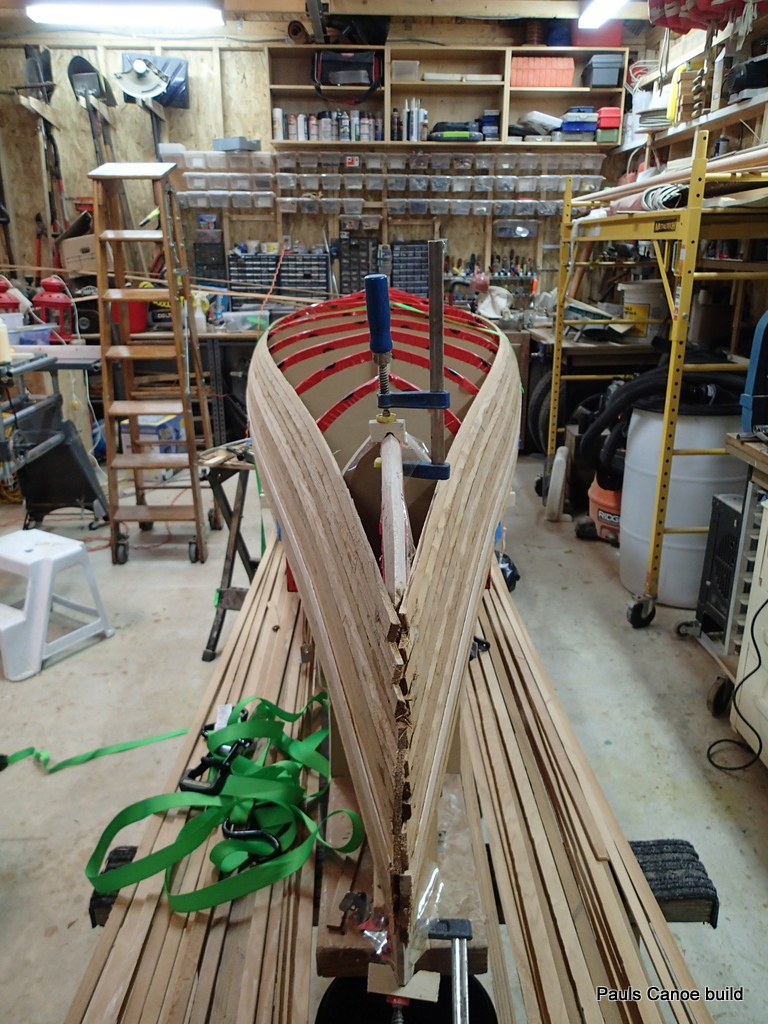
We have undone the screws holding the bow and stern stem mould pieces in place.  Moulds #0, #1, #2, #3, #4, #5, & #6 are still in place.  Paul and I go around the canoe, pulling at the sides, trying to break the hot-melt glue connection to the moulds.  We then go to the bow and stern and lift the canoe off of the moulds and place her onto the cradles.  We then take off the bow and stern section mould pieces.

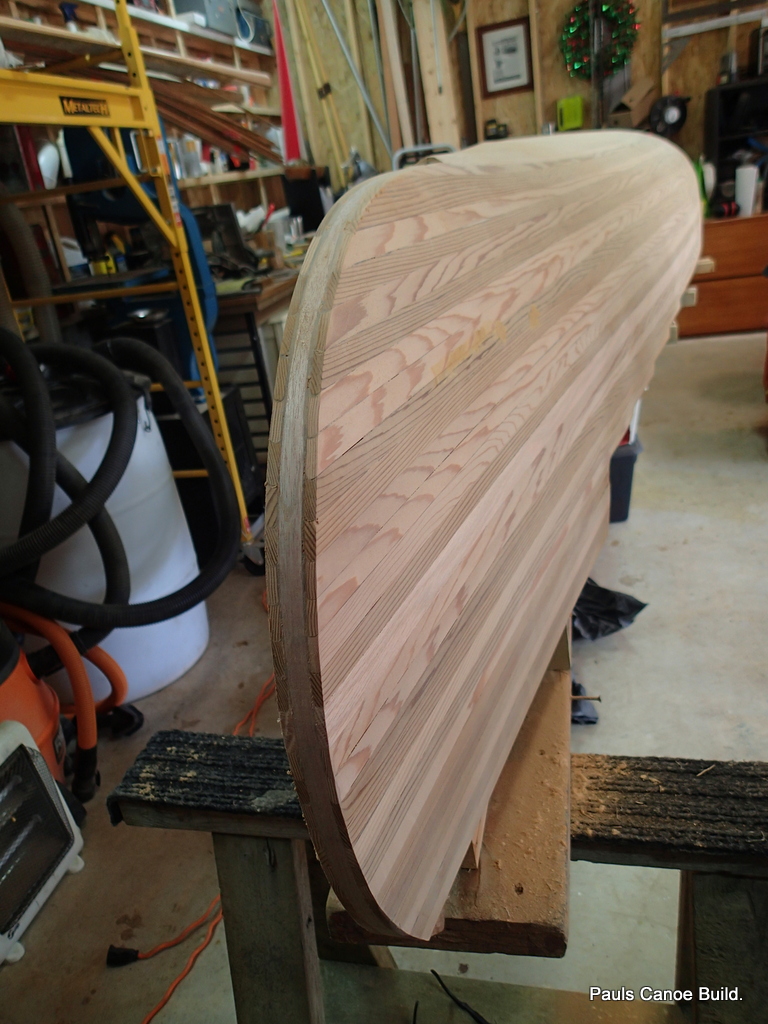
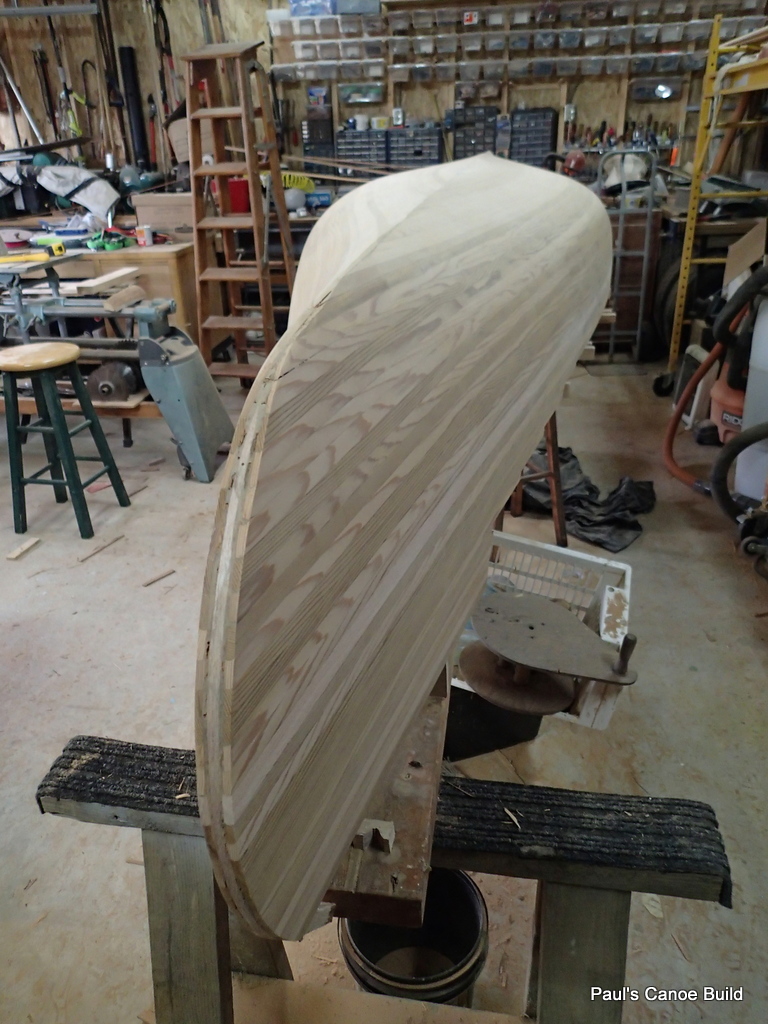
Hull off of the moulds.

Time to take the strongback/moulds apart and make room to work on the inside of the canoe.

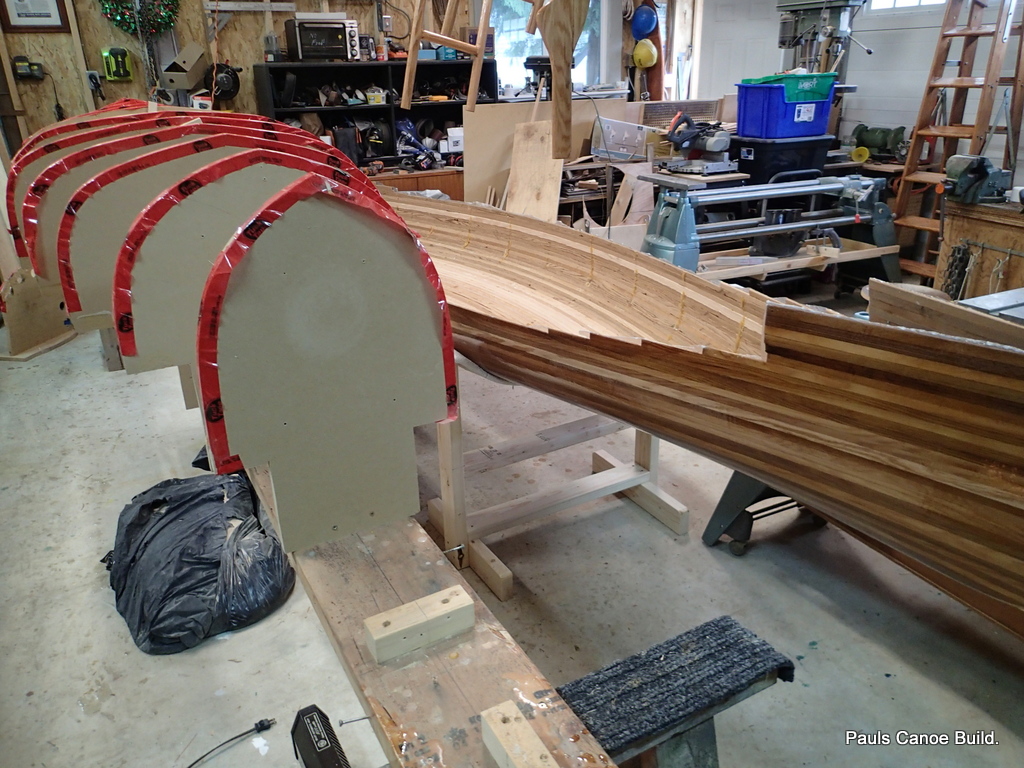
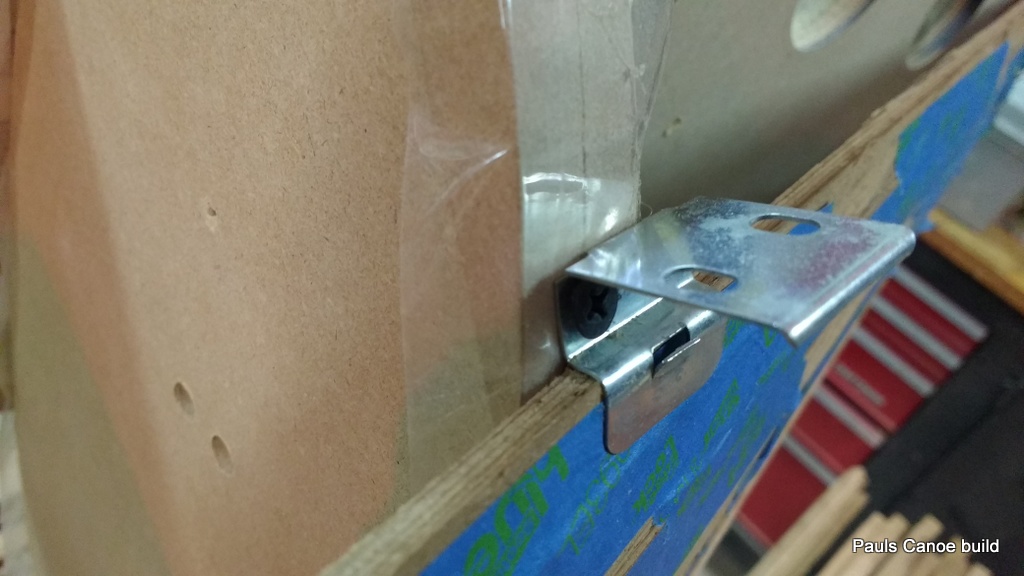
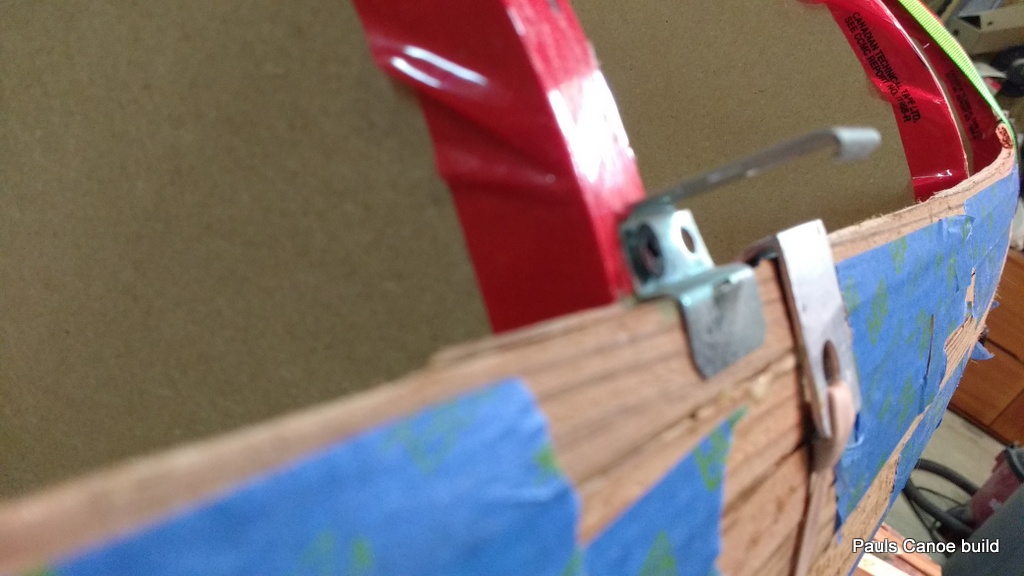
We start taking the mould stations off of the strongback.

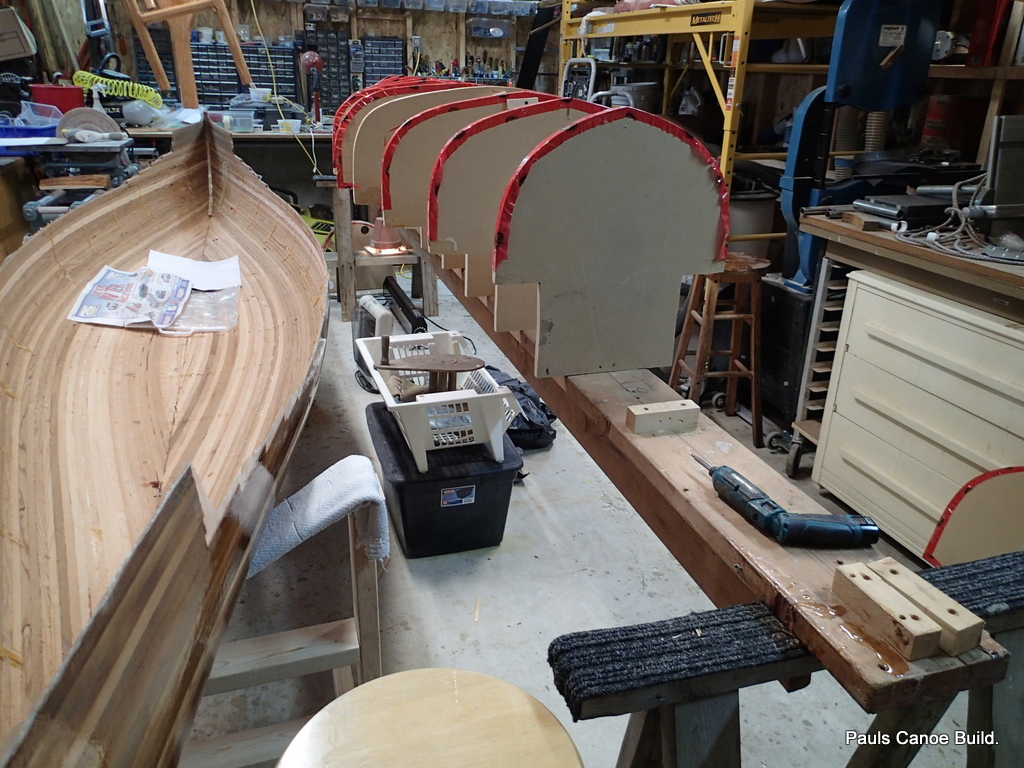
Another station mould out.

They all come out the same way…Two screws hold the station mould to the block, two screws hold the block to the strongback.

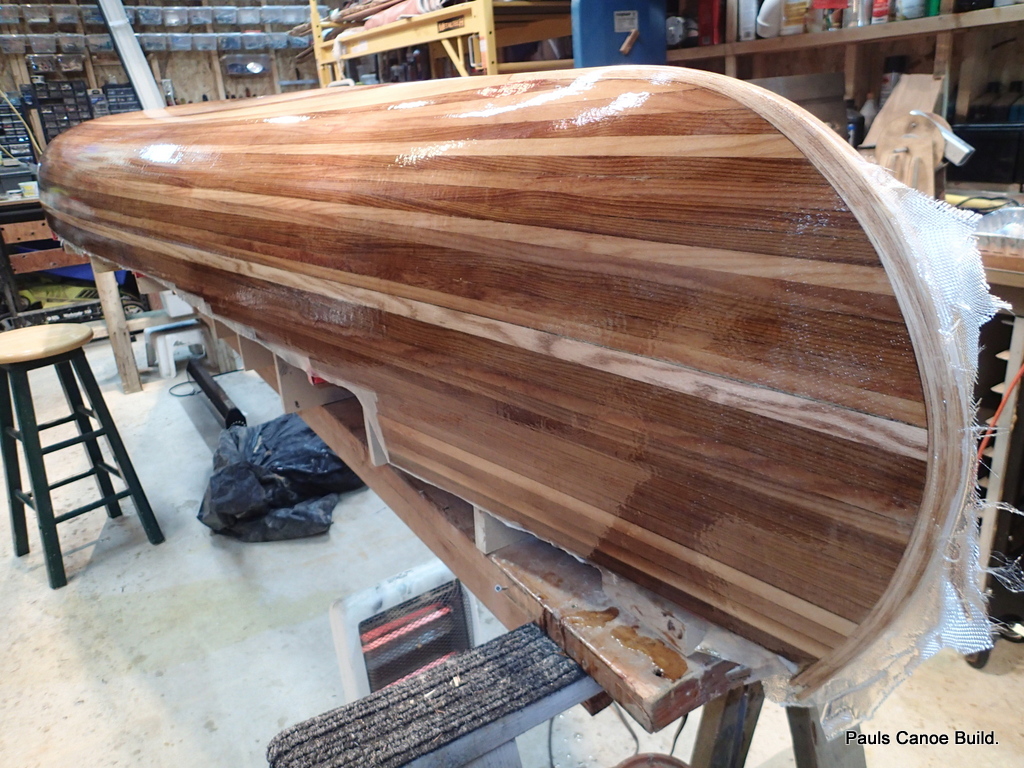
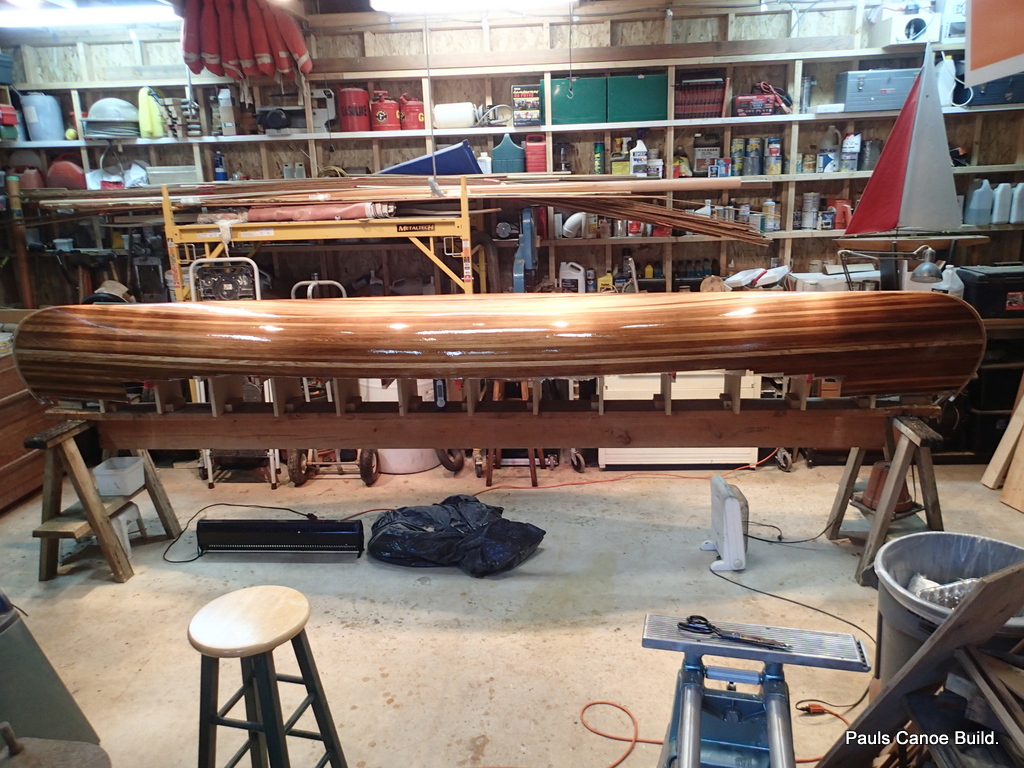
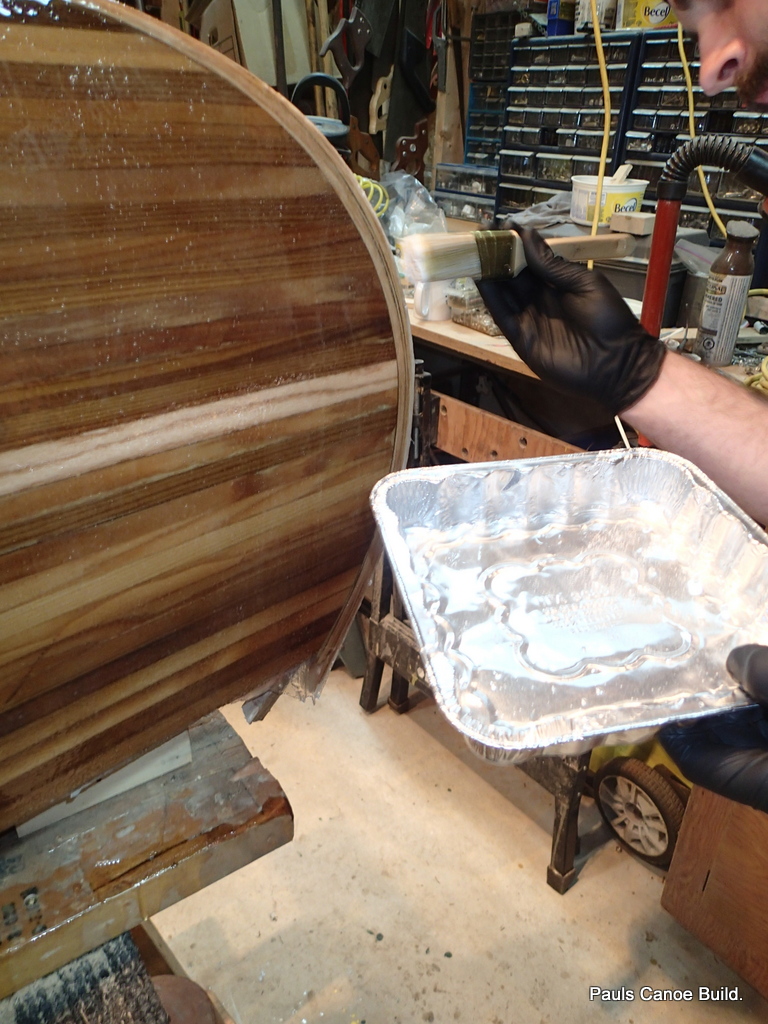
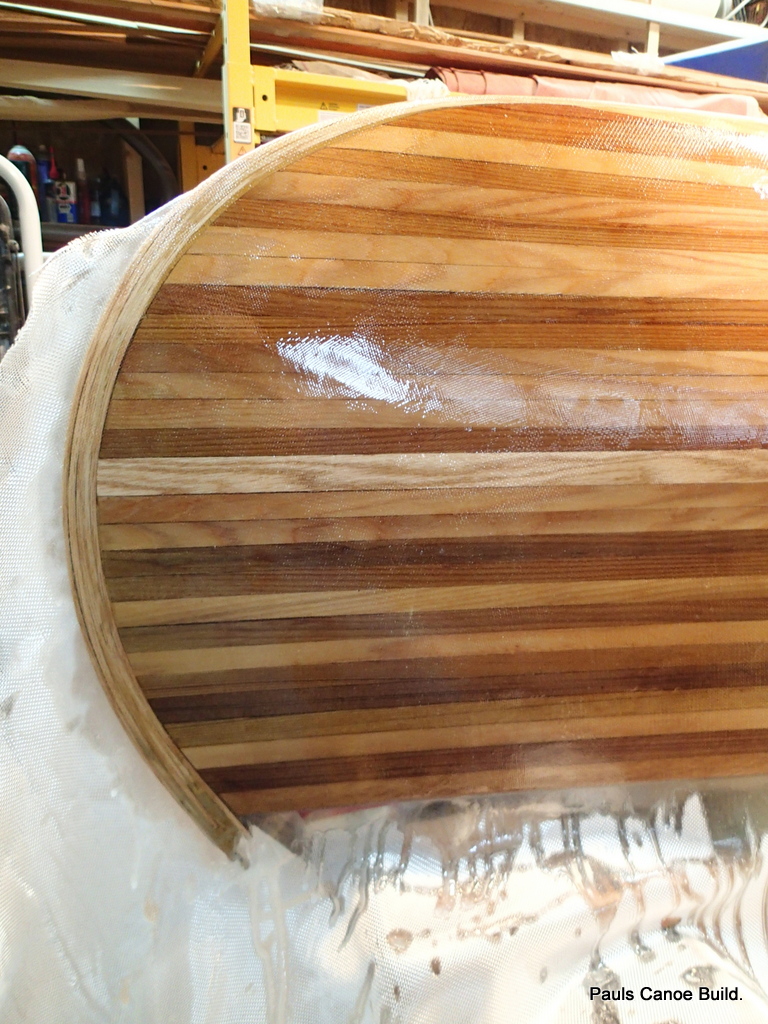
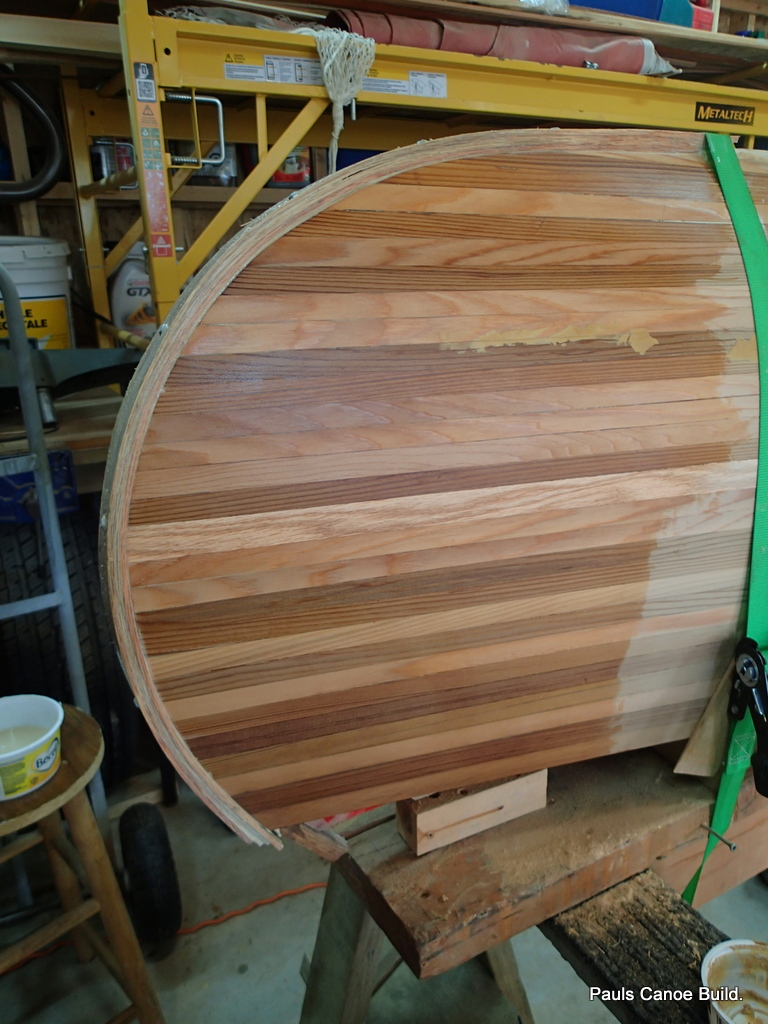
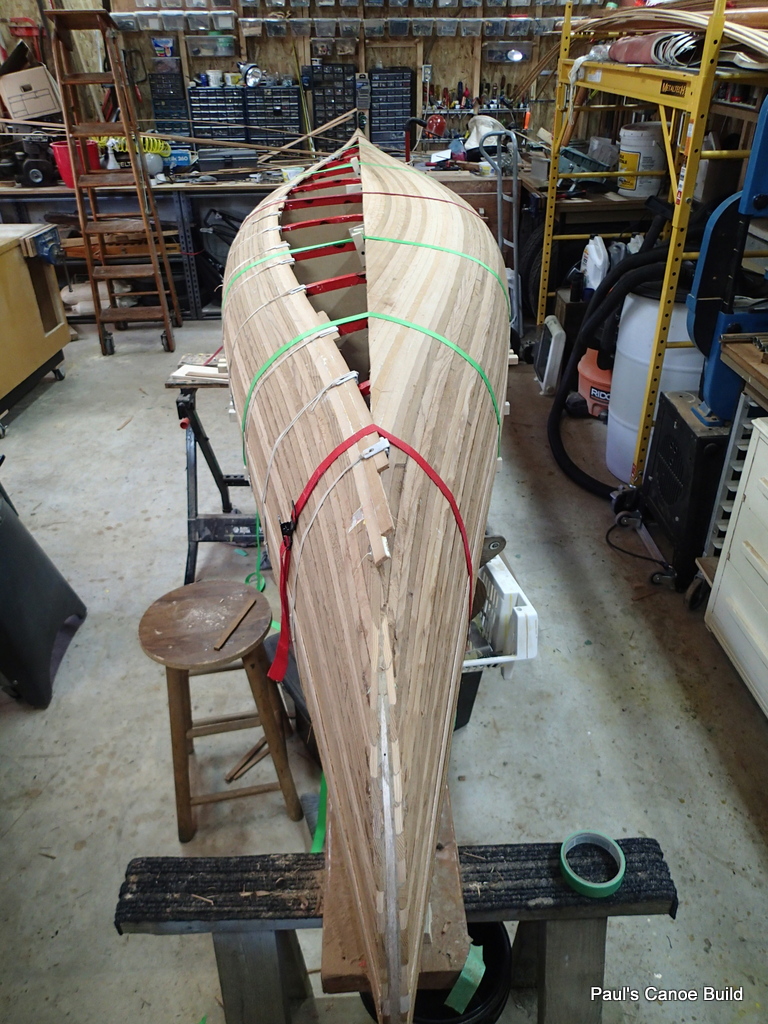
The paper in the canoe is to catch any varnish drips (Third coat of varnish).
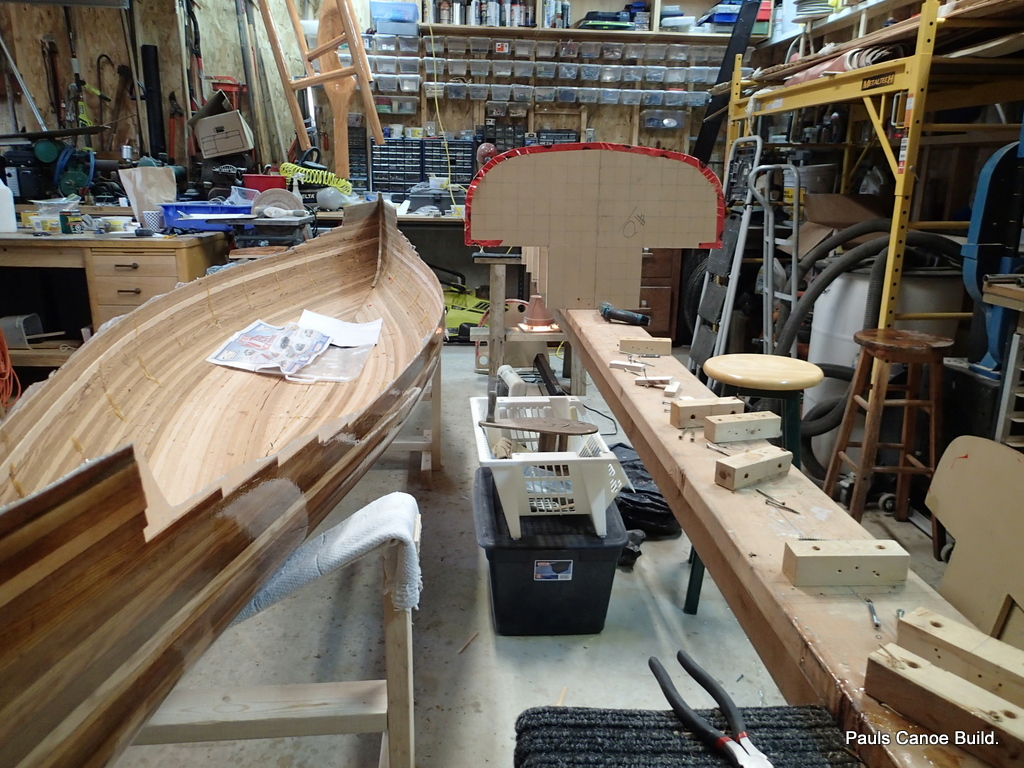
All gone!

I put the moulds to the side.  I will probably keep them, although I do not have plans to make another canoe.  The blocks I will save for another boat building project.

Taking the strongback off of the sawhorses.

I will hang the strongback from the rafters.  For now, we put it with the unused strips to the side.

Ready to stow.

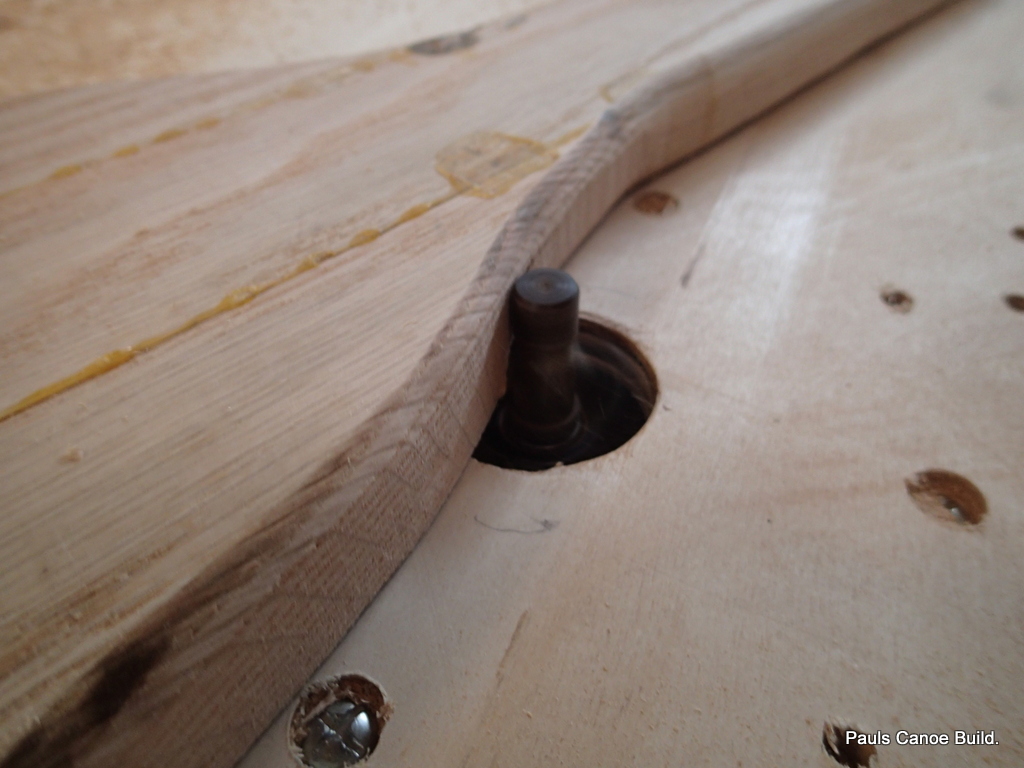
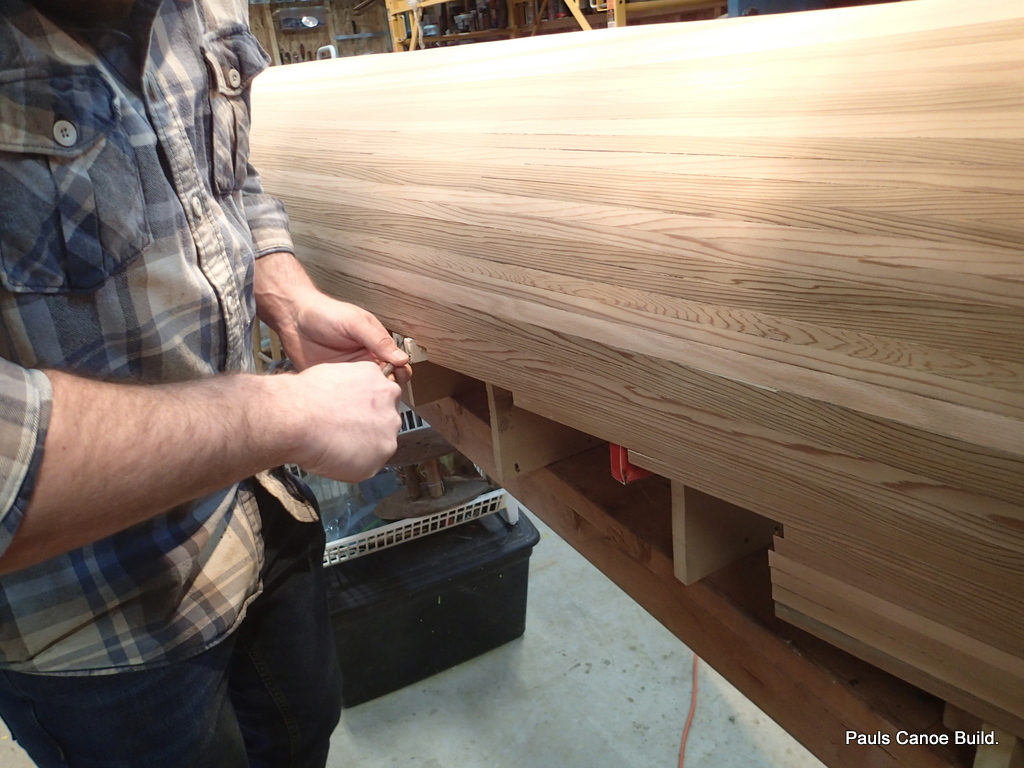
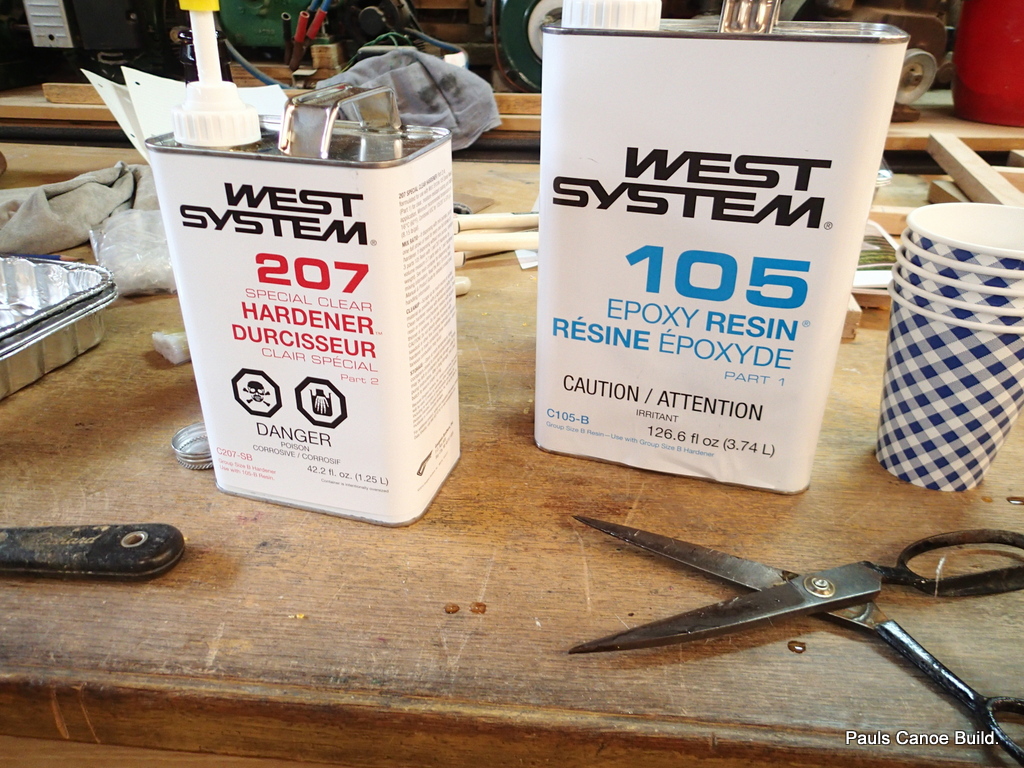
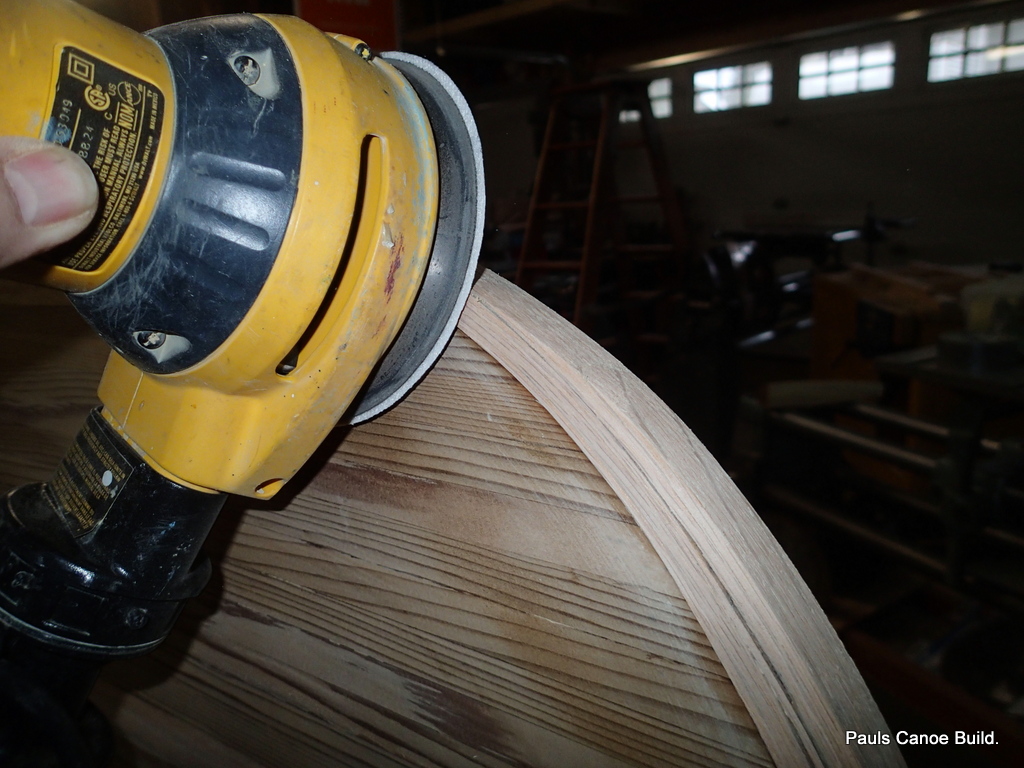
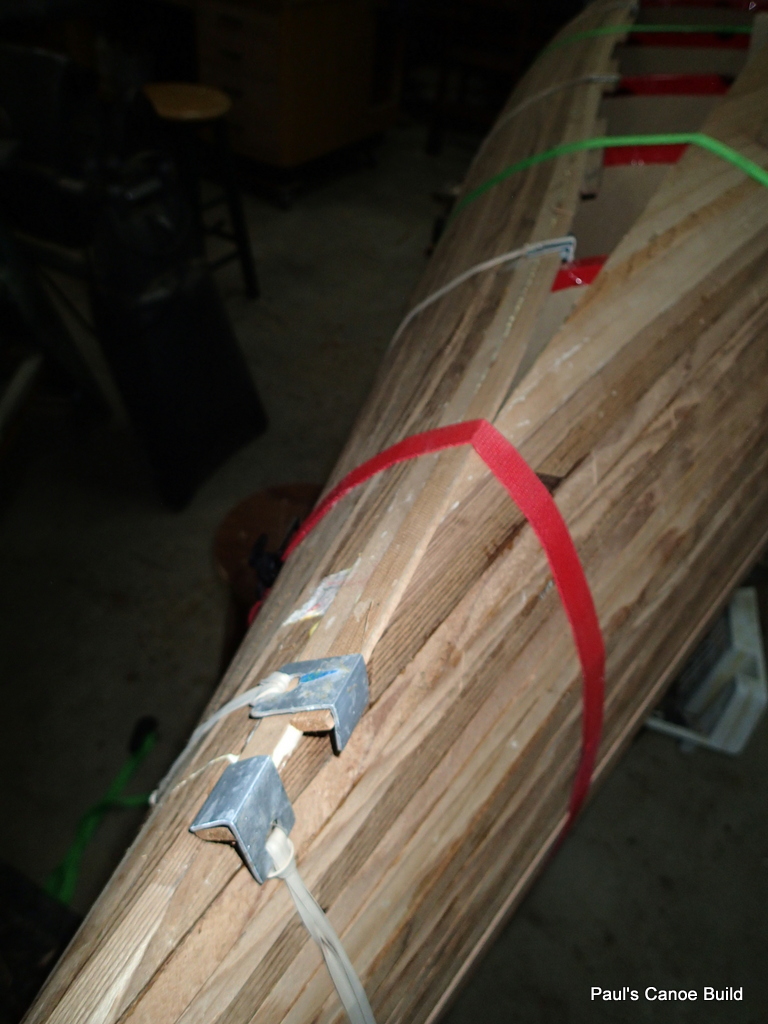
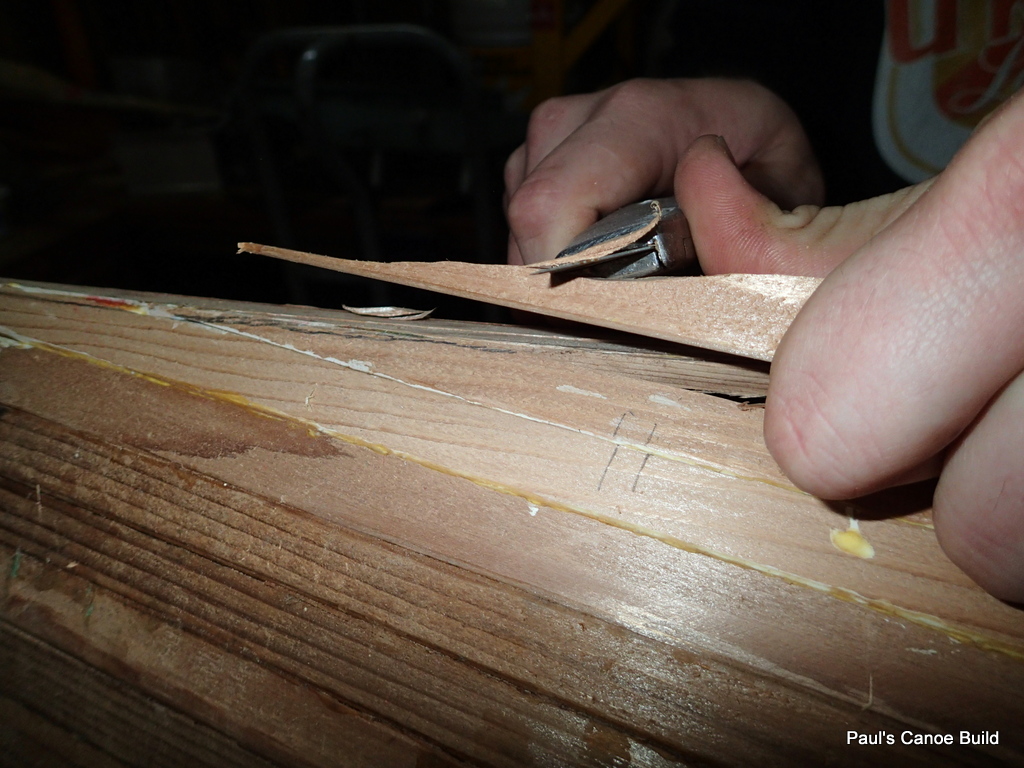
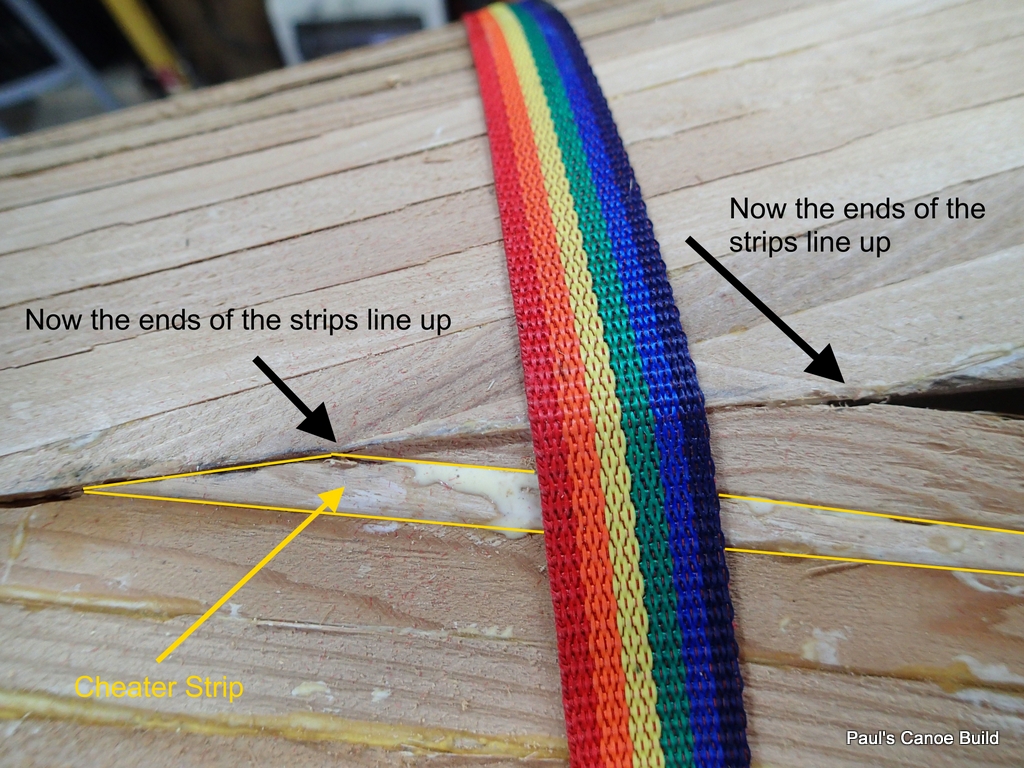
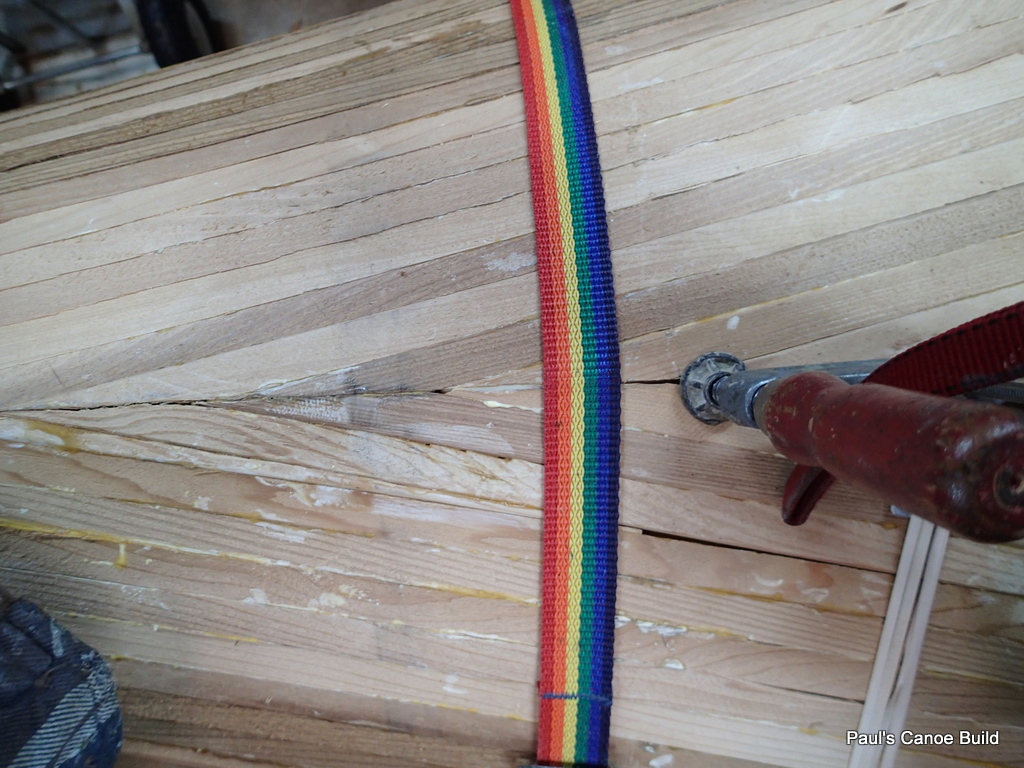
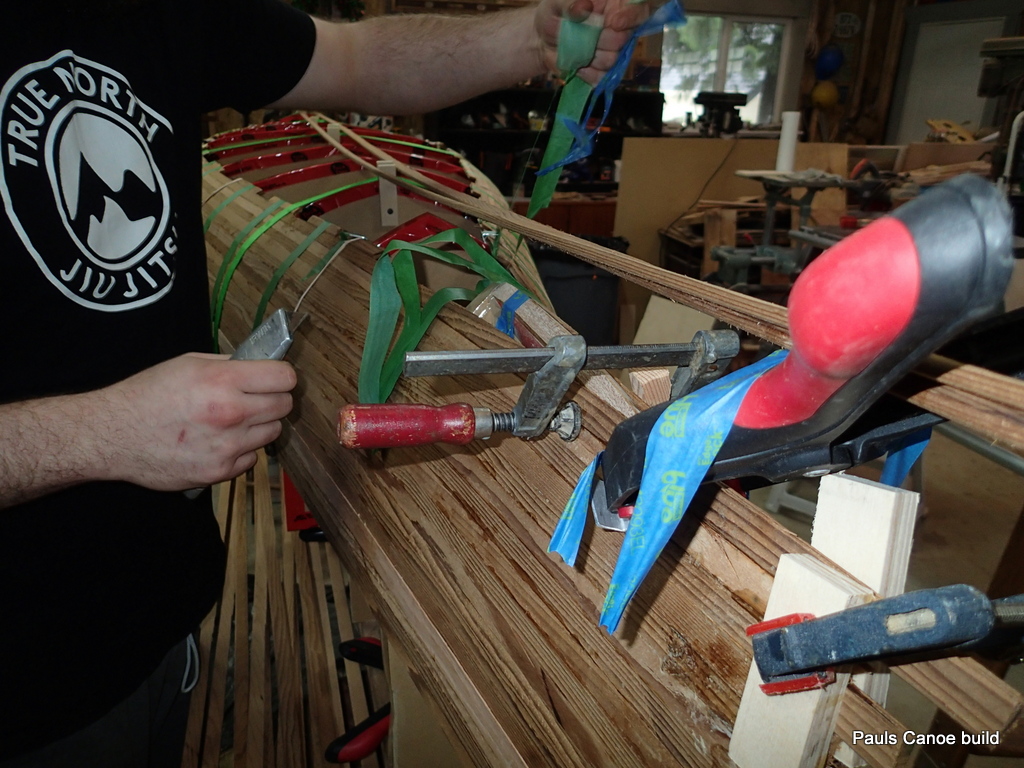
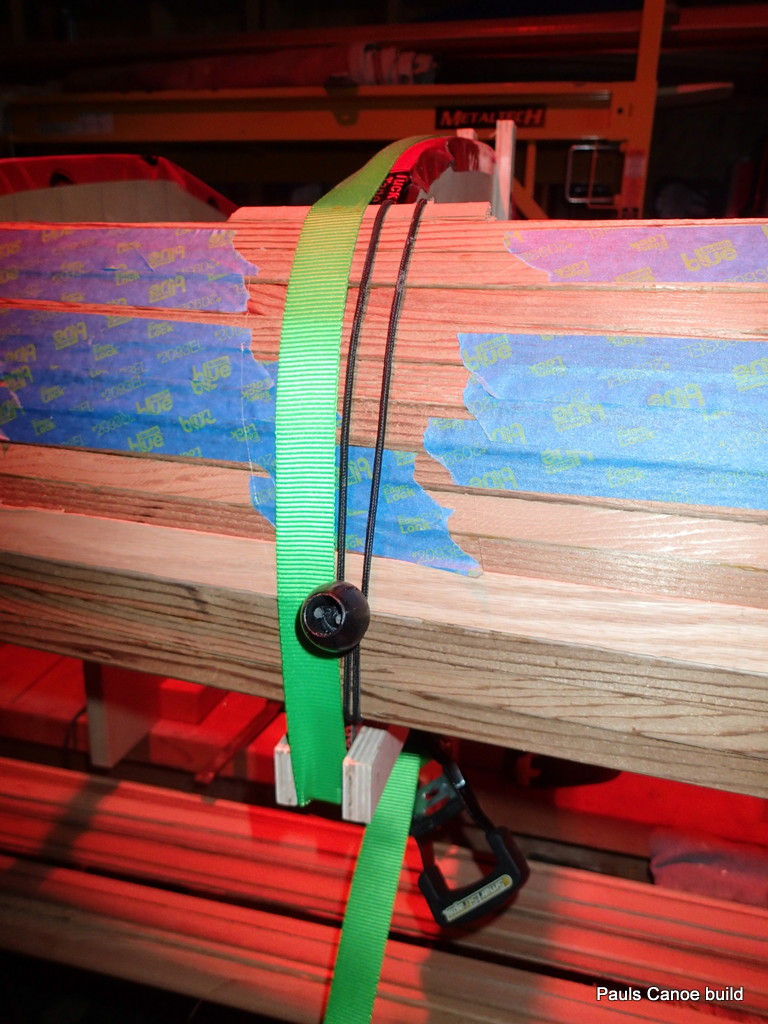
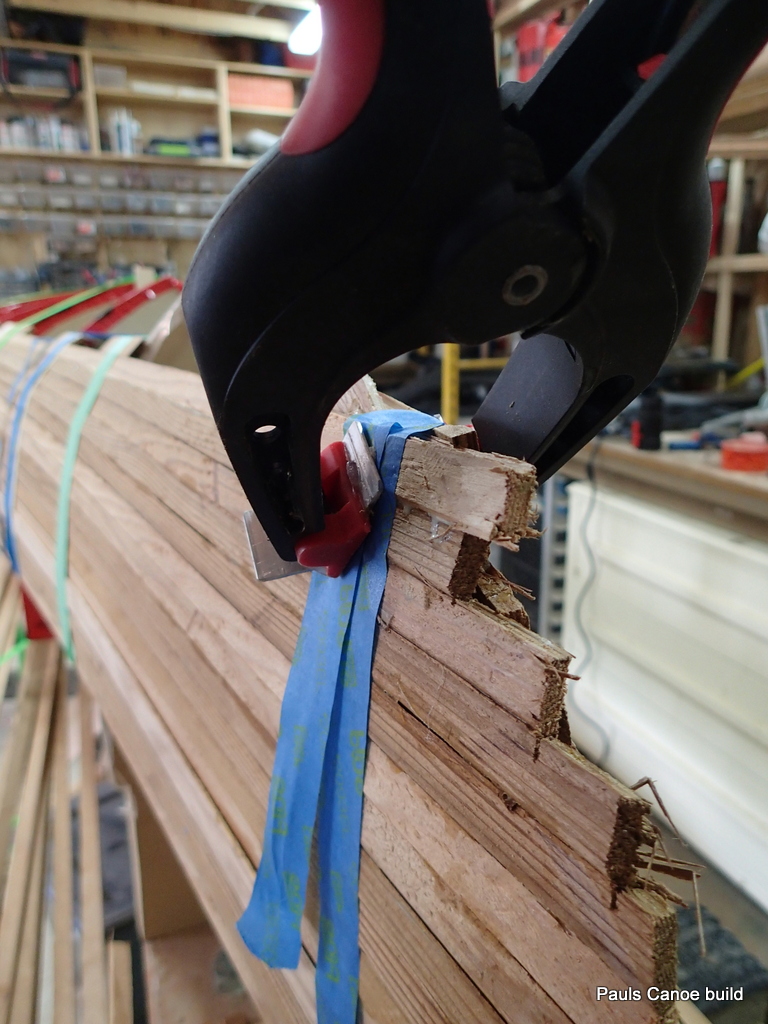
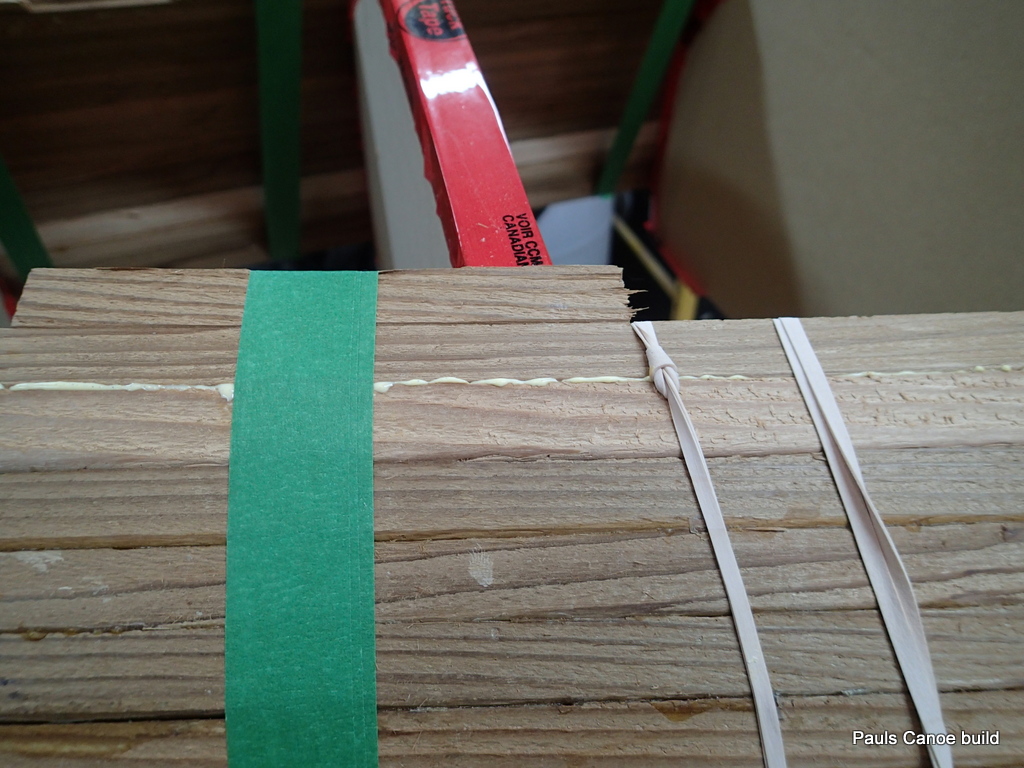
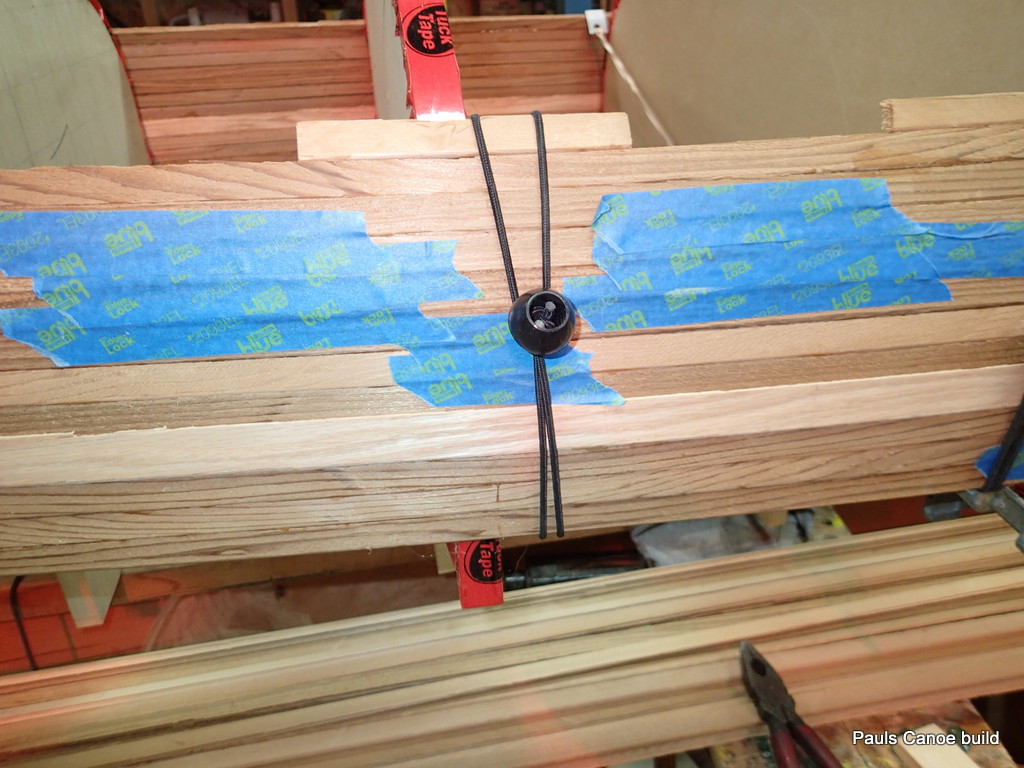
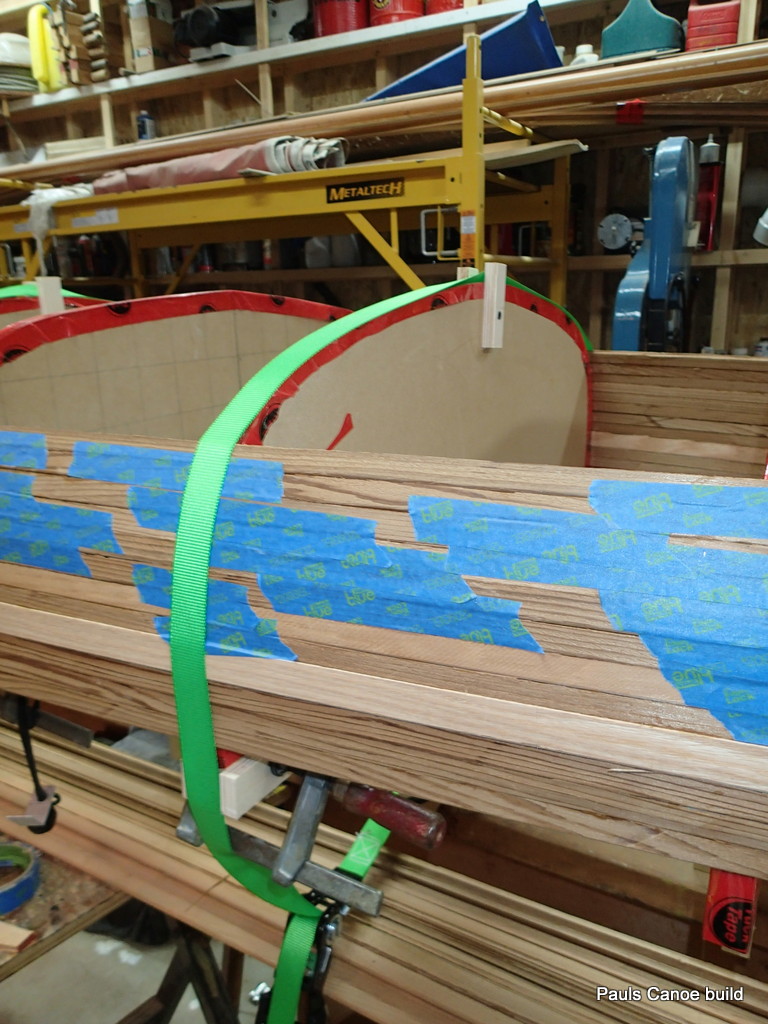
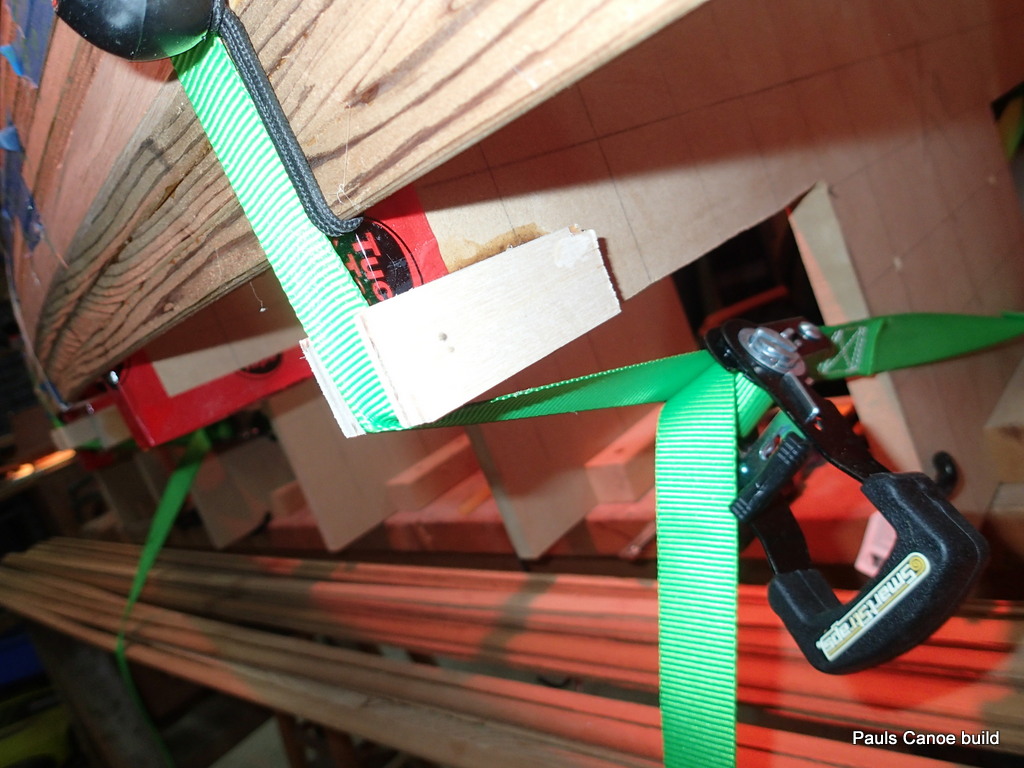
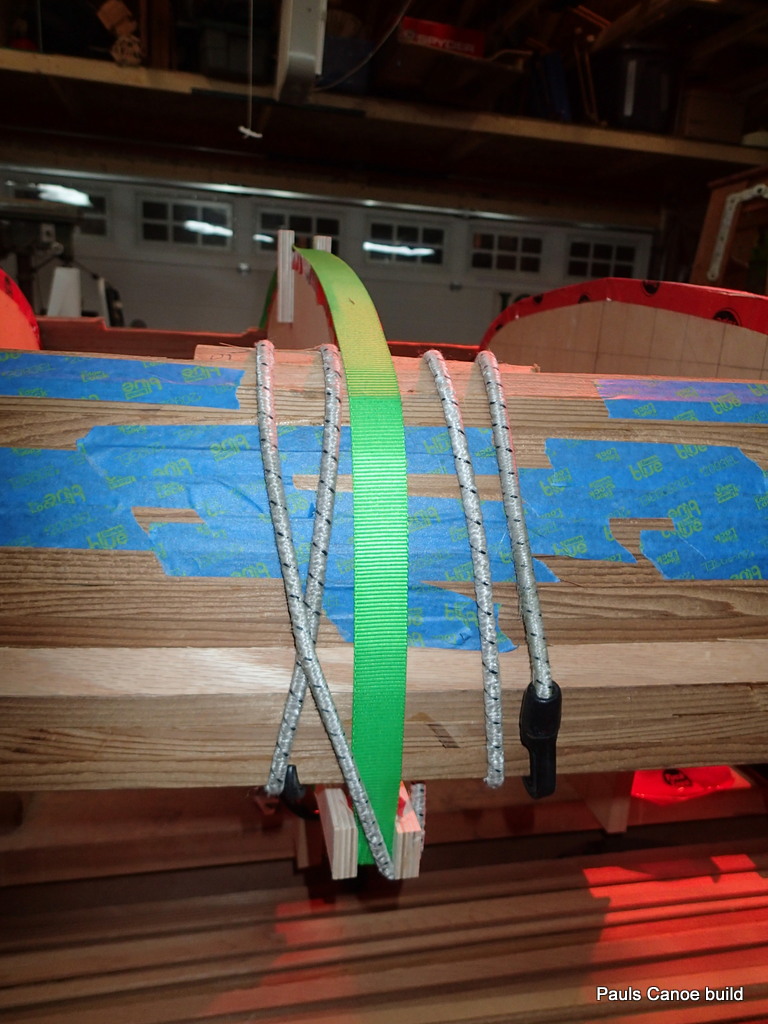
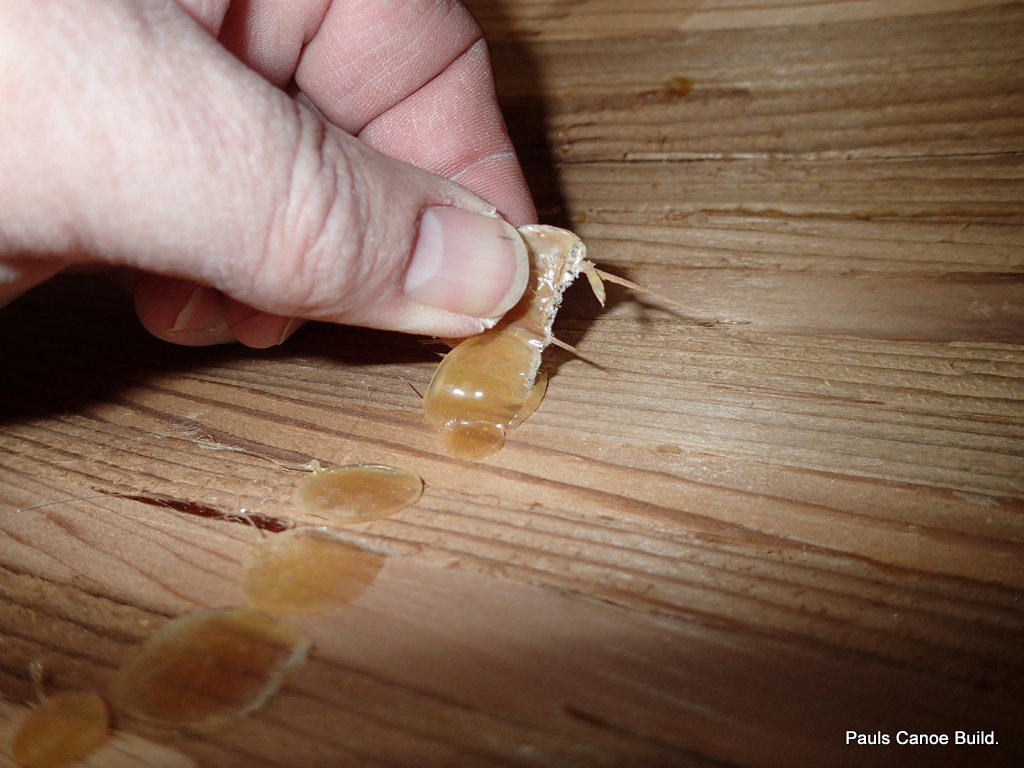
We now have to remove the hot-melt glue.  The next time I build, I will not use hot-melt glue.  I will use the ratchet straps at the station mould technique instead.  Because the canoe was inside the garage, there have been no wet/dry cycles and the glue is quite stuck to the cedar strips.

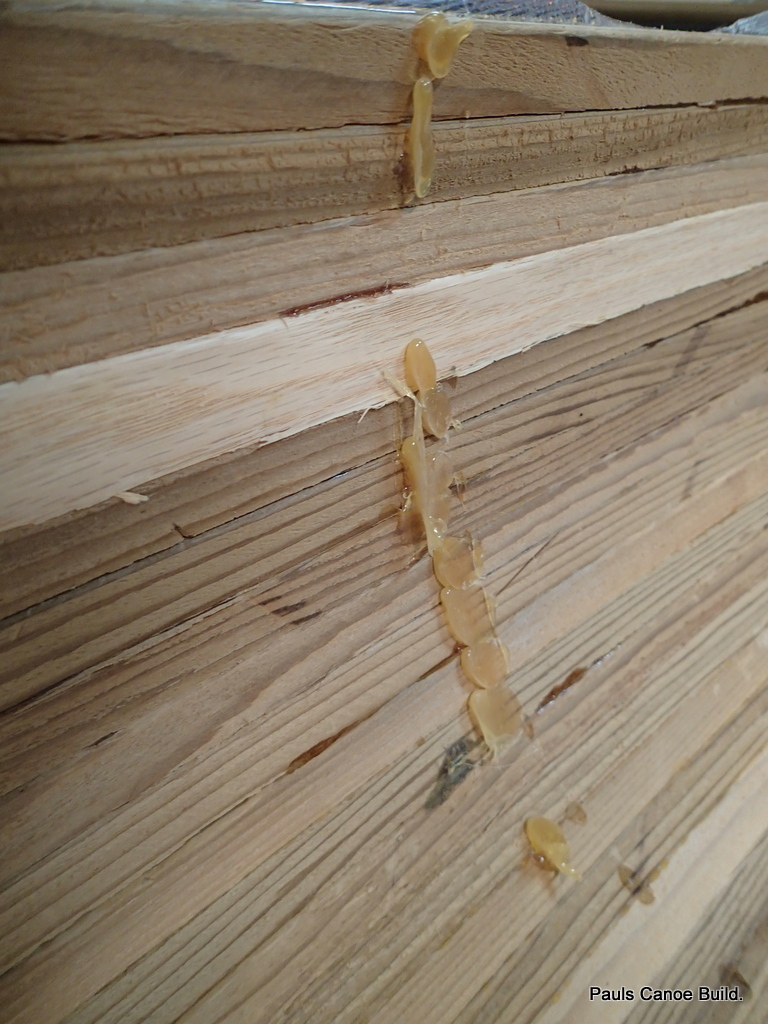
Hot-melt glue from the station moulds.

Pulling off the hot-melt glue.

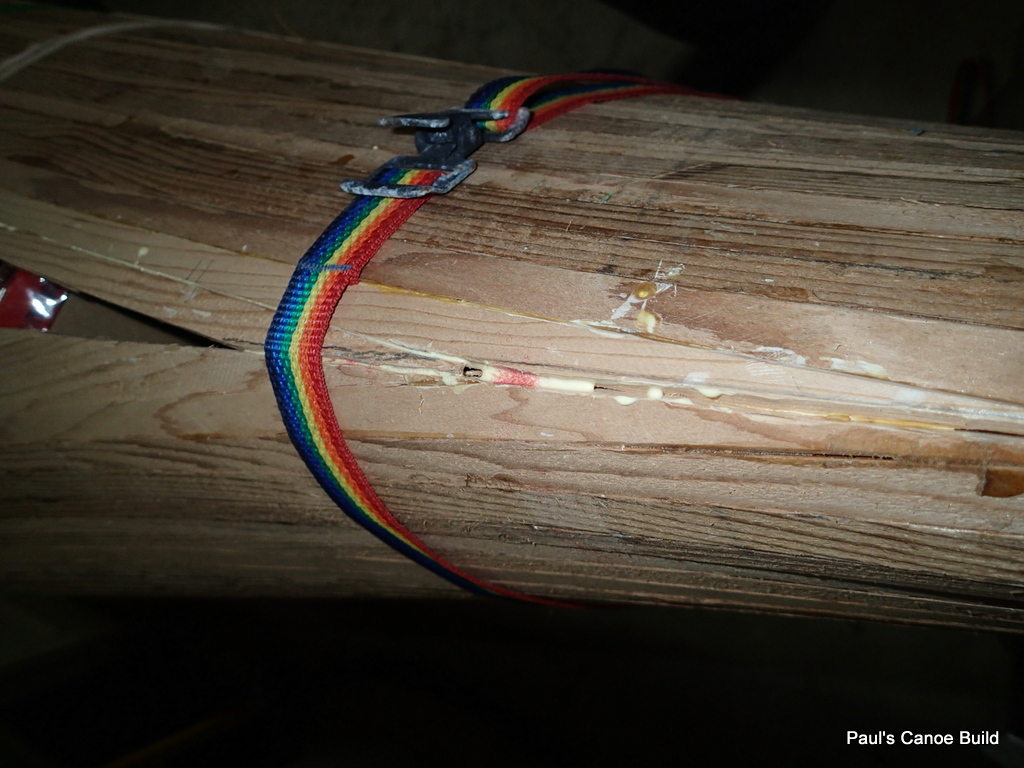
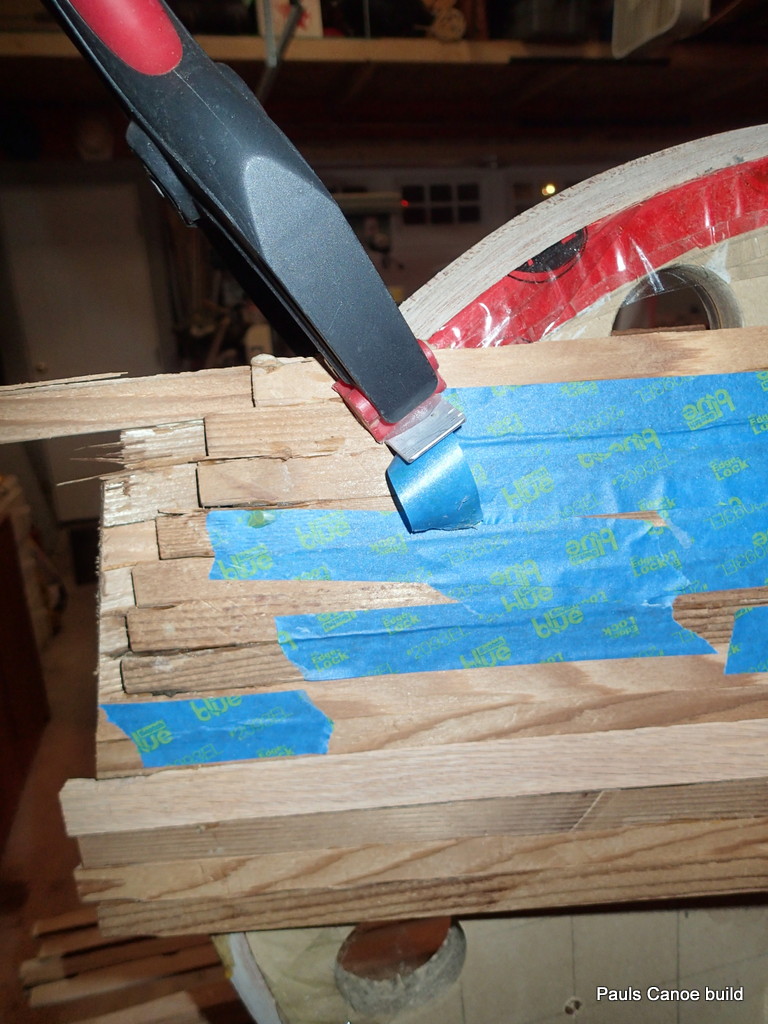
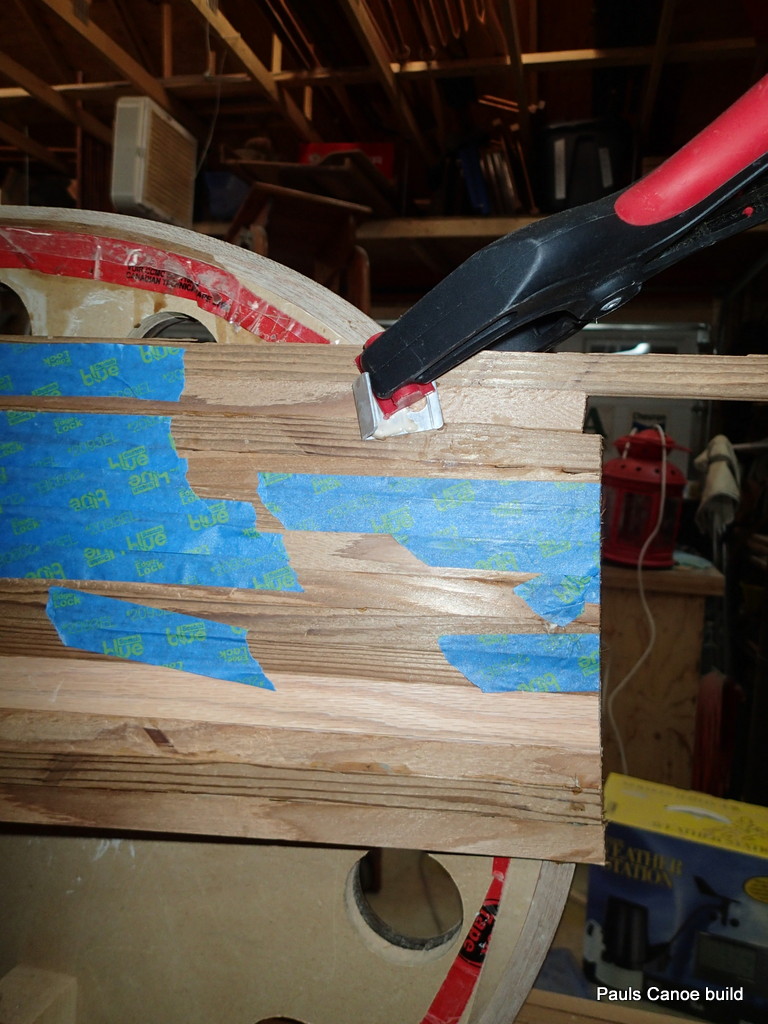
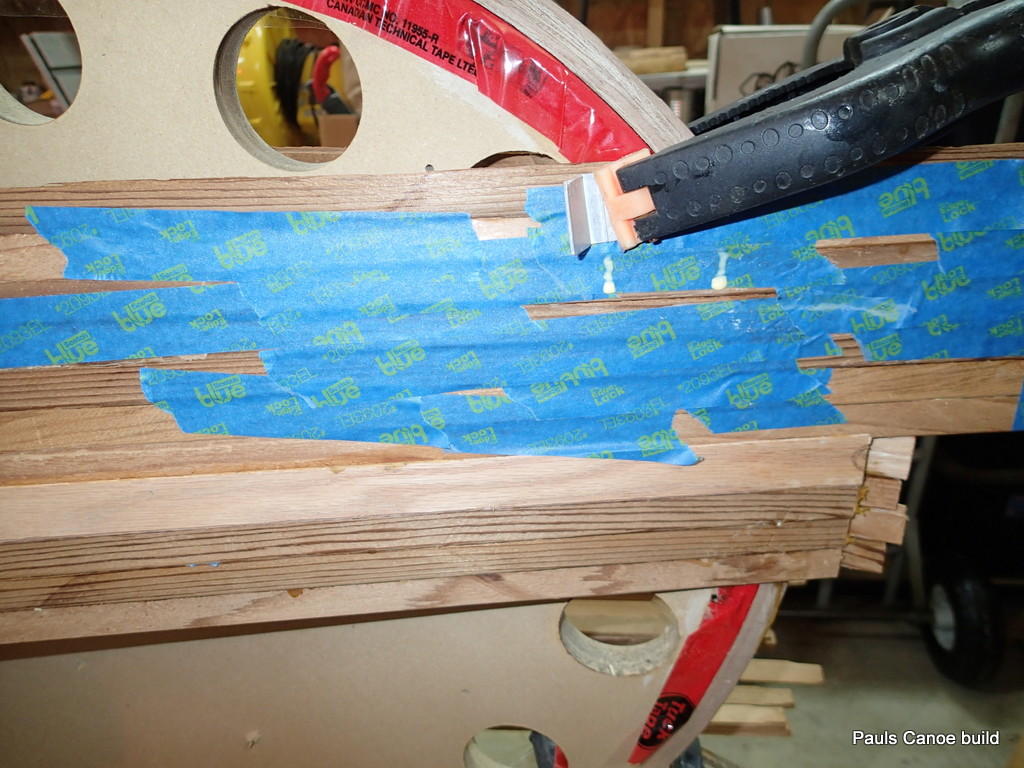
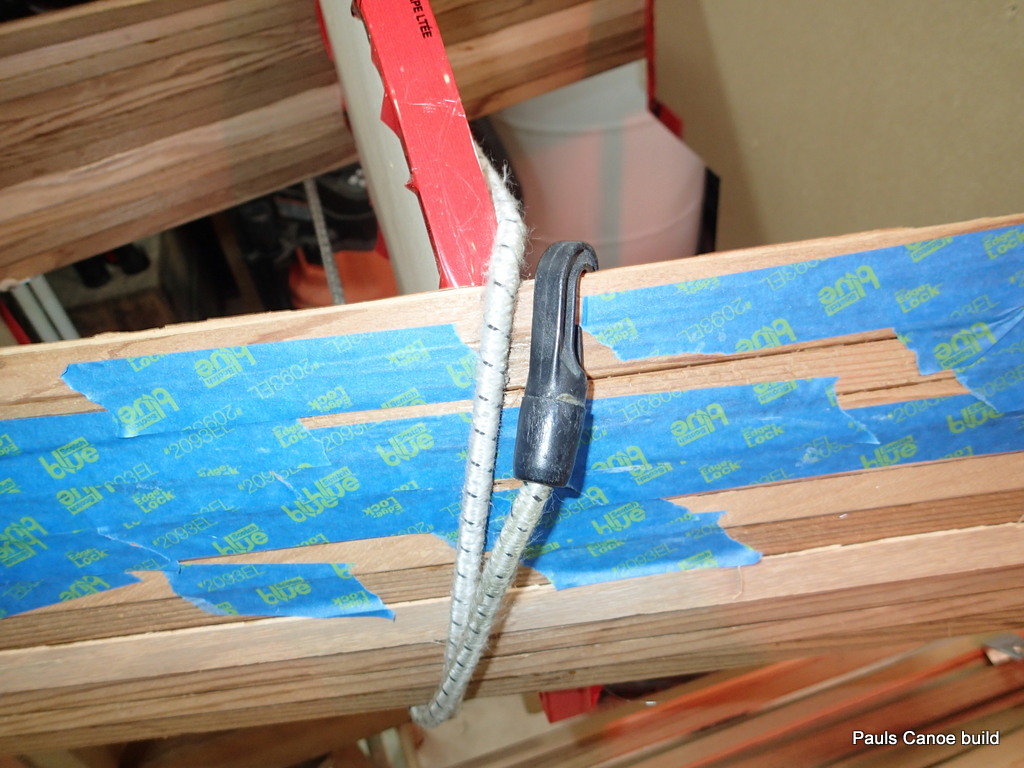
I use pliers and a chisel to take the glue off…carefully!

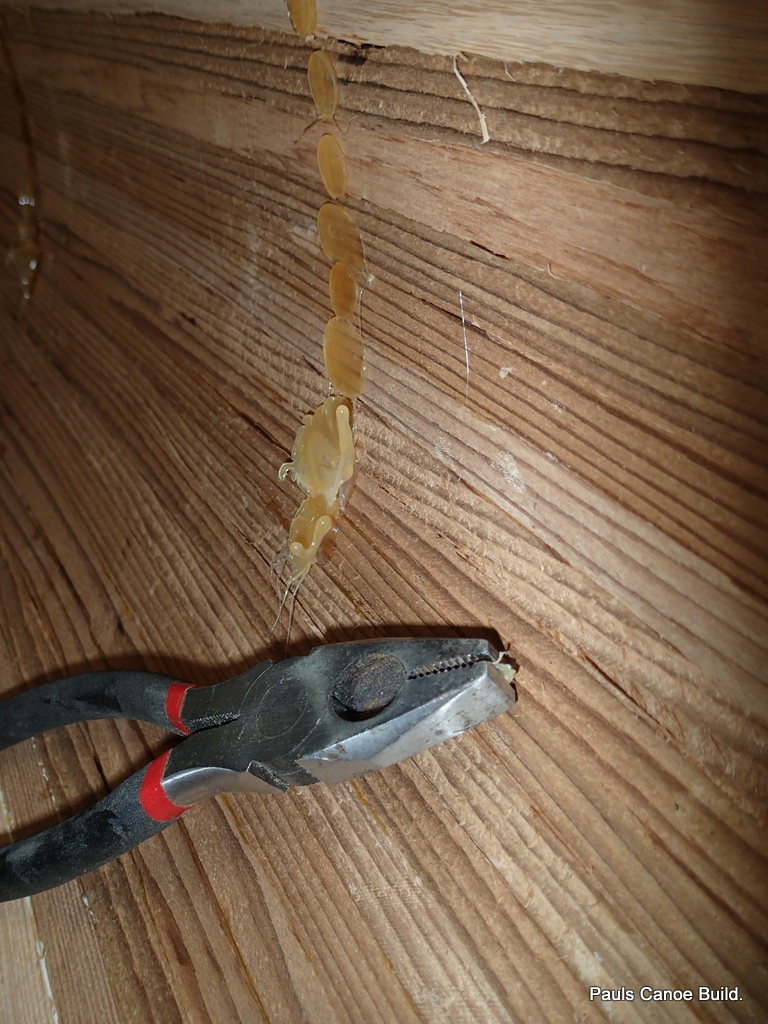
Pliers.  The best technique seems to be use a chisel to lift the edge of the glue, grab that edge with pliers or (if big enough) your fingers and pull.

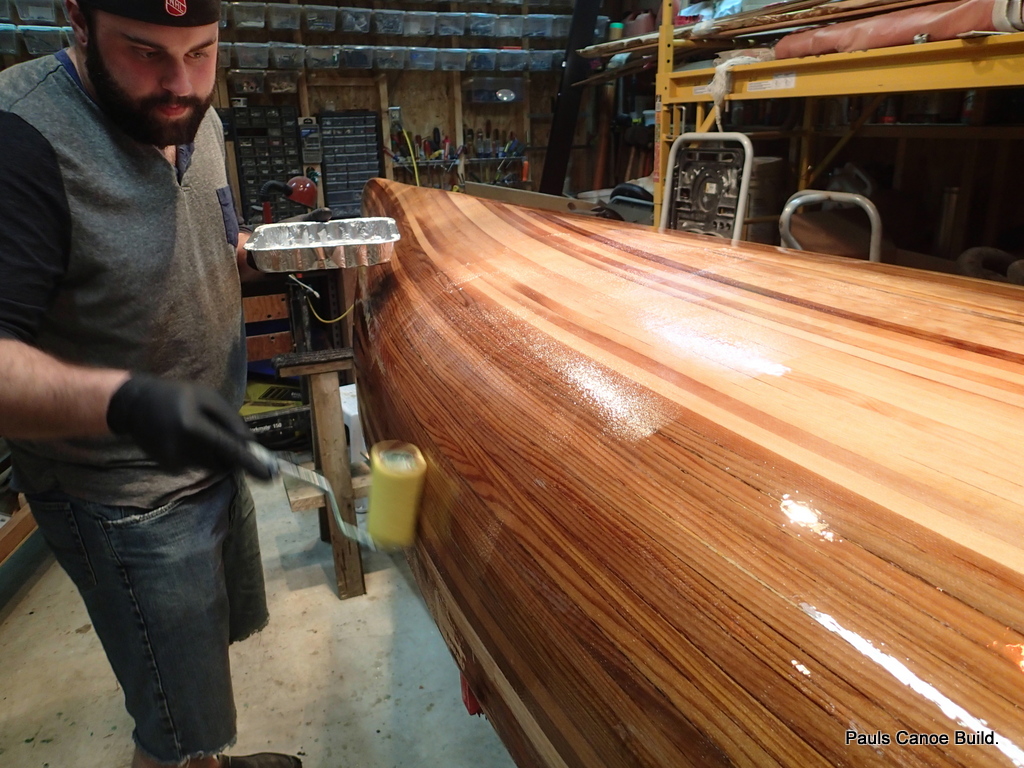
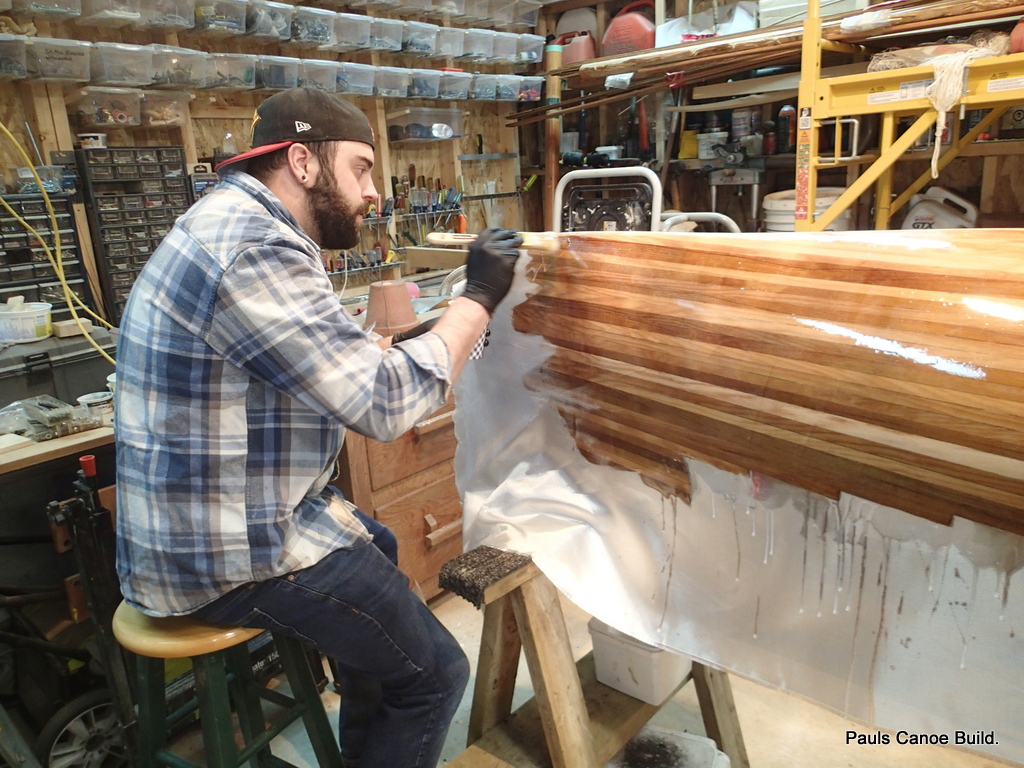
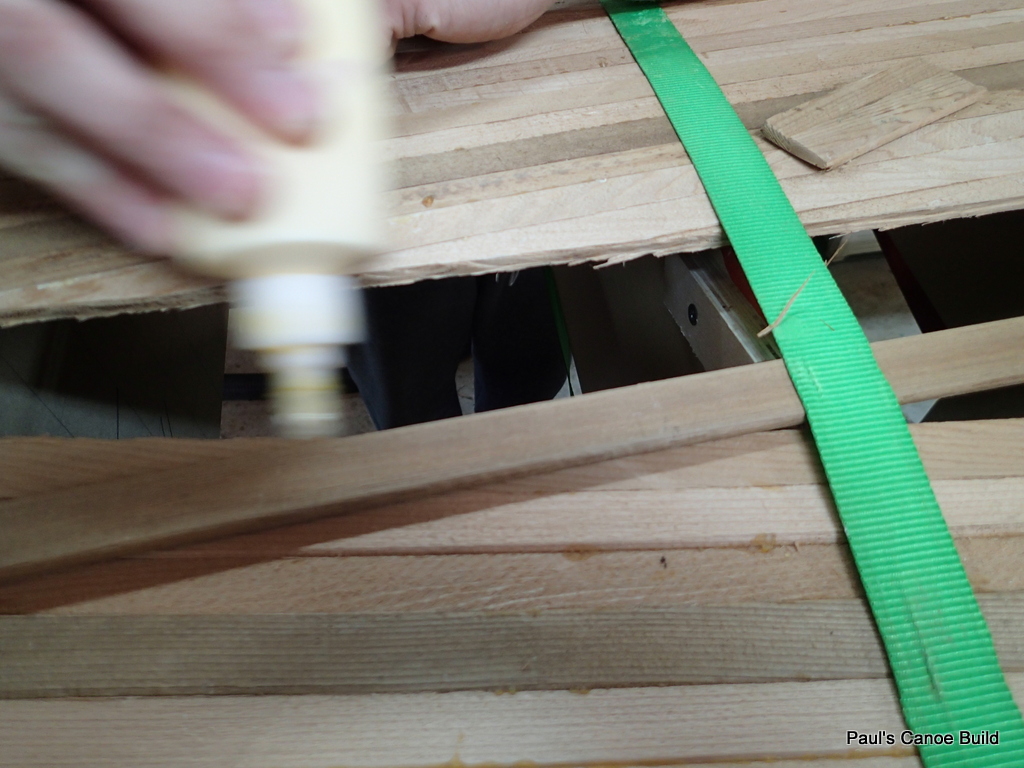
Between pulling off the hot-melt bits, I get some more varnishing in. (Coat five)

All the pictures of the varnish coats look more or less the same….Fifth coat:

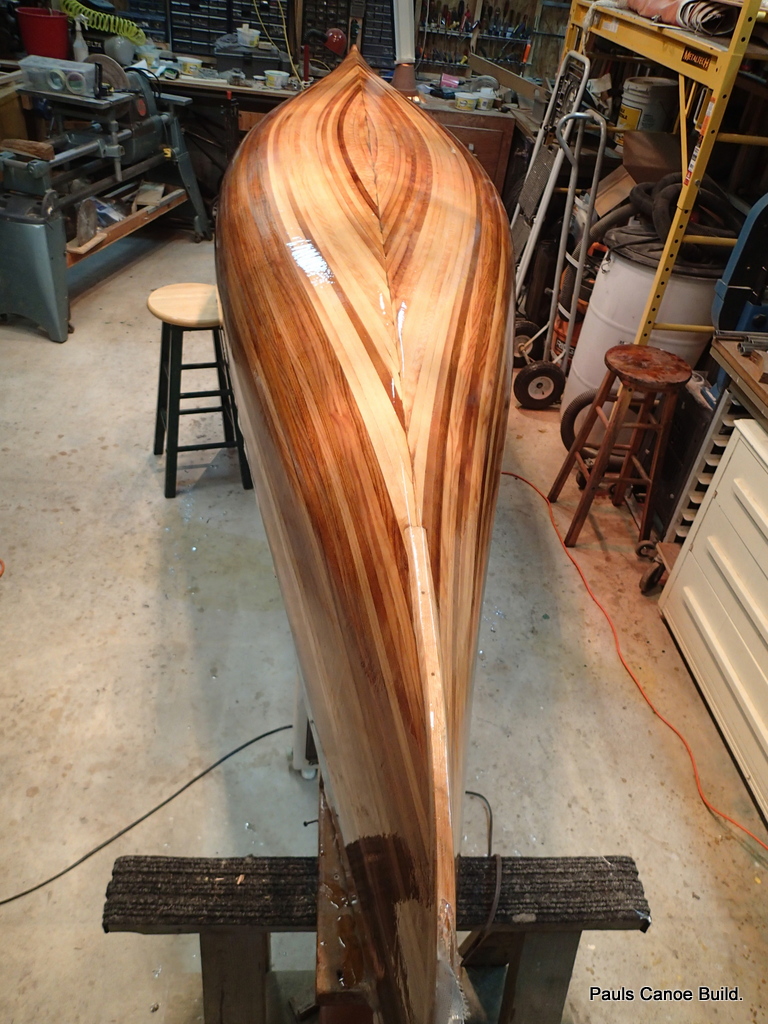
Fifth coat of varnish.

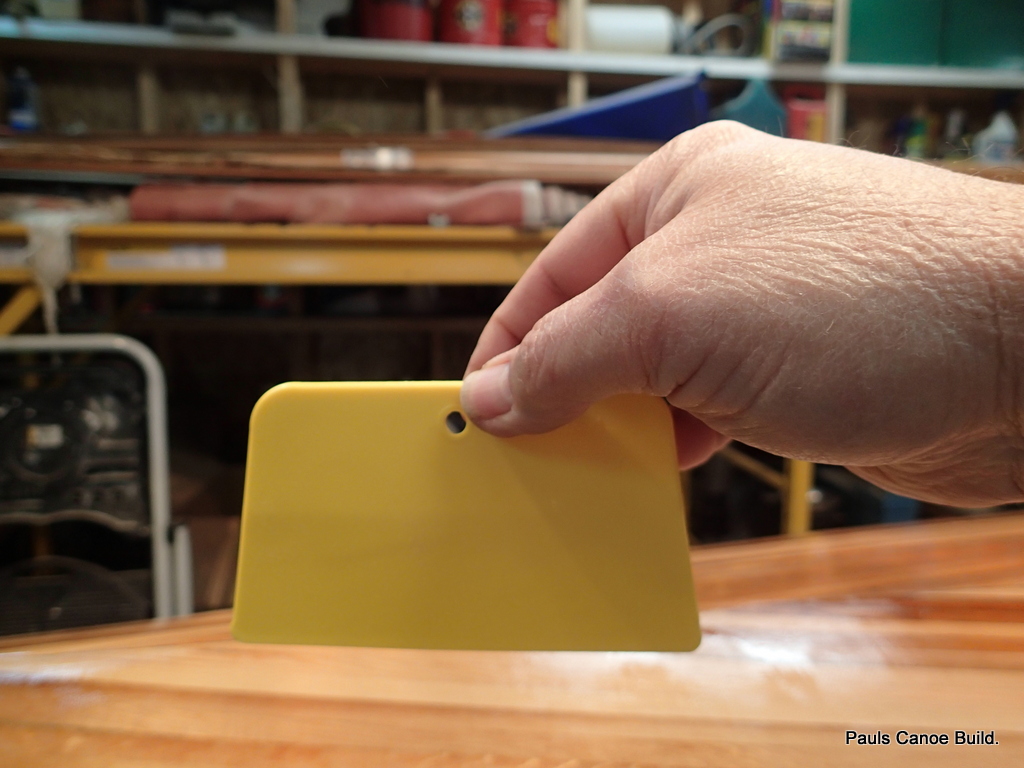
I cannot sand the inside of the hull until the varnishing is done.  I end up doing seven coats.

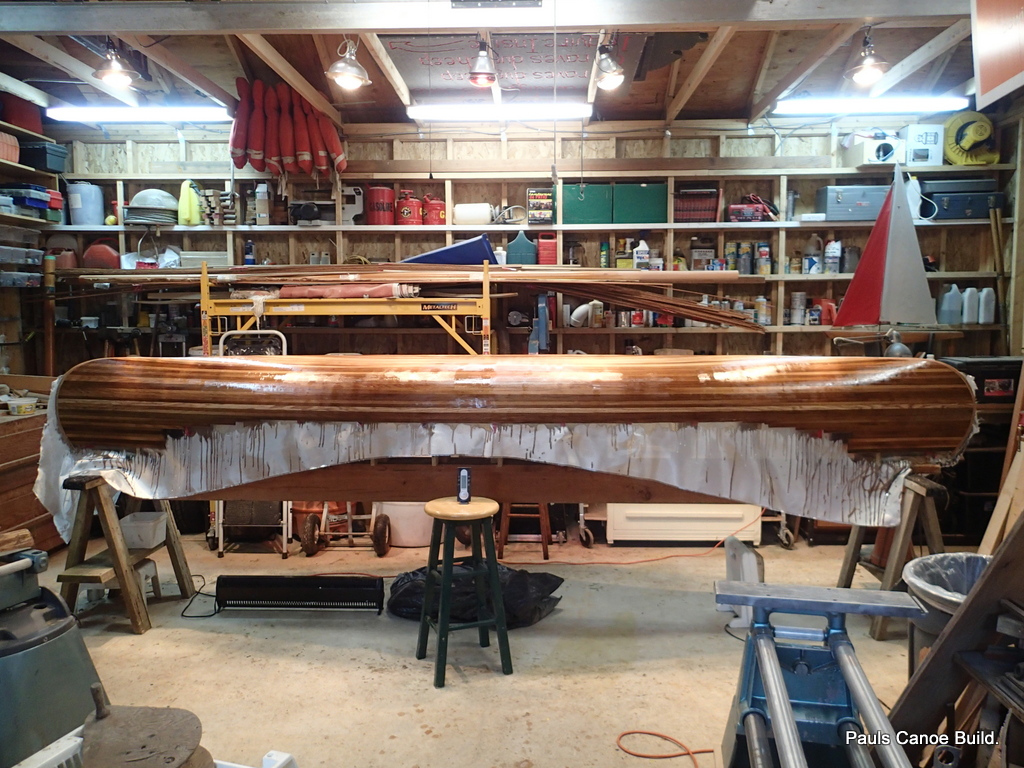
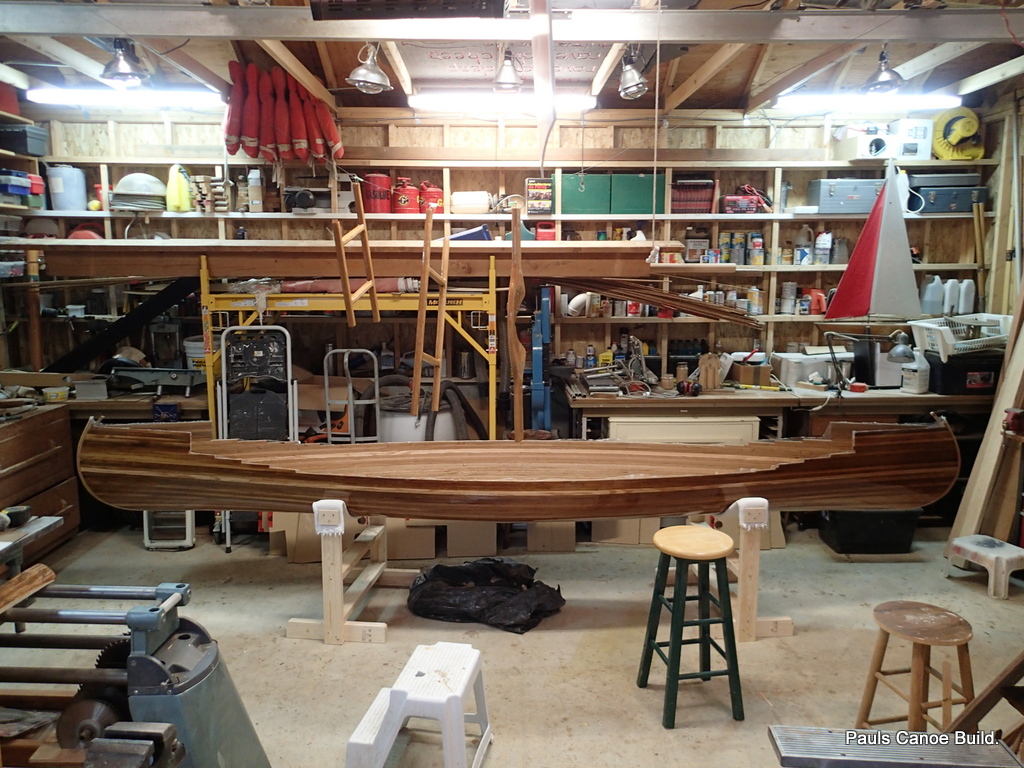
I decide to weigh the hull:

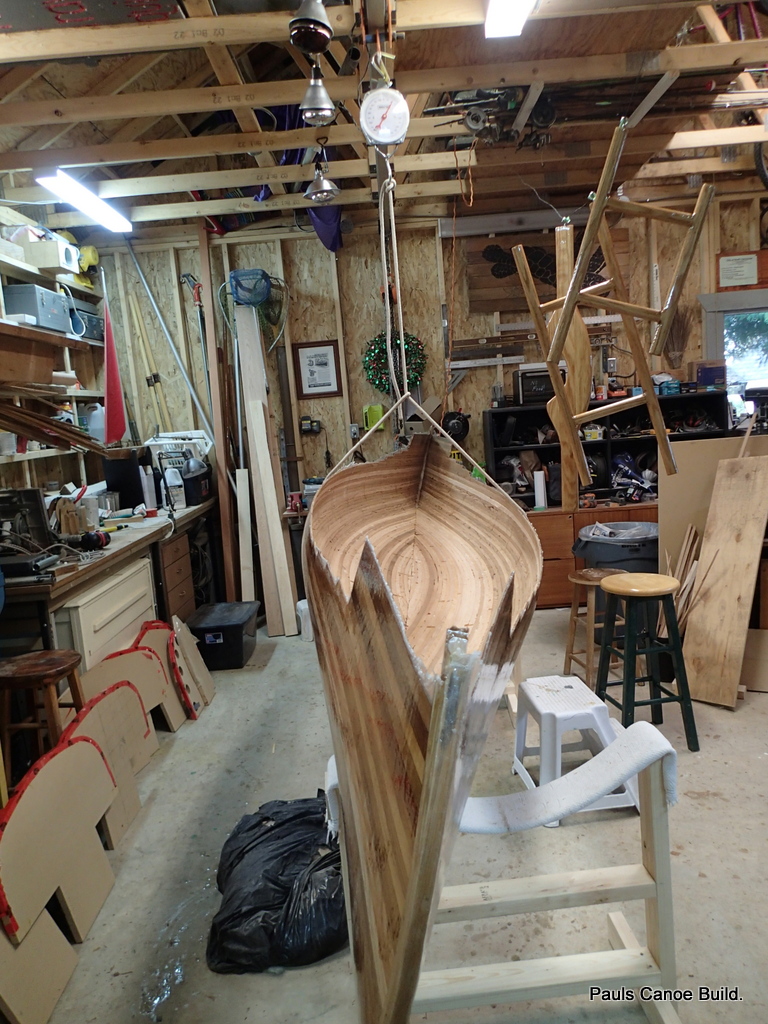
Hull weight net thirty-five pounds.

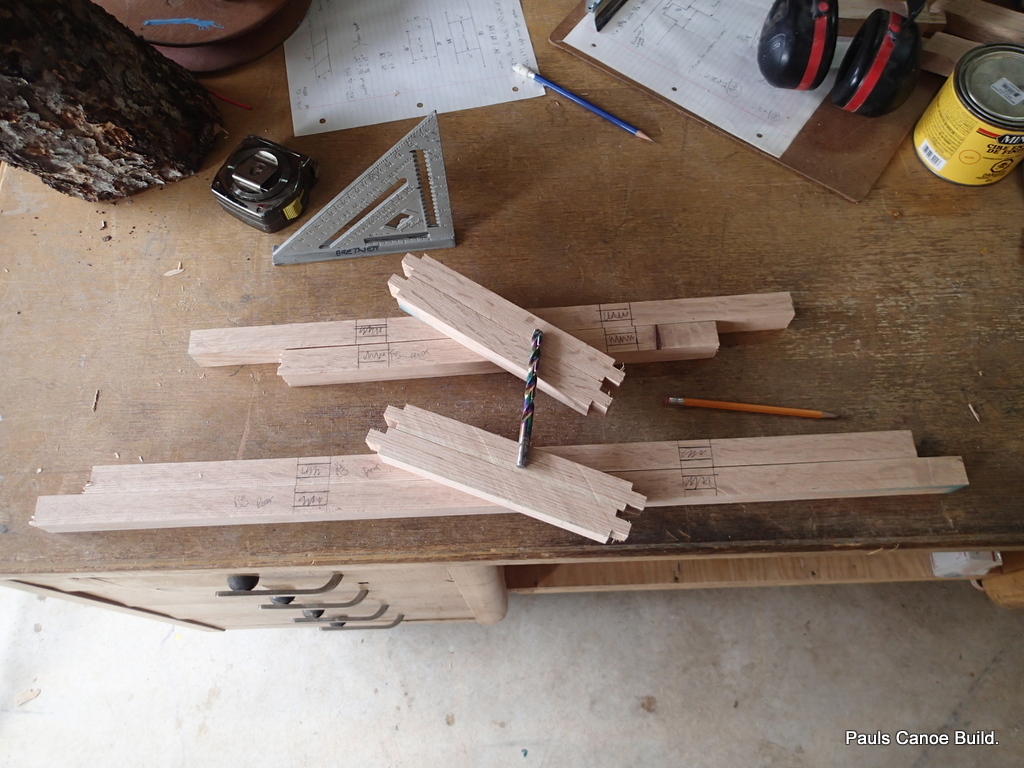
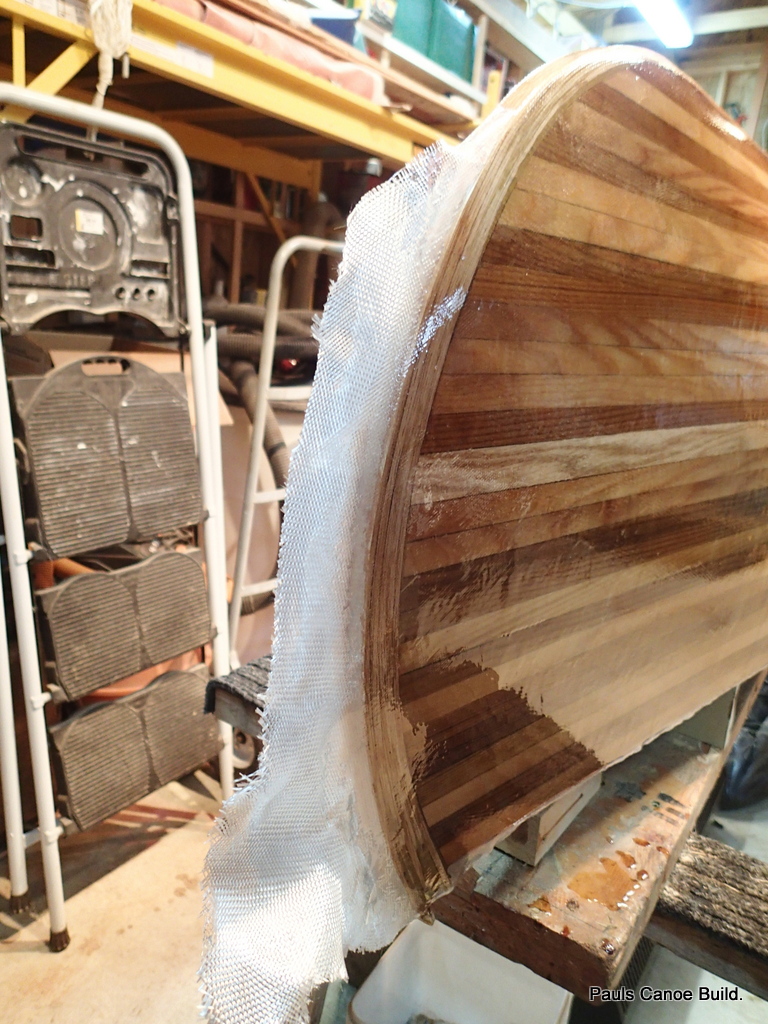
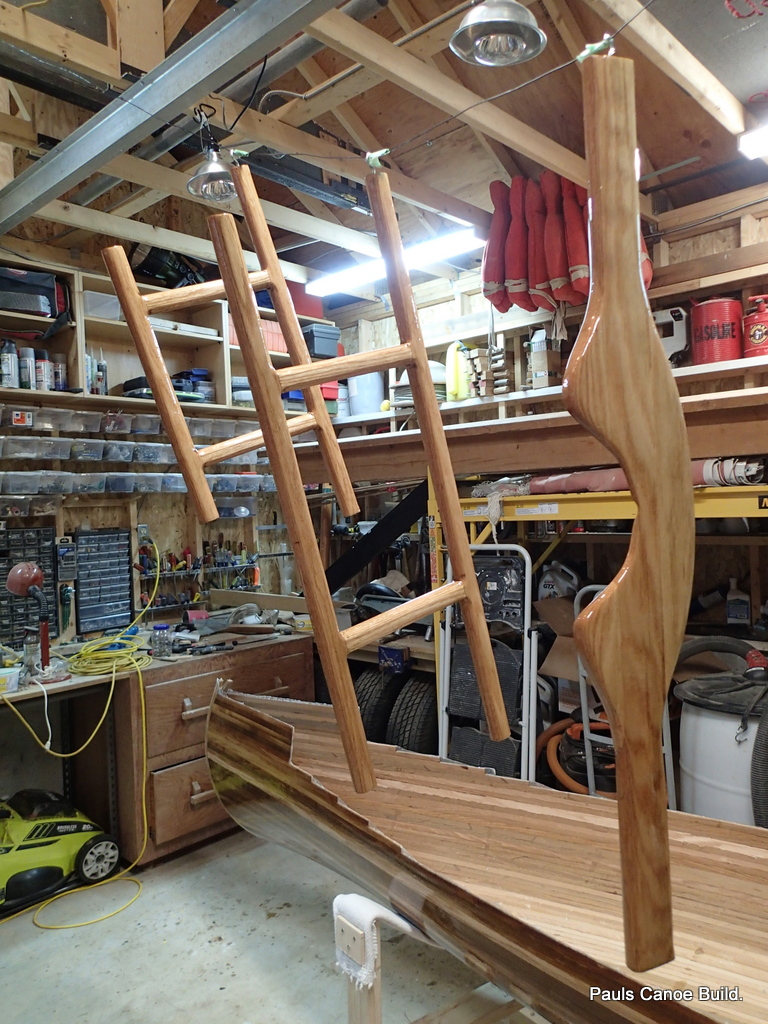
Four ounce cloth and resin for the inside, inner and outer gunnels, decks, seats, carrying yoke and brass half oval for the keel.  On track for less than fifty pounds.


Next steps, Webbing the seats, sanding and epoxy/cloth for the inside.  Paul and I will have another “Poxy weekend” next week.  A week to get ready. Lots of sanding to do.

Mike

Posted in Under the Keel.... | Leave a comment

The Urban Oarsman & Son build a Canoe, part seventeen…………. Seats and carrying yoke.

While the epoxy cures, between applications, I make up the canoe seats and carrying yoke.


With the price of wood these days (and yesterdays too) I always make up a cutting plan before I start to cut.  Helps me to not to have to go back and buy another plank especially because I had already bought the best one.

Cutting plan for the plank.  Stem strips, seat frames and carrying yoke.

Cutting plan for the plank.  Stem strips, seat frames and carrying yoke.

I start by taking the rest of the oak plank that was cut up for the stems and cut the seat frames and the pieces for the carrying yoke.  The yoke has to be glued up to make up the necessary width.

Glueing up the yoke.

I try to match up the grain for the yoke.  I set it aside.

I used the table saw feature on my Shopsmith to cut the tenons.  They are 1″ wide, with a ½” tenon.  I will make the mortises to fit.

Roughed out seat frames.  Tenons are cut into the seat side rails.  The seat transverse rails are all different sizes.

I am now going to use the Shopsmith drill press set-up to make the mortises into the transverse rails.  The seats will all be the same depth, 10″.  I centre the seats on the transverse rails…They are a little too long, so we can custom fit them to the canoe.

Shopsmith drill press set-up.

I will drill several closely-spaced holes for the mortise and then finish them off with a chisel.

Here we go….

I have eight mortises to drill.  I have to be sure that I get them all on the correct sides of the transverse rails.

Mortise rough-out.

I use some chisels to square-up the mortises.

I mark and test fit the rails.

Each tenon and mortise is marked so not only do I get the same tenon in each mortise, the side rail is always the same side up relative to the transverse rail.

Fitting together nicely.

In the books, depending on the author, some glue up the seats, some do not.  At this point we are not glueing them up.  You can see the caliper for mortise depth and some of the chisels I used.

Ready for sanding.

The carrying yoke glue is dry and I am ready to shape it.

Rough yoke and pattern.

I am using the pattern for the Chestnut Canoe Company Portage Yoke from the book “This Old Canoe, How to Restore Your Wood-Canvas Canoe ” by Mike Elliott.  ISBN 978-0-9948633-0-0, published by Kettle River Canoes, 7480 4th Street, P.O. Box 2324, Grand Forks, BC, Canada, V0H 1H0.  A really great book with a lot of practical information about Wood-Canvas canoes but also about seats, yokes and thwarts.  Again, a great book.

Pattern drawn on.

I cut the rough-out with my jig saw.

Staged picture of jig saw cutting out the pattern.

Rough yoke.

The next step is to set up my router jig.  I am using a ½” round-over bit.

Rounding over the carrying yoke and the seat rails.

Rounding over.

I run all of the pieces through the router.  I tape the seat pieces together to rout them, so I get the round-over on the outside of the pieces.

Only the inside and outside edges shaped.

Close-up what I mean by the inside and outside edges.  Where the mortise and tenon are, I did not rout that edge.

Detail photo.

I now turn to the carrying yoke.

I do not want to get any sawdust on the canoe, so I do all the sanding and shaping outside.

I use my angle grinder and a 24 grit flapper disk to carve out the shoulder depression.  It should be about a ½” deep.

Checking the thickness.

The smaller notch in the middle is for your seventh cervical vertebra.  A very important comfort consideration.

Portage yoke sanded and ready for final finishing.

I sand the seat frames.

Packing tape holds the seat frames together while I sand.

#80, then #120 then #220 grits…

Everything sanded and ready to go.

Paul decides to glue-up the seat frames.

Seat frames glued-up and squared.

Next step is giving everything a coat of epoxy.

Seat frames and Yoke coated with epoxy resin.

Note the heater in the background.  Shop temperature is 18 degrees celsuis.

Varnishing is next and then web-up the seats.  Paul is thinking of using para-cord to weave a seat.

See you on the water soon,

Mike


Posted in Under the Keel.... | Leave a comment

The Urban Oarsman & Son build a Canoe, part sixteen ………….“Fill the weave, fill the weave”…………..

The initial epoxy & cloth coat is “cured”.  No longer sticky to the touch.  This is a “green” cure, the epoxy is still soft.  We will get a chemical and mechanical bond to the first coat.  I trim off all of the overhanging cloth.  We will put on another coat to begin to “fill the weave”.

Pie Pan.

We each mix up a ten-pump cup of resin, stir it two hundred times and pour it into a pie pan.  The greater area of the pie pan helps keep the resin from “Flashing-Off”, that is as the chemical reaction between the resin and the hardener happens it produces heat.  As the resin and hardener warm up, getting hotter, the reaction speeds up, producing more heat which again speeds up the reaction.  I have seen resin burst into flames from “Flashing-Off”.

Filling the weave.

Paul and I both roll on the resin.  These foam rollers do not seem to leave bubbles (Yea!).

Both sides coated.

What Paul and I have done is to roll on the epoxy, each of us following the other to get an even coat.  We probably spent more than half of our time just rolling the hull, trying to get the coat even over the entire hull..  The weave does seem to be more filled.

Close-up.

You can still see the weave in the upper right-hand part of the picture.

Fill coat one done.

We will leave the heat lamps on overnight.  Should be cured by tomorrow.

Hull temperature.

The next morning, Paul and I go to put on fill coat two.  The heat lamps have kept the hull temperature over 15 degrees Celsius.  Today we will put on the last of the cloth…Onto the stems.

Stem piece cloth needs to be trimmed.

While the resin is still soft, I use a utility knife to trim off the excess cloth on the stems.

Trimming.

I use a new blade and a sawing motion to trim off the resin & cloth to the stem.

Prepping the stems.

I cut off all of the overhanging cloth and fair the stem where the cloth ends.

Stem piece fiberglass cloth tape.

We measure and cut a piece of fiberglass cloth tape for the stem pieces.

Stem piece “poxied” in.

When we get a “green” cure, we will trim the stem fiberglass tape to fit.

Pie pan again.

Paul puts ten pumps of resin and hardener into a cup, mixes by stirring two hundred times with a tongue depressor and pours the epoxy into this pie pan.  The greater surface area of the pie pan helps keep the resin from getting too hot and “Flashing-Off”.

The idea here is to put a coat of epoxy resin evenly over the entire hull to “bury” the cloth so you cannot see the weave of the cloth.  When you go to sand the hull smooth, you do not want to sand into the cloth….only the resin.  If you sand into the cloth, you will see it as a white or grey area in the canoe.  Not pretty.  Because we are using rollers, which put on a thinner coat than brushes, Paul and I will be doing three fill coats.

Rolling out the resin.

One of the advantages of working in a colder shop is that the working time of the resin is quite long…over an hour.  We put Ten pumps on each side of the canoe.  Again, trying to keep the canoe even, we both roll out the resin on both sides, one following the other.  We finish with strokes following the lines of the planks.

Fill coat two done.

Another advantage of working in a cold shop is that there are no “bugs” to land on the wet epoxy.

Fill coat two done.

If the epoxy cures at the same rate today as it did yesterday, we should be able to get the final coat on this evening.

Well it is after supper and the canoe is “cured” enough to get the last coat on.

Stem cloth trimmed.

I trim the cloth on the stem pieces while Paul stirs the epoxy resin and hardener. The temperature of the hull is over 16 degrees Celsius.

Rolling the epoxy on.

Paul starts rolling the third epoxy coat on.  This coat seems more “bubbly” than the last one.

Filling the stem pieces of cloth.

You can see the bubbles in the resin on the canoe.

Rolling out the epoxy to get an even, thin coat.

Paul and I each put ten pumps of resin and hardener on each side of the canoe.  We then go over the canoe three times rolling out the resin, with the grain.

Resin roller, Paul.

After we have rolled out the resin three times, I go over the canoe with a brush, taking out all of the bubbles that remain.  Of course this leads to seeing a few “missed” spots,  We roll on more resin, and then use the brush to remove any bubbles.

The canoe looks good.

It looks like we have gotten out all of the bubbles and have a smooth, even coat.  We could keep doing this until the resin begins to set, but enough is enough.  This is good enough.

Enough is enough, time to let the resin set.

We will leave the heat lamps and the heaters on.  It will take four to eight days for the resin to cure completely.  Our ‘Poxy weekend is over.  Then we will take the canoe off of the moulds, and epoxy and cloth the inside.


Good rowing to you,


Mike

Posted in Under the Keel.... | Leave a comment

The Urban Oarsman & Son build a Canoe, part fifteen……….. “Poxy day”

We have sanded the canoe to death.  All the curves look smooth and we are getting to the point where sanding the canoe any more will just put dips in the wood between the mould stations and between the harder and softer parts of the cedar strips.

Prepping the station moulds.

Paul and I remove all of the strap holders from the station moulds.  The cloth must be able to hang off of the canoe without any interference.

Last chance to fix any problems.

You can see our temperature gauge on top of the Canoe…16 degrees Celsius.  My garage is unheated.  We use five heat lamps and two heaters to warm the Canoe.  I have had “Off-Gassing” or bubble problems in the past…on bare wood, usually caused by a rise in hull temperate after the epoxy has been applied onto the boat.  I now only epoxy over bare wood when the temperature of the boat will not increase during the cure time.

Fiberglass cloth, 6oz.

Paul and I roll out the cloth on top of the Canoe.

Cloth draped over the Canoe.

We adjust the cloth, pulling it gently to the North, making sure that the cloth is smooth and even.  We use a paint brush to move the cloth…Our hands leave wrinkles.

Epoxy resin and hardener.

We cut the cloth at the stems.  We mix up five pumps of epoxy resin and five pumps of hardener into a cup.  Stir with a tongue depressor two hundred times.  Pour onto canoe.

Applying the resin.

In this picture, Paul is using a brush to apply the resin to the ends of the Canoe.  We do not have a  lot of pictures of putting the resin on.  We are not mixing up large batches of resin at a time into the cup…do not want to have a “Flash-Off” reaction.  Again, Paul pumps one resin and one hardener five times into a cup.  Using a tongue depressor, he stirs two hundred times.  He pours the resin onto the Canoe.  Using a plastic spreader,

Plastic spreader.

I spread the resin along the Canoe.  Paul puts the resin on and I spread it out using the Plastic spreader.  We apply about ten cups of five pumps of resin to wet-out all of the cloth on the canoe.

After scraping.

We are working in low temperatures.  We have a pot life of over an hour.  When we have gotten all of the cloth saturated, and given the resin time to soak into the cedar, we begin to scrape off the excess resin.  The goal is to see the weave of the cloth.

We go over the Canoe three times, scraping off the excess resin.

You do not want the cloth to “float” in the resin….You also do not want the cloth to be “starved” for resin because the wood has absorbed too much.

North stem, West side….Looking good.

You can keep doing the scraping until you go mad….or decide that it is good enough.

Looks good enough to us!

We are done by noon.  Time to let the epoxy cure…Then another coat, a “fill” coat.

The epoxy is “dry” to the touch by 7pm.  Time for that “fill” coat…….

Cheers,

Mike


Posted in Under the Keel.... | Leave a comment

The Urban Oarsman & Son build a Canoe, part fourteen…Outer Stems.

Having sanded the hull, the next step is to attach the outer Stem pieces.  I bought a rough cut, smooth two face  1″ by 6″ 8′ oak plank.  There will be enough wood in this piece for the stem strips, seat frames and the carrying yoke.

With the price of wood these days (and yesterdays too) I always make up a cutting plan before I start to cut.  Helps me to not to have to go back and buy another plank especially because I had already bought the best one.

Cutting plan for the plank.  Stem strips, seat frames and carrying yoke.

We need to have enough thickness in the outer stem so we can get a nice curve from the planking to the  ½” by ⅛ brass oval stem band.

I rip off four 3/16″ by 8′ strips for the stems.  I cut the strips to length, long enough to go from station #6 to the top of the stem piece.  I soak the strips overnight.  The stem curve is not too great so no steaming required.

Measuring for the outside stem laminations.

The laminations are 1″ wide and approx 3/16″ thick.  Paul measures from station #6.  We will cut a strip from here to the stem, 1″ wide.

Making the first cut.

We are using a hack-saw blade to make the cut.

Measuring the 1″ wide strip down the stems.

We mark how wide to make the cut to the stems.

Doing it the easy (easier?) way.

Using a 120 grit belt, Paul sands down to the 1″ line on both ends of the Canoe.

The finished cut.

The glueing sequence is: put glue on laminations, put glue on canoe, put laminations on canoe.  Hold laminations on canoe with green strap, screw to stem…..

Green strap holds laminations at station #6.

The green strap holds the strips in place.  As Paul bends the strips down, I pre-drill holes and them screw them down while the glue sets.  Here the strips are screwed down and the excess glue has been wiped up.  The screws will be removed and then covered up by two more laminating strips.

North stem.

We will use the same procedure on the North Stem.  Glue up strips.  Put glue on Canoe.  Hold strips with green strap and then temporary screw the strips to the stem.

North Stem.  You can see a little filler to be sanded off.

North Stem with strips temporarily screwed in place with excess glue wiped off.  Because we laminated wet strips, We let the strips dry for five days.  Paul and I remove the screws.


The Next two strips are done a little differently.  Because we do not want the screw holes to show, we glue up the strips, use the green strap to hold them in place and then use another green strap to pull them along the stem.  The red tape is to keep the strip from sticking to the strap.

Last two strips go on.

I pull the red tape as much away from the strips as I can for drying.

Last two strips on the North Stem.

We leave the strips drying overnight.

Detail of the North outer stem strips.

The next day, I check up on the strips.

Redoing the strapping.

I have discovered a few problems.  The South outer stem strips were not tight enough against the stem.  There was a gap.  When I went to adjust the strap, the two new pieces came off!!!   Time to re-glue.  This time I was much more careful and did not get any glue on the straps and I used another strap to hold the strips down tighter.  No red tape.

Another strap cannot hurt…..

The glue does not stick to the straps very well and without the red tape, it should dry faster.

Plant-pot heater helps dry the strips.

I have a couple of plant-pot heaters to keep the damp out of the shop.  I put one under each end to help the drying.

North End stem plant-pot heater.

Well, done for today.  Next step, shaping the outside stems, final sanding of the hull.

…..Another day, another day to work on the outside stems.

Stem piece ready to shape.

I really like my belt sander.  I put on a 50 grit belt.  I am going to shape the stem piece using it.  note the laminations at the top of the stem.  They need to go down to the same level as the canoe bottom.

Another view of the stem laminations.

I use the belt sander to rough out the shape.  I continue the canoe strip angles to the stems.

Stems roughed in.

I will use my random orbital sander, with a 100 grit pad to even the stems with the strips.  The stem band will be 1/2″ wide, so I shape the stem laminations to have a 1/2″ face.

Matching the bevel of the strips.

After I have matched the angle of the strips to the stem laminations, I sand the stem so it has a 1/2″ face for the brass half-oval.

Almost there……

I finish sanding with a 240 grit sanding disk.  I go over the entire canoe with the 240 grit…  I really want the canoe to have a smooth curve throughout its shape.

Ready for the Epoxy and cloth.

All the shaping and sanding is done.   Tomorrow ‘Poxying!!!!

Cheers,

Mike


Posted in Under the Keel.... | Leave a comment

The Urban Oarsman & Son build a Canoe, part thirteen. Stripping the West side….

Stripping the West side of the canoe was much harder than the East side.  After the first four, every strip had to be fitted, with a bevel on each end of the strip.

We are lucky that we can overlap the first few strips at the South end.

Strip one goes on…..

Strip two. We do not have to bevel the first four strips at the South end of the Canoe.

To increase the tension of the rubber-band clamps, We twin the rubber-bands where necessary.

North end of the Canoe needs a beveled end to fit.  You can see by the pencil marks in the left side of the picture that the strips are not aligning up….They are “sneaking” forward.  Between the station moulds, we use a lighter strap to hold the strip down.  If we apply too much pressure between the moulds, we will distort the canoe’s shape.

We will have to address this issue soon, or the strips will not line up on both sides.

The strips strapped and “clamped” up.

We try to get some “squeeze-out” of the glue between the strips.

Paul carefully whittles the strip to fit.  Note the 2nd strip “creep” indicated by the registration ticks.

When the strip is fitted, we glue it in

Applying glue.

We try to put only as much glue on as we need to get some “squeeze out”.

Strip three on.  We use three pairs of cleats on each station mould to keep the straps aligned to the  station molds.

We are only able to do one strip at a time….

We use “F” clamps to keep the strips from buckling.

….another day, another strip….

The first strip that is beveled at both ends.

When Paul is at work, I can glue-up three strips a day, morning, afternoon & evening.

Fitting the “cheater” strip to bring the strips into alignment.

A better view with strip six fitted:

“Cheater” strip brings the rest of the other strips into alignment.

We carry on:

Strip seven lines up. “Cheater” strip at left.

The “F” clamp keeps both sides of the canoe even.

As the strips get shorter, there is less “bend” in them (flatter canoe bottom).

We decide to try fitting two strips (8 & 9) at once.  We start to run into a problem.  From now on, the “F” clamps will only hold one strip at a time in alignment.

Strips 8 & 9.  With shorter strips, we have more rubber-band clamps per length of strip.

To keep the rubber-band clamps from damaging the “cove”, we use Ikea shelving pins in the cove.  This keeps the clamps from breaking the edges of the “cove”.

Tenth strip clamped & strapped.

Paul and I have to be very careful with the rubber-band clamps.  If they let go they give you a nasty rap on the hands.

Eleventh strip.  Strips are getting shorter.

The straps keep the strips from buckling. This is the last time we will use a strap at mould station #3.

We hold the strip on the canoe and mark where the strip crosses the centre line.  We measure the length of the matching strip bevel.  We mark the strip.  Then we cut.

Cutting the bevel for the strip at twelve down and seven to go.

We put a small wedge strip under the strap to hold the “clamping strip block” more tightly in place.

Wedge strip in action.

We aim to get glue squeeze out along the strip.

Strip twelve goes on.  Seven to go.

We have the routine down pat…Fit, glue, clamp, come back when dry.  Fit, glue, clamp…..

A couple of clamps keep the strips aligned.  Twisting the wedge strip (top) helps keep the strips even.

If the fit between the two sides of the canoe is not “perfect” we mix up a little glue and sawdust to use as a filler.  We also develop a better technique:

Using a hacksaw blade to fit the strips.

We run a saw blade down between the offsetting strips to even out the joint.

Fifteen down and four to go.

The next strip to be fitted is on the left.  With the shorter strips, we can use one long one for both sides.

Sixteen down and three to go.  The red glow is from a heat lamp.  My shop is unheated.

We are using “F” clamps to keep the two sides of the canoe even.

“F” Clamp keeps it even, South end.

North end:

“F” Clamp keeps it even, North end.  You can see where the rubber-band goes over the cove, it damages the edges of the cove.

Because of the cove on the strips, we decide to fit the last three strips at once.

Fitting three at once. Strips 17 & 18 are in. Notice that the straps are loose.

The big problem will be “clamping the strips together.  We cannot use the rubber-band clamps when the last strip is fitted, and if the last strip is too wide when we “wedge” the strips in, it will cause the canoe to separate along the keel line.

Using the 1″ belt sander to shape the last strip.

Fortunately there is not much “twist” in the strips as we are at the flat part of the bottom.

A lot of glue later, the last strip in!!!!

Lookin’ Good!!!

Letting the last strip dry.  The red stick holding the strips flat is taped up with tuck tape so the glue will not stick to it.

We use two sanders, Paul has the 5″ orbital, and I use the 1/3 sheet sander.  Dust masks mandatory.

We are using 80 grit sandpaper to start.

Paul has decided to sand the oak accent strip flush with the sides of the canoe.

We use the shop dust control to keep the dust down.  The shop will still need a through dusting after all the sanding.

Dust hose taped onto sander.  Still dusty.  80 grit.

We give the hull a rough sanding.  We fill all of the cracks between the strips with a mixture of glue and sawdust.  When we are done I wash the hull to remove the excess filler and raise the grain.

Rough sanding wet-down.  Canoe colour looks good.

After the hull dries and when Paul is at work, I continue with the 1/3 sheet sander. 120, 150 & 220 Grit sandpaper.

A few pictures of the sanded hull.  Where the picture looks blurry, that is wood dust I have not vacuumed up yet.

Paul’s Canoe, South-West side.

Paul’s Canoe North-West side.

Paul’s Canoe South-East side.

The next steps will be to laminate on the outer stems, a final shaping & sanding.  Then Epoxy & cloth.

Cheers,

Mike


Posted in Under the Keel.... | Leave a comment

The Urban Oarsman & Son build a Canoe, part twelve.

A lot has happened since the last post.  I decided that rather than posting after every strip, I would post when we  trimmed off the planks extending over the centre line part.

We have to start trimming the ends so we can fit two strips at a time:

Trimming the ends of the strips to fit two at a time.

We are getting to the point of having to fit the strips or try a different technique.

A lot of squinting is required to force the strips into alignment.  Here, the strips look pretty even on the two sides.  We are still putting strips on both sides at the same time. Strip 19 going on.

This is the last time we will put a strip on each side of the canoe at the same time.

The strips begin to overlap each other, so we trim to fit.  The strip on the West side has been trimmed to allow the East side strip to fit.

The first of the East side strips goes on.  Paul and I have numbered the strips on both sides to “bookmatch” the sides of the canoe.

A few quick photos of the strips going on:

Strip 1 on.

While I wait for Paul to finish work, I decide to glue in the bow and stern strips.

We begin to fill in the strips to the shear line at the bow and stern.  Strip one is four feet long, strip two is three feet, then two feet and the last strips are 18” long so that they reach form 6 from the stem.  Strip 1 is on the canoe, strips 2, 3, & 4 are on top of the canoe ready for glueing.

There are four strips of equal length to be glued onto the canoe for each ¾” of the recurve.

Recurve strip 2.

These strips are relatively easy to fit…there is no twist in the hull here.

Recurve strips 3 & 4.

At this point, I have to undo the screws holding the forms together….I will be unable to reach them later.

Screws out of the forms.  The strips already on will hold the forms & stem pieces in place.

I continue to add strips.

Recurve strips 5&6.

At this point, I decide to glue the strips together and then glue a block of four to the canoe.

Four sets of four strips glueing up.

The block of four strips going on:

Block of four on North stem!

Glueing a block at a time is a lot quicker.

South end block of four.

I used clamps and strips to keep the strips even.  RECURVE FILLED!!!!

With that done, time for strip two, East side:

East side, strip 2.

I number the strips to keep track of them and insure that we can “Bookmatch” the West side of the canoe.

Strip 3 & 4.

Strips 5 & 6.

Strip 7.

Strip 8.

Strips 9 & 10.

Strip 11.

Strip 12.

Strips 13, 14, 15, 16 & 17.

Strips 18, 19 &20.

We have stripped the canoe over the keel line.  Time to let the glue dry thoroughly.

Sanding in the bow and stern curves.

In order to find the centre line of the keel, Paul, using a 5o grit sanding belt,  sands the stem pieces to shape so we can take a centre point from the bow and stern.

North Stem.

South stem.

We stretch a string between two centred finishing nails.

Finding the centre line.  We sight down the line to insure that it is straight, using s piece of tape where necessary.

We use a ruler to transfer the line to the canoe.

We align the string with the edge of the ruler, I then hold the string out of the way while Paul draws the line.

We are at a bit of a loss as how to trim the strips to the line, but, Paul decides to use the dremel tool with a cutting disk.

Cutting the line.

With a little skill and working slowly the end results are good.

Ready to strip the West side of the canoe.


To Recap, 49 rows of strips a side.  20 strips left to go on the West side of the canoe.

Next steps?  Strip out the West side.  I will post again then.

Mike

Posted in Under the Keel.... | Leave a comment

The Urban Oarsman & Son build a Canoe part eleven.

Just a quick post here, putting on strip 18.

Removing the old tape, getting ready for the next strip.

We have already chosen the next two strips, they are sitting on top of the canoe.

Taking the straps off to put the two new strips under.

Paul then glues up the coves and we tighten up the straps, and begin taping the strips together.

The strips need to be trimmed near the ends….

As we get closer to the keel/stem piece, we have to trim the strips so that they can lie together along the stem-piece without interfering with each other.

Stem strapped down so that he strips touch the moulds.

I really like using straps to hold the strips to the moulds.  If I build another canoe, or any strip built boat, I will use straps at every mould station.

Paul’s Canoe Build, strip 18, looking from North to South.

We will (maybe) be able to put on one more pair of strips before we have to do one side at a time.

You always need one more clamp……South to North view.

Hopefully, strip 19 tomorrow,


Cheers,


Mike

Posted in Under the Keel.... | Leave a comment

The Urban Oarsman & Son build a Canoe part ten.

Another weekend and we have been plugging away, one strip at a time.  We had Thirteen  strips on and we have put on a strip every day or so and today we are putting on the Seventeenth.

Where we left off…Thirteen strips on.  The Fourteen Strip is going on next.

We get ready to put on the Fourteenth Strip…

Tape at the North Stem.

Squeeze clamp slipping off……

We put on the Fourteenth Strip and the next day, with all the tape off, we get a good look at the shape of the Canoe!!

West side of the Canoe.

Paul’s Canoe, looking South.

Paul’s Canoe, looking North.

We are both pleased with how the canoe is taking shape, the curves look even from both ends.  The next day we put on the Fifteenth Strip and then the Sixteenth trip later that evening.

Clamps holding the stem-pieces on each end are now in the way .

We have to remove the clamps holding the stem-pieces to fit the Seventeenth Strip.

Painters tape to the rescue!  Let us get that strip on!

We apply glue to the cove and get the strips under the straps.  The squeeze clamps hold the strips temporary while we put the glue on.

Paul putting the glue into the “cove” on the strips.

We use squeeze clamps to hold the strip while we tighten the straps from the centre outwards.

We are still having a hard time getting the stem squeeze clamps to stay in place while the glue sets.

We start the strip at the stem-piece, clamp it temporarily, and then, from station #1, tighten the straps and push the new strip onto the one below it.  We then go to station #4 and tighten that strap down while holding the new strip to the old one. When all of the straps are tight, we begin taping, squeezing the new strip onto the old one  and use tape to hold the strip to the one below it until the glue sets.

Glue squeezed out, tape holding the new strip onto the old one.

We are using a lot of tape, but, I had a lot of left-over from painting the house.  Might as well use them, as the tape does go “bad” over time.

We are using a scrap piece of strip when taping so we do not crush the “cove” with the tape.

Again, Painters tape to the rescue:

Painters tape used to keep the stem squeeze clamp from slipping, the strips together and pull the strip to the mould stations.

Another view of the North stem squeeze clamp being held in place by tape:

Painters tape holding the squeeze clamp in place.

We use tape to hold the strips together while the glue sets.  The real drawback to this method is that you can only do one strip on each side of the canoe at a time.  Since Paul does not want to use staples or finishing nails to hold the strips to the station moulds, this is the way we will have to do it…

Occasionally, the strip does not want to stay in the cove below it. We use a clamp to keep the strips aligned.

Seventeen Strip on the canoe, Fourteen Strips to go.  Maybe two more on each side and then we will have to plank up one side at a time.  Getting there slowly but surely.

West side view, Seventeenth Strip all taped up.

Paul’s Canoe, West side view.


Good Paddling to you….


Mike

Posted in Under the Keel.... | Leave a comment

The Urban Oarsman & Son build a Canoe part nine.

It has been slow but steady going…One strip at a time.

11 strips on…  I am using a piece of aluminum angle  iron to increase friction for the bow clamp.

To make putting the clamps on easier, I glue the angle iron to the squeeze clamps for the stems.

Aluminum angle iron glued onto the squeeze clamps.

I was at “Wooden Boat Alley”, the Vancouver Wooden Boat Society booth at the Vancouver International Boat Show.  Did not get any strips on from Wednesday through Monday.

Because we are at the turn of the hull, the strips have a lot of twist in them.  Where necessary, we use bungees to hold the strips together, as well as tape and hot-melt glueing them to the forms.

“Ball-bungees”

We are having an increasingly hard time getting the strips to bend to the forms.  We hatch another plan…Using ratchet straps to hold the strips to the forms.  I buy four ratchet straps and adapt the forms to hold the straps in position.

Glueing the guide blocks for the ratchet straps on forms.

I glue six guide blocks onto four of the forms, one at the bottom on each side and on at the keel line.  We want the straps to pull the strips tightly to the form, and the guide blocks keep the strap along the form.

I let the guide blocks dry overnight. I do not glue on the keel blocks.

We use bungee cords to hold the strips together.

Bungees to the rescue!

Paul and I add another strip, this time using the ratchet straps and the guide blocks.

A “Pusher” block helps hold the strip in place.

I find some old slat-blind brackets that we can use to hold the strips in place.

Screw-in bracket to hold strip in position.

We push the strip down onto the strip below it and then screw in the brackets to hold them.  We also tape all the strips together.

We also use the “J” hooks to hold the strips together.

View North to South of the Canoe:

North-South view of the canoe. Look’n good!!!  The straps are pulling the strips onto the forms.

South-North View:

South-North View. The shape looks good!  The ratchet straps are very tight.

The ratchet straps are very tight; they bring the strips to the correct angle, following the shape of the forms.  The height from the floor to the top of the strips is within ⅛” on each side.  Very even, all things considered.

Ratchet strap in action.

Ratchet strap, bungee and tape in action.

We have 18 strips a side left, at this rate done by Pancake Tuesday!!!!


Good paddling to you,


Mike


Posted in Under the Keel.... | Leave a comment