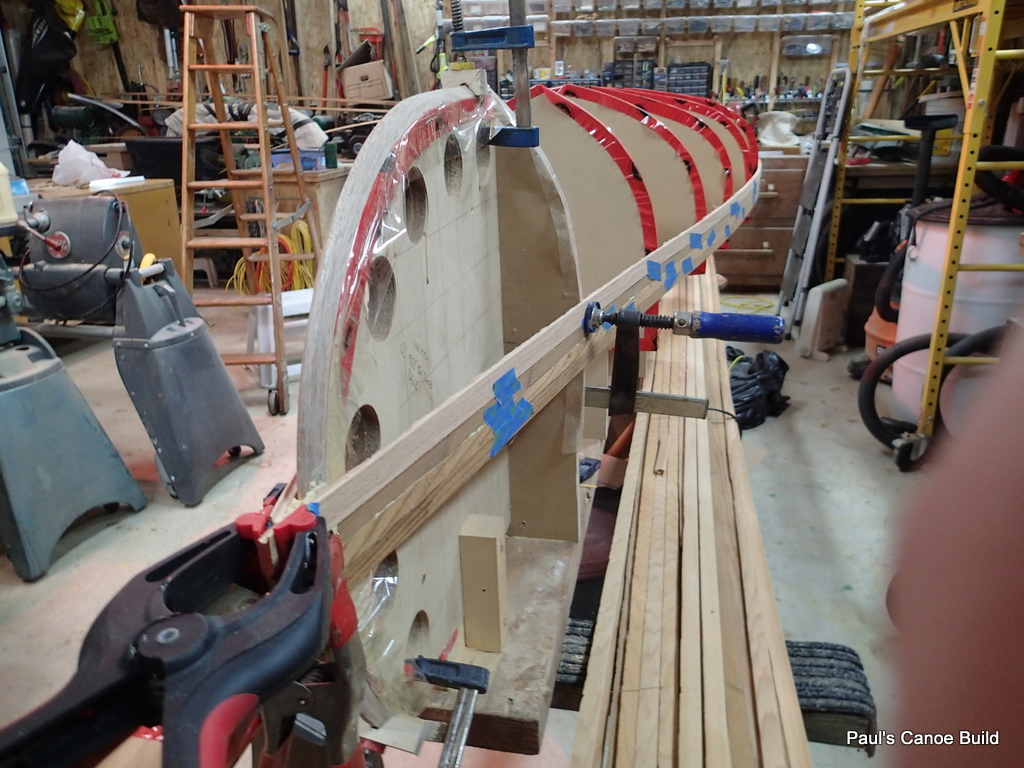
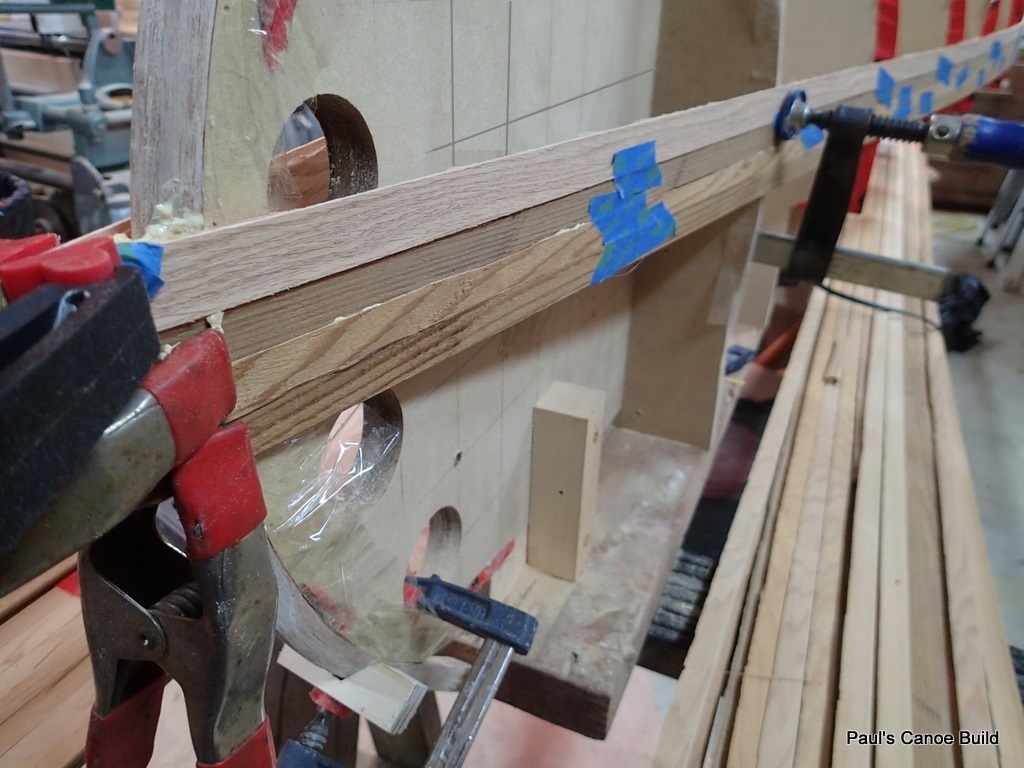
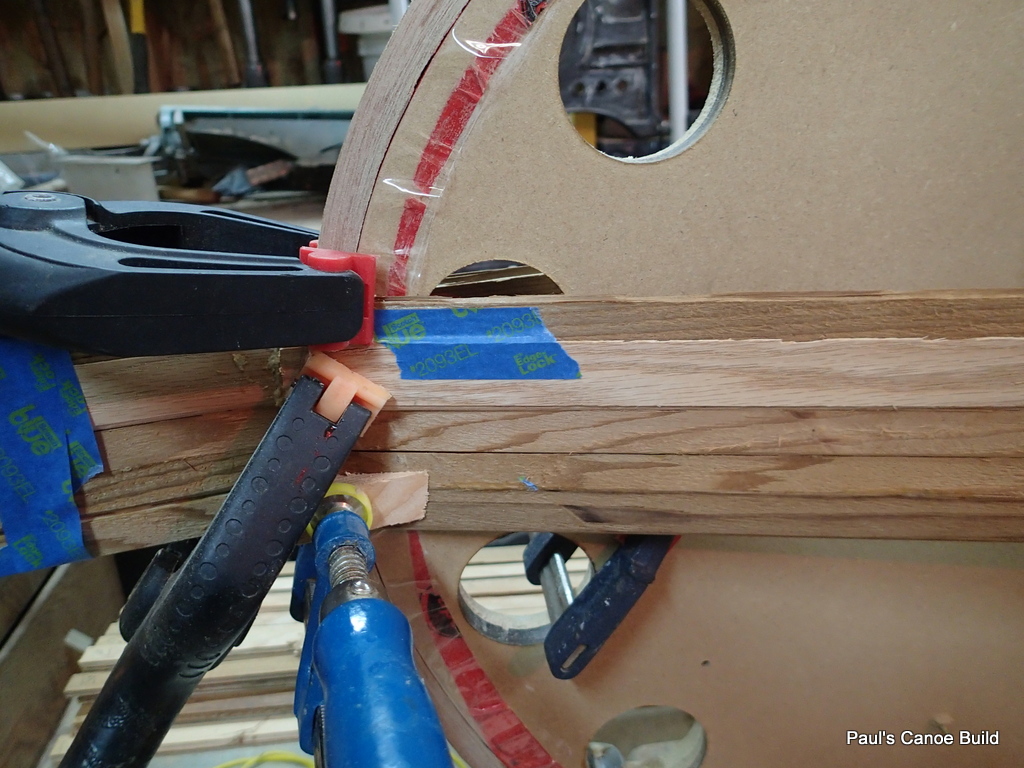
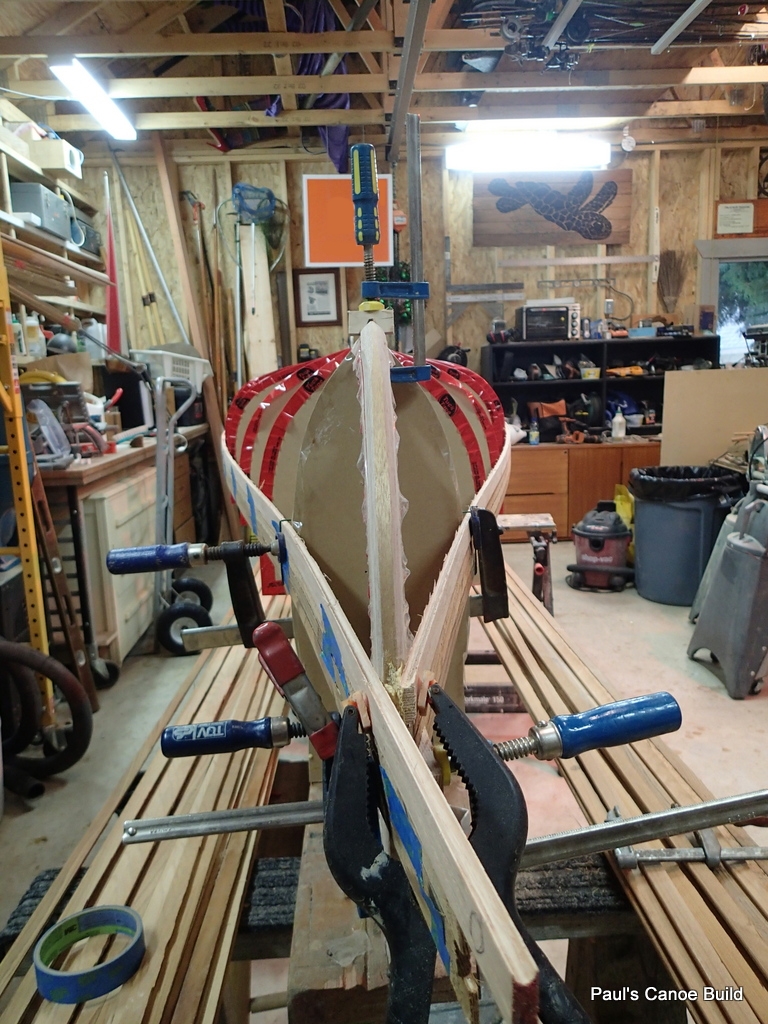
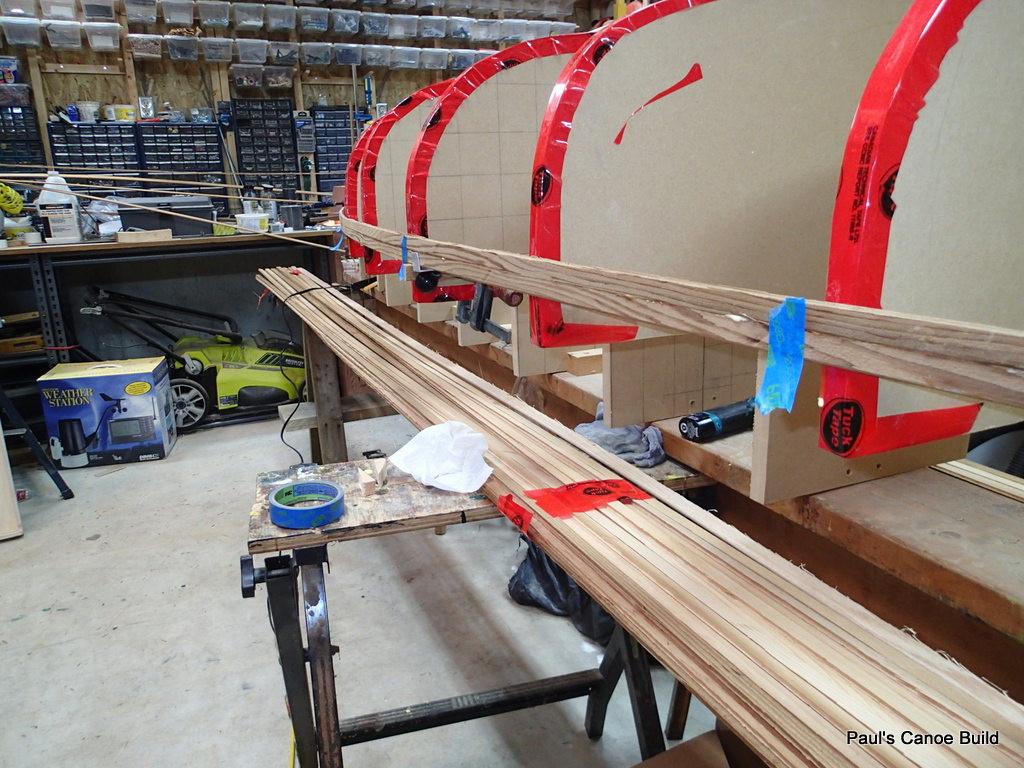
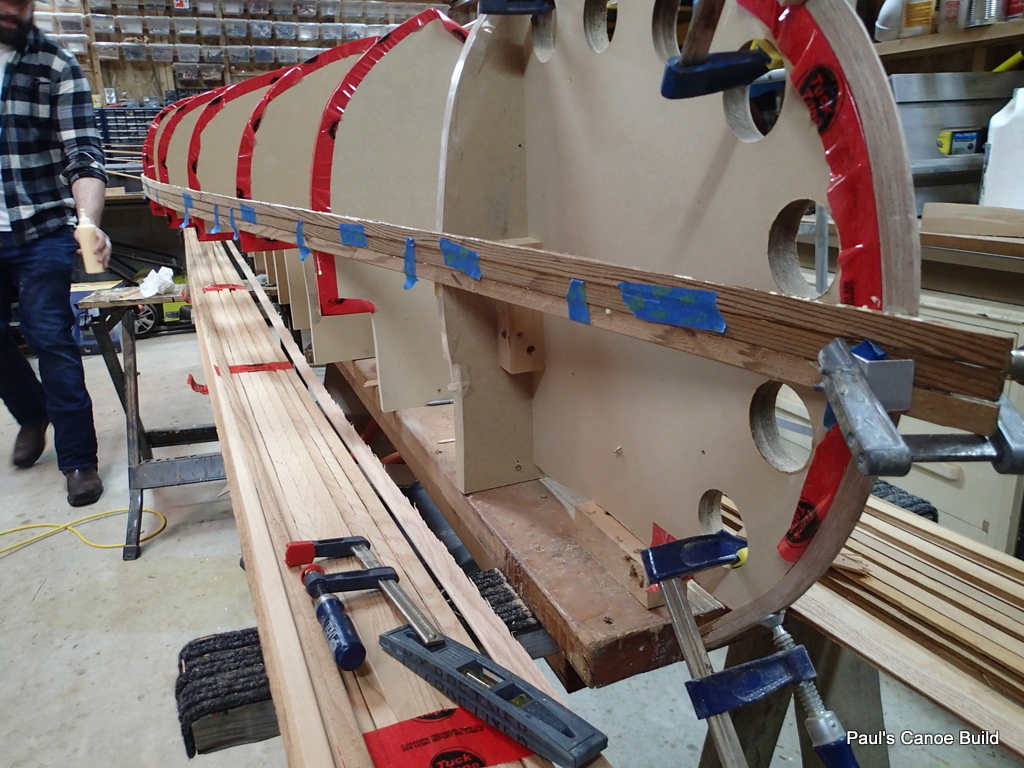
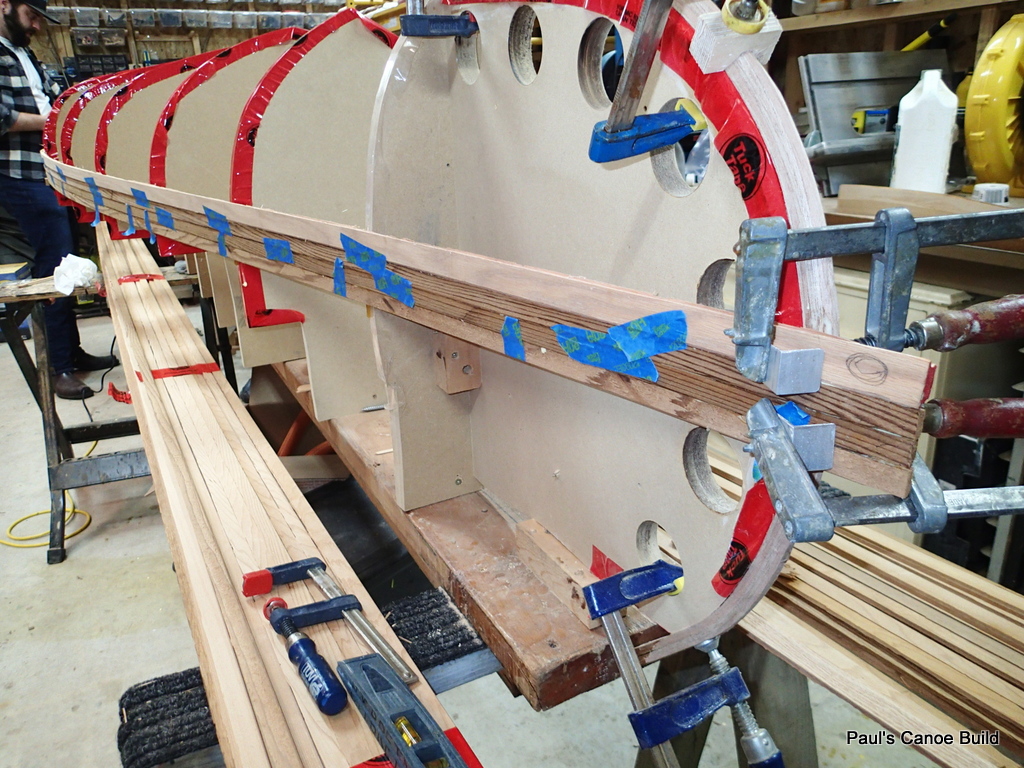
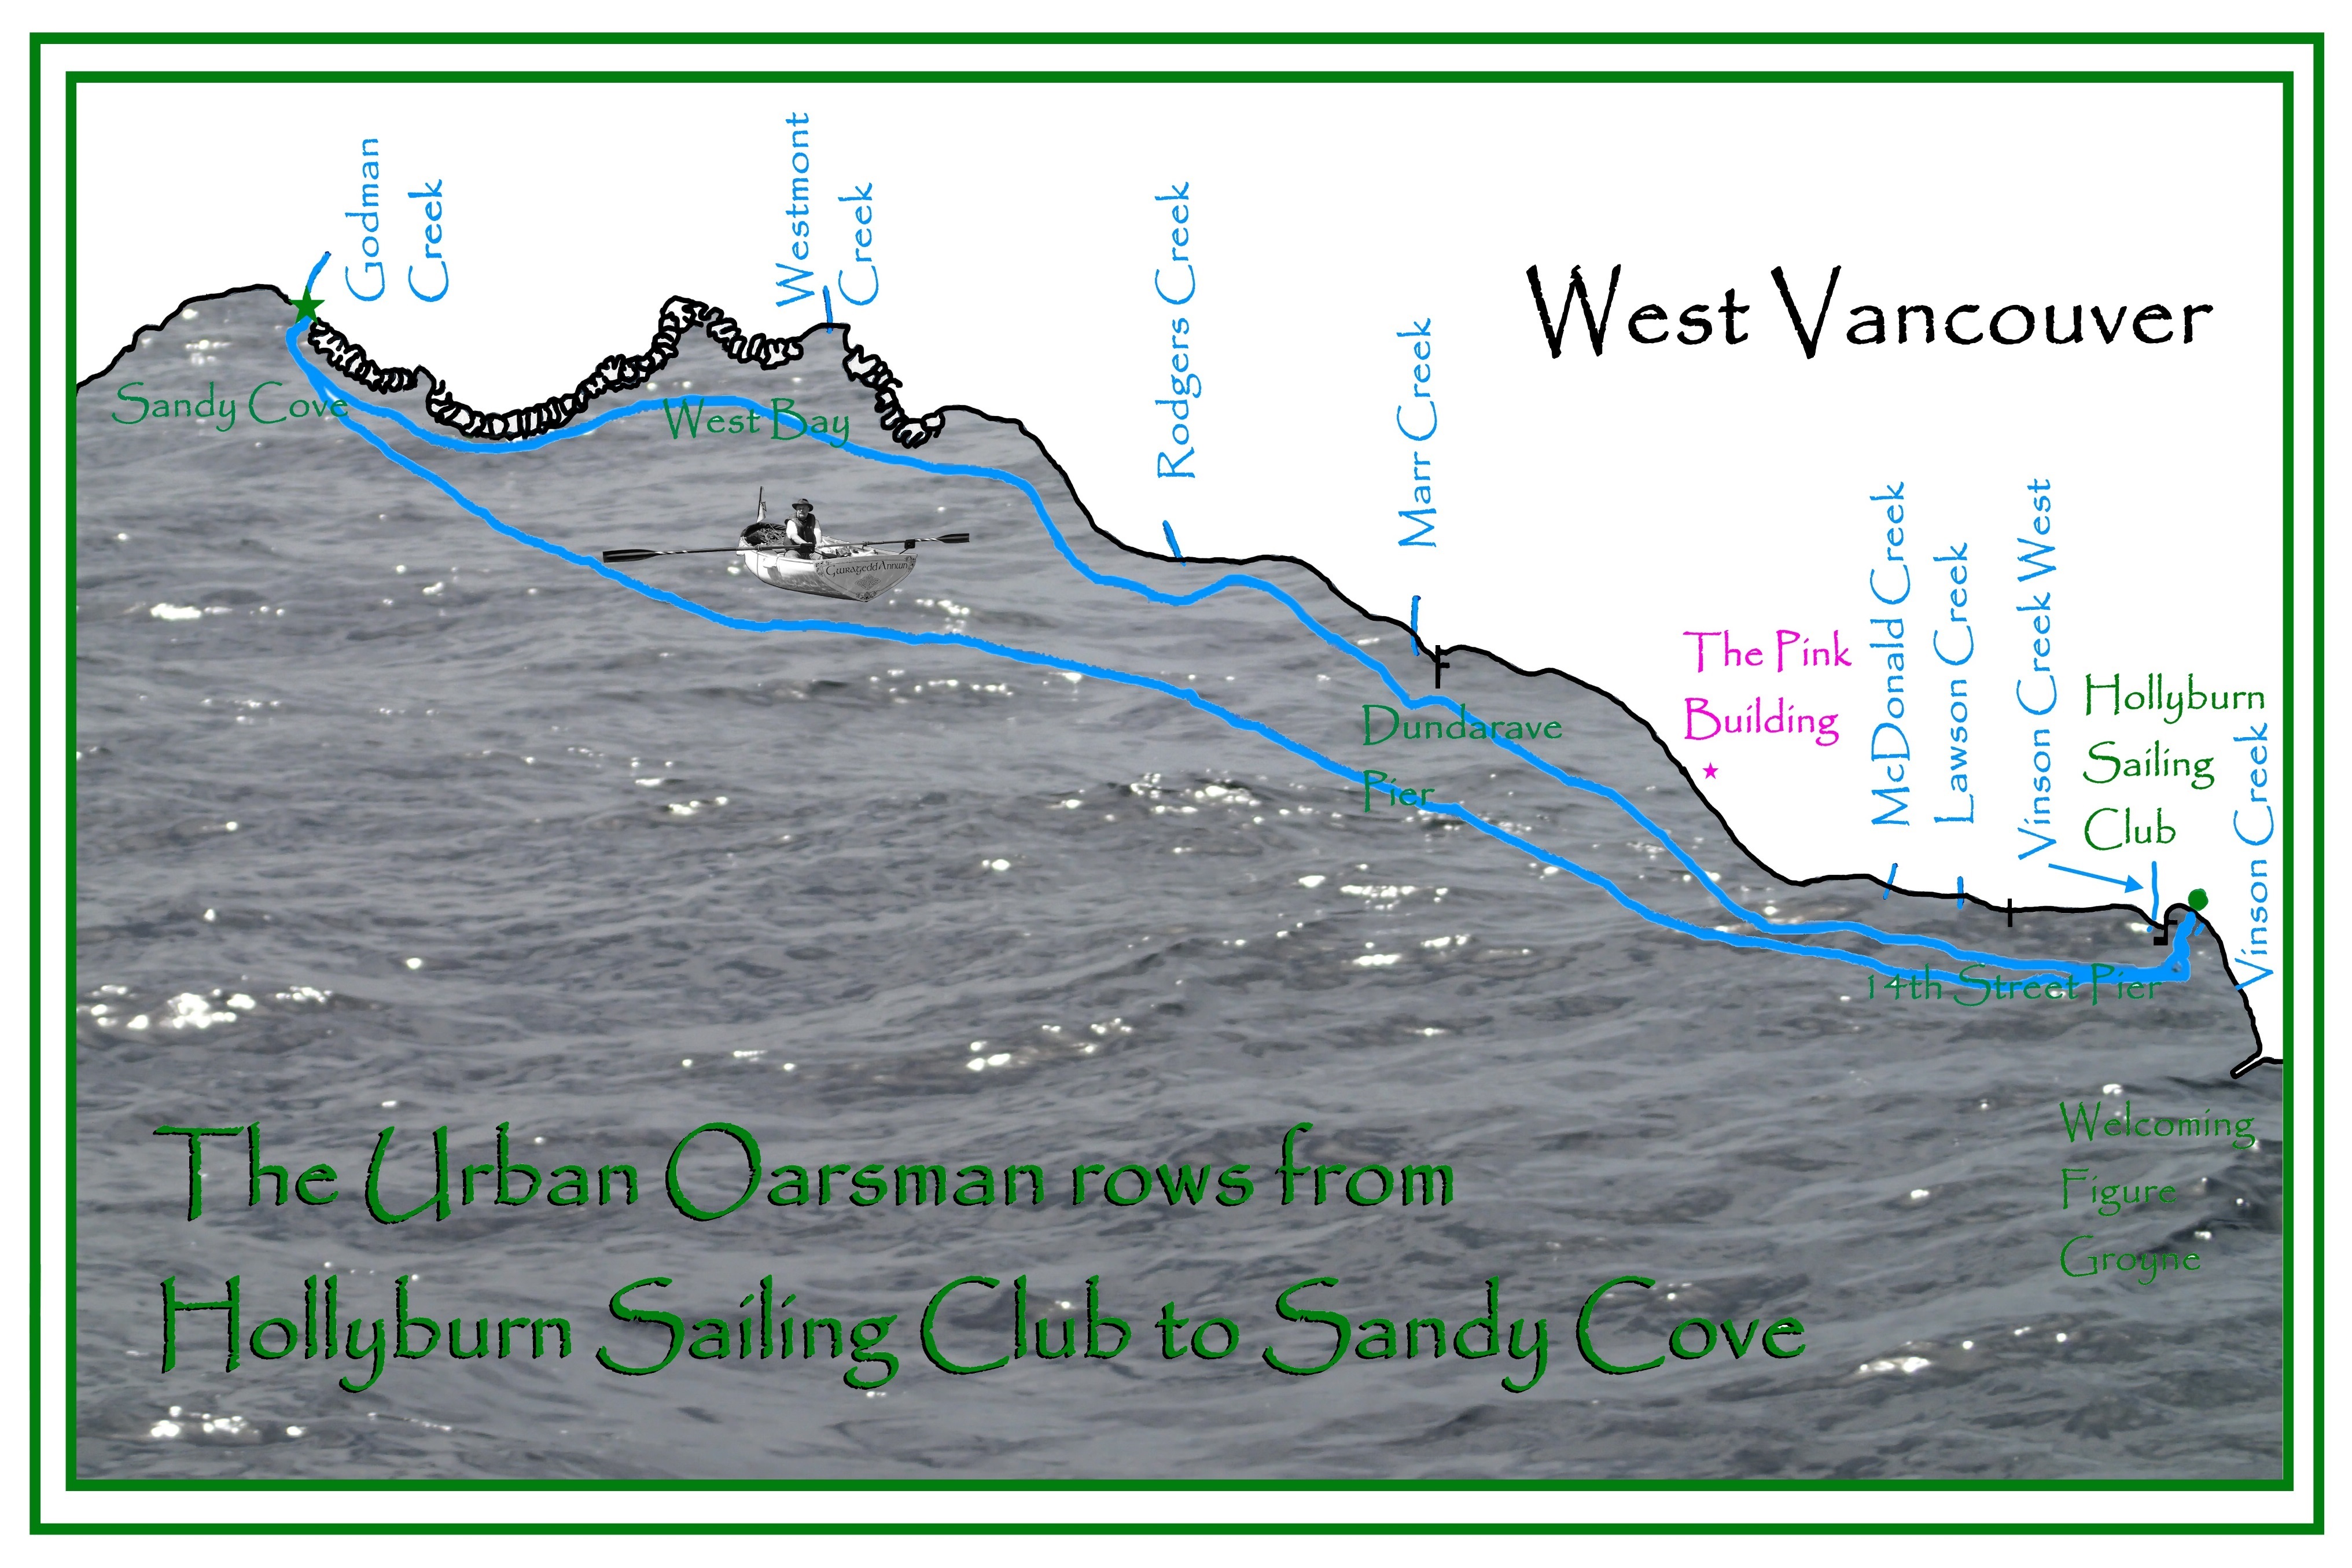
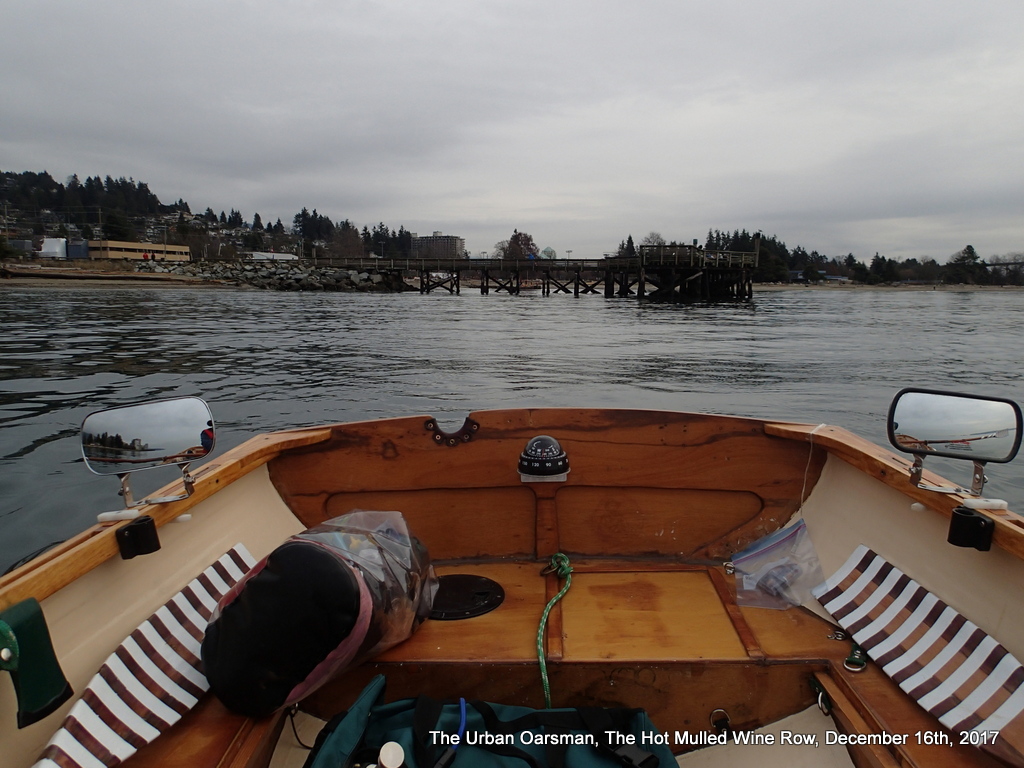
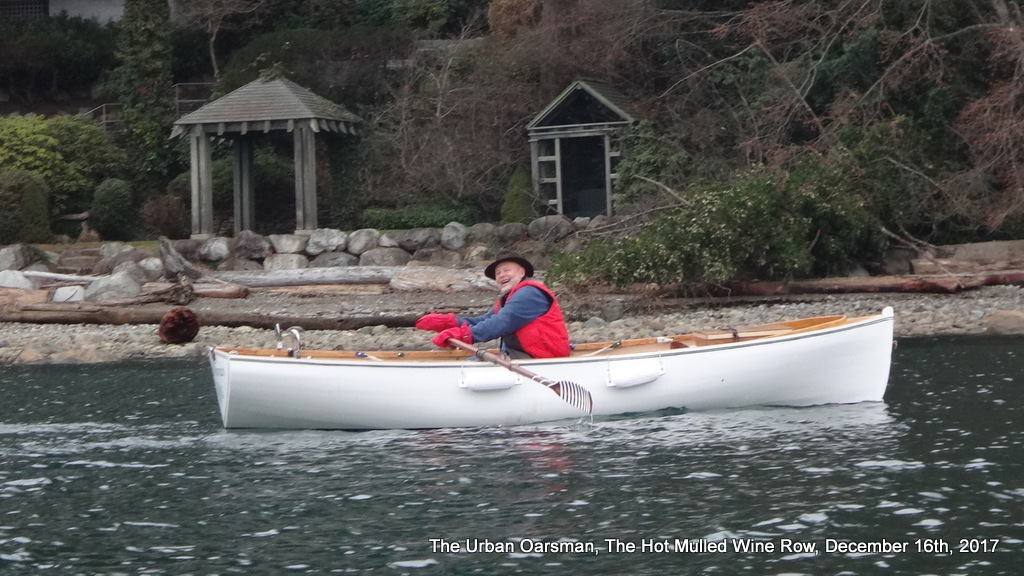
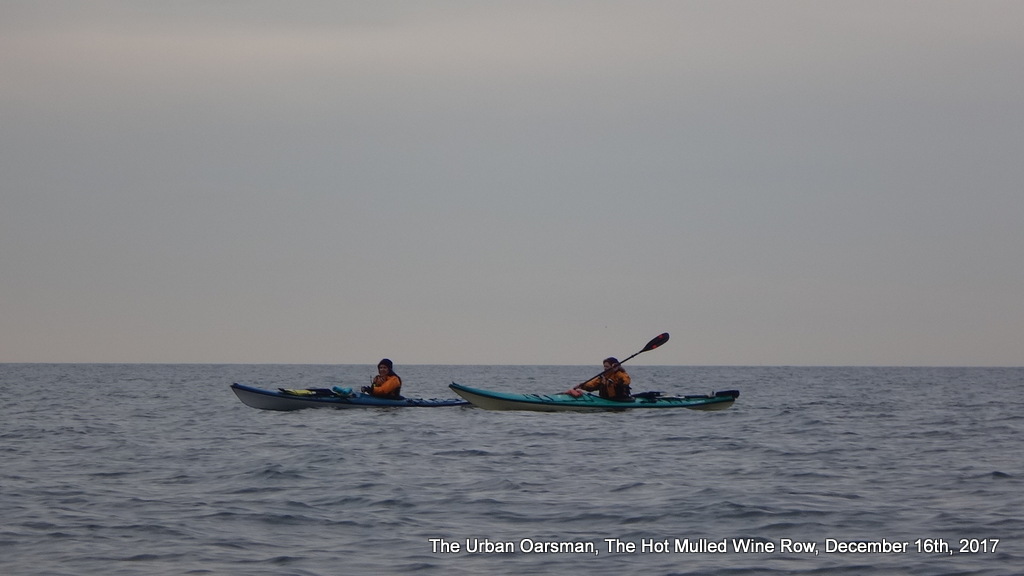
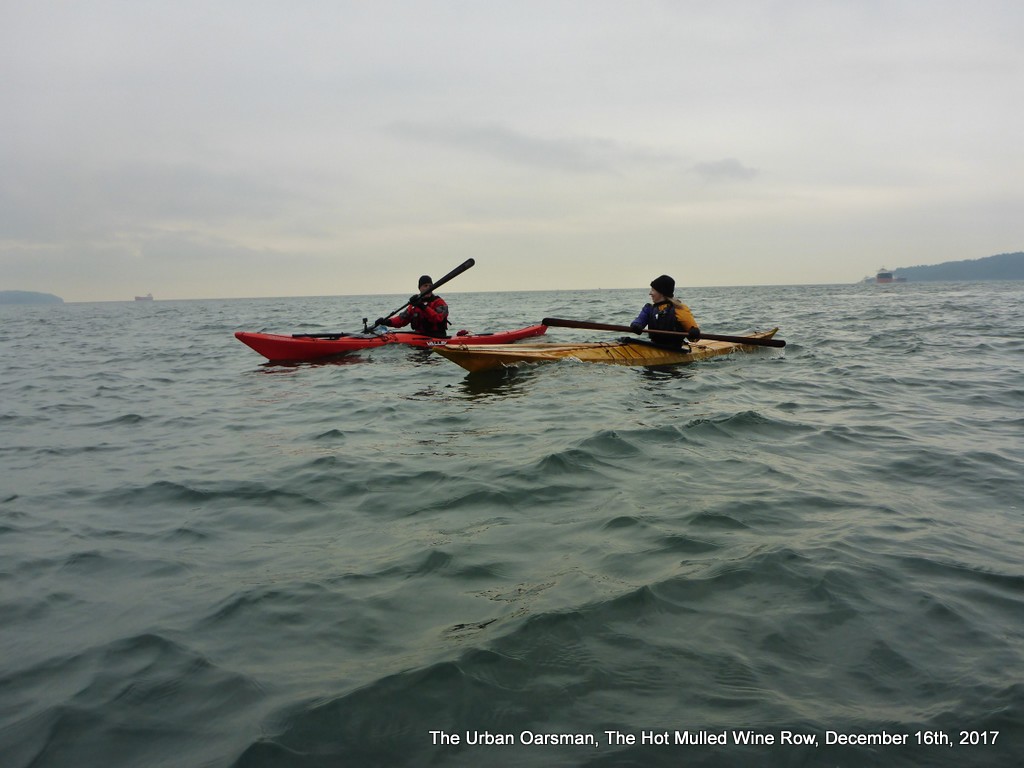
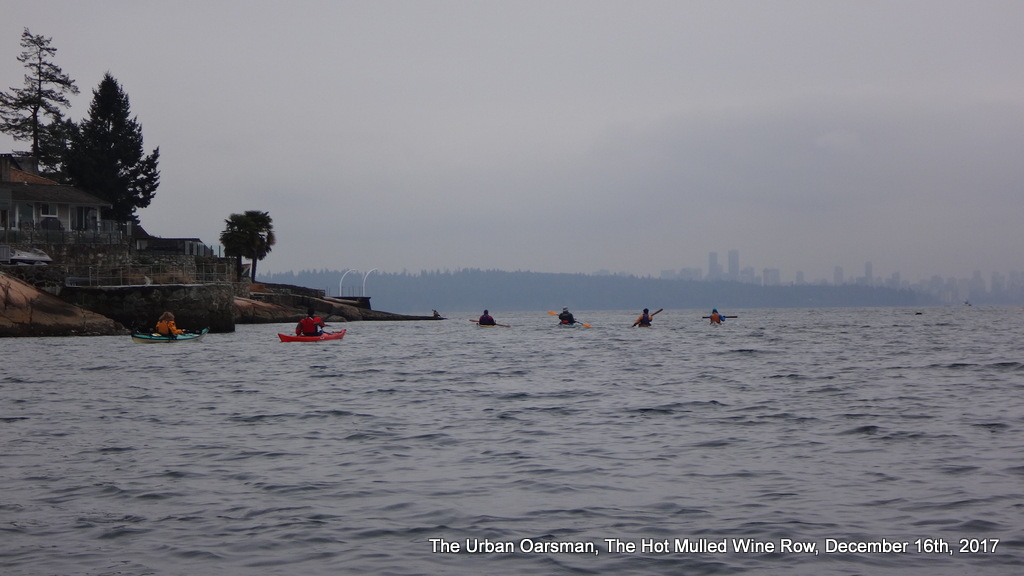
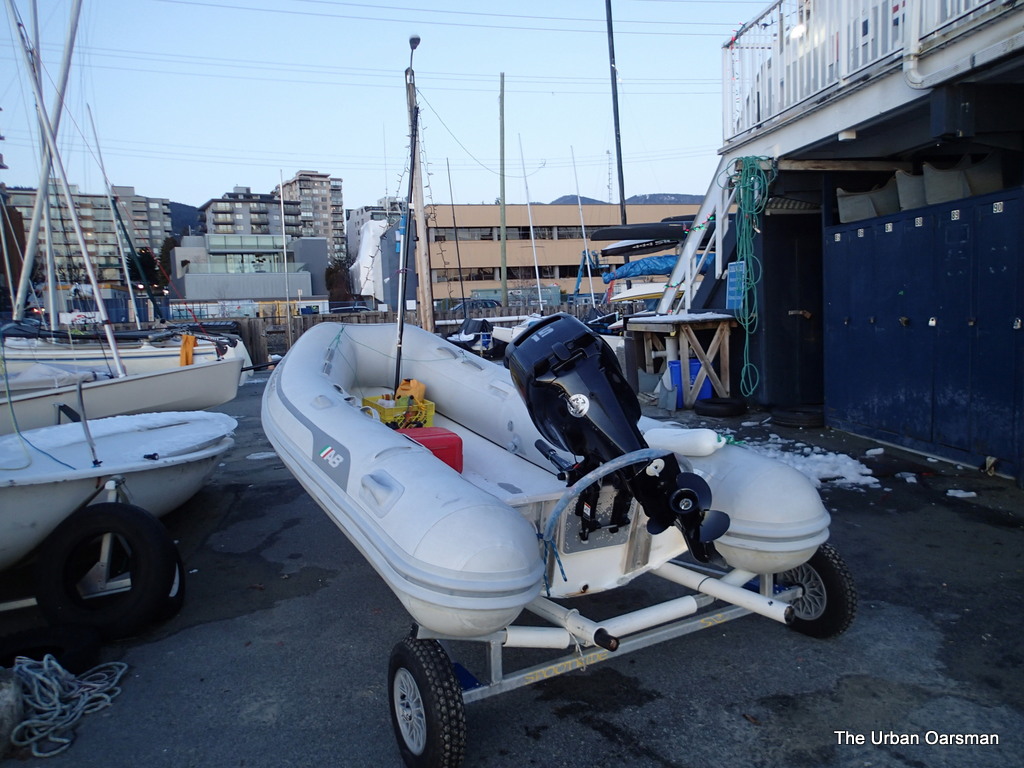
The Urban Oarsman rows from Hollyburn Sailing Club to Sandy Cove

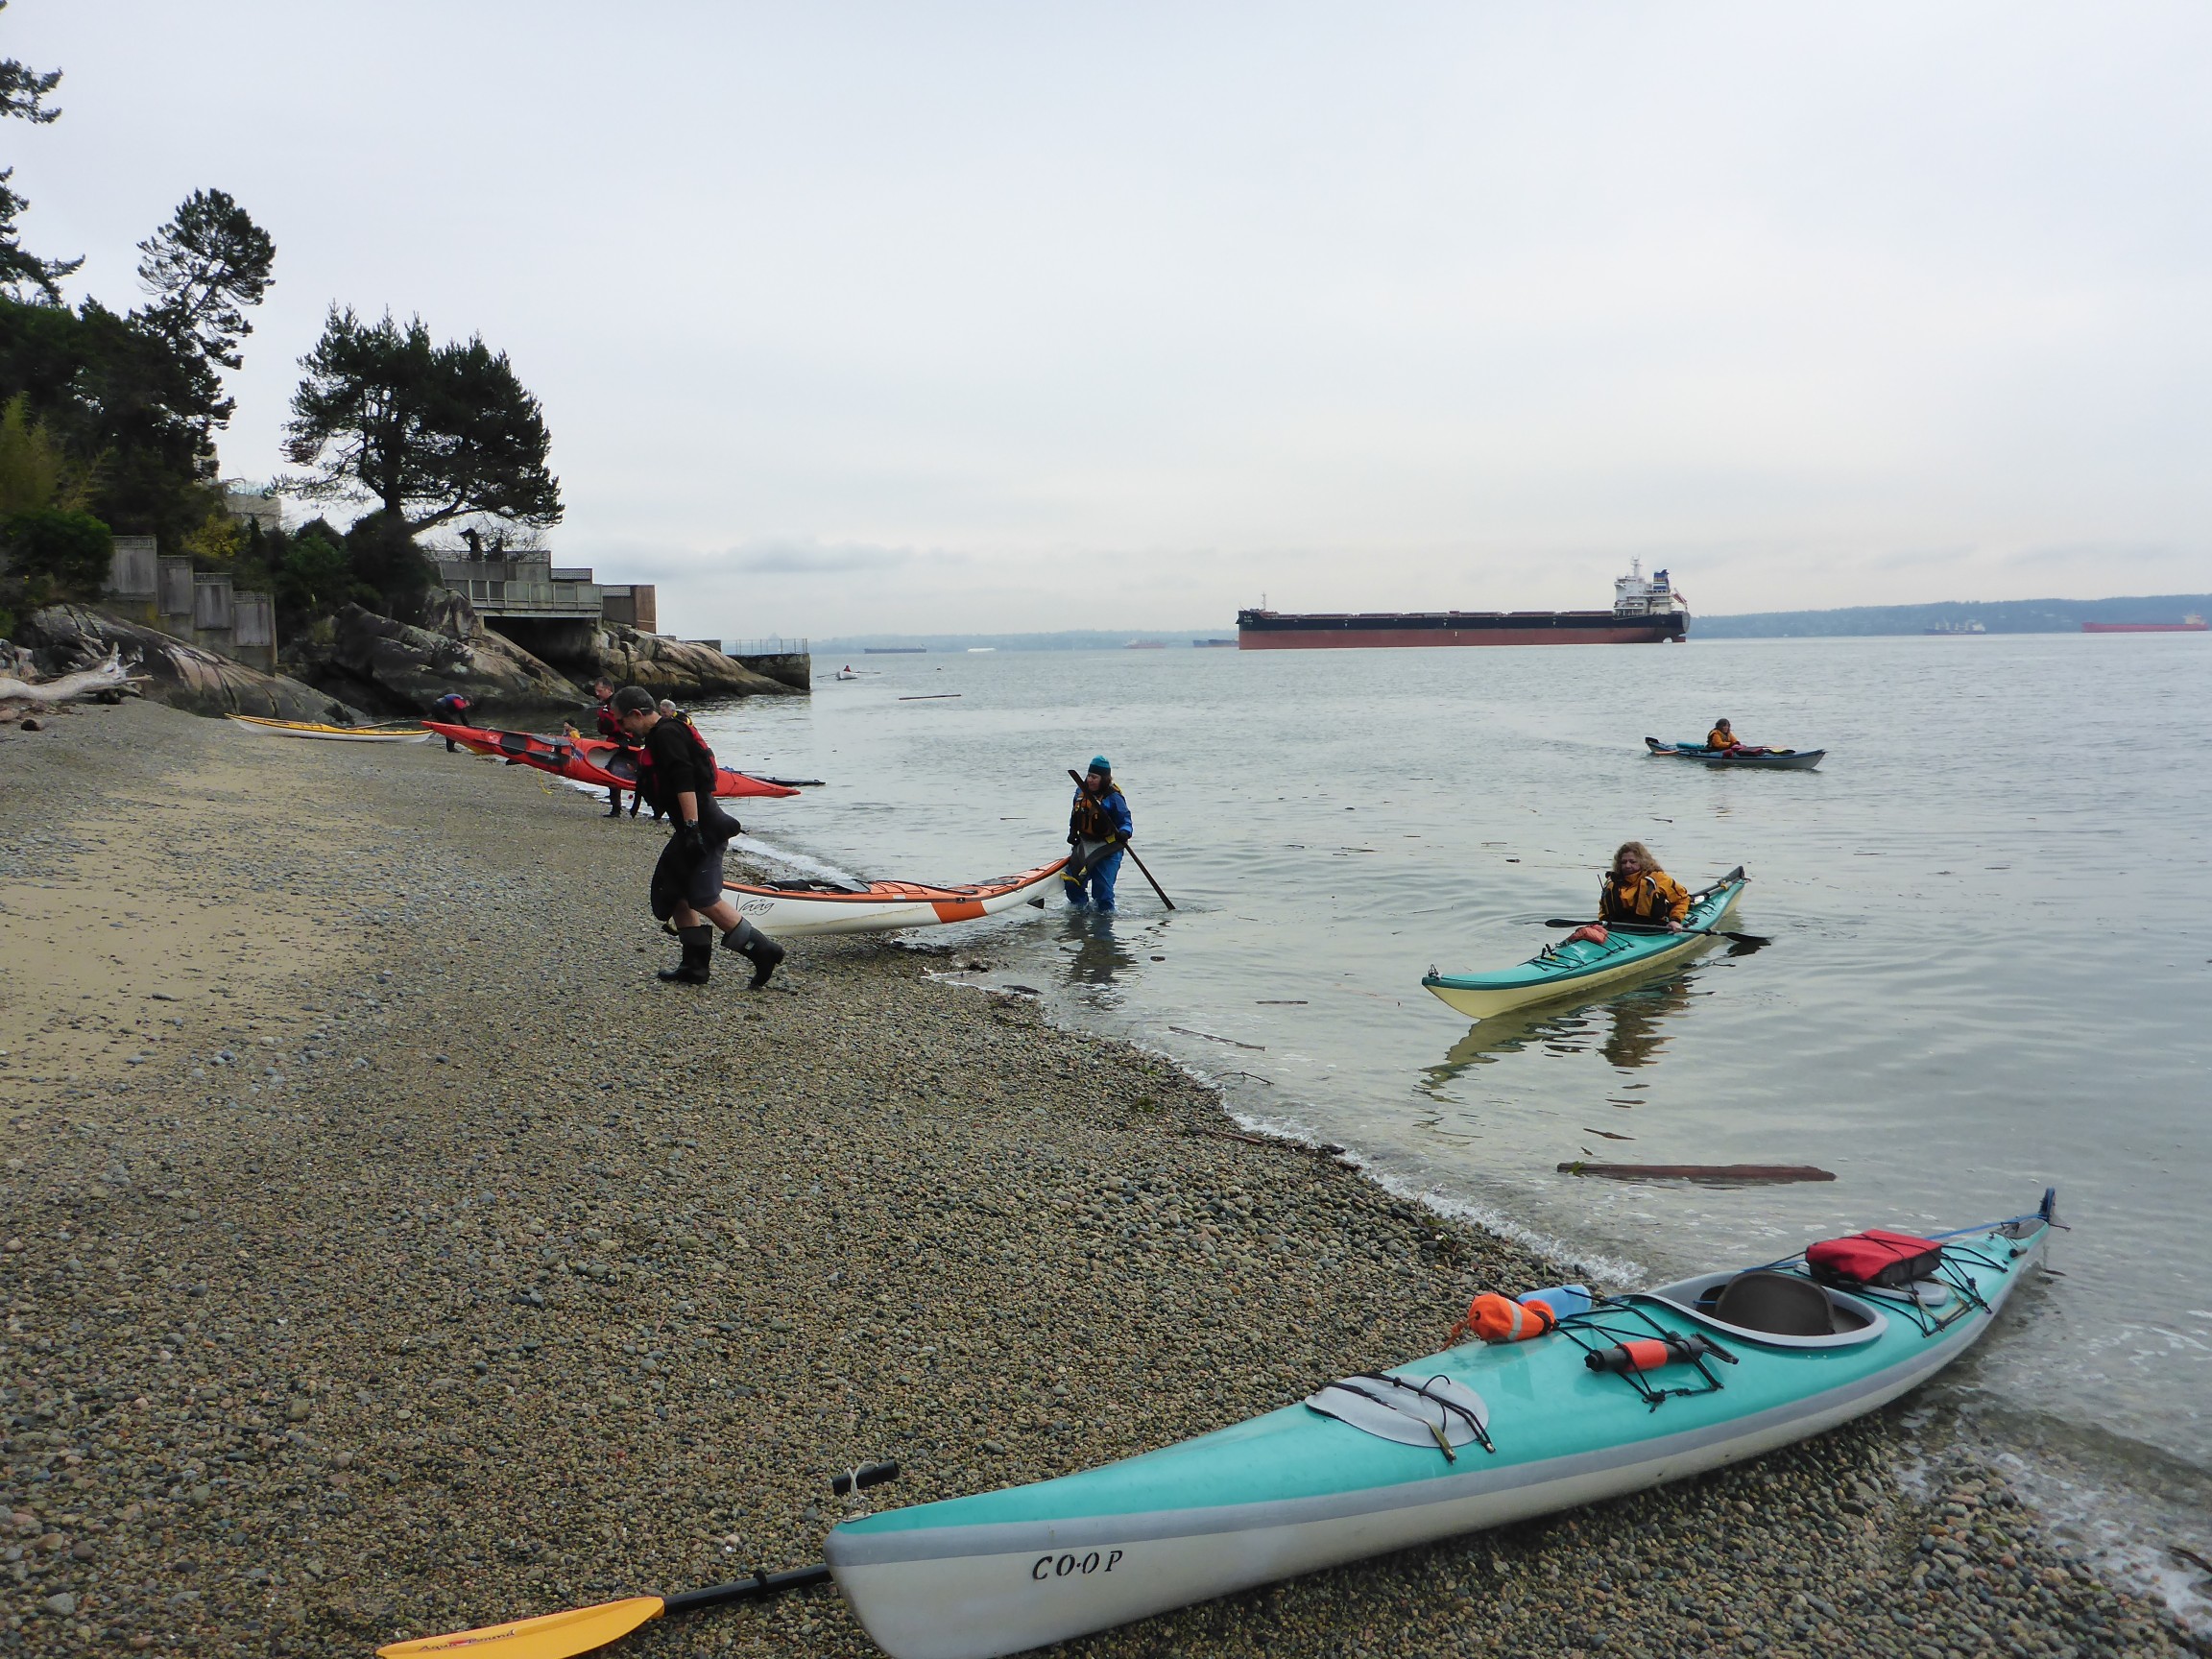
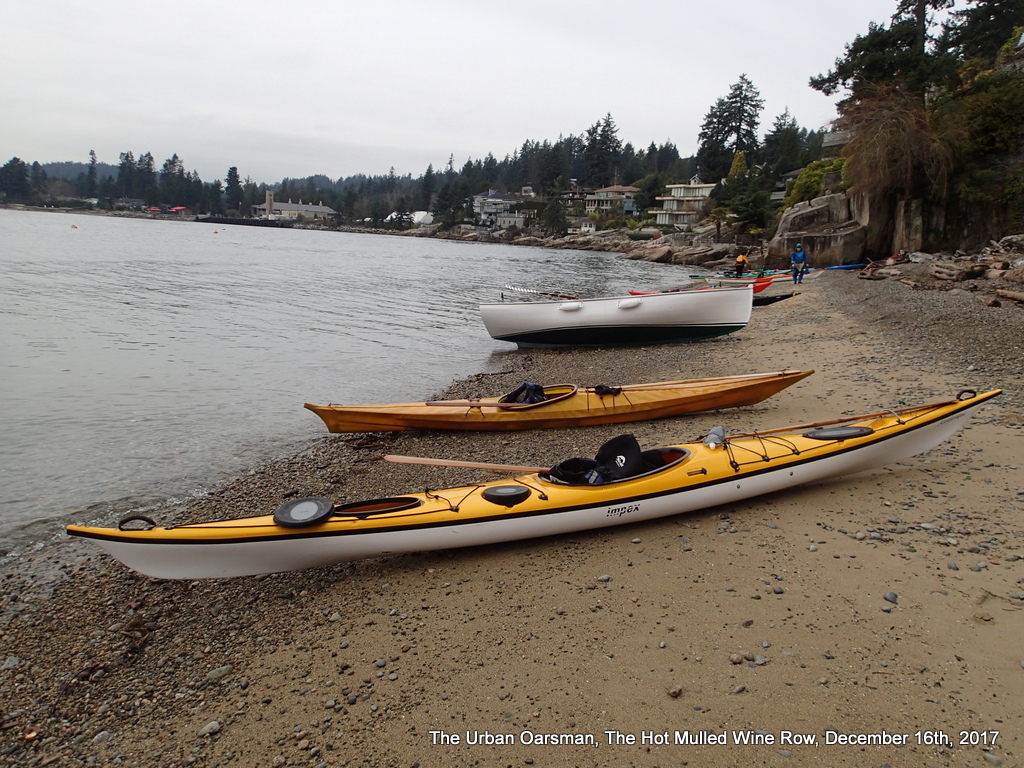
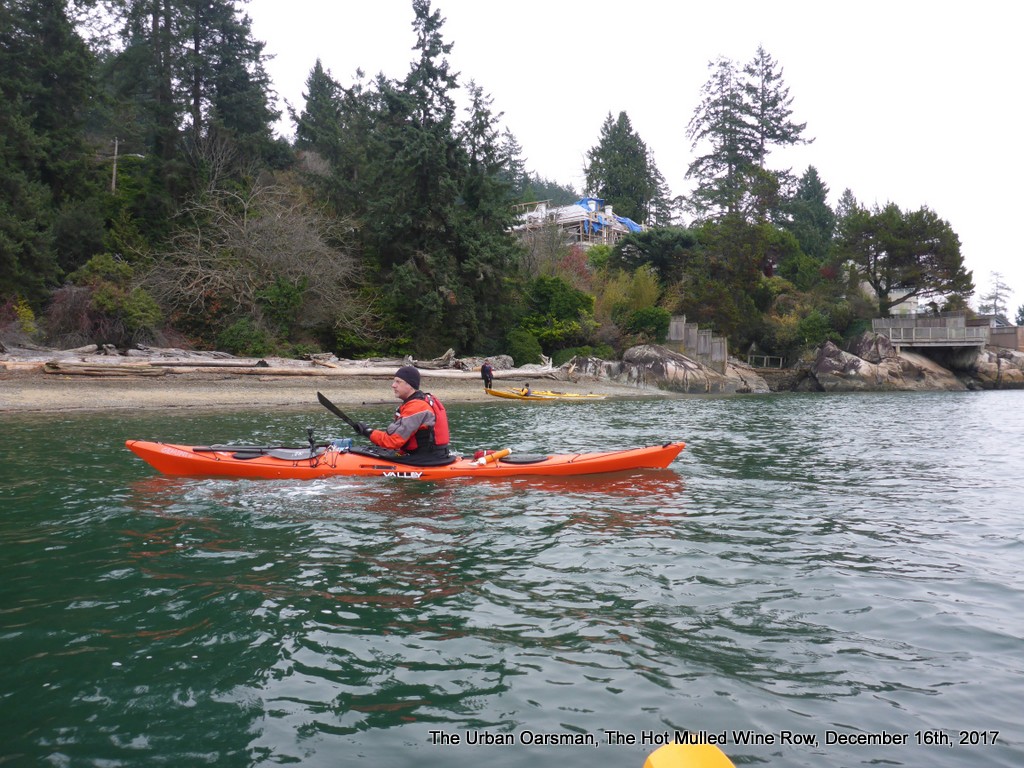
The Urban Oarsman goes on the December 16th, 2017 Hot Mulled Row to Sandy Cove with the Hollyburn Sailing Club and SKABC.

10am, Saturday, December 16th, 2017.  Winds are calm.  Cloudy and grey but no rain.  A good day to row.

Tides for the day:

Saturday, December 16th, 2017

Time

Height

PST

(m)

(ft)

05:29

4.4

14.4

10:32

3.4

11.2

15:19

4.2

13.8

22:39

0.9

3.0


Not much of a change…Departure time is 10:00 and the next high at 3:19 is only 2.6ft higher.

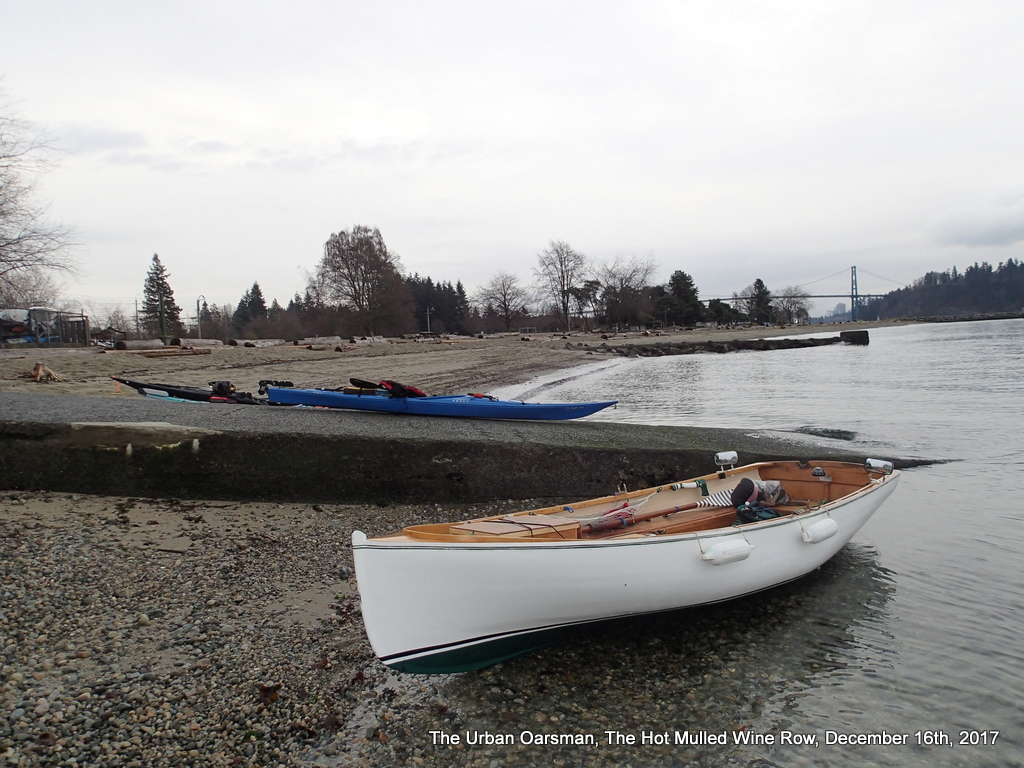
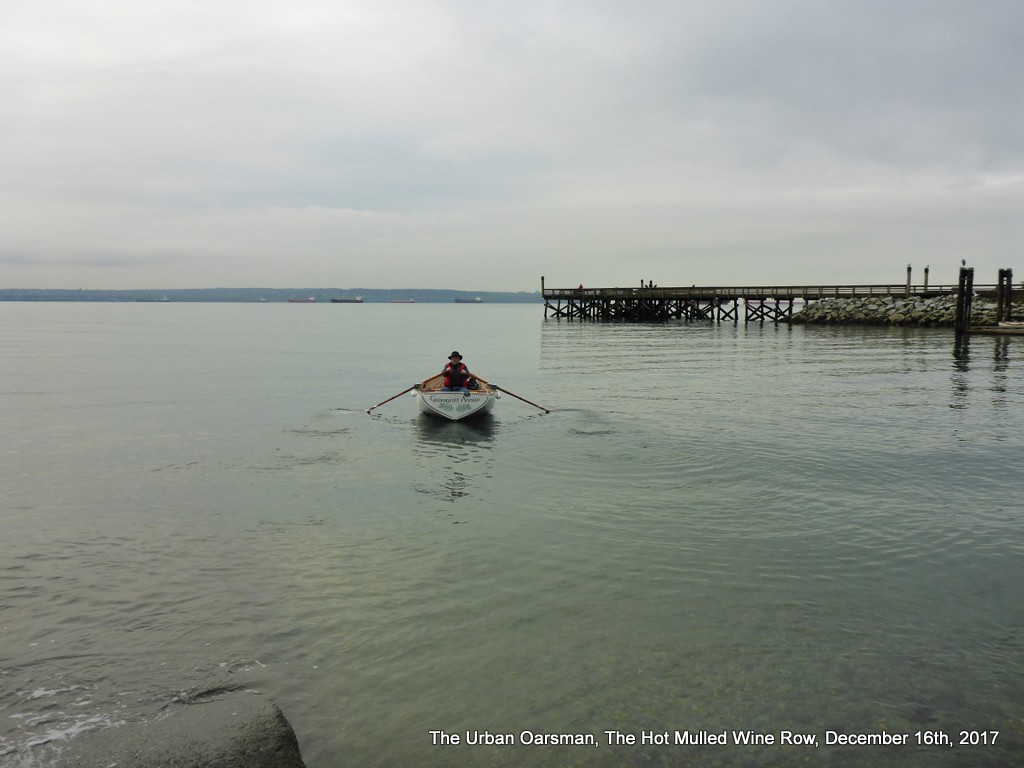
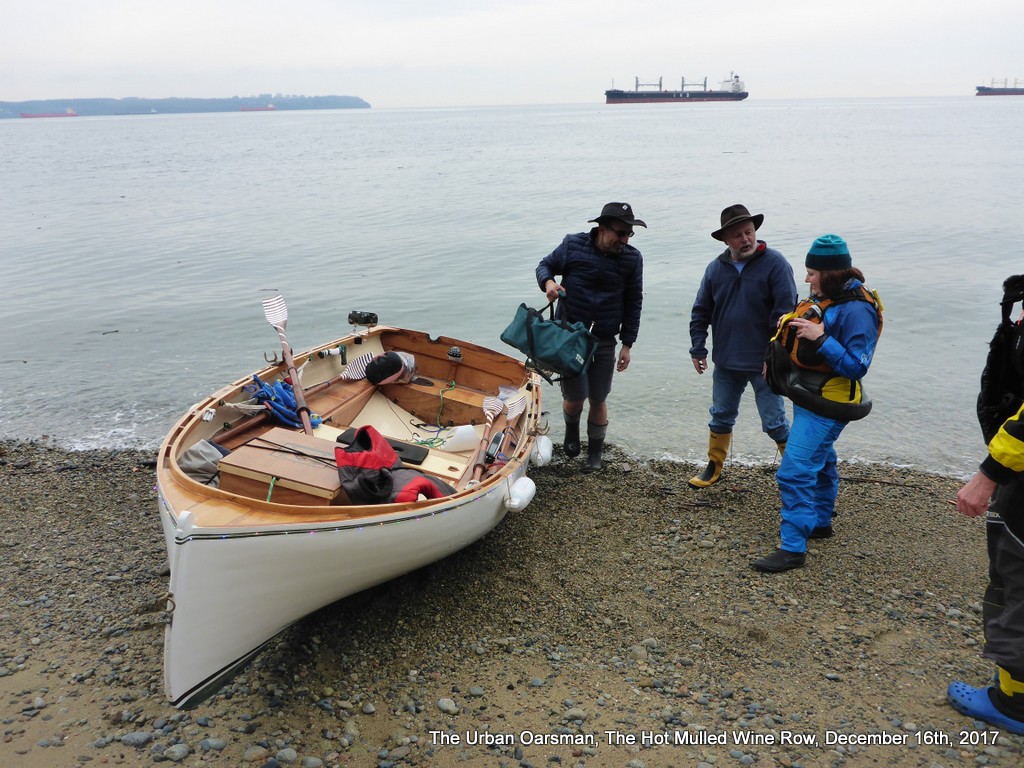
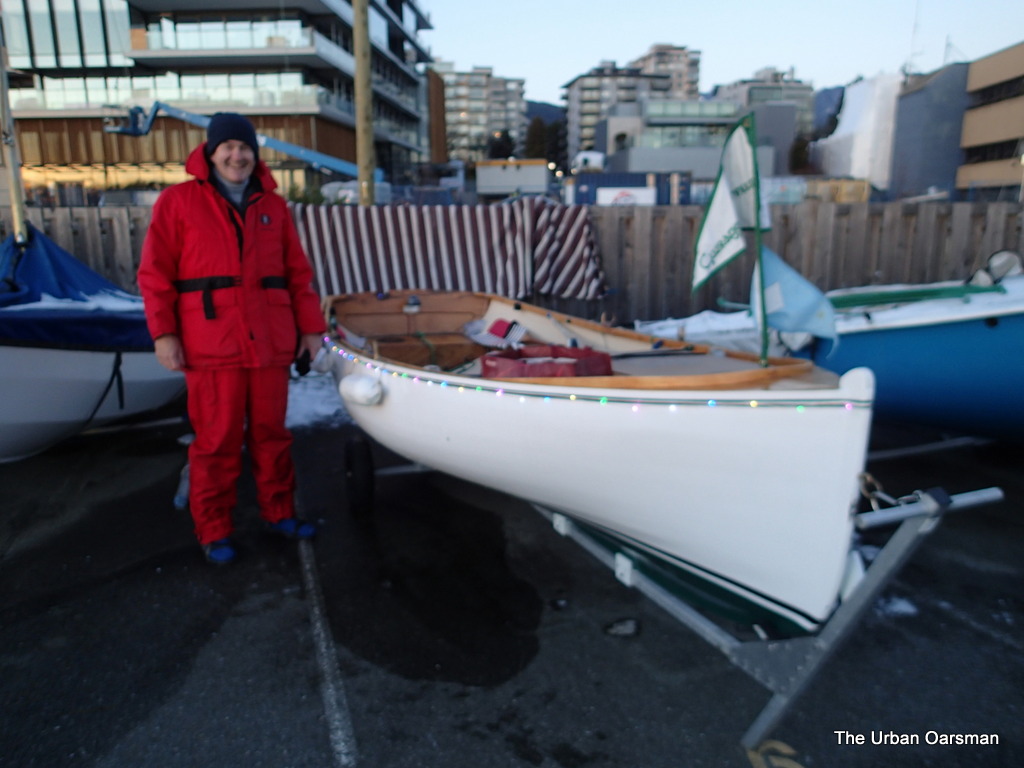
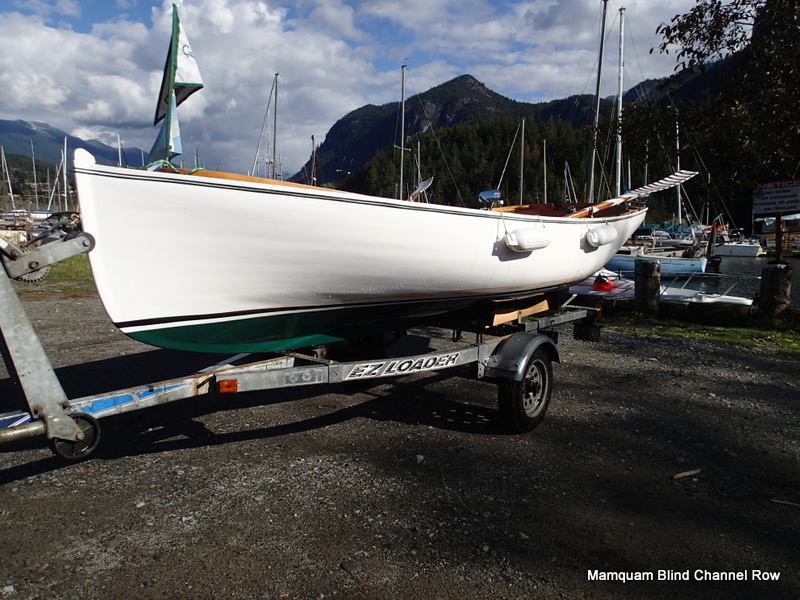
Gwragedd Annwn on the beach and ready to go on the Hot Mulled Wine Row to Sandy Cove.

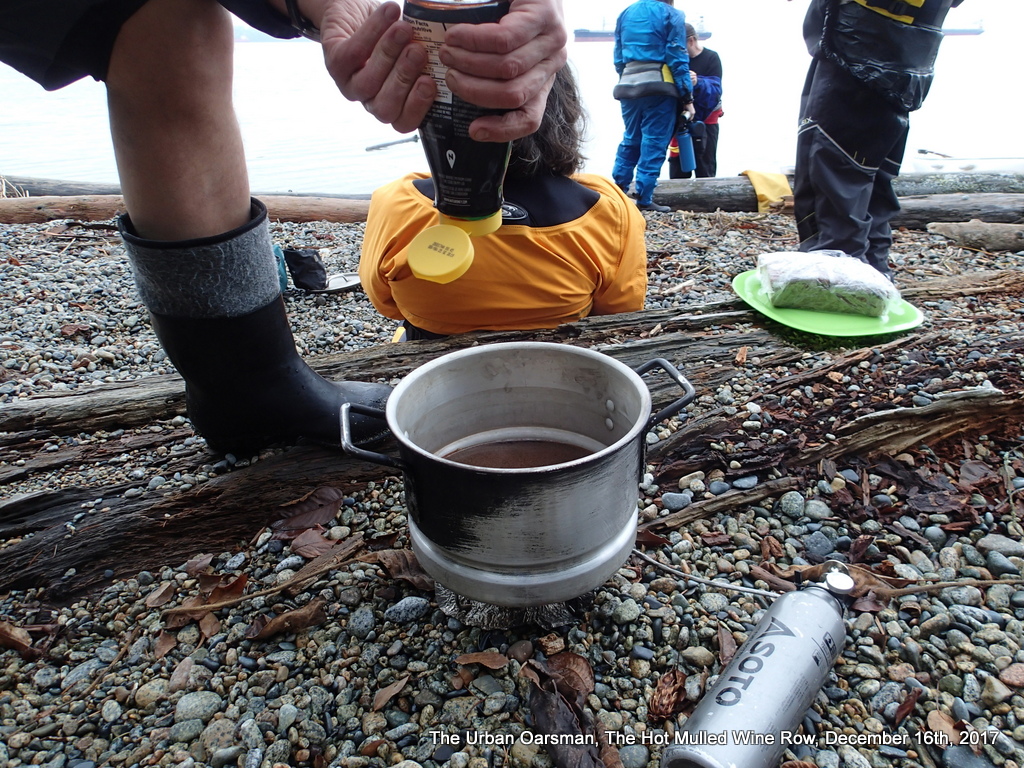
I have told our organizer, HSC’s new Kayak Captain, Maciej, that I will take the equipment necessary to make the hot mulled wine in Gwragedd Annwn.

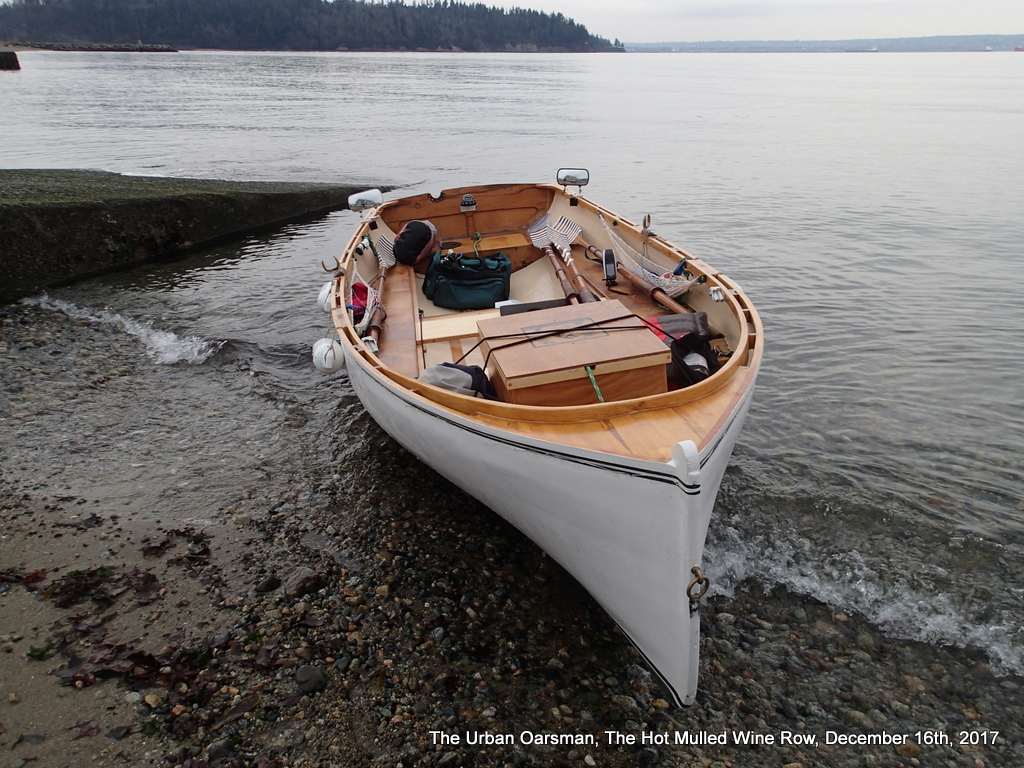
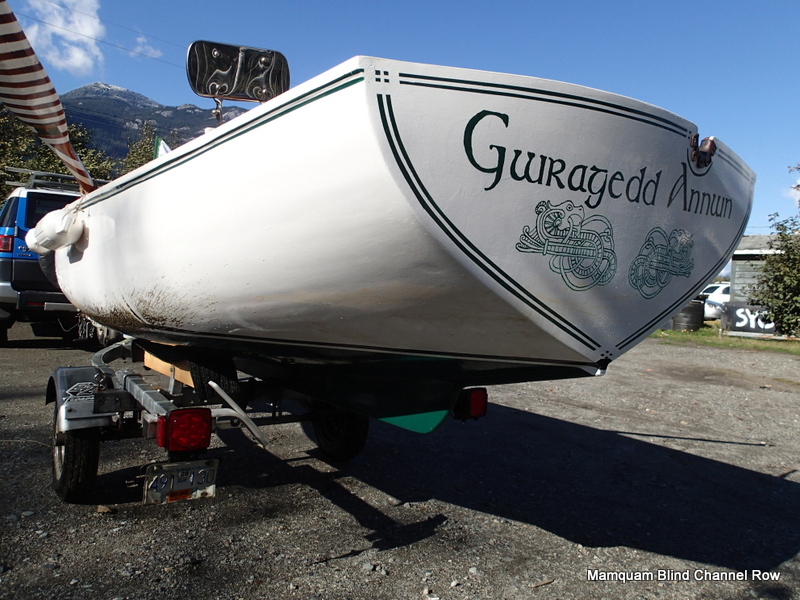
Maciej’s bag at the stern of Gwragedd Annwn.  A little too big for his kayak.

With Gwragedd Annwn, there is always room for one more.

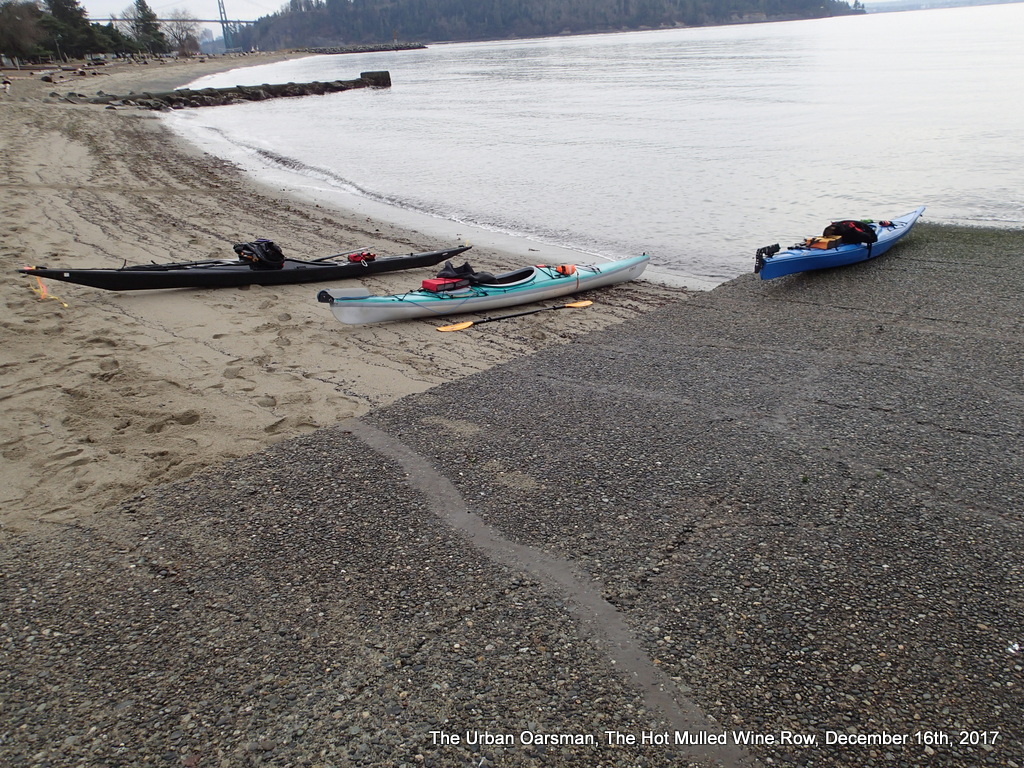
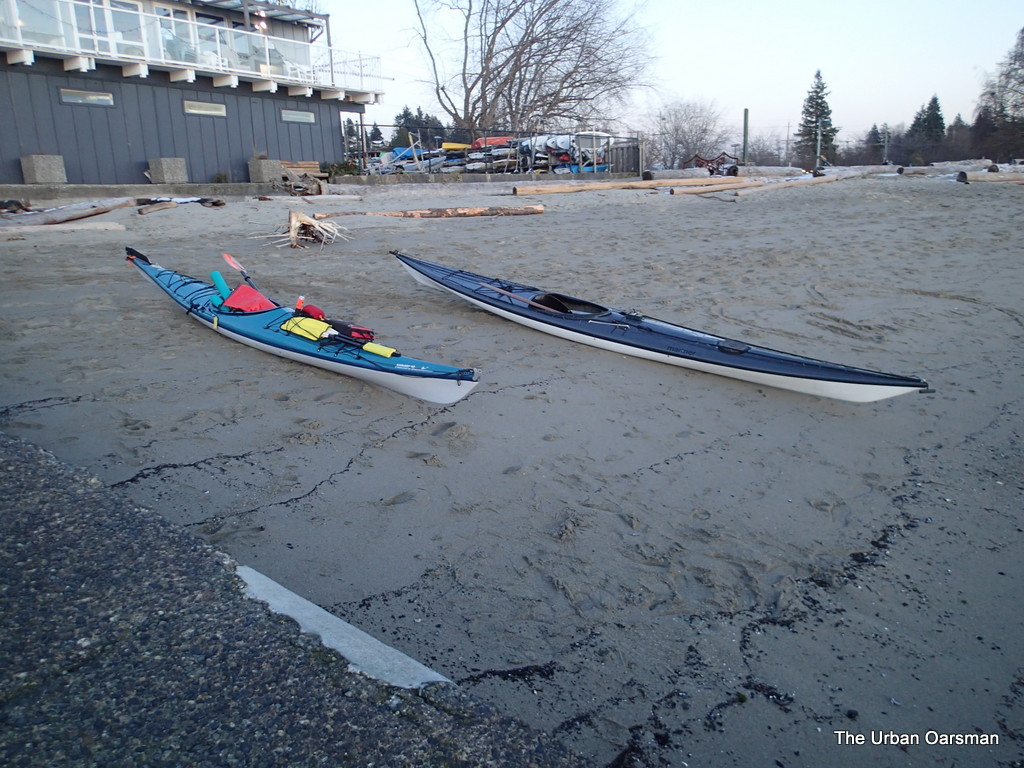
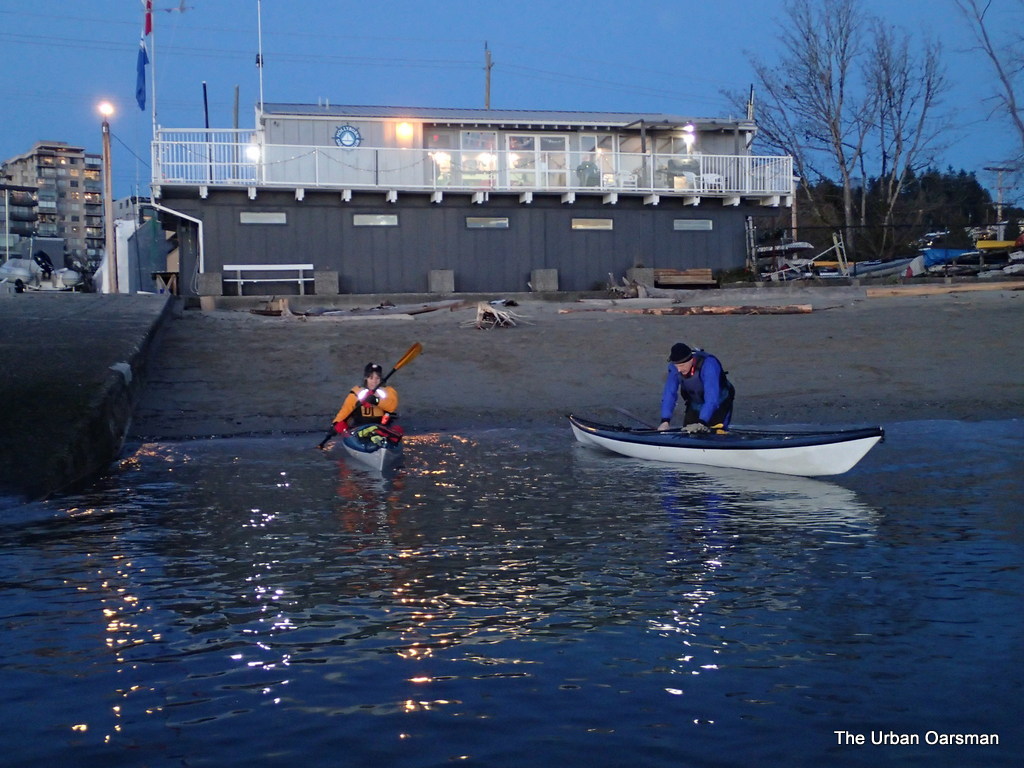
One SKABC kayak (black) and two HSC kayaks are on the beach and ramp and ready to go:

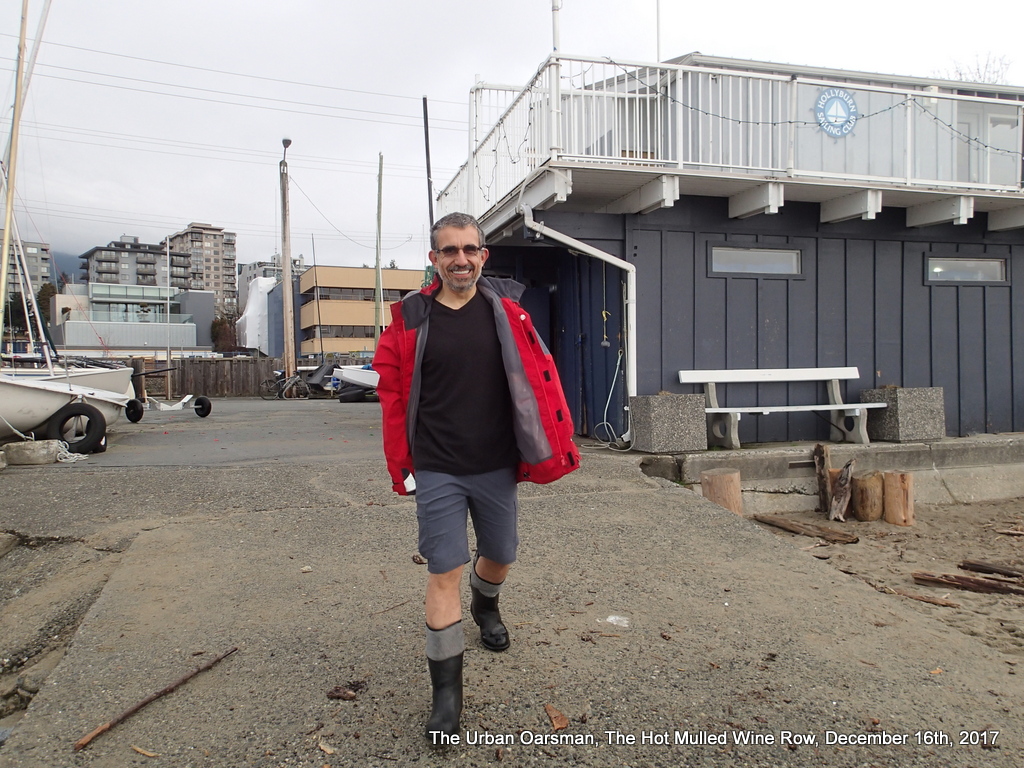
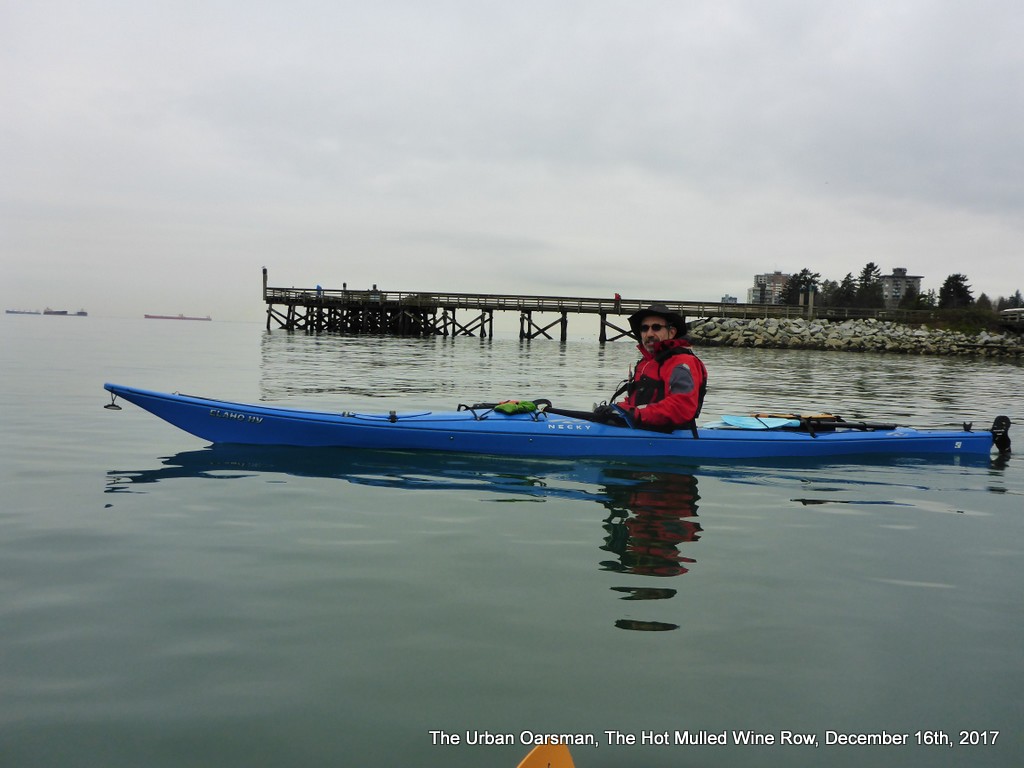
Our Kayak Captain.

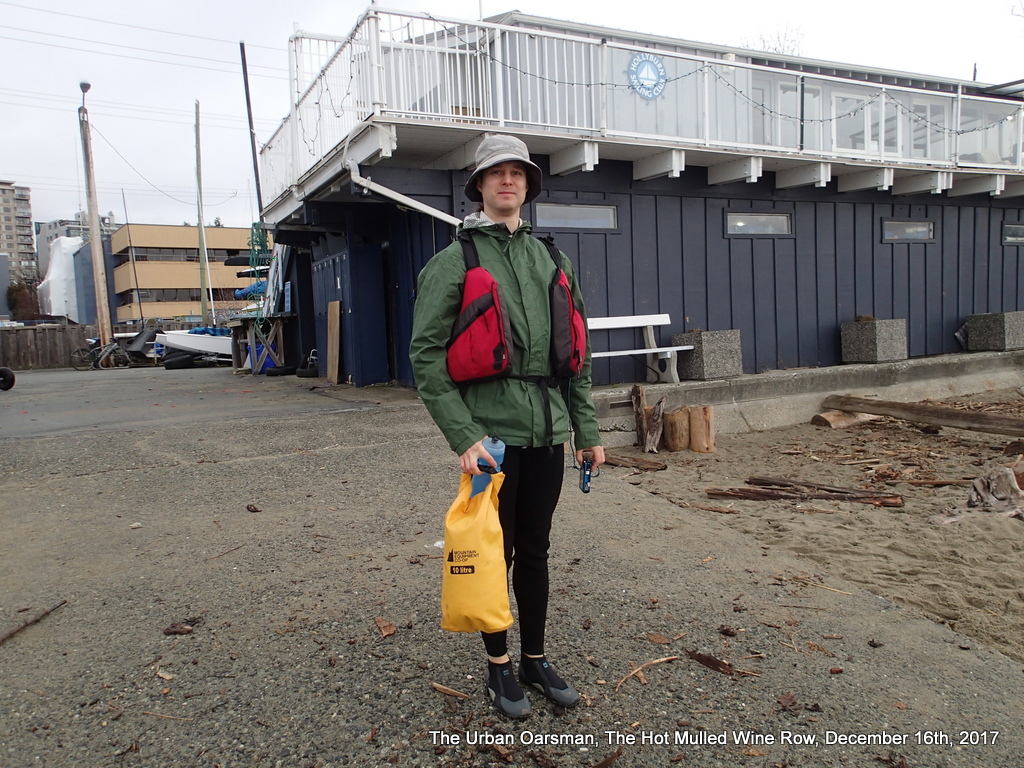
A well-equipped Co-op Captain.

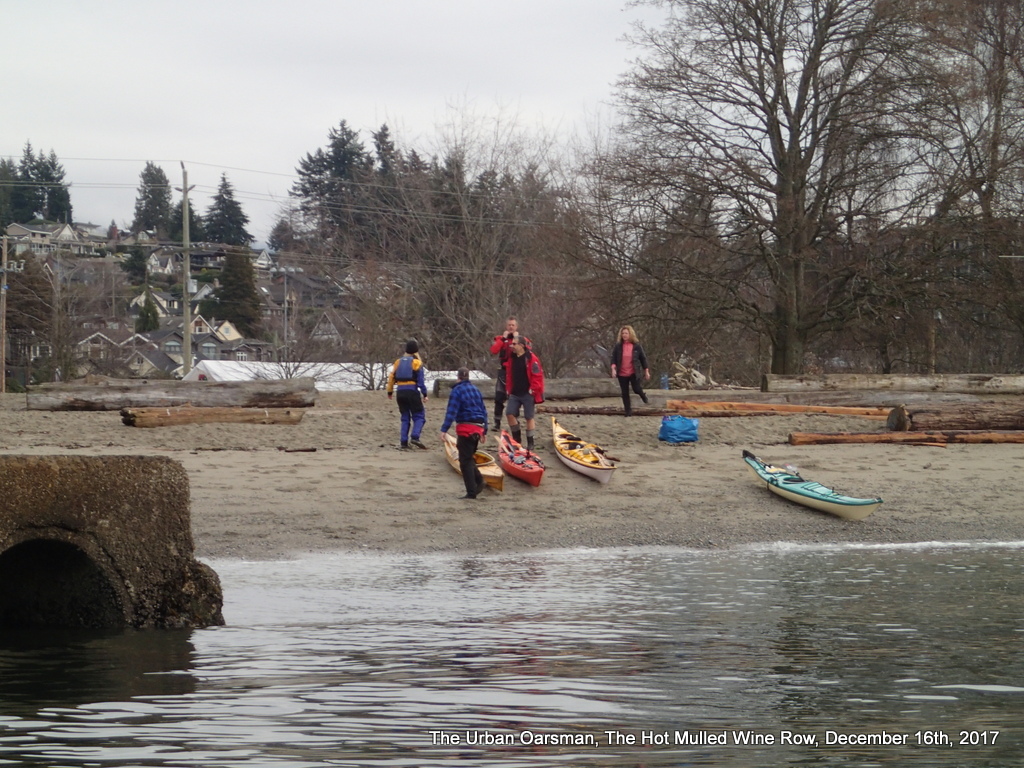
I row over and take some photos of the rest of the kayaks being brought down the beach:

SKABC kayak fleet for the paddle.

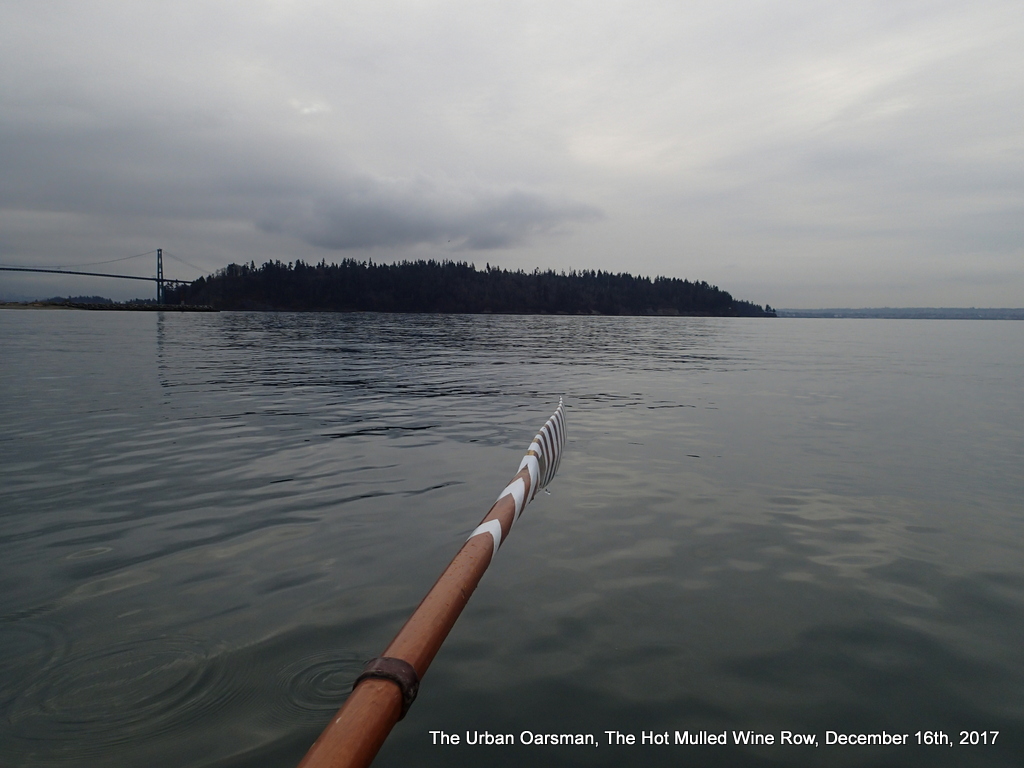
Because the kayaks are faster, I get a head start to Sandy Cove.  The oars are 18″ deep on the power stroke.  Almost a 30° 60° 90° triangle to the water. Somehow, I always seem to raise my right hand a little higher, probably from using oars a little too long .

After I have left, the Kayak fleet assembles.

It is pretty flat and there is almost no wind.

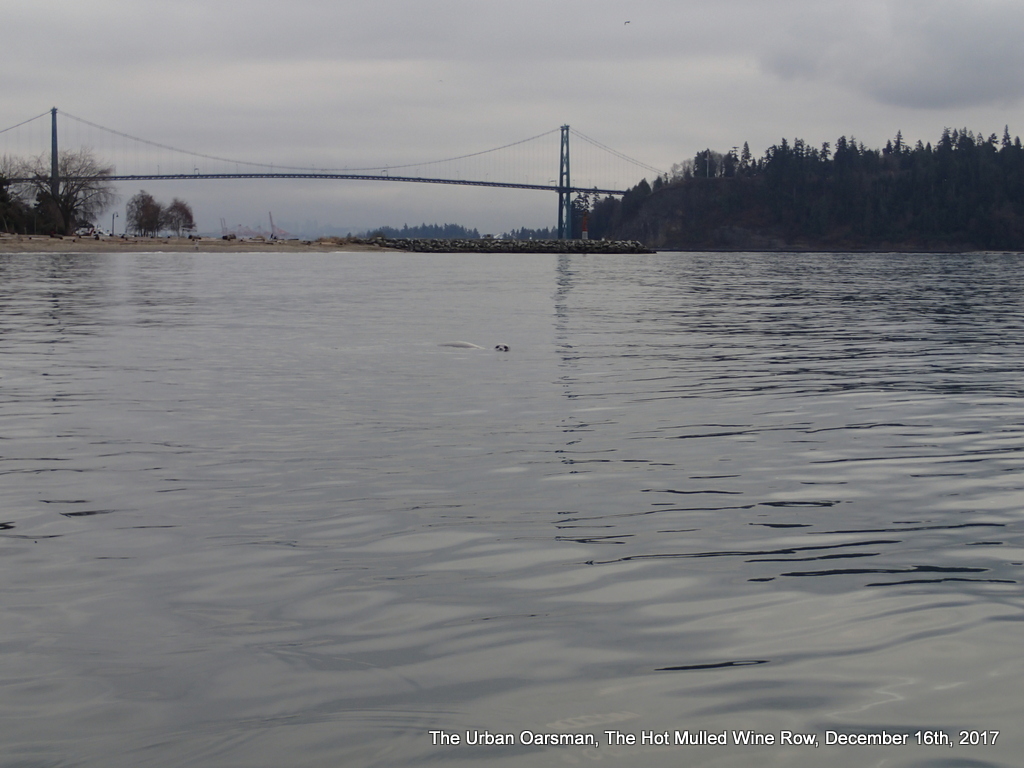
Friendly seal.

A seal follows me out from the pier.  I often wonder if the fisher-folk ever catch anything that is not stolen by the seals.

14th Street Fishing pier.

The seal gives up on me and returns to the pier for easier pickings.

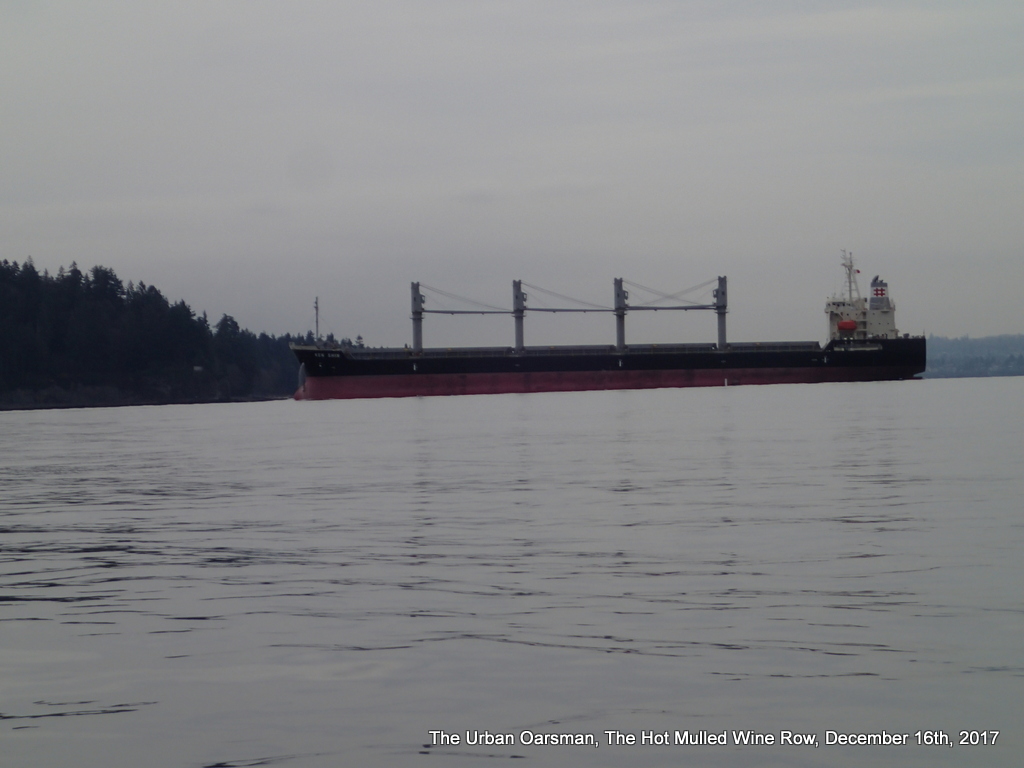
The Ken Shin.

A freighter enters the inner harbour.  Port Metro Vancouver established new boundaries for Marine Restricted Area 1 (MRA1) the area around First Narrows.

This is the Club’s new Sailing and Paddling limits map and policy:

The portion of English Bay South of the Club is part of the Port of Vancouver and is an active shipping channel.

All HSC members must observe the following limits:

Do not sail or paddle south of a line (1) from the North Tower of the Lions Gate Bridge and the Capilano Light, or East of a line (2) True North of Ferguson Point.

Do not sail East of a line from the (3) Welcoming Figure Groyne due South.  Paddlers may go to the Capilano River (4).

Do not sail or paddle North of a line drawn West along the Prospect Point shore (5).

No non-motorized craft are allowed to cross under the Lions Gate Bridge.

Do not sail East of the storm sewer outfall into the area marked by the “keep out” buoys during the swimming season.

Stay well clear of the Ambleside Pier during light winds, strong tidal current and active fishing.

When crossing to the south of English Bay, allow ample sea room and cross West of John Lawson Pier.  Cross the shipping lane at right angles with extreme caution.  A freighter coming into the harbour takes twenty minutes or less to get to the bridge from off of Point Grey.  Be on the look-out for vessels leaving the inner harbor – You have no right of way over commercial shipping vessels.

Vancouver Harbour radio is VHS channel 12.


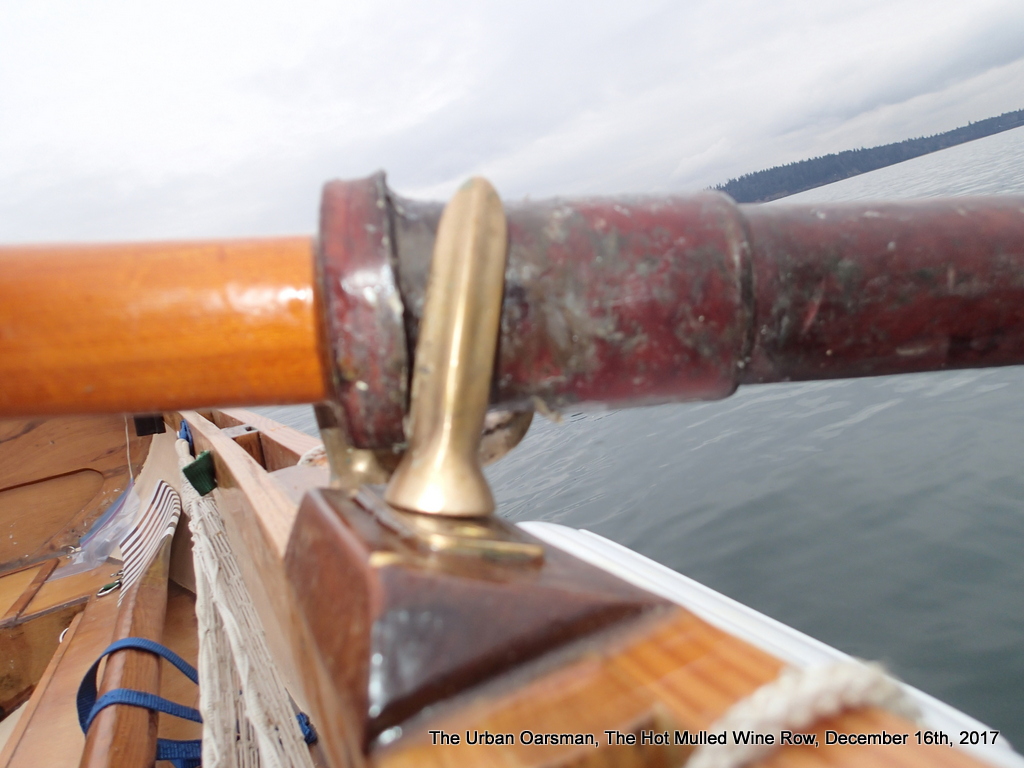
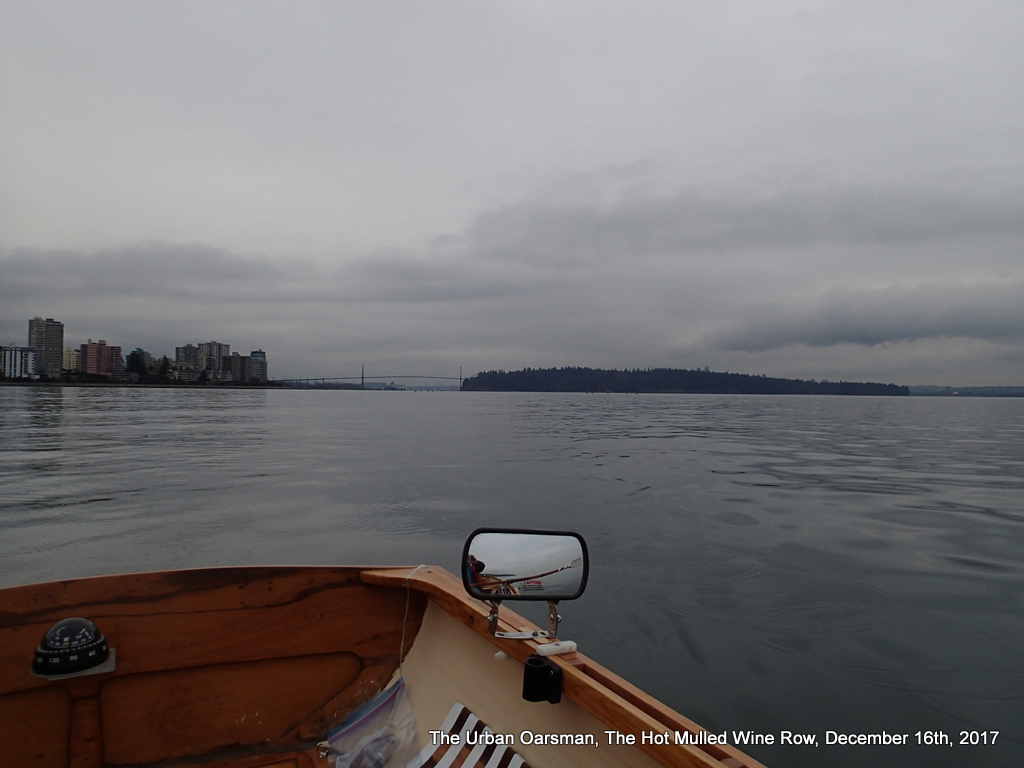
This row is a good time to try-out the new 15° offset oarlocks.  The idea is that during the “power stroke”, the oar is 90° to the oarlock horn.  This is supposed to keep the oar from creeping inwards on each stroke and keep the oarlock socket/oarlock from “creaking” or “thunking” during the stroke.

15°offset oarlocks.

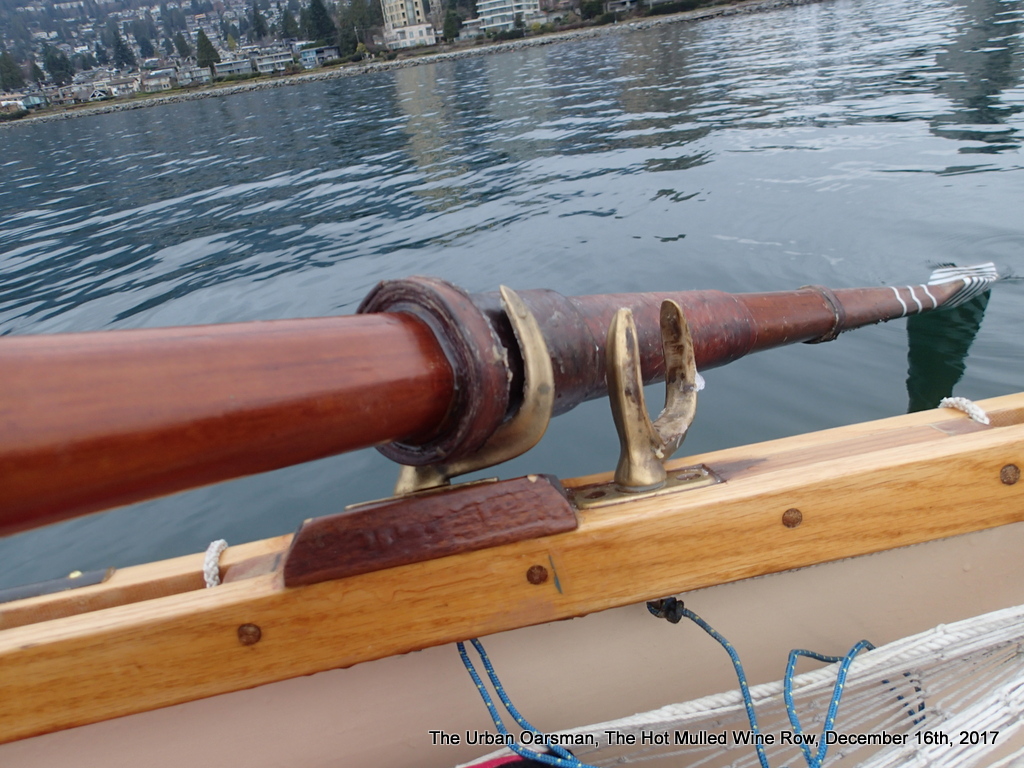
Another view:

15°offset oarlocks, side view.

What I am finding is that the oarlocks still “creak” in the sockets and the oars bind in the oarlock during the recovery stroke.  The horns “pinch” the leather collars and the oars are hard to raise out of the water, level with the gunwales.  I have them well lubed with “Snowseal”, but, they are still binding.  Maybe the 15°offset oarlocks are not a viable idea for Gwragedd Annwn.  I still have the old sockets in place.

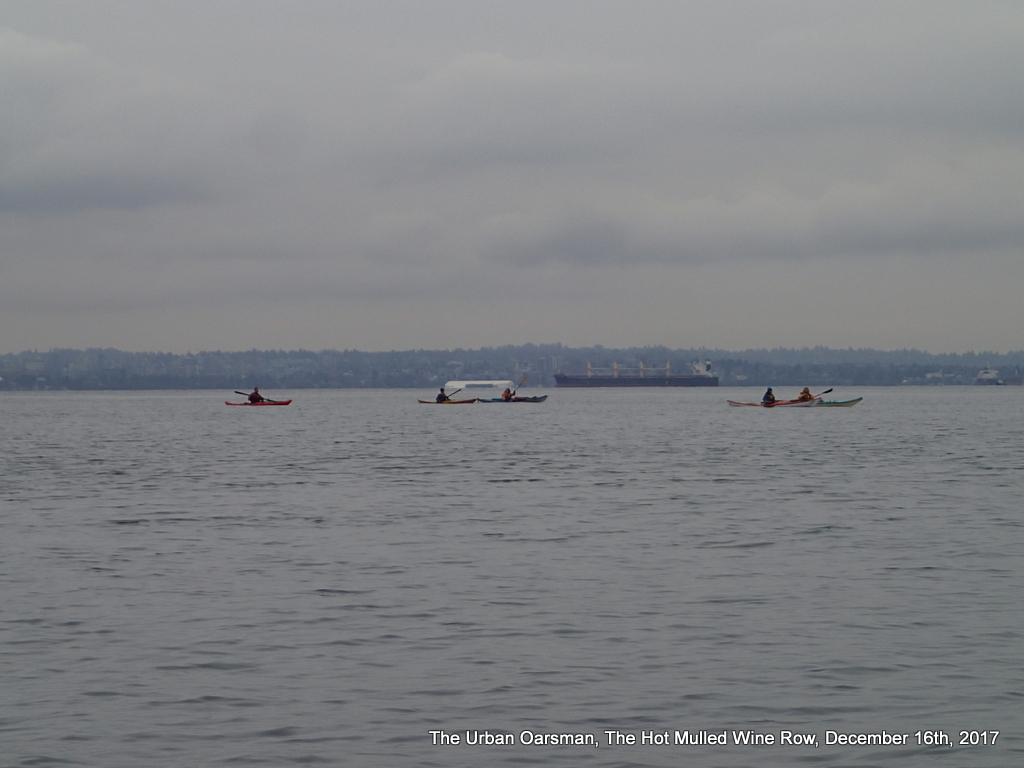
Kayaks on the horizon.

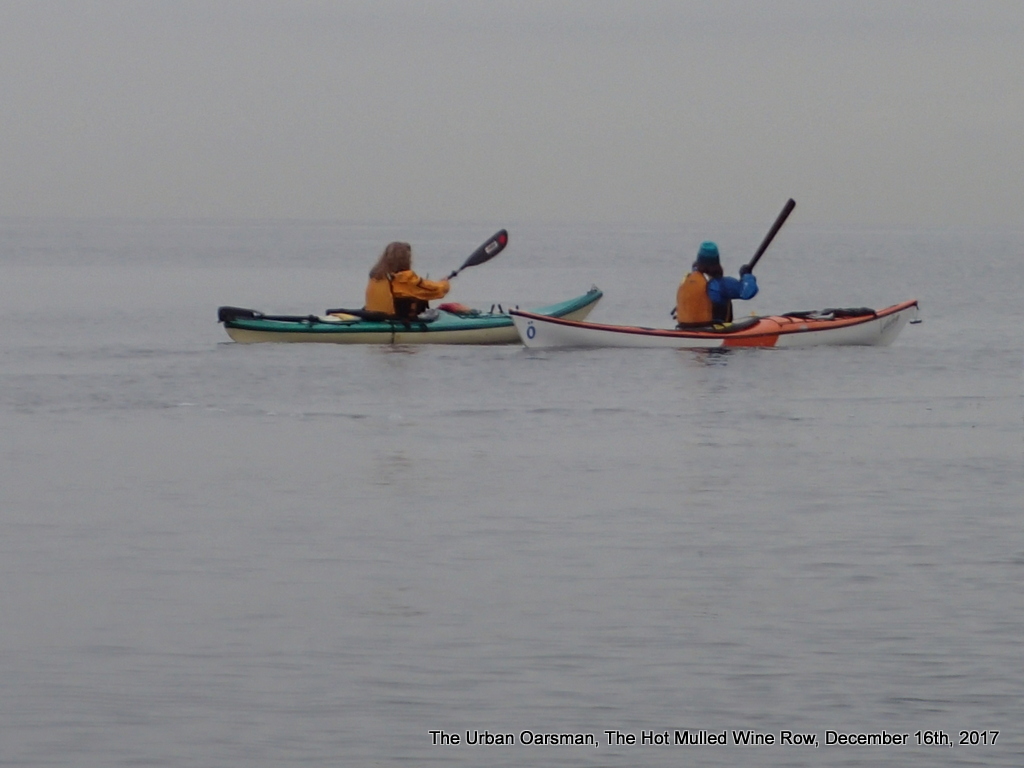
There are nine kayaks with me on this row (paddle for them).

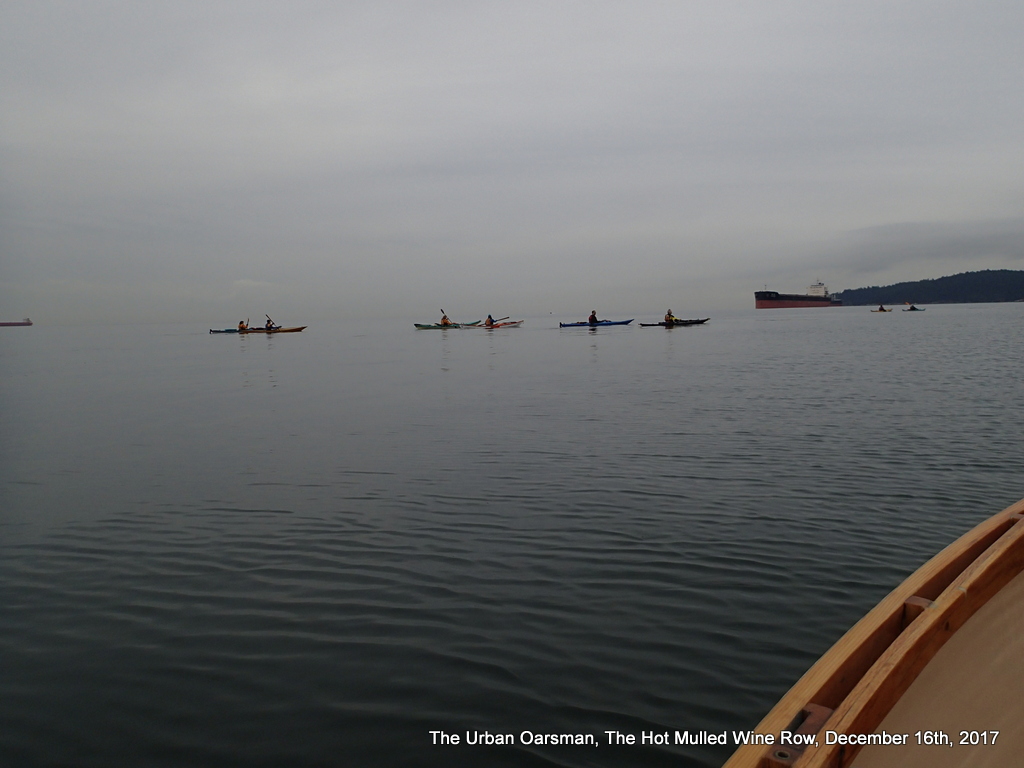
The Kayaks pass outside of me.

The kayak fleet heads for Sandy Cove.

A couple of close-ups as they pass:

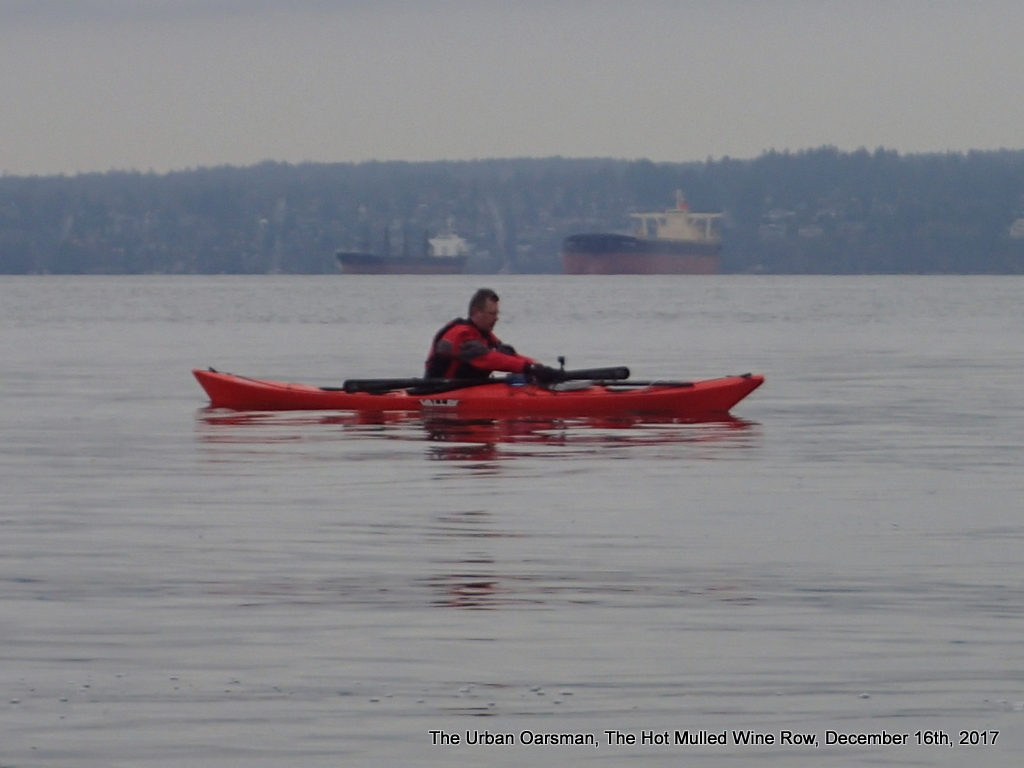
SKABC kayaker.

SKABC kayakers.

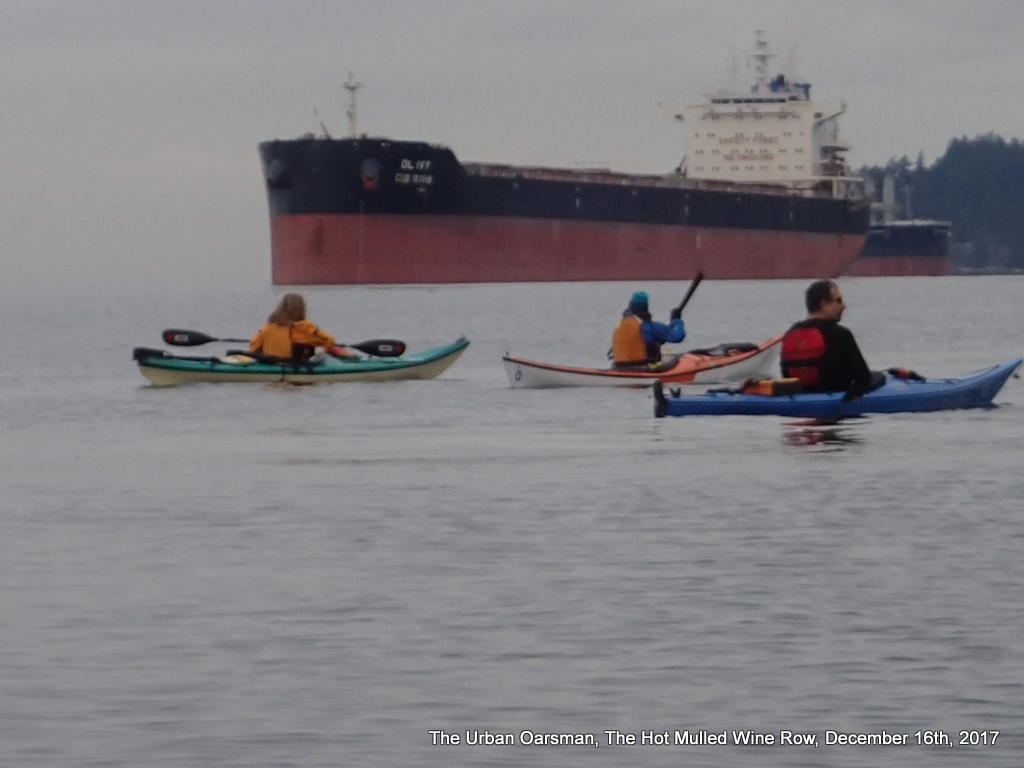
Two SKABC kayakers and a HSC kayaker with a freighter at anchorage 18 in the background.

And one of Gwragedd Annwn as they pass…

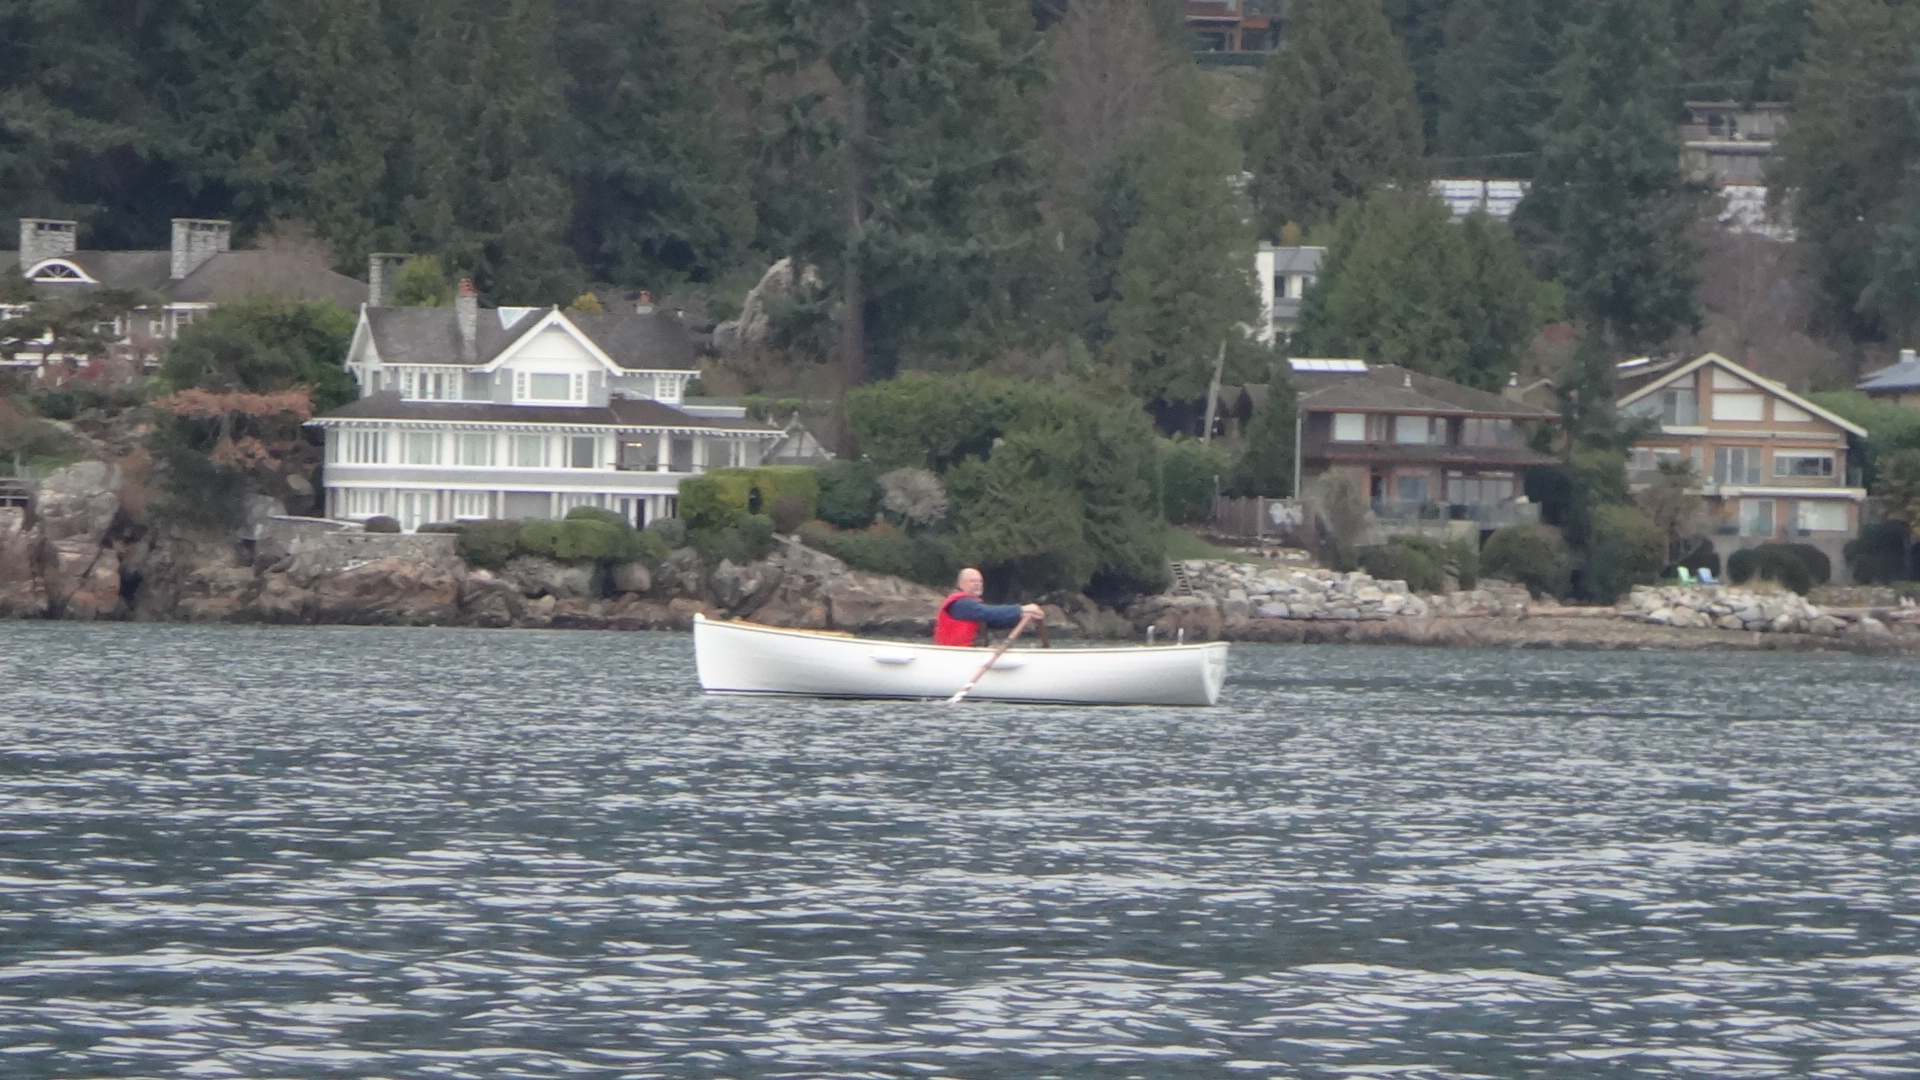
Gwragedd Annwn and the Urban Oarsman.

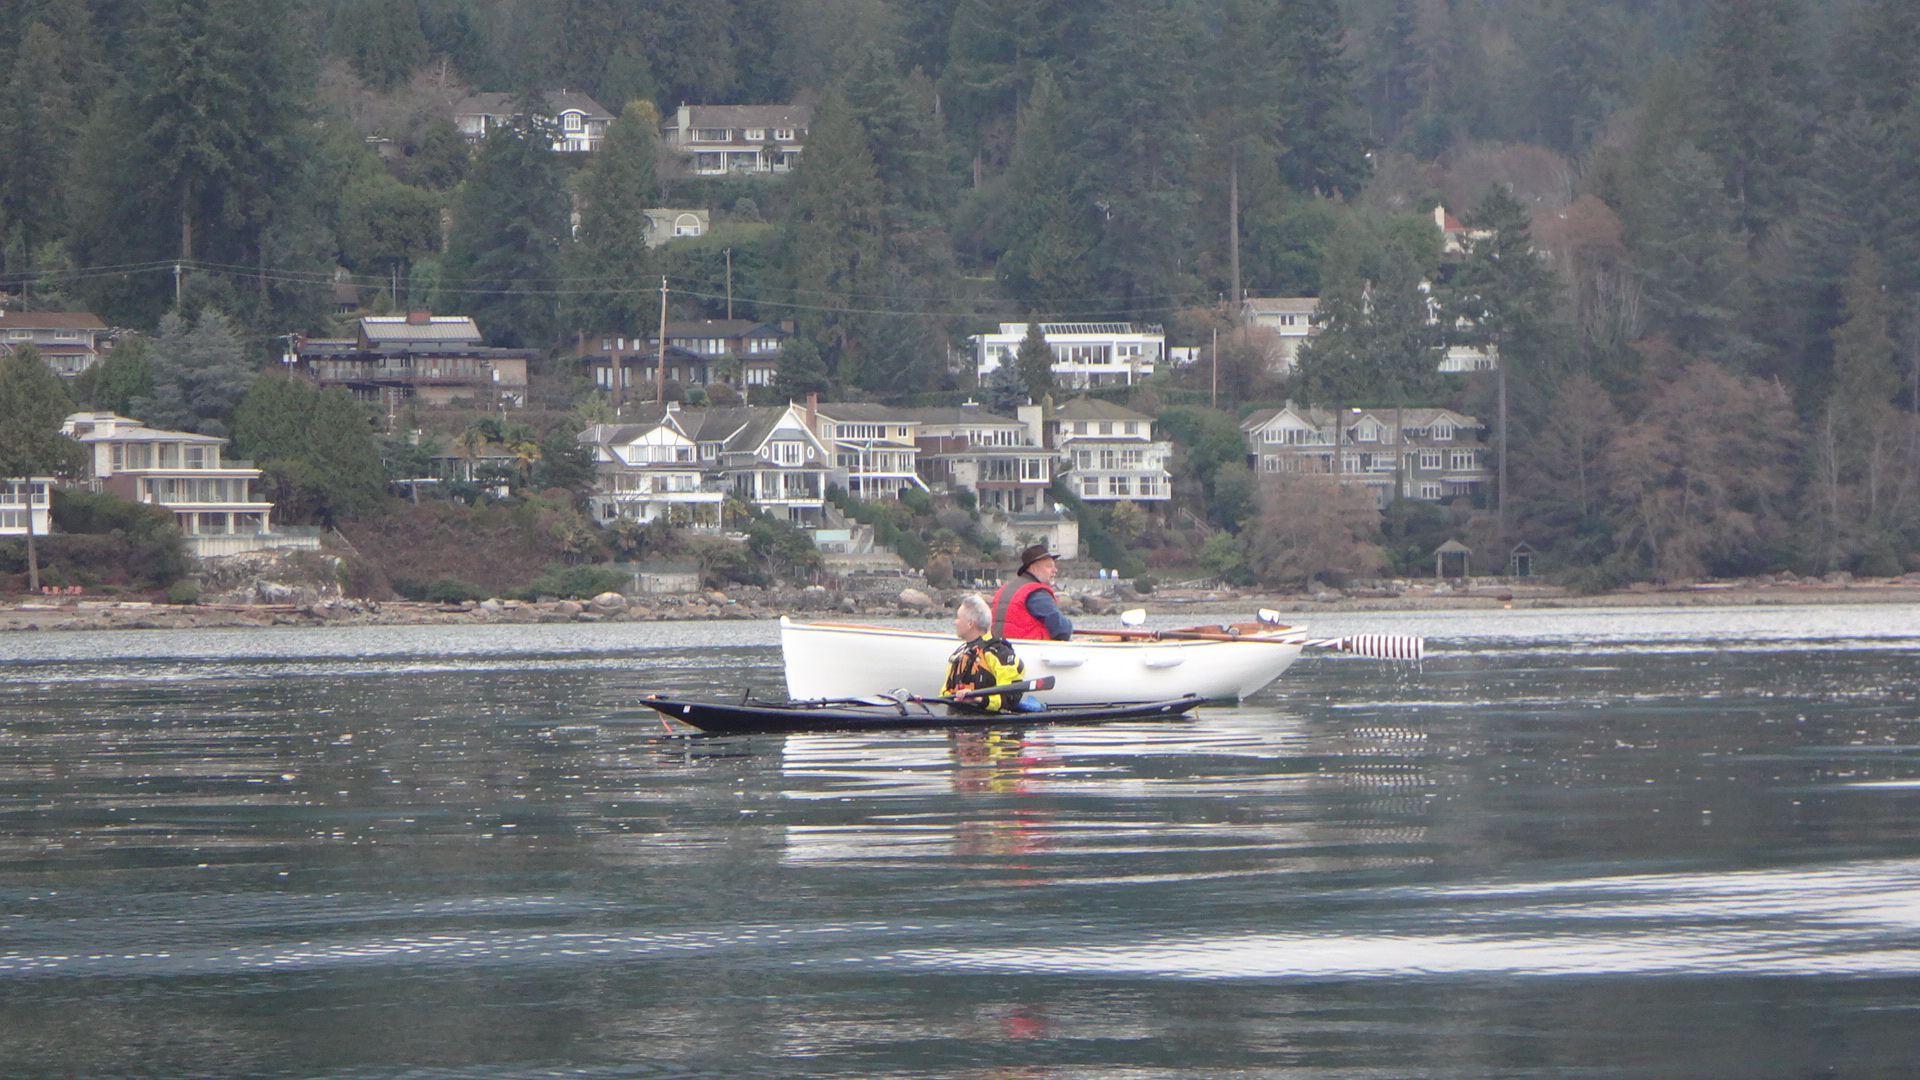
Chatting with a kayaker.

Chatting about the thin-blade paddle.

The fleet lands.

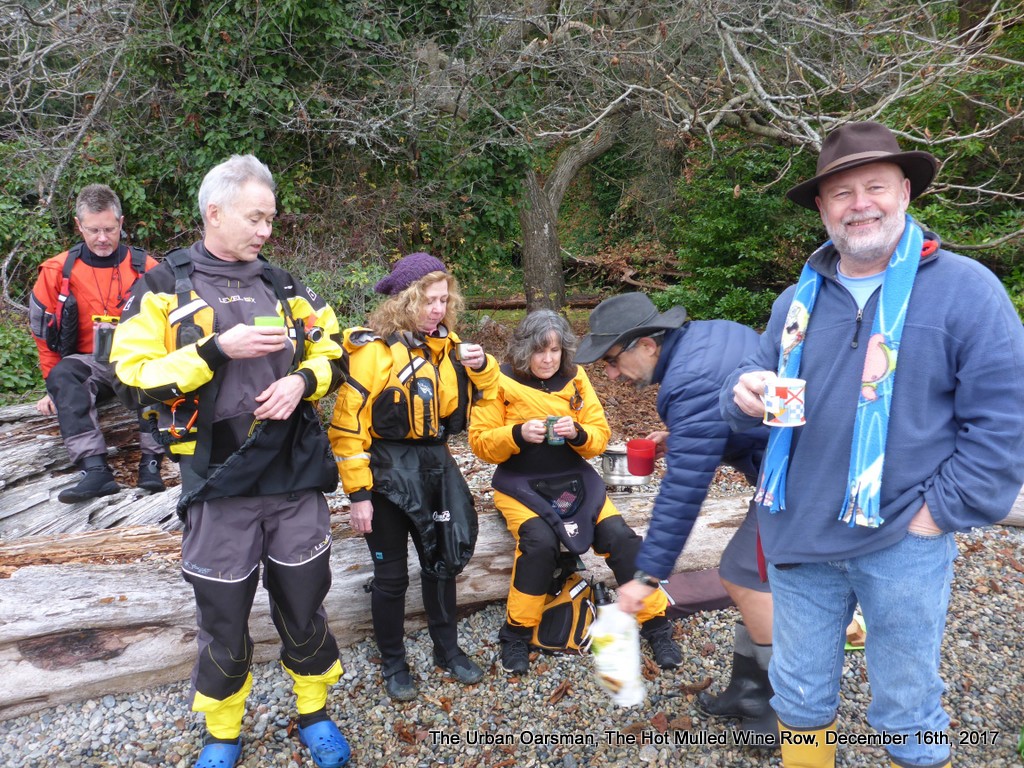
All ashore for the Hot Mulled Wine!

Maciej makes the mulled wine for the crew.

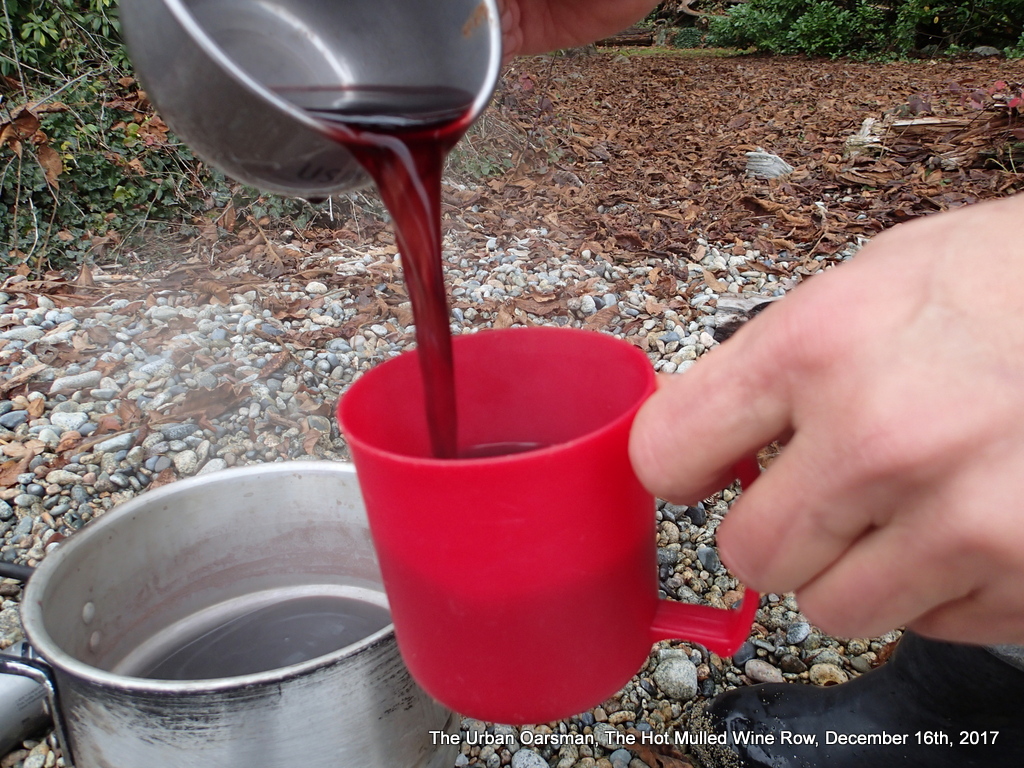
Pouring a cup for everyone who wants one…

Lone Oarsman among the paddlers.

The Mulled wine is quite a treat!

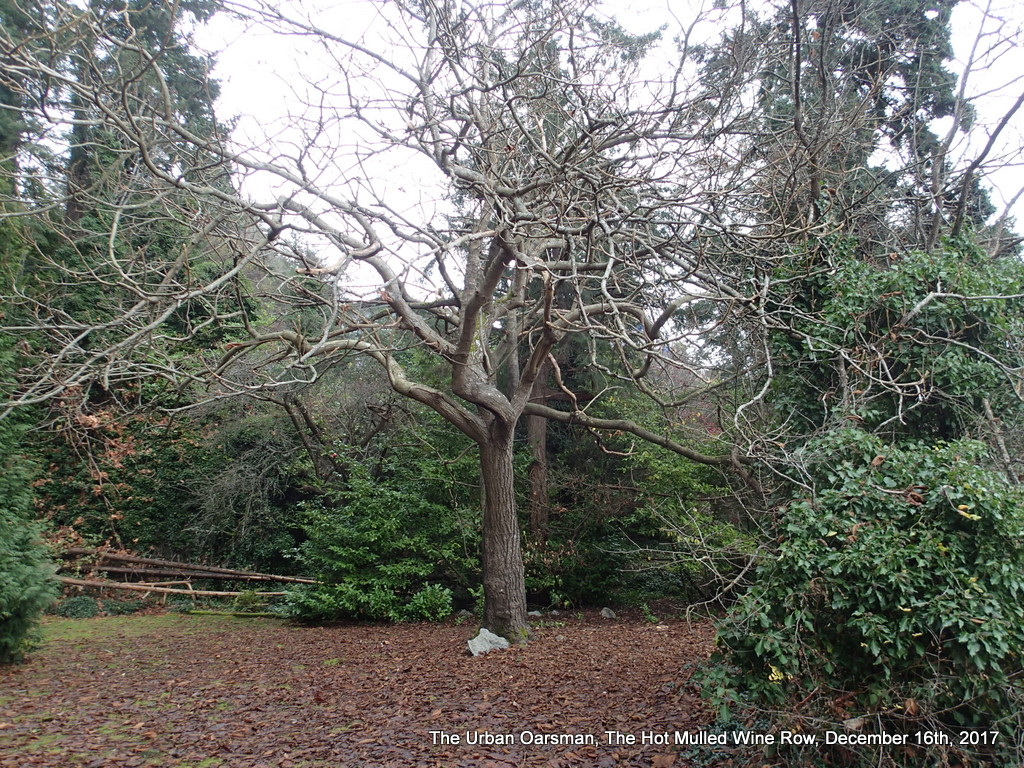
Interesting tree.

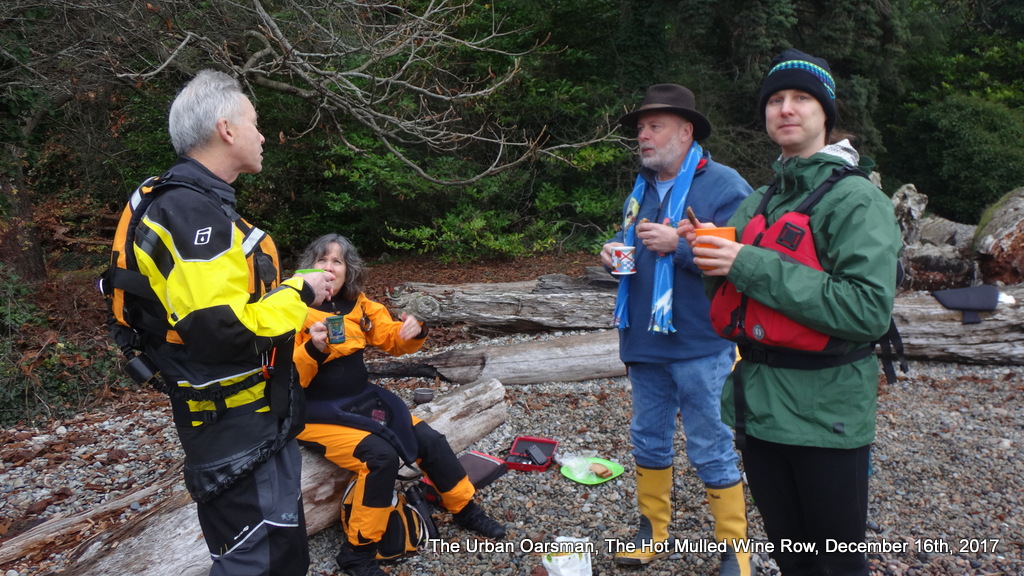
Socializing at the beach:

Socializing on the beach…

Loading up Gwragedd Annwn for the row home.

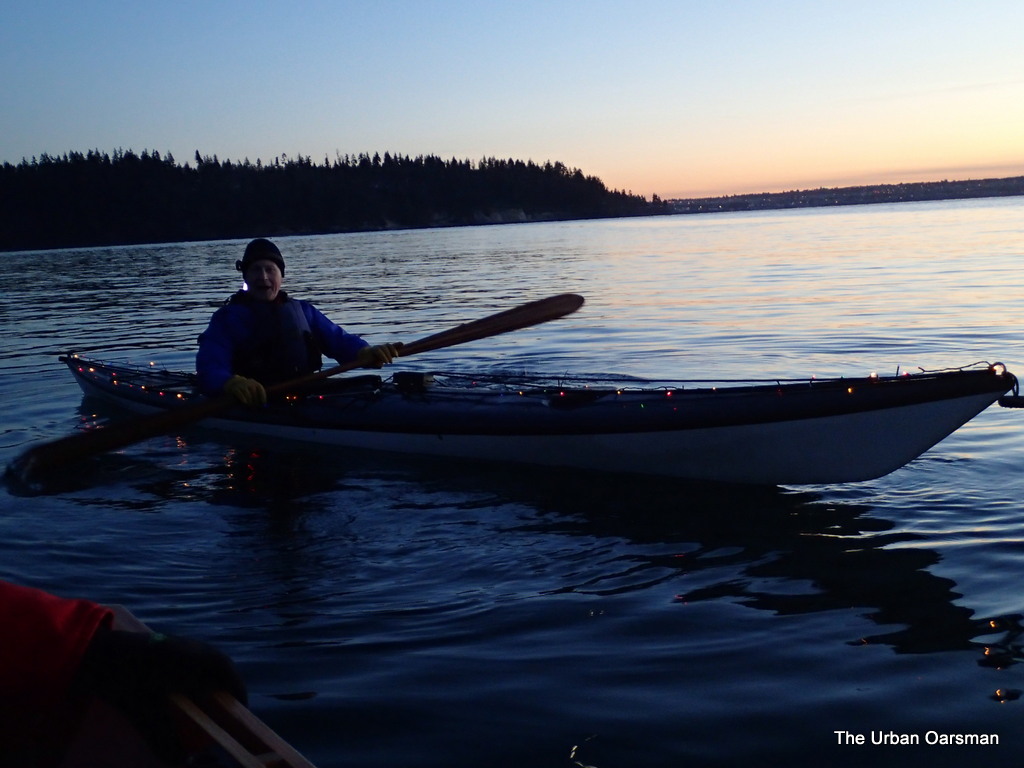
I know that it is hard to see, but I have turned on Gwragedd Annwn’s Christmas Lights for the upcoming Dundarave Forest of Miracles Bonfire row.

We leave just ahead of the Kayaks.

As usual, the Kayak fleet catches up to Gwragedd Annwn and passes us.

Passed by kayaks.

Passed by Kayaks again.

Passed by Kayaks Again Again!!!

Kayaker Mike posted a video set to music of the paddle Click the picture to see!

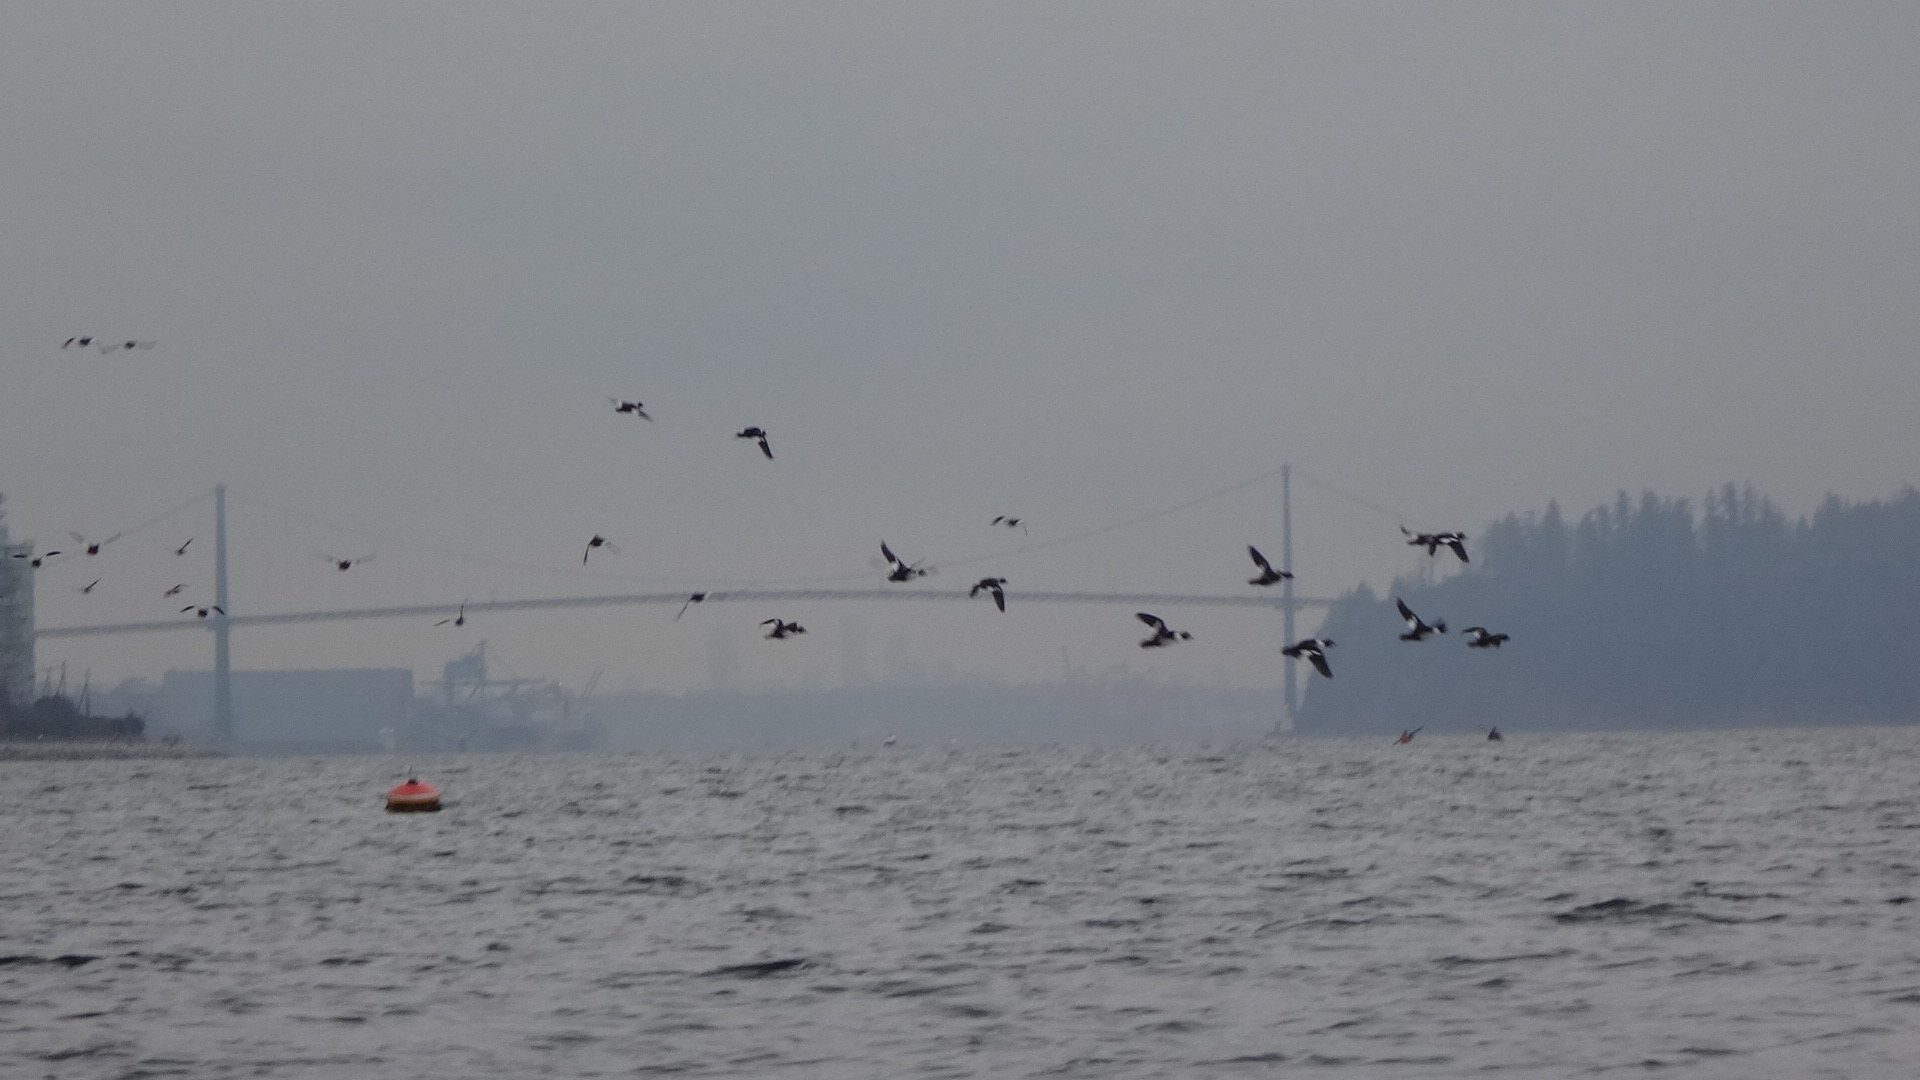
The Kayakers make the birds take flight…

Coots scoot.


A friend joins the row:

Nothing like a Commodore’s Mug of Mulled Wine with a friend.

For the rest of the row, I stay close to shore.  There is a North-East wind, and I stay in the wind-shadow of the shore as best I can.  I end up putting on my windbreaker.  The pogies keep my hands warm.


A great day spent with great paddlers.

Good rowing to you,


Mike


Posted in Under the Keel.... | Leave a comment

The Dundarave Forest of Miracles bonfire row.

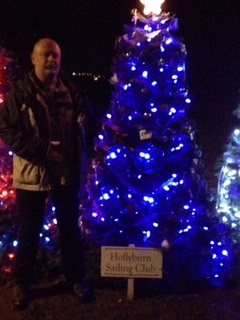
Every year the Hollyburn Sailing Club has an evening row to the Dundarave Festival of Lights where the Forest of Miracles Christmas Trees are and the Bonfire.  The Sailing Club sponsors a tree, decorating it in the Club’s colours.  This year the tree had a blue/white light colour scheme…I am lobbying for a red (Port) green (Starboard) colour scheme for next year.

Forest of Miracles Hollyburn Sailing Club tree, 2017.

The row usually takes about two hours, leaving the club after dusk (4:30pm.ish) and returning by 7pm.

The trip is followed by a pot-luck supper and a visit to the club by Santa Claus for the more junior members.

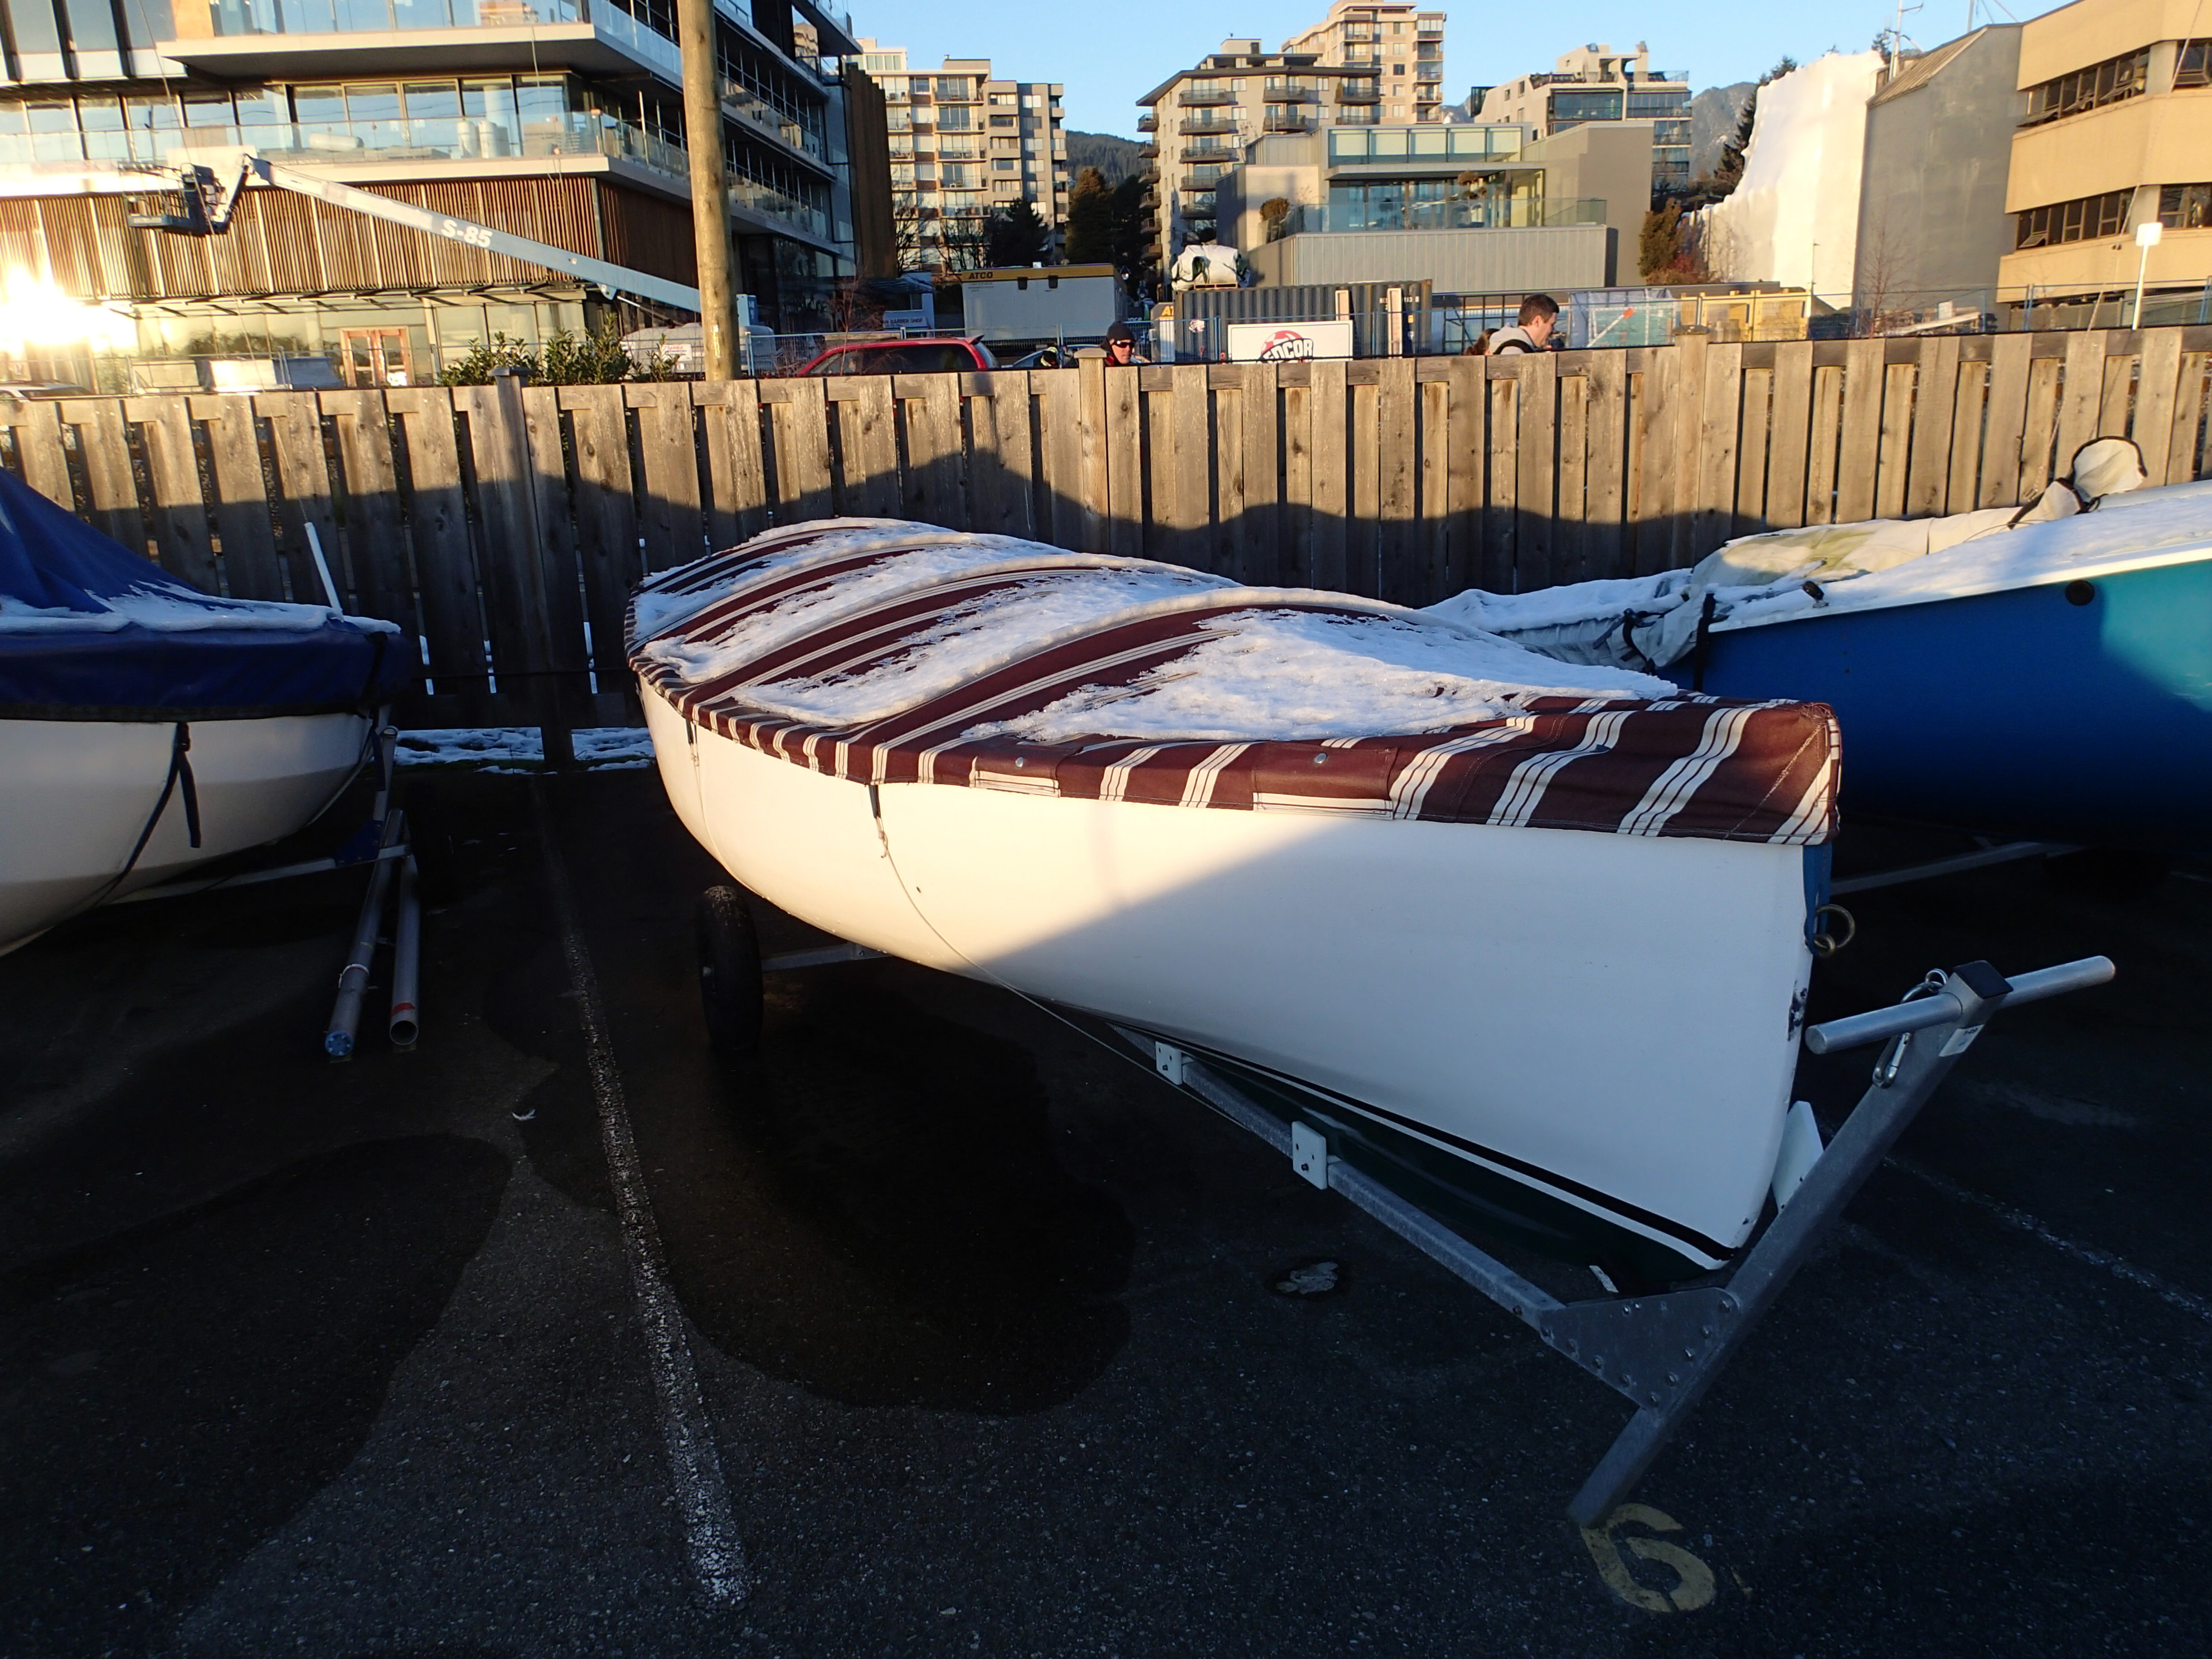
I arrive early and have to dust off the snow from Gwragedd Annwn’s cover.

Readying Gwragedd Annwn for the 2017 Hollyburn Sailing Club Christmas Paddle to Dundarave Forest of Miracles and bonfire.  The snow is frozen into sheets and come off in big pieces.

Our fellow member, Don, will be coming with me on this trip.

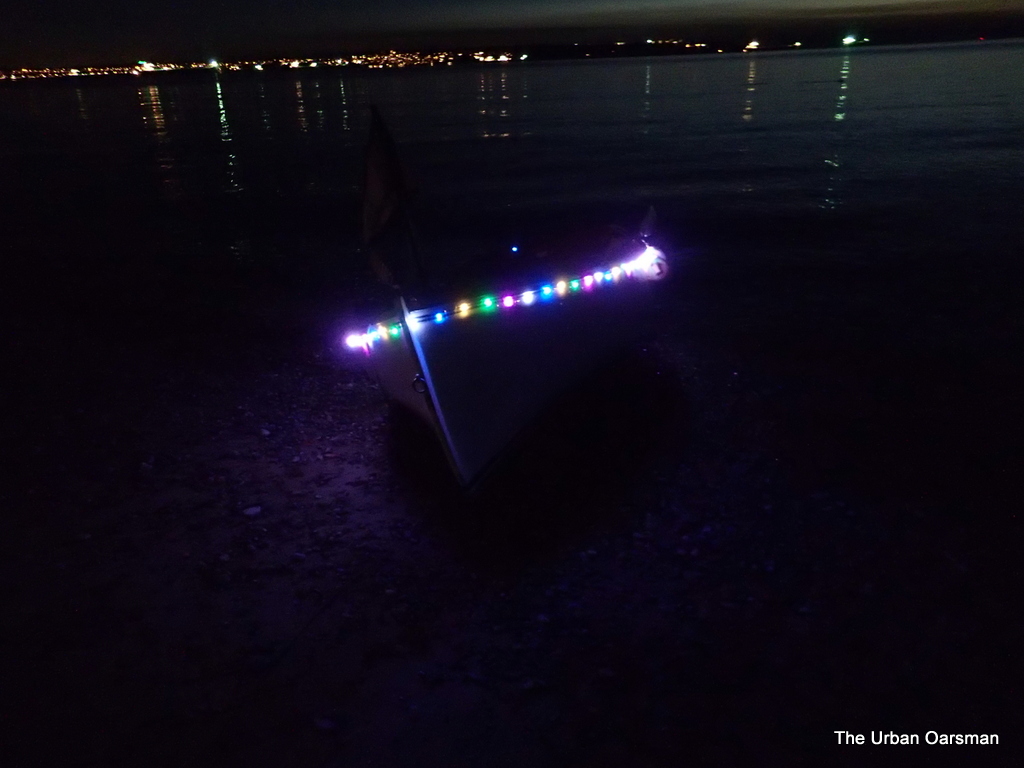
Don and Gwragedd Annwn with her Christmas lights on.

It is a beautiful sunset….

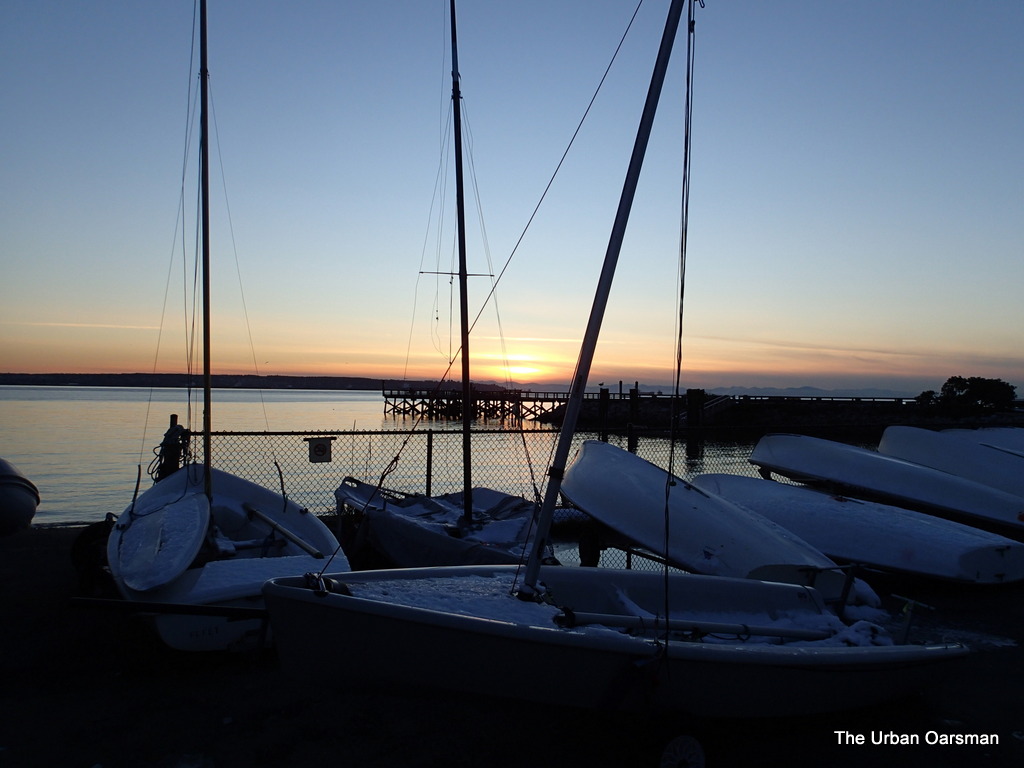
Sunset at Hollyburn Sailing Club.

A calm evening…Perfect!!

No wind tonight.

We launch Gwragedd Annwn.  There will be two Kayaks, the Safety boat and Gwragedd Annwn on this trip.

Two Kayaks.

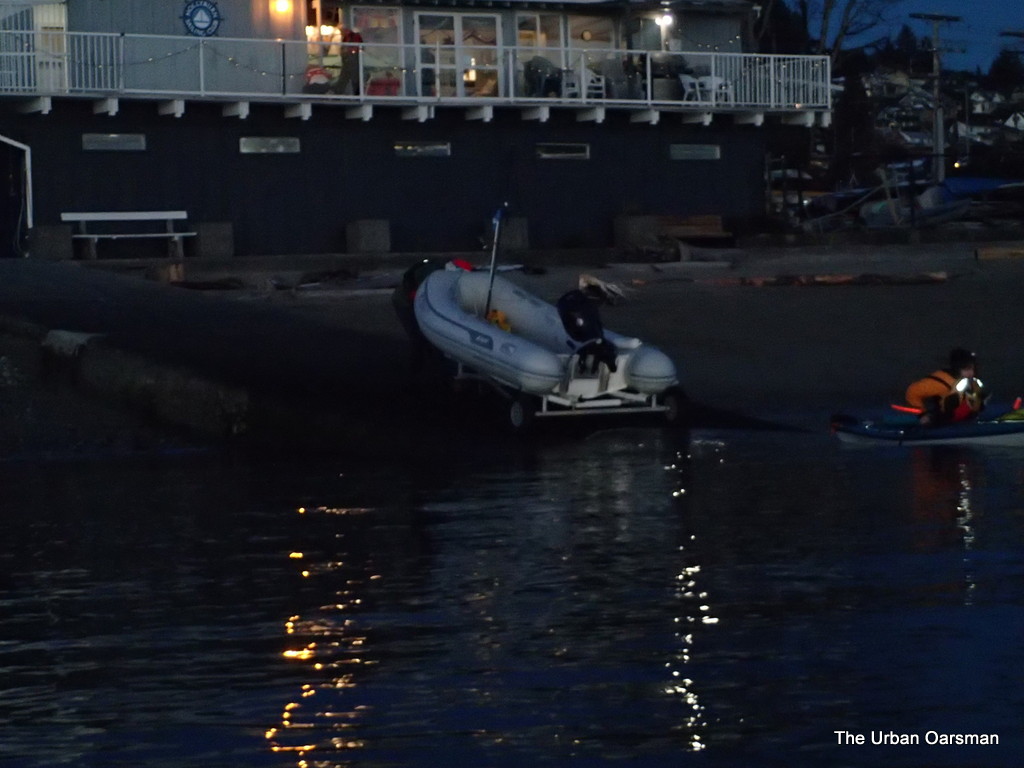
Our Safety boat.

HSC Safety boat for the evening.

Don and Rueben will crew the safety boat.  Whenever the Club sponsors a function, they provide a safety boat…just in case.  We all take a turn over the year’s events.

Kayakers prepare to launch.

The moon is out…

The moon leads the way.

Paddlers launch.

The Safety boat is next.

Safety boat launch.

Up in the Club, preparations are underway for the post-paddle pot luck and Christmas party.

Roy lit up.

Roy has his white light at his back.

As is usual, the Kayakers take the lead

Don rowing with the Kayakers in the lead.

This is the first time that Don has been in Gwragedd Annwn.  He feels that she rows well.

The Oarsman’s view, Lions Gate Bridge to the East.

The safety boat follows along, outside of the paddlers.

The Hollyburn Sailing Club safety boat.

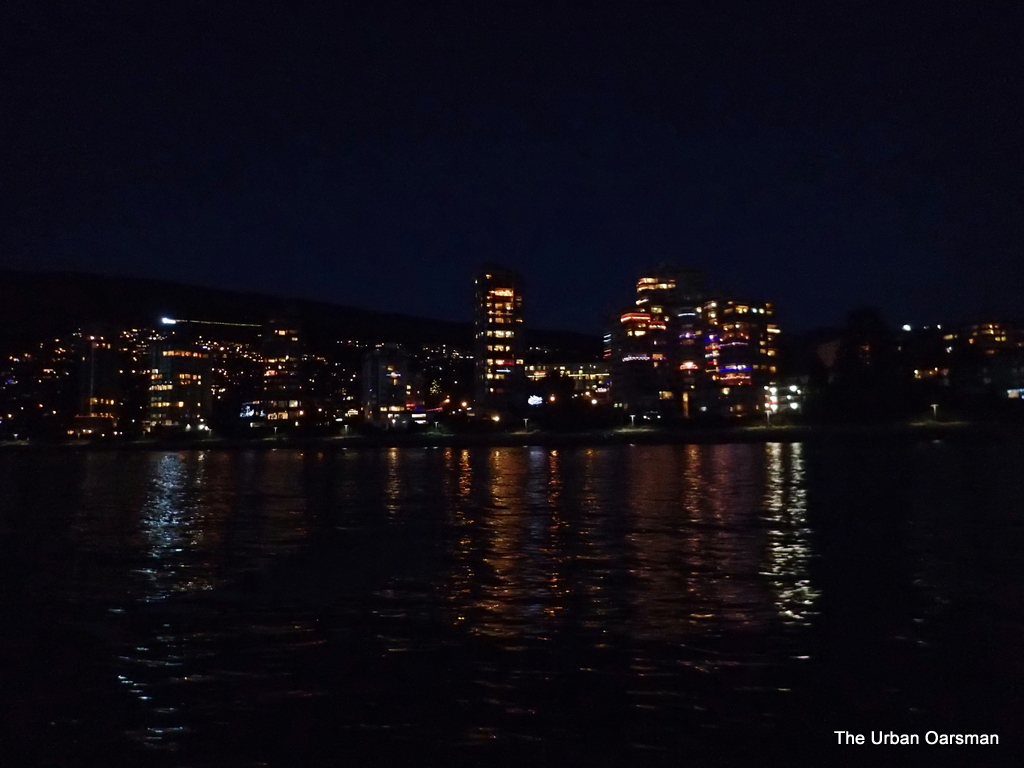
The West Vancouver Shoreline is brightly lit.

The West Vancouver Shoreline shimmers in the clear, crisp & cold air.

We see the bonfire.

Bonfire ahead.

We (the Kayaks, Safety Boat and Gwragedd Annwn) are the only boats on the water.

To keep Don’s feet dry, I drop him off at the Dundarave Pier dock and row around the pier to the beach.

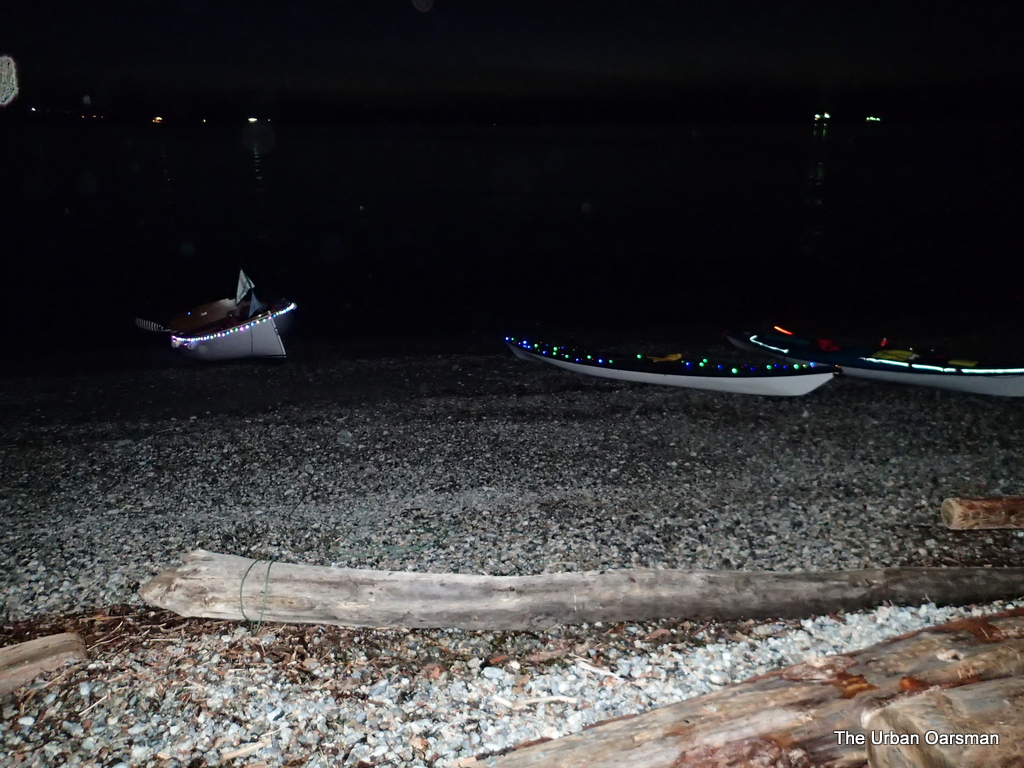
Gwragedd Annwn with her Christmas lights on the beach at Dundarave.

The Kayaks have landed as well.

Rowers (and Paddlers) on the beach.

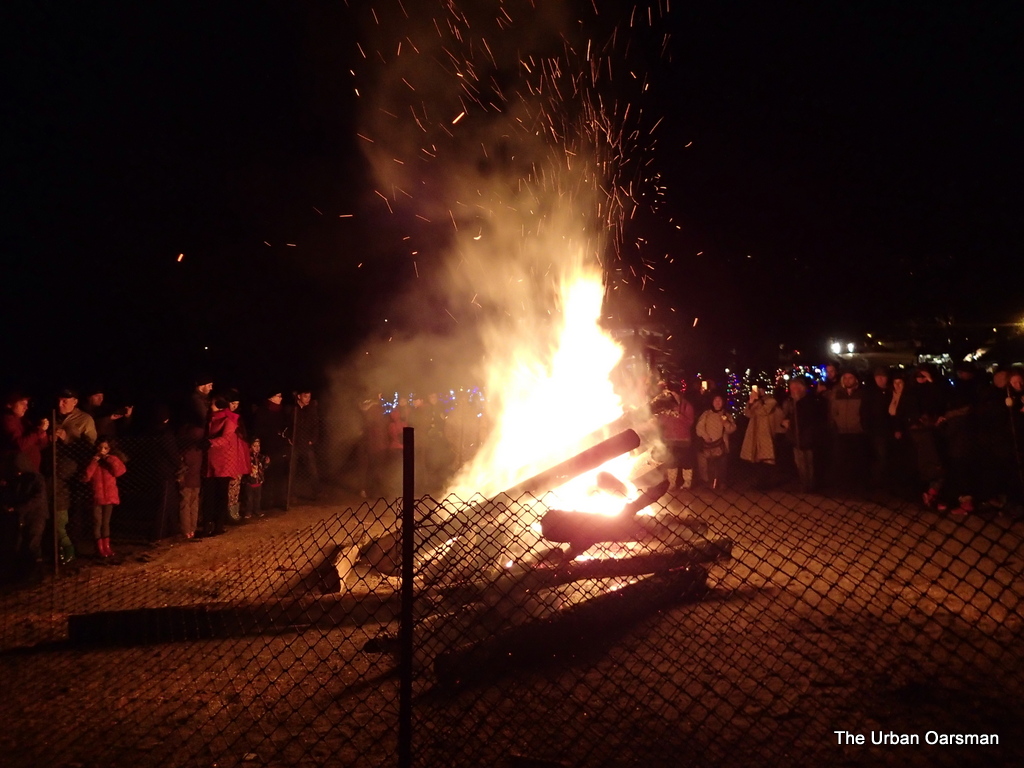
The Hollyburn Sailing Club Safety boat is tied to the Dundarave Pier float.  The bonfire is big, bright and surprisingly warm.

Dundarave Festival of Lights 2017 bonfire.

We meet club members who walked down because of the cold

Friends already there.

We all go to the main tent and get hot chocolate and cookies (by donation).  We take a group photo by the Hollyburn Sailing Club tree.  Getting a little cold, we decide to get the blood pumping by going back to the Club.

The row home.

On the way back to HSC, we stay closer to shore to avoid the North-East drift.  The air is a little stiller closer in.

Heading back.

Don takes the oars and we are heading back.  Gwragedd Annwn’s Christmas lights reflect off of the oars.  There is also a “glow” in the water around Gwragedd Annwn.

The Safety Boat.

Almost at the Club, just off of the 14th Street Pier, the Safety Boat heads in.  AS usual when rowing with Kayaks, the little white rowboat always comes last.

The Hollyburn Sailing Club Clubhouse.

We get closer,

Back at the club where the warmth awaits.

I take the oars and drop Don off at the 14th Street Pier floating dock.

A little later, The Safety Boat, the Kayaks and Gwragedd Annwn are put away and we all go upstairs in the Club for a Christmas pot-luck.


Merry Christmas to all.

Mike


Posted in Under the Keel.... | Leave a comment

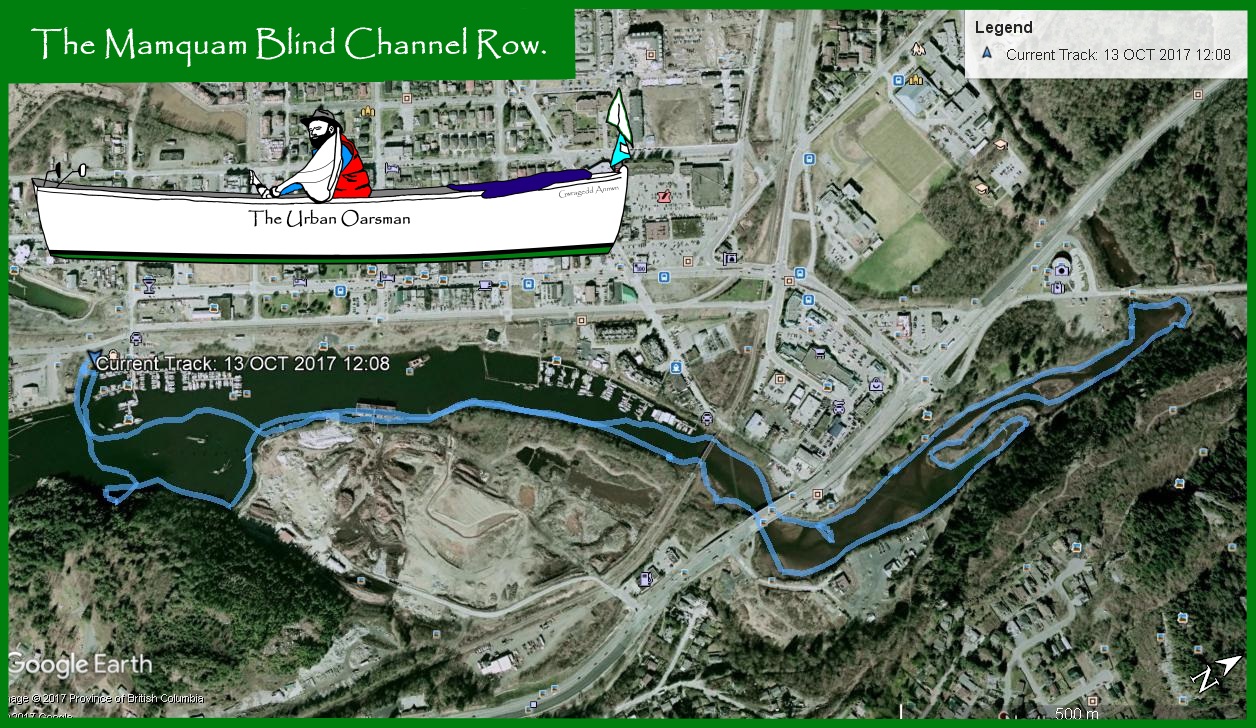
The Urban Oarsman rows the Mamquam Blind Channel in Squamish, B.C.


I have finished Gwragedd Annwn’s 2017 Refit and Refurbishment.  Time to take her out for a test row…  She has new adjustable thwarts, air tight foredeck, stern and side buoyancy tanks, new foot braces and a new foredeck storage box for her anchor and lines.

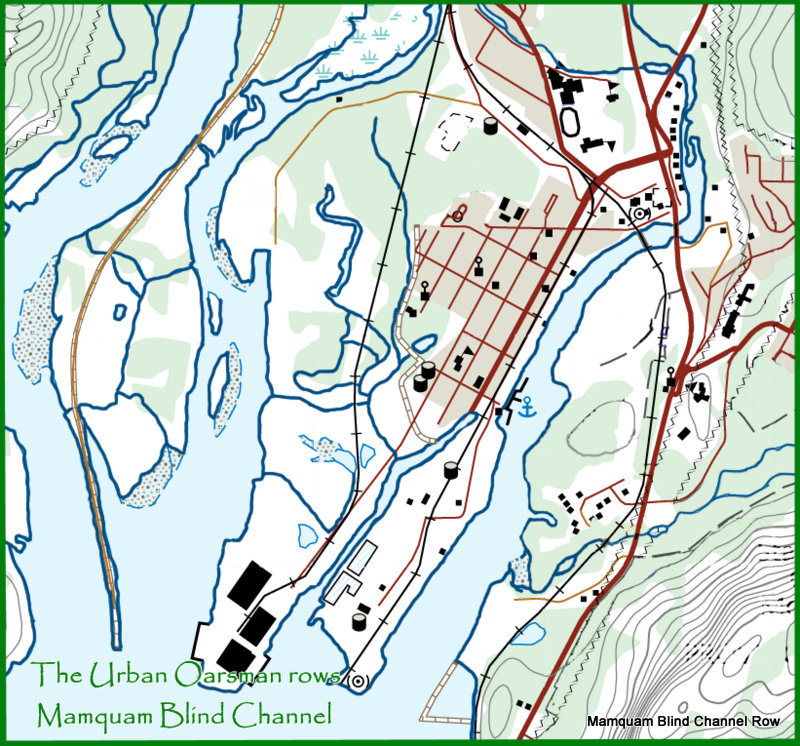
Here is a topo map section showing the Mamquam Blind Channel:

One of the things that you have to look out for in Squamish are the inflow and outflow winds.  In the summer, they usually outflow until 11am, they then shift and become inflow and are usually very strong.  The weather prediction for today is for light to variable winds.

I unpack Gwragedd Annwn, stow her traveling cover and stow my gear.

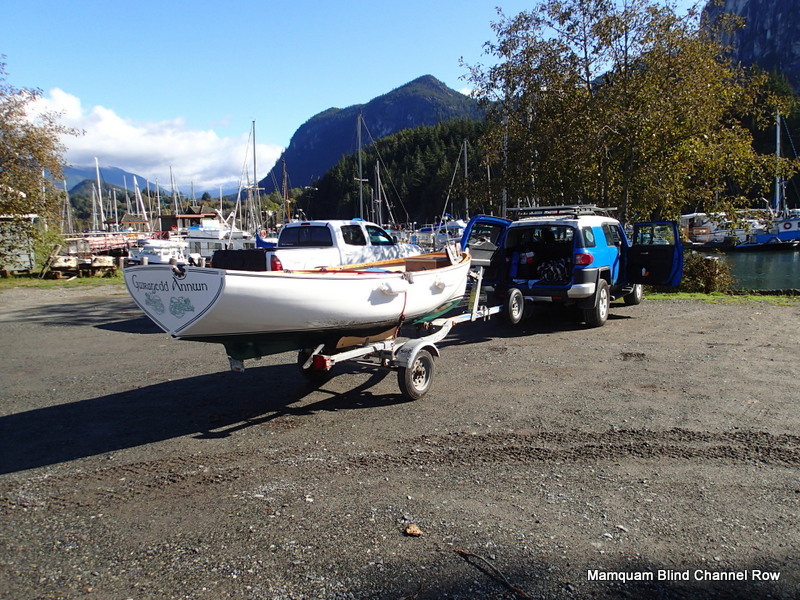
Arriving at the free boat launch, next to the Squamish Yacht Club.

The boat launch is basic and very usable.  It is best at a mid to high tide.

2017-10-13   Tides for Squamish      (Friday)

Time        Height

PDT       (m)     (ft)

06:19    1.3     4.3

14:01    4.5     14.8

20:00  3.1     10.2

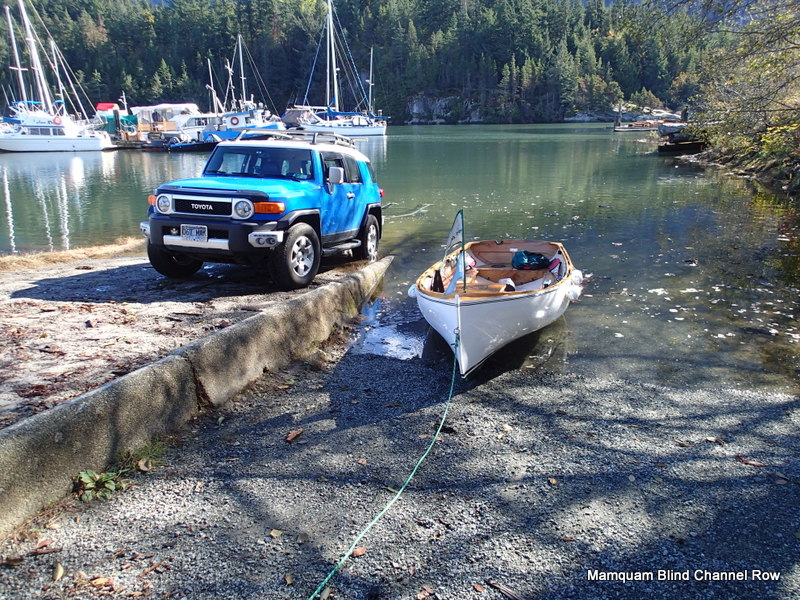
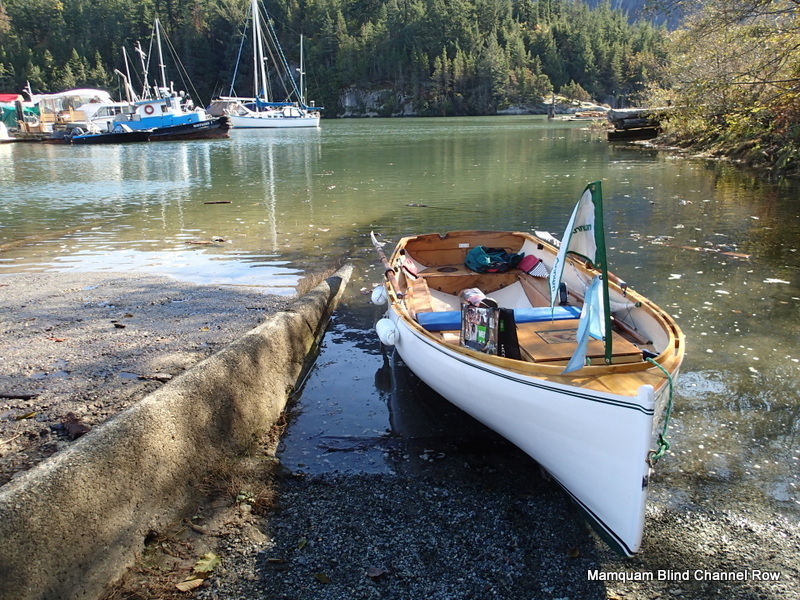
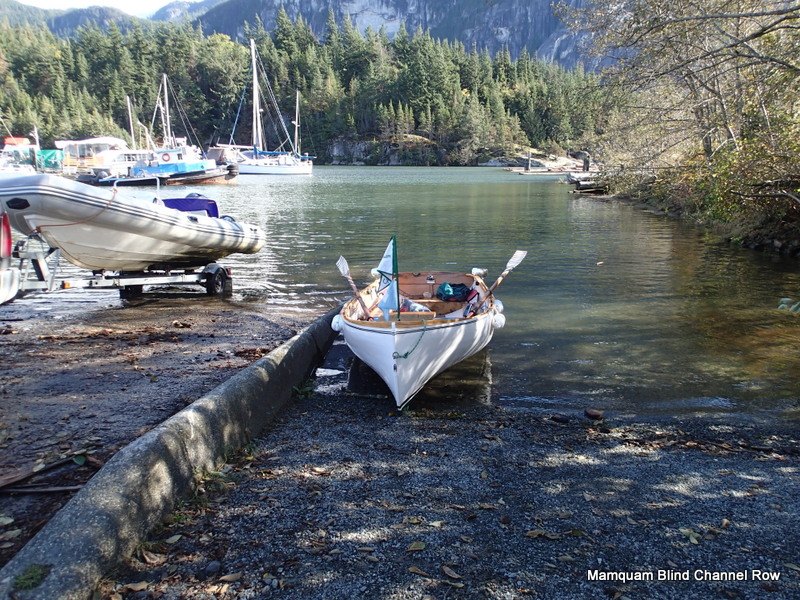
Gwragedd Annwn at the boat launch.

There are actually two lanes, one paved (Port) and one gravel (Starboard) where Gwragedd Annwn is beached.

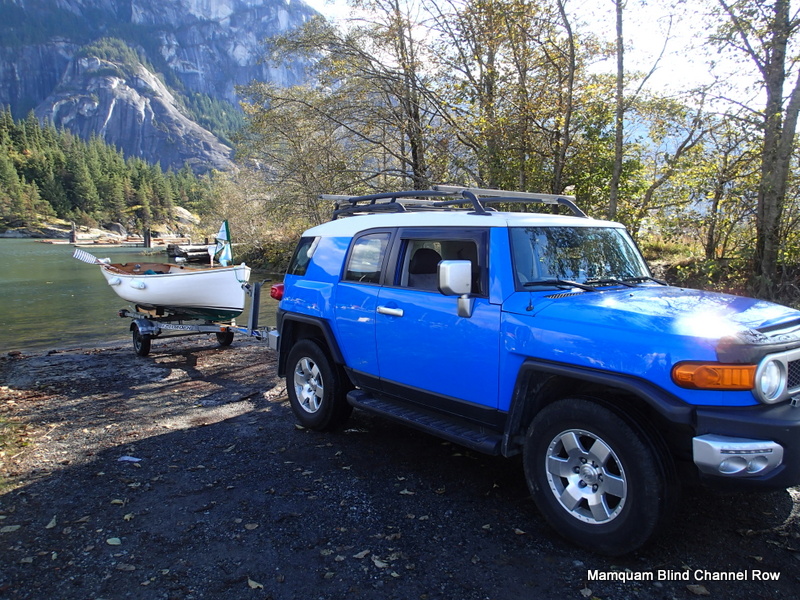
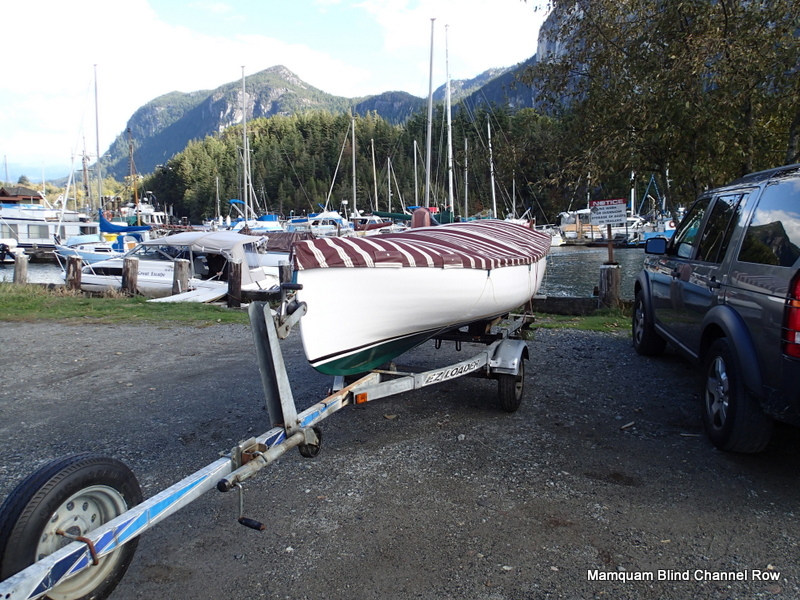
Truck & trailer parked, Gwragedd Annwn ready to go.

In this photo you can see her new foredeck storage box.  I reused the blue seat cushions.

Leaving the boat launch behind.

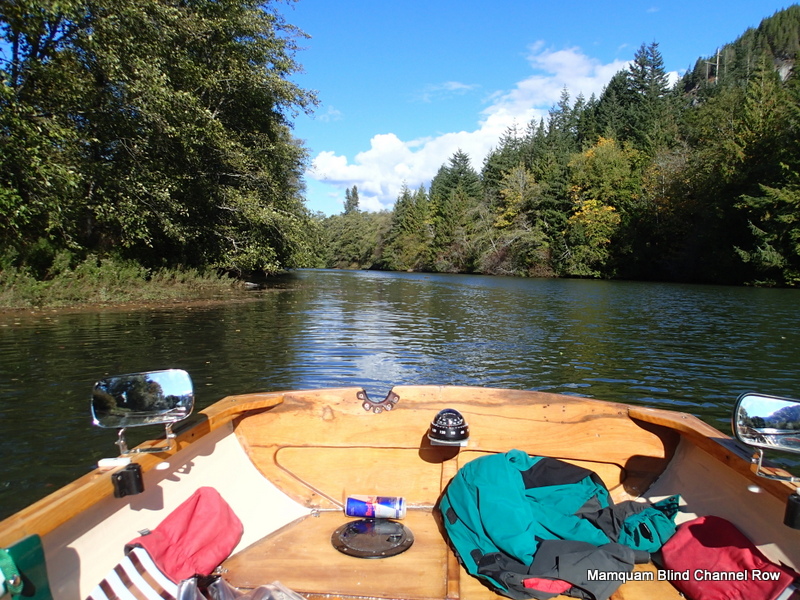
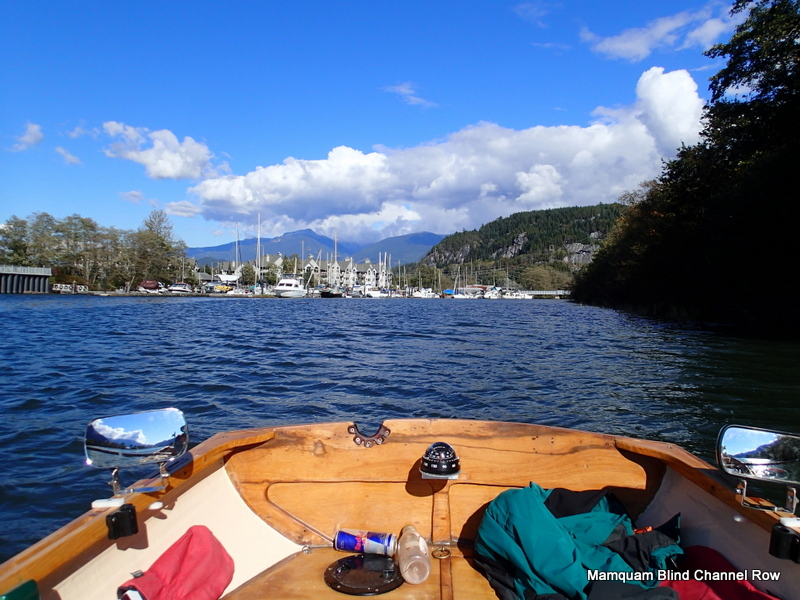
I row out into the Mamquam Blind Channel.

Mid Channel.

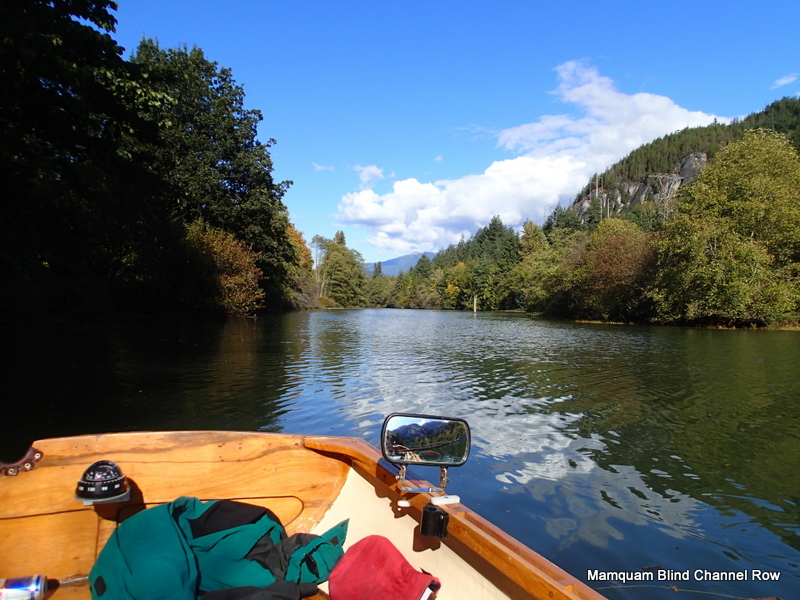
I row across the channel and head North-East, up the East side.

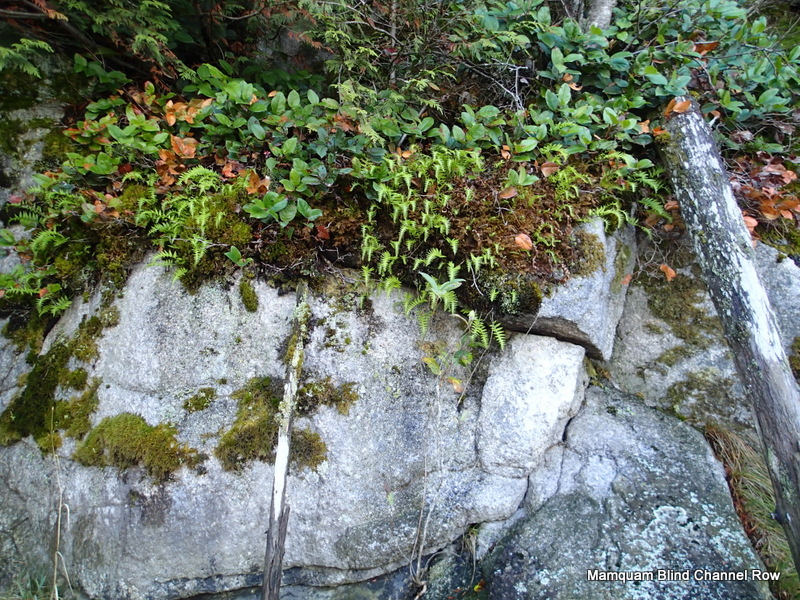
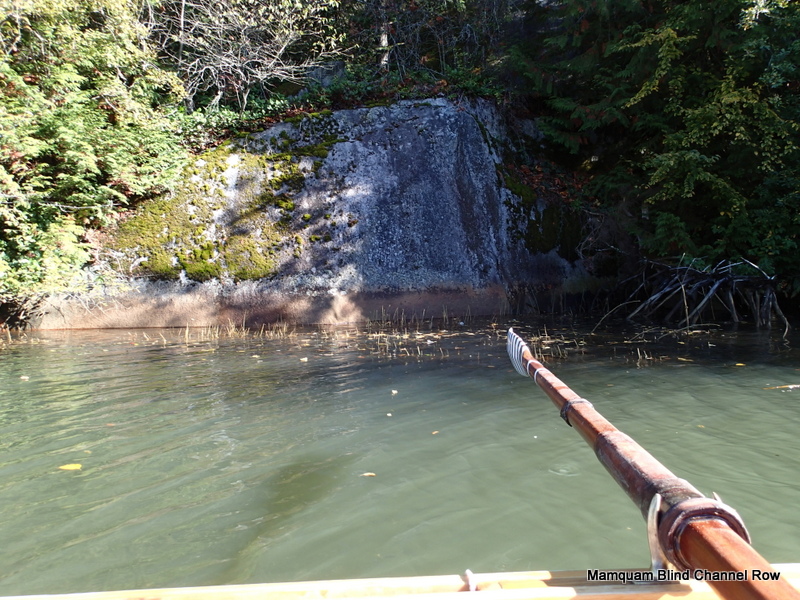
Mossy, rocky shore.

The East shore is undeveloped across from the boat launch.

More rocky shore.

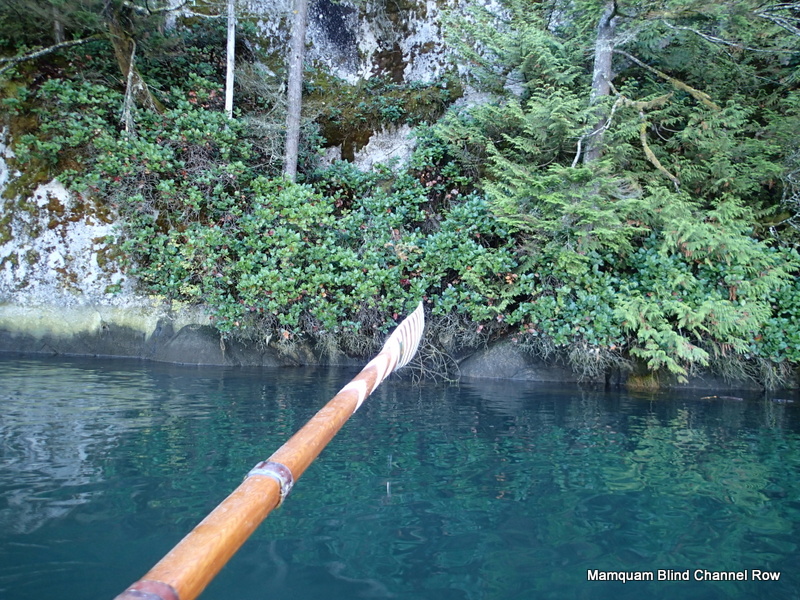
I row around a little cove, exploring the shore.  I continue up channel.

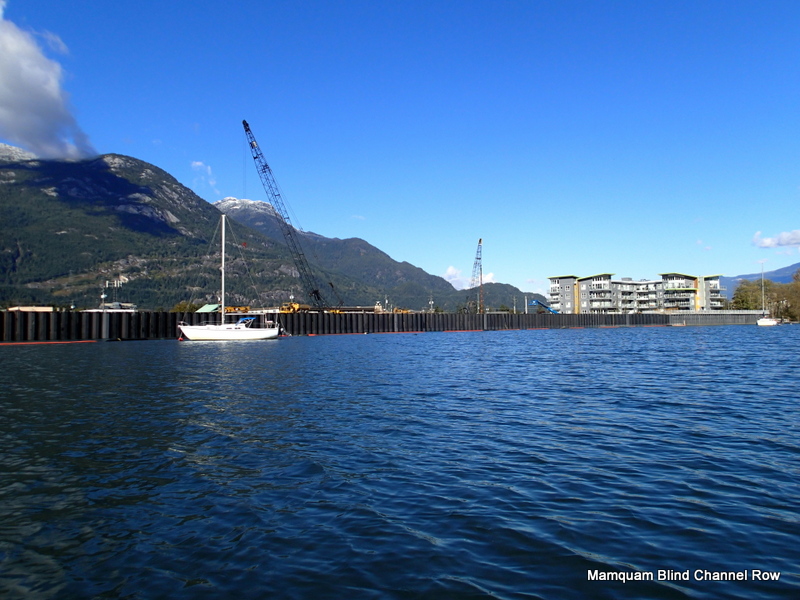
Squamish side of the channel.

They are pile-driving on the West shore for some waterside housing/multi-use development.

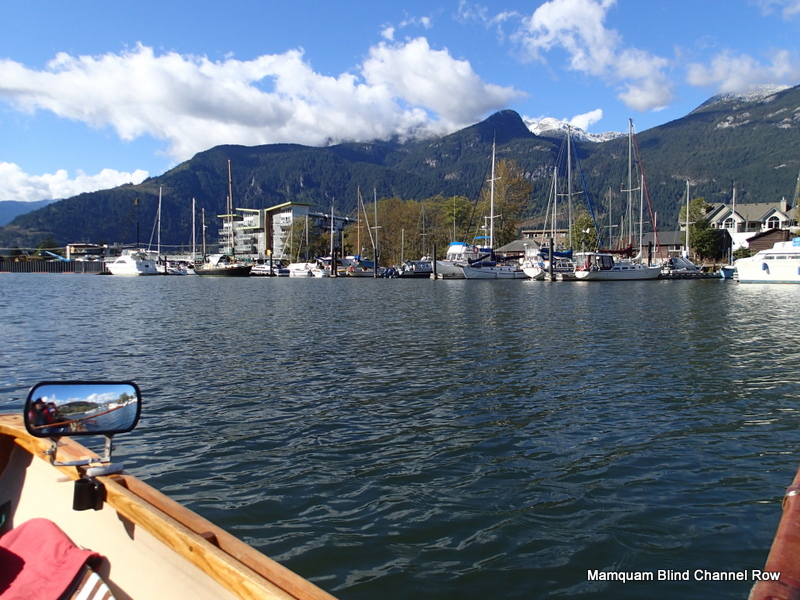
Blue Heron Marina on the West Shore.

I keep rowing up channel on the East side.

FAXE Beer can.

A can of FAXE beer hung as a “Scare-beer”???

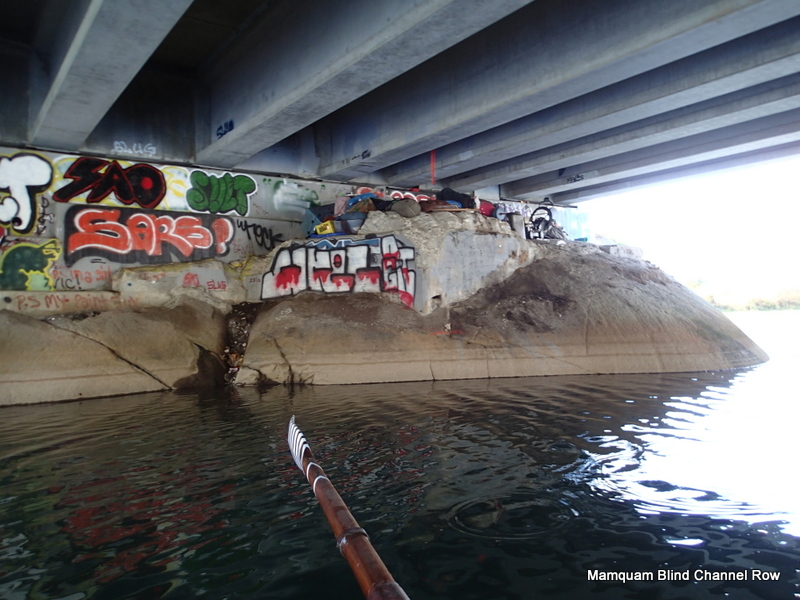
There is a camp under the Highway 99 overpass.

Camp under the overpass. South end.

I continue rowing up channel.

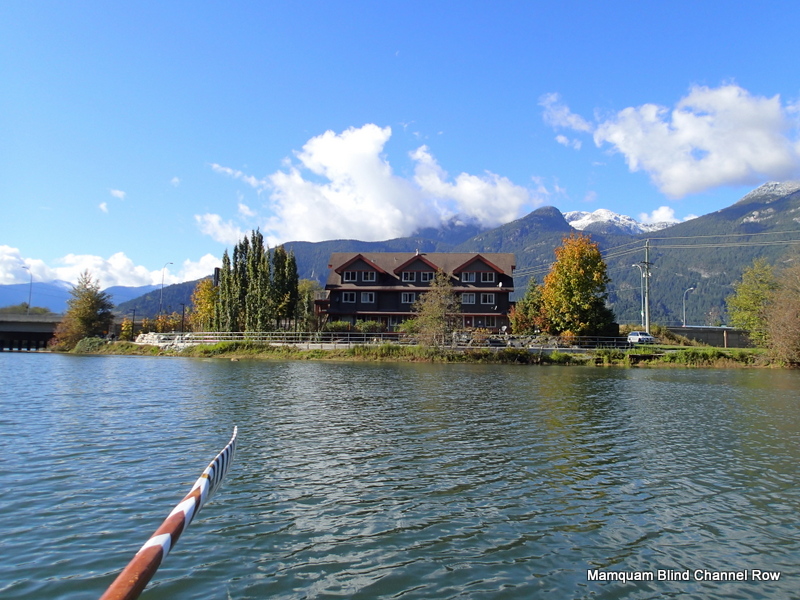
Squamish Adventure Inn & Hostel.

The Inn/Hostel has a foot path between it and the shore.

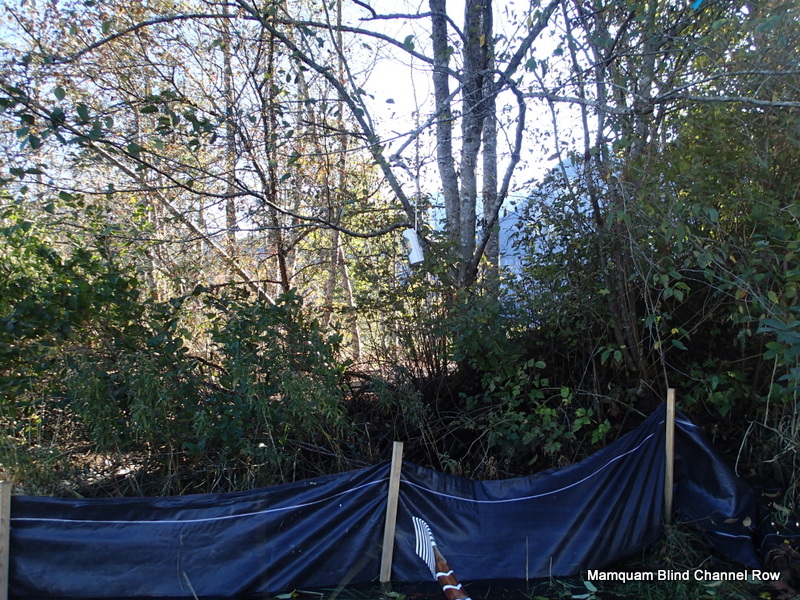
Mamquam Blind Channel Row, Squamish, BC.

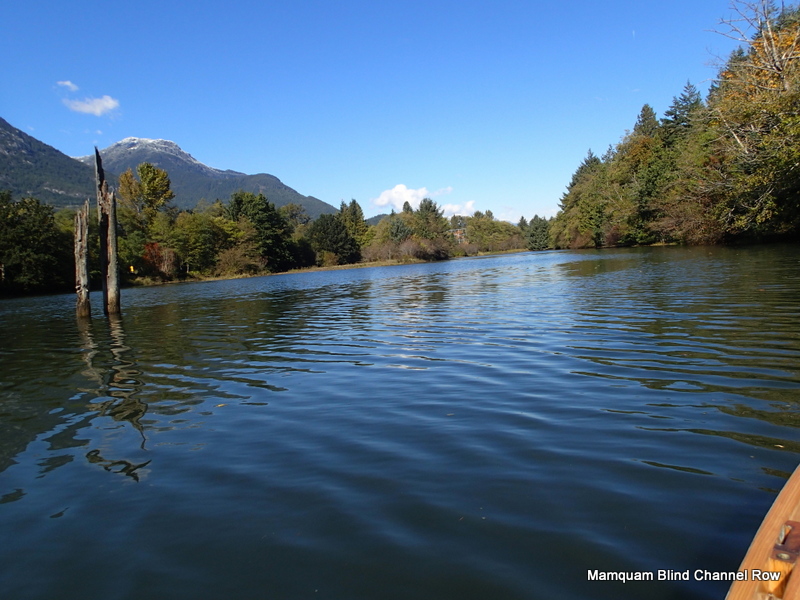
I row past the Inn/Hostel and the channel becomes more “wild”.

Mossy rock on the East shore.

I am getting up to the top of the channel.

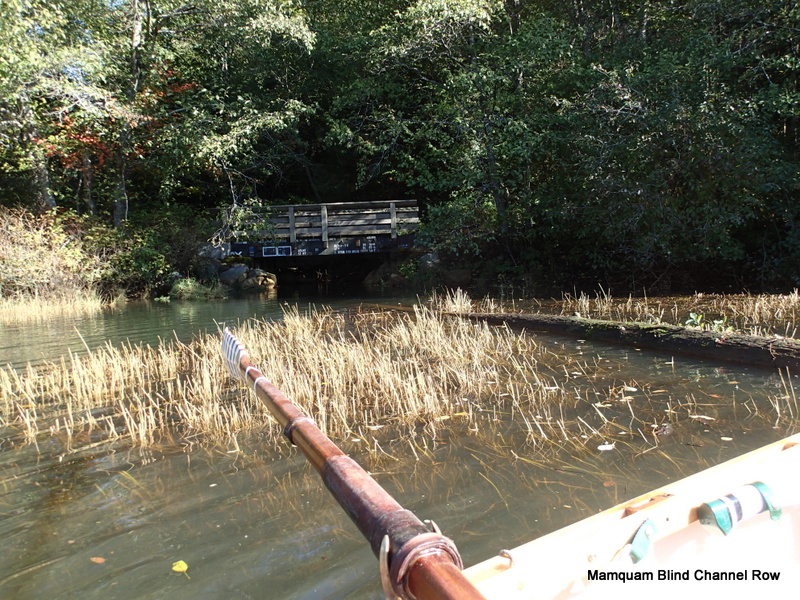
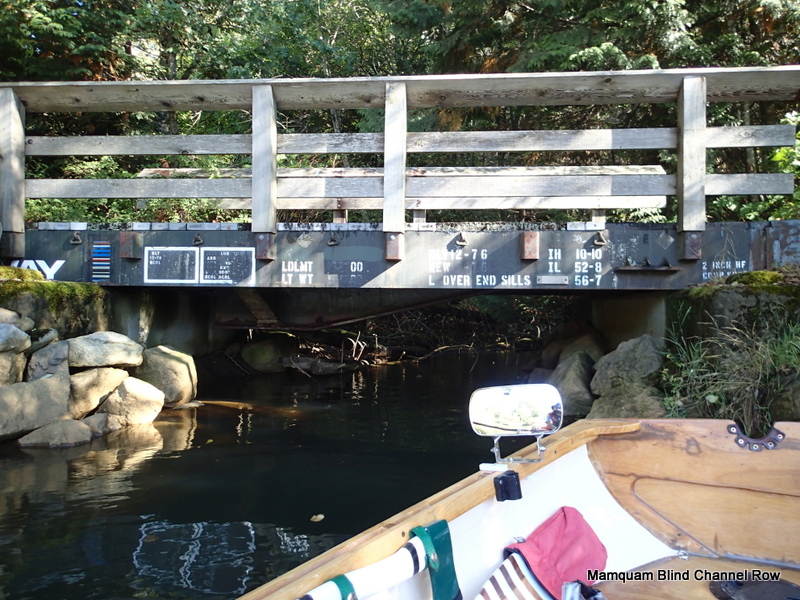
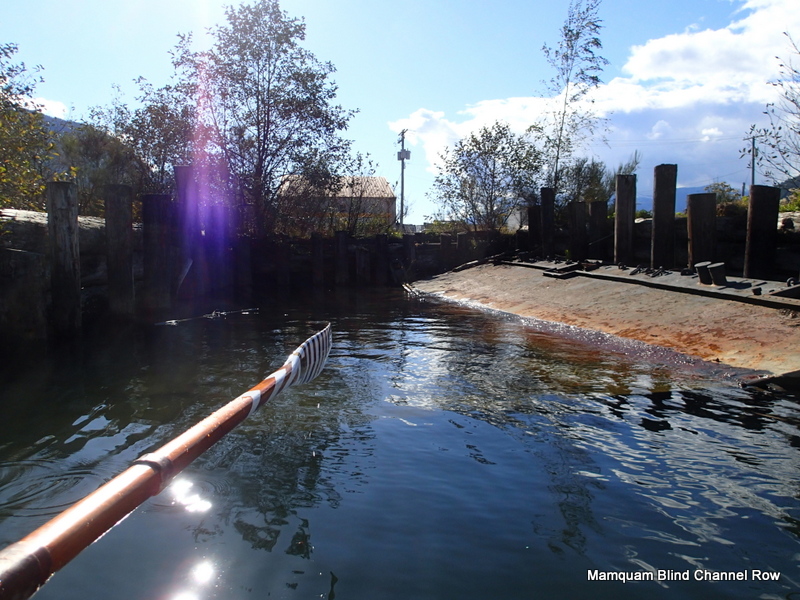
Pedestrian bridge, NE corner, head of the channel.

It is really neat, made from an old railway flatdeck car.

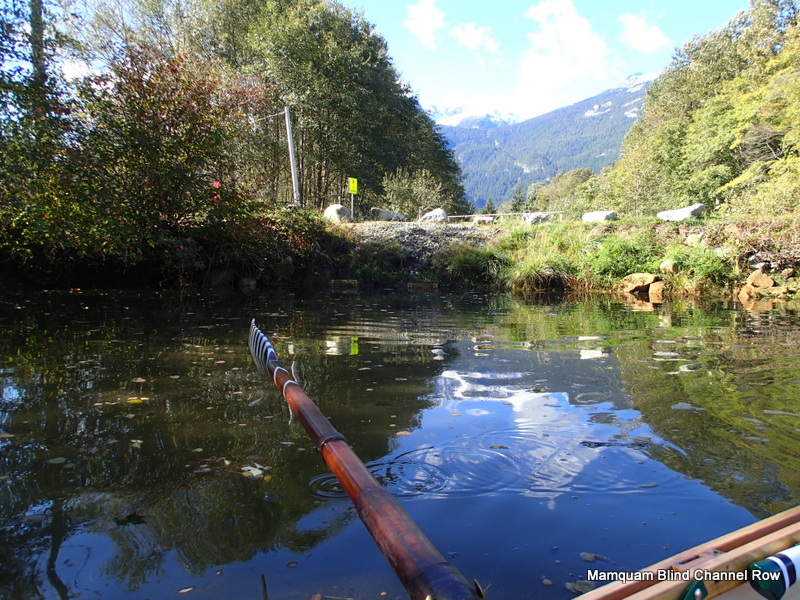
Pathway bridge over small creek.

I could not find out what the creek was named.

The drainage pipes lead to a channel that goes to the West and can be seen from the Sea-to-Sky Highway.

Gwragedd Annwn cannot go any further upstream.  I eat my lunch and begin my return.

Following the West bank.

I am heading back into a bit of an up-channel breeze.

By sticking near the bank, I stay out of most of the wind.

You can see the RedBull can I picked up out of the Channel.

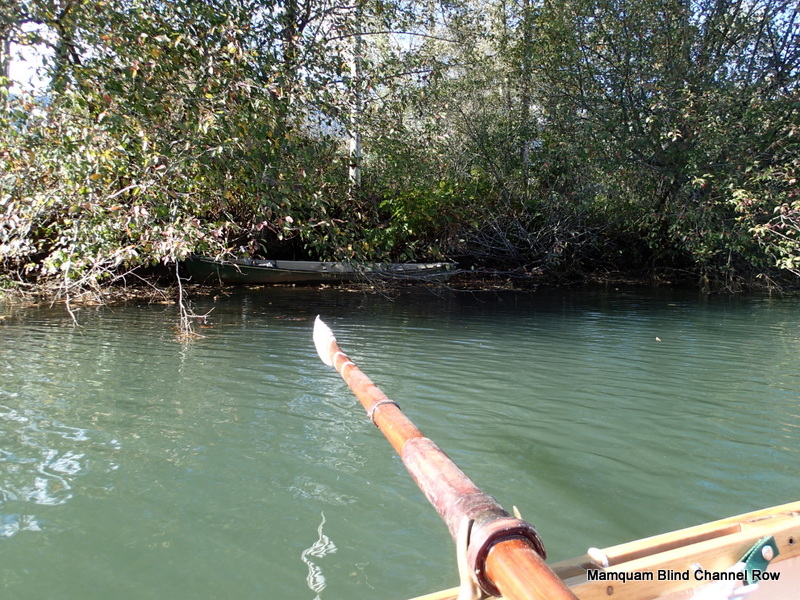
Canoeing anyone?

A canoe ready for an adventure.?.

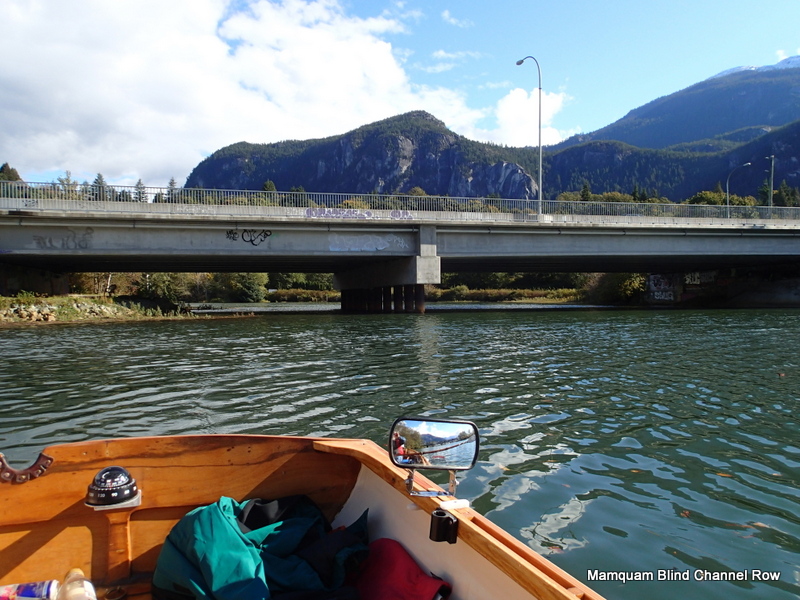
Sea-to-Sky (Highway 99) overpass.

I had planned to row back along the West bank, but, with the wind, the rowing is easier along the Eastern shore.

Crawling along the Eastern bank back to the boat launch.

I also picked up a Starbucks coffee drink bottle off of the Squamish Inn/Hostel.

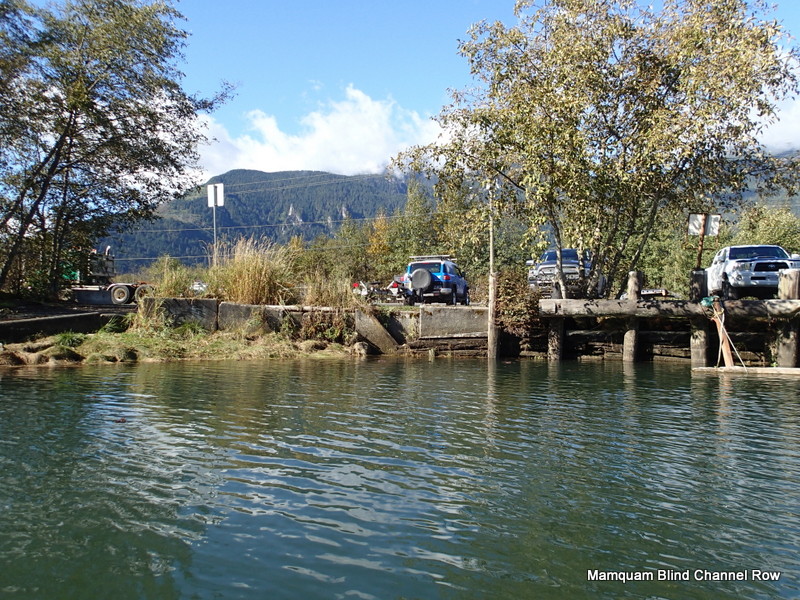
I row back to the Boat Launch, passing an awash barge near the launch.

Steel barge awash next to the boat launch.

I beach Gwragedd Annwn on the gravel lane of the boat launch.

Gwragedd Annwn waiting for me to get her trailer.

The paved side of the boat launch is being used so I put the trailer in on the gravel side.

Gwragedd Annwn on her trailer, ready to be “packed-up” for the ride home.

I pull off of the ramp and park over on the side to get Gwragedd Annwn ready for the trip home.

Scum-line from the Channel row.

Even though the Channel seemed quite clean, there is a scum-line on Gwragedd Annwn from the row.

Mud on the hull.

The mud on the hull is from the drive to the boat launch.  Gwragedd Annwn will need a bath when we get home.

Ready to go!

All packed-up and ready to go home.

See you on the next row!

Mike


Posted in Under the Keel.... | Leave a comment

Gwragedd Annwn 2017 re-fit

It has been Five years since I launched Gwragedd Annwn and she is starting to look a little “experienced”.  After five years and hundreds of rowing trips, I have found that there are a few things that she could do better…Her seating does not work really well.  With one Oarsman, her balance is a little off.  Her foot braces could work better.  The oar storage is awkward. Her motor well is not well designed and I never use the British Seagull with her and the well is a source of concern.  I am not convinced that her oarlock are at the best angle.  The foredeck collects water.  Her camping deck does not really work that well.  She needs a sailing rig.  The under foredeck storage is not used and the hatch is not air or water tight, making it useless as a buoyancy tank.  Her side tanks are not air tight either, again, making them useless as buoyancy tanks.  With what I have learned over the last five years I can make Gwragedd Annwn better.


First, I bring her home to my garage/boathouse from Hollyburn Sailing Club.
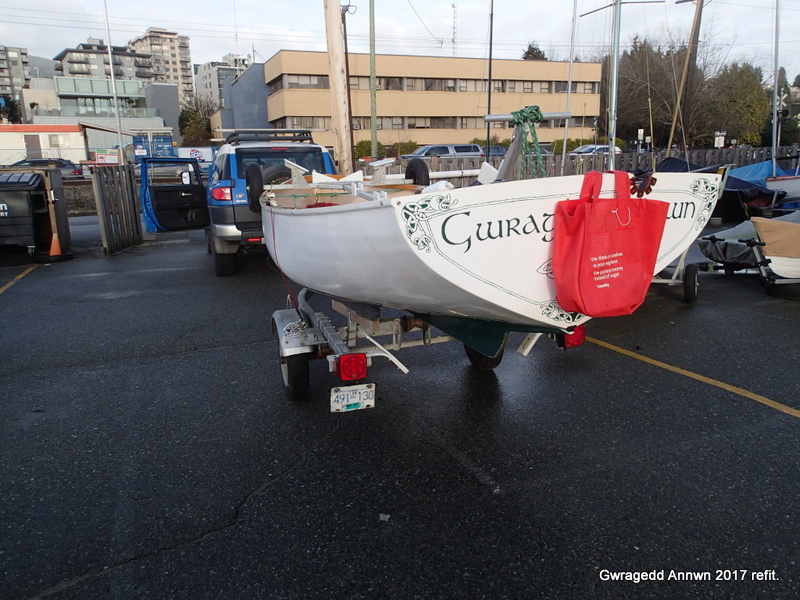
Gwragedd Annwn 2017 Refit, on her trailer, ready to go home.

Gwragedd Annwn sports a bright red flag so she does not meet anyone by accident!
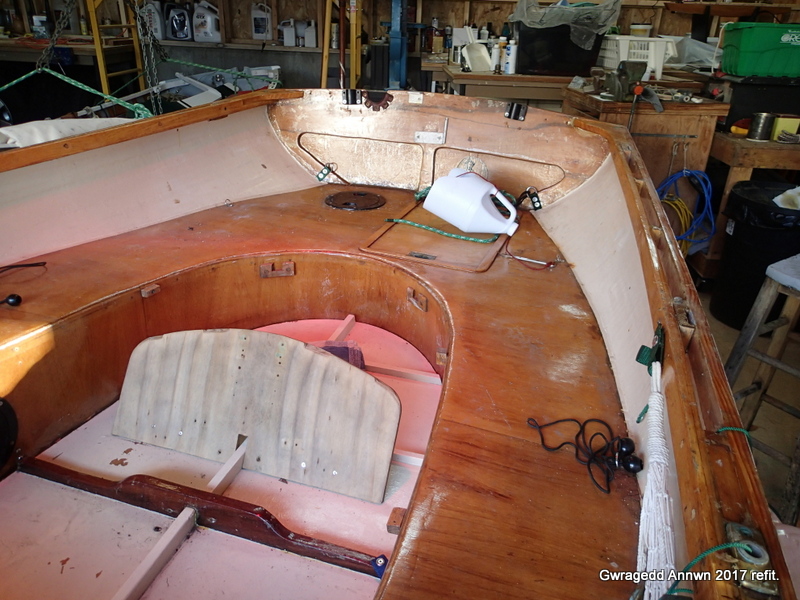
When I get her into the shop, she gets a complete assessment.

I note all the things I really like..where the foot rest is, where the hammock storage is, and where the tie-downs are.
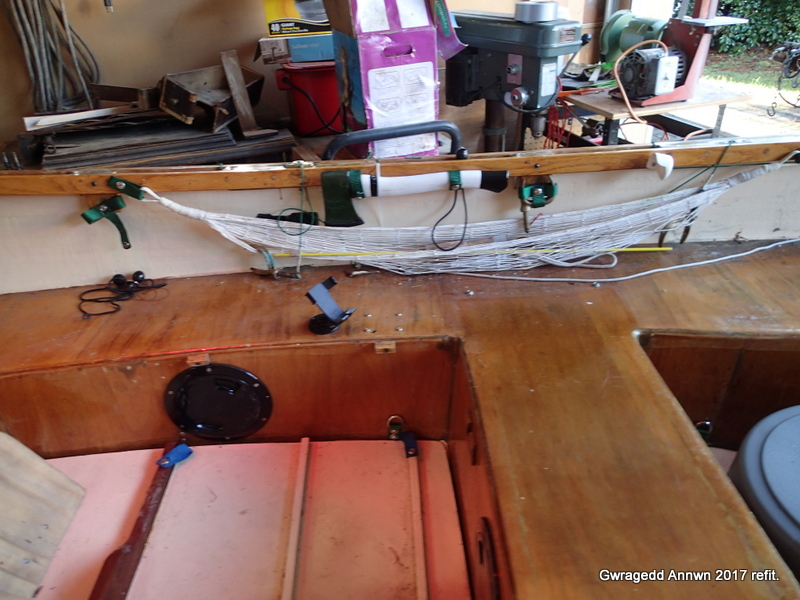
Main rowing seat and axe, storage hammock, GPS mount and oarlock storage.

The floor with the foot brace were designed to be flipped over and rest on the blocks on the seat sides to form a sleeping platform.  It did not work very well.
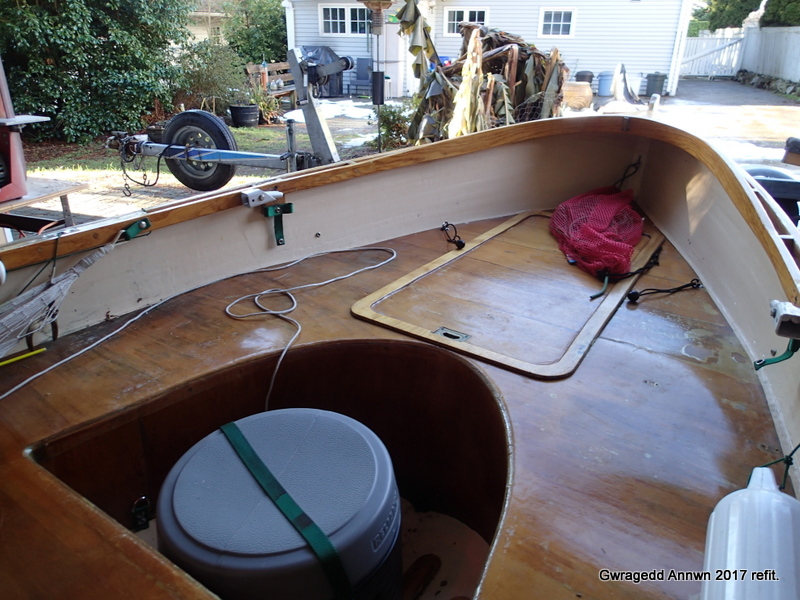
Foredeck areas with forward rowing seat. Storage was under the foredeck. The seal was not air or water tight.

I wanted the four buoyancy tanks (bow tank, side tanks and stern tank) to be air and water tight.
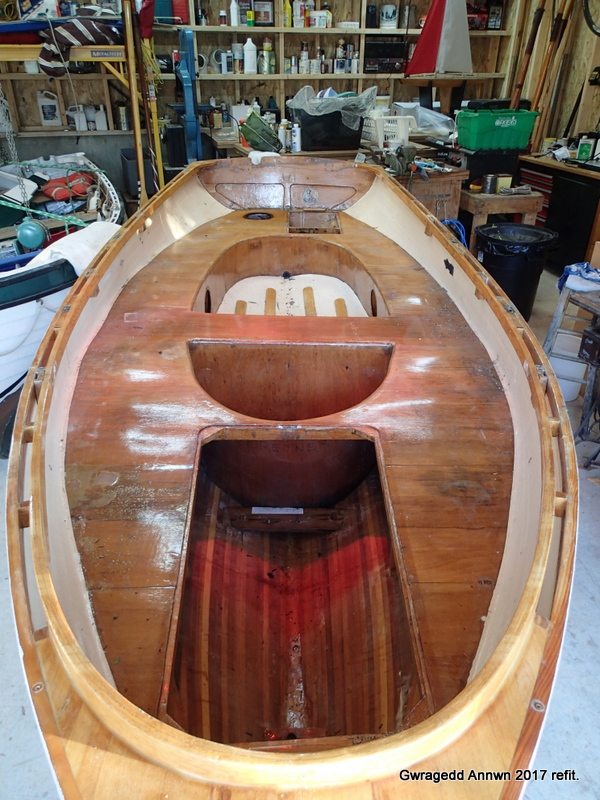
All the hardware removed.

With all the hardware removed, I plan her new seating and buoyancy tanks.
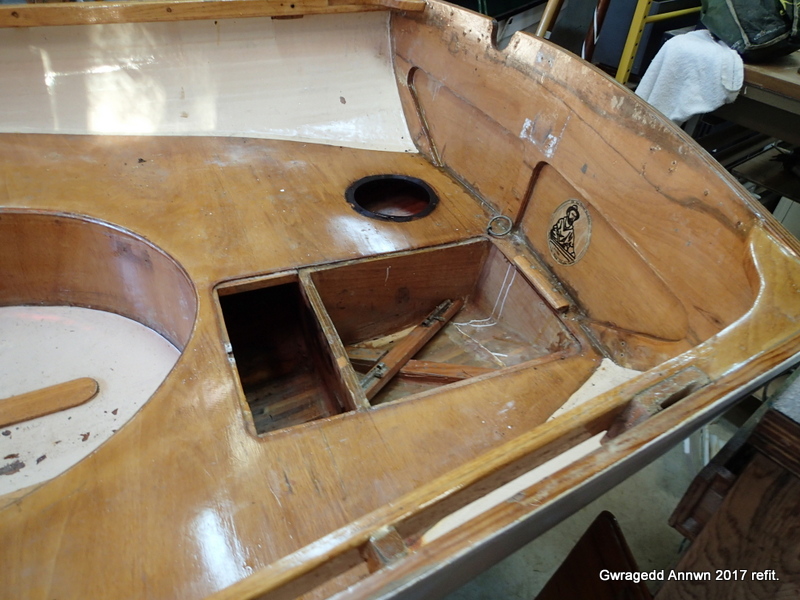
The motor well.

The first step is to seal-up her motor well.
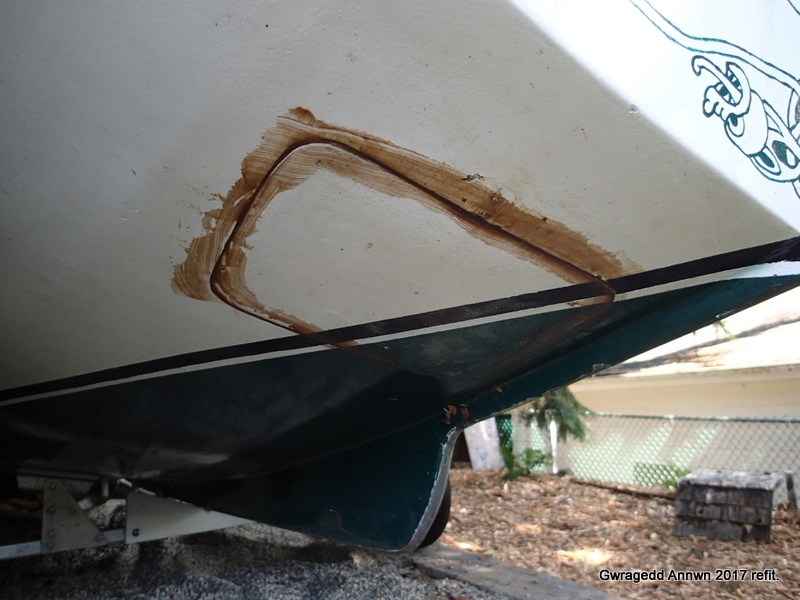
Motor well for the outside.

I grind the edges of the motor well and the cover.  Using a mixture of epoxy and wood dust, I make a “peanut butter” paste and glue the motor well cover in place. (I should never have cut it out in the first place).
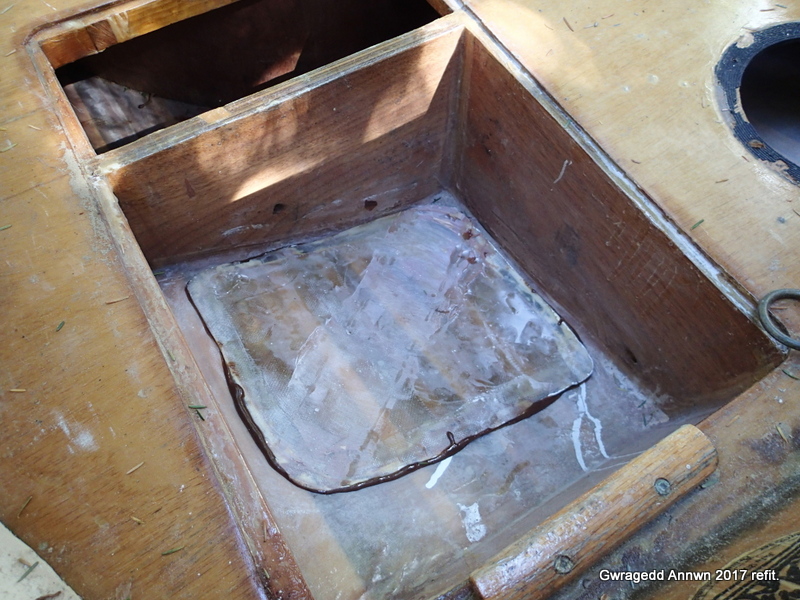
Glued-up motor well, inside view.

Next step is to plan the new cockpit and seating:
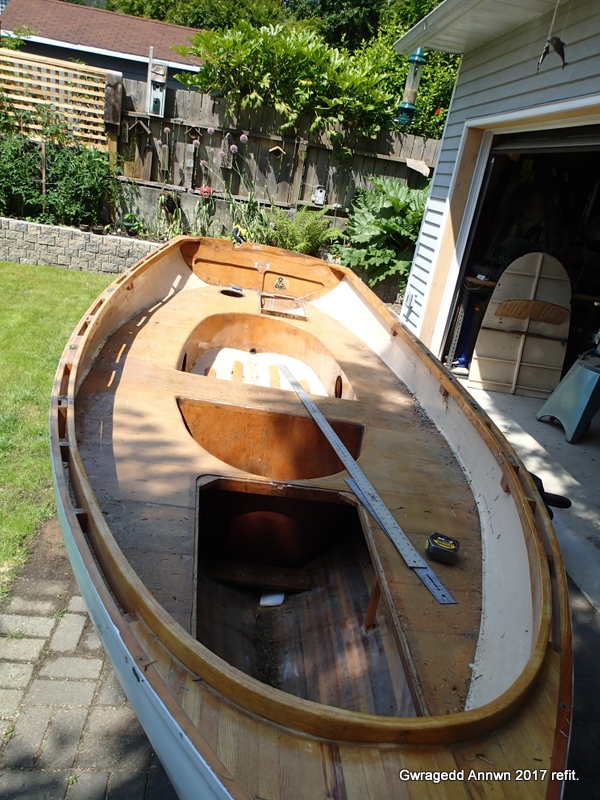
Ready for new cockpit design.

I used tape to lay out the new design.  A lot more “square” than the old one.
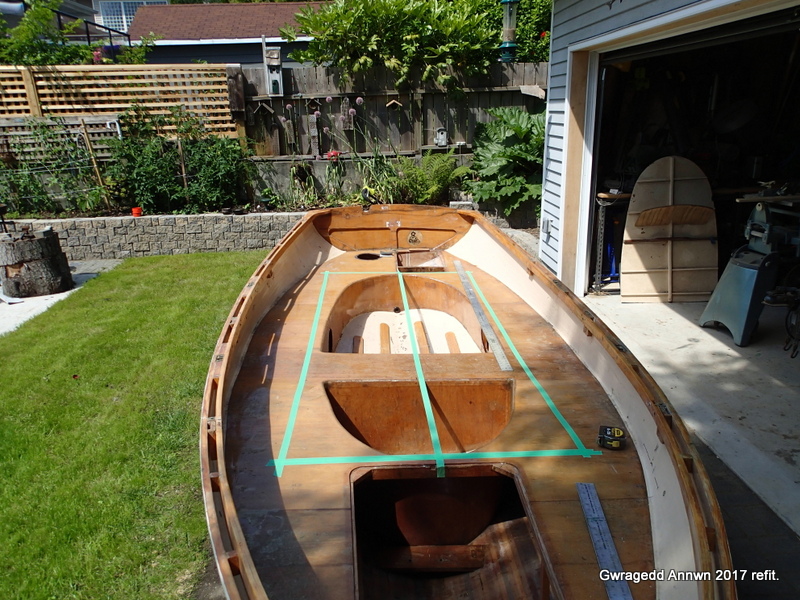
Tape marking the new cockpit design.

After a lot of humming and hawing, I begin to cut the new cockpit out:
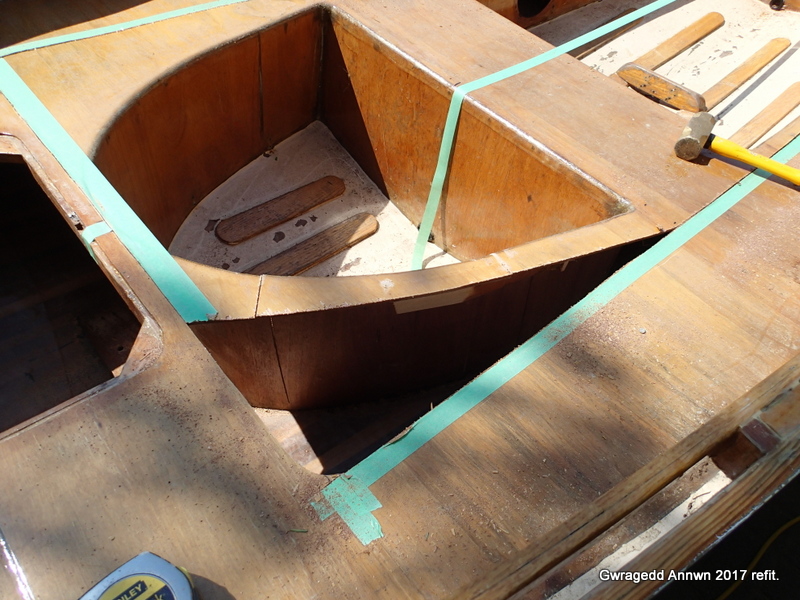
Cutting the old cockpit out.

I use my jigsaw to cut the seating along the tape lines.  The brass hammer will make removing the seat fronts from the hull bilge easier.
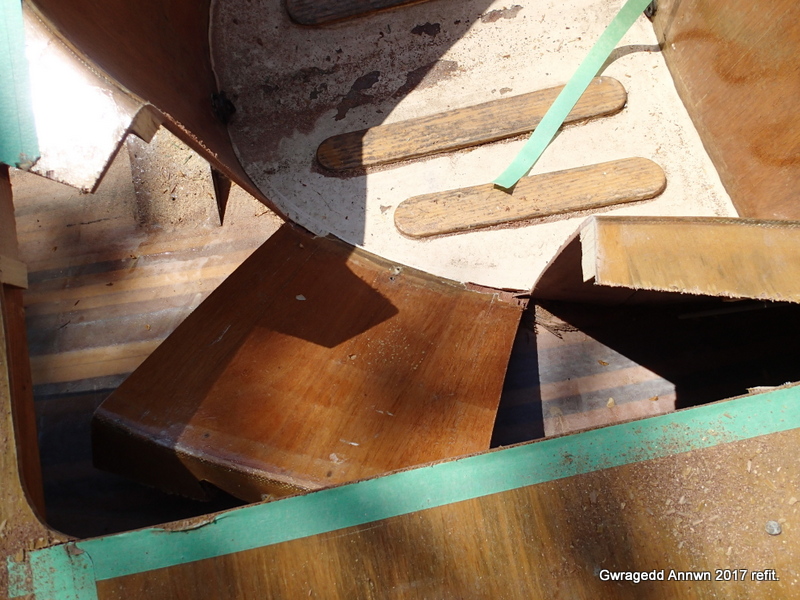
Removing the old seating.

I work my way around the tape, removing the old seating as I go.
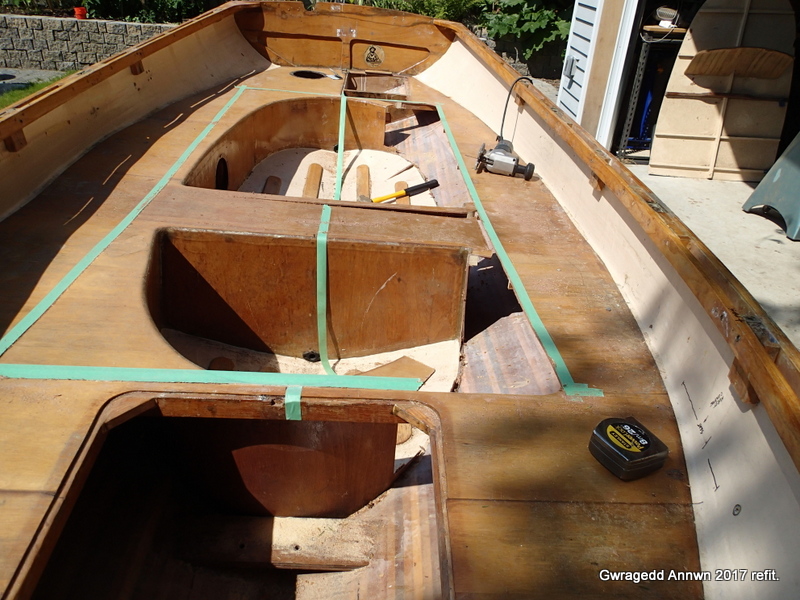
Working around the cockpit.

After a lot of cutting and a little persuading with the brass mallet, I have removed the old cockpit seating.
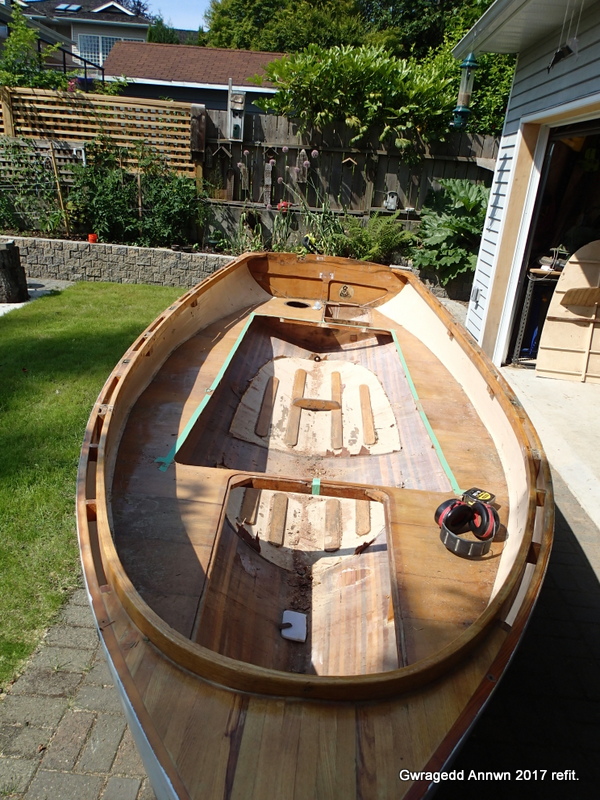
Old cockpit removed.

I will cut back to the old British Seagull outboard transom mount bulkhead.
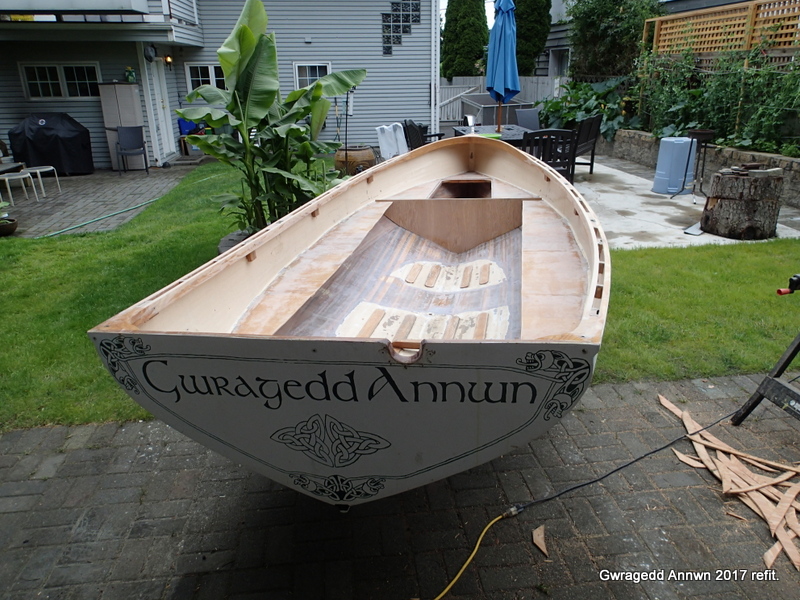
Fitting the new forward bulkhead.

I fit the new forward bulkhead.  It will be part of the new foredeck buoyancy tank and support the mast for the new sailing rig.
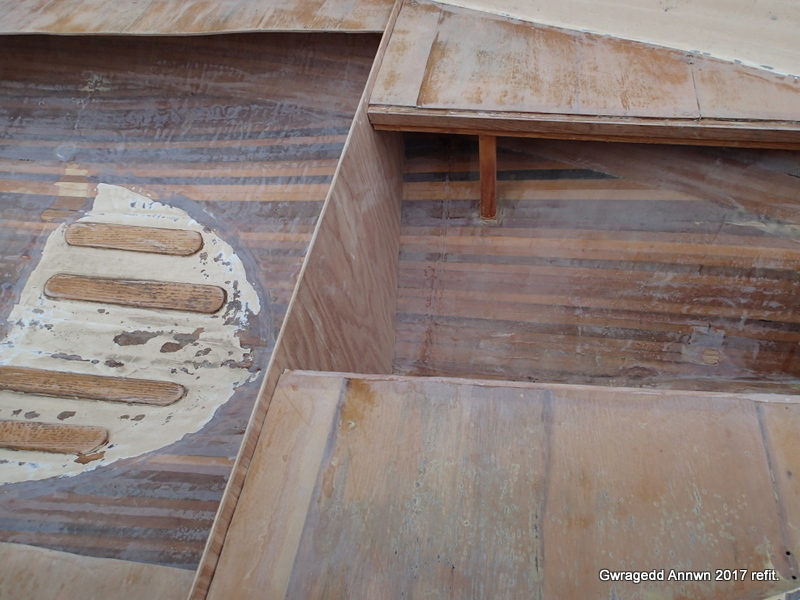
Forward bulkhead.

I epoxy the bulkhead in and then fit the foredeck hatch to be epoxied in.

‘lots o’ poxying to be done!
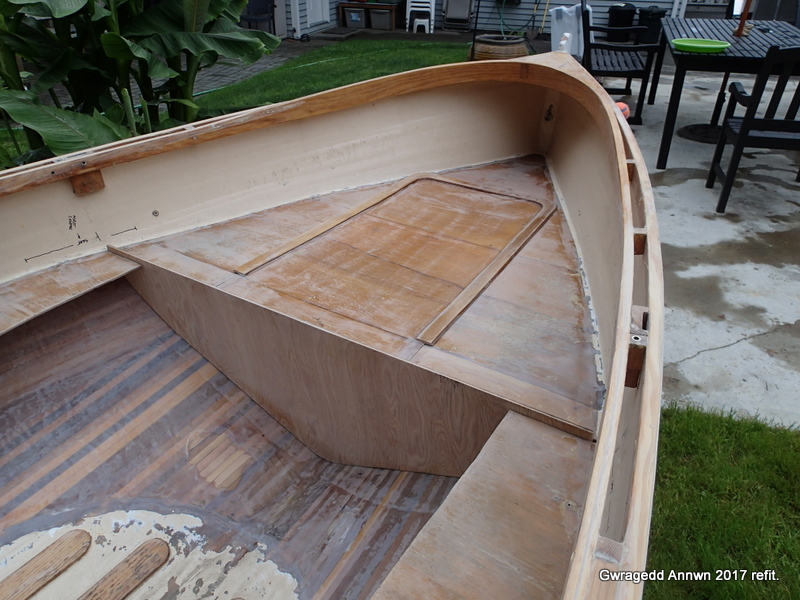
Foredeck hatch to be epoxied in.

I epoxy in the motor well hatch as well.
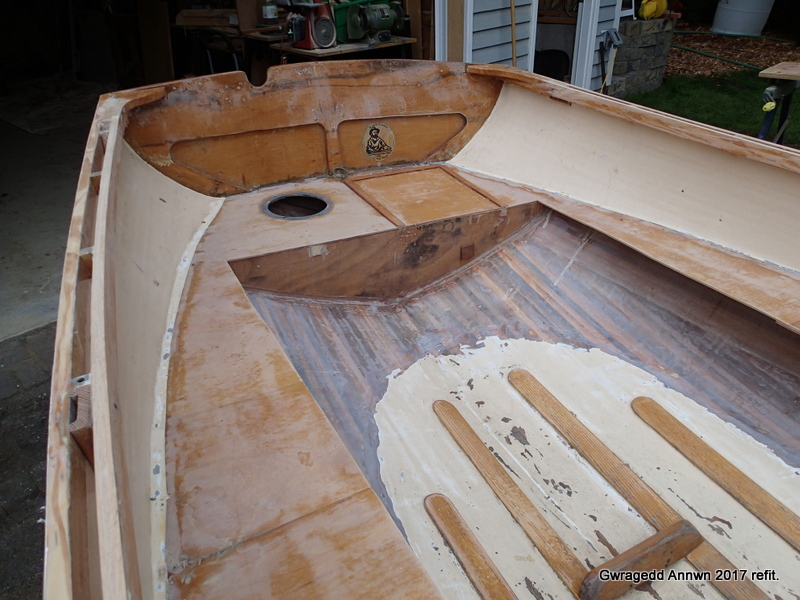
Motor well hatch epoxied in.

I have to epoxy in the seat supports.
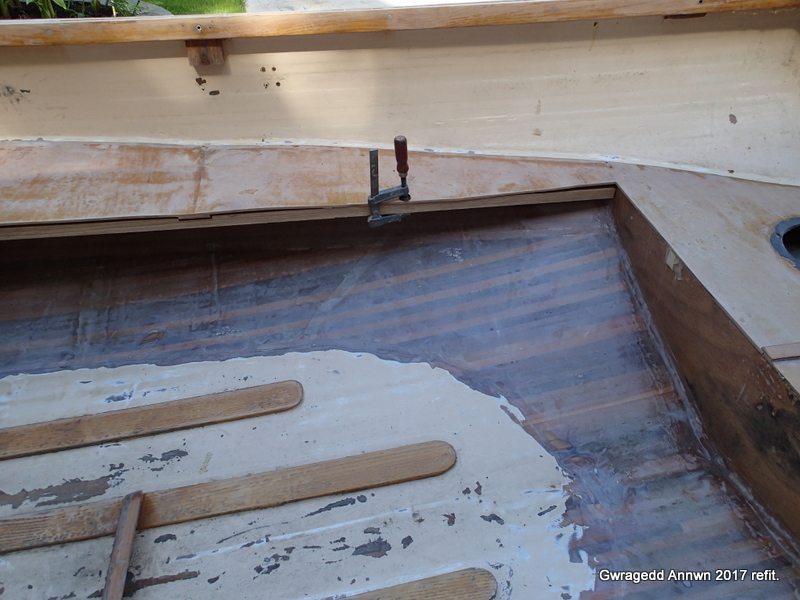
Seat side supports.
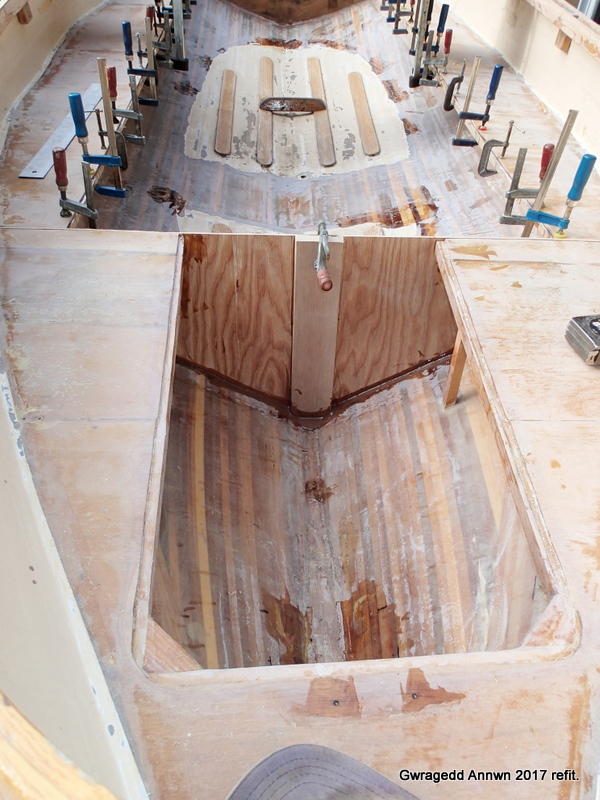
Epoxying in the seat supports, foredeck bulkhead and the mast support.
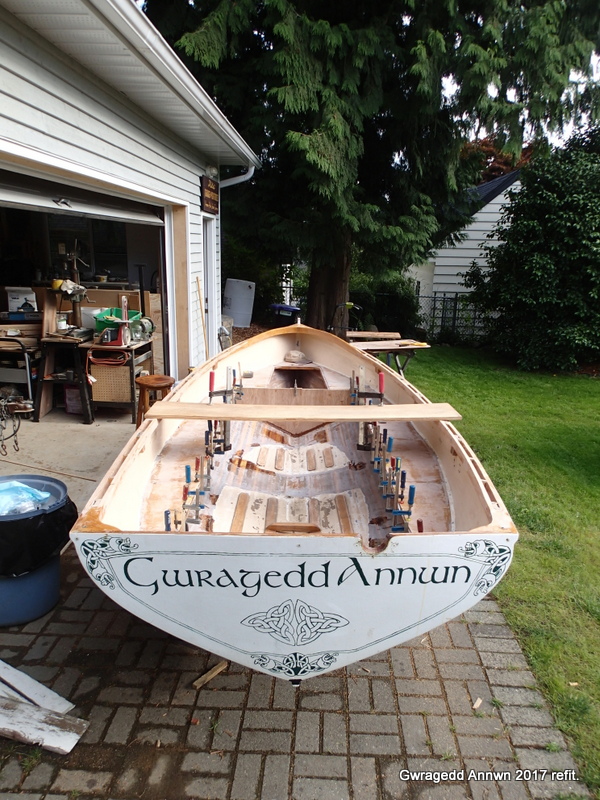
A board helps keep the side seats level.
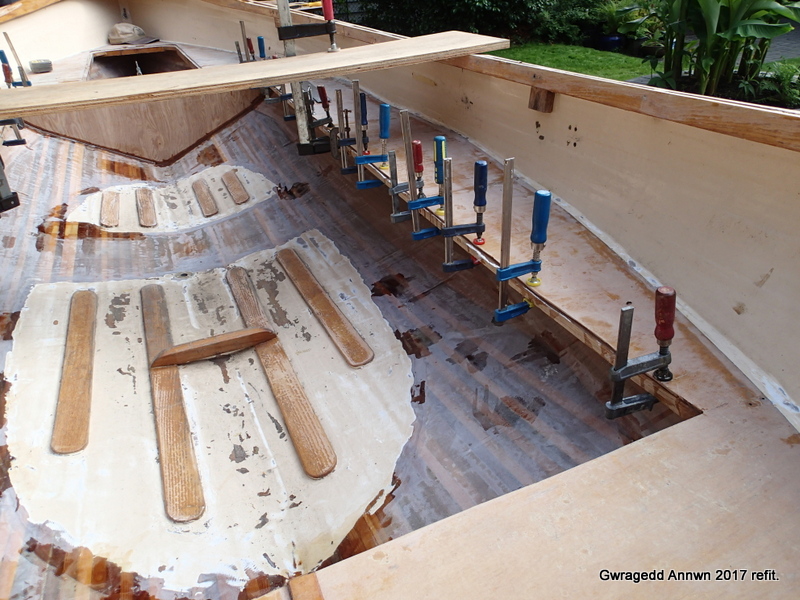
You can never have too many clamps.

When the epoxy has set, I install the seat sides.
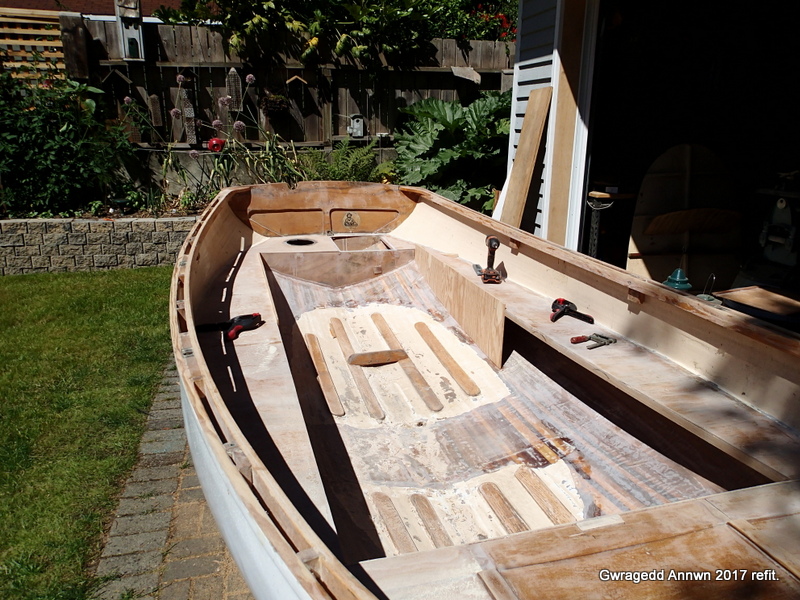
The seat sides, a cut-and-fit exercise.
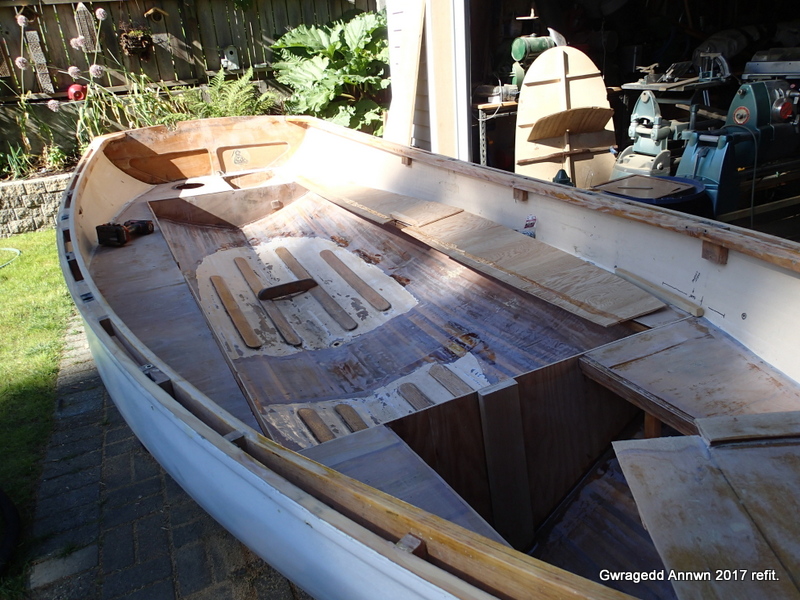
Seat side ready to be epoxied in.

I used temporary screws to hold the seat sides in place until the epoxy set.
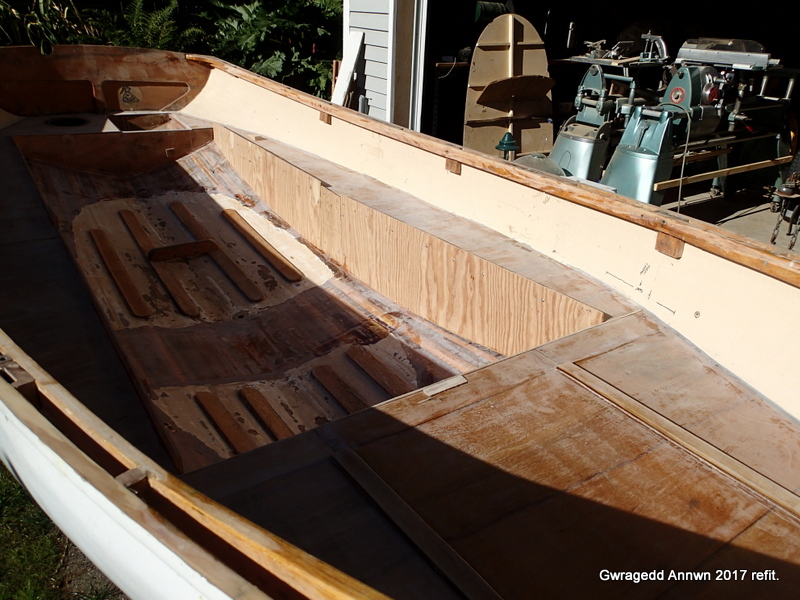
Seat sides in.
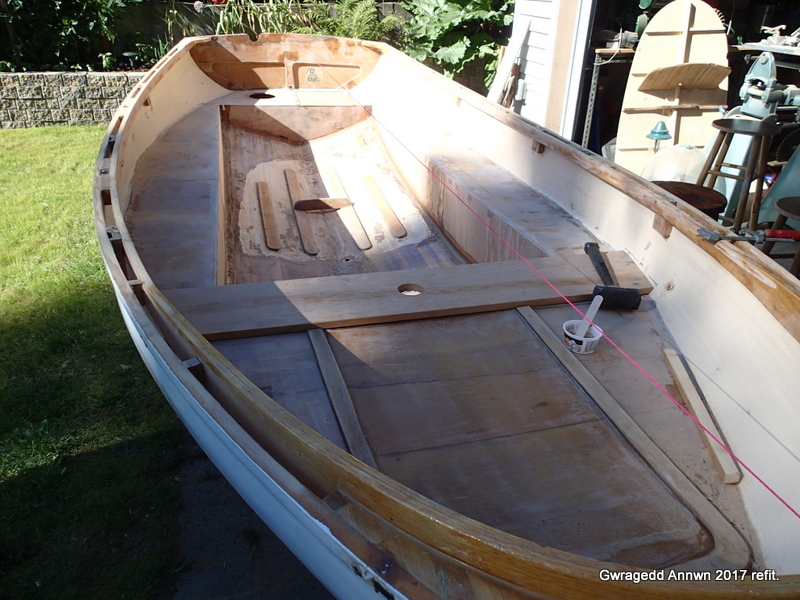
Sides in, epoxy set, time to sand.  The string represents the centreline of Gwragedd Annwn.

After sanding, I seal the seats with epoxy.
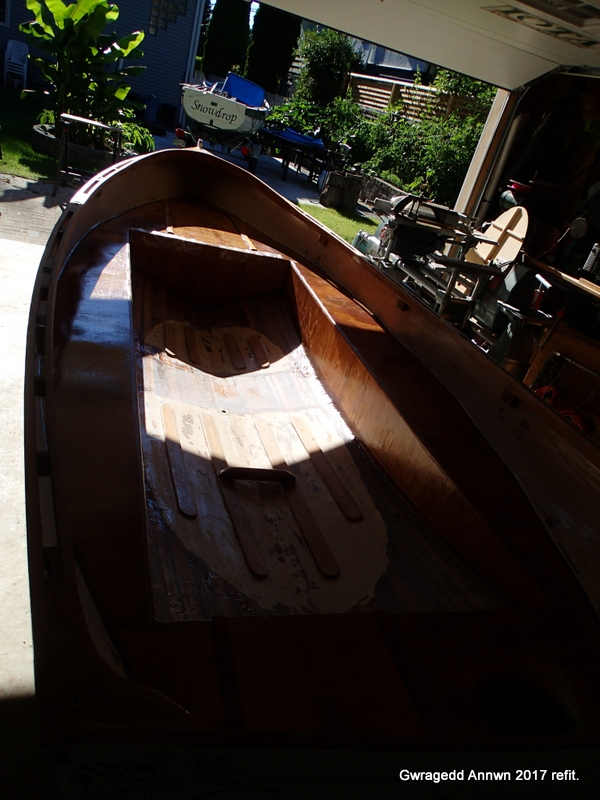
Epoxy sealed.

The next step is to put in the bouyancy tank access and the forward rowing seat with the mast step in it.
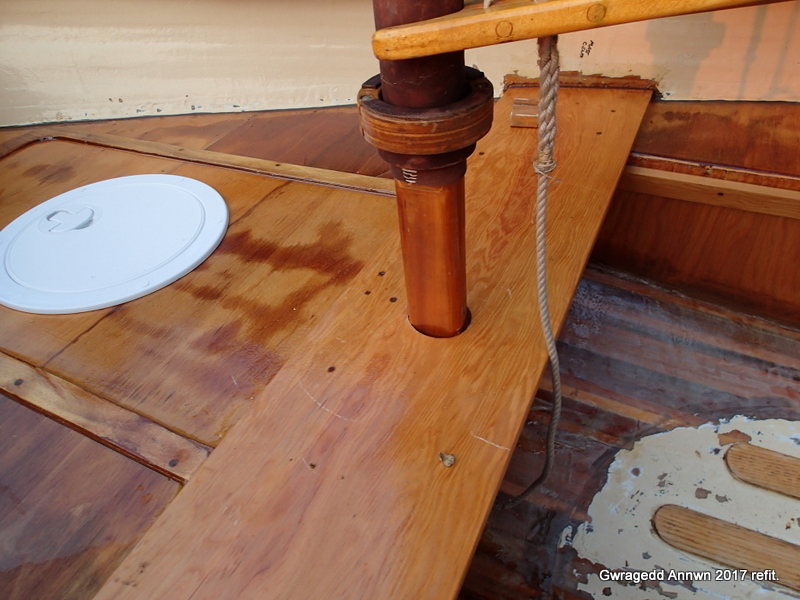
Foredeck buoyancy tank access and forward rowing thwart installed.

Next, the lower mast step.
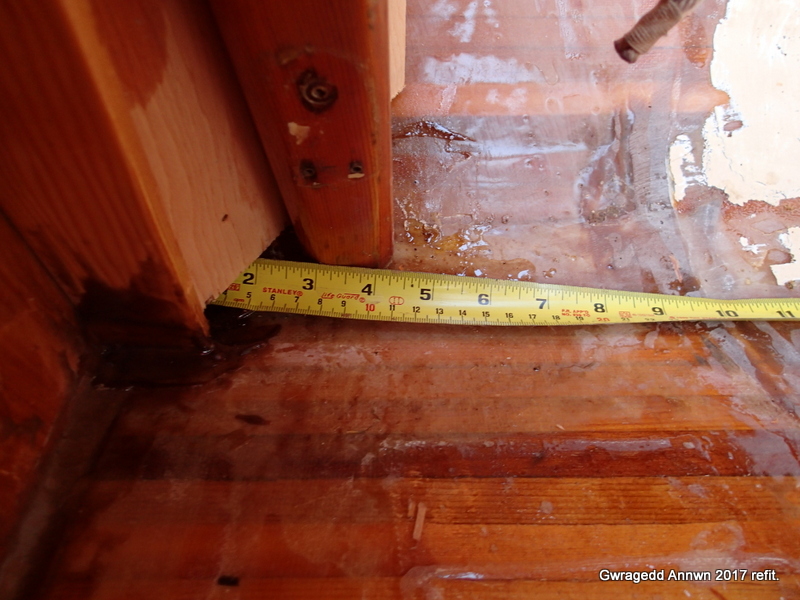
Working out where the mast step should be.

Epoxying in the mast step.
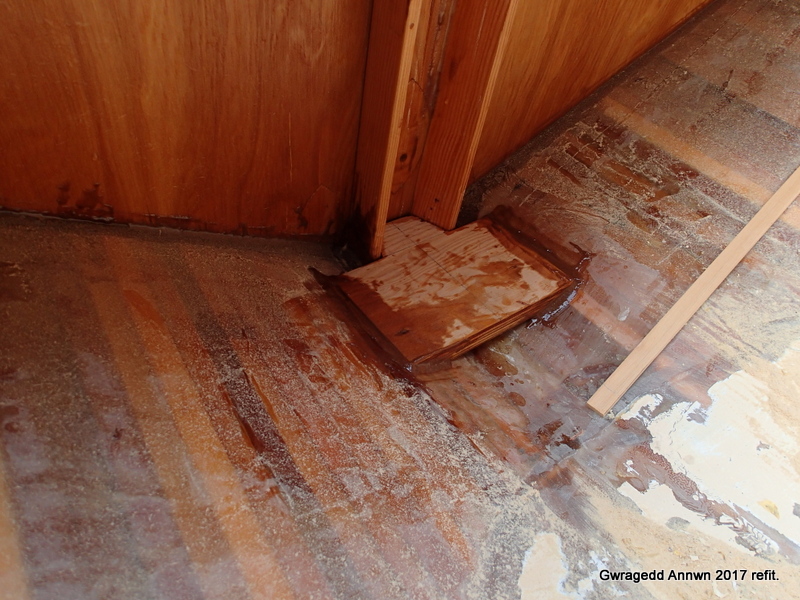
Mast step and side braces epoxied in.

The side rails for the new adjustable seating are installed.
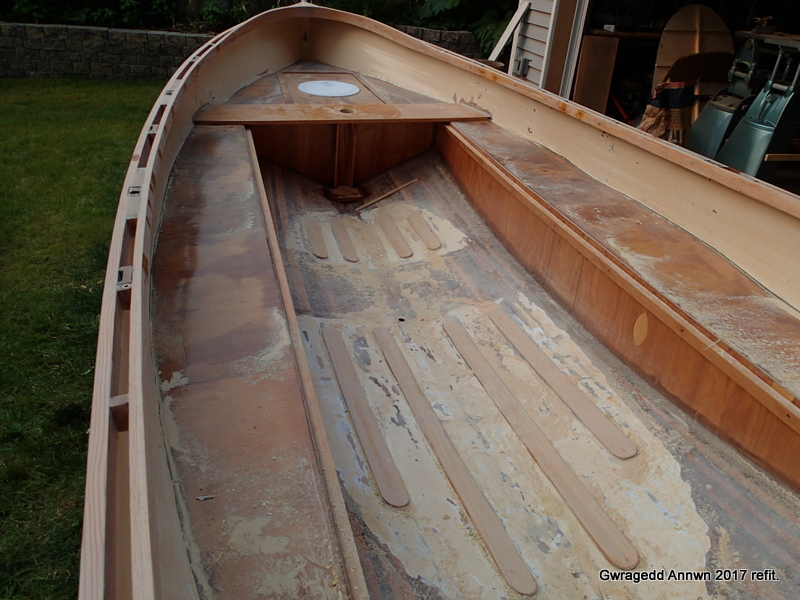
Seat side rails installed. The screws are temporary, removed when the epoxy sets.

I now make up the thwarts, enough so that I can make a sleeping platform.
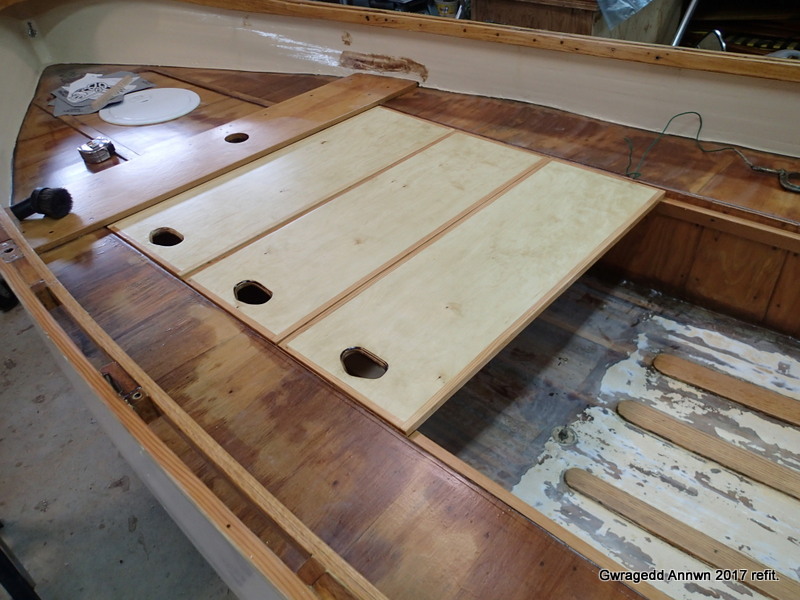
I make up enough thwarts so I can have a sleeping platform in Gwragedd Annwn.

Time to paint.  She will get a cream interior, with varnished seats and foredeck,
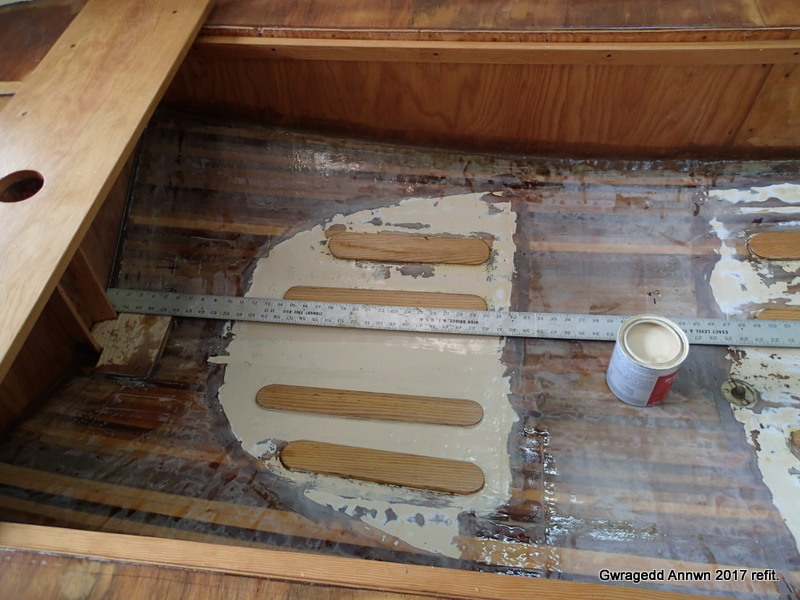
Getting ready to paint the interior.

the same as before.  I usually keep putting on coats until I use up all the paint or varnish…better on the boat than drying up in the can.  I will repeat her exterior hull white/green colour scheme.  A few changes, pin striping and her transom creatures are different.  I also pinstripe around her sculling notch.
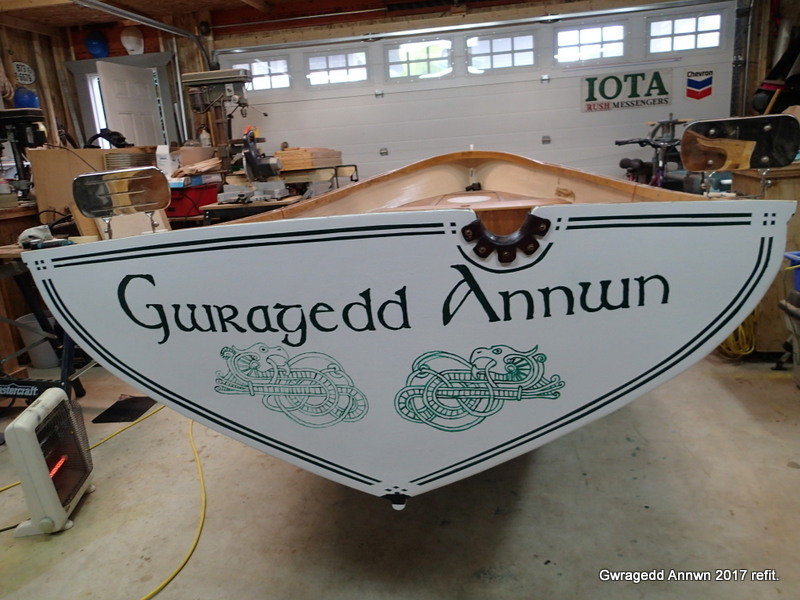
New transom paint scheme.

I decided to try out using a different oarlock angle for rowing.
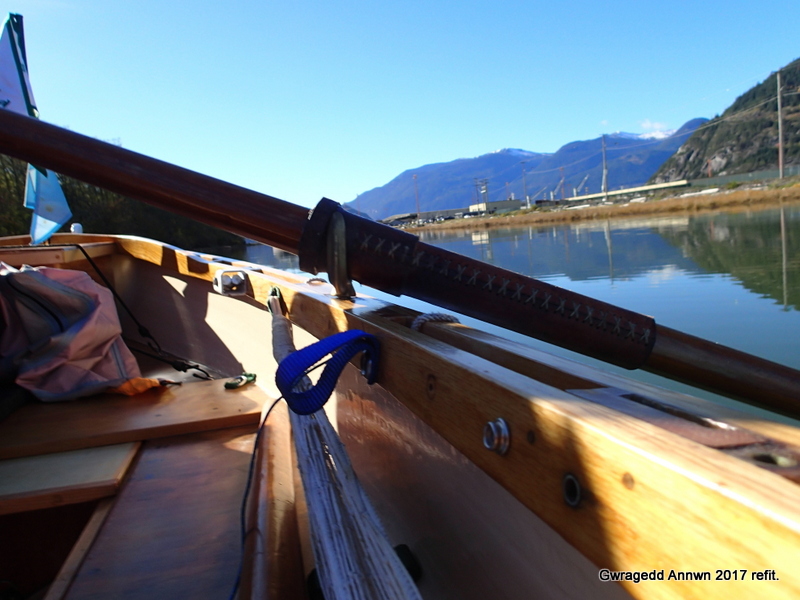
Angle of oar at power stroke.

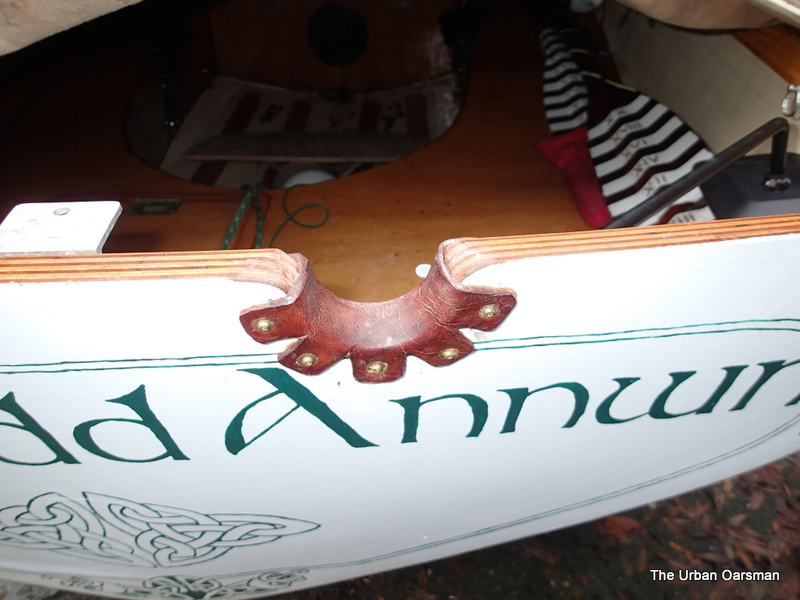
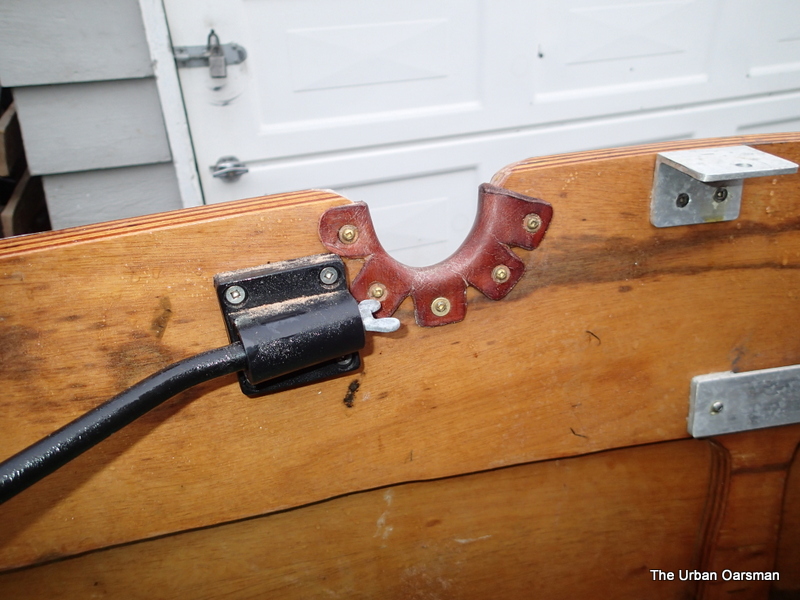
Should the oarlock be at right angles to the oar during the power stroke?  I will put another set of oarlock sockets in Gwragedd Annwn and find out.  With her adjustable thwarts, this should be an easy experiment.
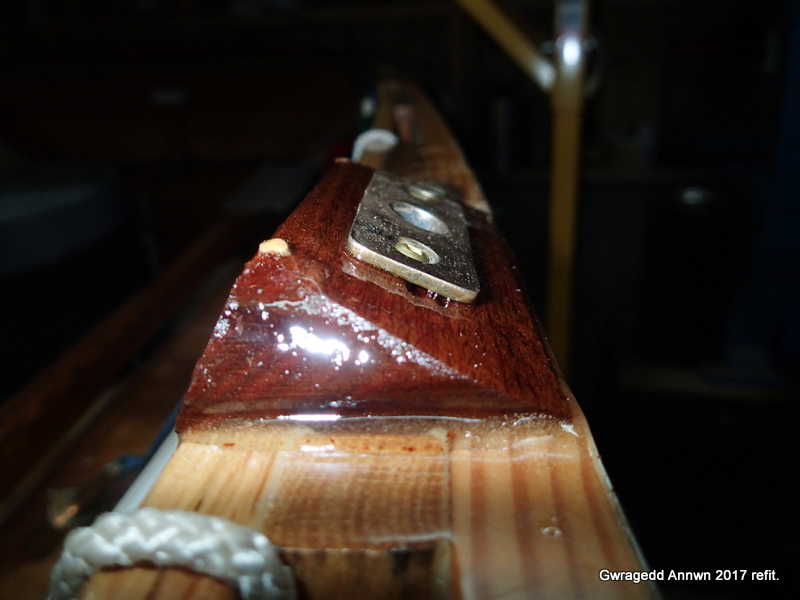
New socket epoxied in at about 15°.

The oarlock in the new socket:
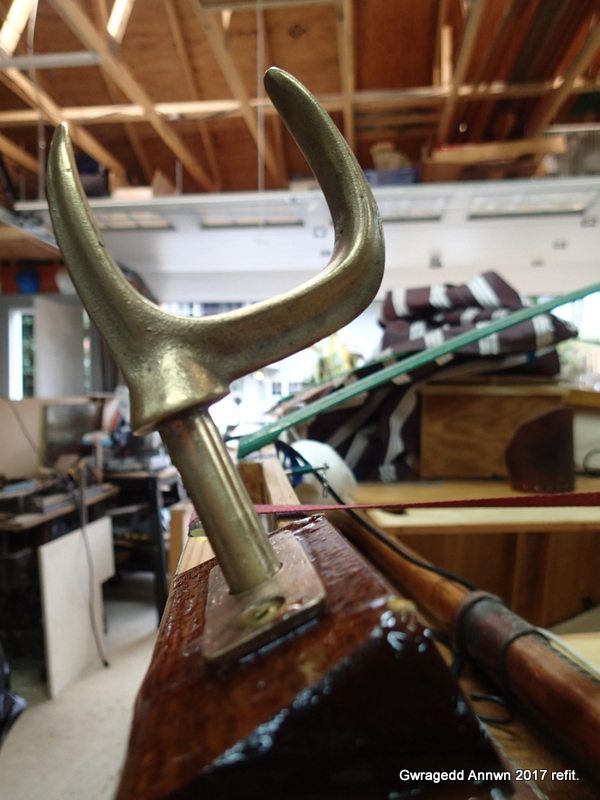
Oarlock and socket.

Another View:
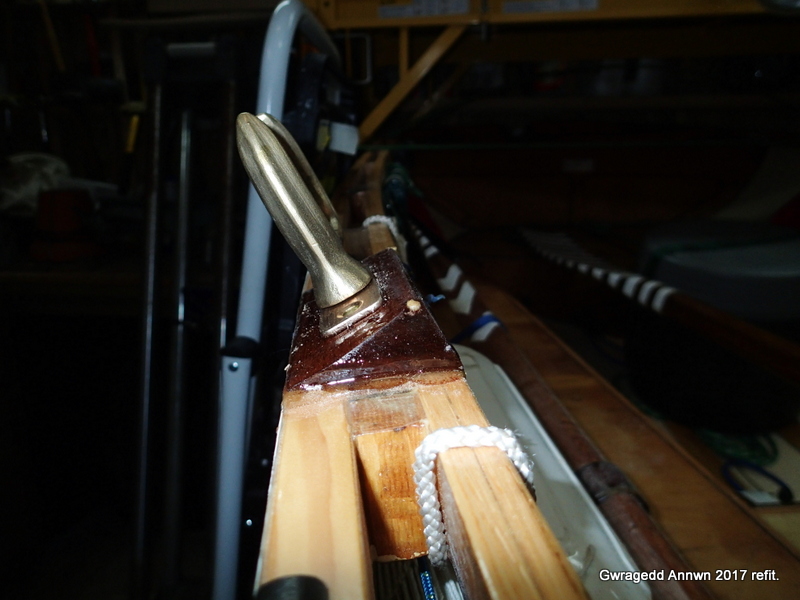
Oarlock and socket.

I have left the old sockets in place.  Time will tell if the new sockets are better.

I have also decided that her oars are a little too heavy in the blade.  I take off the centre rib.
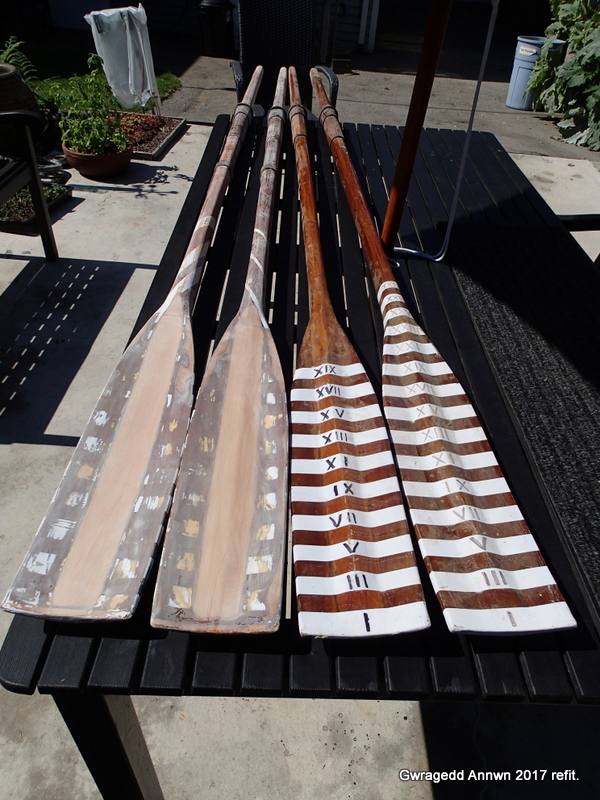
Centre rib removed next to centre rib still there.

I used a sanding disk attached to my grinder to take out the rib, giving me more of a spoon shape.
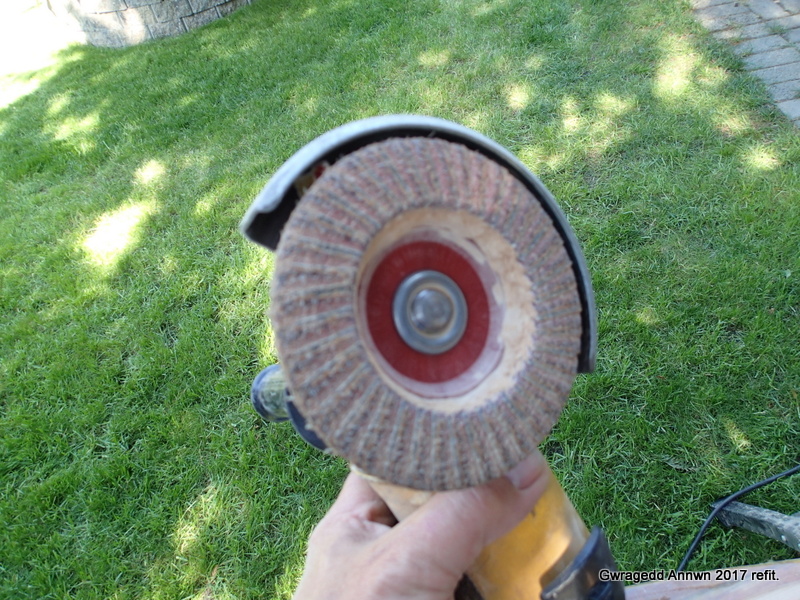
Grinder with disk.

The grinder in action.
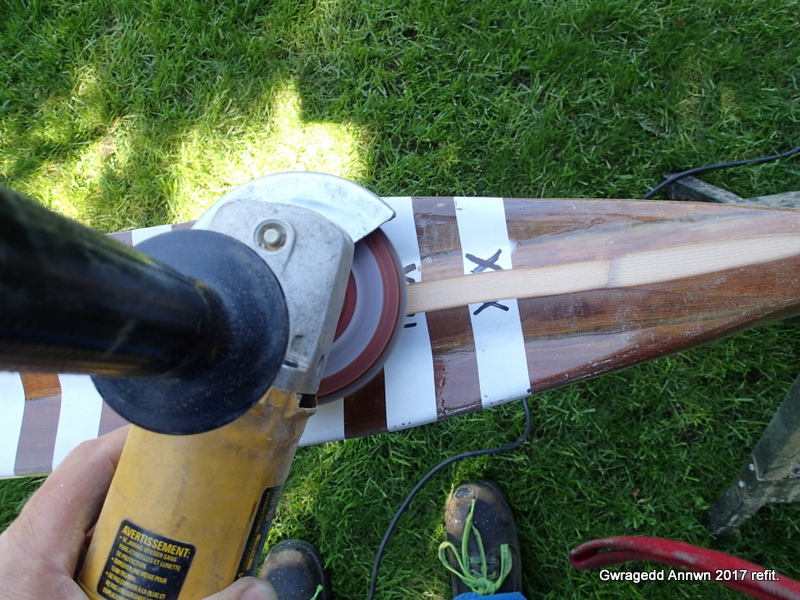
Sanding out the centre rib.

Eight coats of Varnish and four coats for the depth-sounder strips later, they are ready to row!


Gwragedd Annwn at the beach at Hollyburn Sailing Club.
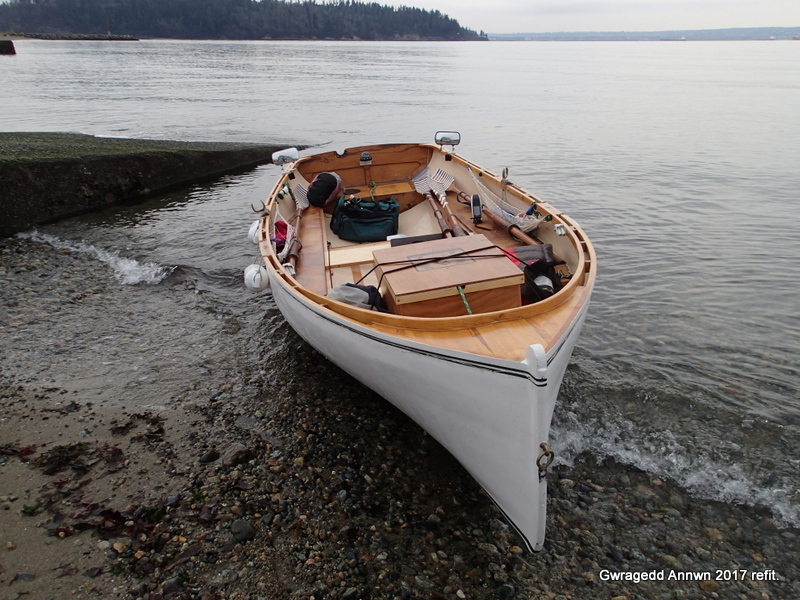
Refreshed and read to go!

I built a small box for her foredeck to hold her anchor and line in.
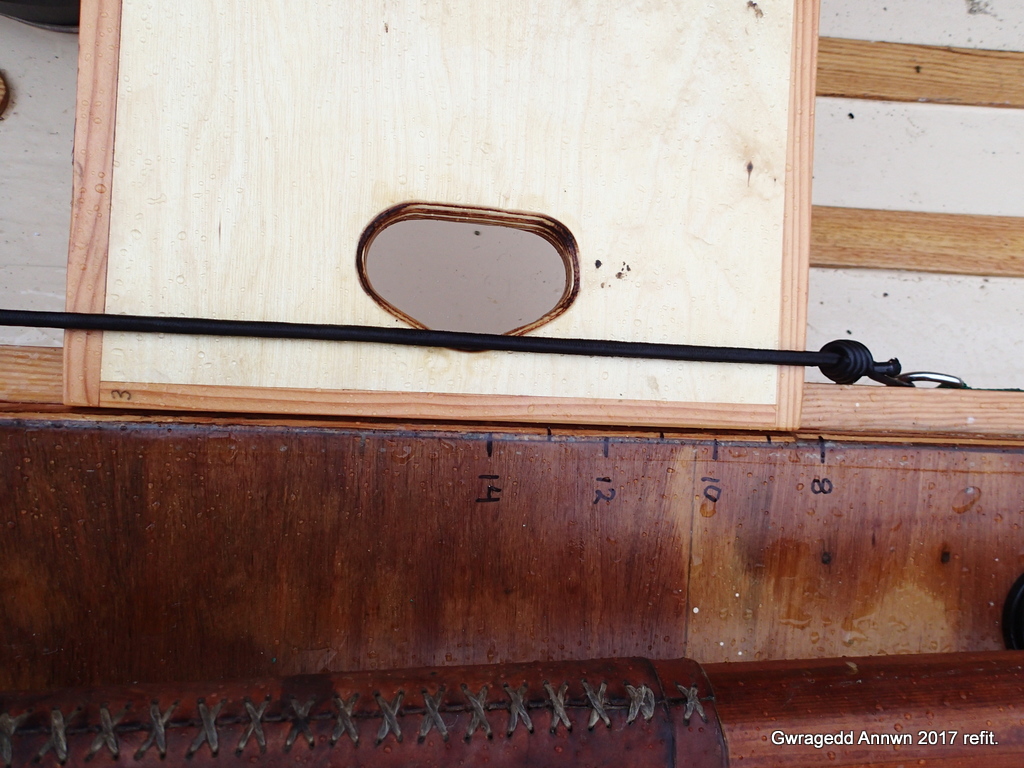
Adjustable thwarts, here set for 8½” back from the Oarlock.

Her new thwarts are adjustable and have the potential to be made into sliding seats.

The thwarts are numbered so I can always get them to fit.
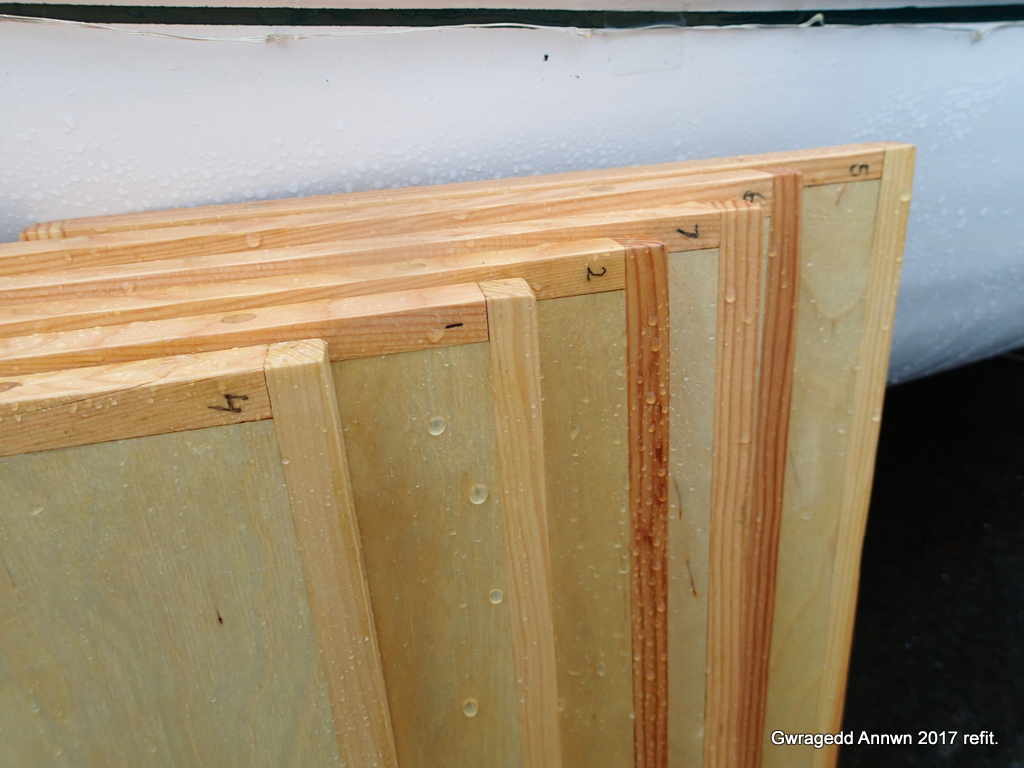
Numbered Thwarts.


Thwart storage under main rowing position.

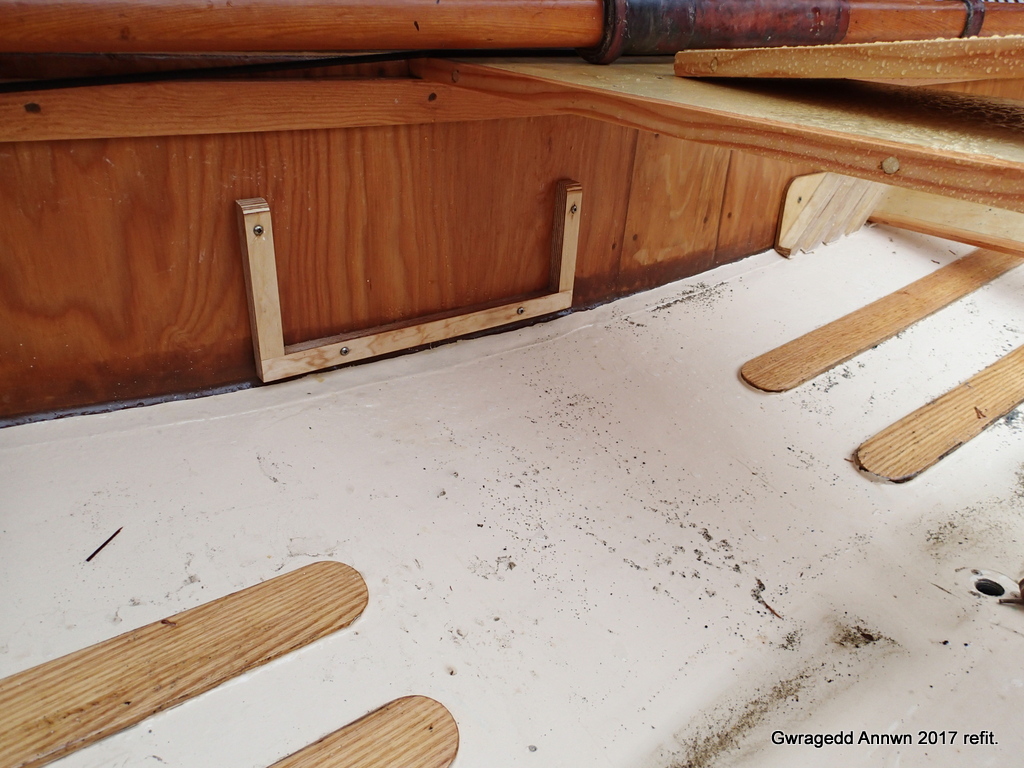
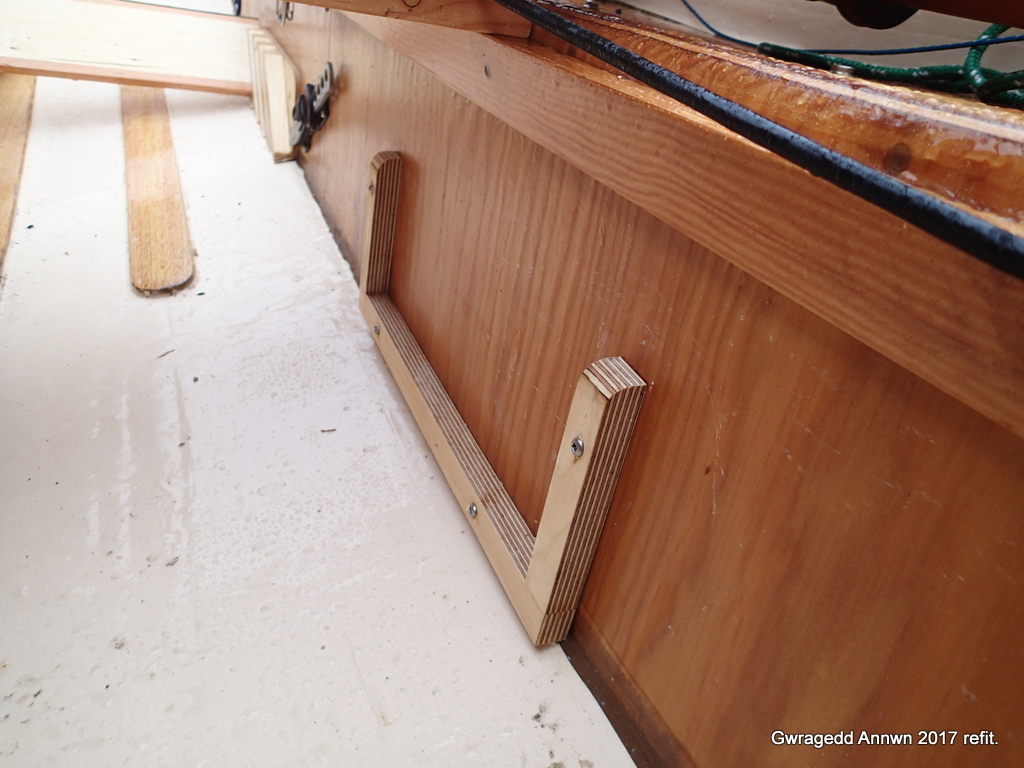
I have made a bracket to hold the thwarts while I am rowing and not using them for a sleeping platform.

Port thwart storage bracket with Diving knife in background.

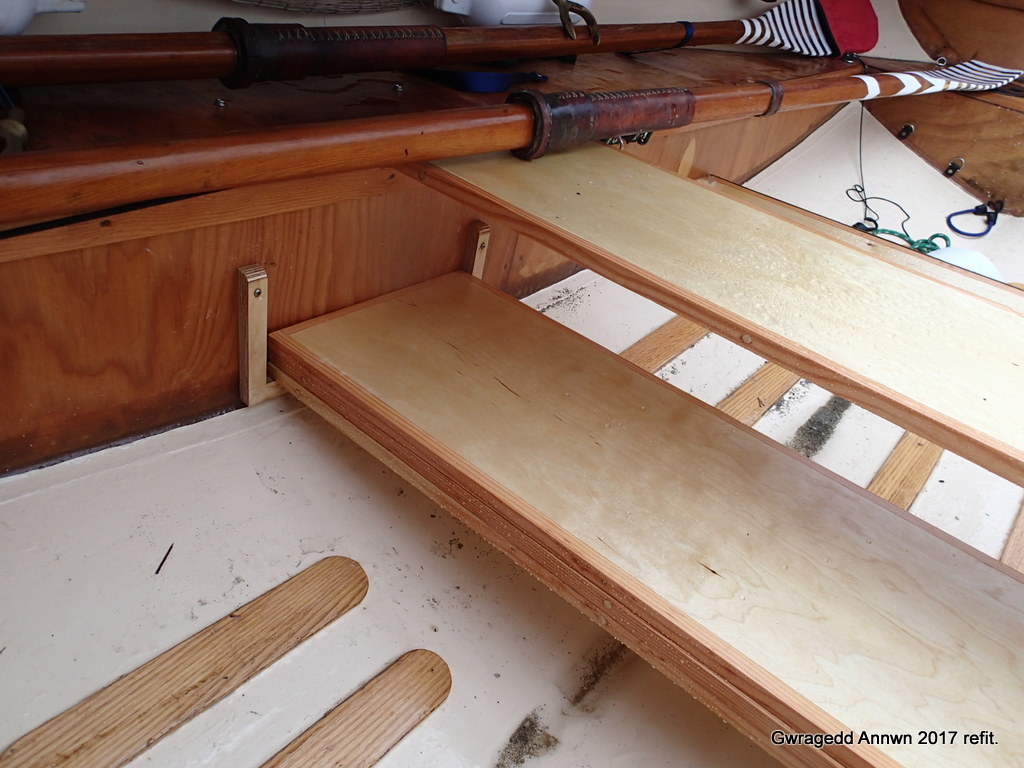
Thwarts stowed.

When the thwarts are stored, they form the foot brace for the forward rowing position.

I usually take the thwarts out when moving Gwragedd Annwn around on her dolly…The extra thwarts, at about 8 pounds each, they add another 60+ pounds of weight when moving her around. The storage box, with anchor, is about 30 pounds more.  When she is afloat, the extra weight actually makes rowing her easier, she has more momentum and is less effected by the wind.

Two views of her new foot braces, here set at the after-most position.
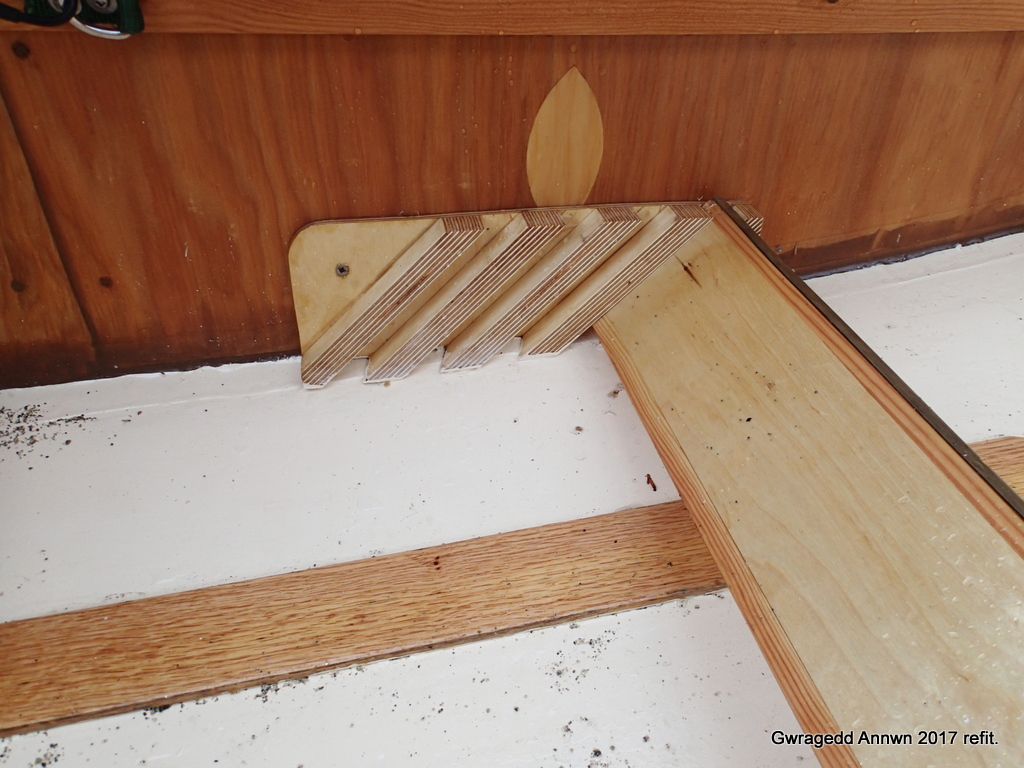
New  main rowing position foot brace set in after-most position.

I had some left-over brass half-round that I put on the top edge for a wear-strip.
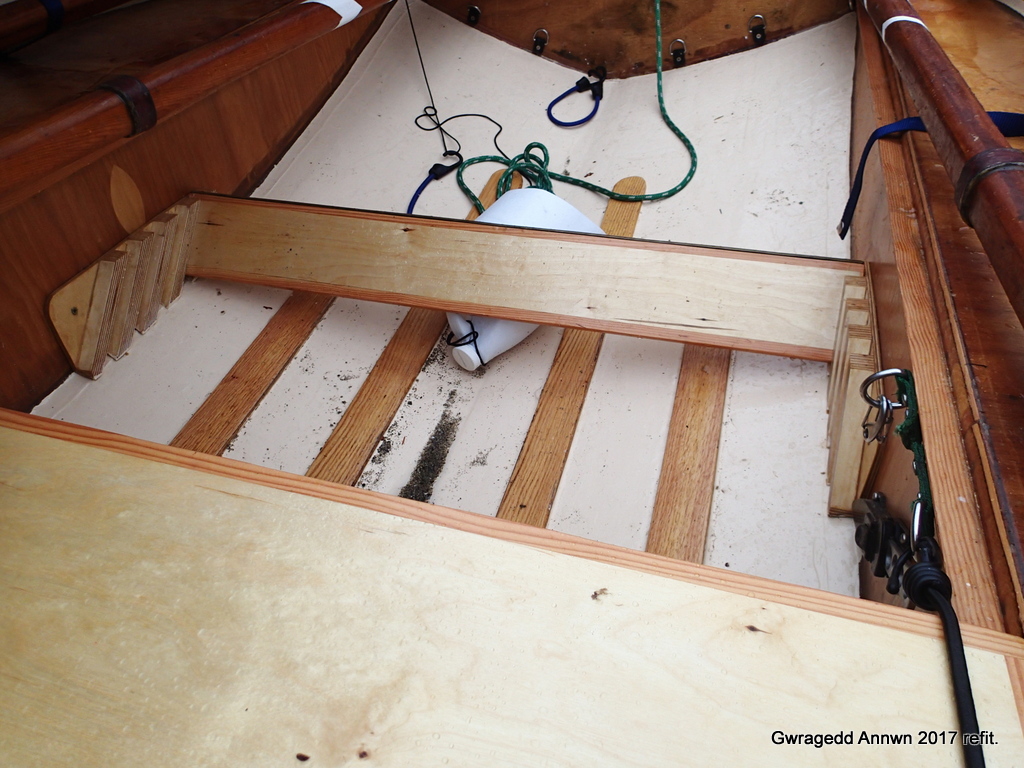
Main rowing position foot brace.


Her foot braces have four adjustments.

Gwragedd Annwn’s foredeck was a water trap.  I epoxied in two scuppers, Port & Starboard.
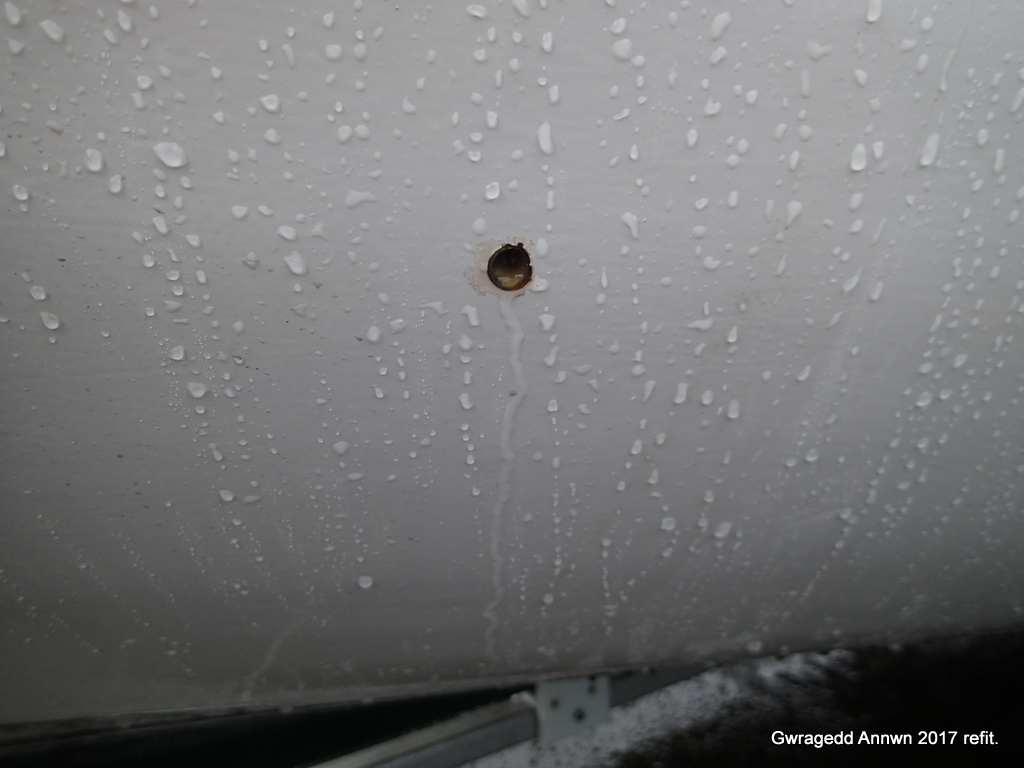
Foredeck scupper in action.
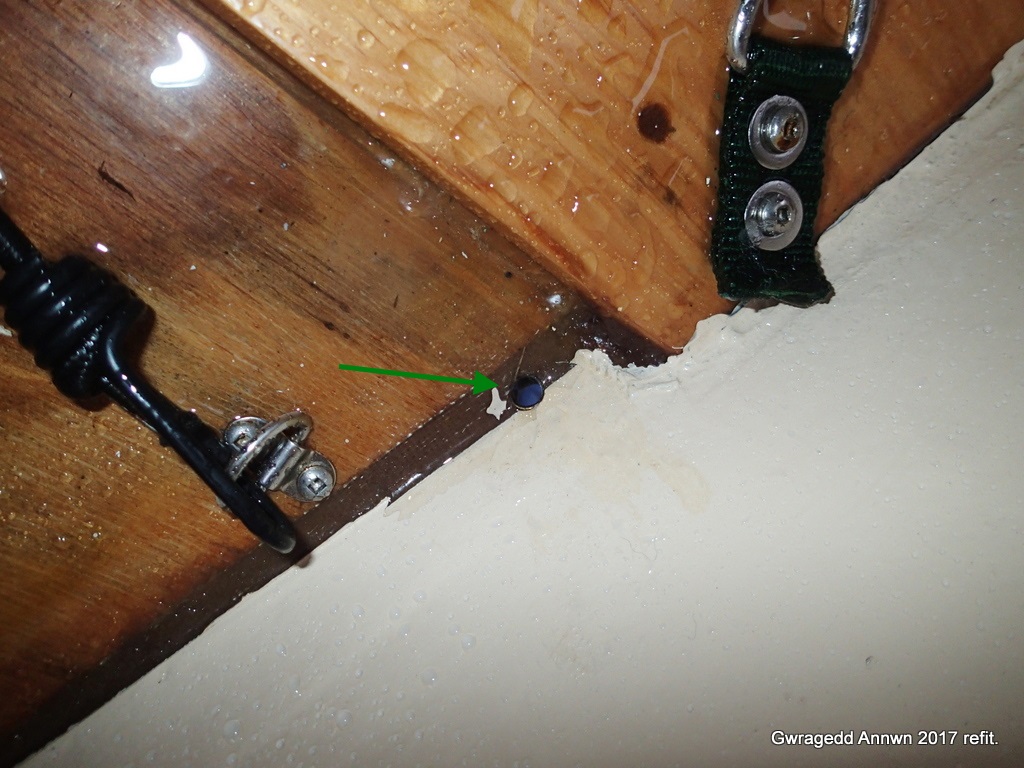
Port Scupper, inside view.

There are the new 15° offset sockets.
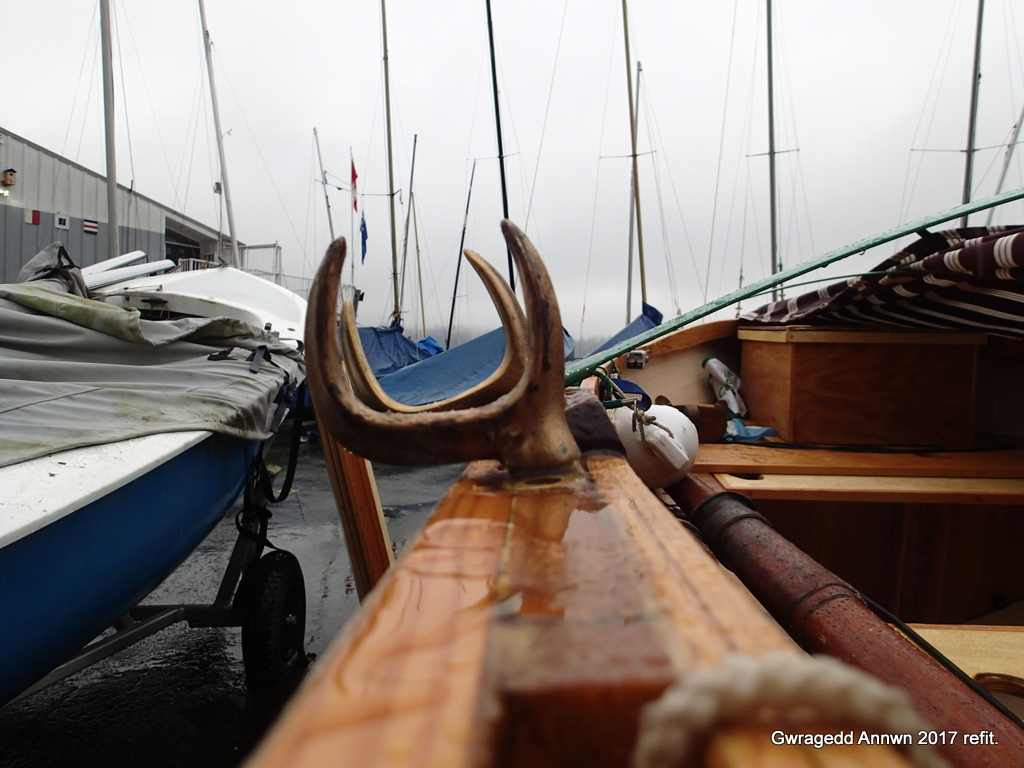
Original and offset oarlocks one.
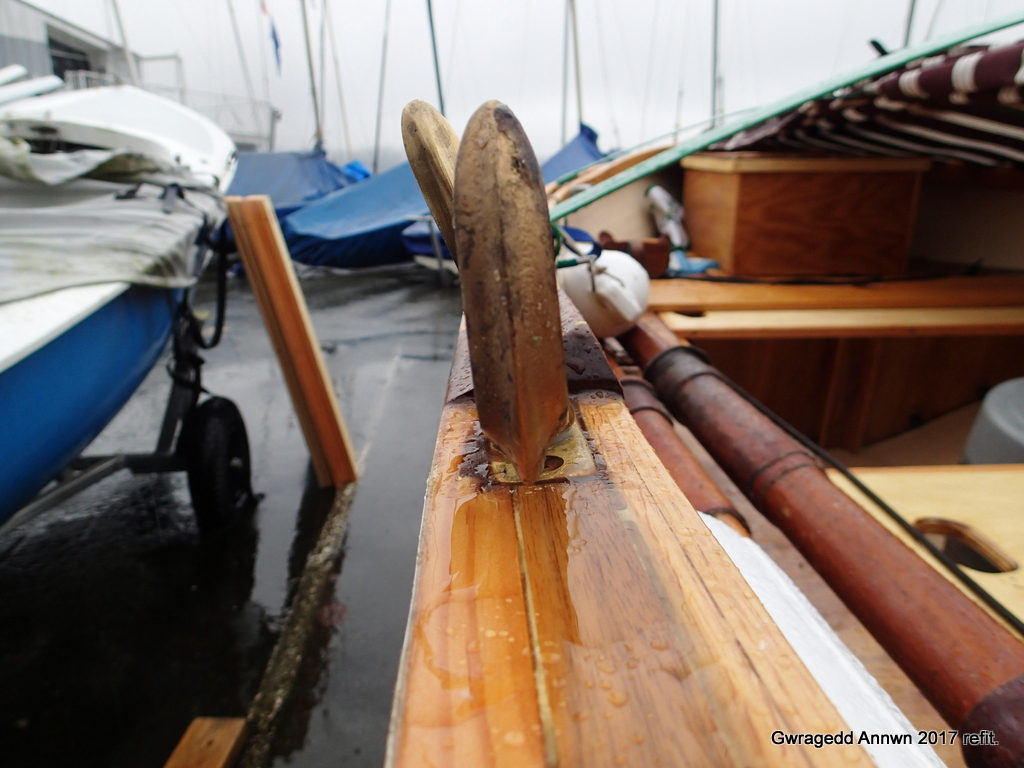
Original and offset oarlocks two.
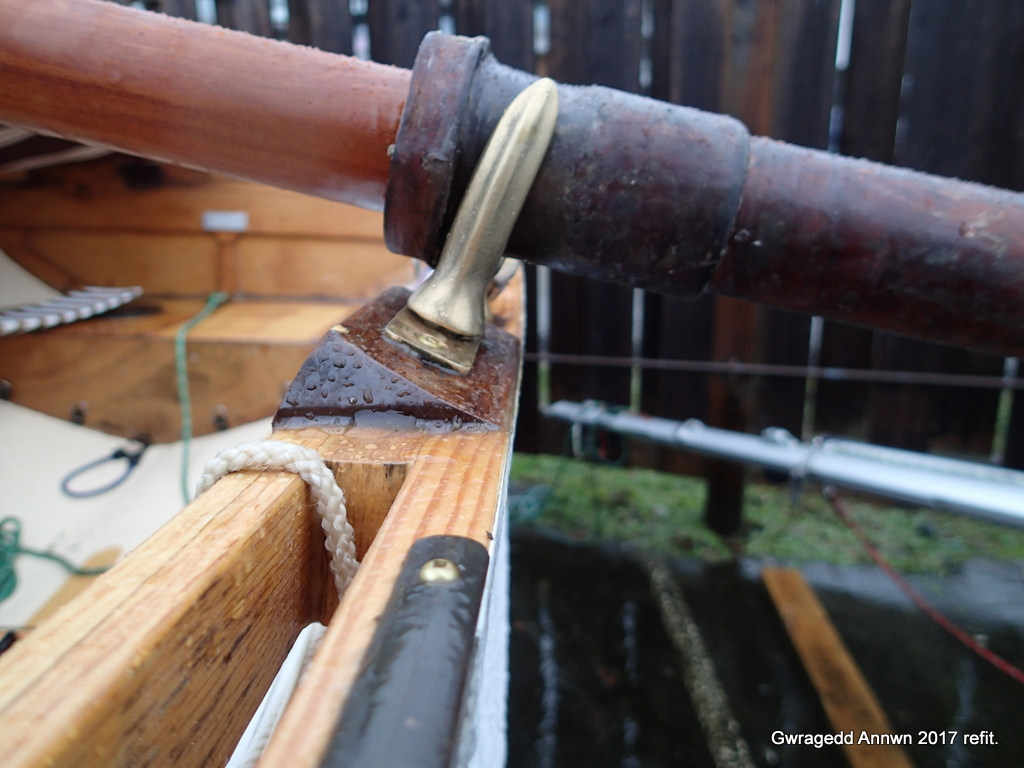
Oar in offset oarlock.

The brass half-round in the foreground of the picture is a wear strip for the strap used to secure Gwragedd Annwn to her trailer.

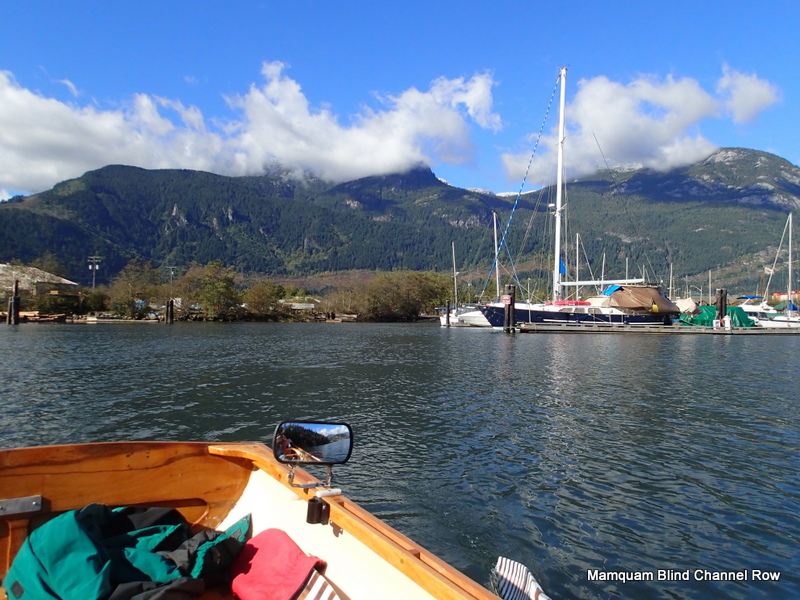
She has new forward-view mirrors.

I am still trying out the improvements.

I will let you know how they work out.

Good rowing to you,


Mike
 

Posted in Under the Keel.... | Leave a comment

The Urban Oarsman & Son build a Canoe part four.

Weekend four of the Canoe Build:


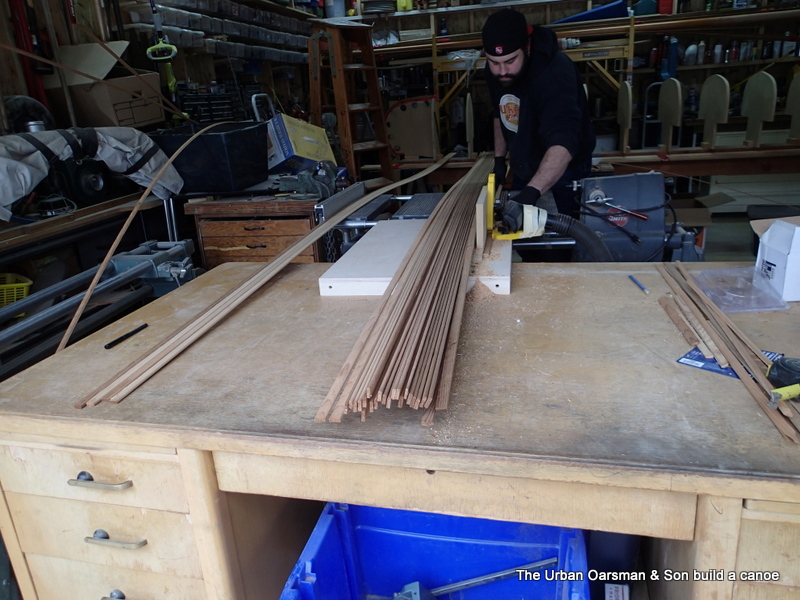
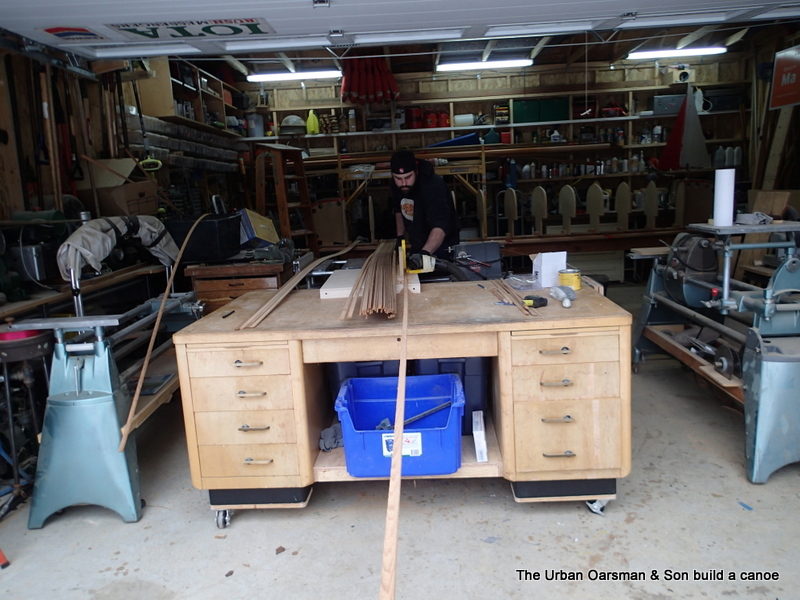
Paul comes up to put the cove on the bead and cove strips.  I have set up the router jig and after a few test strips, we are ready to go.

Paul puts the strips in order.

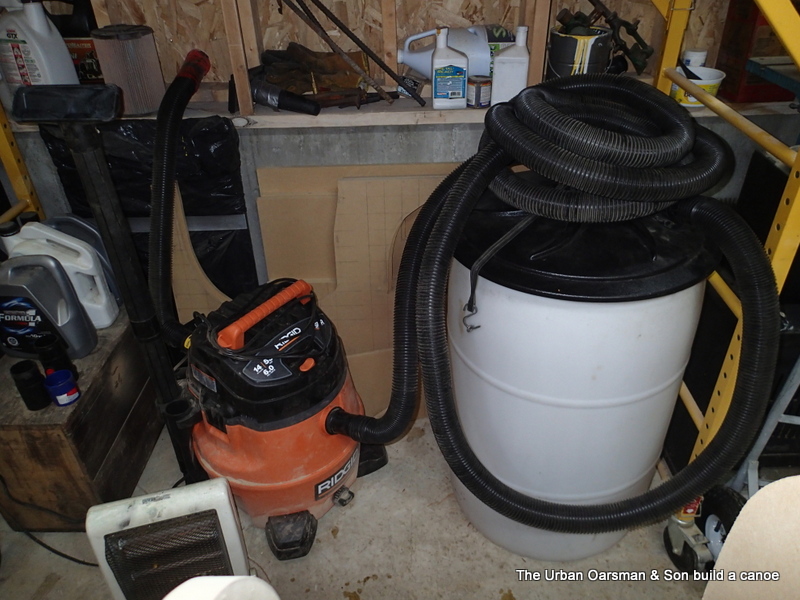
I have a shop vac and a cyclone lid for my dust collection system:

The dust collection system.   The white barrel with the cyclone lid is my primary filter.  The white barrel has a twenty foot hose on it.  Long enough to reach every corner of the shop.  The black rubber strap keeps the cyclone lid on the barrel even when the shop vac is not turned on.  If I am going to use the shop vac as a shop vac, I will put the filter back in and use it as normal.

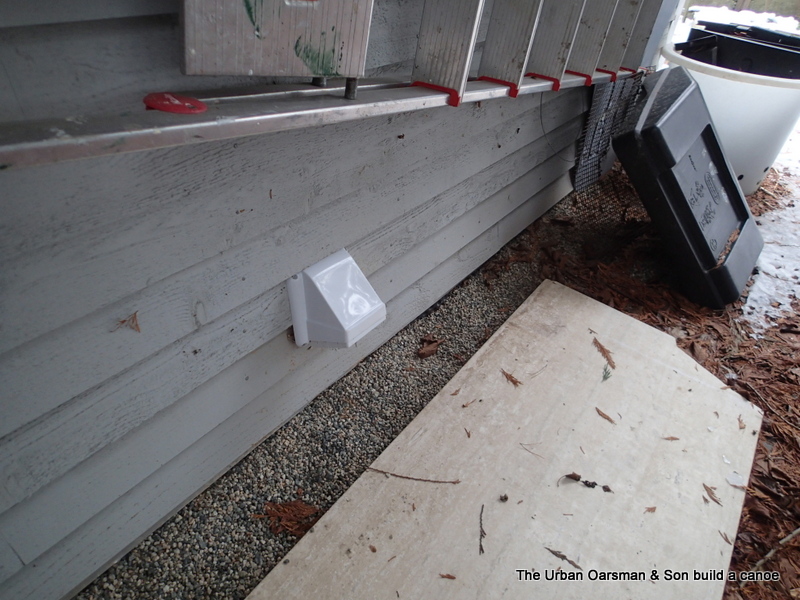
I have taken the filter out of the shop vac and piped the exhaust out of the garage using a dryer vent.  This way I will get no dust in the shop from the vacuum system.

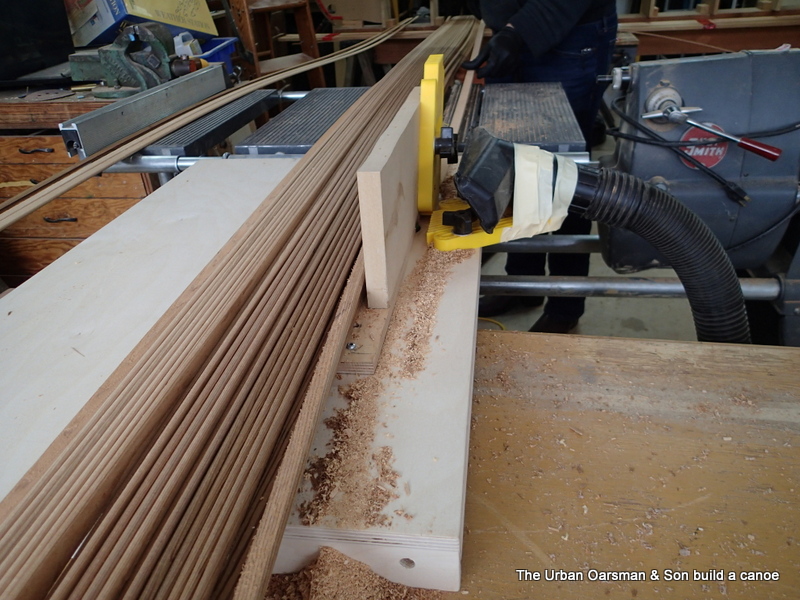
We turn on the shop vac and the router and begin to feed the strips in.

Coving the strips 1.

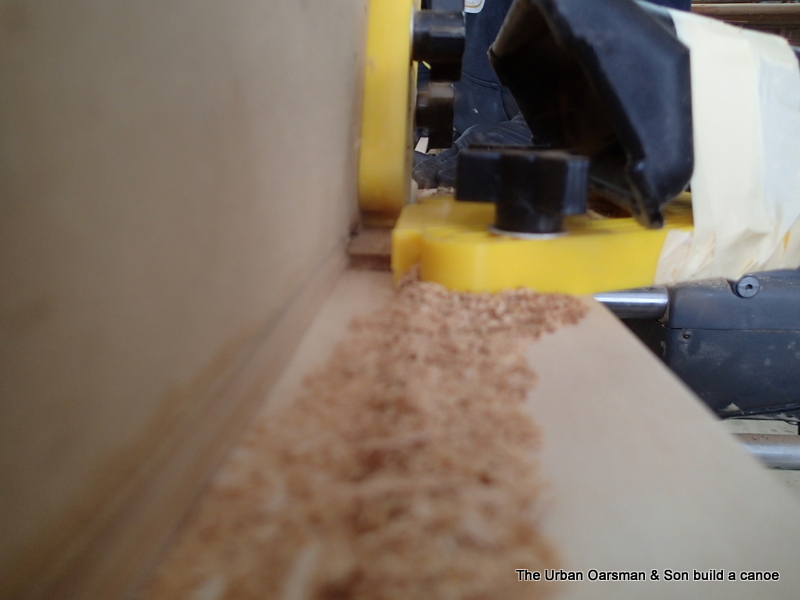
I need a better intake for the dust system with the router jig.  Some still escapes.

Coving the strips 2.

Coving the strips 3.

Coving the strips 4.

As Paul puts the strips through, I pull on the strip when it passes the extension table.  This way, Paul does not have to get his hands/fingers near the router bit.

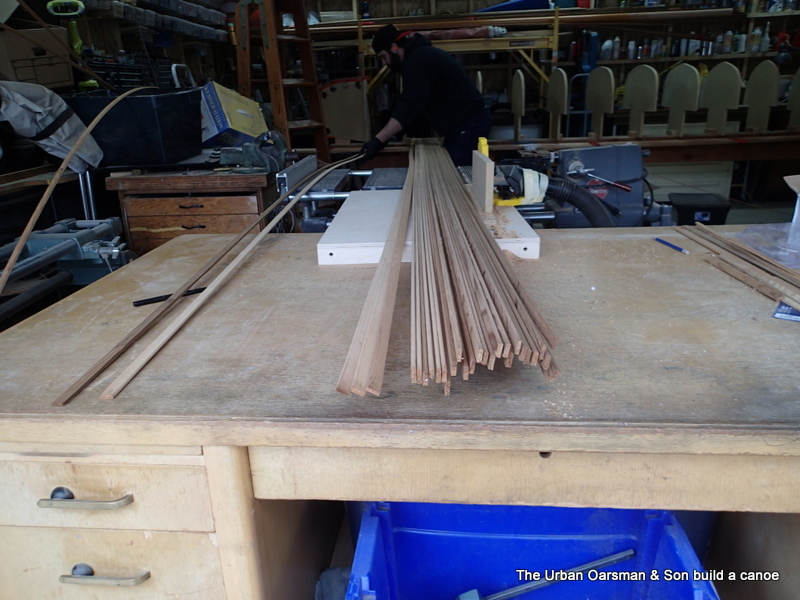
Each strip takes 30 seconds or less to go from the stack, through the router jig and back to the pile.  We have two bundles of 30 strips and are done is less than an hour.

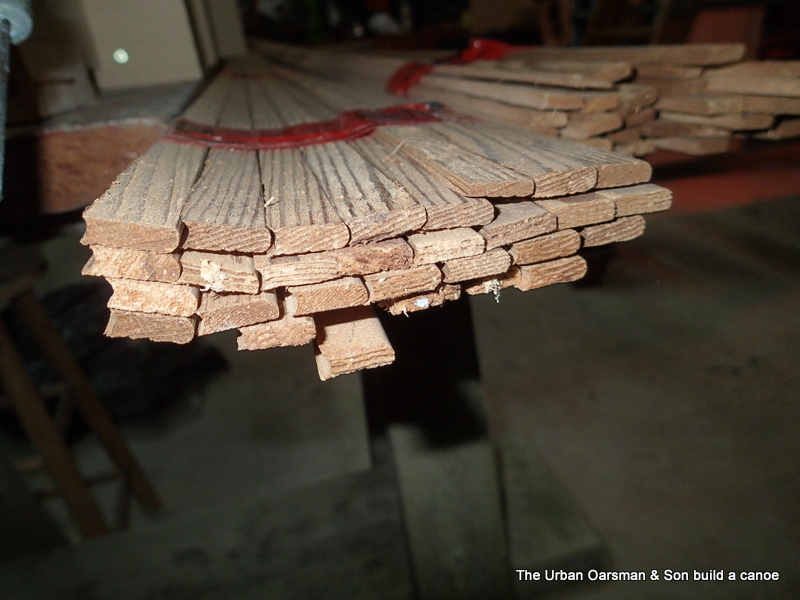
Bundle of finished strips.

Each bundle is sorted as to colour and is for one side of the canoe.  We hope to have the two sides evenly coloured/patterned.

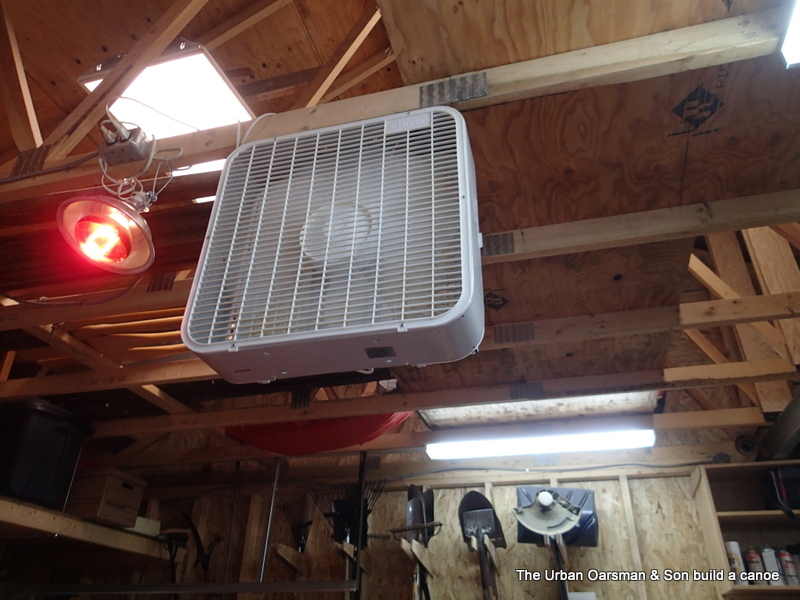
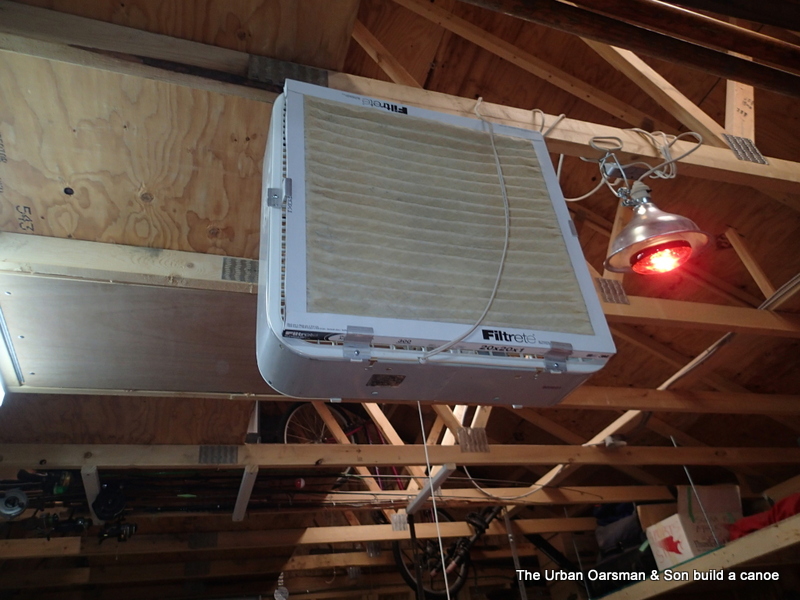
To help keep the shop dust free, I have turned our old box fan into a dust remover:

Box fan dust remover front.

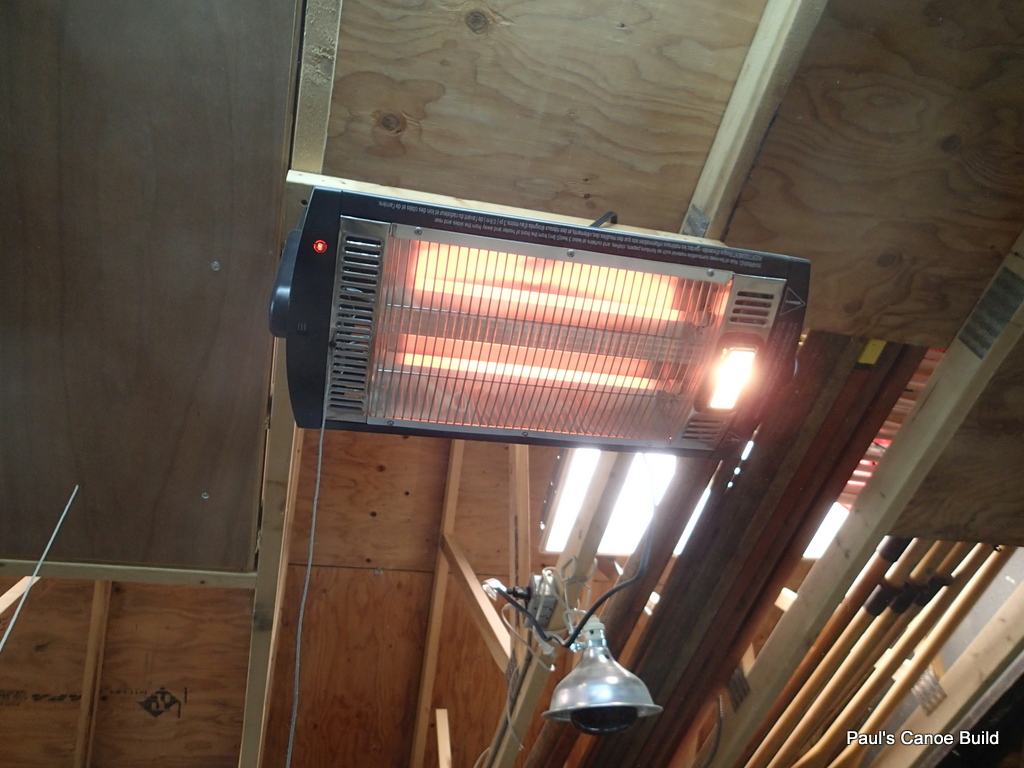
The fan sucks the air through the filter.  To the left is a heat lamp to help keep the damp out of the garage.

Box fan dust remover back.  I use a 20 by 20 furnace filter held in place by four shop made brackets.

Paul is still debating making two “accent” strips to embellish the canoe.  I think that he should.  After Christmas we will go down to Windsor and see if they have anything that will be suitable.

Merry paddling,

Mike


Posted in Under the Keel.... | Leave a comment

Making a Sculling Notch for Gwragedd Annwn

As I have been rowing Gwragedd Annwn, I have found that one of her flaws (if she really has any) with the spread of her oars is that she needs an 18′ wide channel to row in.  I have taken her into narrower channels, usually by paddling her with an oar.  Not very efficient. I have decided to give her a sculling notch for the next narrow channel or if for some reason I am reduced to only having one oar, or break all of my oarlocks.

The first step is to determine where to place the notch.  I have seen very experienced scullers scull without a notch, just resting the oar on the transom.  I am not that good.  I will scull with my right hand, facing forward, so my notch will be offset to Starboard.

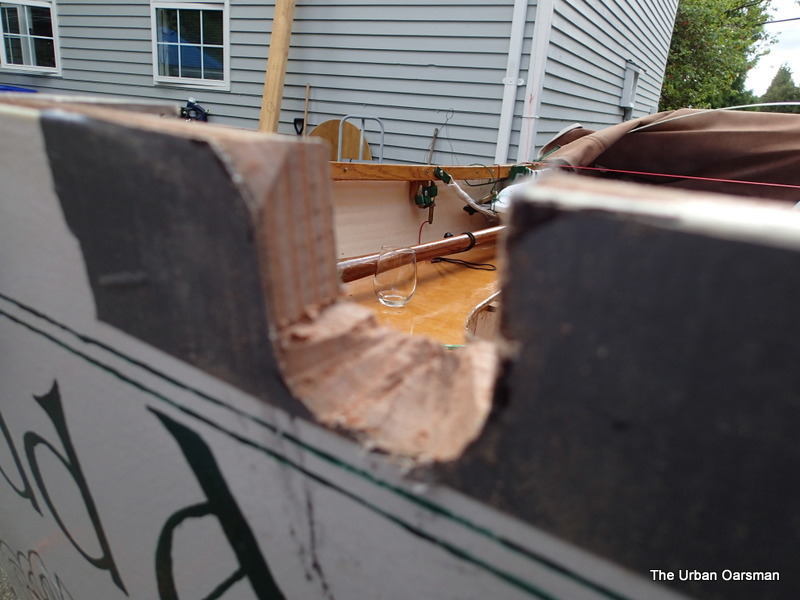
Locating the Sculling notch for Gwragedd Annwn

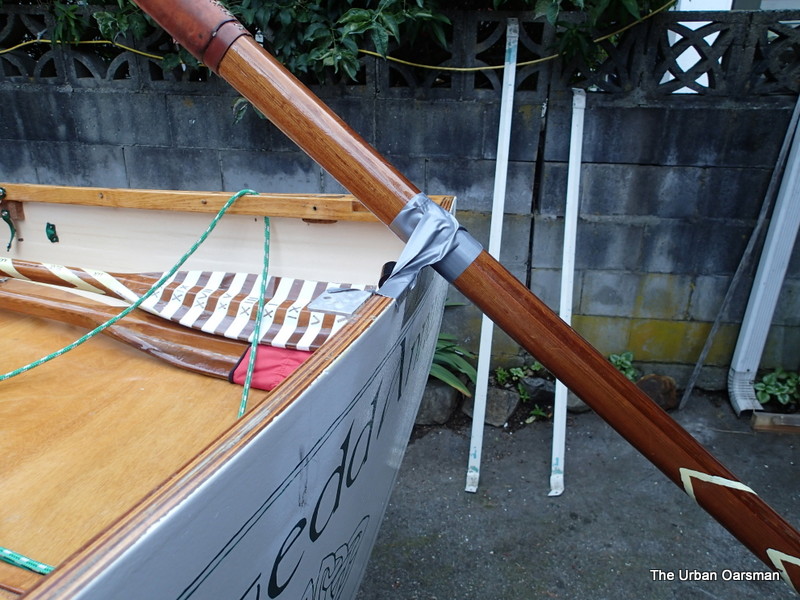
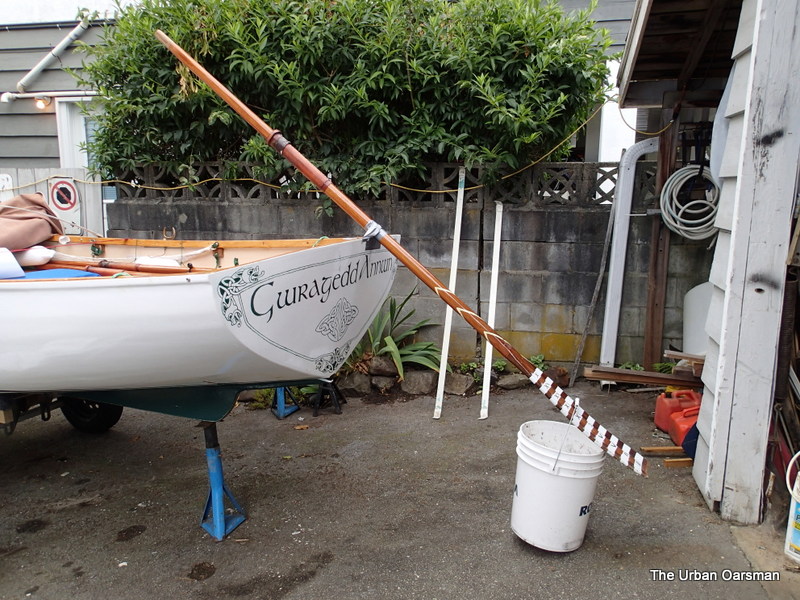
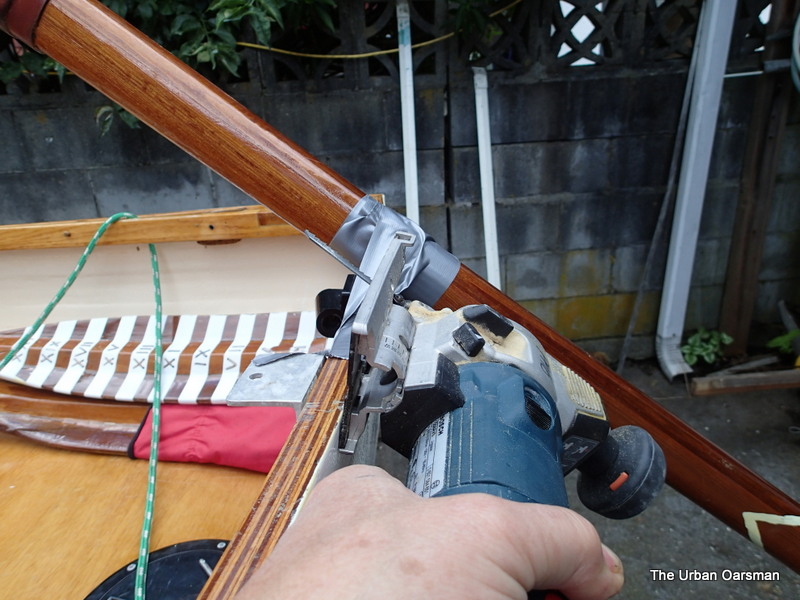
I stood in Gwragedd Annwn and using duct tape, found a comfortable place for the oar.

I used a bucket to get the angle for the notch.


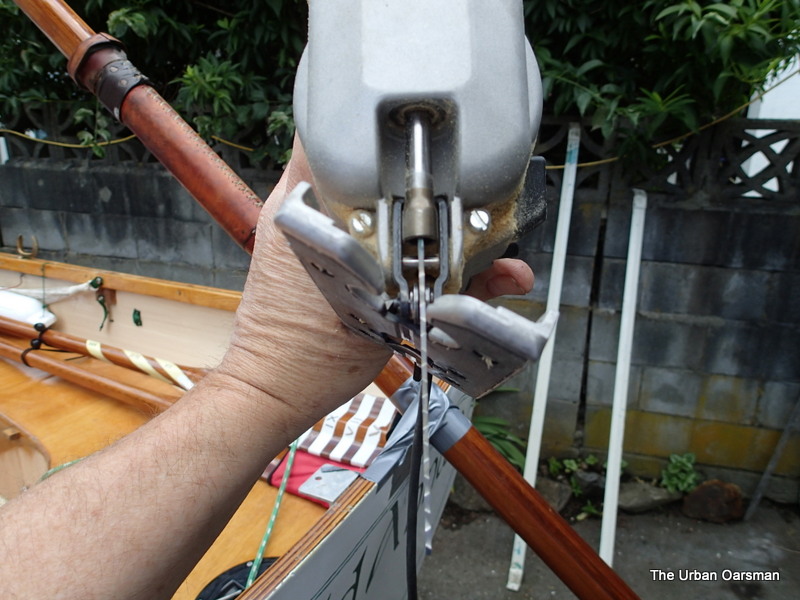
I set my jigsaw to the oar angle.

Looks about right….

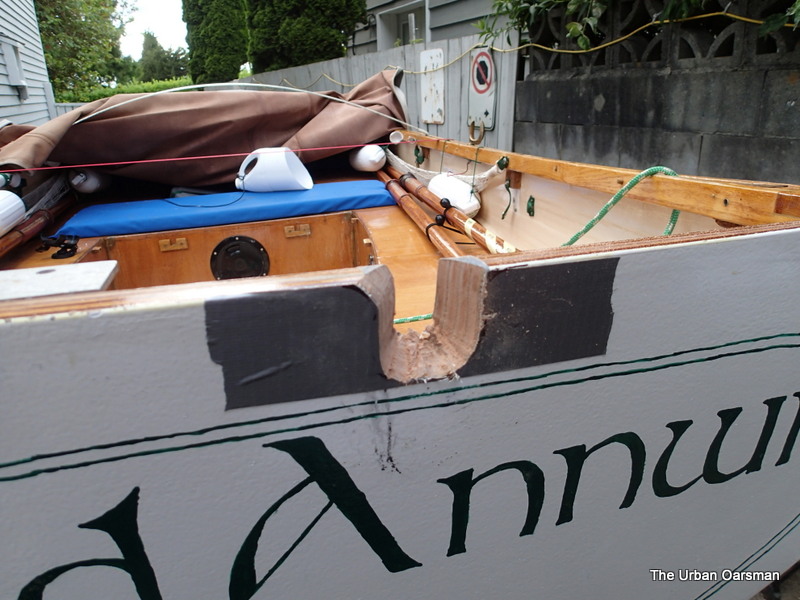
I used duct tape to keep the splintering down.

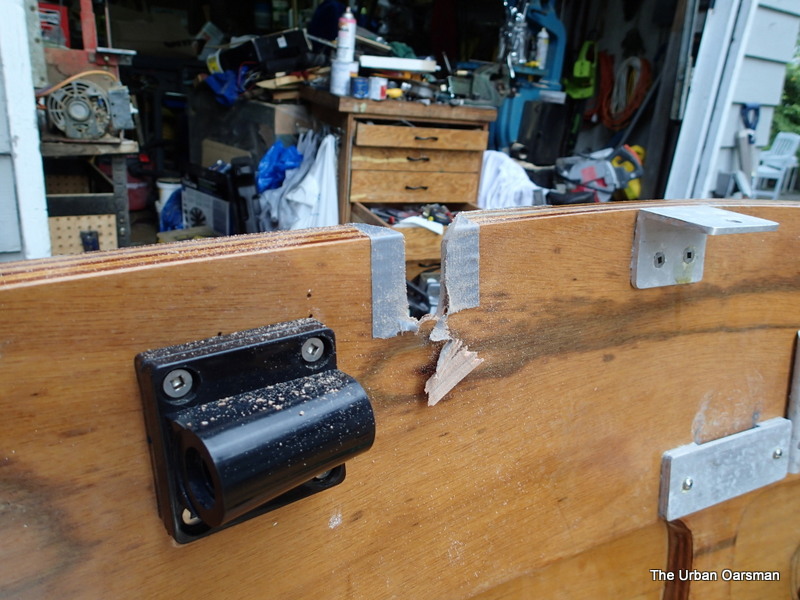
View from the inside:

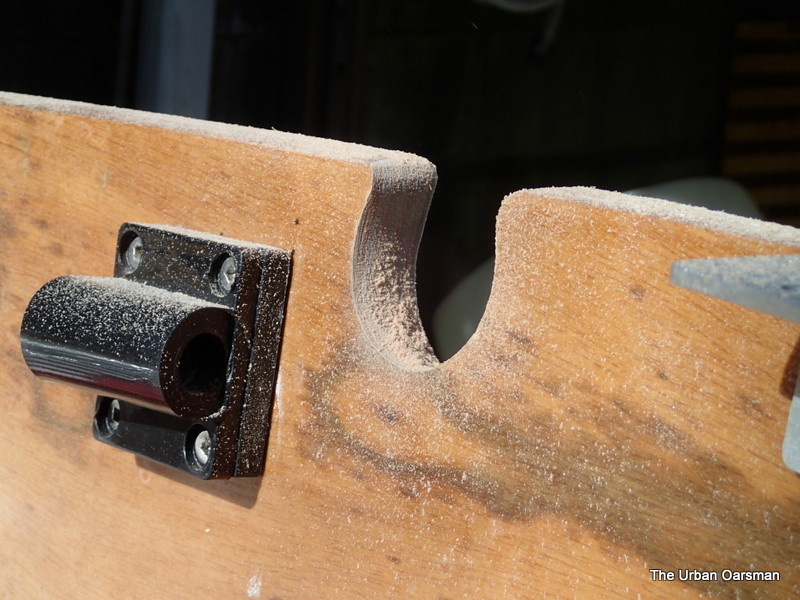
Now it is just a matter of shaping the notch to fit the oar at the sculling angle…

The wine glass is the shape I am aiming for.

After shaping and sanding.

The notch has to be big enough to allow for a large range of motion and for the leather liner.

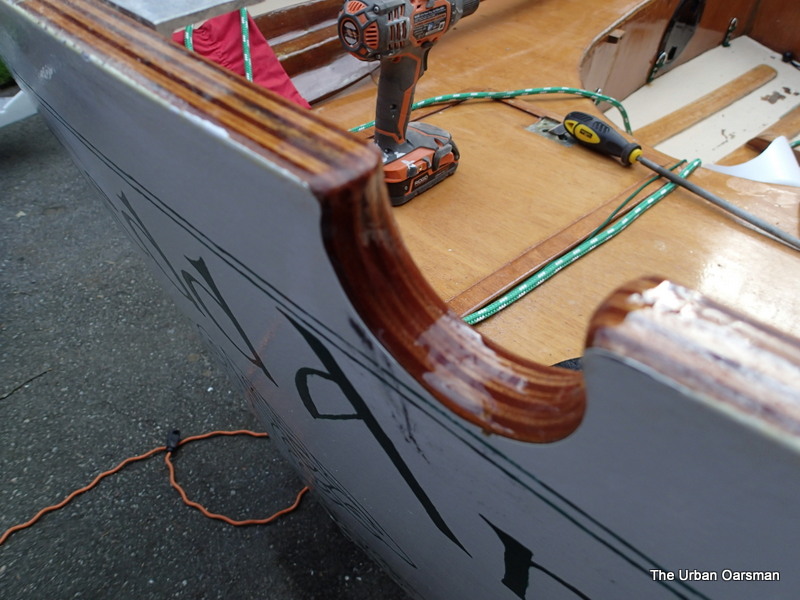
The next step is to varnish the notch.  I put on eight coats.


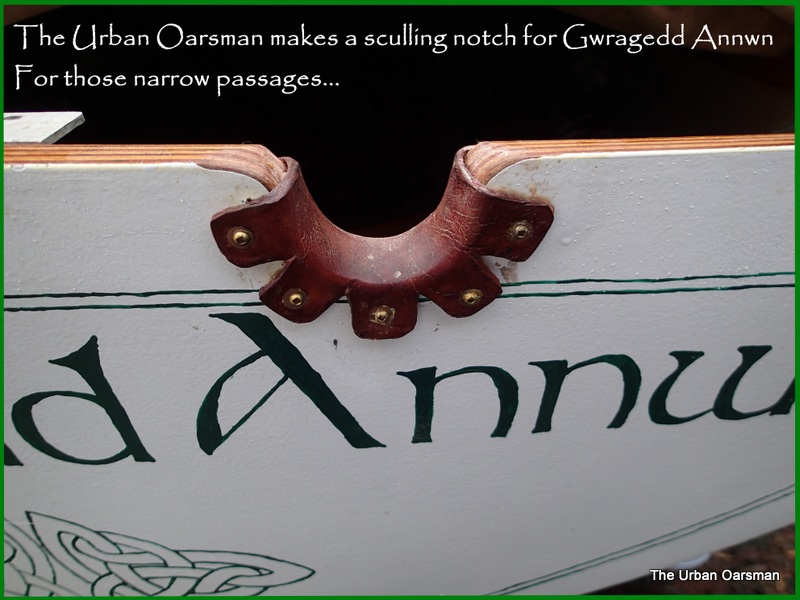
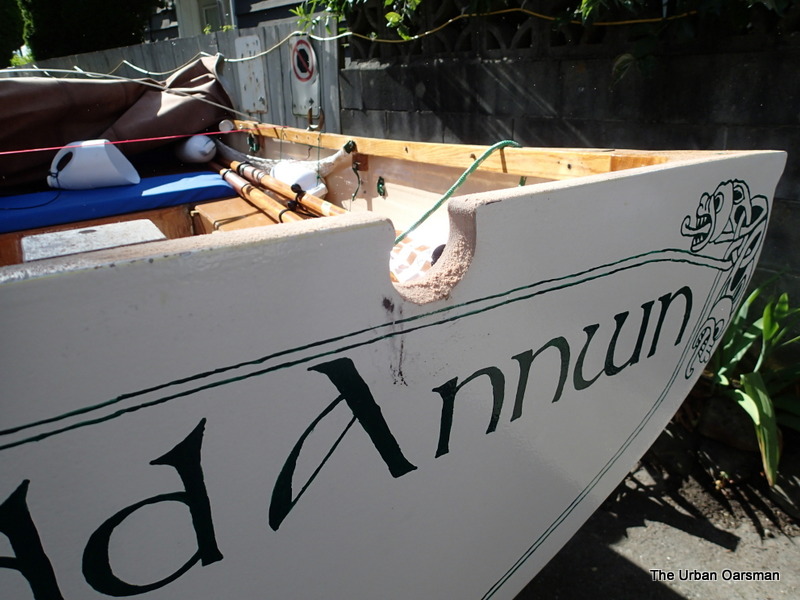
The finished Sculling Notch Outside view:

Inside view:


To date, the notch has performed well.  I did make the notch a little larger after some trial runs.  The more skilled I get, the better the notch works.  This opens up even more waters for Gwragedd Annwn to explore!


Happy Sculling,


Mike


Posted in Under the Keel.... | Leave a comment

The Urban Oarsman rows Alta Lake in Whistler, B.C.

I drove from North Vancouver to Alta Lake, Whistler,  B.C. The drive up was uneventful, there was no snow on the highway, only a little at the side of the road.

The Urban Oarsman Rows Alta Lake.


I turned left off of the Sea to Sky highway onto Hillcrest Drive, then right onto Alpine Crescent, left onto Alta Vista Road, and finally onto Lakeside Road.  The boat launch is at the foot of Carleton Way.  The trip up quick as the  traffic was light and there were no slippery sections on the highway.


The boat launch is at the foot of Carleton Way.

The Urban Oarsman Rows Alta Lake, the boat launch at the foot of Carleton Way.

Time to unpack Gwragedd Annwn.  I take off her travel cover, load my gear into her, unstrap her from the trailer and get the bumpers, oarlocks and oars ready.  In she goes!

The Urban Oarsman Rows Alta lake. The launch.


I pull her onto the beach and then go to look for parking.

On the beach by the boat launch.  During the rains last week, the lake was as high as the first snow line on the beach.

There is no parking near the boat launch.  One side of every street is posted “No Parking”.  ( I suppose for the snow plows) I luck out and find a spot on the West side of Lakeside Road.  There is also parking at Lakeside Park, however, I do not see any dedicated boat trailer and tow vehicle parking.  At this time of the year, I guess there is not much demand.  I walk back to Gwragedd Annwn.

The Urban Oarsman Rows away from the Alta Lake boat launch.


The round concrete structures are part of the sanitary sewer system.  They are some sort of pump house/ inspection access structure.

The Urban Oarsman Rows Alta Lake, looking South.

I thought that the funny reflection to the South was the wind on the water.


The Urban Oarsman Rows Alta Lake, looking North.

The water is quite flat with a 3 to 5 kph drift from the North.  I am rowing with my Pogies on.

The Urban Oarsman Rows Alta Lake.

There are a lot of pretty houses on the lake.

The Urban Oarsman Rows Alta Lake.  You can just see my Blue FJ Cruiser parked in front of this house.

I row North, staying as close to the shore as possible…there are many docks reaching out from the shore.

The Urban Oarsman Rows Alta Lake.  Leaving the docks behind.

The two flags to the left hang limp.  I begin to warm-up.  My feet, however stay cold.  I have to get better boots for cold-weather rowing.

The Urban Oarsman Rows Alta Lake.

There is a small pond off of the lake.  I do not know what it is called.  It is iced-over and I cannot row Gwragedd Annwn in.  I row into the ice and it is too thick for me to go very far.

More construction.

I have passed three houses under construction and or being renovated.

The Urban Oarsman Rows Alta Lake beside Blueberry Park.

There is a hiking trail beside the Lake called The Blueberry Trail.  There were a couple of ladies walking a dog when I rowed by.  They were very friendly.


The Urban Oarsman Rows past Blueberry Park.

Mt. Sproatt.

I continue to row North.

The Urban Oarsman Rows Alta Lake.

I do not know what boating centre this is.

Boats on the North end of Alta Lake.

The Urban Oarsman Rows stern-first down the River of Golden Dreams.  I can see canoes in racks further down the channel.


I row down until the current becomes strong.  Urban Oarsman Matt  has warned me that the river is too narrow for rowboats…He speaks from experience.

The Urban Oarsman Rows The North Shore of Alta Lake.

The North end of the lake is shallow and reedy.  I poke into some open water, but much of the lake is frozen in the shallows.  This is an observation tower at the North End.

Alta Lake, the Western Shore.

Rainbow Park is at the North-West end of the lake.

I row South down the lake.

The Urban Oarsman Rows Alta Lake beside the train tracks.

The train tracks run along the West side of the lake.  I did not see or hear any trains.

The Urban Oarsman Rows past the Whistler Sailing Association.

There are no boats out….waiting for the ice-boat regatta season?

The Urban Oarsman Rows past train tracks and floats.

Many of the houses on the West side of the tracks have floats in front of them…Many of the boat houses and the houses on shore have the same architectural style.

The South end of Alta Lake is frozen over.

What I thought was wind-shadow when I launched turns out to be frozen water.  The ice extends to the shore.  I cannot row through it.

The Urban Oarsman Rows around the ice on Alta Lake.


I turn North and row on the edge of the ice…There are many mysterious “holes” in the ice sheet.  I do not notice any water up-welling and and have no idea why they are there.  They must have a name, I just do not know what it is.  Maybe imarnirsaq and or ammaniq?

The Urban Oarsman finds open holes in the ice on Alta Lake.


I continue to row around the ice.  I will not be able to row to the South End and into Nita Lake.

The Urban Oarsman leaves the ice sheet behind.

I do not know if the ice is always at the South End, or if the wind blows it up and down the lake.  There had been winds from the North earlier in the week…

The Urban Oarsman enjoys the pretty view to the North of Alta Lake.

I arrive back at the boat launch, beach Gwragedd Annwn and walk to the FJ.  Hard to get the blood back into my feet…I really have to do something about my cold feet.

The Urban Oarsman loads up Gwragedd Annwn and leaves Alta Lake.


I load Gwragedd Annwn onto her trailer, strap her on, stow my gear, secure her oars and oarlocks and put her traveling cover on.  Ready for the trip home.


Happy rowing to you, stay warm and have fun.


Mike


Posted in Under the Keel.... | Leave a comment

The Urban Oarsman & Son build a Canoe part three

Weekend three of the Canoe Build:

A bit of a change, Paul came up on Saturday to work on the canoe.

I have a prior rowing trip with the Hollyburn Sailing Club, the “Winter Hot Wine Paddle”, from the Hollyburn Sailing Club to Sandy Cove in West Vancouver, B.C., so Paul continues on his own, shaping the stems to accept the bead and cove planking.

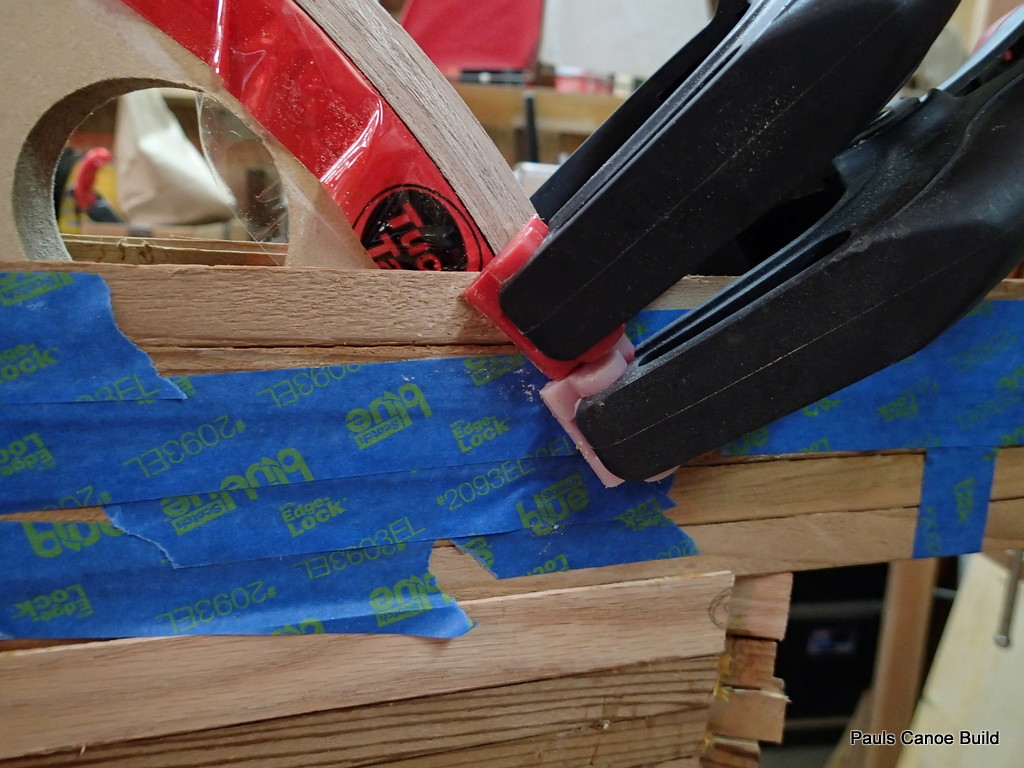
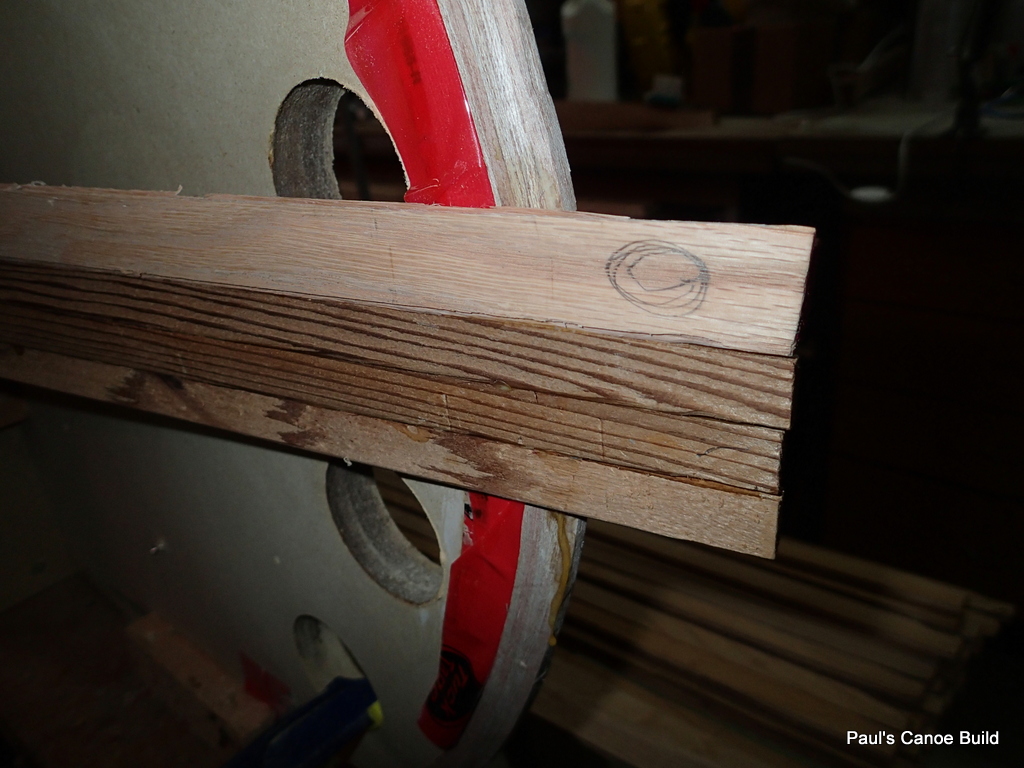
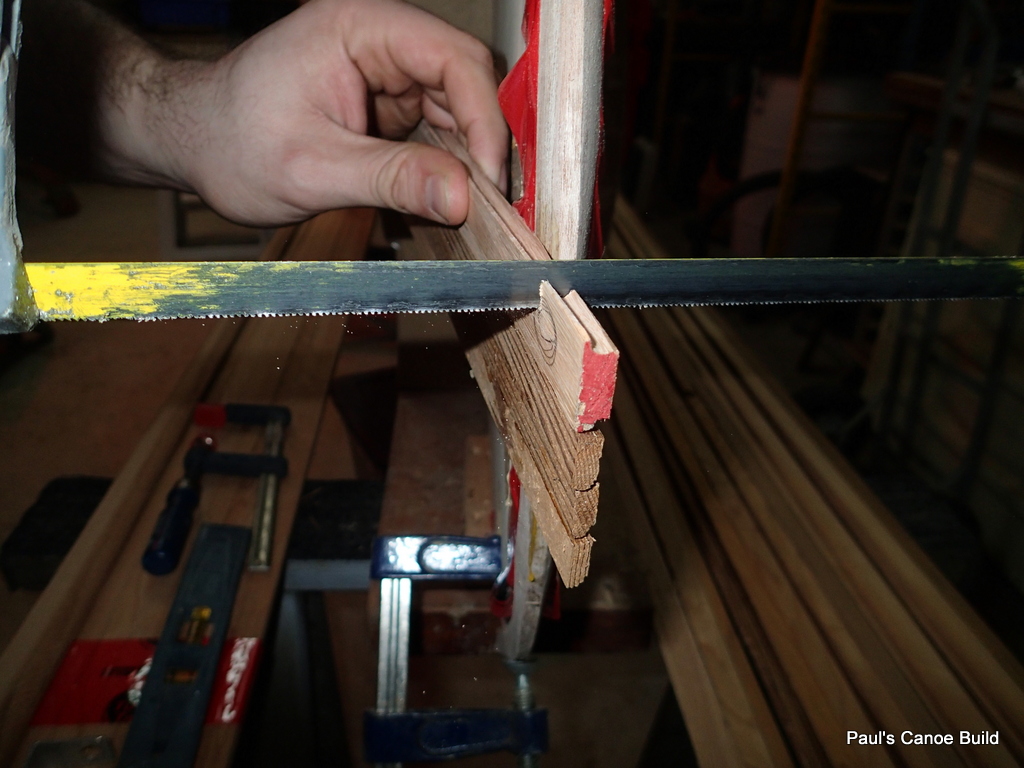
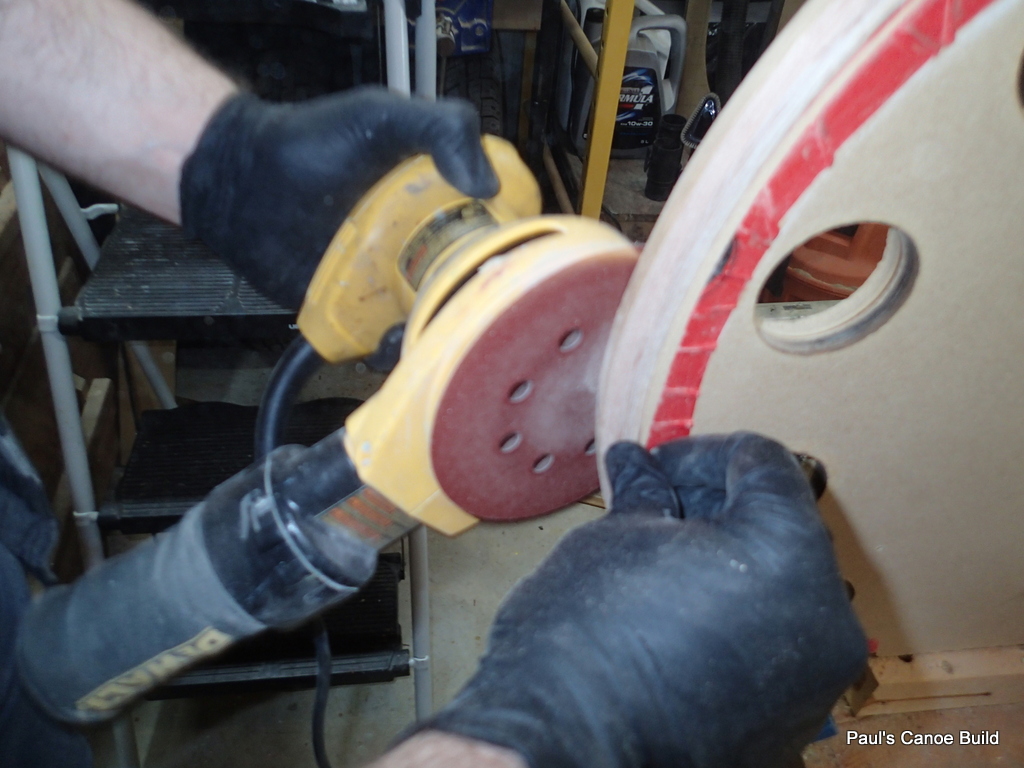
Using a disk sander with coarse-grit sand paper, Paul shapes the stem pieces for the planking.

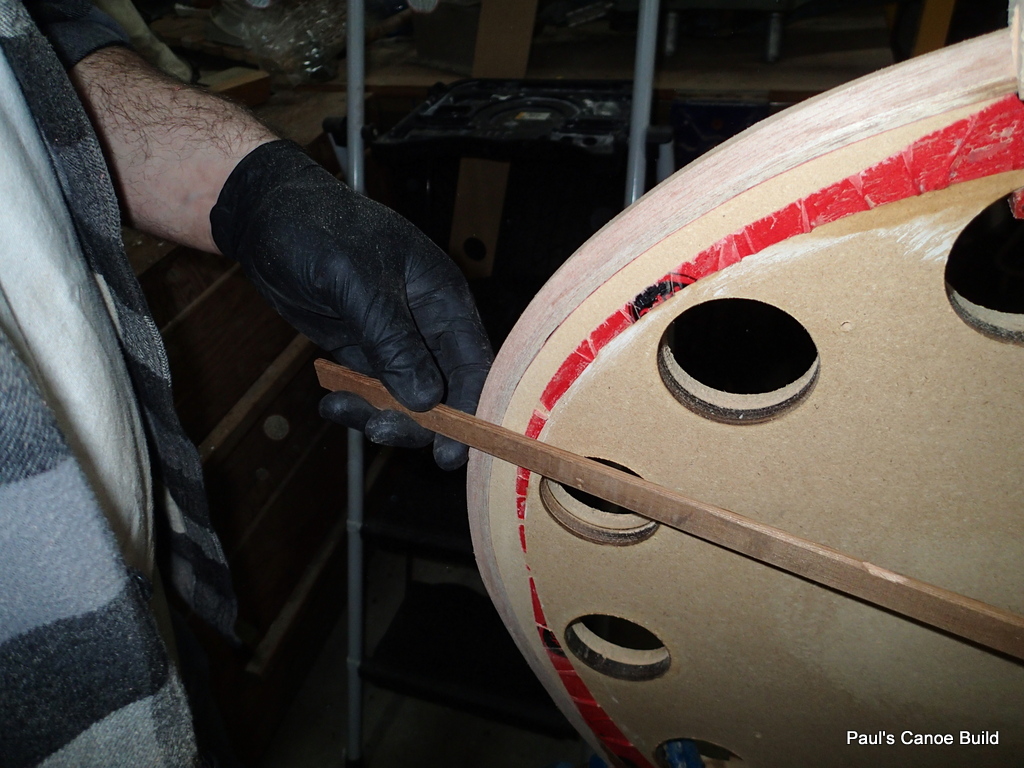
Note that Paul is sanding down the form as well to get the correct angle for the planking.

The job goes reasonably quickly.

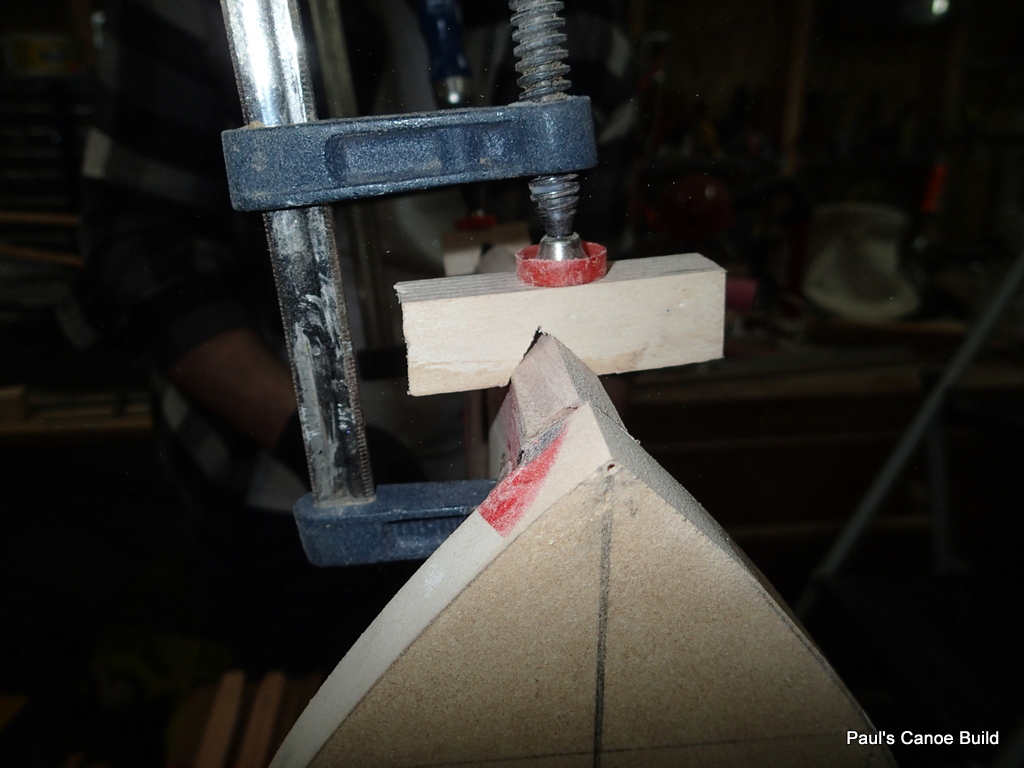
Small angle blocks hold the stem in place for shaping.  Using a caliper to insure the stem is even on both sides of the canoe.

Looking pretty good!

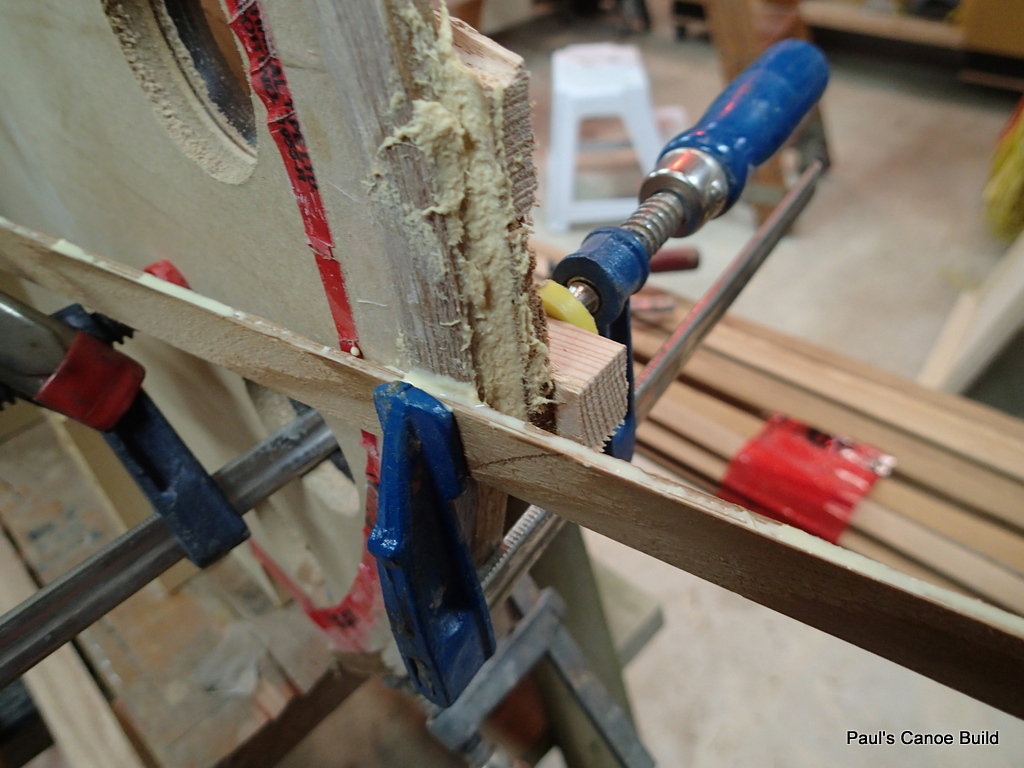
After shaping the stem, When I get home, Paul and I then put the “bead” on the planking.  We make up a jig using a router, a “bead” routing bit, the shop-made extension table for the Shopsmith and two feather boards.  This will be a two-man job.  The strips are too long for one person to handle safely.

Shop-made jig for putting the “bead” onto the strips.

To make the fence, I “routed” the bead bit into the fence at the correct height to put the “bead” on the centre of the strip.  The top feather-board holds the strip down. the side feather-board hold the strip to the fence.  The shop-vac hose sucks up most of the sawdust.

The jig in action.  The green object in the centre is the “bead” router bit.  The fence almost completely covers the bit, just leaving enough exposed to put the right amount of “bead” onto the strips.

Now it is just a matter of Paul feeding the strips in and I pulling the strips through.  We have 62 strips to do.

About ⅔ to go for one bundle of strips.

The strips have been sorted as to colour…and numbered…We keep them in order so both sides of the canoe will look similar.

Keeping the strips in order…Making the numbers more visible.

Two bundles of strips with a “bead” edge.


Next Step:  Putting a cove edge onto the strips.  We will have to adjust the jig, replacing the “bead” bit with the “cove” one, adjusting the bit height, and the feather boards.  Getting closer to planking with every step.


Good rowing (maybe good paddling) to you,


(Pogies for when the rowing is cold!)

The Urban Oarsman rows in the Hollyburn Sailing Club Winter Hot Wine Paddle. December 16th, 2017.

Mike


Posted in Under the Keel.... | Leave a comment

The Urban Oarsman & Son build a Canoe part two

Weekend two of the Canoe Build:


This Sunday we ripped some strips for the stem and stern  laminations.

Paul’s Canoe build,  ripping strips for the laminated stem and stern.

We used the shopsmith, and a fingerboard to rip some philippine mahogany I had into 3/16″ strips.  We cut five strips for each stem piece.

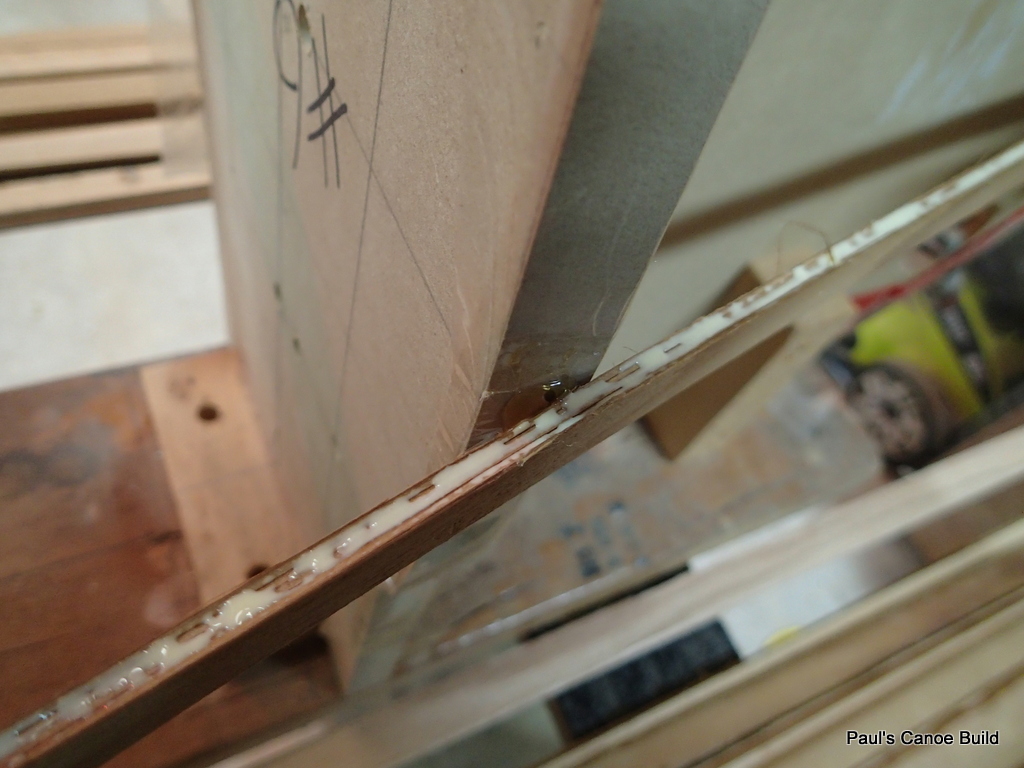
We then used Tightbond II glue to glue the strips together.  Here is Paul slathering the strips with the glue.

Paul’s Canoe build, laminating the stem and stern pieces.

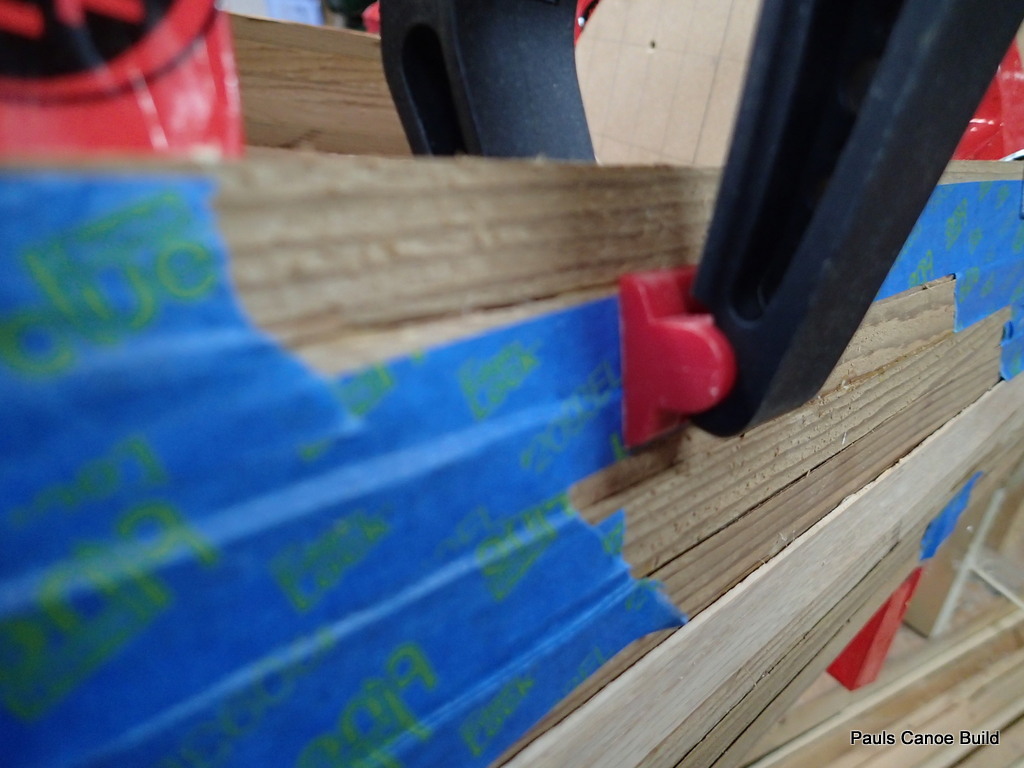
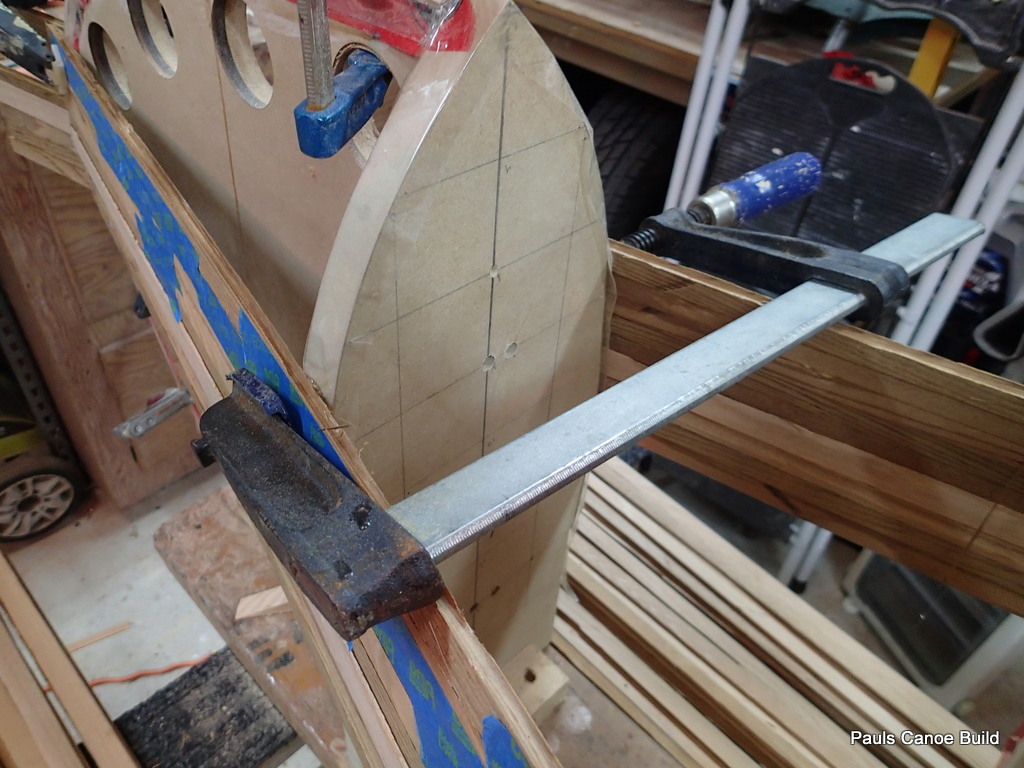
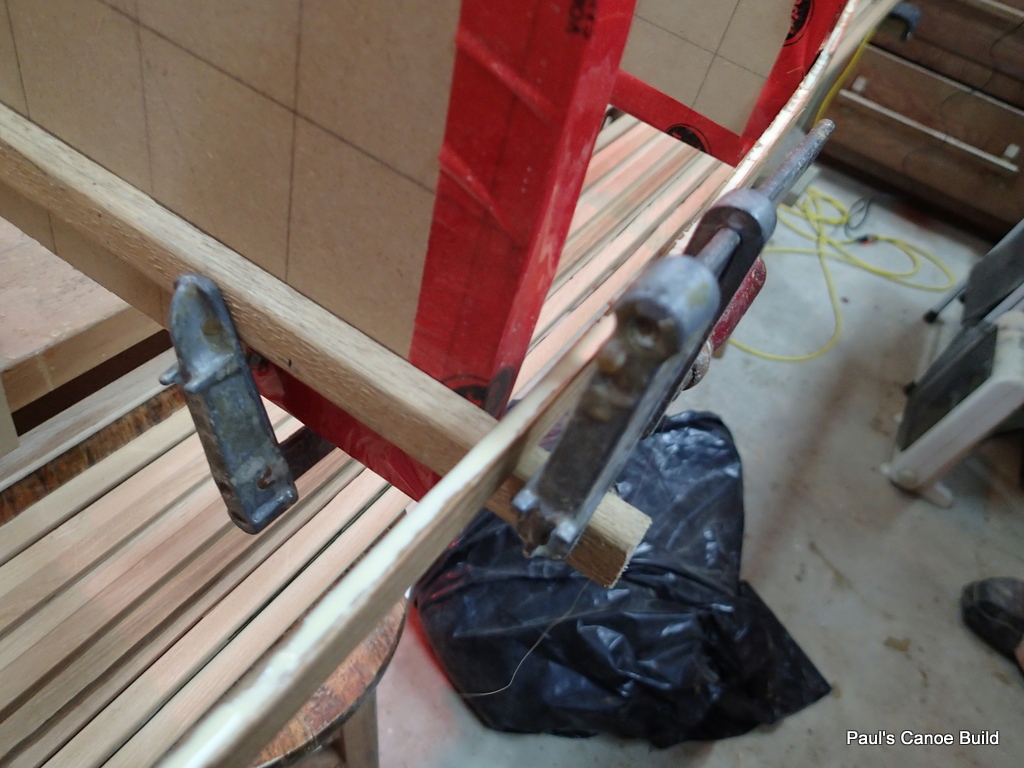
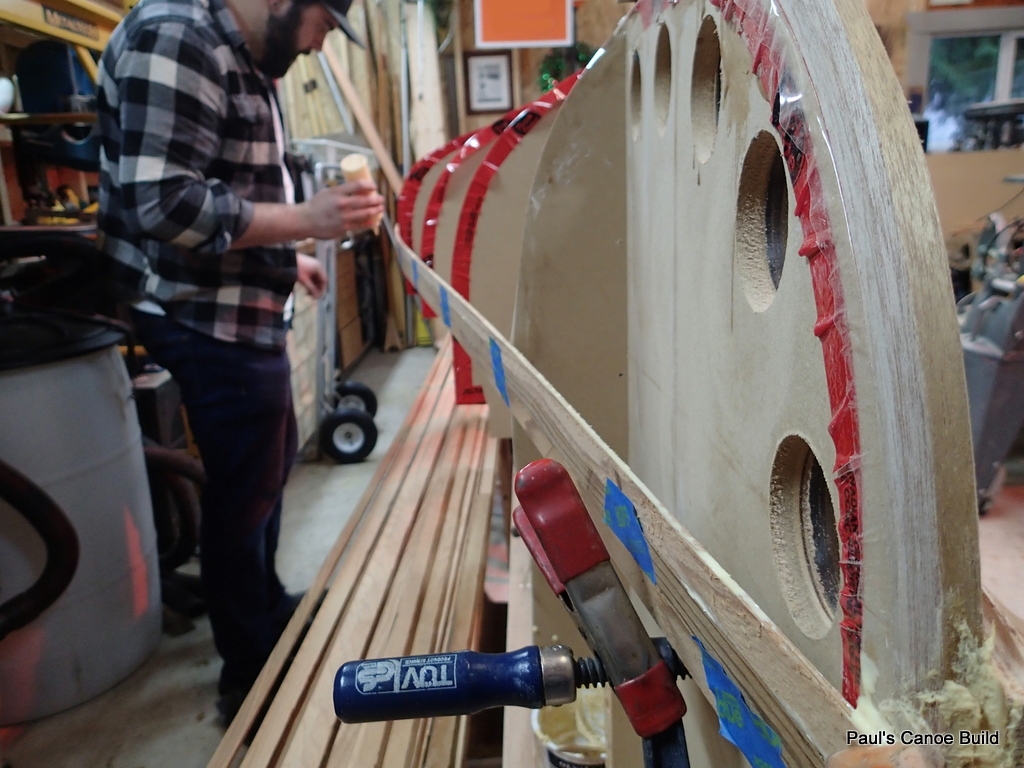
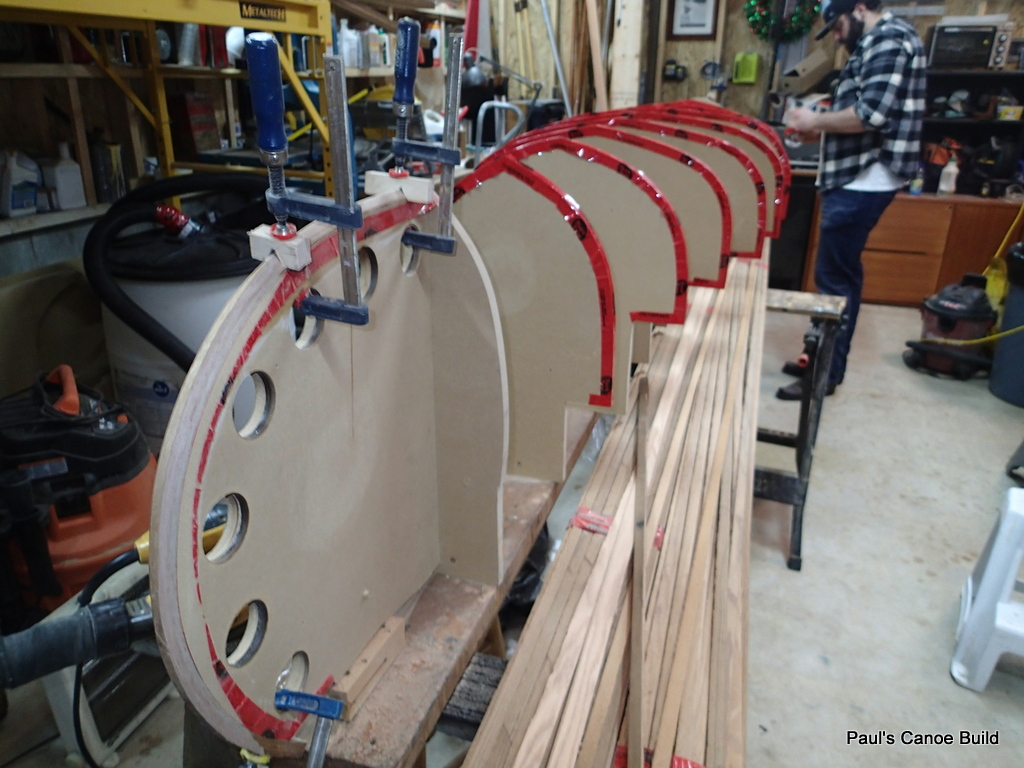
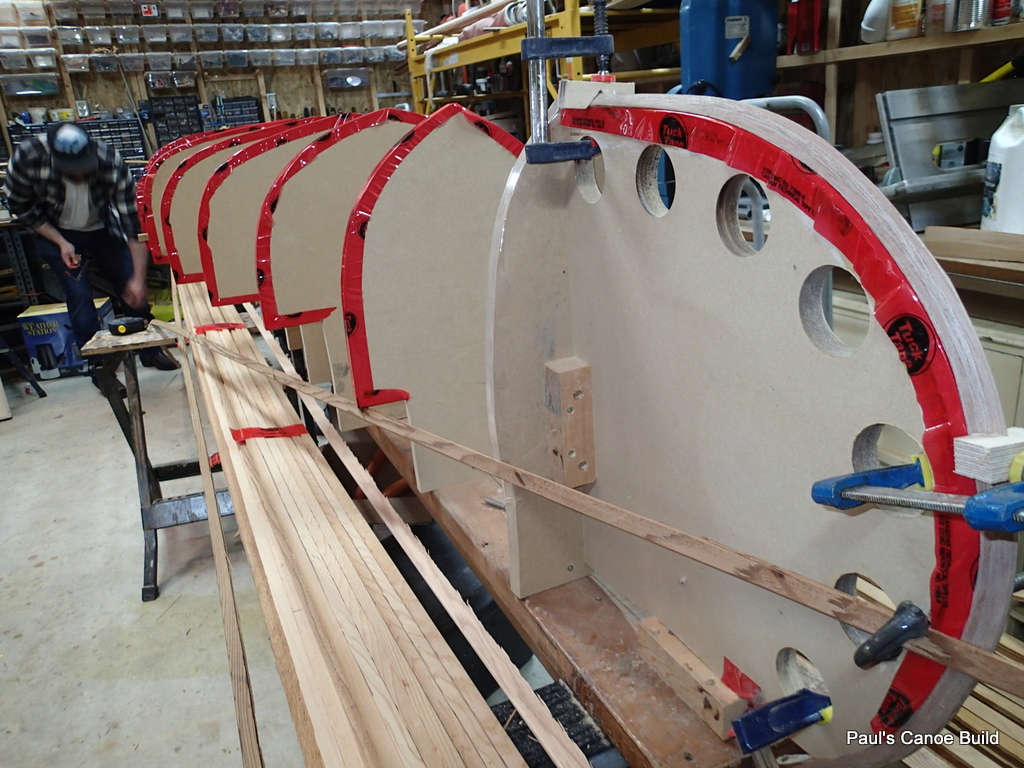
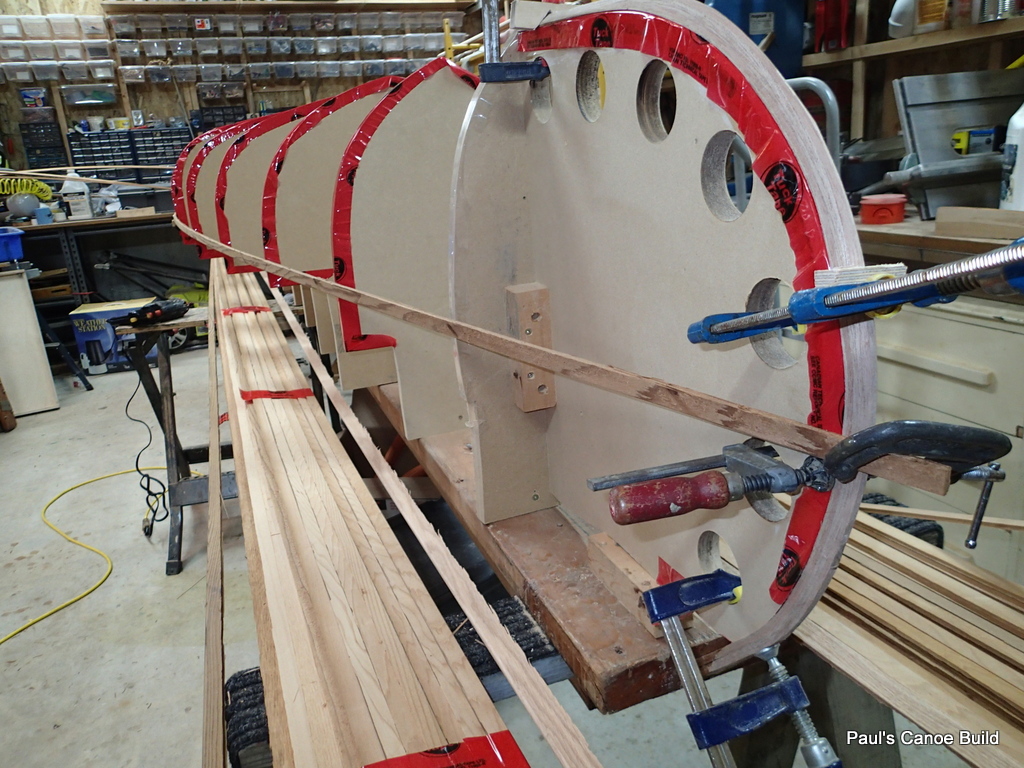
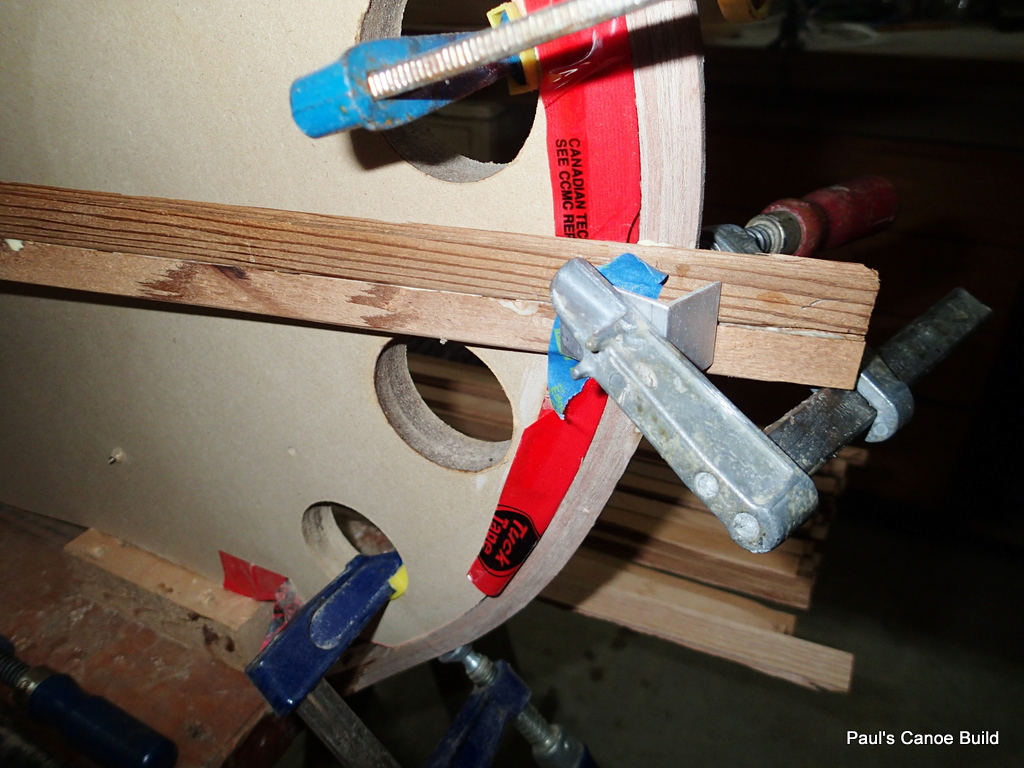
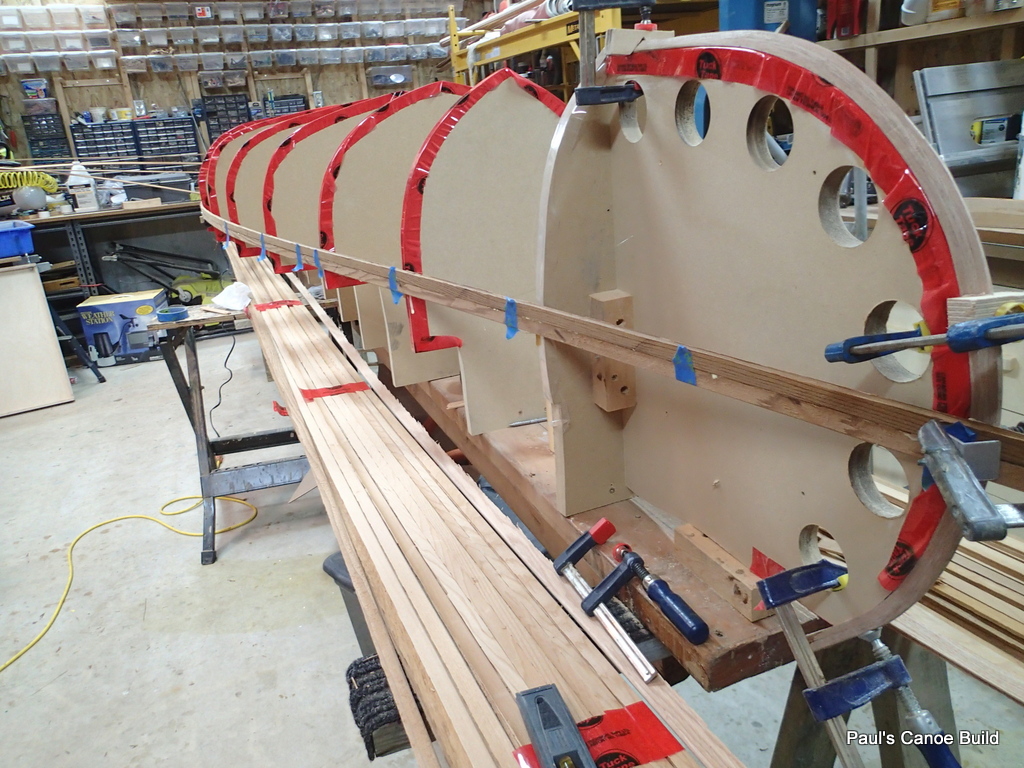
After the strips were buttered with glue, we clamped them to the forms.

Paul’s Canoe build, lamination the stems to the forms.

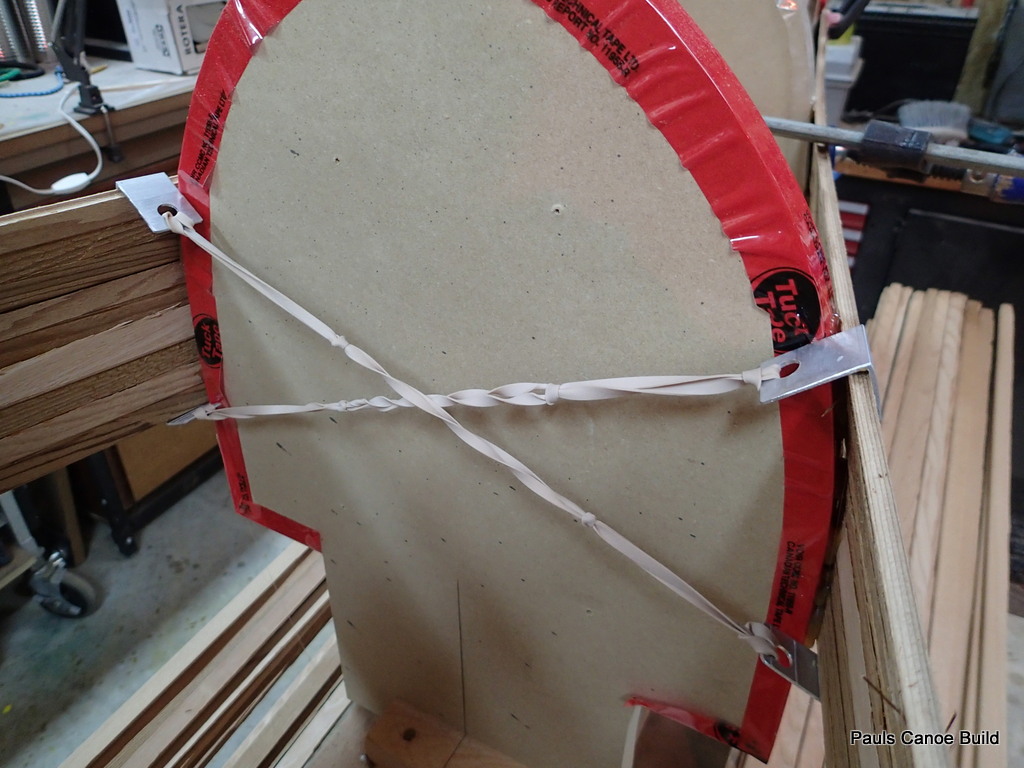
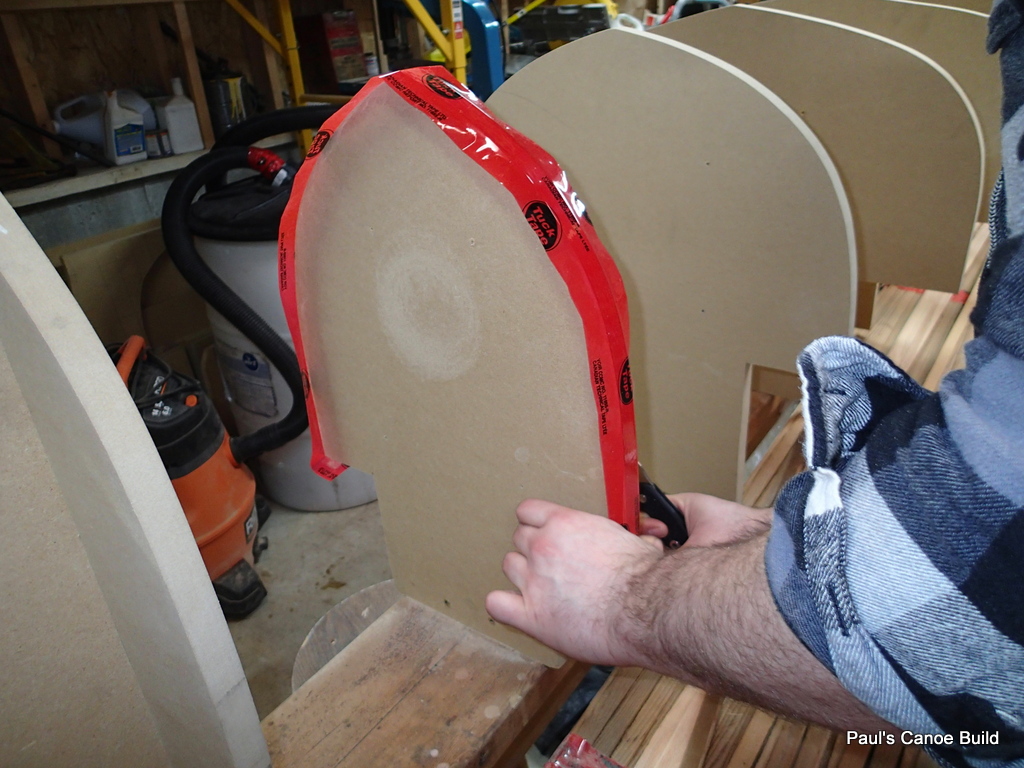
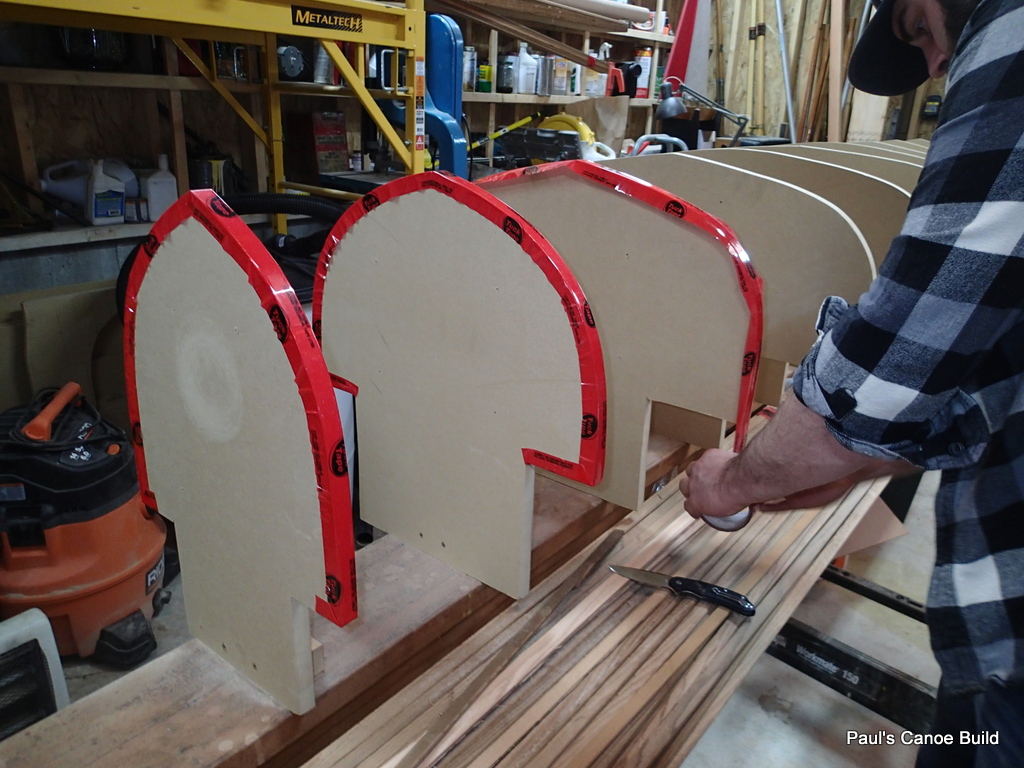
Note that we have used Tuck Tape to keep the glue from sticking to the forms.

Paul’s Canoe build, stem & stern all clamped up.

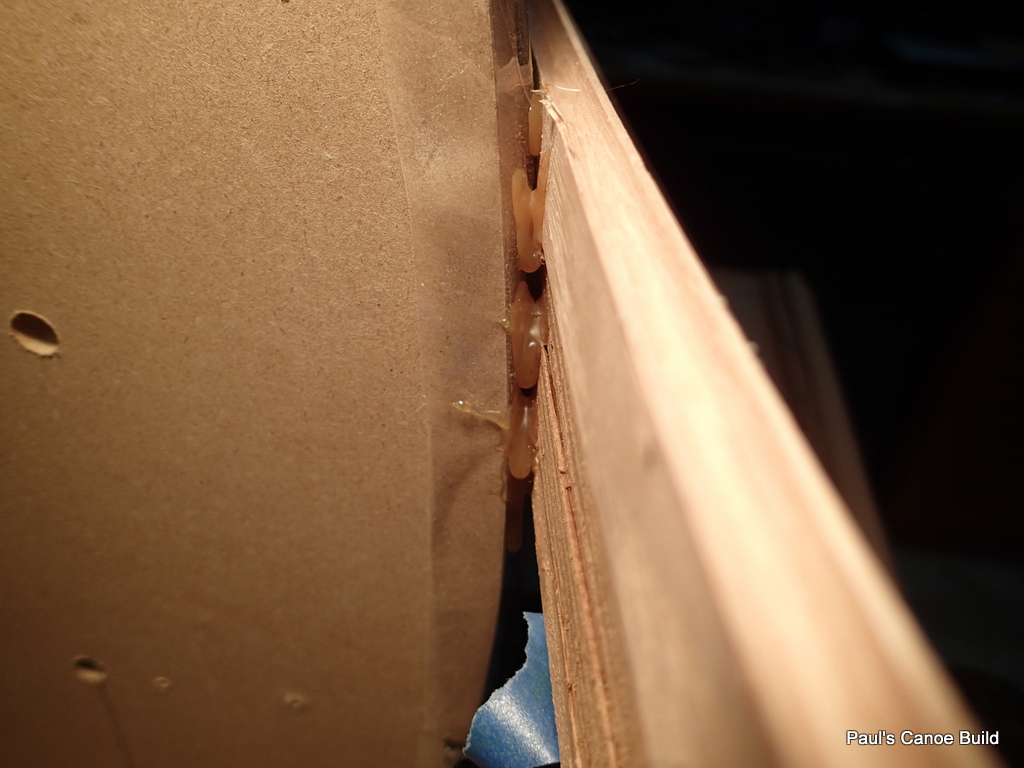
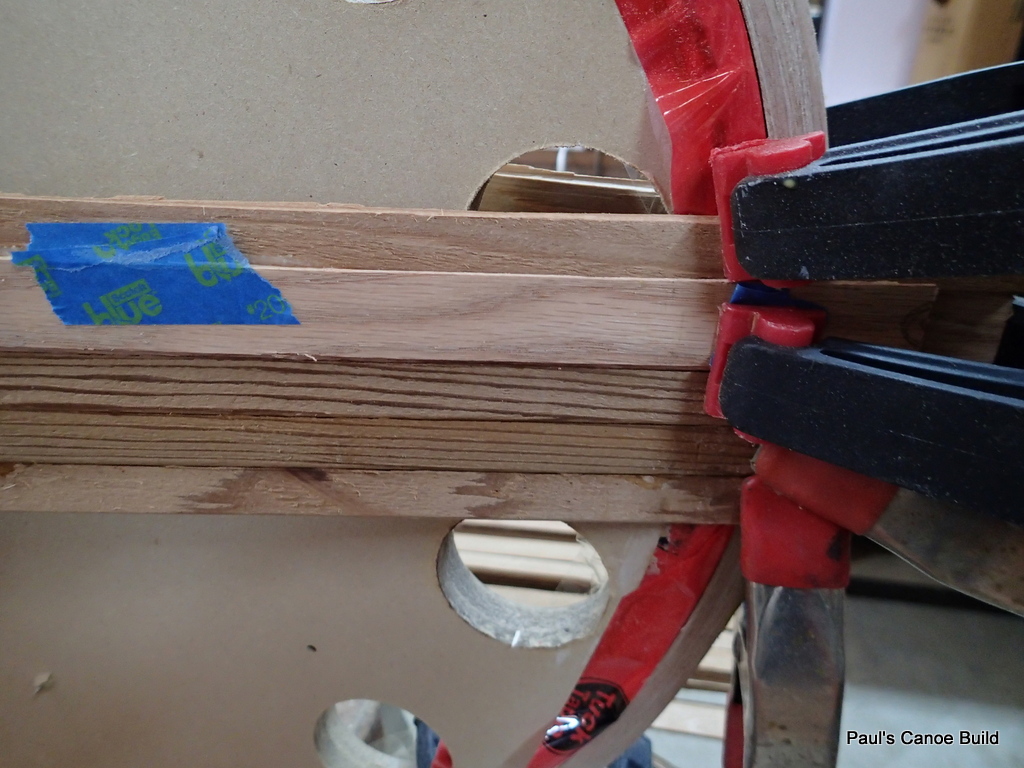
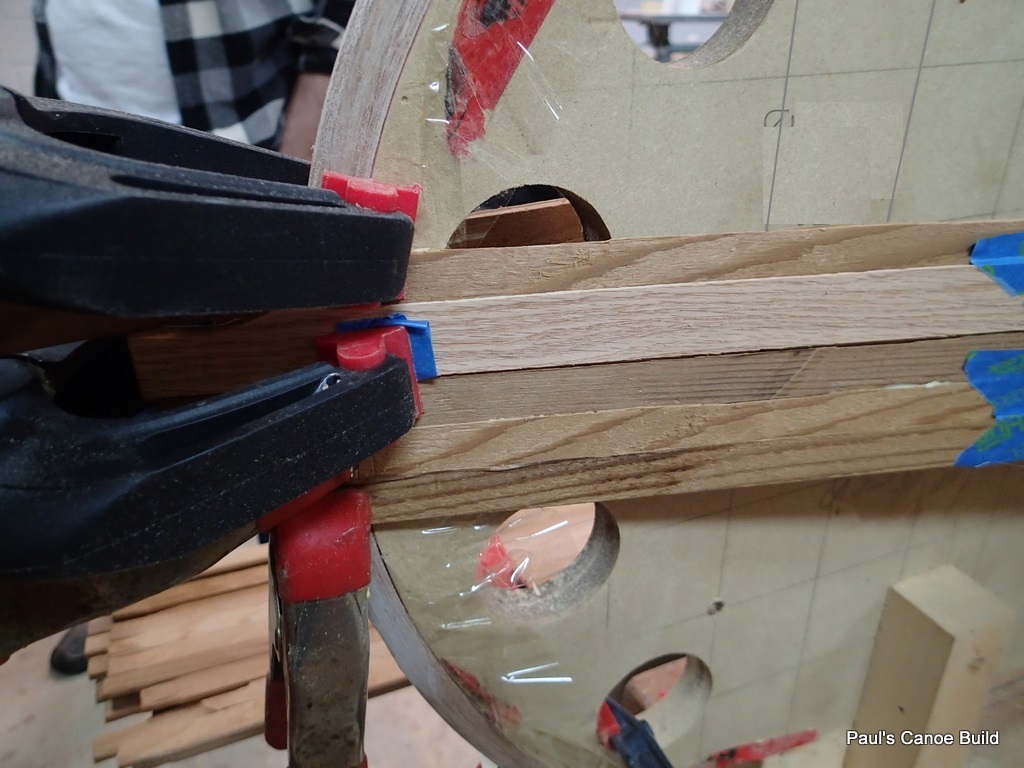
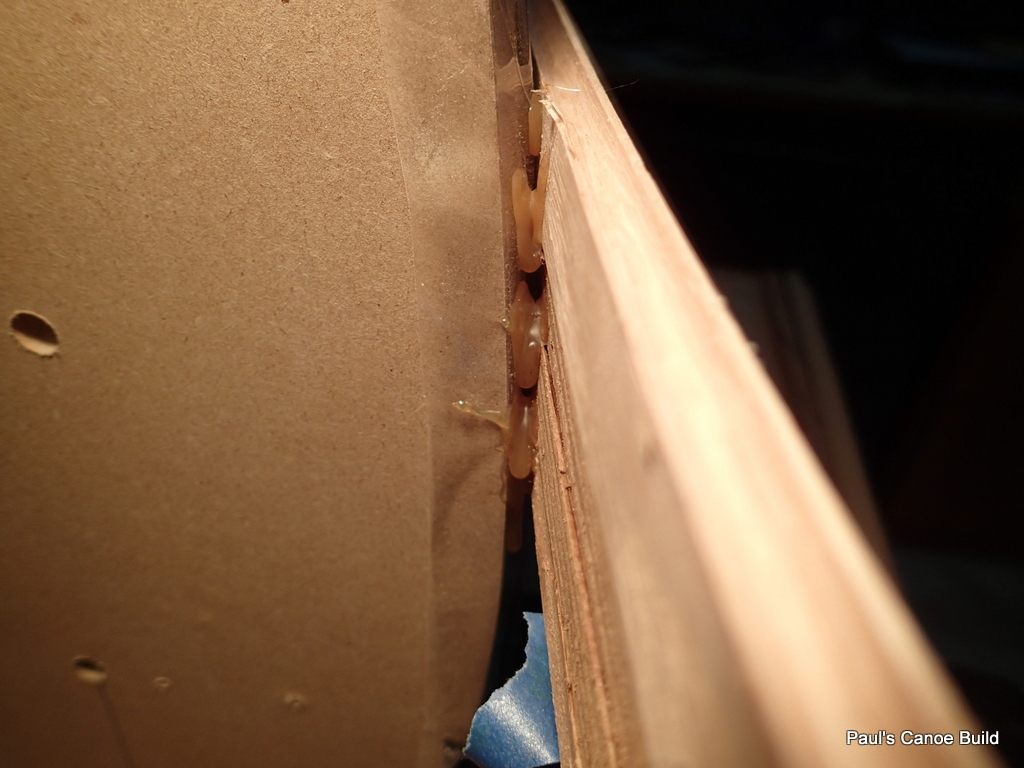
We then wiped up all of the glue overflow.  Because it is early December and the shop is relatively cold, I set up a heat lamp to shine on each stem piece.

When we bought the wood for the canoe, we got a number of ¼” by ¾” bead and cove strips, a number of ¼” by 1¾” strips and a 1¾” by 7½” cedar board, all about 16′ long.  There were enough  ¼” by ¾” bead and cove strips to do one-half of a canoe.  Paul and I decided to use the ¼” by 1¾” strips as there were enough to do an entire canoe.  We graded the strips as to colour. In the photo, the gunwale strips are to the right, keel strips to the left.

We then ripped each strip in half, putting one in the Port side pile and the other into the Starboard pile…this way the canoe should have the same (or very similar) colour pattern on each side.

Paul’s Canoe build, ripping the strips into  ¼” by ¾” strips.  Note the home-made outfeed table.

We measured and we should have enough strips after we bead and cove them.  As we get closer to the keel, the length of strip necessary will diminish.  We may be able to get “two” strips out of “one” near the keel.

If not, we can always use some of the original ¼” by ¾” bead and cove strips.


Three photos of the stem & stern laminations, the ¼” by ¾” strips in two (Port & Starboard) bundles.

Paul’s Canoe build, stem lamination drying, two bundles of strips.

Paul’s Canoe build, other stem lamination drying, two bundles of strips.

Paul’s Canoe build, ready for the next day’s build.

Next steps?  Beveling the stem and stern pieces and routing a bead and cove into the strips.  Maybe we will get some strips put on.

Bead and Cove bits.

Good rowing (maybe good paddling) to you,


Mike
Posted in Under the Keel.... | Leave a comment

The Urban Oarsman & Son build a Canoe!

A situation faced by many an Oarsman…

What do you do when your Son (or Daughter) tells you that they are a paddler?

…Why you build a canoe in your new garage/workshop with them of course!


PAUL’S CANOE BUILD


My son Paul wanted to build a cedar-strip canoe.


I found some cedar strips and a strongback for sale on Craig’s List.  A fellow had build a canoe and had about 50 ¾” bead & cove strips, about 50 1¾” square edge strips, a 1¾” by 8″ by 16′ long clear red cedar plank, and a strongback left over from his project. (we never did see the finished canoe)  With my new Garage/Workshop finished and Gwragedd Annwn refurbushed and out of the way, this will be the first new build.

Paul has chosen The Bear Mountain “Hiawatha” design by Ted Moores from his book “Canoecraft”.  To quote “Canoecraft”: “This Bear Mountain design has a look that is as traditional as its name, its sheer-line and bow profile harking back to the native forebears of modern canoes.  Its underbody, however, has been shaped to conform to the most up-to-date concepts in paddling efficiency.  The hull is a shallow arch with a moderately flat keel-line that flows into a shallow vee to become a fine deep vee at the bow for directional stability, speed and maneuverability.   The vee is carried as far back as possible so that it acts like a keel for tacking.  As a general purpose or light tripping canoe, it was designed in the tradition of contemporary American cruiser, achieving its optimum waterline shape when paddled level, not heeled over”..
 

Here is the design from Canoecraft:

Paul’s Canoe plans

Paul’s Canoe plans offsets

The way Ted Moore has done his table of offsets it to have two sets of points.  “Chart A” shows the points on parallel lines drawn 2” apart up from the baseline.  “Chart B” shows the points on parallel lines drawn 2” apart from the centreline of each form.  A station is also a form or a mold.  So on “Chart A”, for Station 0 (or the middle form) at 2” from centreline, there is a point 1⅜-“.  This is really just graphing, the only difference being that the axis are the baseline and the centreline and one of the two coordinates for each point is on the 2, 4, 6, 8, 10, 12, 14, or 16 inch line from the baseline.  In “Chart B” one of the coordinates is a multiple of two inches away from the centre line. is exactly two or a multiple of two inches away from the centre line.

The way to make this work is to draw a grid of 2” squares onto the wood you are using to make your forms.  I got a deal on some MDF cut-offs from a sign company across the street from Martin Marine.
Here is what the points look like plotted out on paper.  The red are from “Chart A”, the green from “Chart B”  This is for one-half of Station number 0 or the middle form.
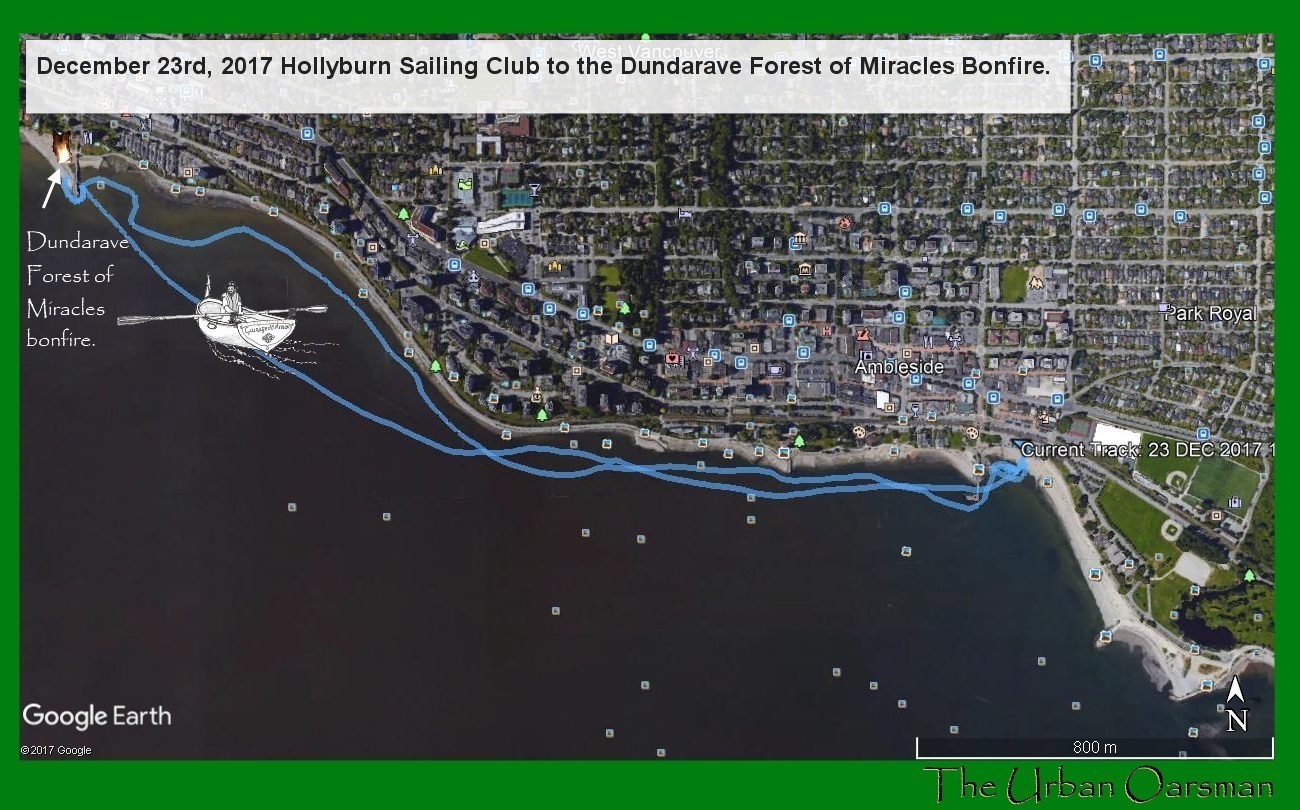
Table of offsets plotted

You can make out the shape of the middle form, for the middle of the canoe.
 

The next step is to draw out all of the offsets onto all of the forms.  You end up with 15 forms/moulds, 7 pairs (Station numbers 1, 2, 3, 4, 5, 6, the Bow/stern sections and form/mould 0).


One trick you can do is to cut out the forms/moulds in pairs by temporarily screwing the pairs of forms/moulds together.  Then you only have to drill one set of holes for the finishing nails and drawing out the cutting lines.  Cutting out the forms/moulds out in pairs also helps make the two more identical.  If you get really picky, you can reverse one of the forms in the pair during sanding to ensure that both sides are the same.


Remember you will need a centre line on EACH side of EACH mould for aligning them onto the strongback later.

Then using a jig (a block of wood with the alignment hole drilled with a drill press) to insure that your pilot holes are drilled square, pre-drill holes at all of the points.  One trick is to cut out the Bow/stern moulds together, as well as two #1s, two # 2s etc.

Drilling pilot holes

Tap in finishing nails into all of the holes:

Nail tapping

We used piano wire held next to the nails to draw a line for the outside of the forms.

Paul then used a jigsaw to cut out the forms.  He cut the lines proud and then used the Shopsmith 12” sanding disk to sand the forms down to the mold line.  Note that he is doing the forms/moulds in pairs.  Two of the temporary screws are visible at the top of the picture.

Sanding forms to the line

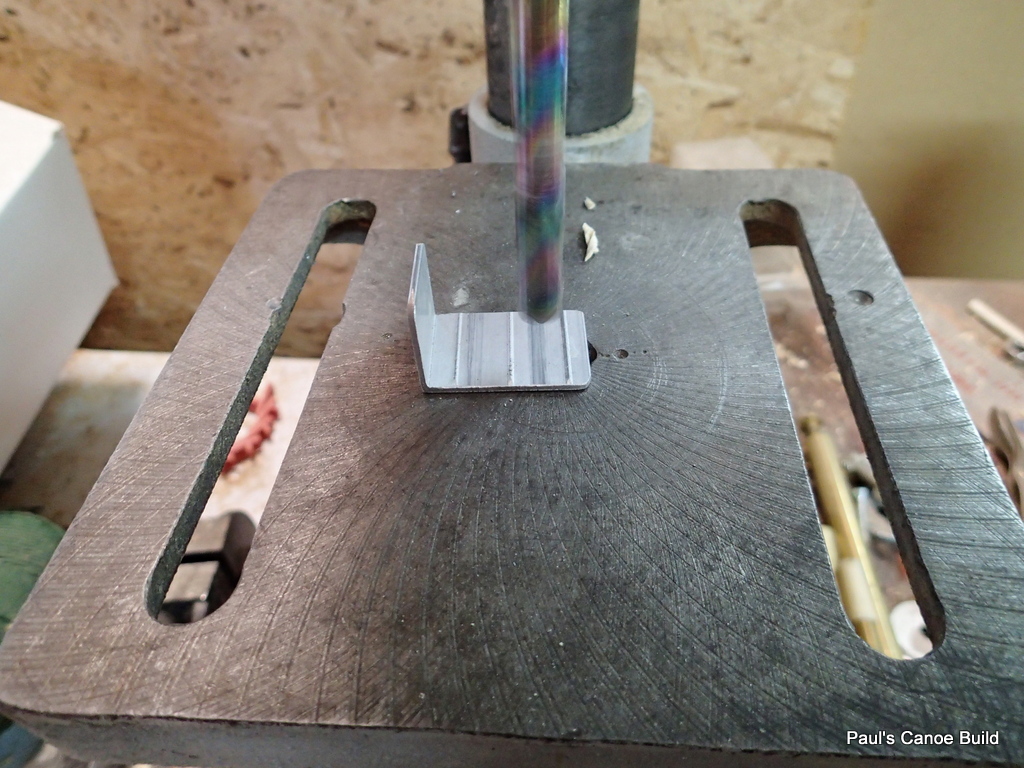
Paul then used a hole saw in the drill press to cut out holes for clamping the bow and stern piece laminations.  Ted Moore recommends 2” diameter holes about 4” apart, centre to centre, 1” from the edge.

Bow & Stern form with clamp holes cut

The next step is to mount the Bow/stern forms/moulds to form/mould #6.  We used clamps to temporally hold everything together while we made sure that everything was in alignment.  We decided that our inside stem/stern pieces would be ¾” wide so the bow section is at where Station #6 form/mould is ¾” across, at the top in the picture.  We used screws to hold everything together.


You have to have a straight line down the centre of your strongback to centre the forms/moulds to.  It is also good to have one straight, square edge to measure from.


We squared up and leveled our strongback.  We started with Station mould #0, placing it in the middle of the strongback.  As our strongback was level, we used a plumb bob, held to the centre line on the form, to insure that our station mould was aligned to the vertical.


We clamped everything together and then used a hammer to tap the mould into square.

Drilling pilot holes to mount moulds to strongback


When we were satisfied that everything was square, we pre-drilled every hole and then screwed it together.  We then placed the bow and stern mould onto the strongback, insuring that the bow and stern were 15’ apart.  We then put in the rest of the forms/moulds.

Putting moulds onto strongback

You do a lot of looking along the forms, checking to see if the canoe looks fair, that all of the tops of the forms/moulds line up, that one does not look to be up or down compared to the others.

Forms attached to strongback


Well that is where we are as of December 4th.

Ready for stem laminations

Paul says that he will be up to work on the canoe every Sunday until it is finished.  Next steps?  Laminating the inside stem pieces, preparing the cedar strips.  If we do not have enough, we will cut some from the cedar plank we have.  Paul will also sort the strips trying to get a pleasing planking pattern happening.  He is hoping to finish the hull bright.

Good rowing (maybe good paddling) to you,


Mike, the Urban Oarsman.


Posted in Under the Keel.... | Leave a comment