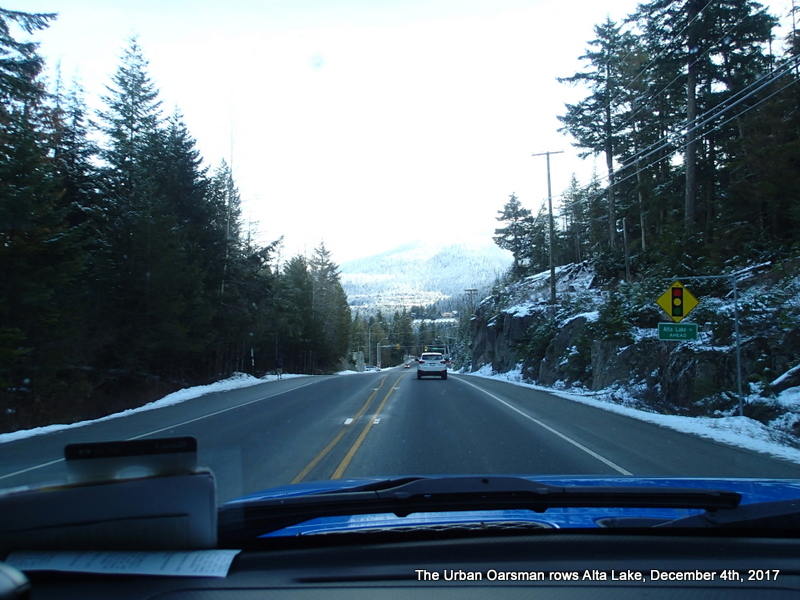
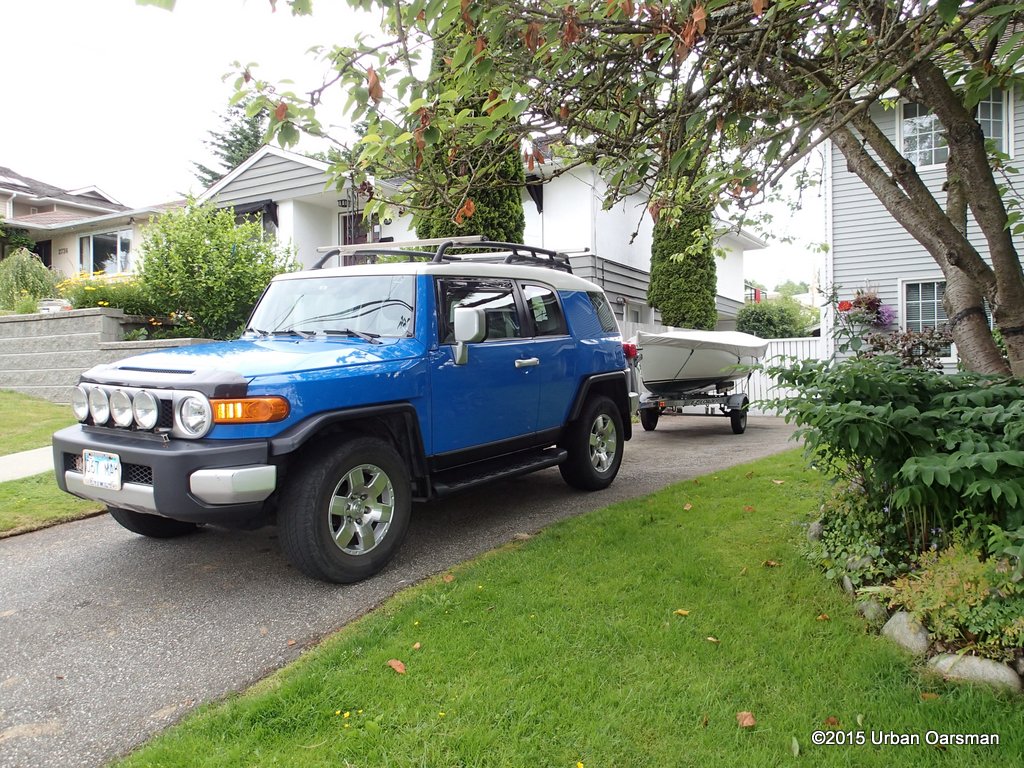
I drove from North Vancouver to Alta Lake, Whistler, B.C. The drive up was uneventful, there was no snow on the highway, only a little at the side of the road.
The Urban Oarsman Rows Alta Lake.
I turned left off of the Sea to Sky highway onto Hillcrest Drive, then right onto Alpine Crescent, left onto Alta Vista Road, and finally onto Lakeside Road. The boat launch is at the foot of Carleton Way. The trip up quick as the traffic was light and there were no slippery sections on the highway.
The boat launch is at the foot of Carleton Way.
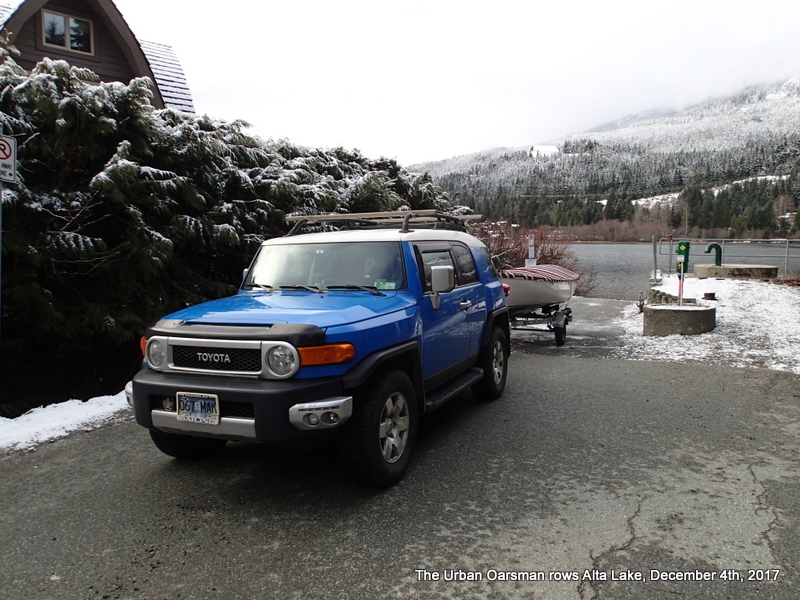
The Urban Oarsman Rows Alta Lake, the boat launch at the foot of Carleton Way.
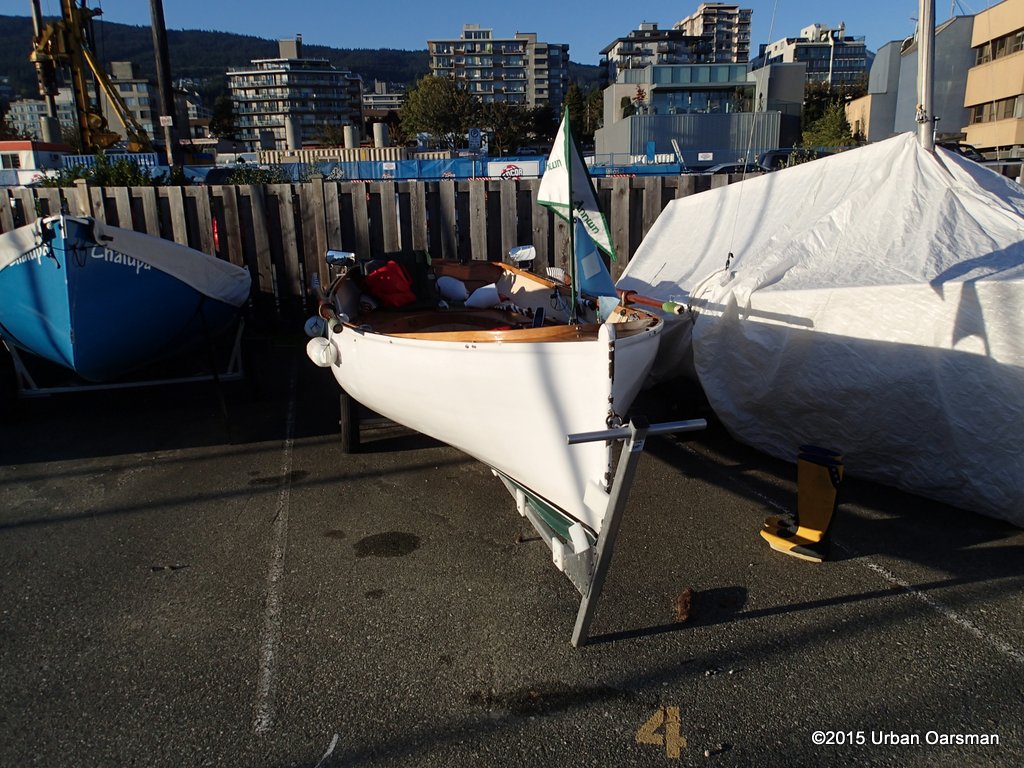
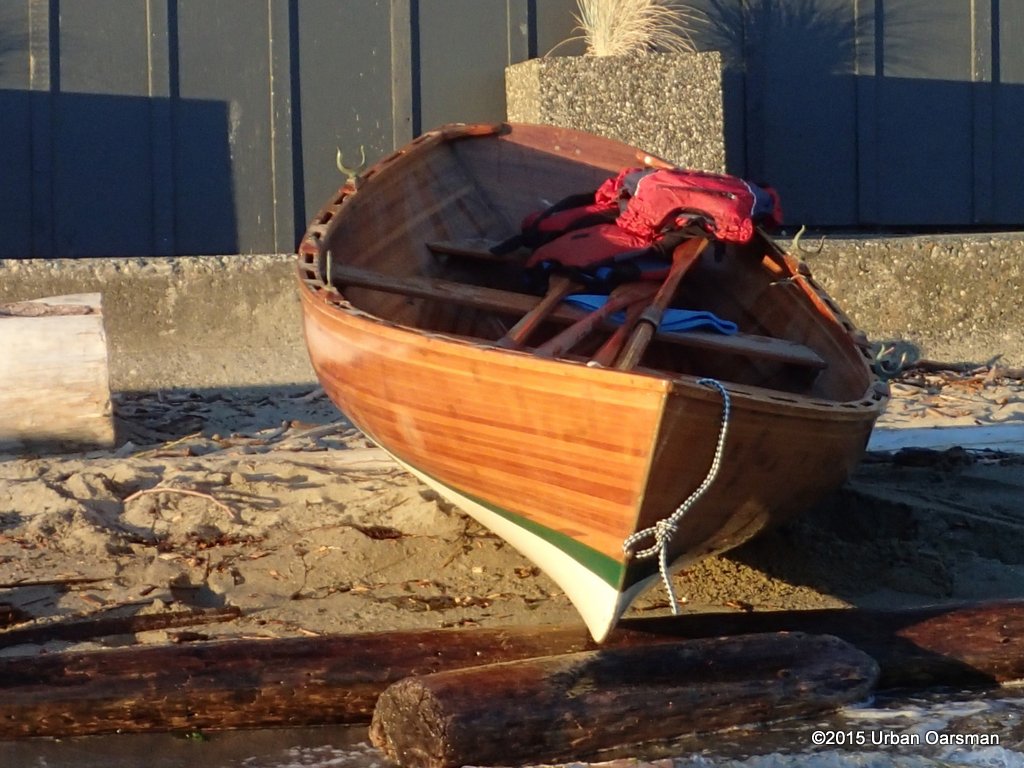
Time to unpack Gwragedd Annwn. I take off her travel cover, load my gear into her, unstrap her from the trailer and get the bumpers, oarlocks and oars ready. In she goes!
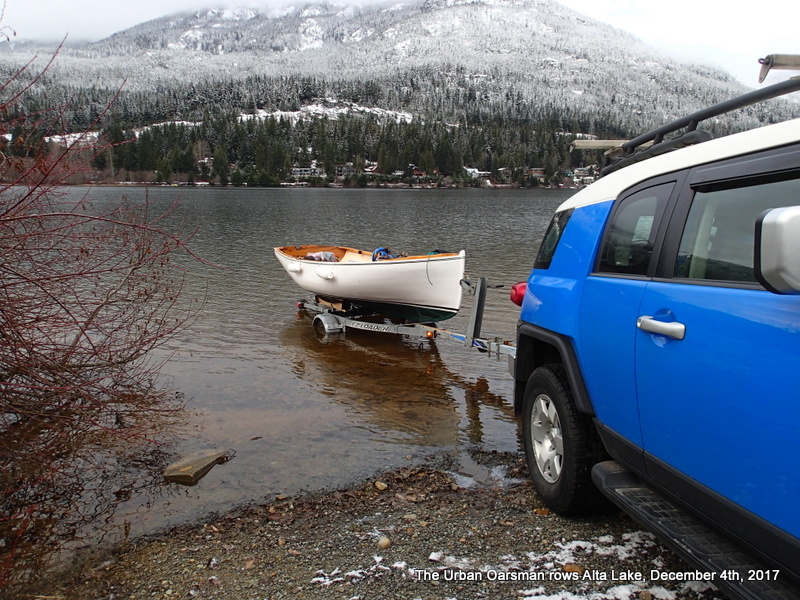
The Urban Oarsman Rows Alta lake. The launch.
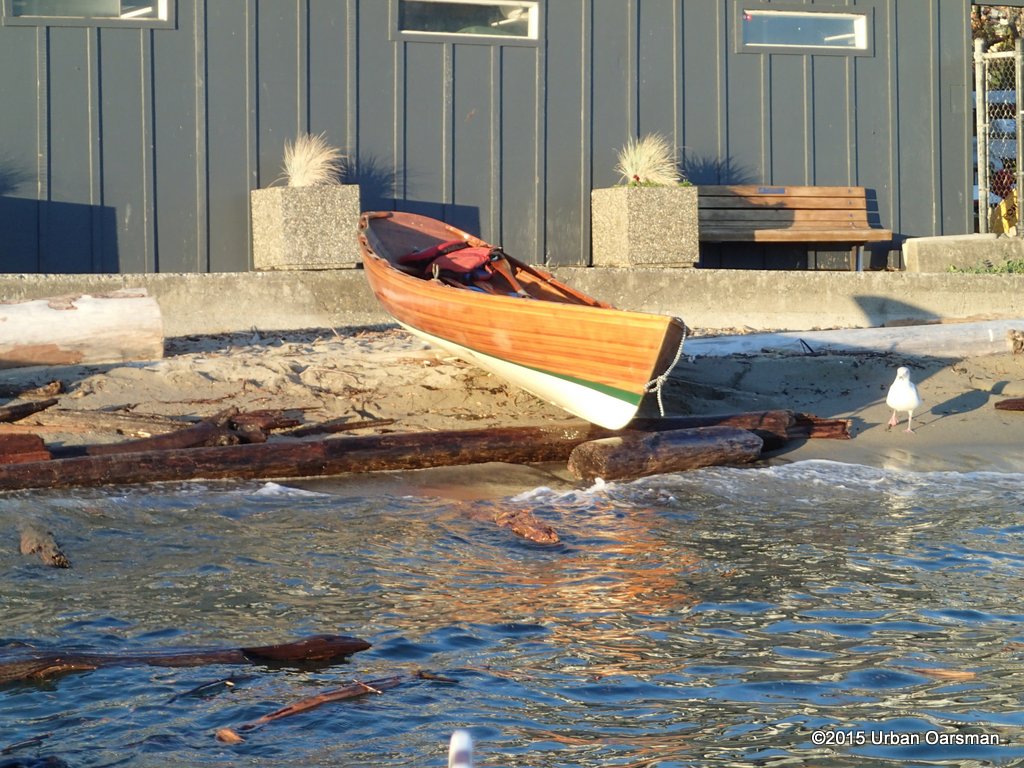
I pull her onto the beach and then go to look for parking.
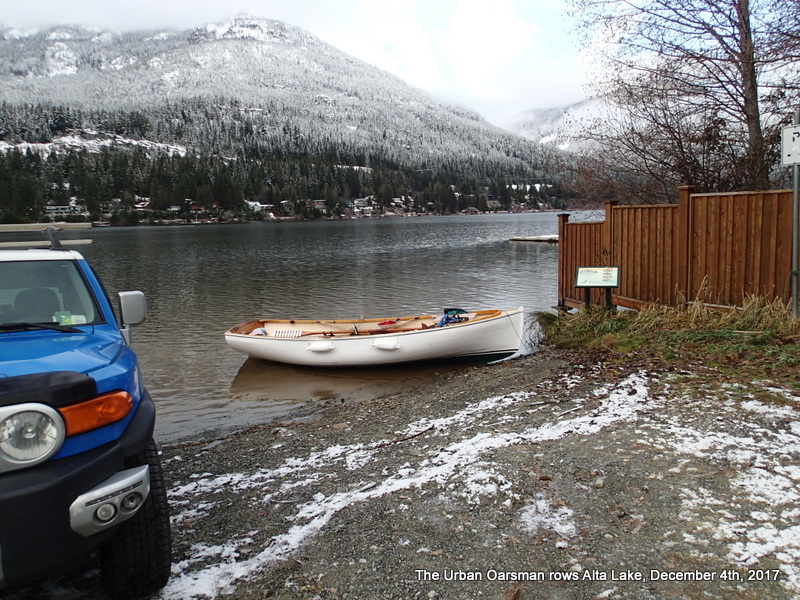
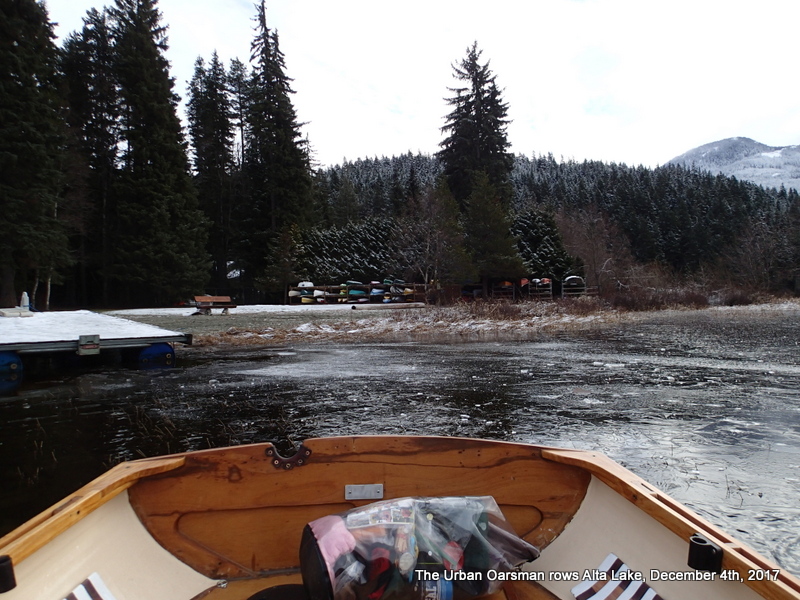
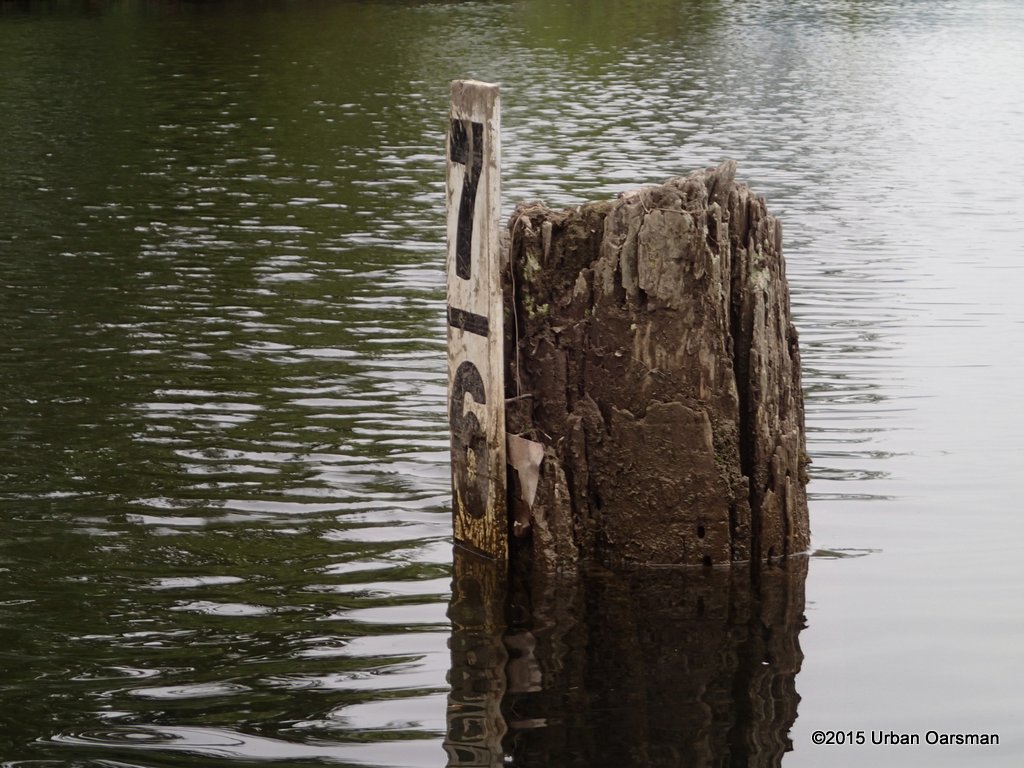
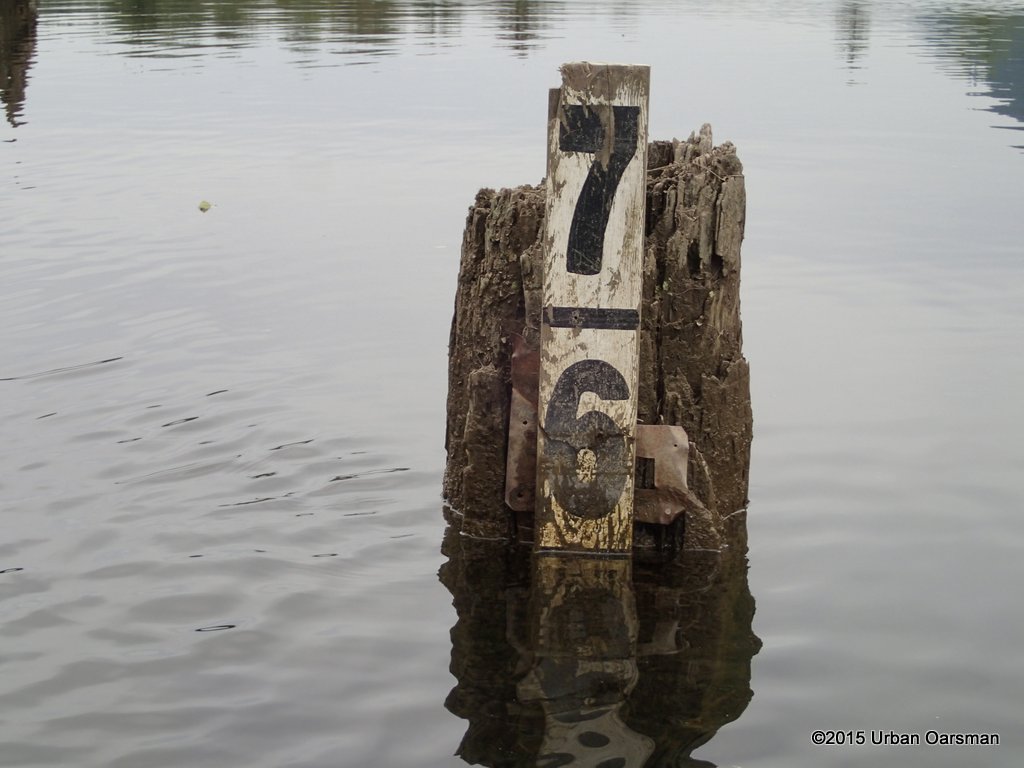
On the beach by the boat launch. During the rains last week, the lake was as high as the first snow line on the beach.
There is no parking near the boat launch. One side of every street is posted “No Parking”. ( I suppose for the snow plows) I luck out and find a spot on the West side of Lakeside Road. There is also parking at Lakeside Park, however, I do not see any dedicated boat trailer and tow vehicle parking. At this time of the year, I guess there is not much demand. I walk back to Gwragedd Annwn.

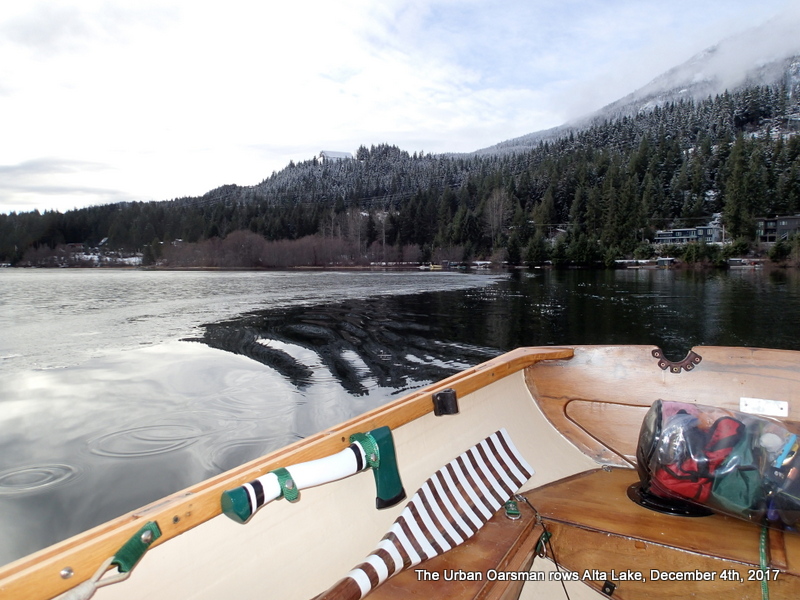
The Urban Oarsman Rows away from the Alta Lake boat launch.
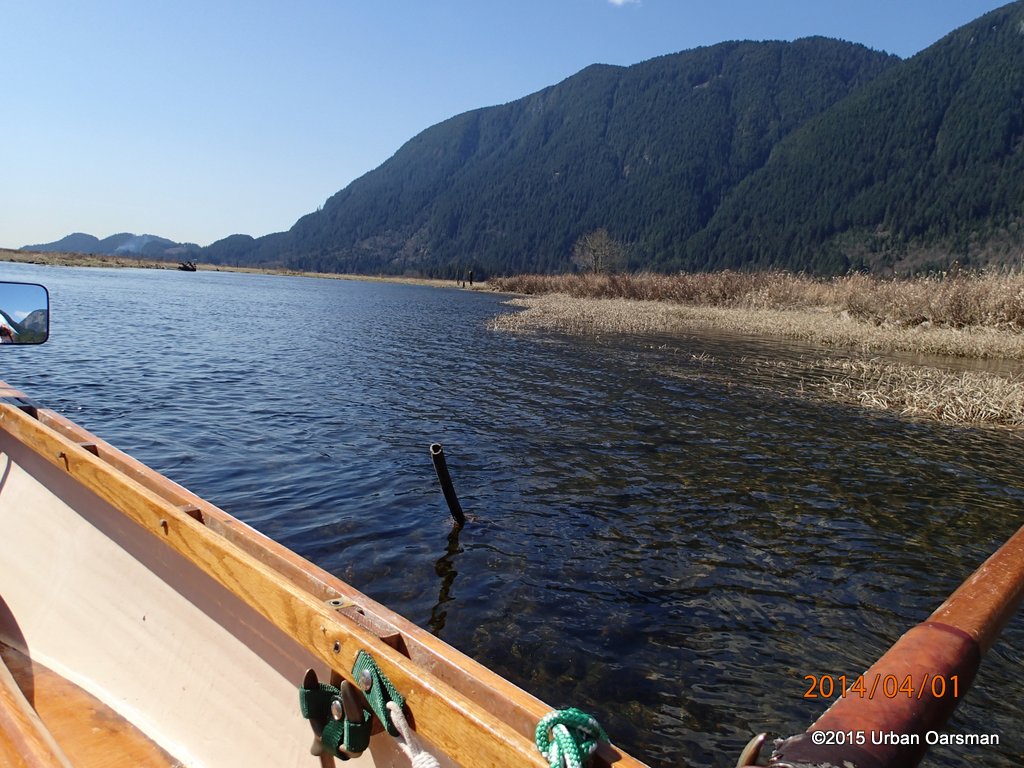
The round concrete structures are part of the sanitary sewer system. They are some sort of pump house/ inspection access structure.
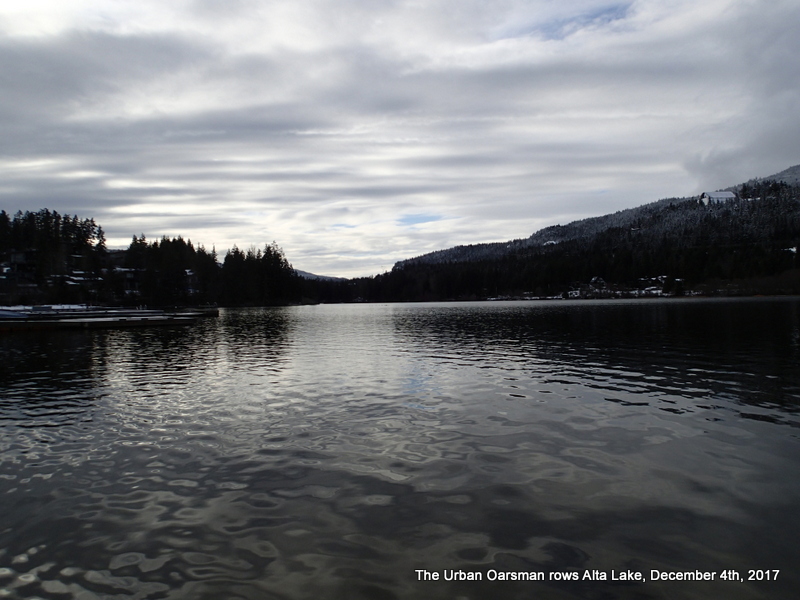
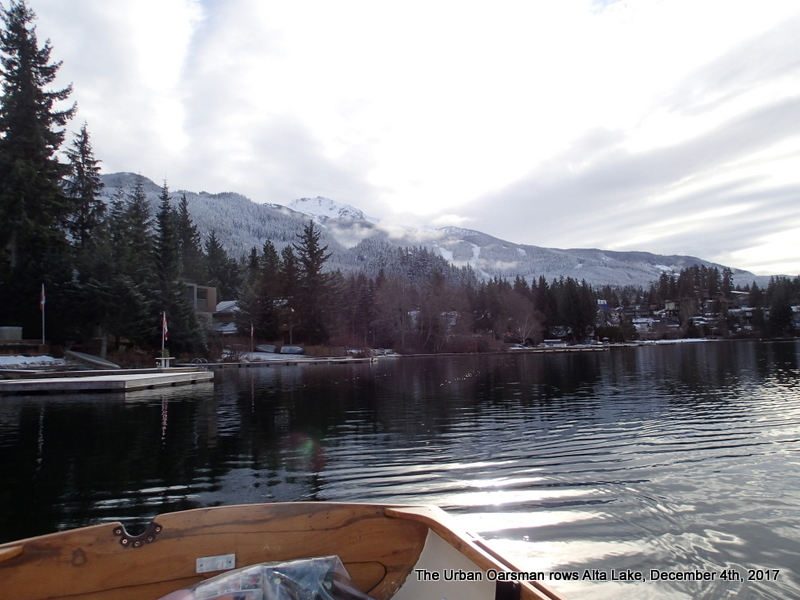
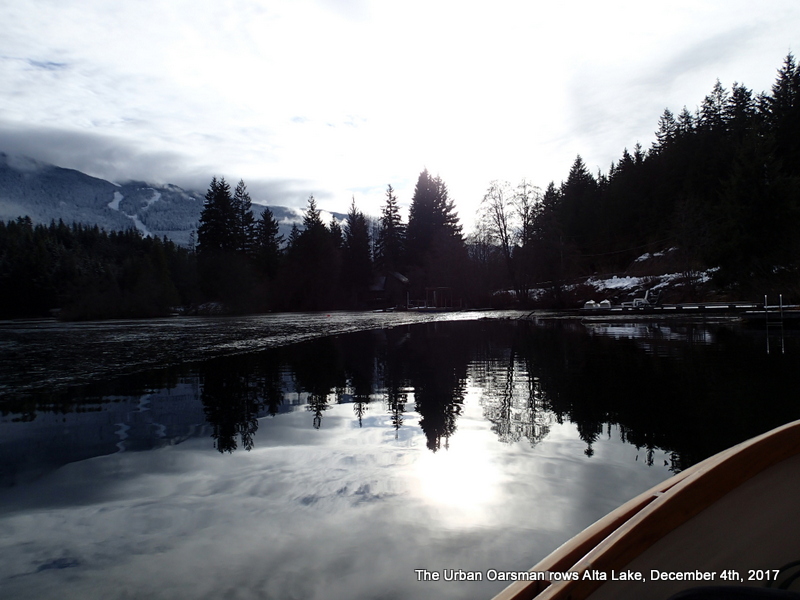
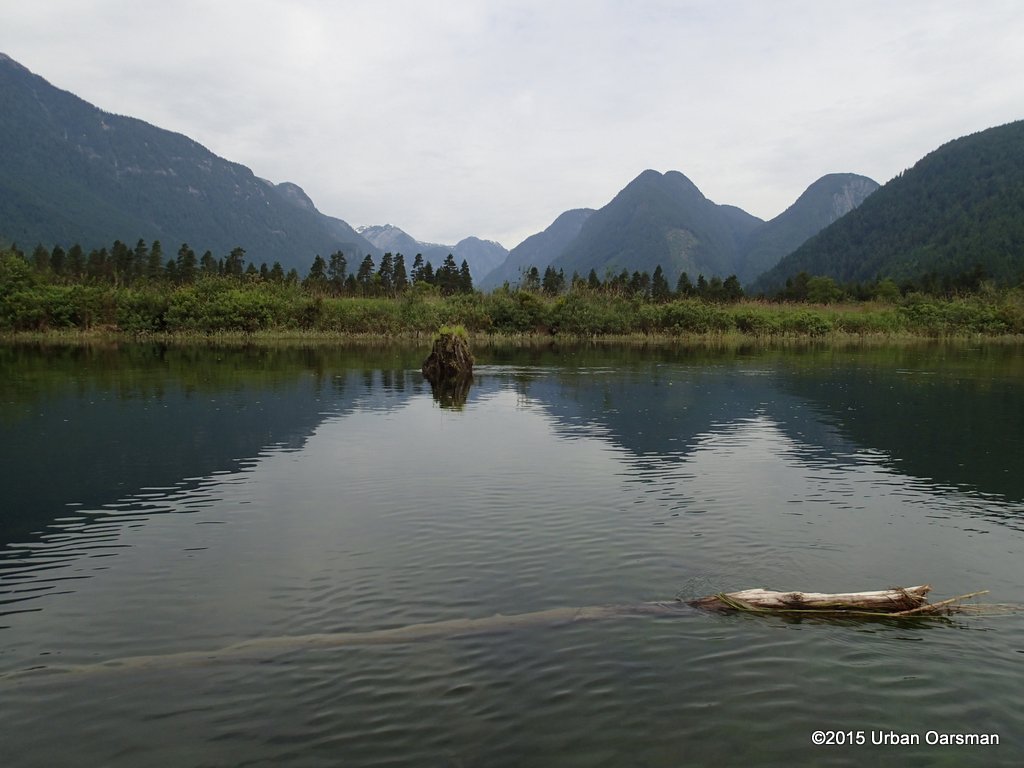
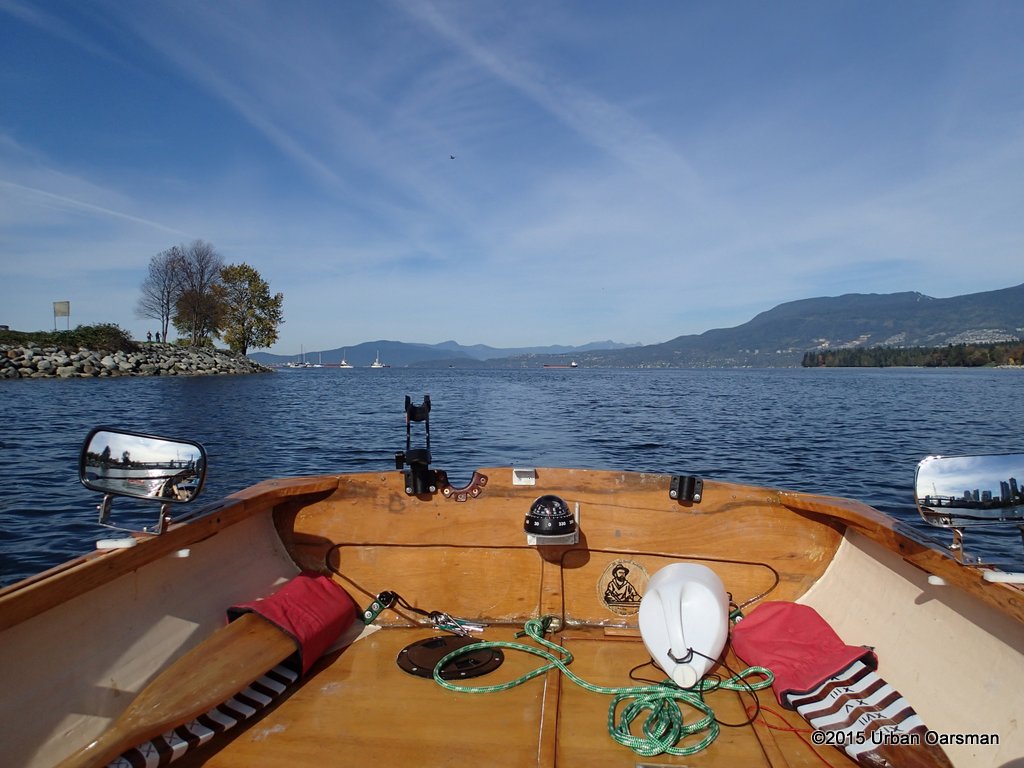
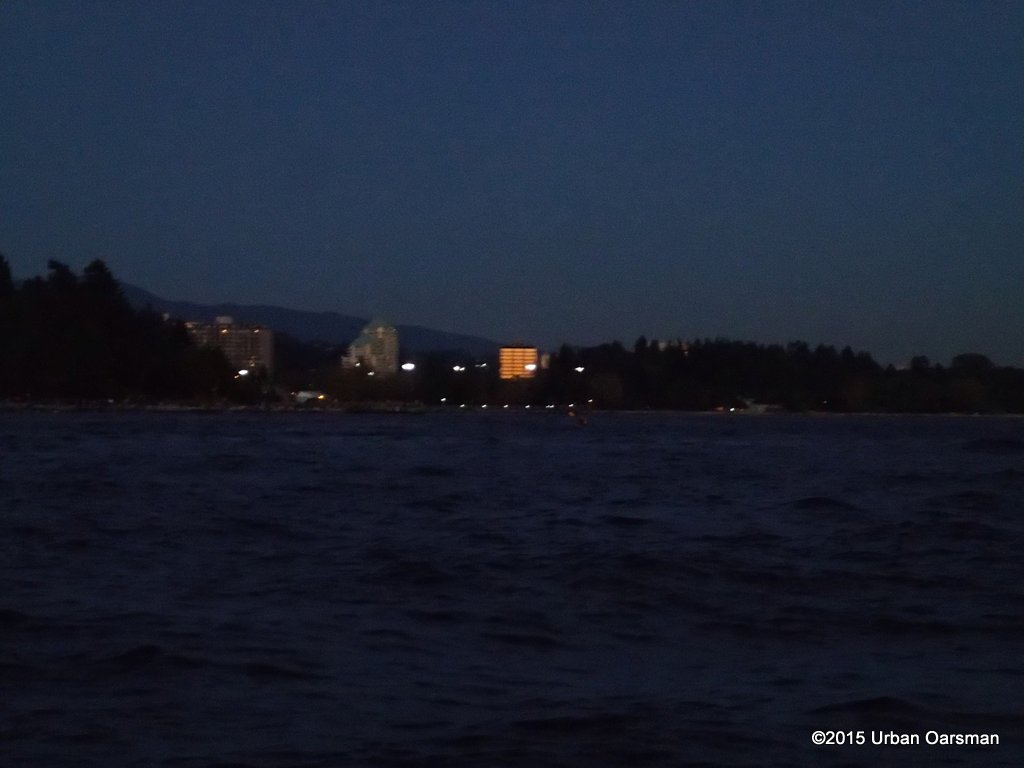
The Urban Oarsman Rows Alta Lake, looking South.
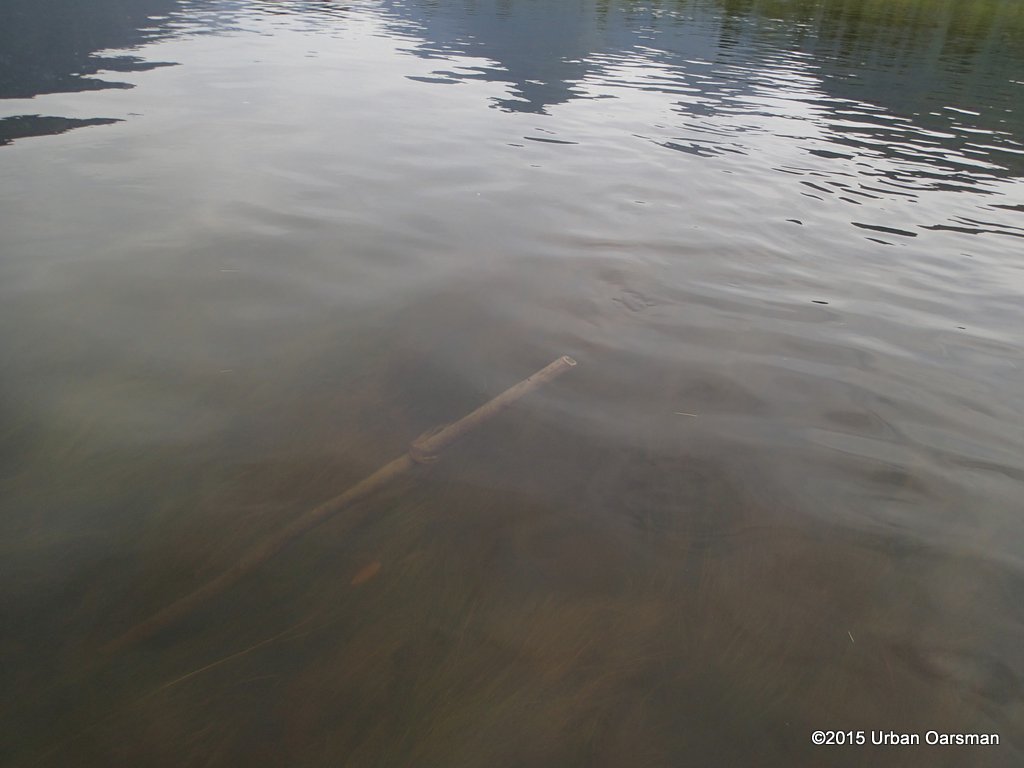
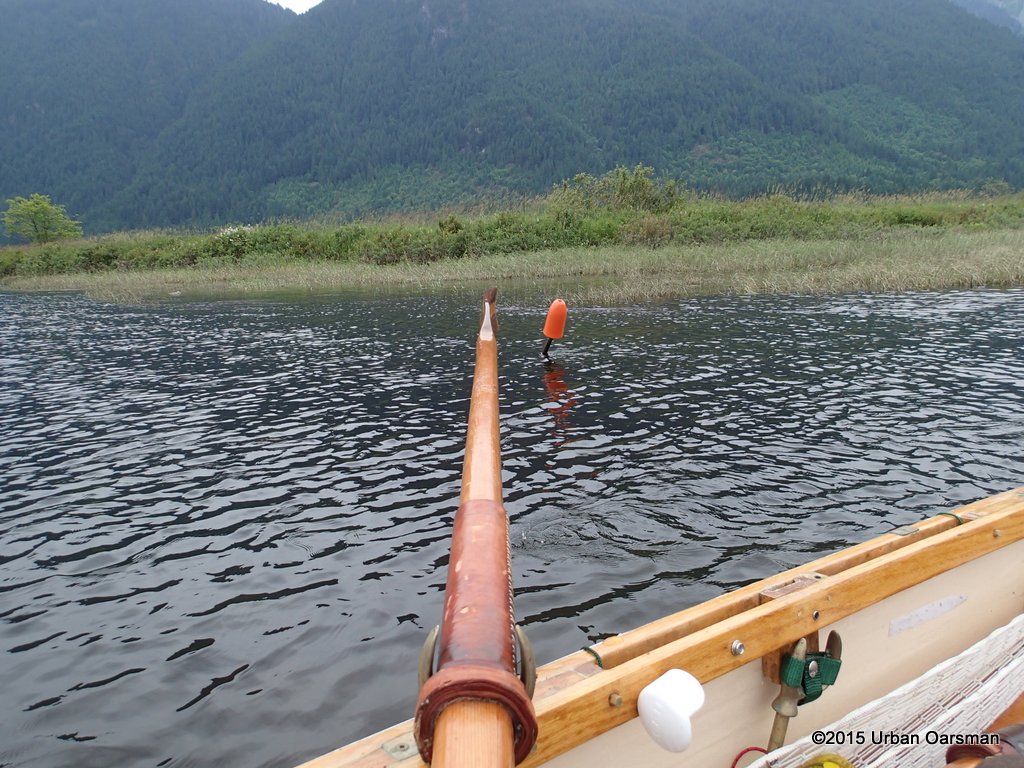
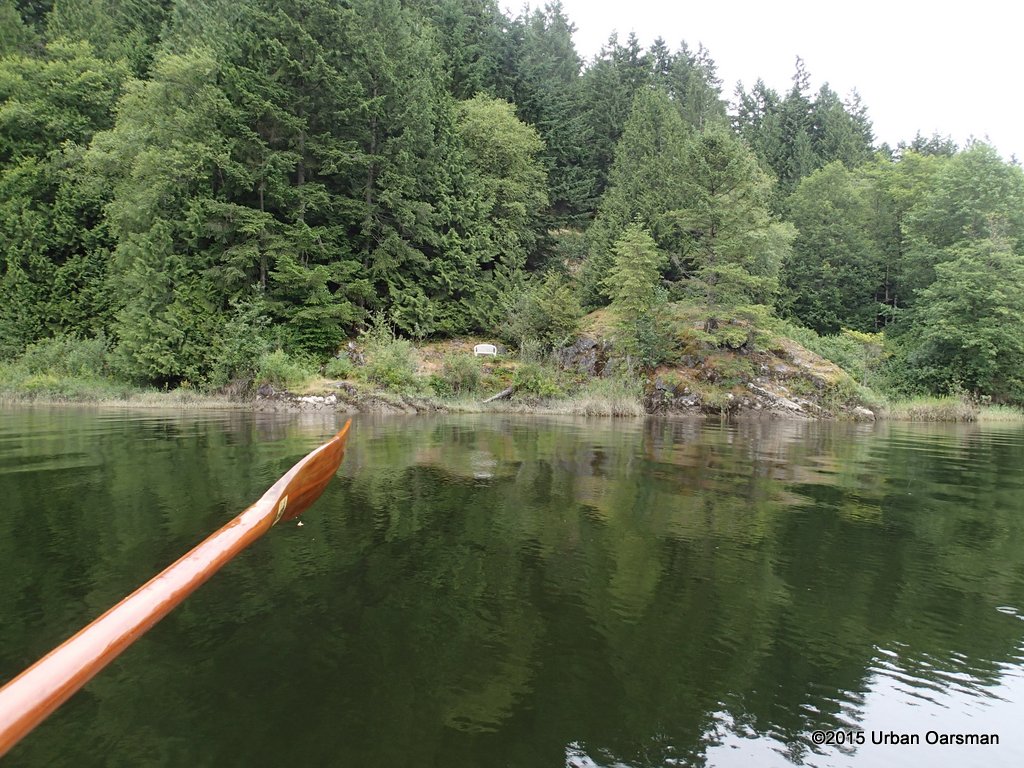
I thought that the funny reflection to the South was the wind on the water.
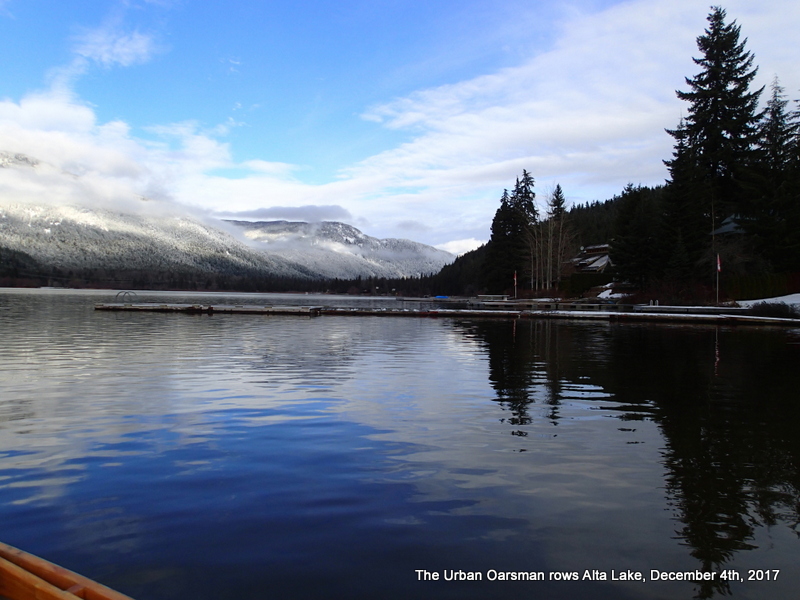
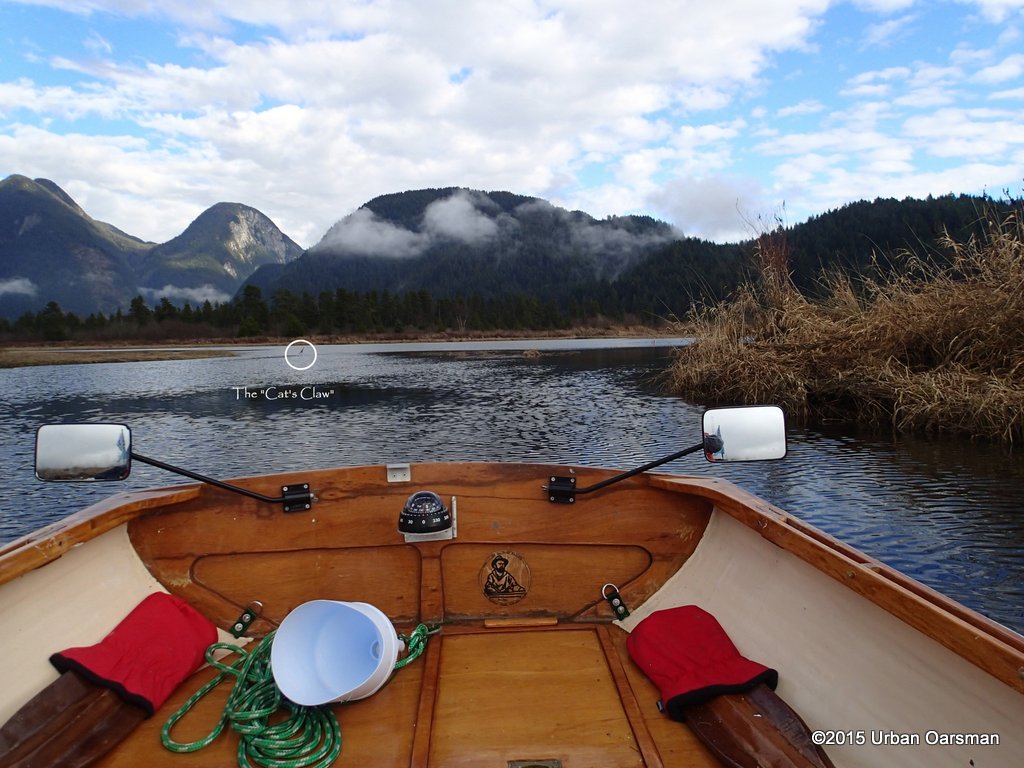
The Urban Oarsman Rows Alta Lake, looking North.
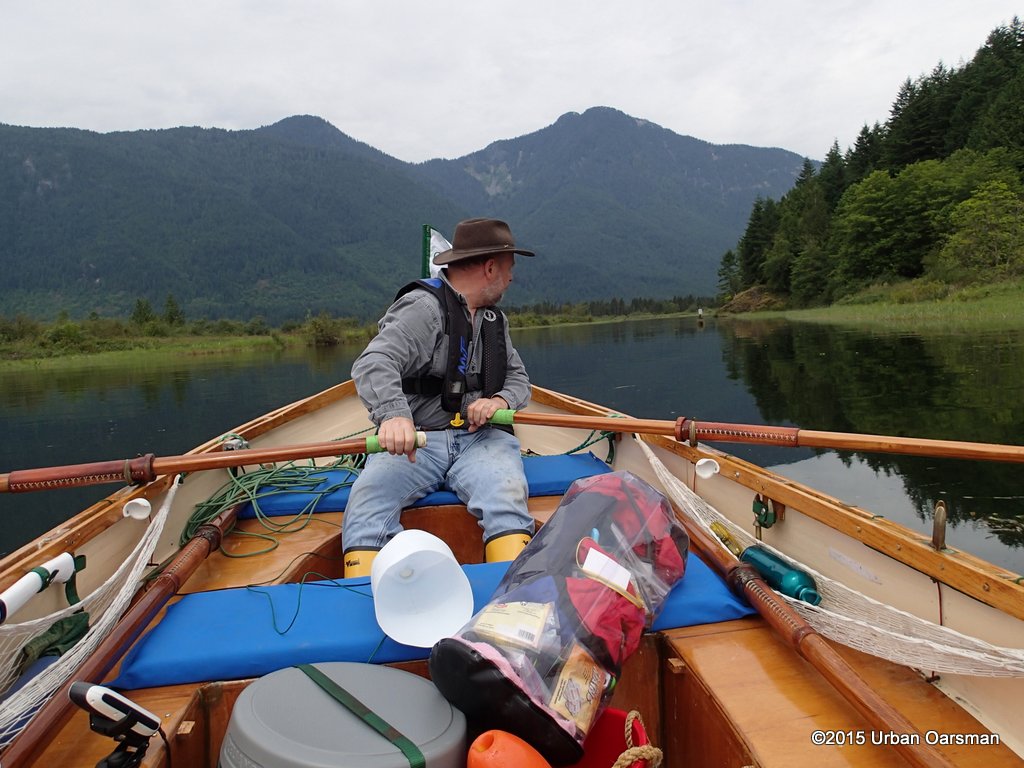
The water is quite flat with a 3 to 5 kph drift from the North. I am rowing with my Pogies on.
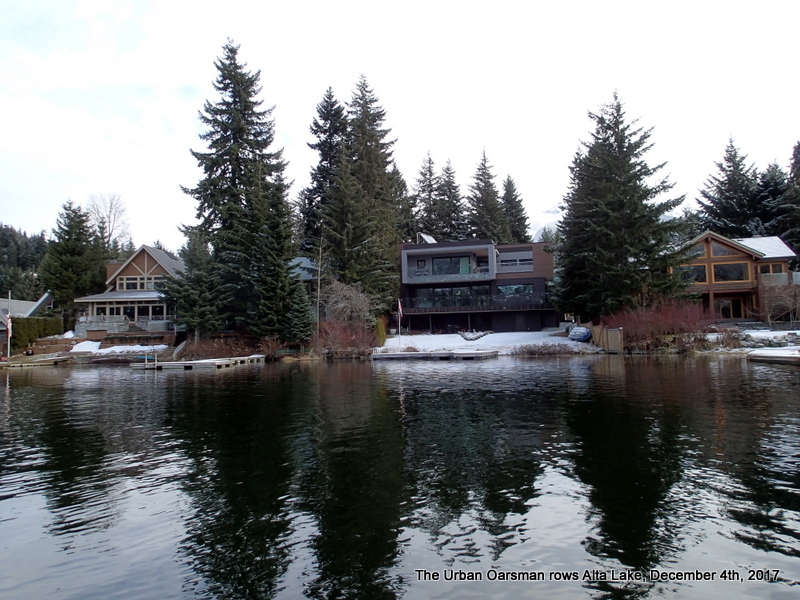
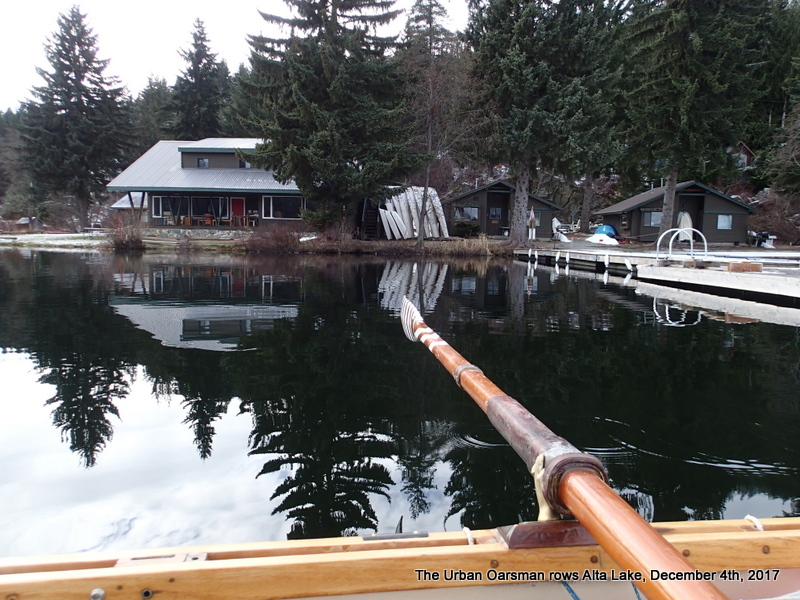
The Urban Oarsman Rows Alta Lake.
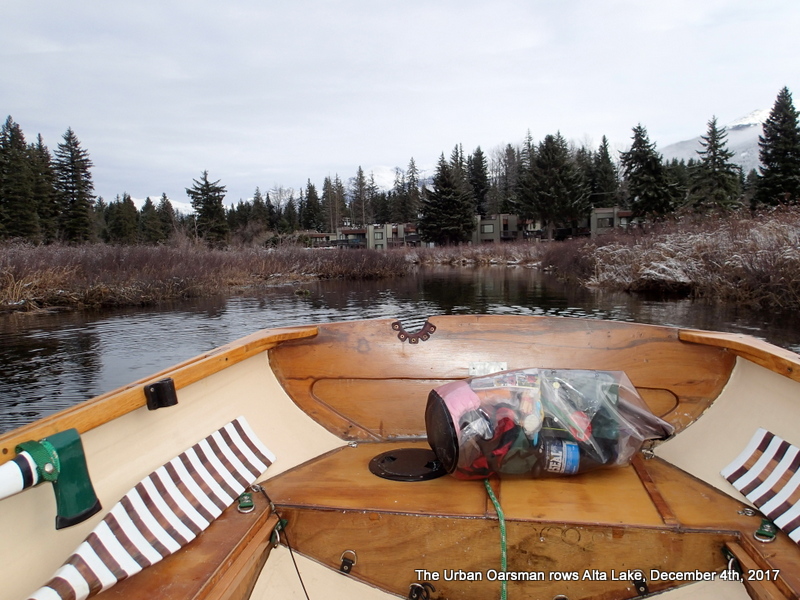
There are a lot of pretty houses on the lake.
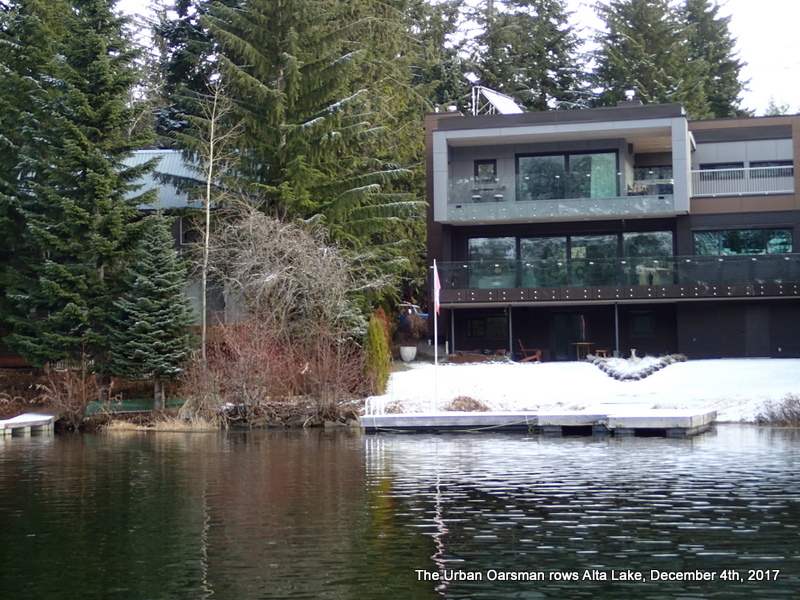
The Urban Oarsman Rows Alta Lake. You can just see my Blue FJ Cruiser parked in front of this house.
I row North, staying as close to the shore as possible…there are many docks reaching out from the shore.
The Urban Oarsman Rows Alta Lake. Leaving the docks behind.
The two flags to the left hang limp. I begin to warm-up. My feet, however stay cold. I have to get better boots for cold-weather rowing.
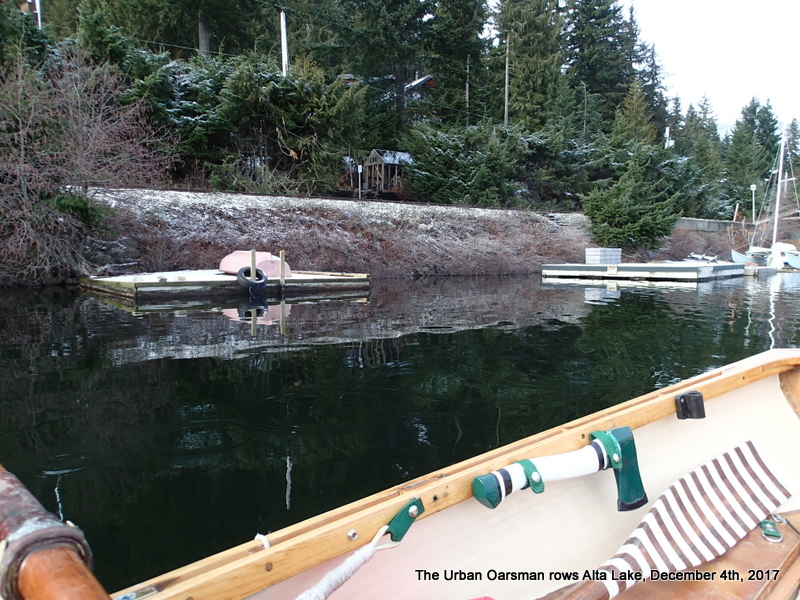
The Urban Oarsman Rows Alta Lake.
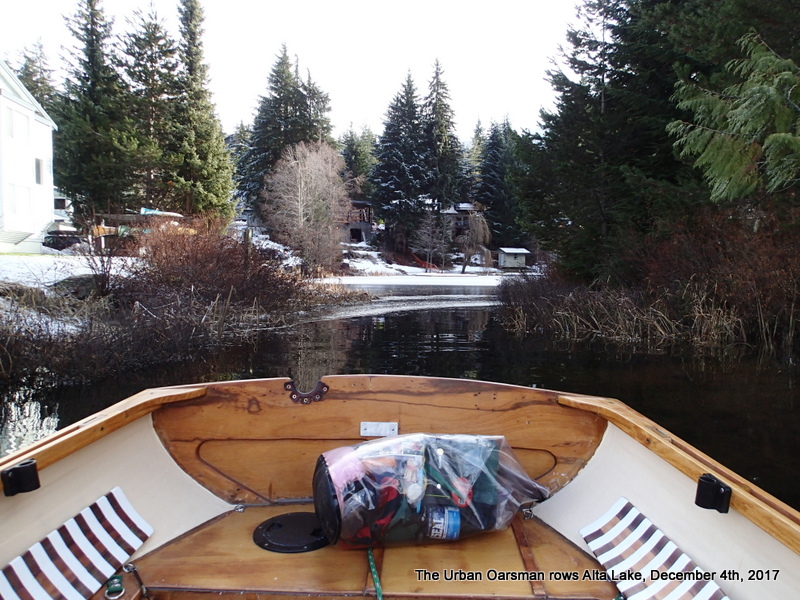
There is a small pond off of the lake. I do not know what it is called. It is iced-over and I cannot row Gwragedd Annwn in. I row into the ice and it is too thick for me to go very far.
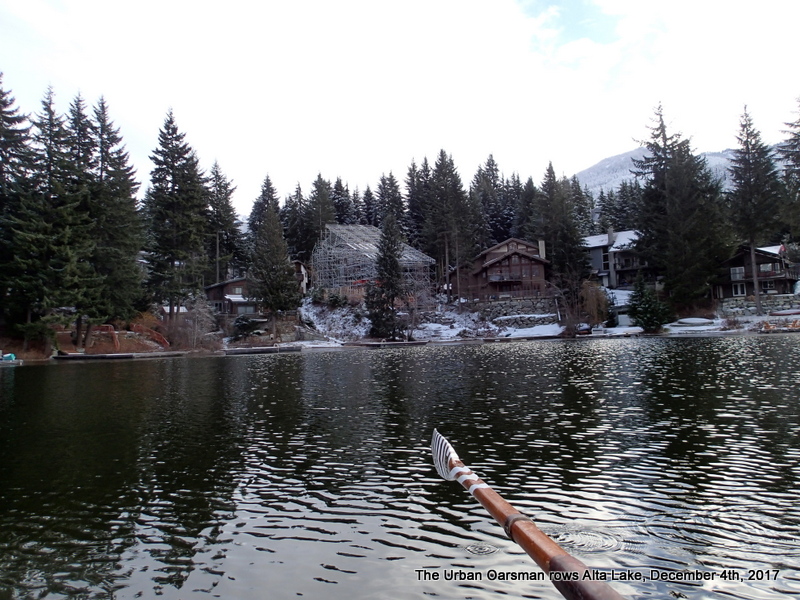
More construction.
I have passed three houses under construction and or being renovated.

The Urban Oarsman Rows Alta Lake beside Blueberry Park.
There is a hiking trail beside the Lake called The Blueberry Trail. There were a couple of ladies walking a dog when I rowed by. They were very friendly.
The Urban Oarsman Rows past Blueberry Park.

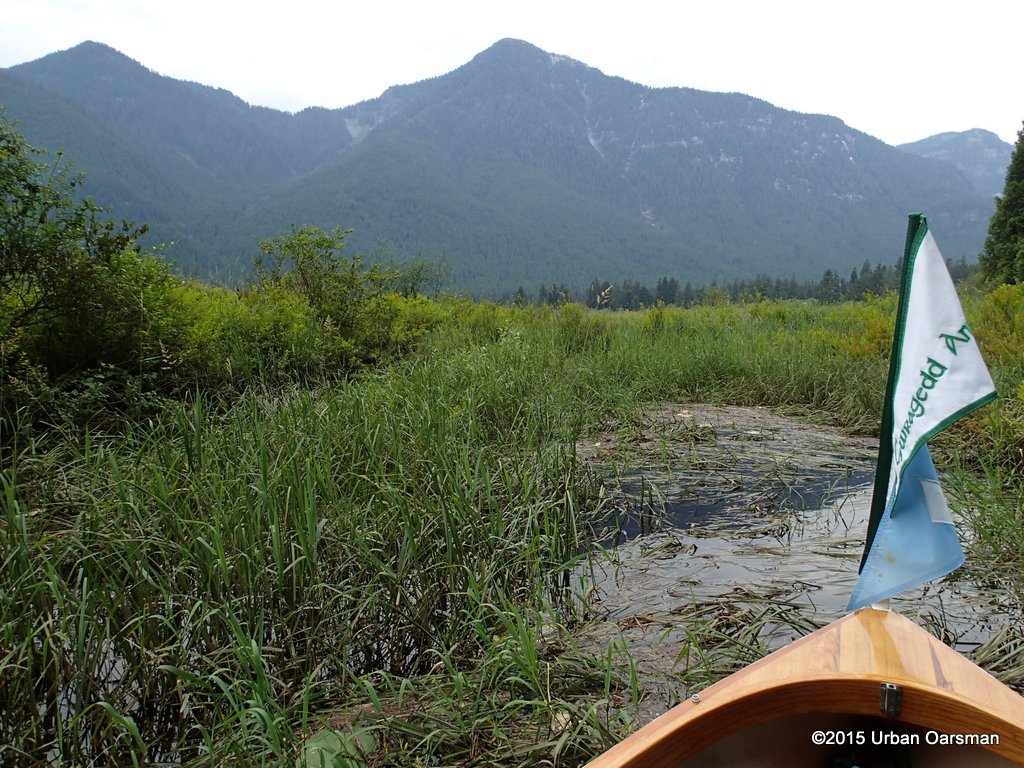
Mt. Sproatt.
I continue to row North.
The Urban Oarsman Rows Alta Lake.
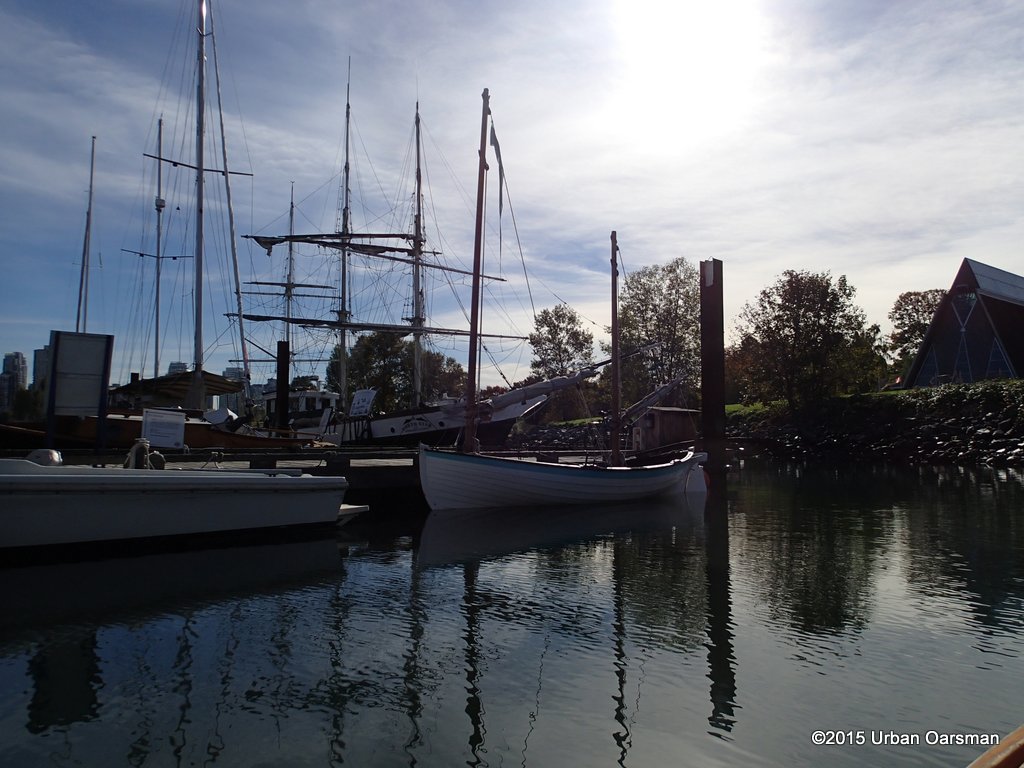
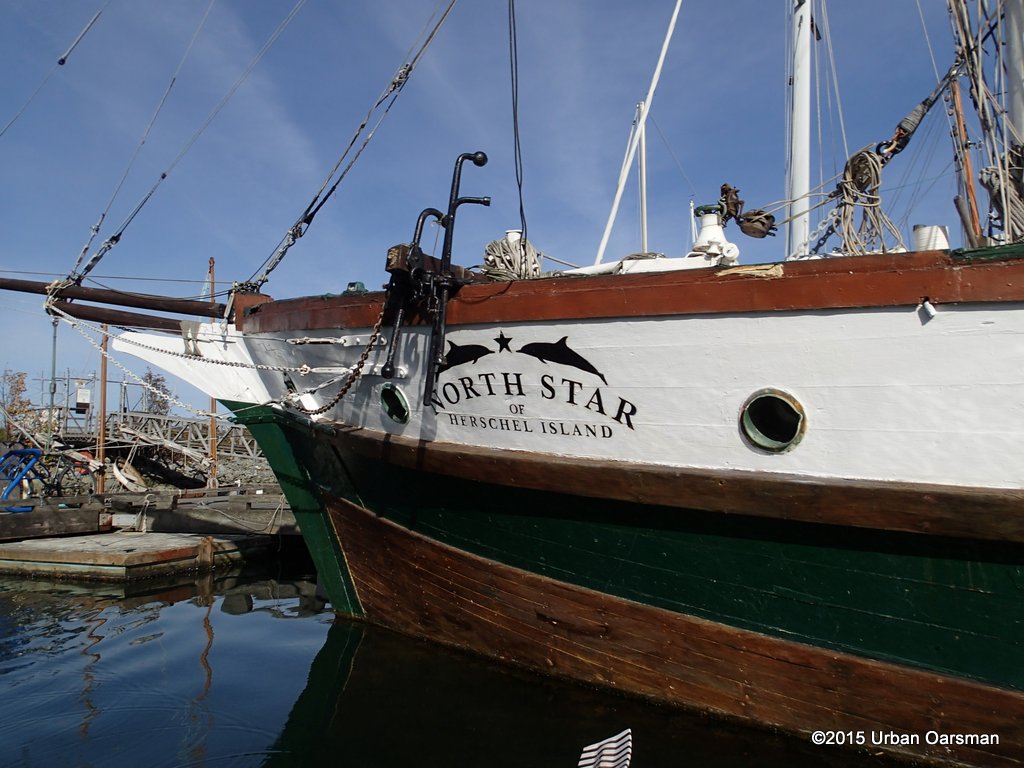
I do not know what boating centre this is.
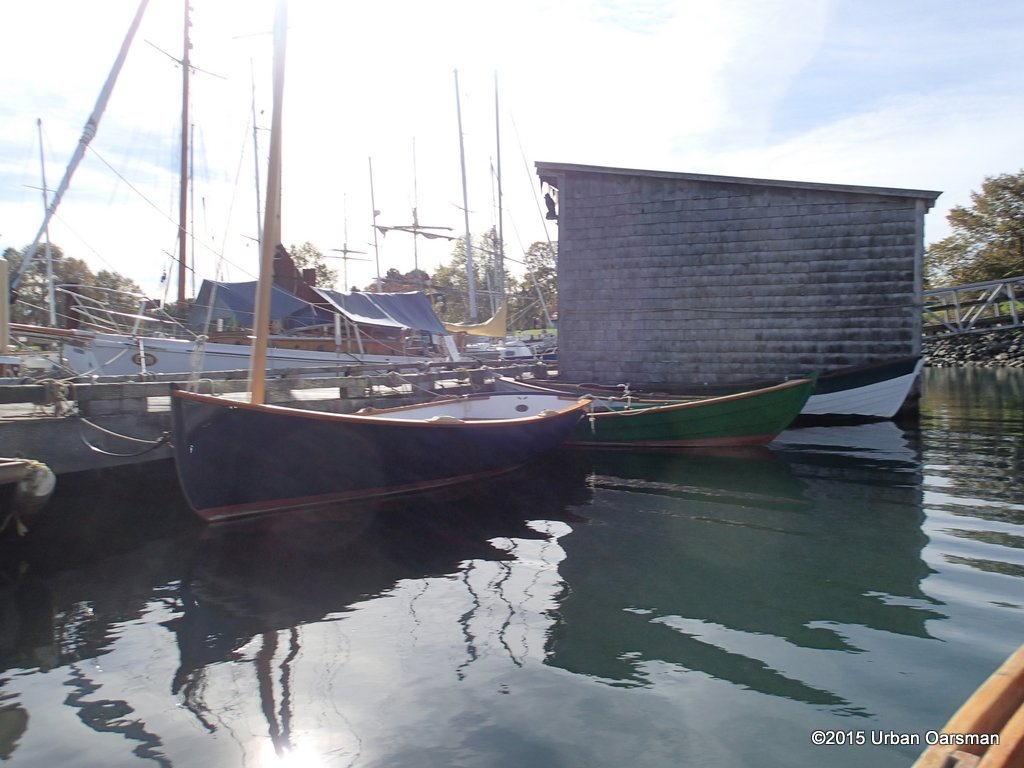
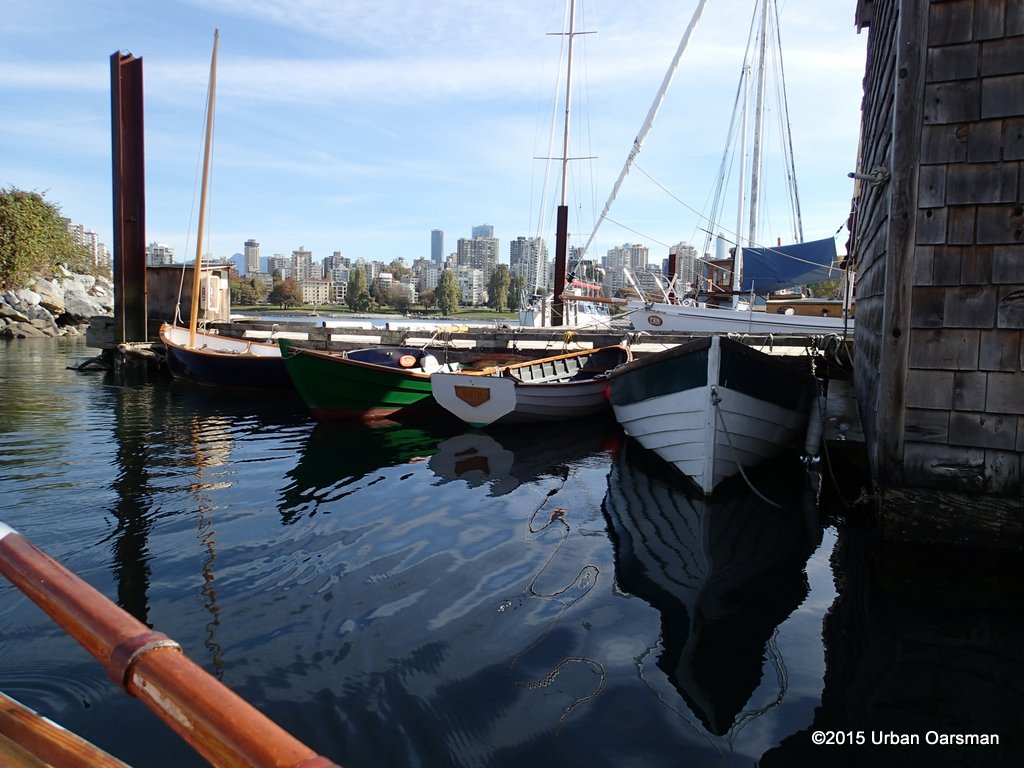
Boats on the North end of Alta Lake.
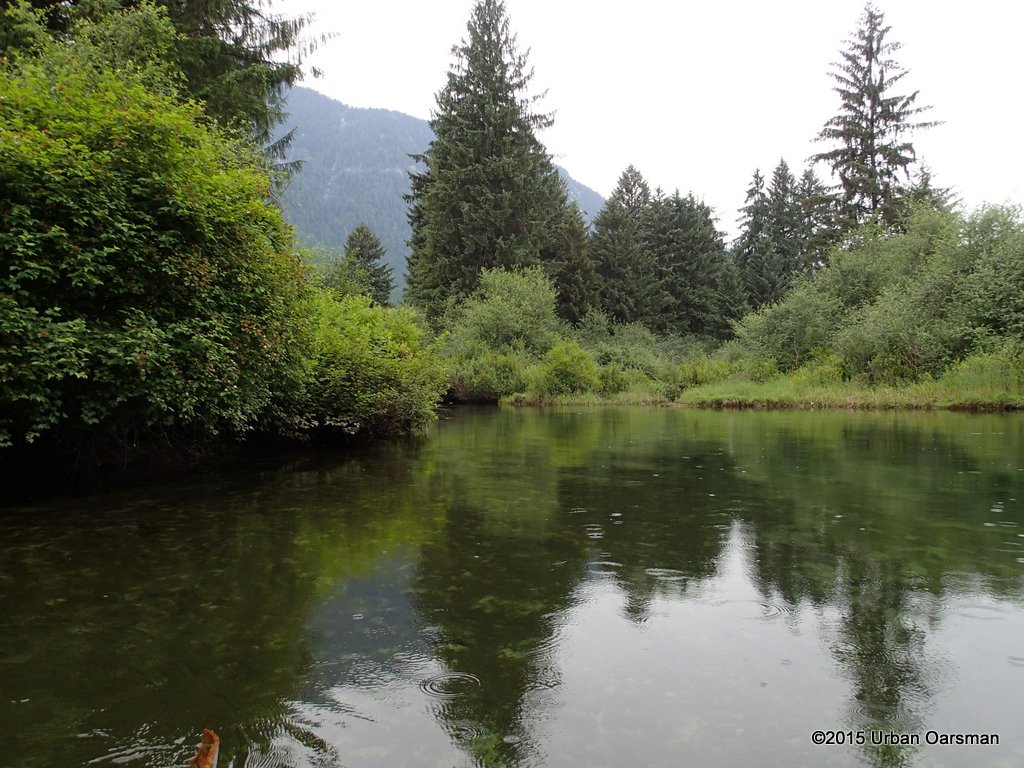
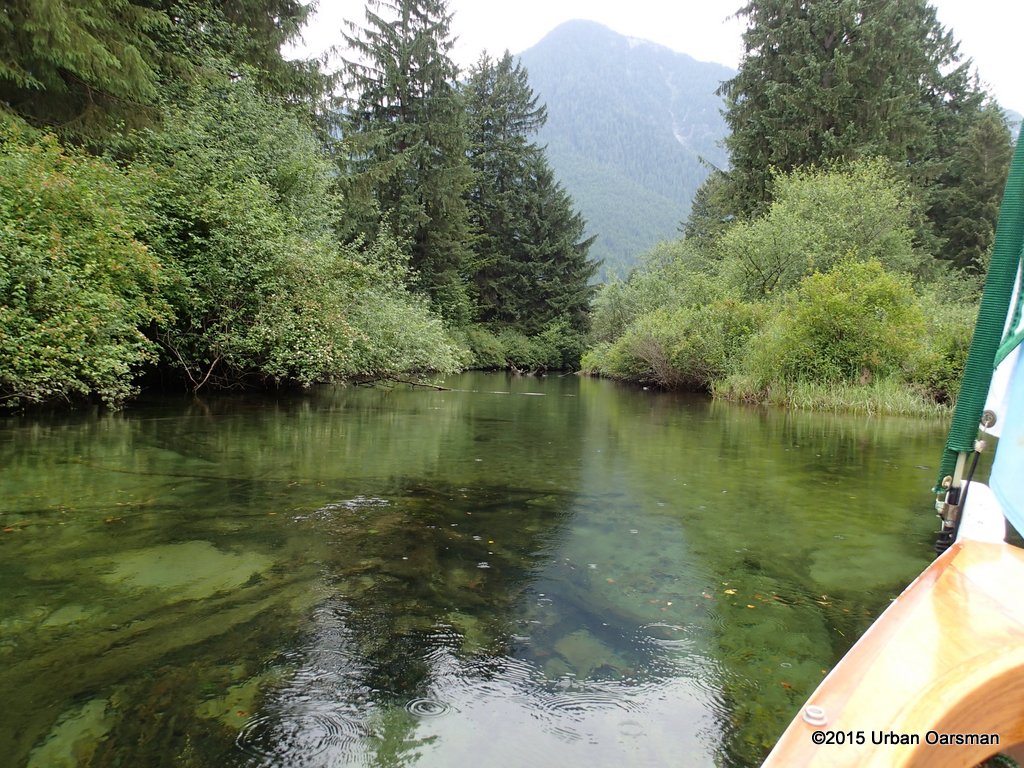
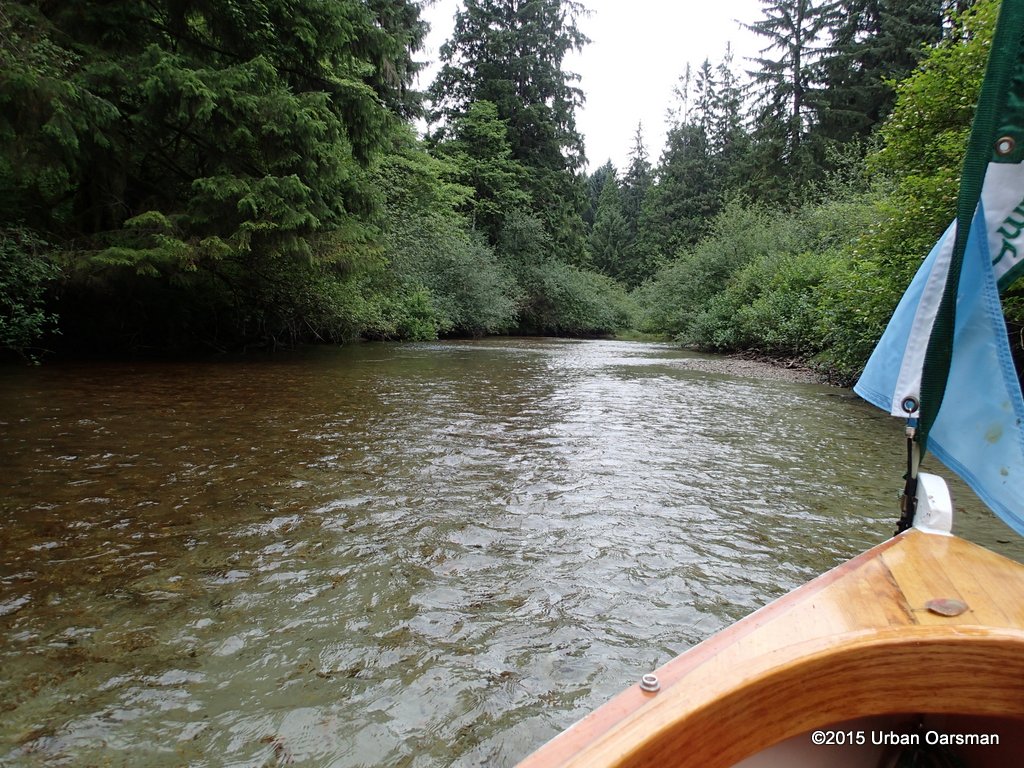
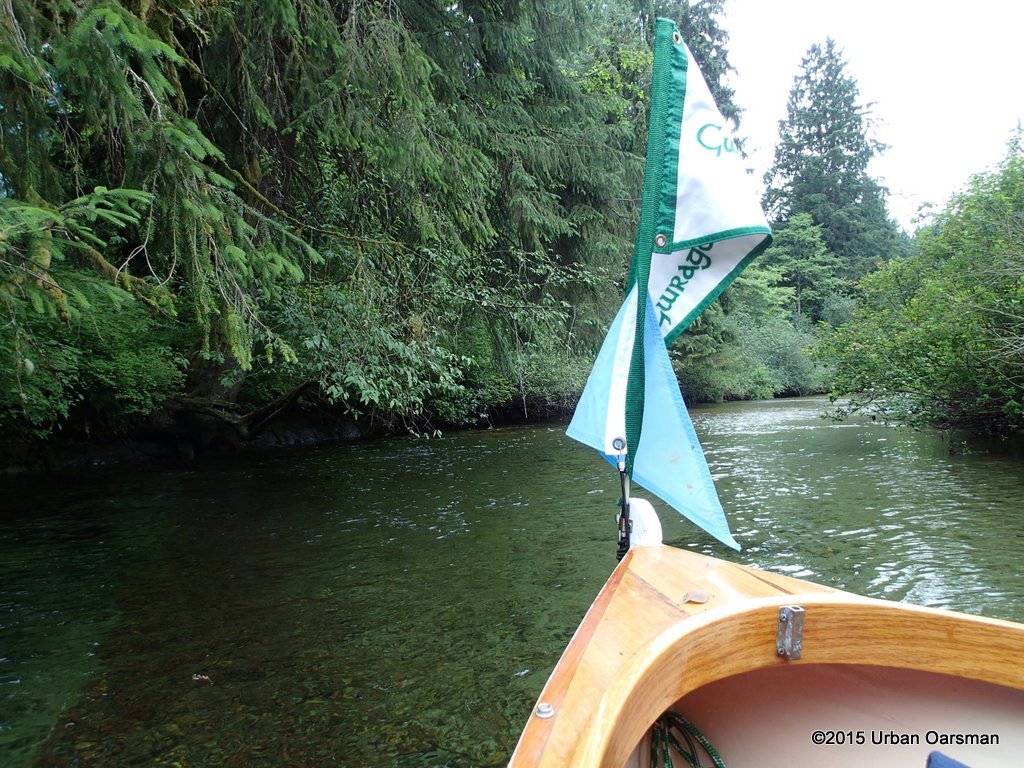
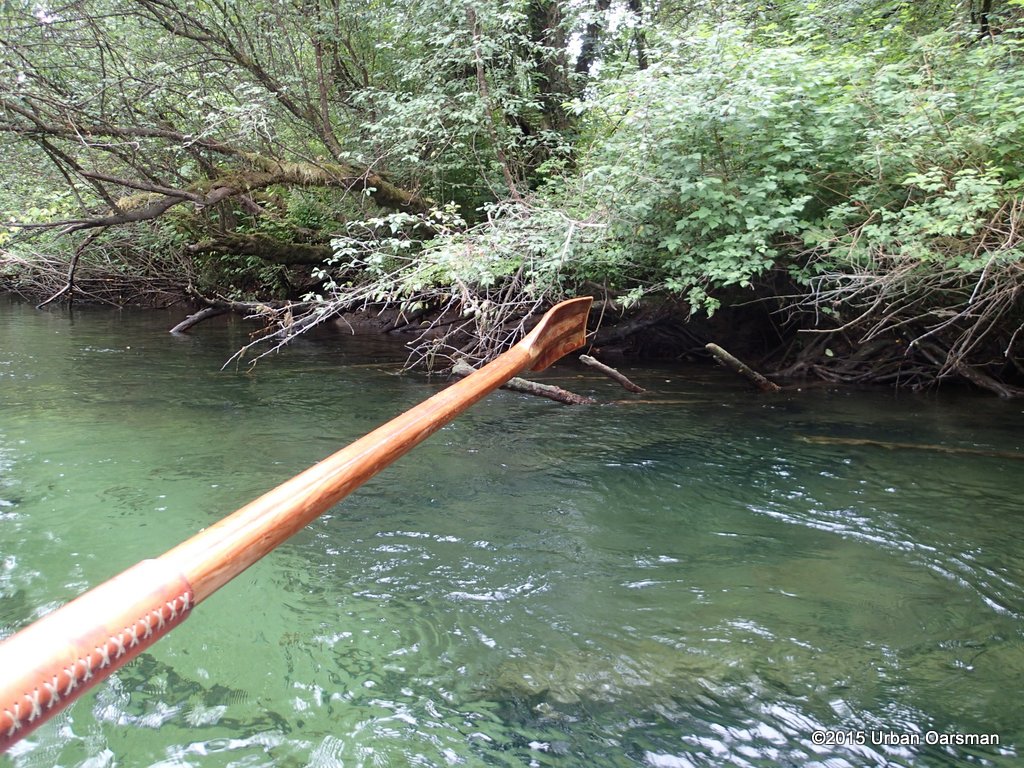
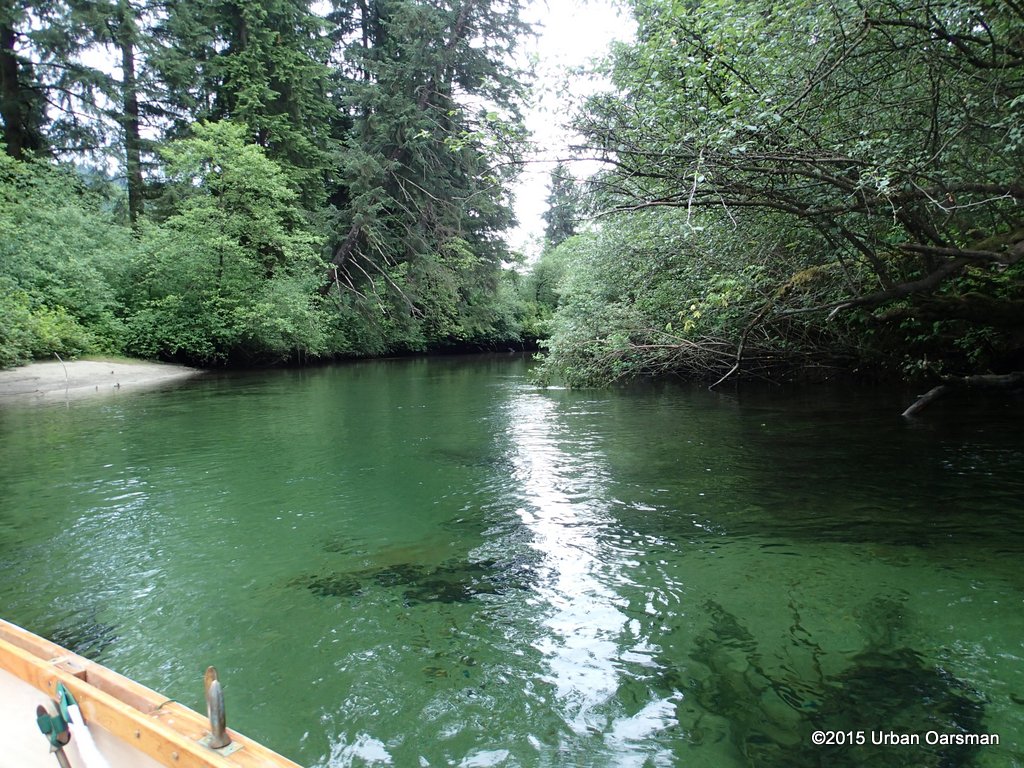
The Urban Oarsman Rows stern-first down the River of Golden Dreams. I can see canoes in racks further down the channel.
I row down until the current becomes strong. Urban Oarsman Matt has warned me that the river is too narrow for rowboats…He speaks from experience.
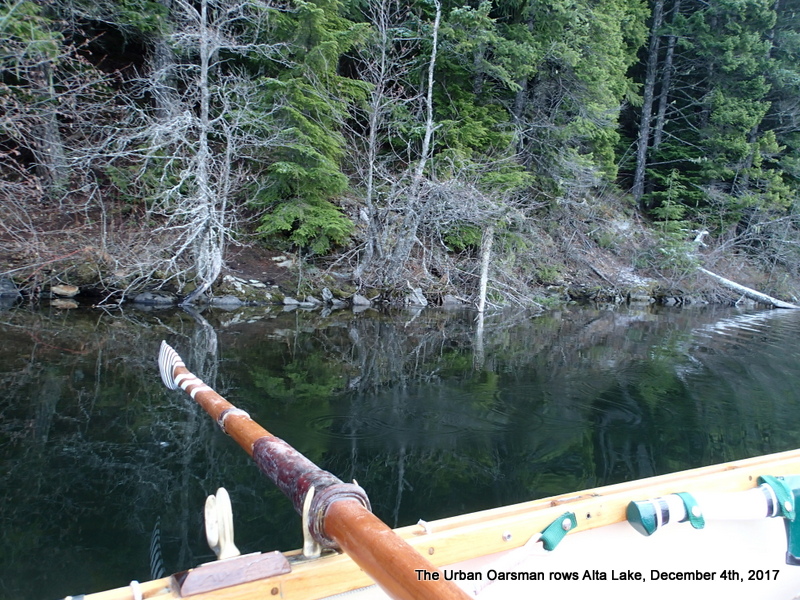
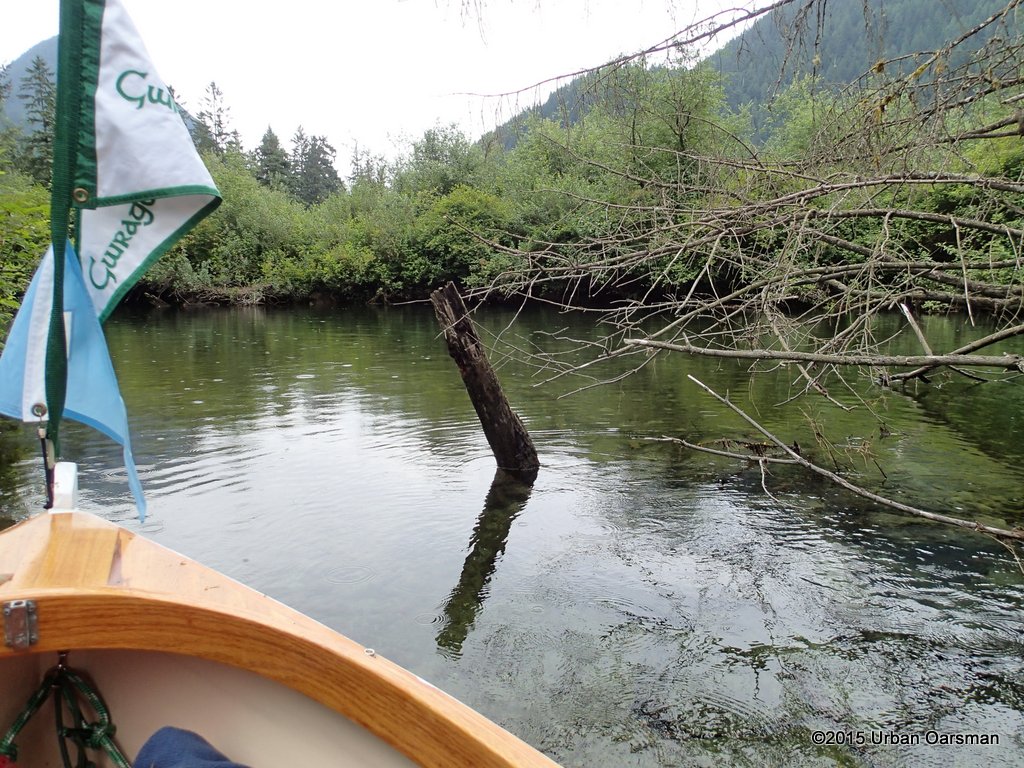
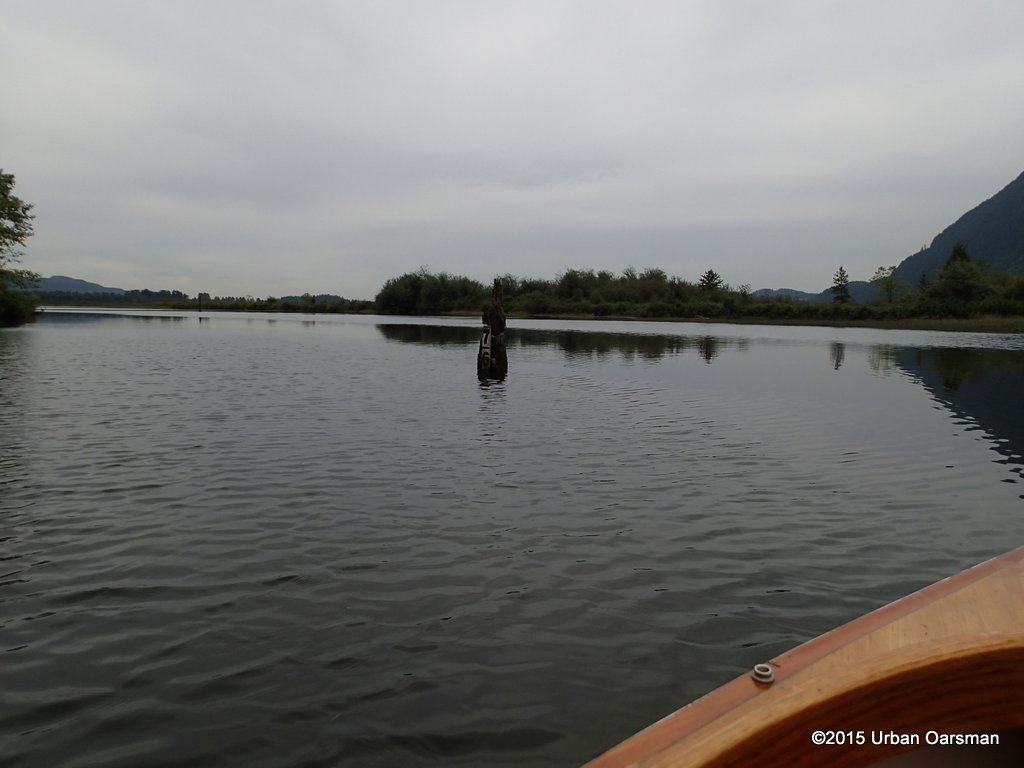
The Urban Oarsman Rows The North Shore of Alta Lake.
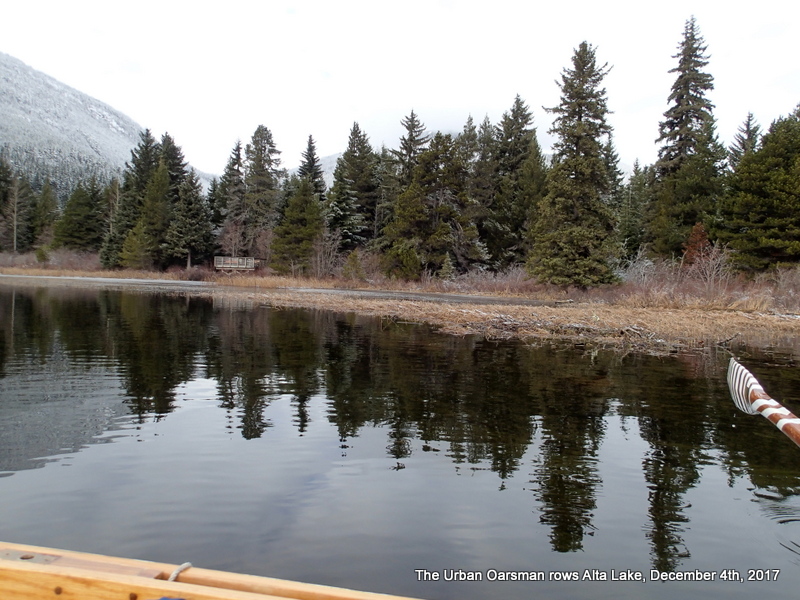
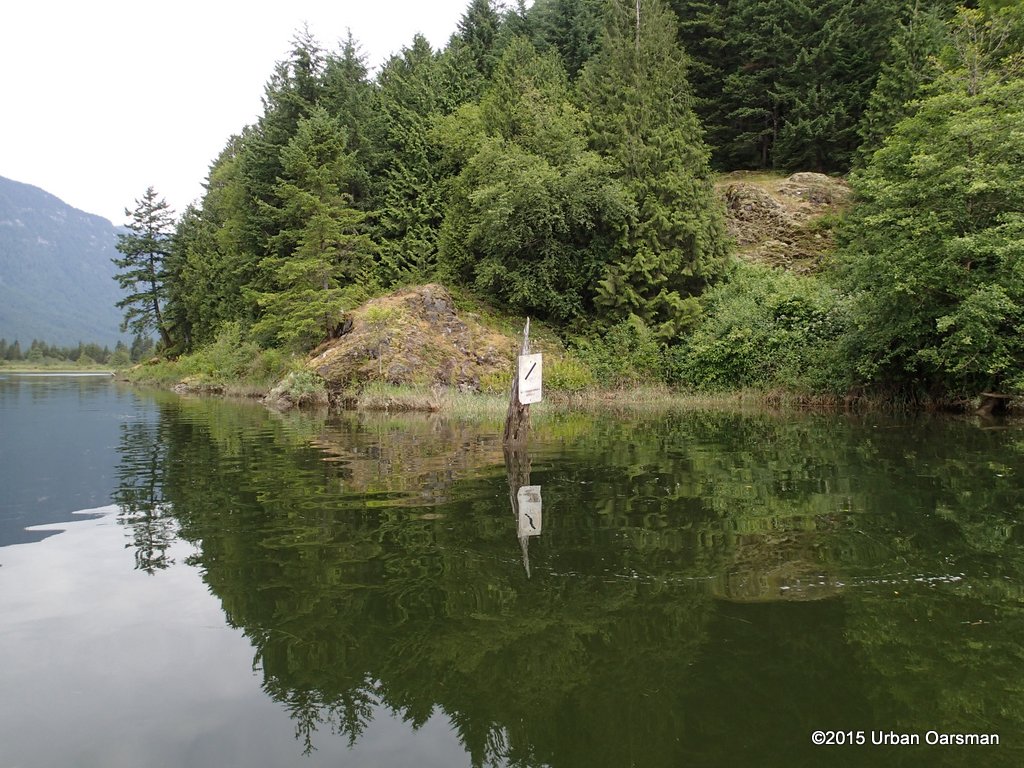
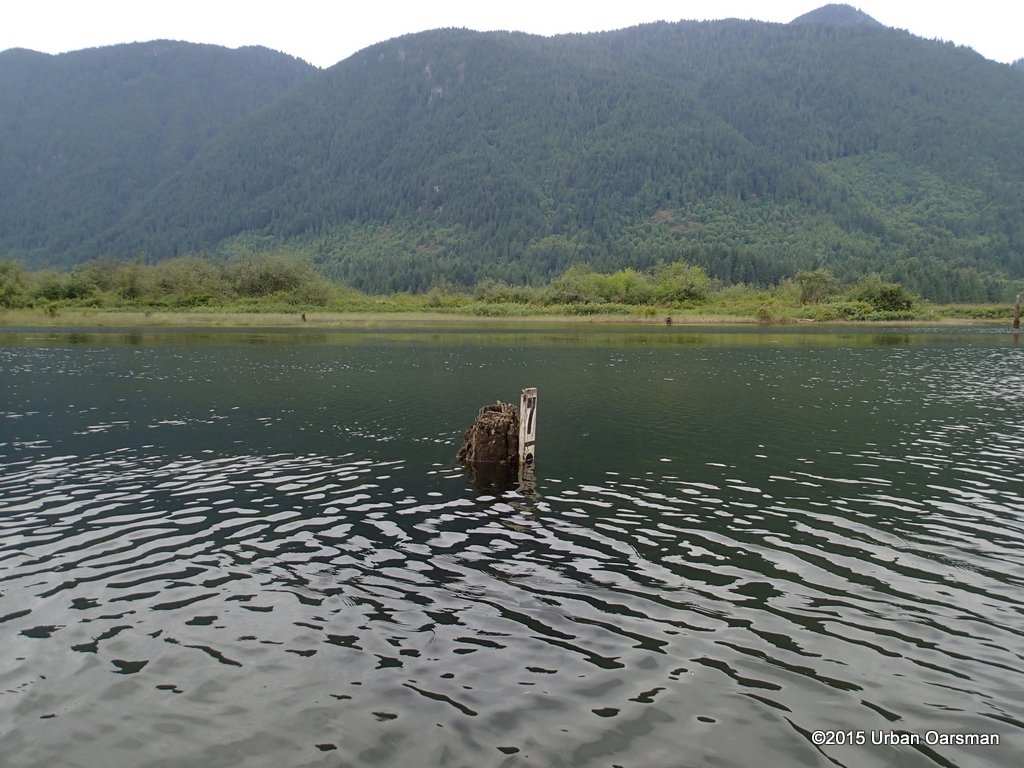
The North end of the lake is shallow and reedy. I poke into some open water, but much of the lake is frozen in the shallows. This is an observation tower at the North End.

Alta Lake, the Western Shore.
Rainbow Park is at the North-West end of the lake.
I row South down the lake.

The Urban Oarsman Rows Alta Lake beside the train tracks.
The train tracks run along the West side of the lake. I did not see or hear any trains.
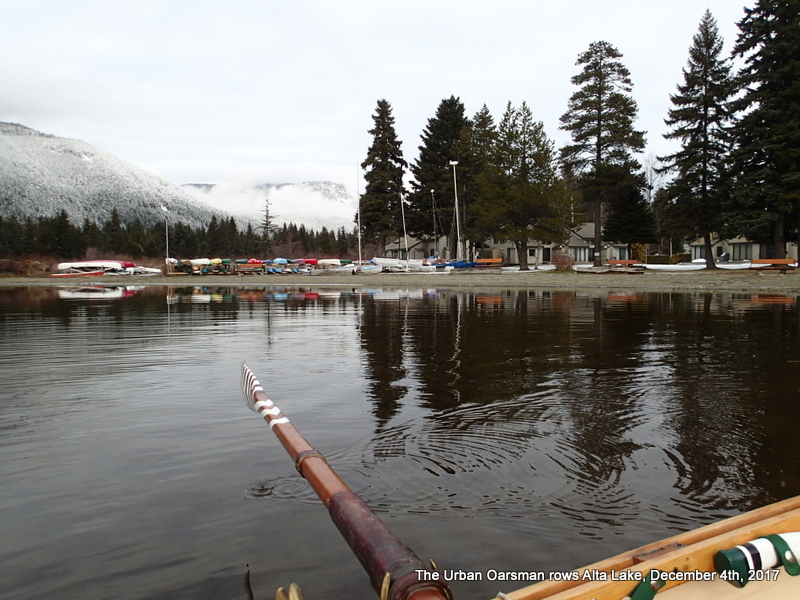
The Urban Oarsman Rows past the Whistler Sailing Association.
There are no boats out….waiting for the ice-boat regatta season?
The Urban Oarsman Rows past train tracks and floats.
Many of the houses on the West side of the tracks have floats in front of them…Many of the boat houses and the houses on shore have the same architectural style.
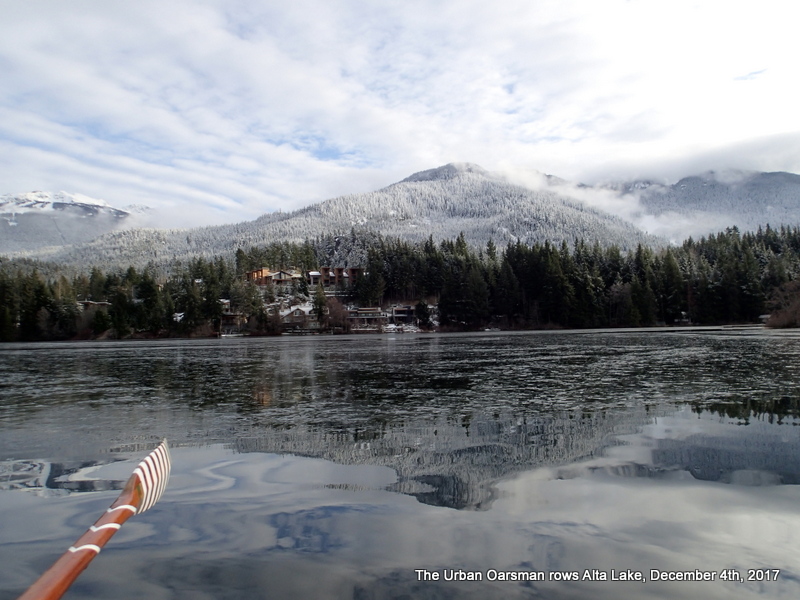
The South end of Alta Lake is frozen over.
What I thought was wind-shadow when I launched turns out to be frozen water. The ice extends to the shore. I cannot row through it.
The Urban Oarsman Rows around the ice on Alta Lake.
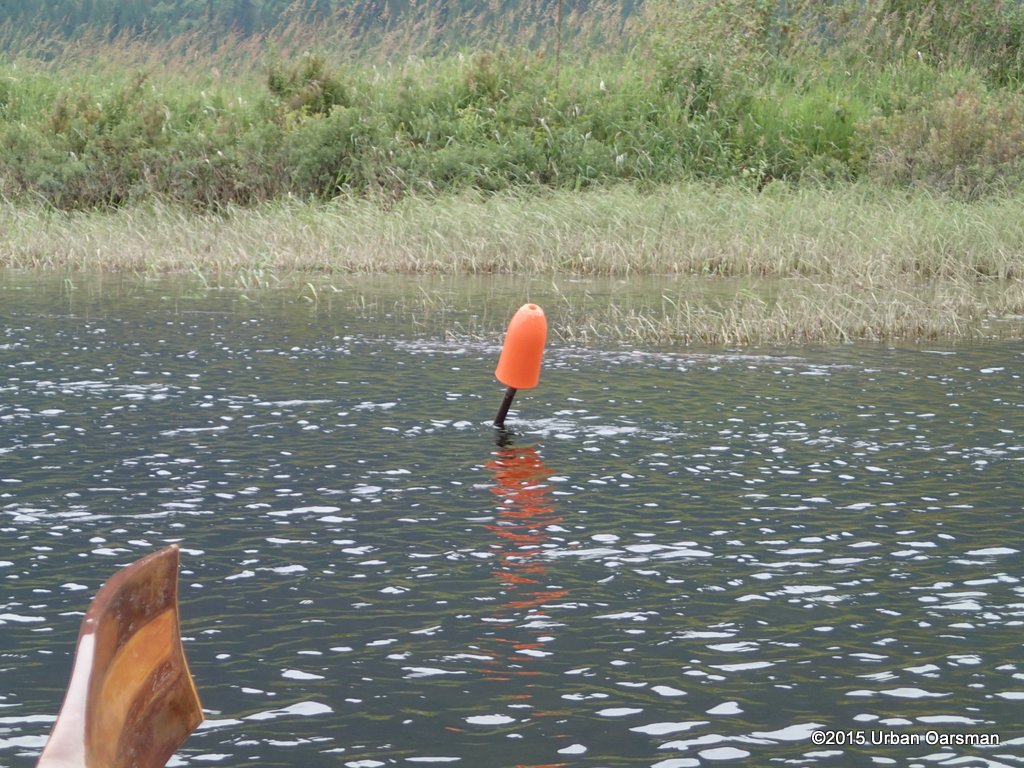
I turn North and row on the edge of the ice…There are many mysterious “holes” in the ice sheet. I do not notice any water up-welling and and have no idea why they are there. They must have a name, I just do not know what it is. Maybe imarnirsaq and or ammaniq?
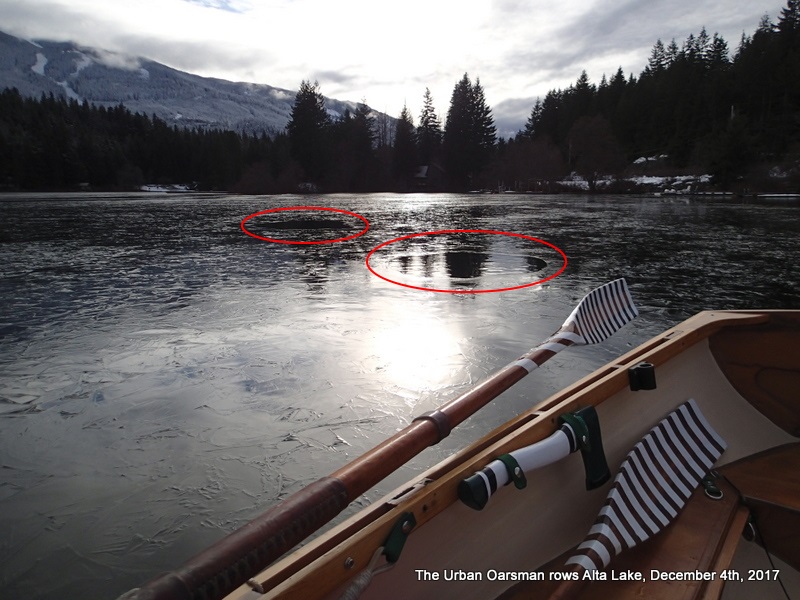
The Urban Oarsman finds open holes in the ice on Alta Lake.
I continue to row around the ice. I will not be able to row to the South End and into Nita Lake.
The Urban Oarsman leaves the ice sheet behind.
I do not know if the ice is always at the South End, or if the wind blows it up and down the lake. There had been winds from the North earlier in the week…
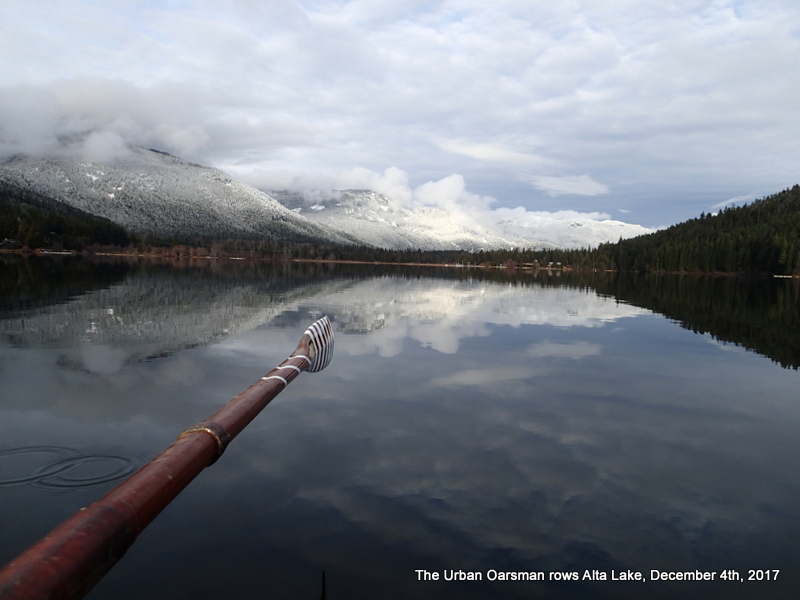
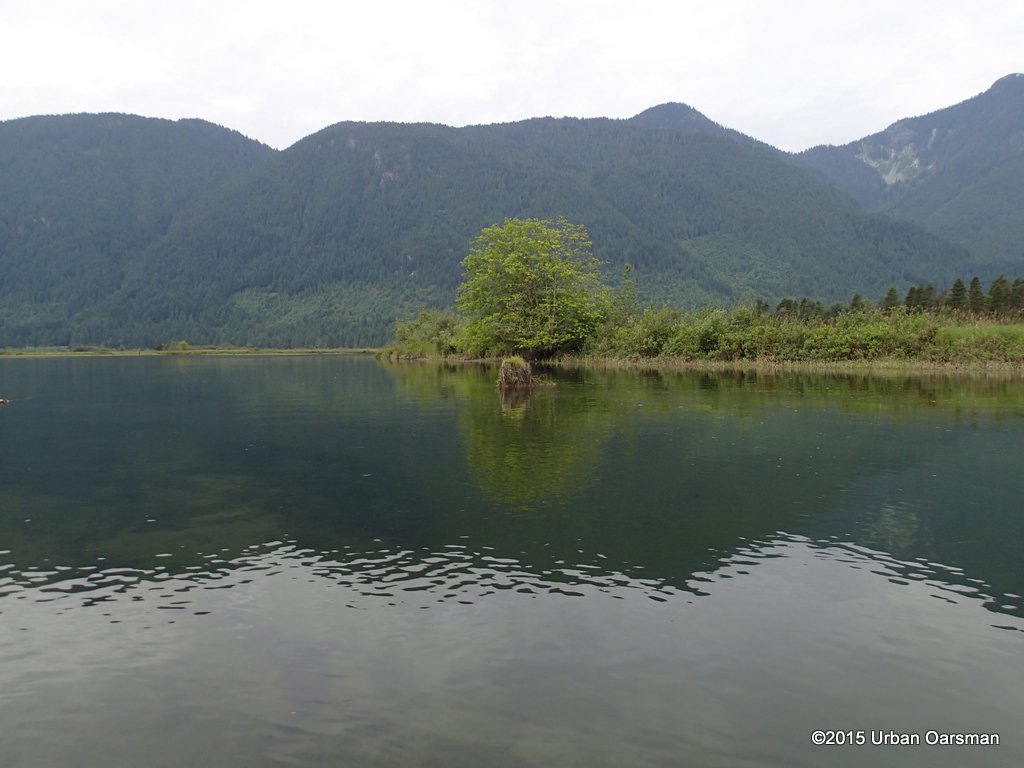
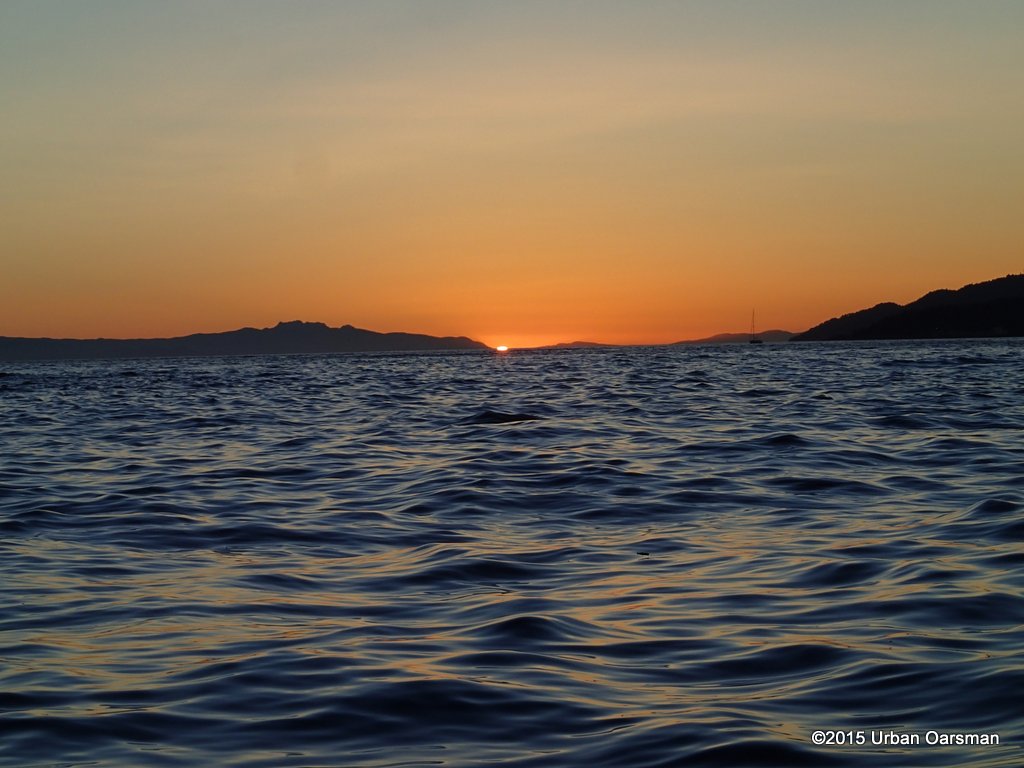
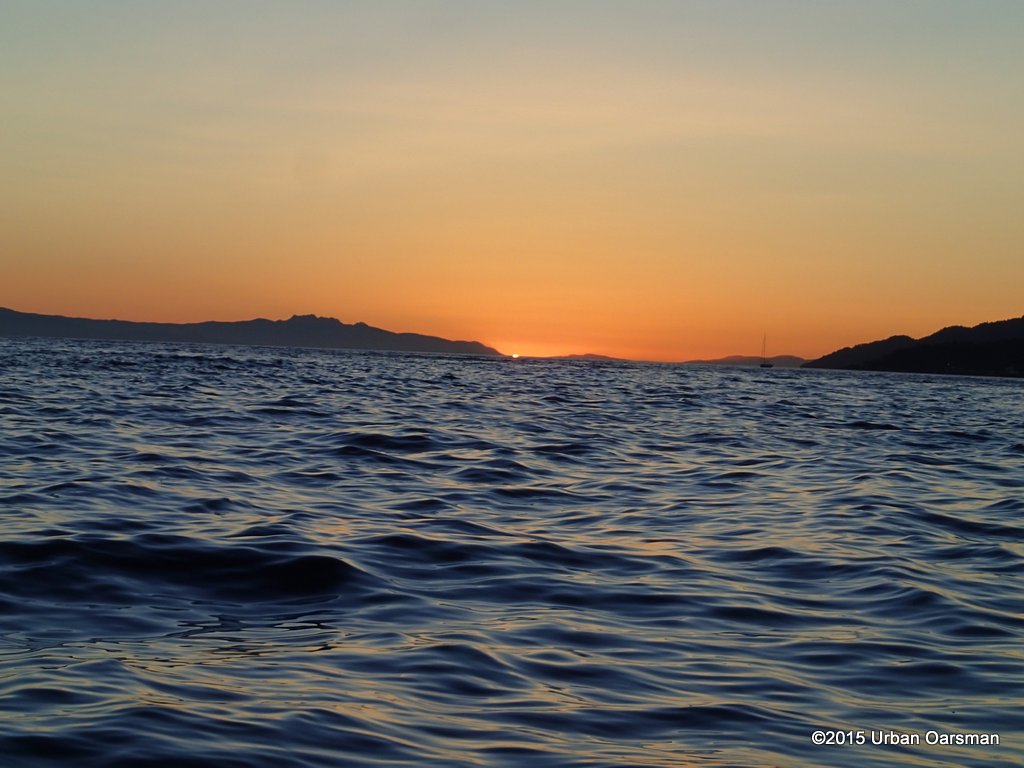
The Urban Oarsman enjoys the pretty view to the North of Alta Lake.
I arrive back at the boat launch, beach Gwragedd Annwn and walk to the FJ. Hard to get the blood back into my feet…I really have to do something about my cold feet.
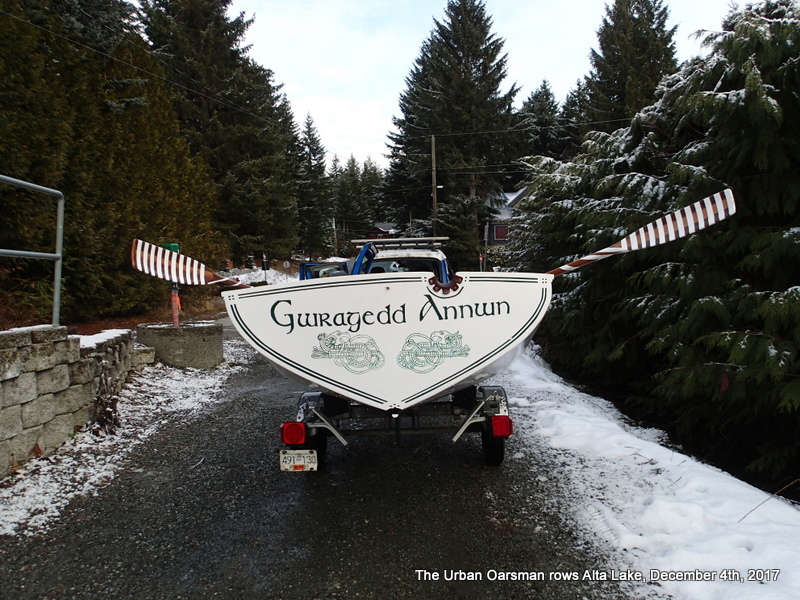
The Urban Oarsman loads up Gwragedd Annwn and leaves Alta Lake.
I load Gwragedd Annwn onto her trailer, strap her on, stow my gear, secure her oars and oarlocks and put her traveling cover on. Ready for the trip home.
Happy rowing to you, stay warm and have fun.
Mike


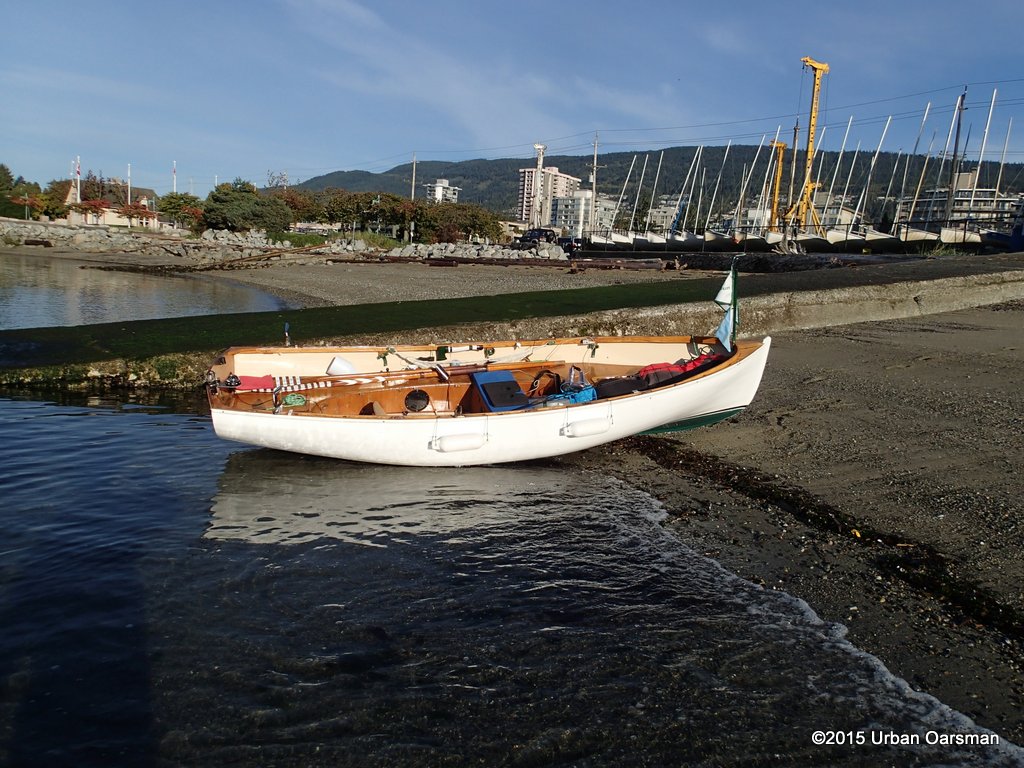
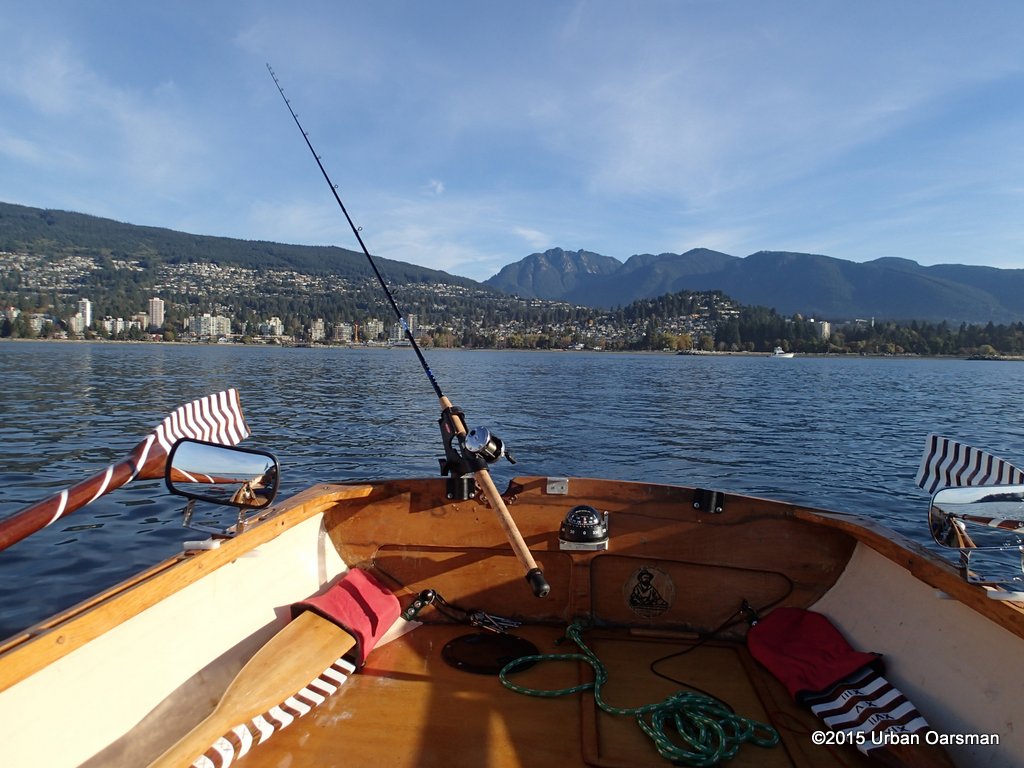
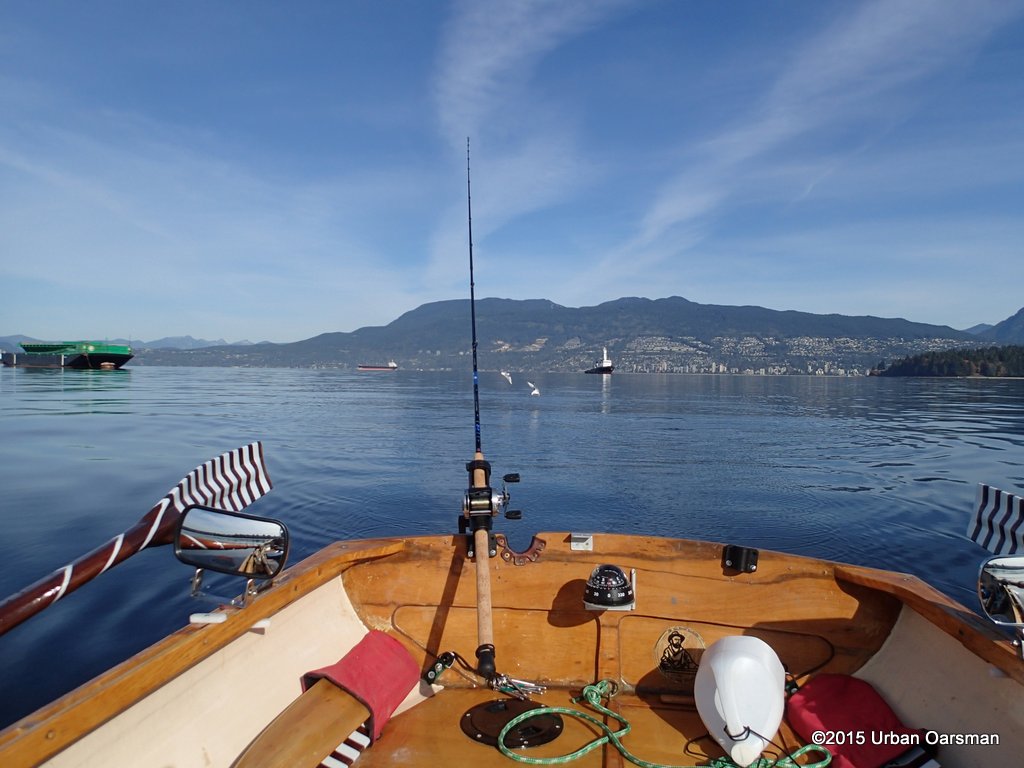
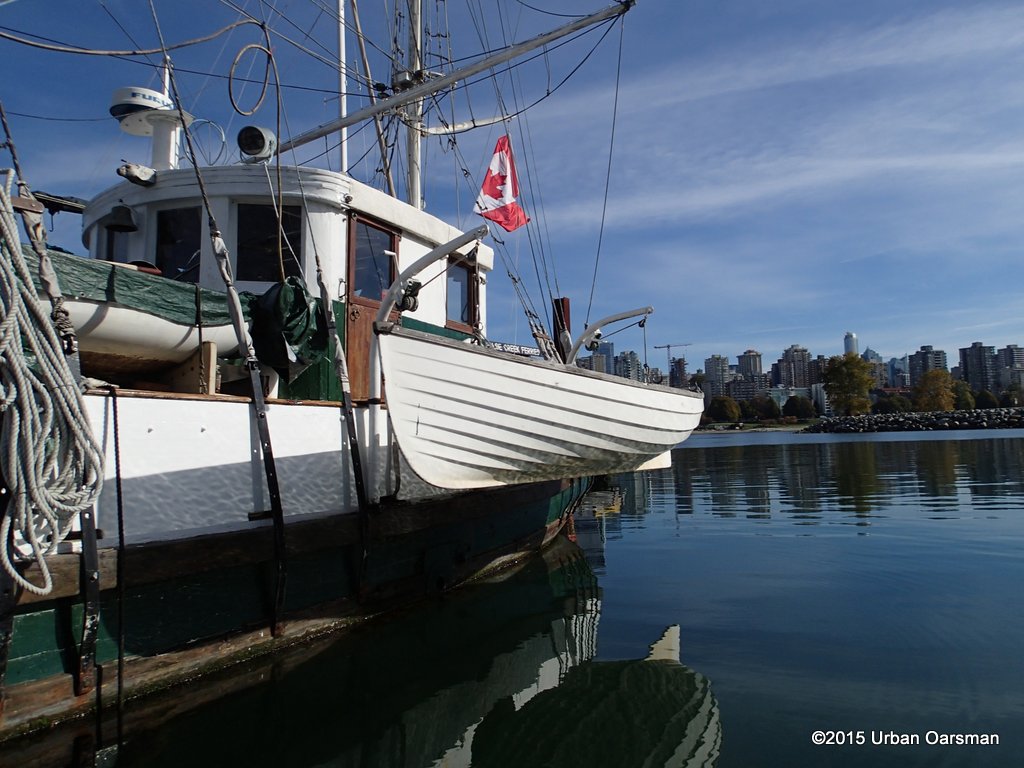
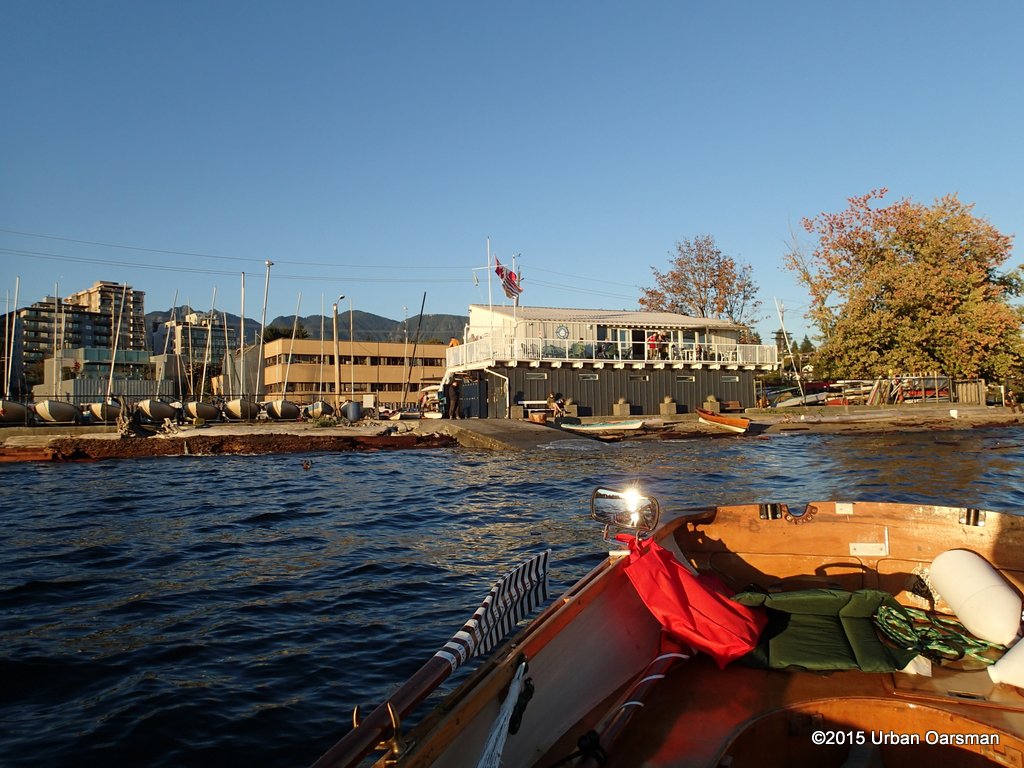
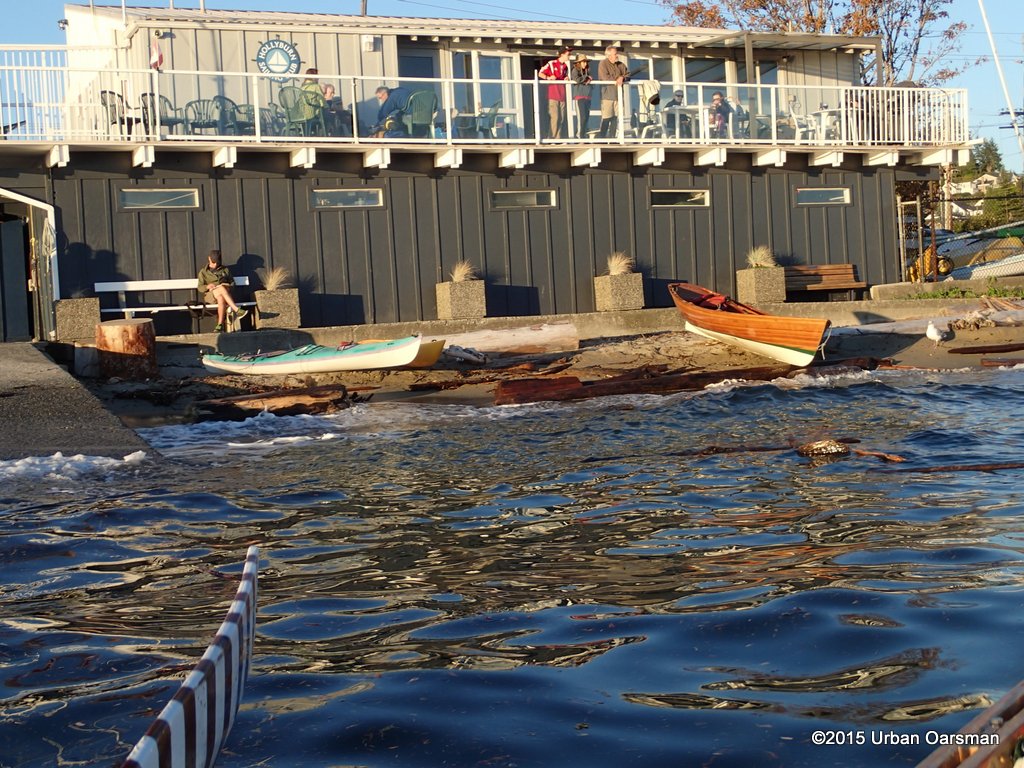
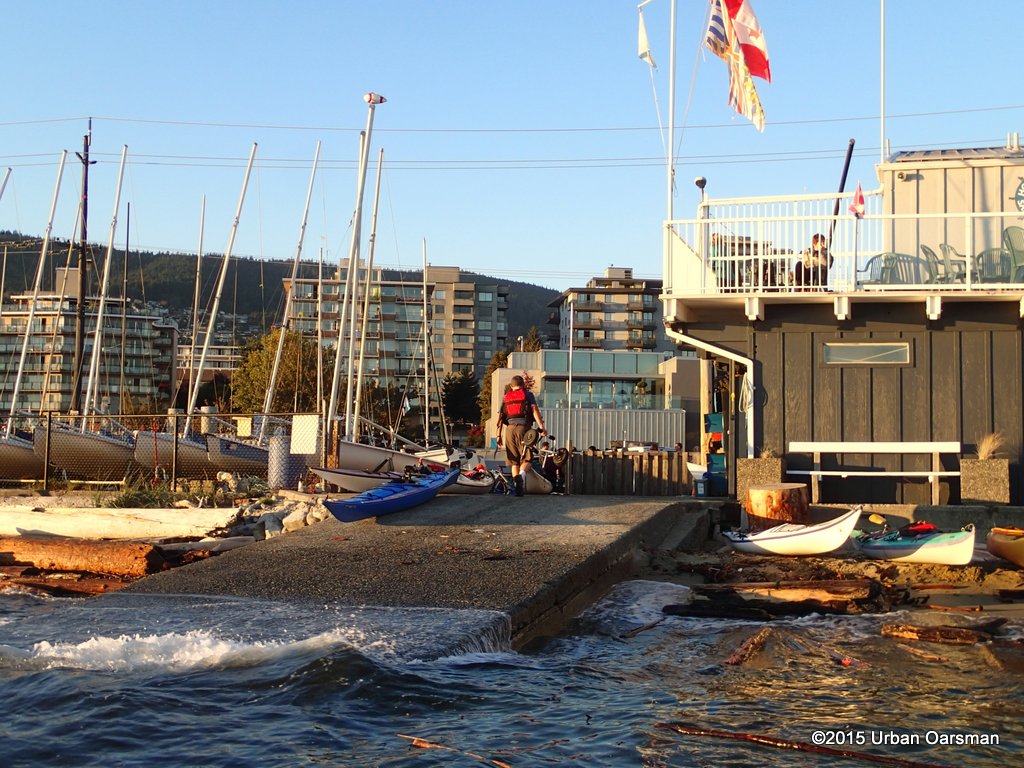
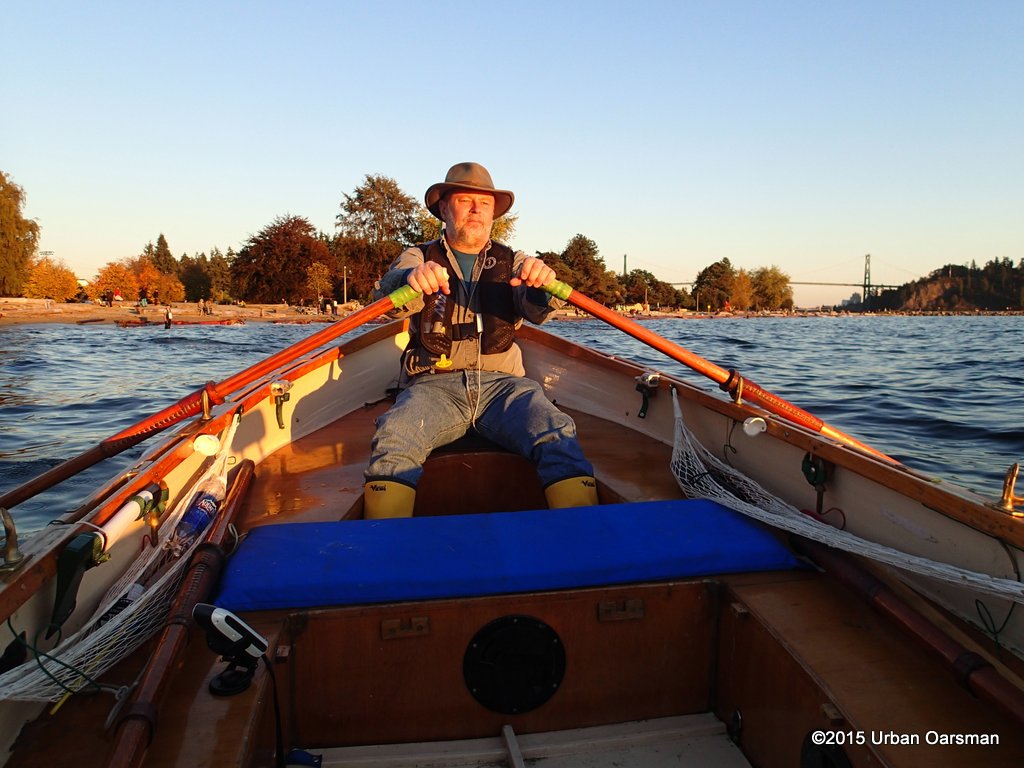
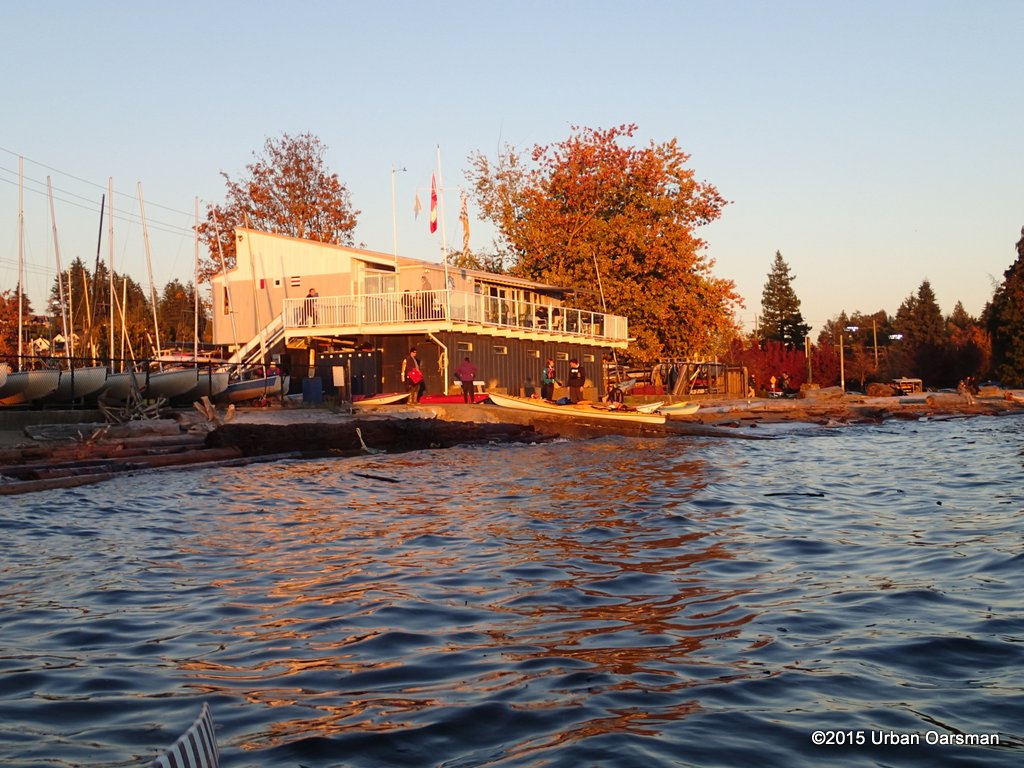
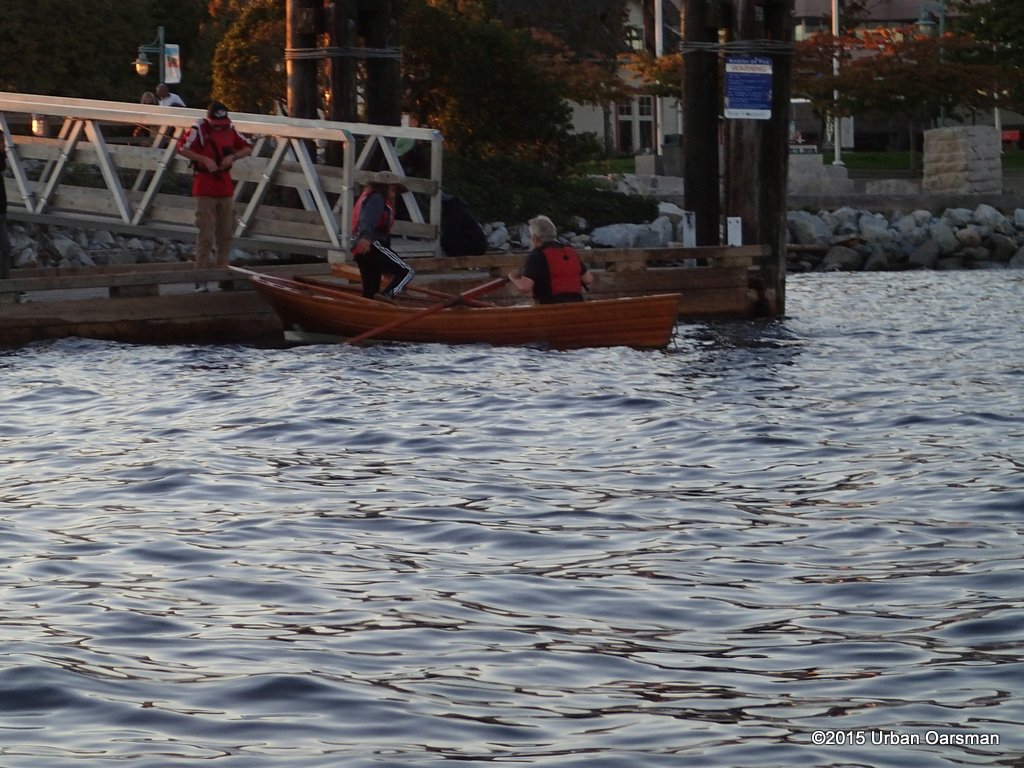
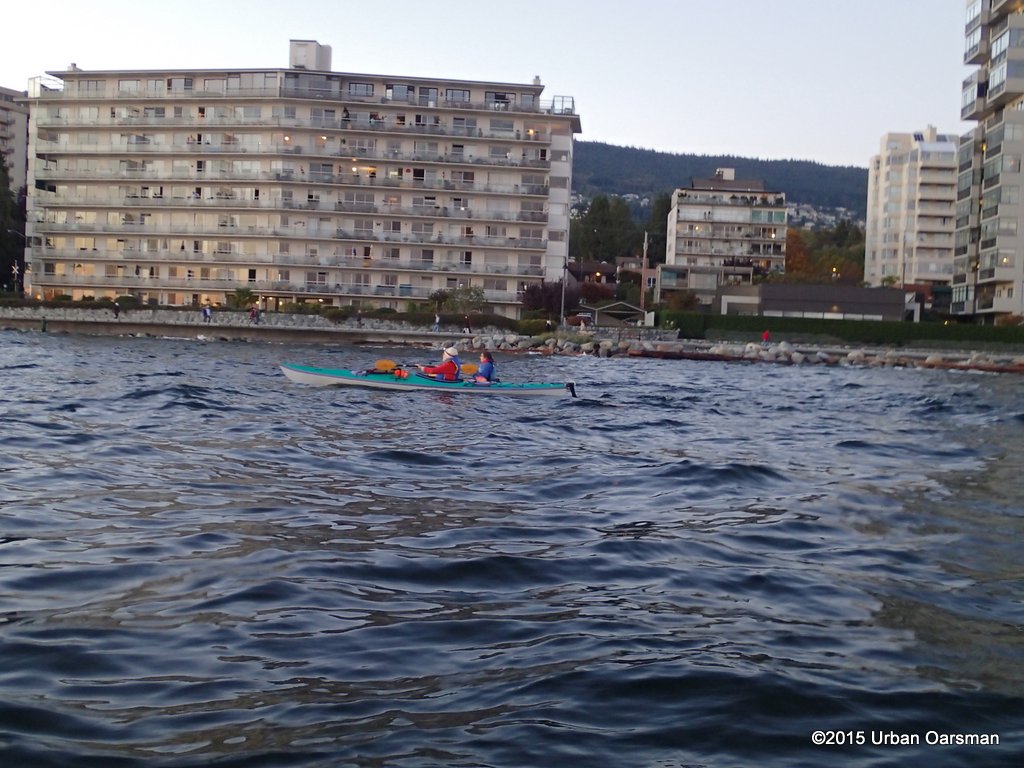
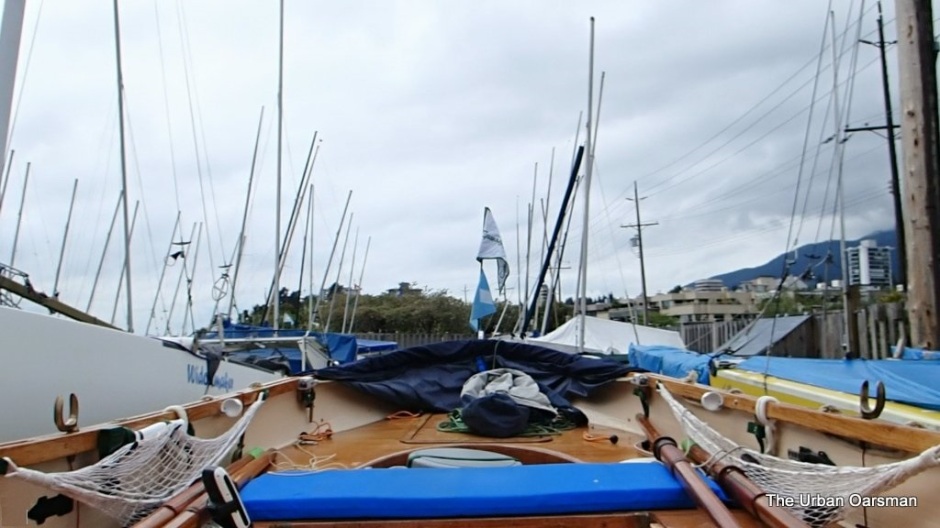 Launching Gwragedd Annwn at the Hollyburn Sailing Club.
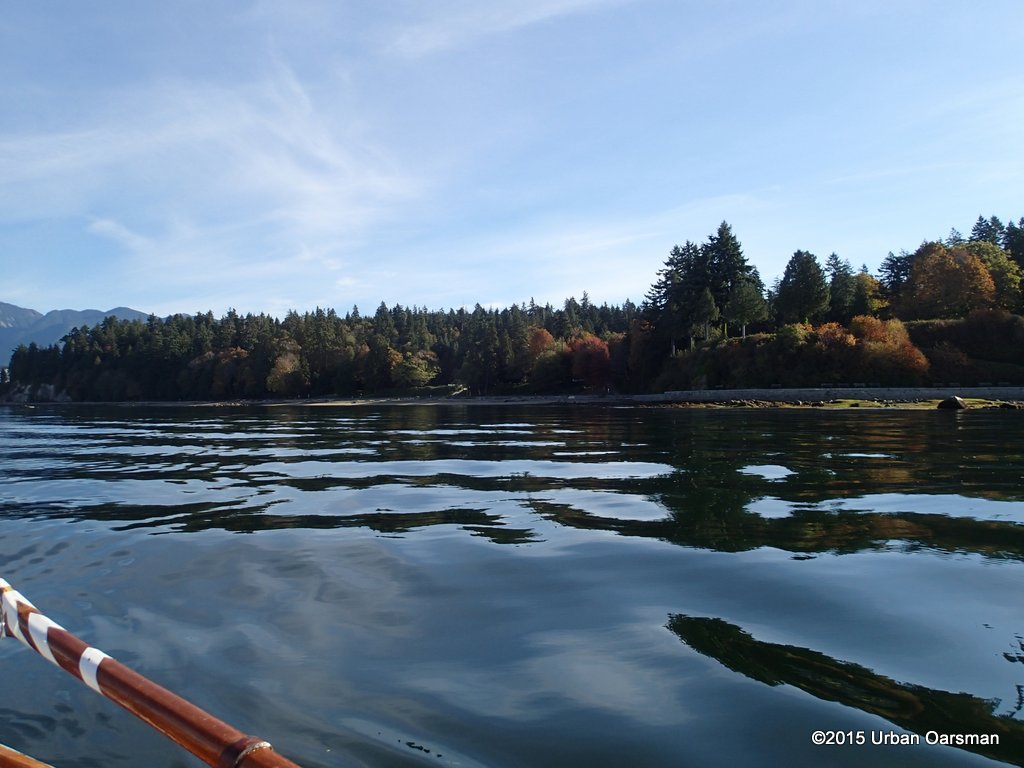
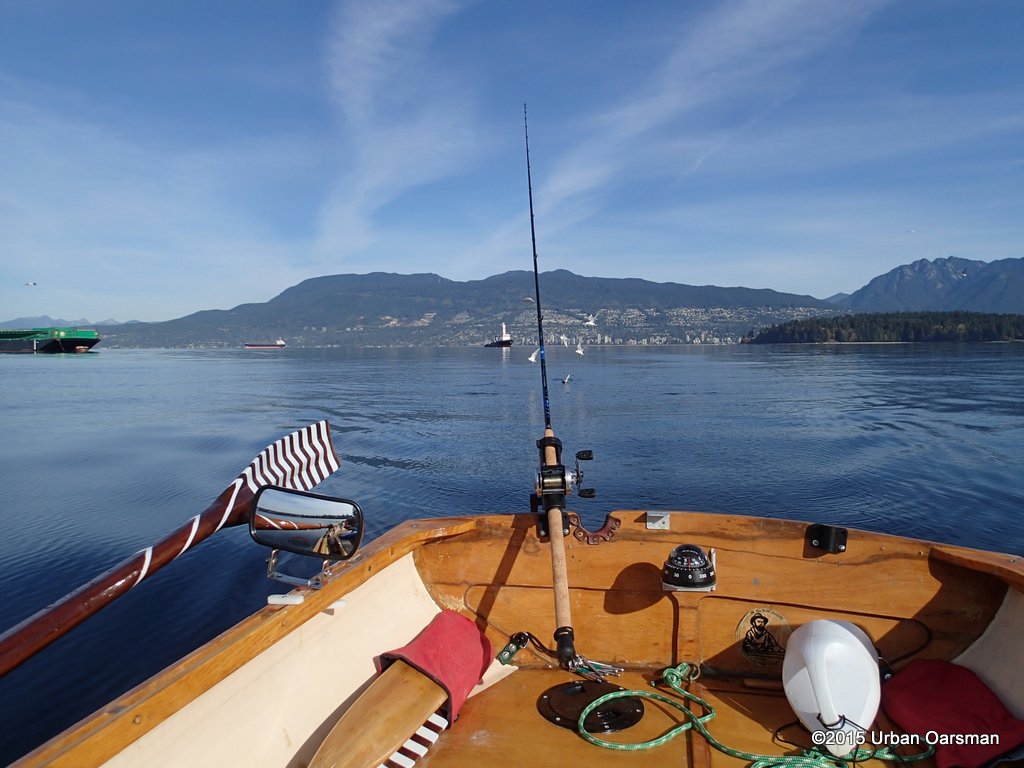
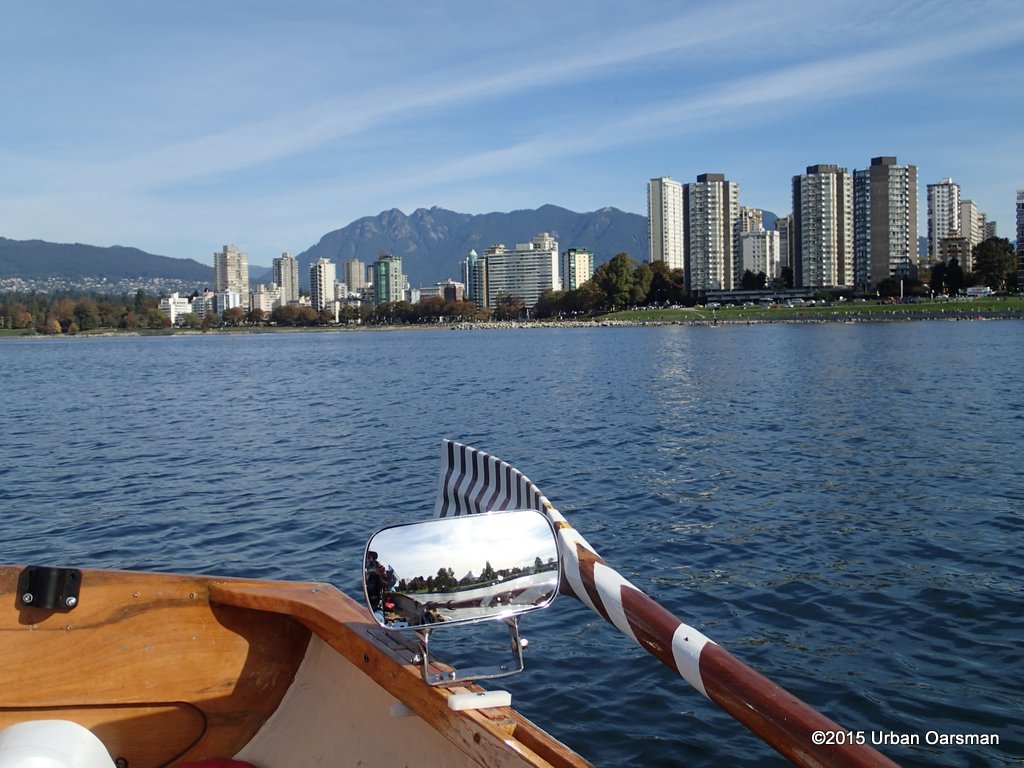
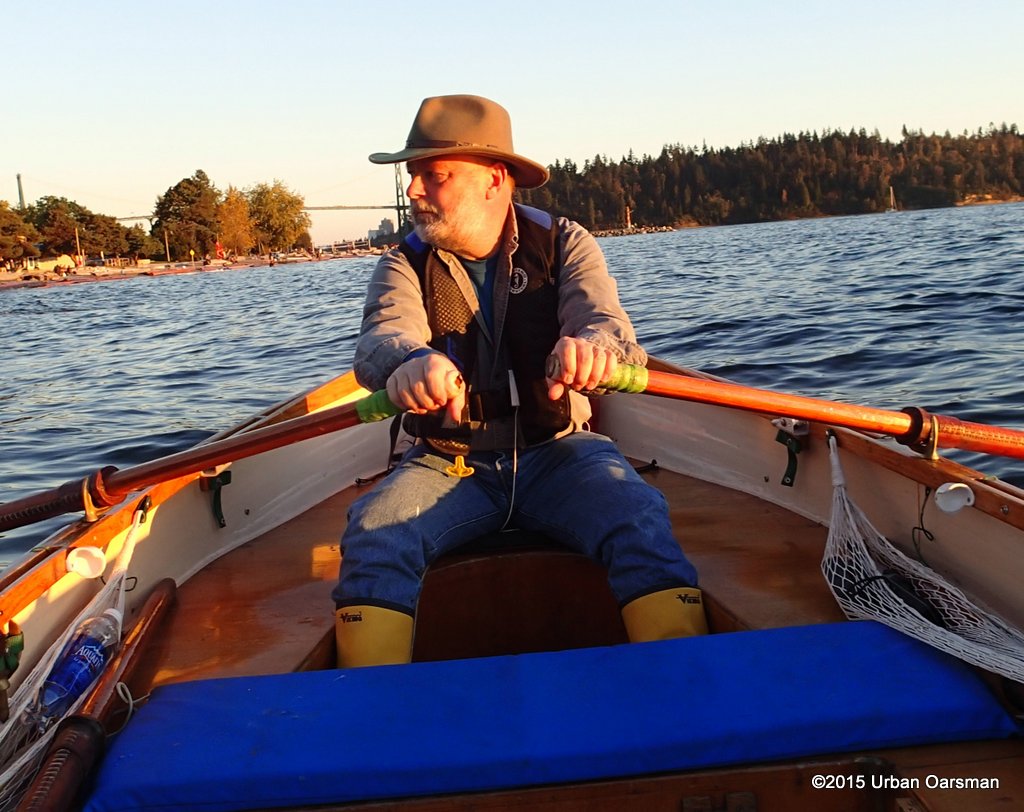
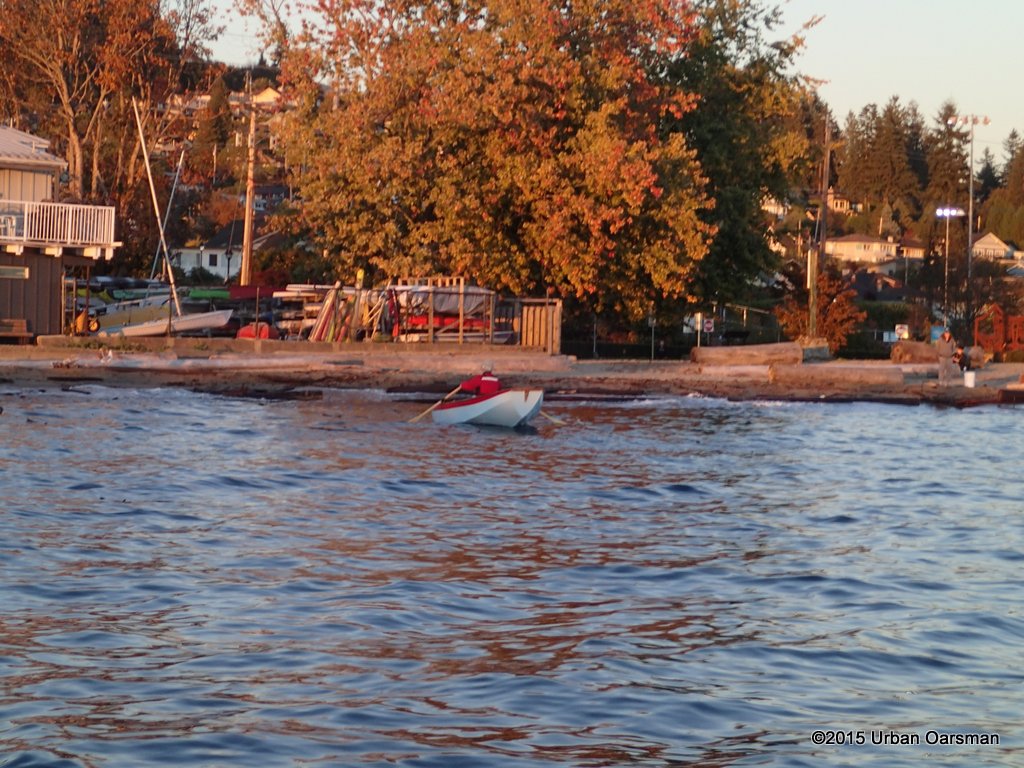
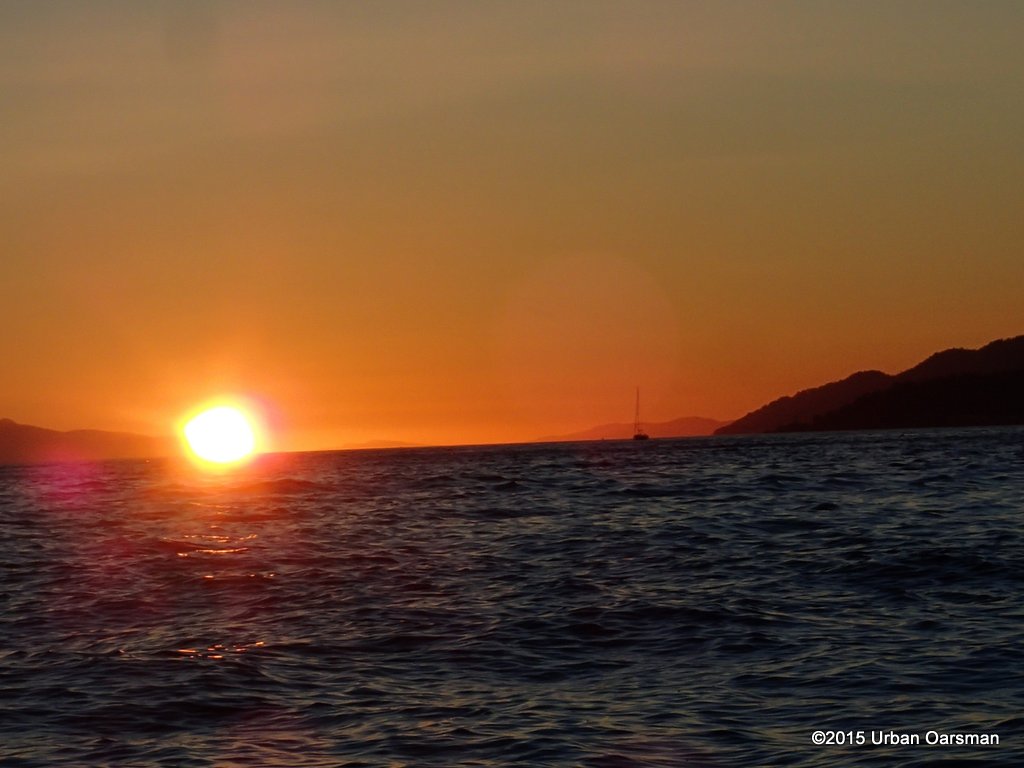
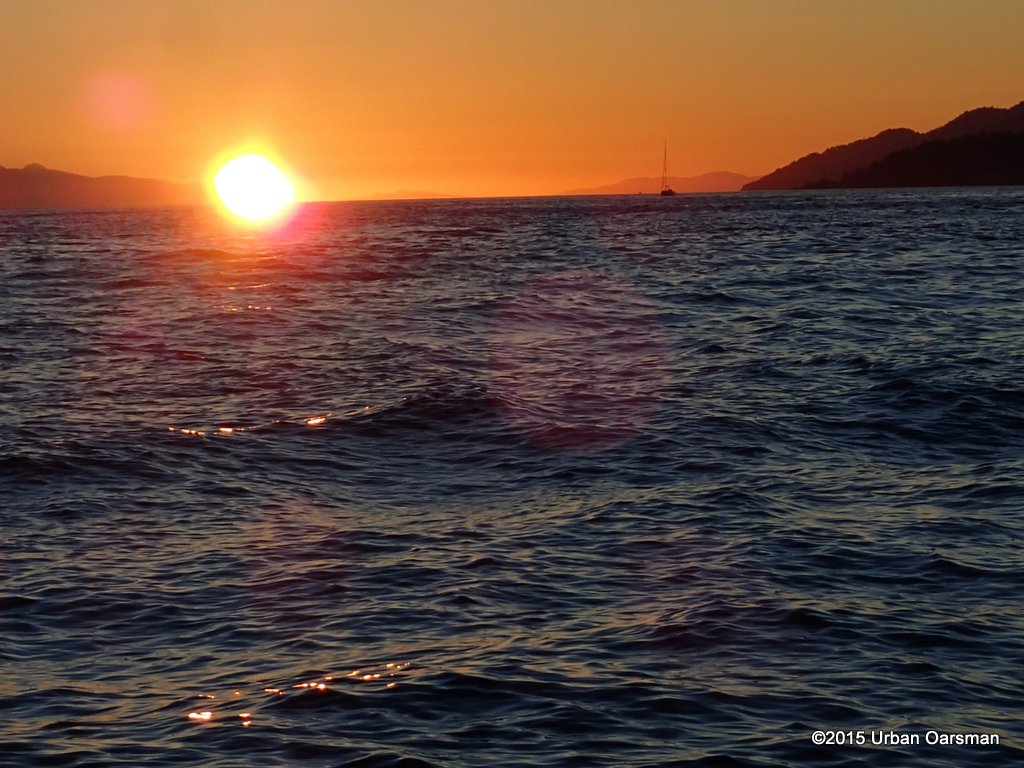
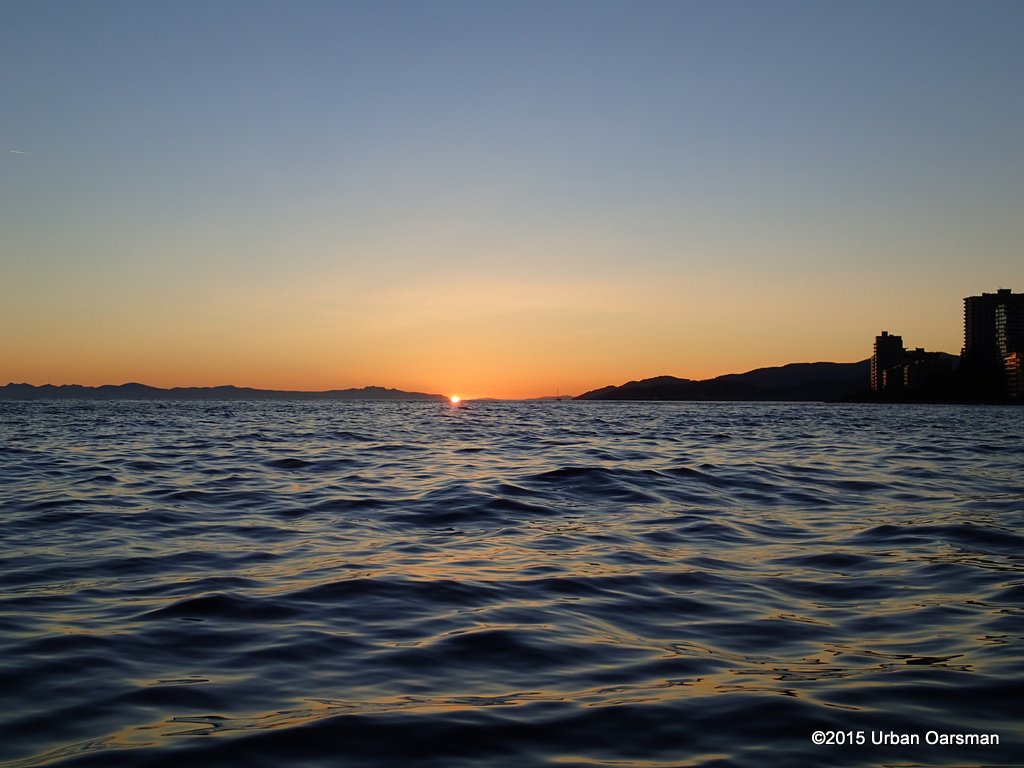
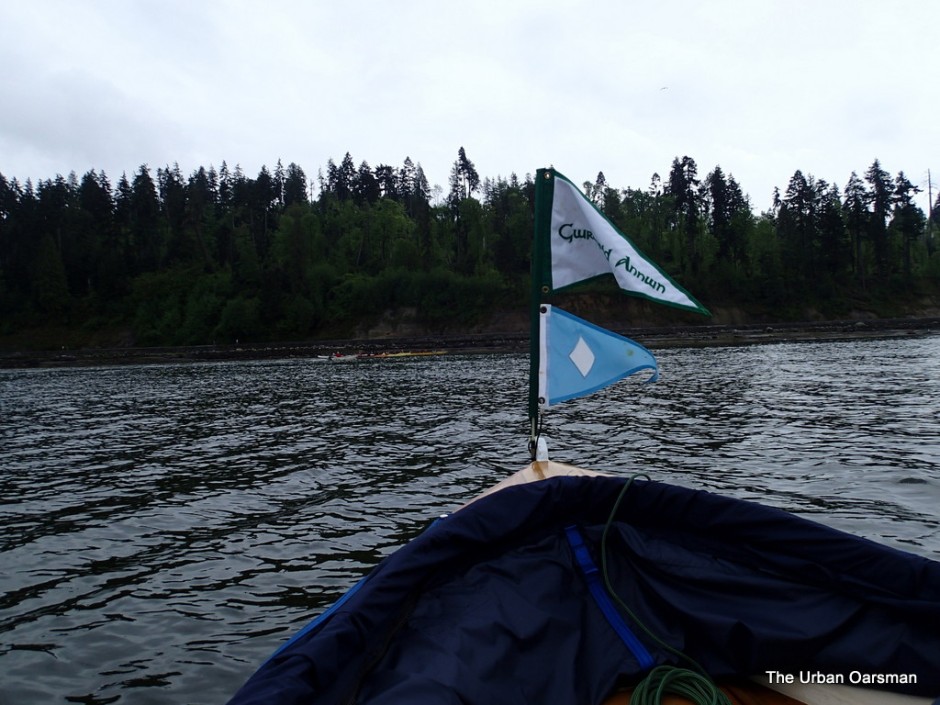 Rowing towards Stanley Park.
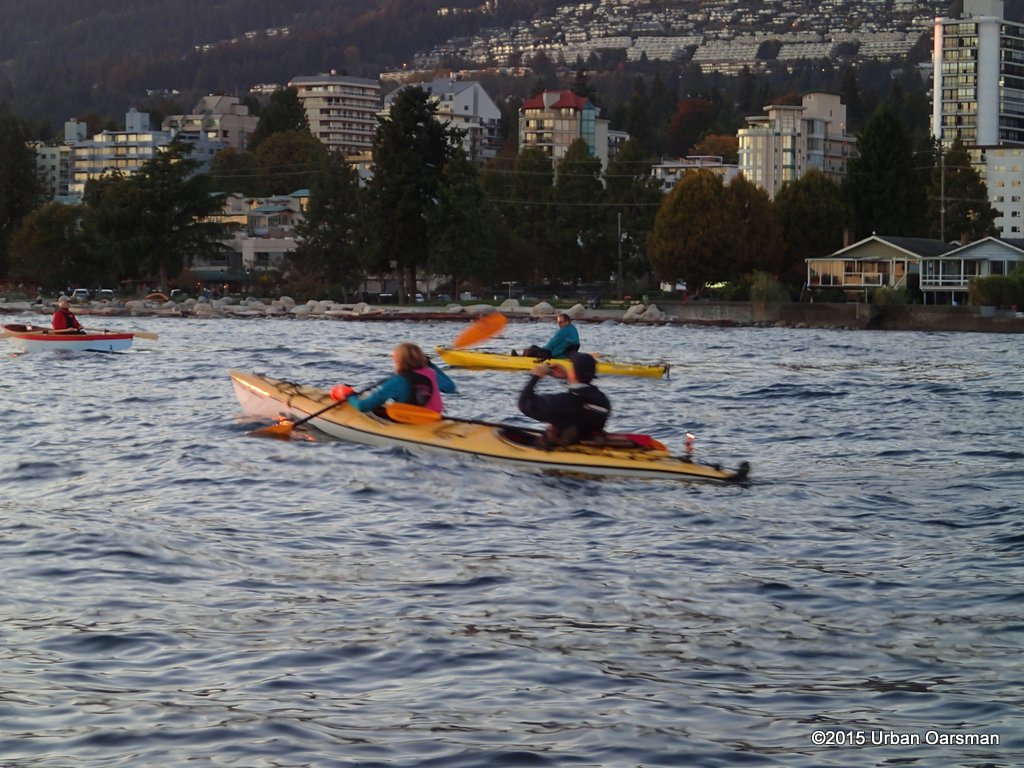
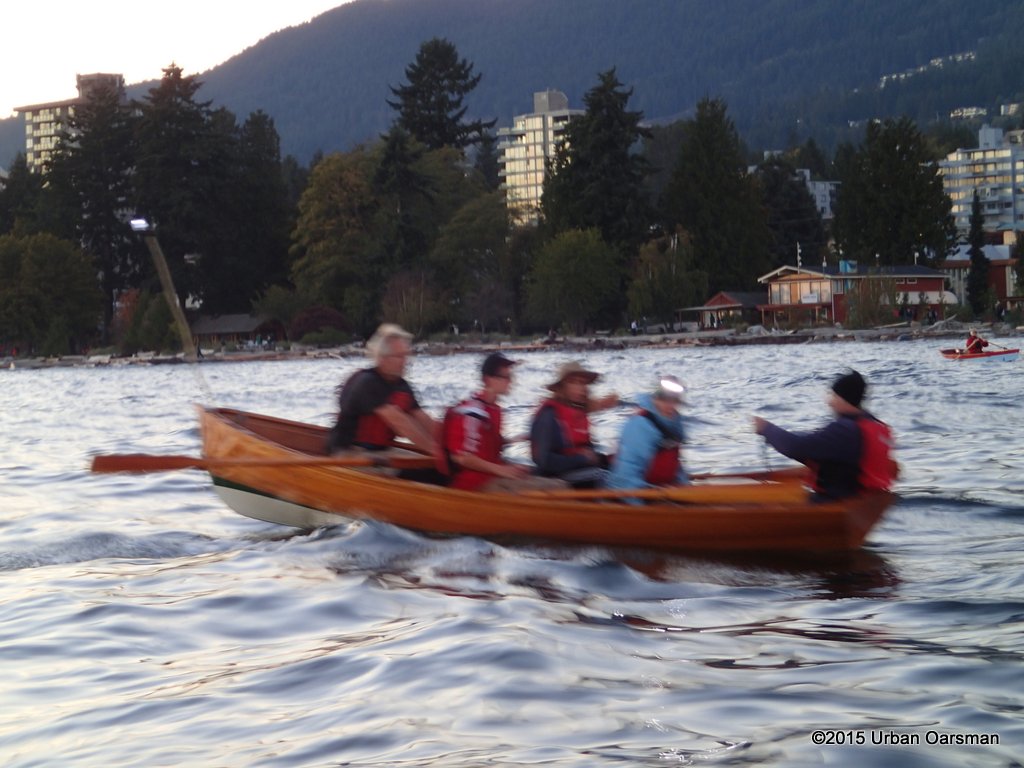
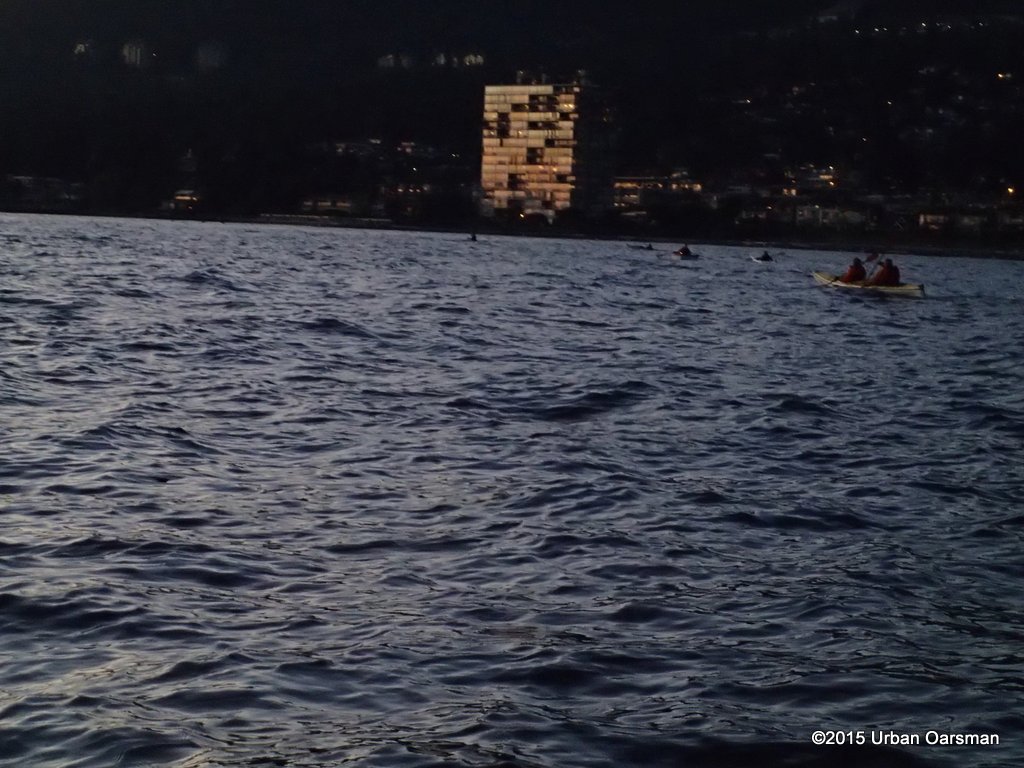
 Outrigger Canoes & safety boat practice along the shore.
 Fireboat #1 races into Burrard Inlet.
 Sentinal Hill in West Vancouver is in the background. Sentinal Hill is a small remnant of an andestite stll. It was formed during a period of Cascade volcanism that took place between 31 and 34 million years ago. The intrusion “Cooked” the sandstone making it harder and more resistant to Glaciation. Between the “Cooked” sandstone and the basaltic sill, the glaciers did not erode the hill flat.
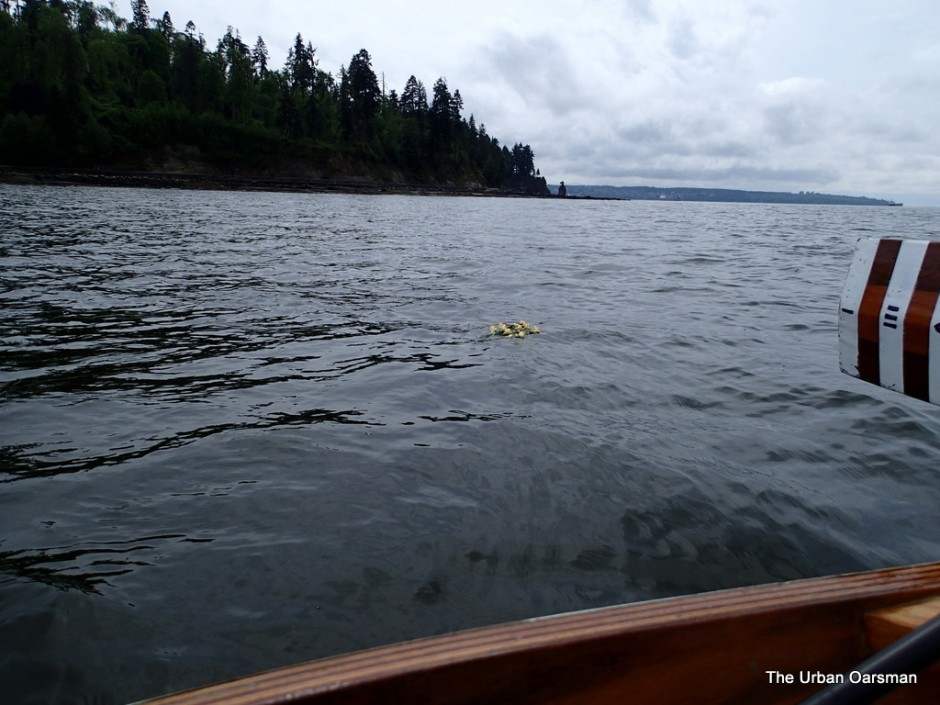 A boquet of yellow carnations drifts out with the tide.
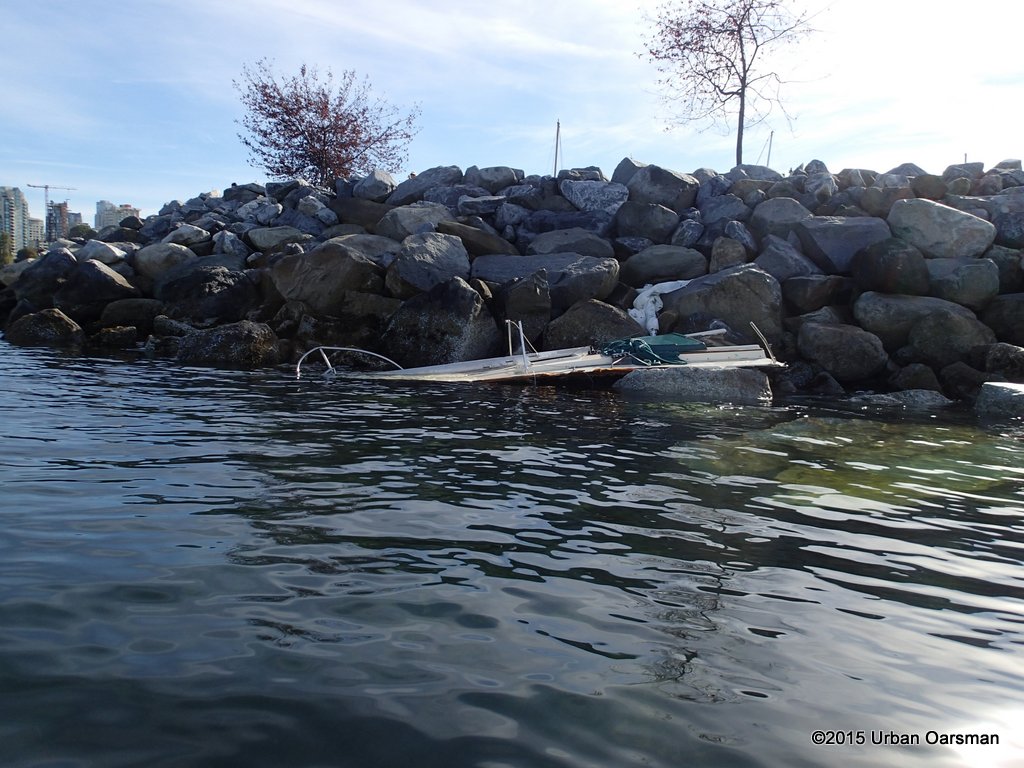
 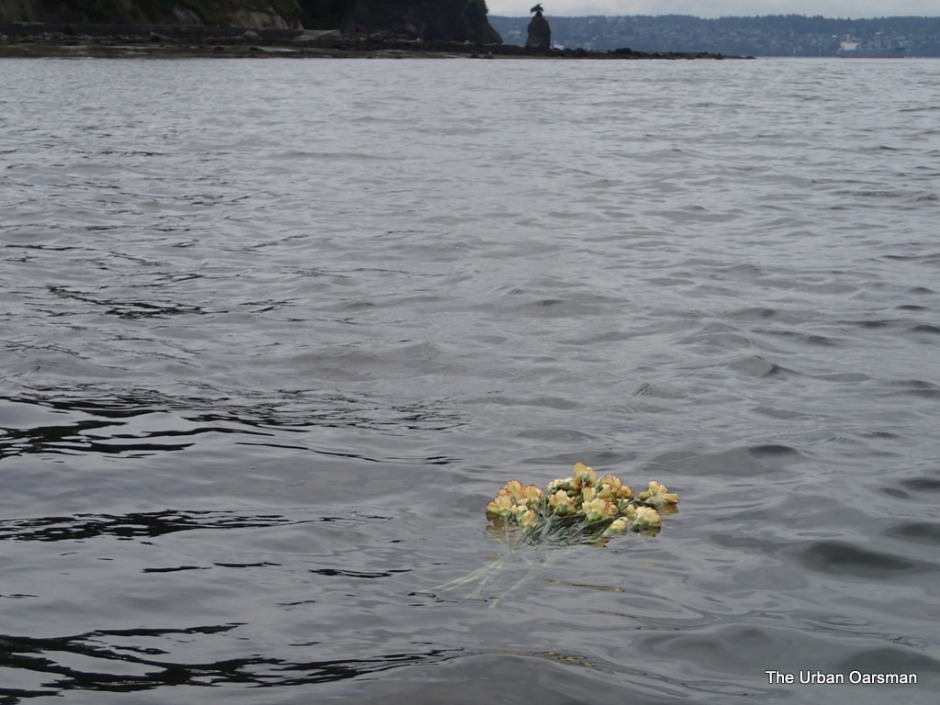 Probably a story behind these.
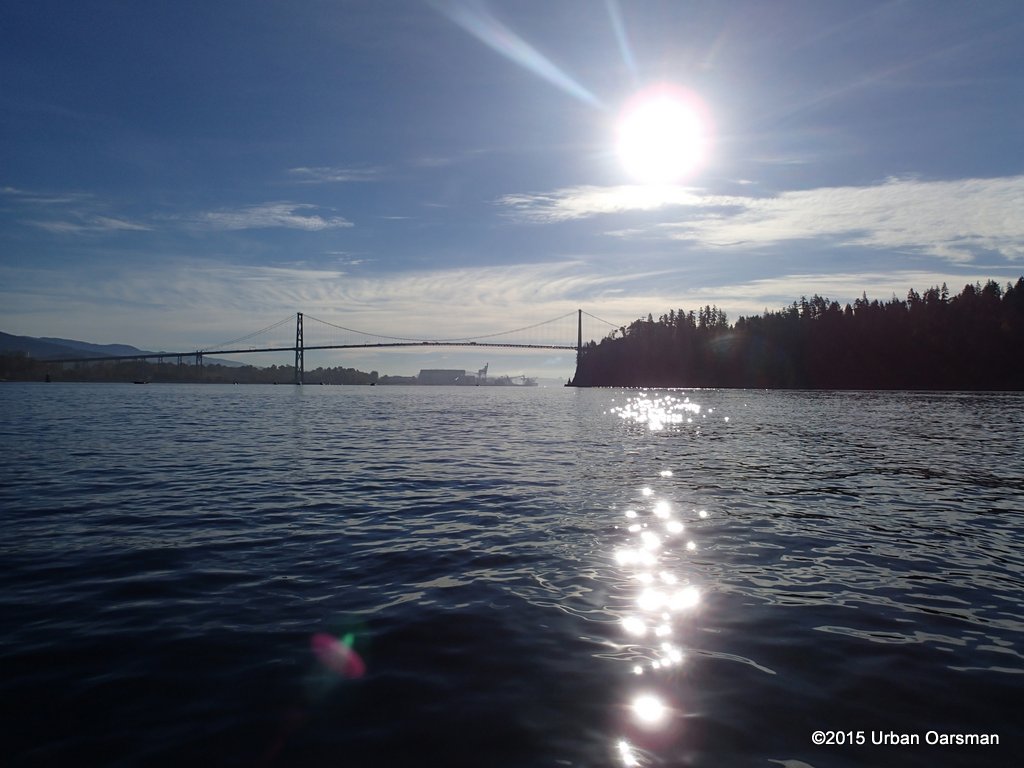
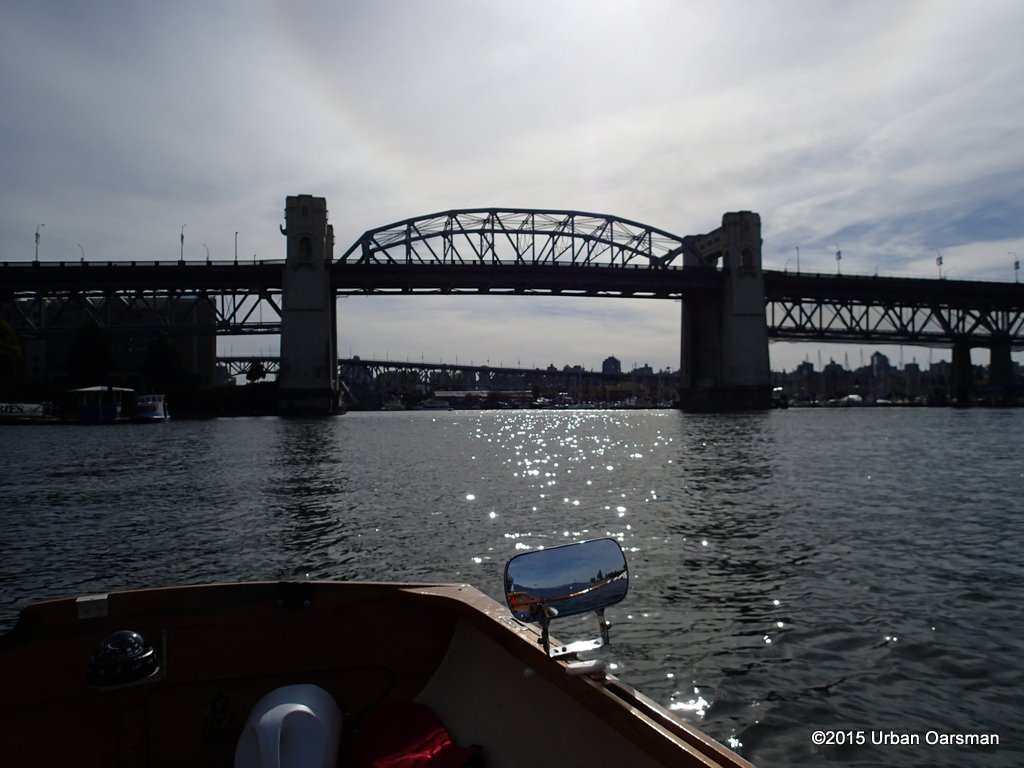
 The Tymac crew boat rushes under the bridge.
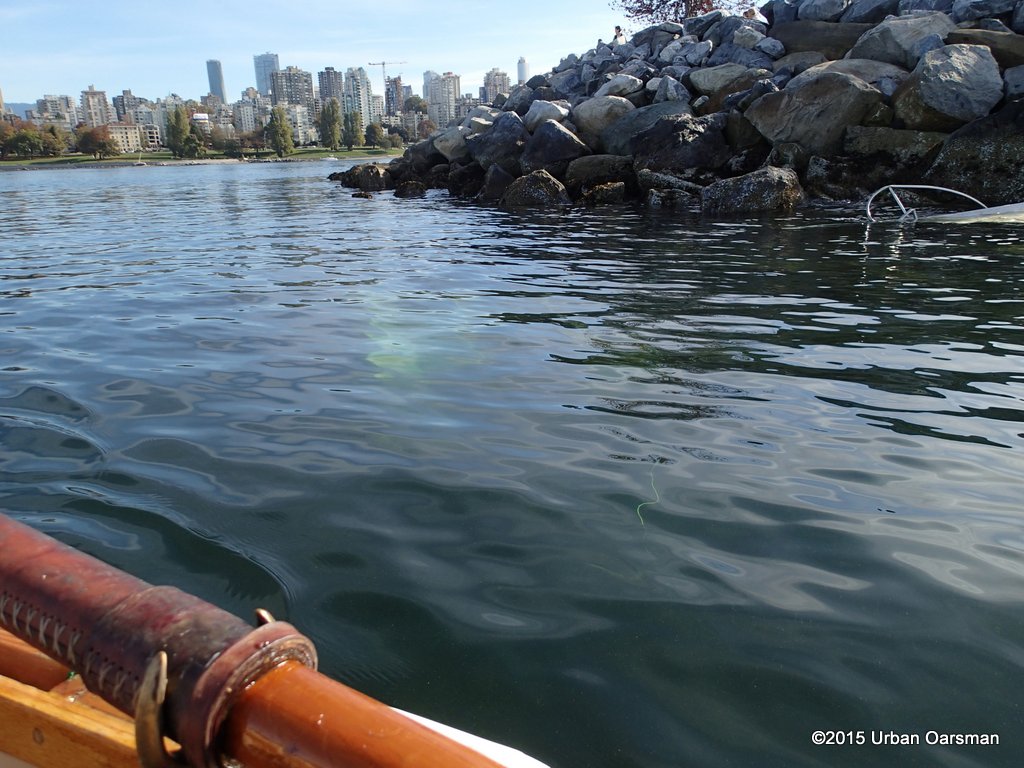
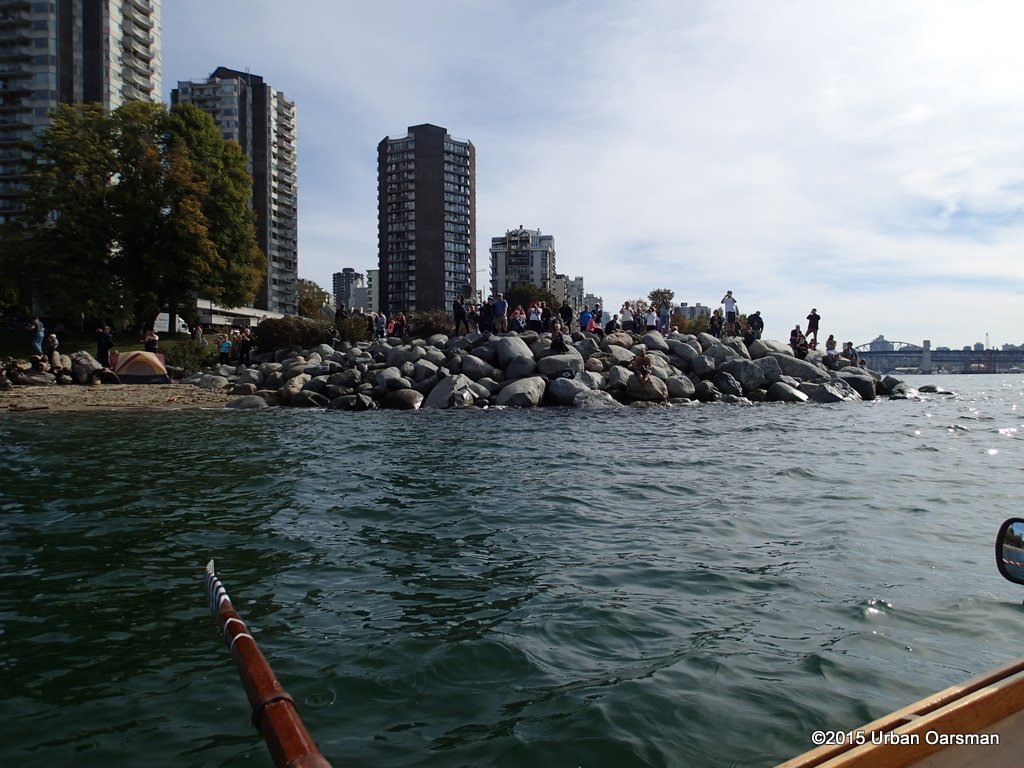
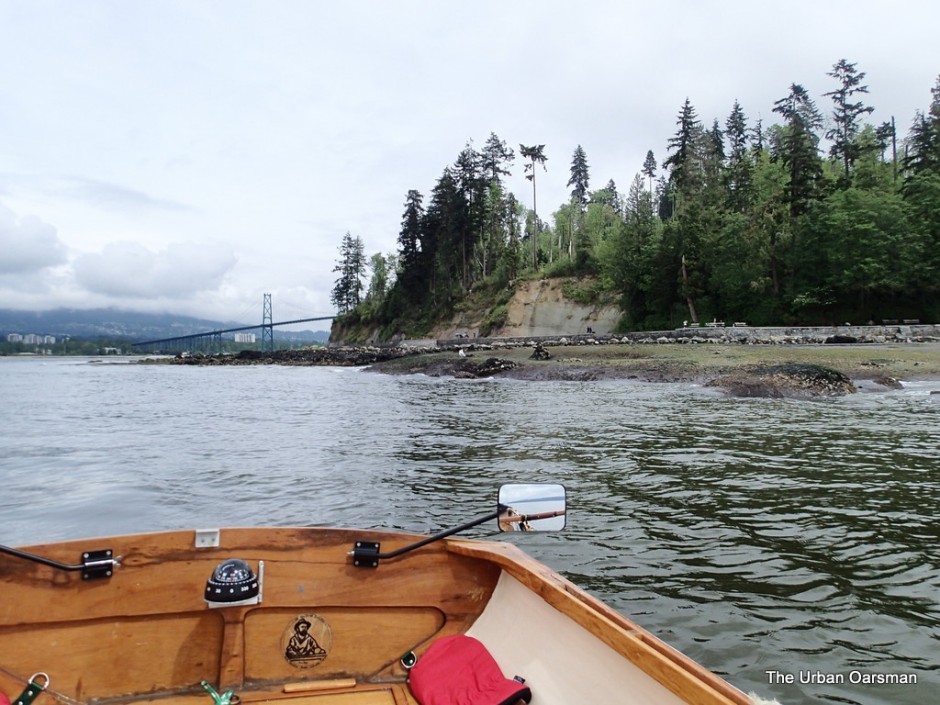 The tide is pretty low and you can see the boulder field lying on top of the Sandstone underlying much of Stanley Park.
 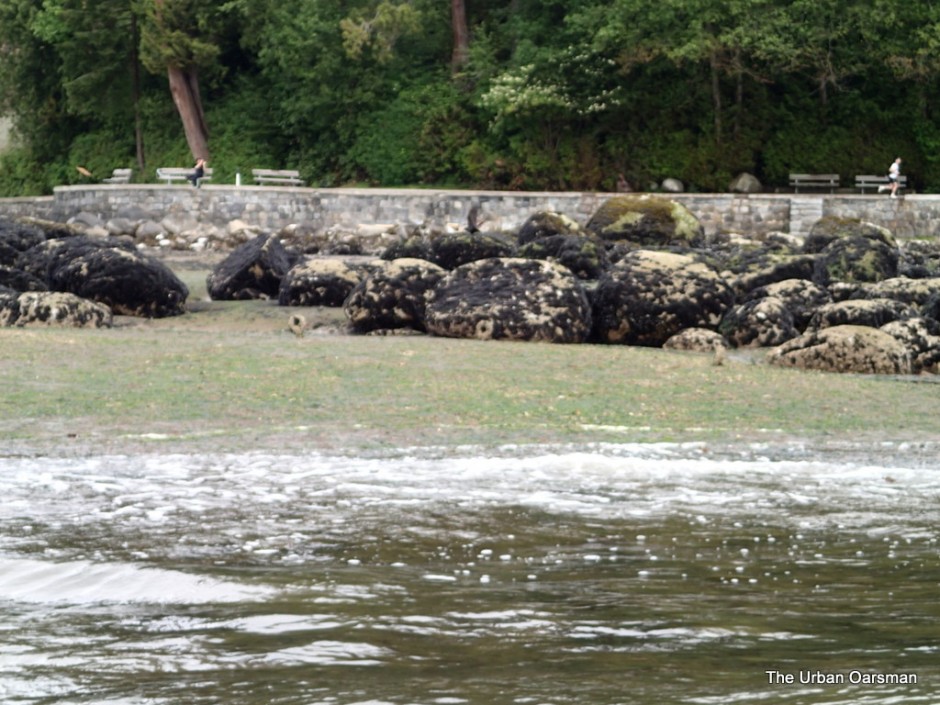 The boulders are the remains of glacial till that laid atop the Sandstone. Wave action eroded the sandstone out from underneath the glacial till, leaving the more erosion resistant boulders behind.
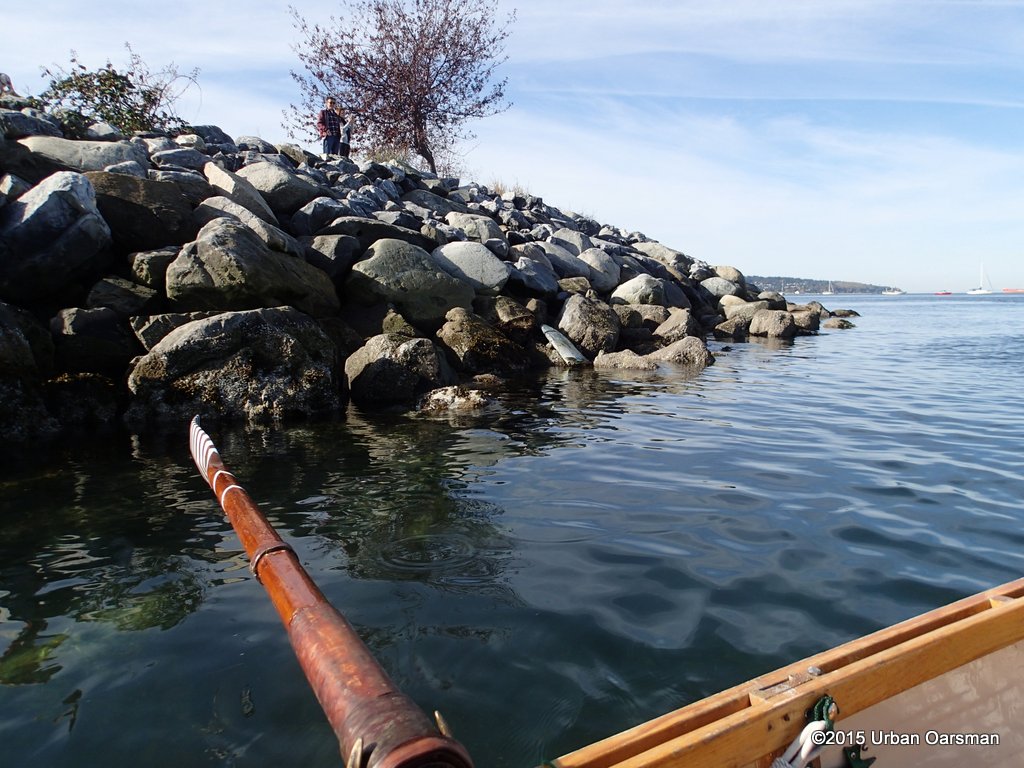
  There are some very large iron eyebolts placed into the sandstone.
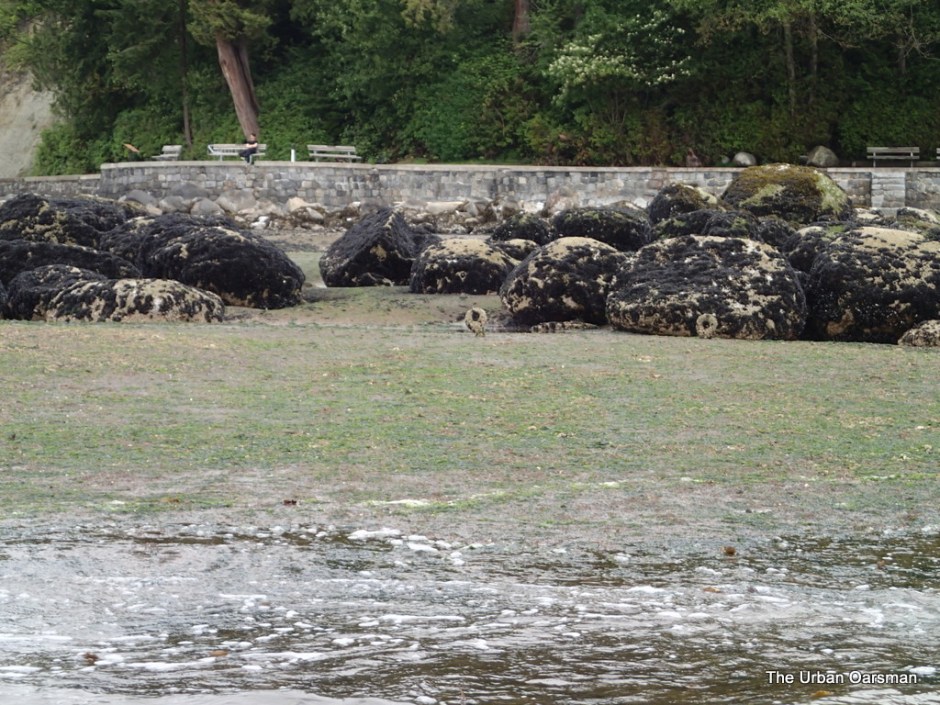 When my boys were younger, I used to tell them that tugs tied their towropes to them to tow Stanley Park into place, opening a small inlet wider to form Coal Harbour and widening First Narrows to let ships in. That is why Lions Gate Bridge was built, because you could no longer just drive across Burrard Inlet at that spot.
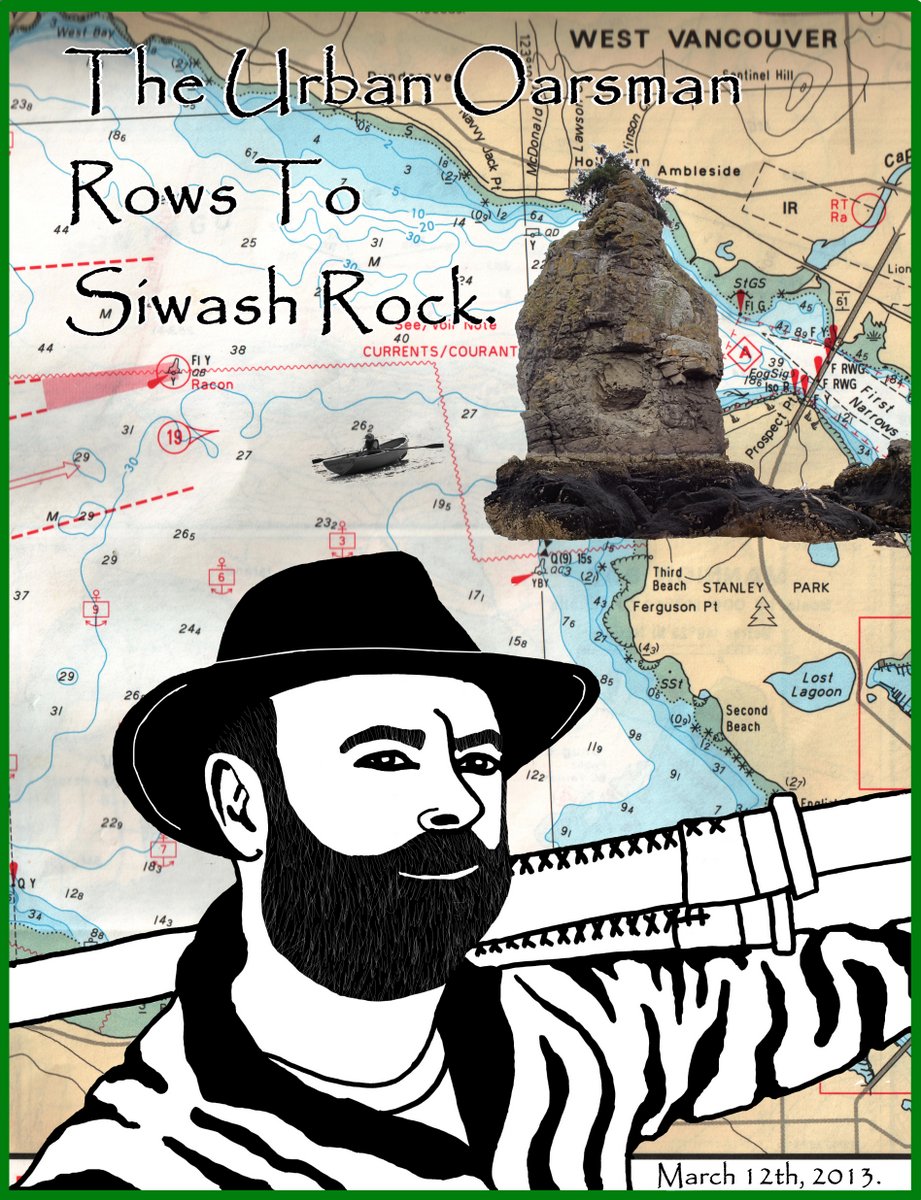
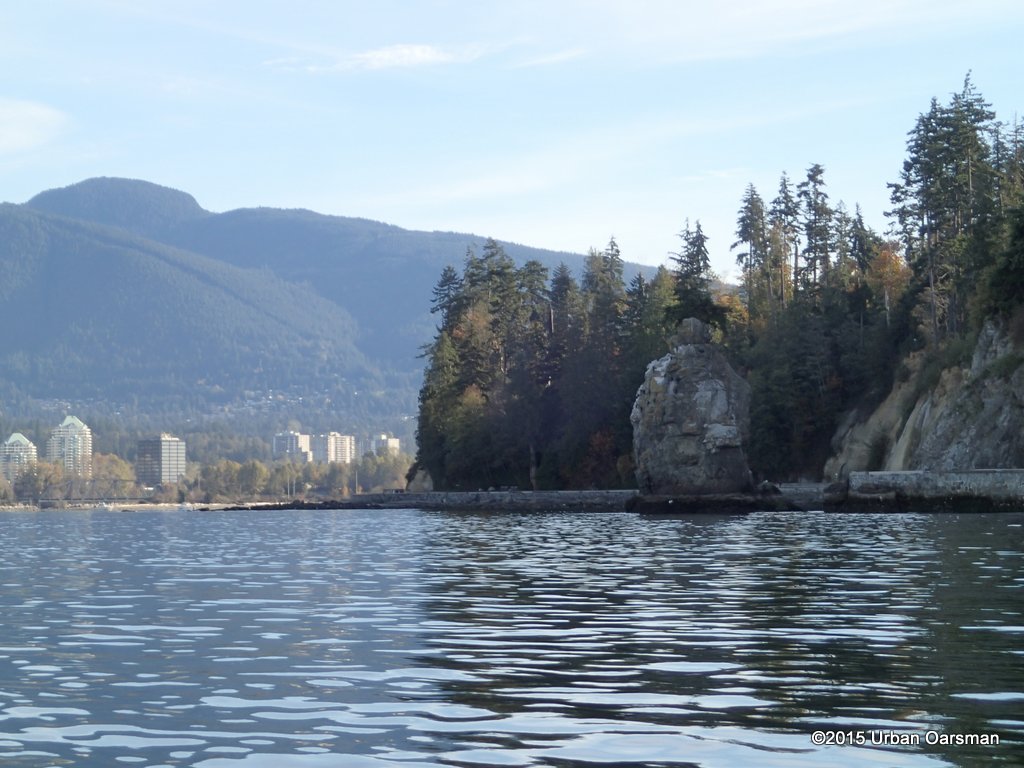
 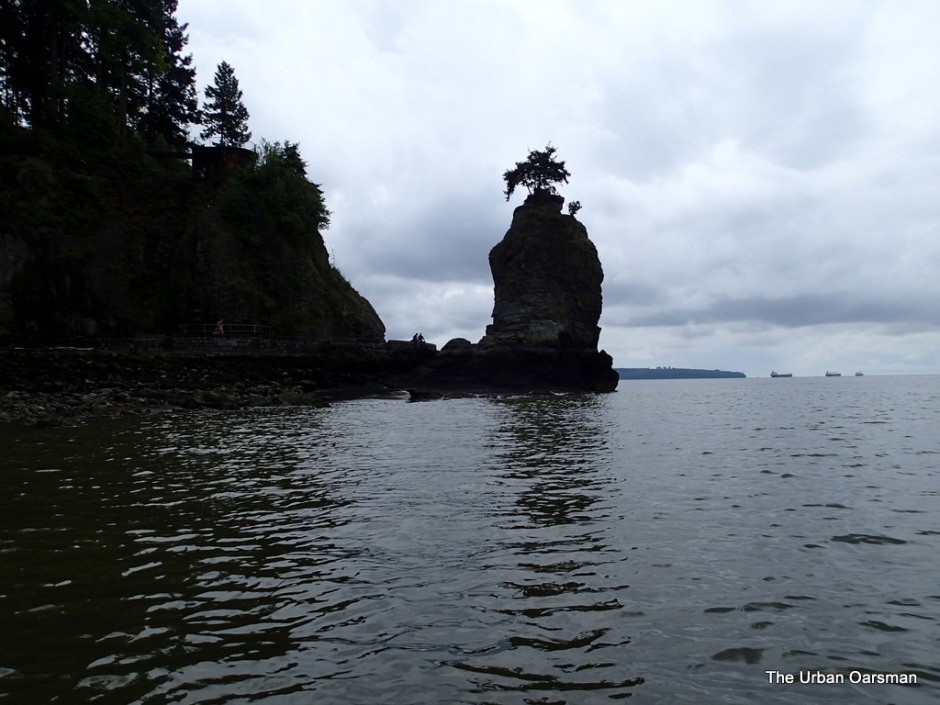 Siwash Rock is the remains of a volcanic “dyke” or “dike”. The volcanic intrusion “Baked” or “Cooked” the sandstone, making it more resistant to erosion.
  Hard basalt at Siwash Rock has resisted erosion better than adjacent sandstone.
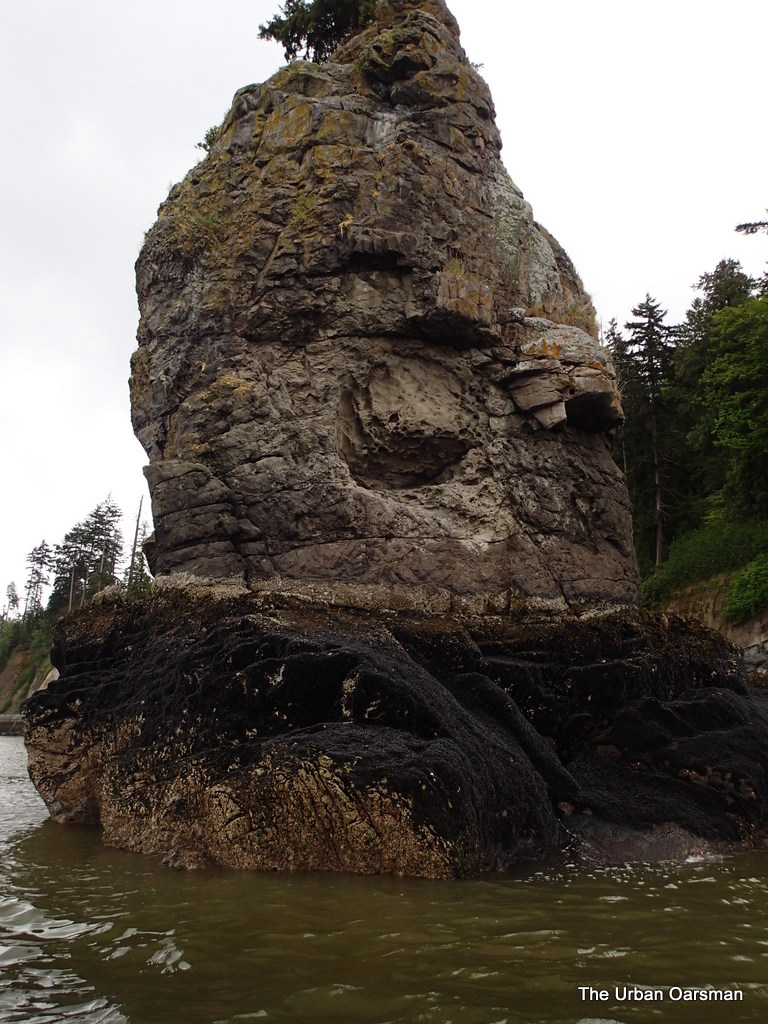 The “Cooked” or “Baked” sandstone aspect is more visible on the seaward side.
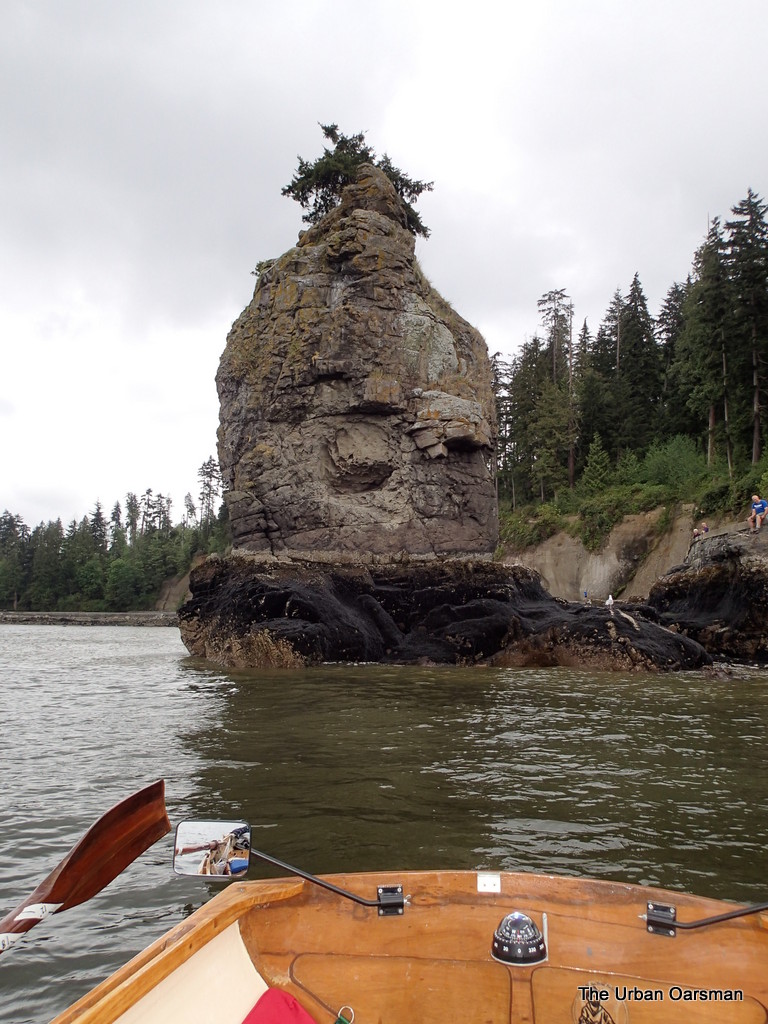 The tide is too low to row around Siwash Rock today.
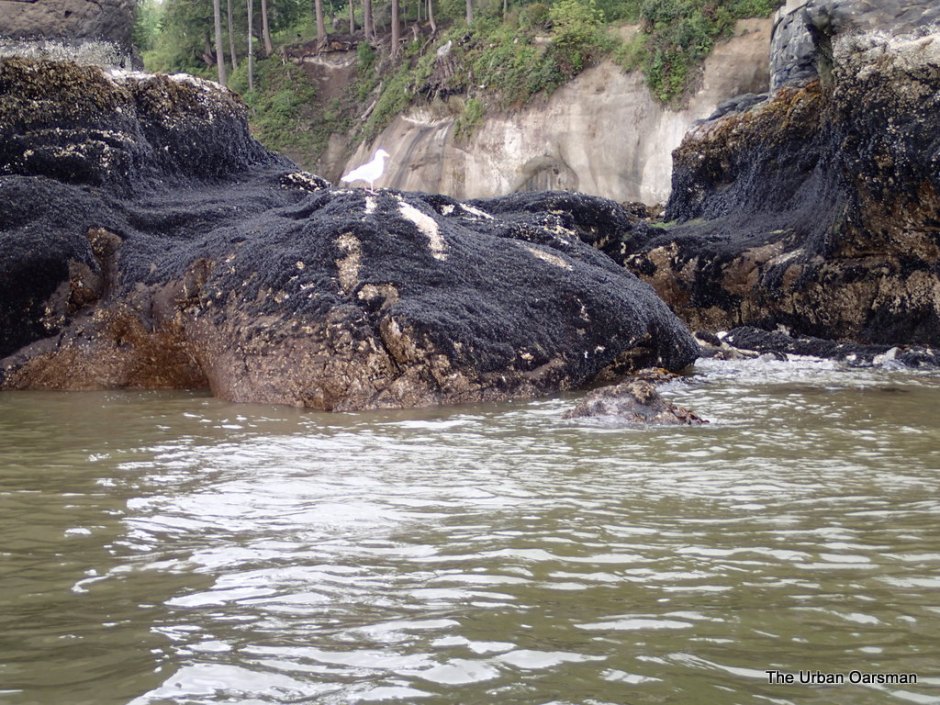 A good year for mussels.
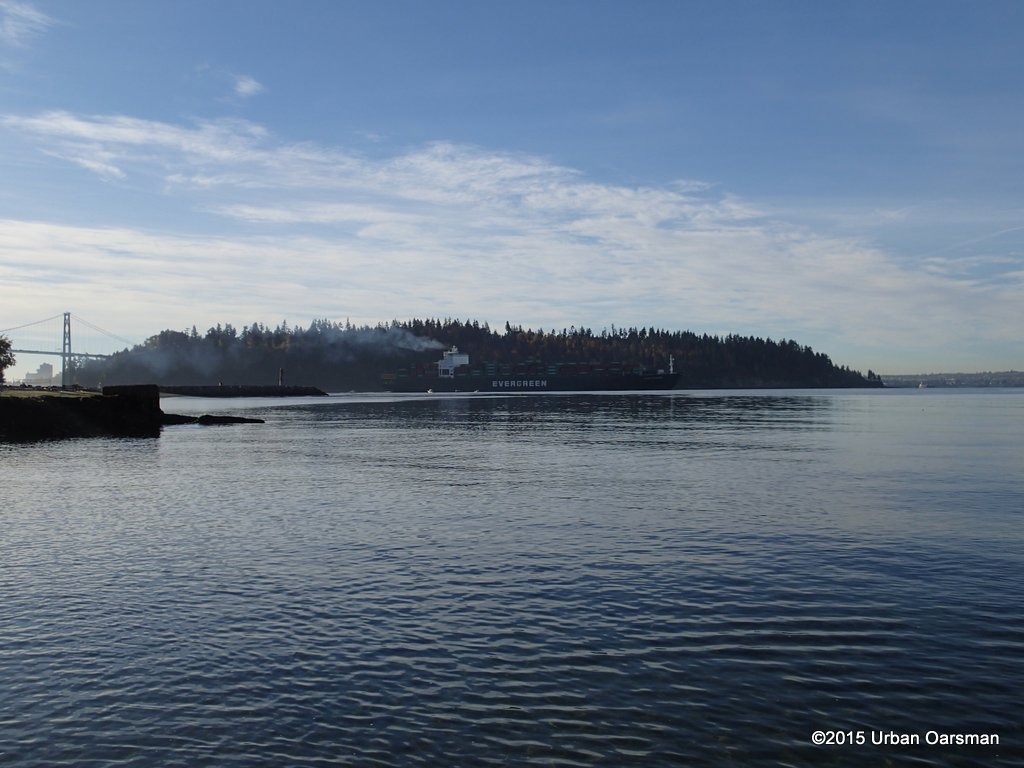
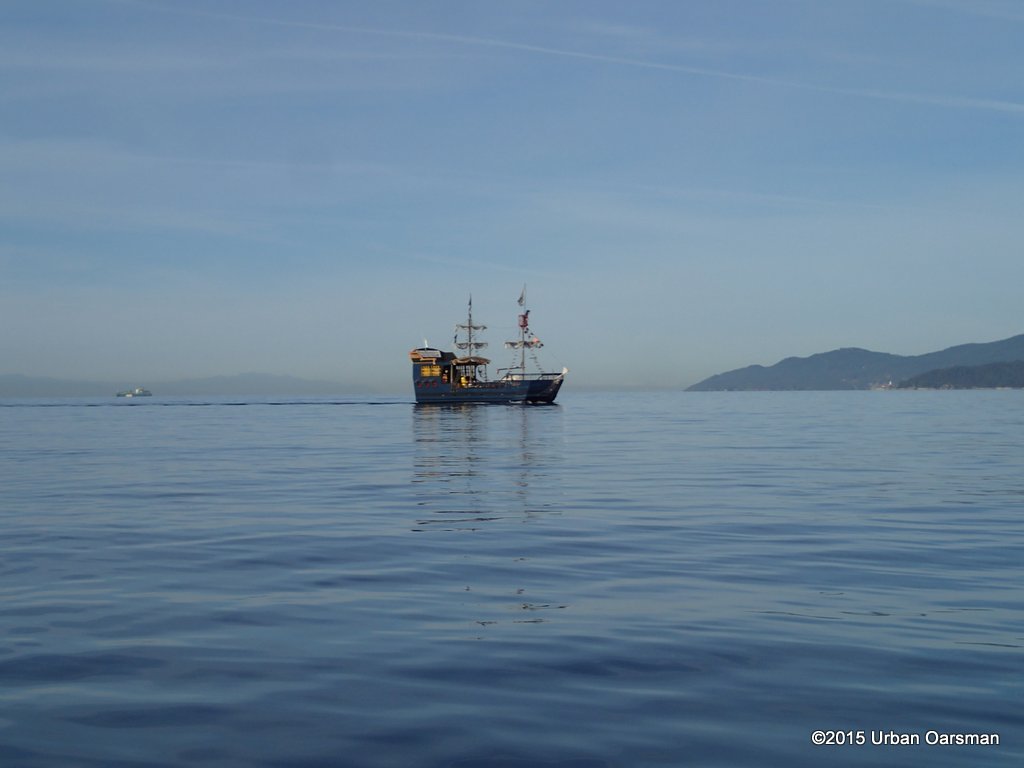
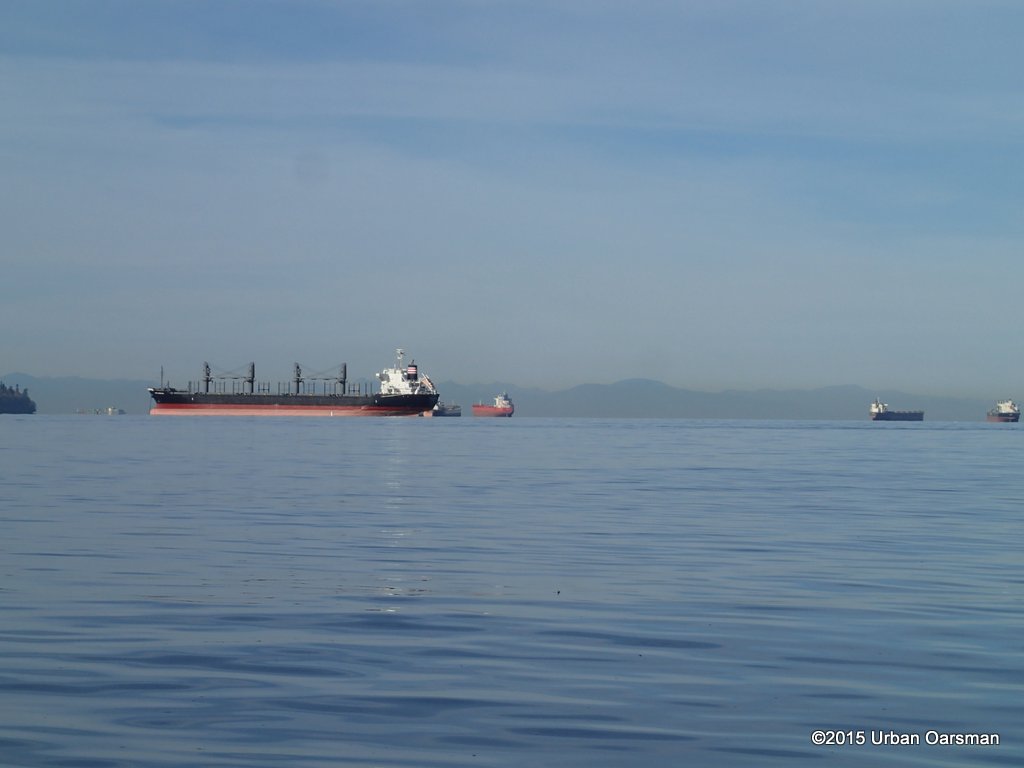
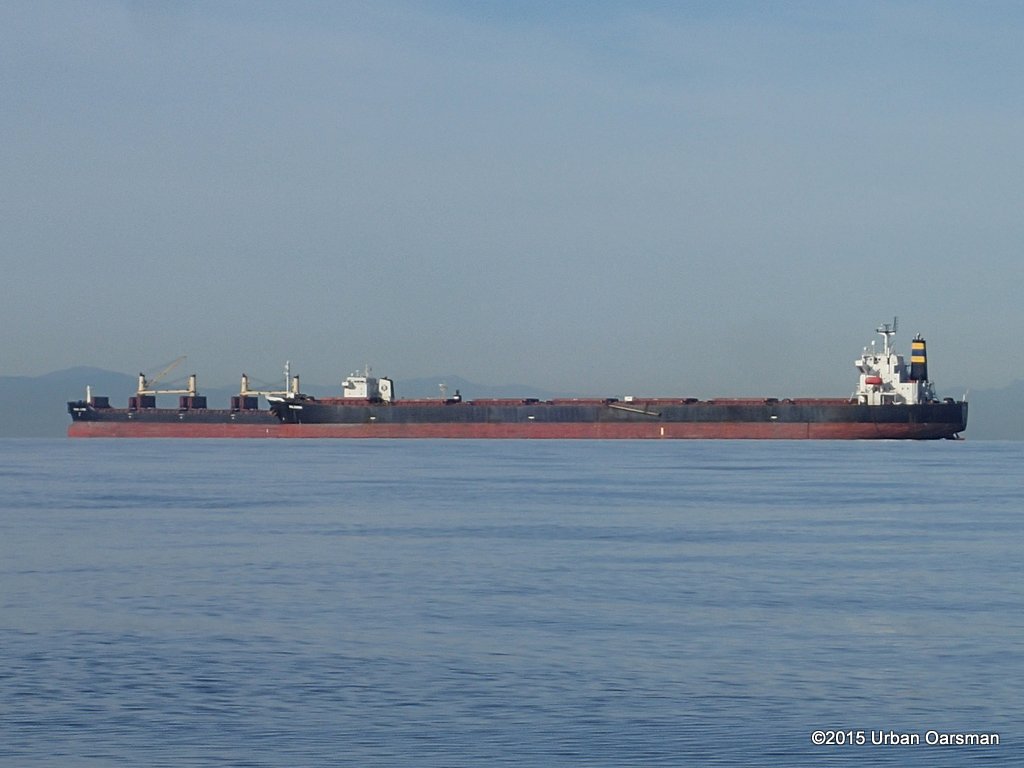
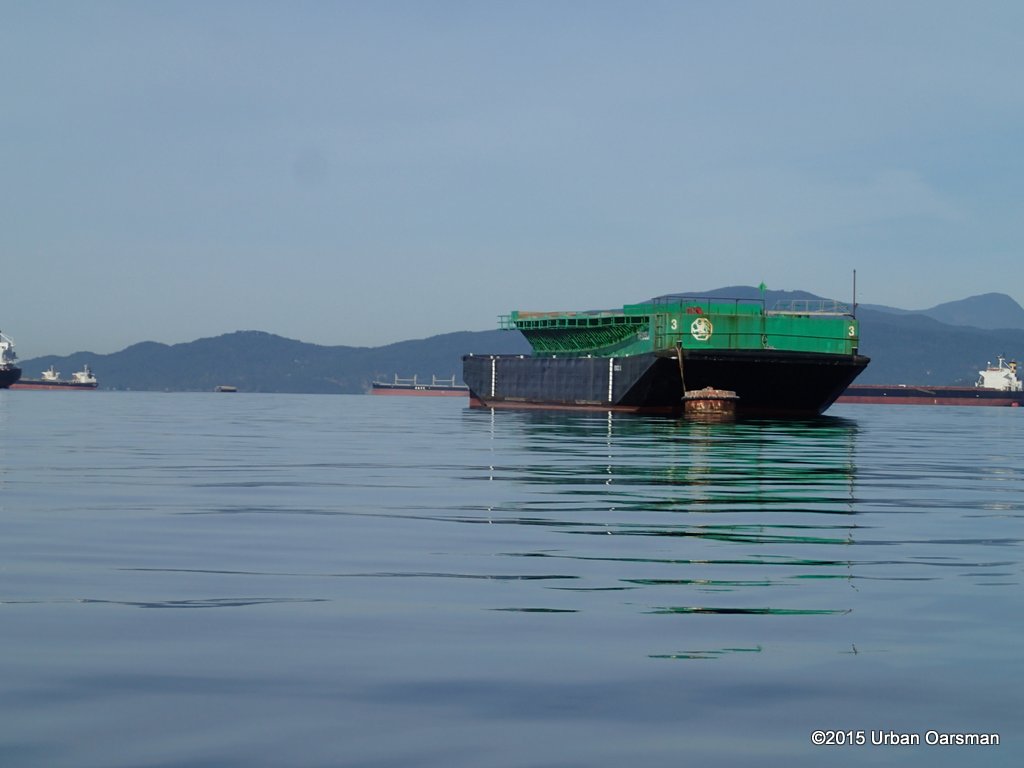
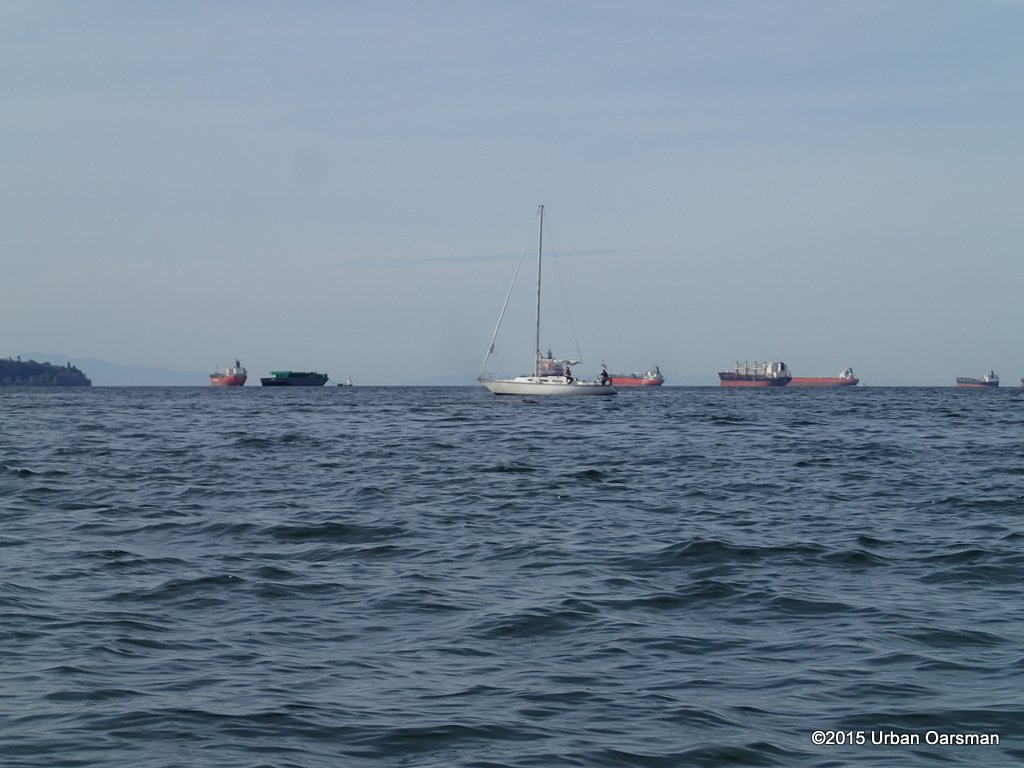
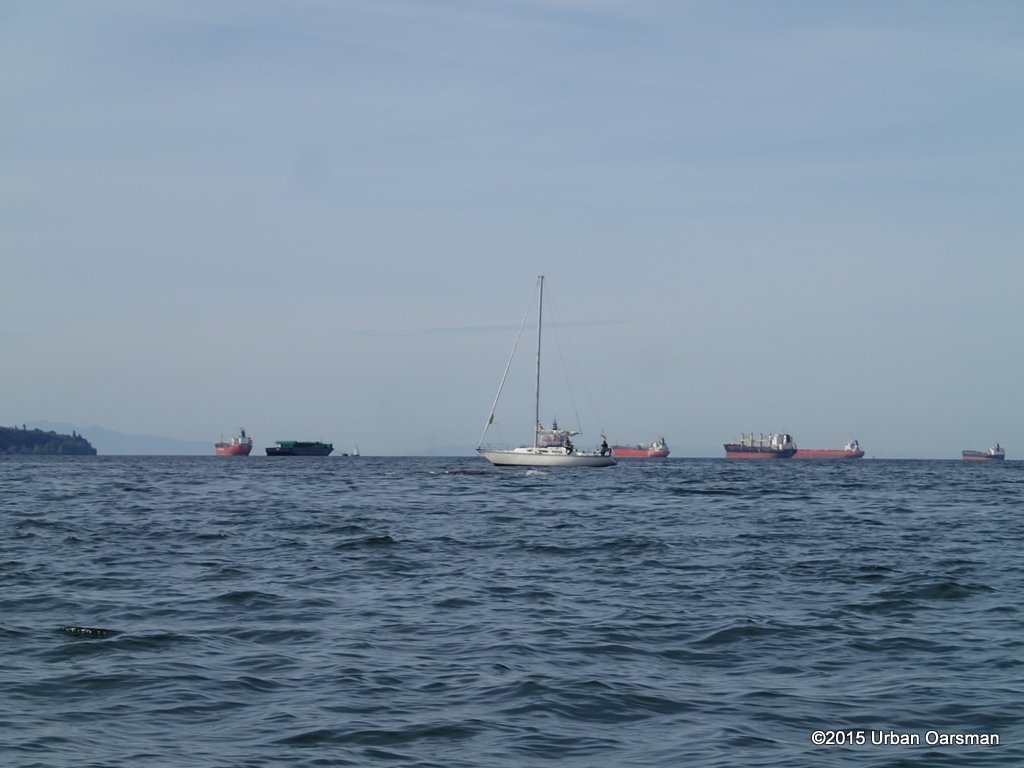
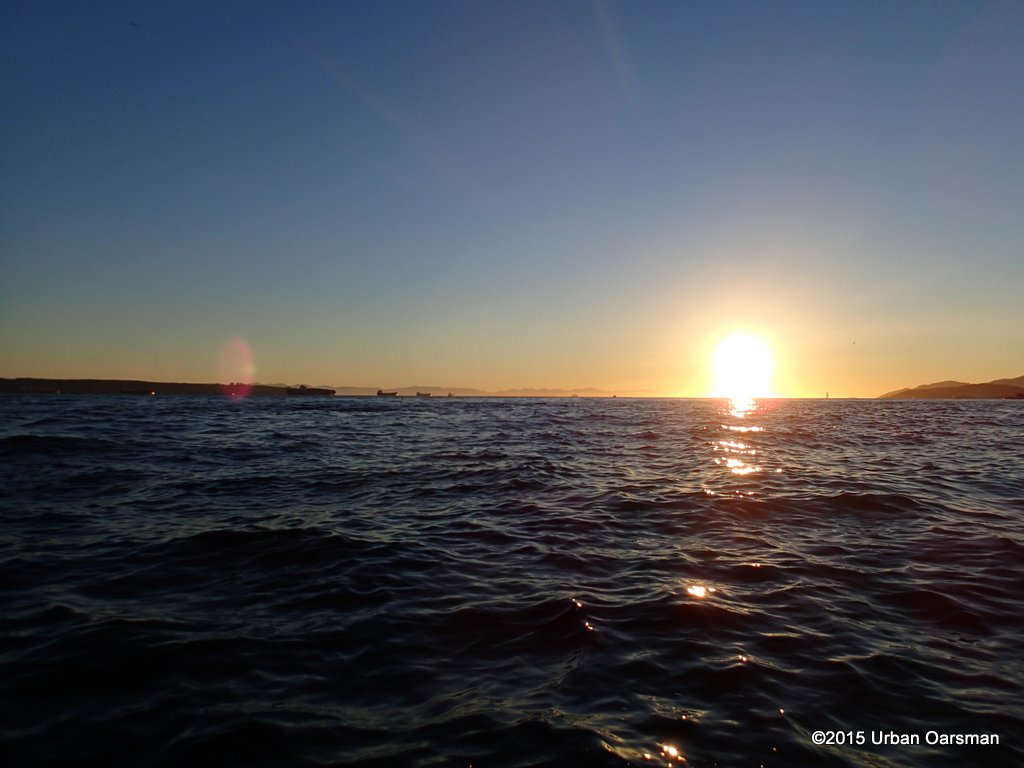
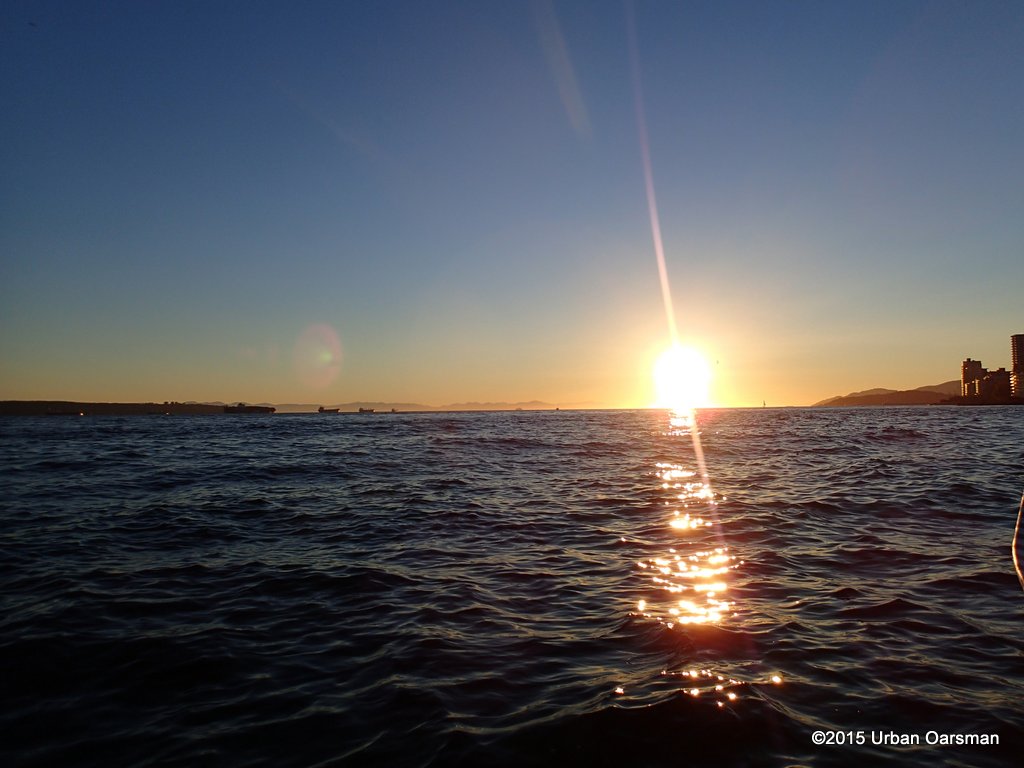
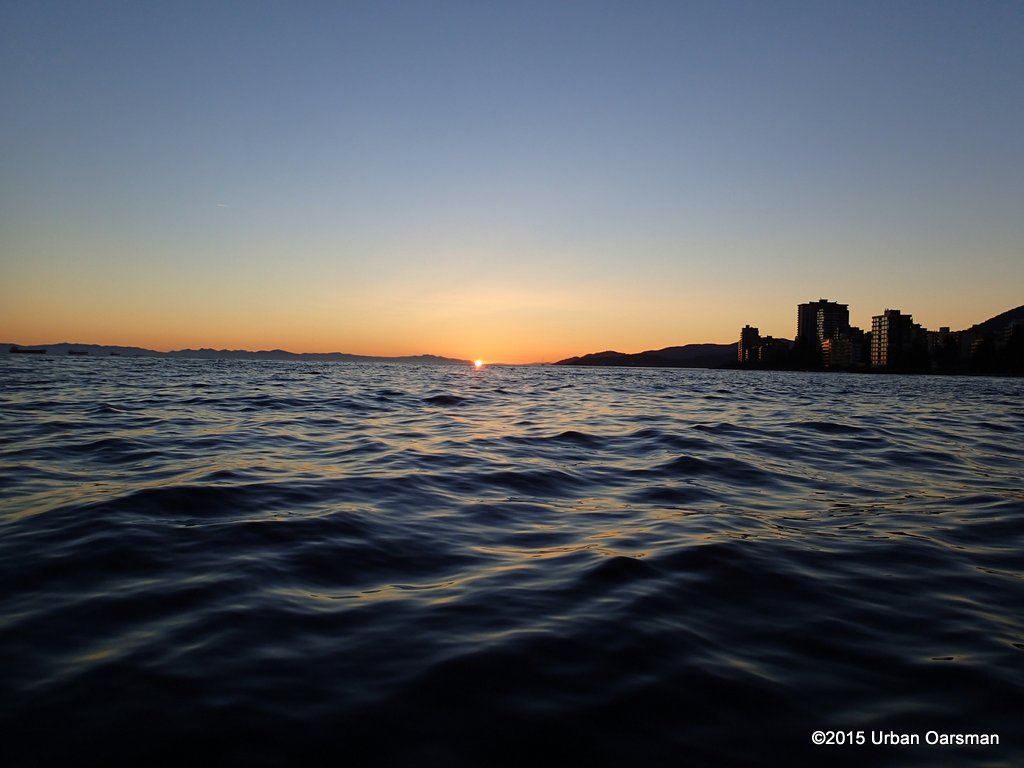
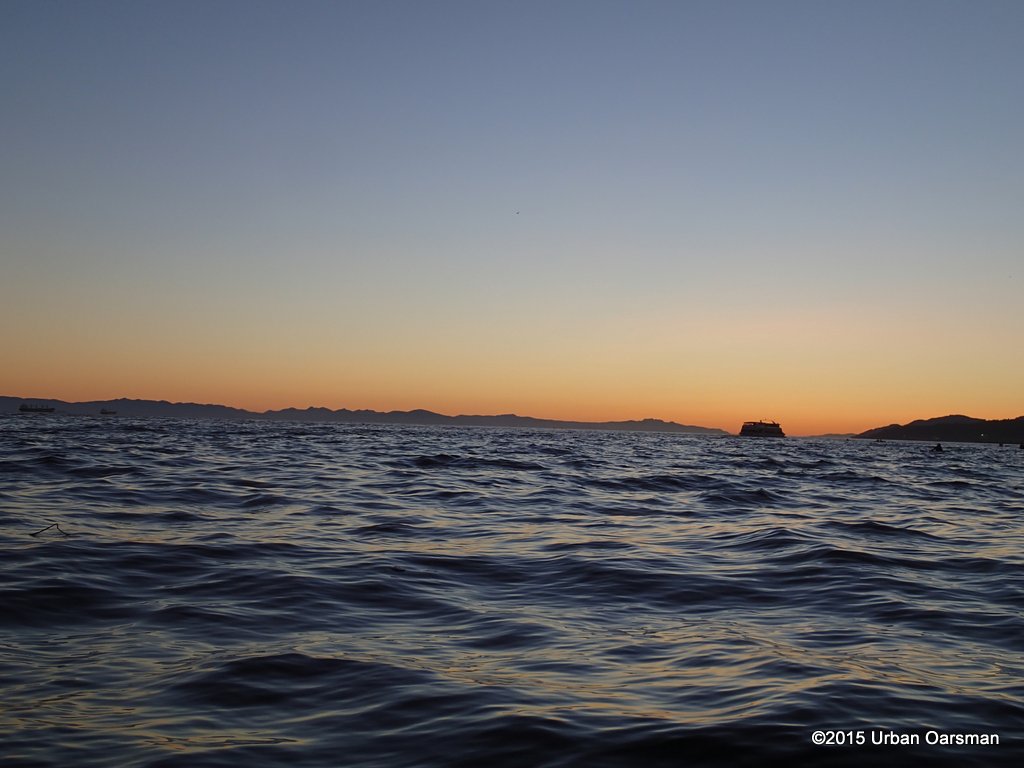
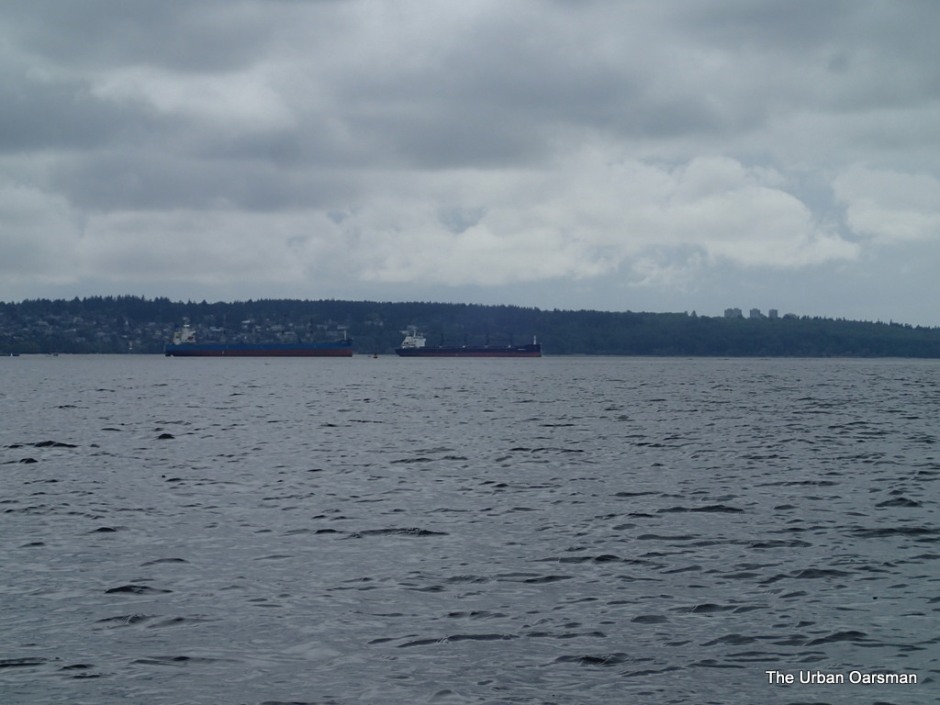 As usual, English Bay has a lot of Freighters moored.
  Usually a dozen or so south of the shipping channel and two or three on the West Vancovuer Side. I think that there are 18 designated anchorages in English Bay. Looks like one of them is going to enter Burrard Inlet.
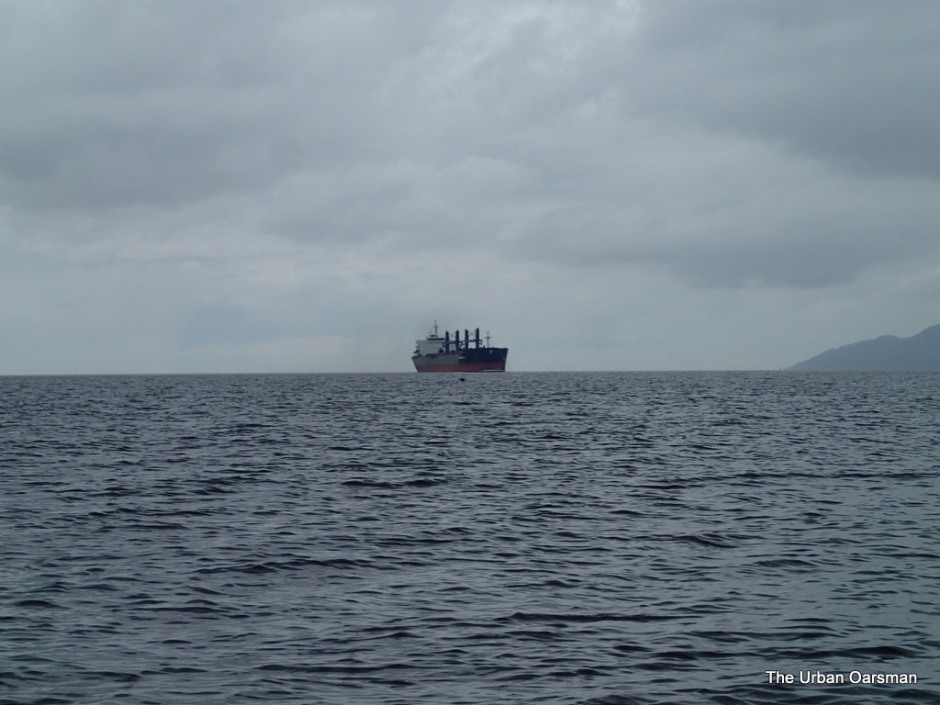 The Georgios P is going into the inner harbour. I hear her ETA at First Narrows listening to Vancouver Harbour Radio, channel 12.
 As she closes in, I can see her bow wave. She will be at the Bridge in less that 15 minutes.
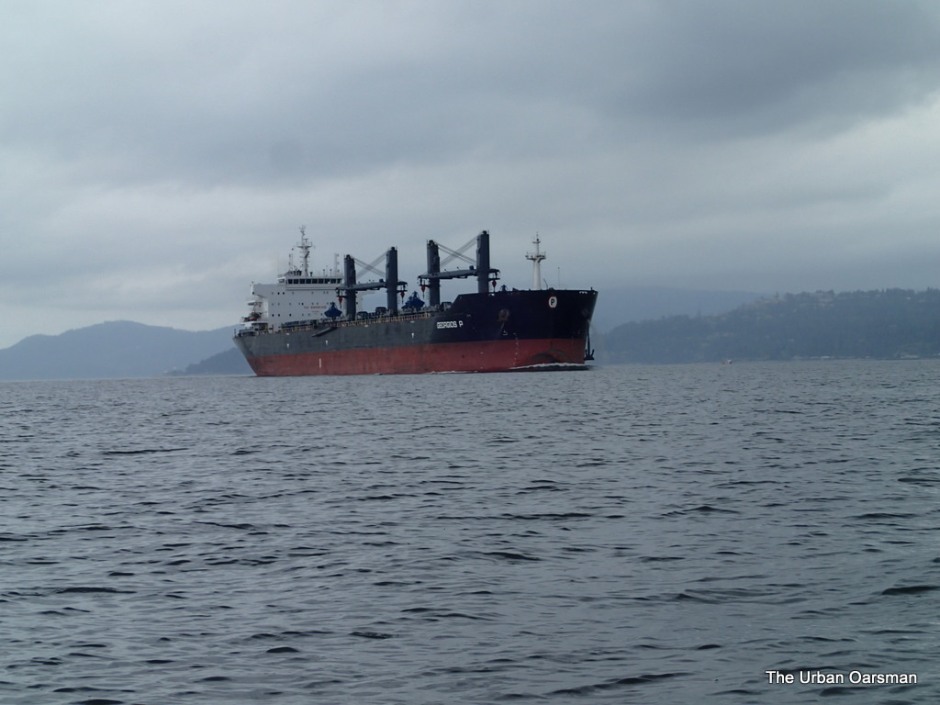 It takes me about 20 minutes to row across the shipping channel.
 She is washing off her anchor as she steams in.
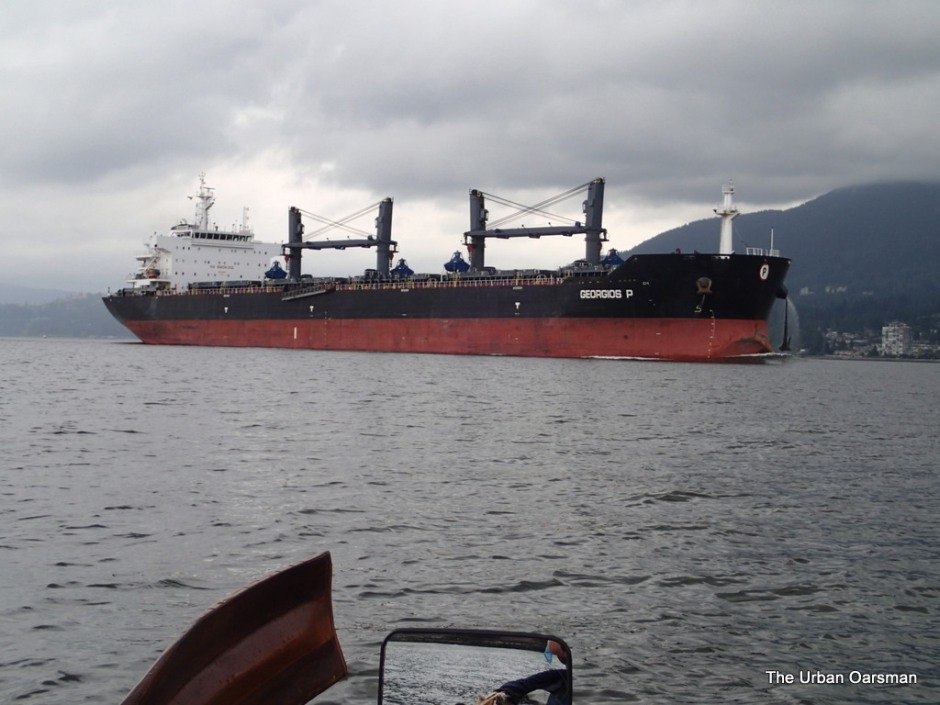 I am waiting on the North side of the shipping channel for her to pass.
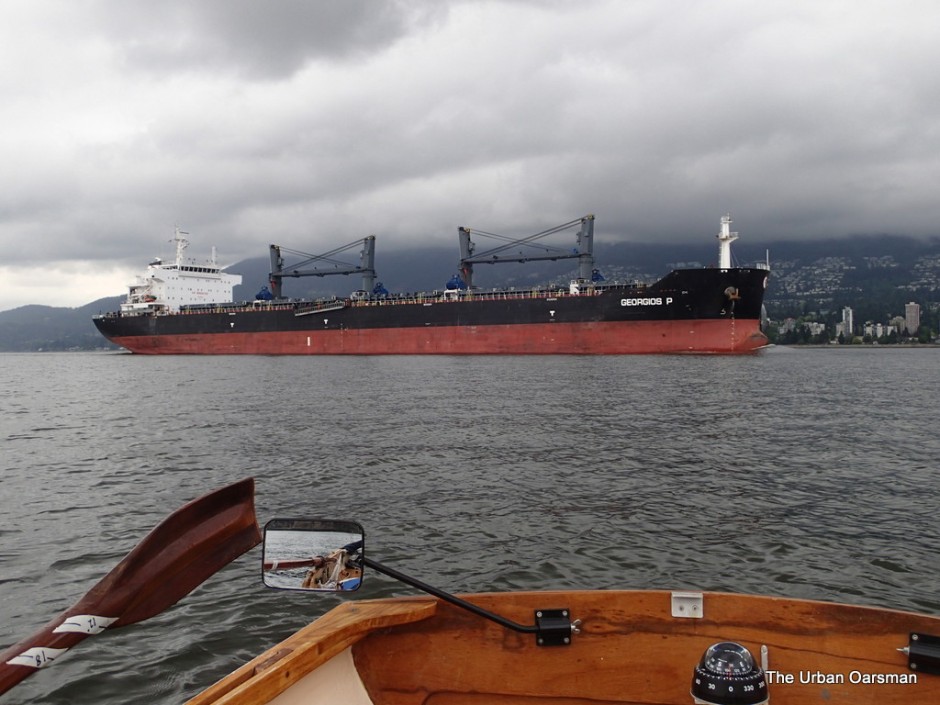 Georgios P is a bulk carrier flying the Greek flag, her home port is in Athens.
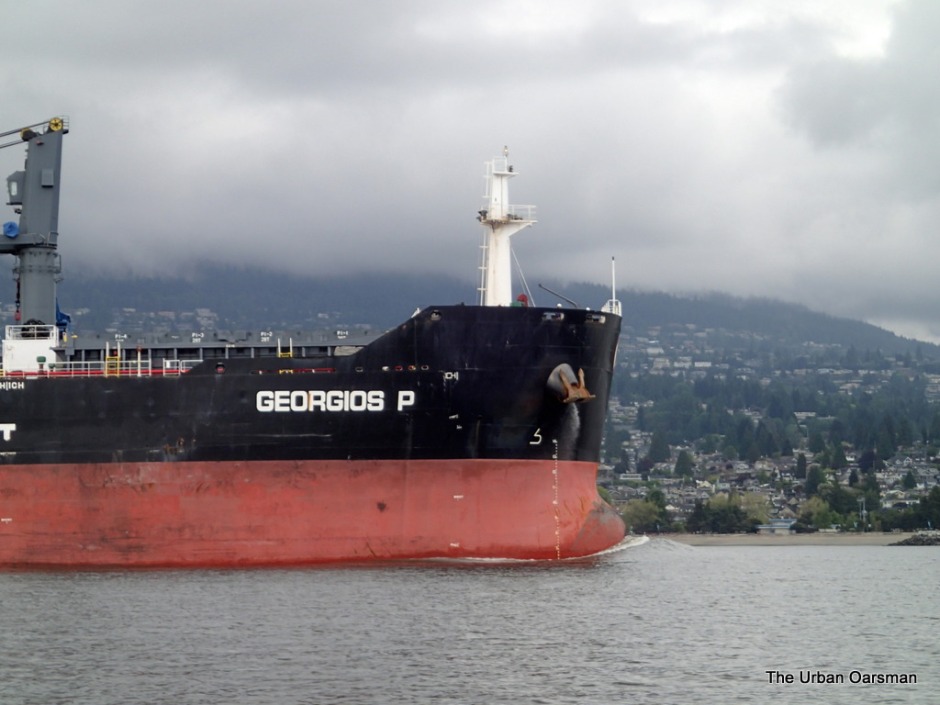 She was built in 2010.
 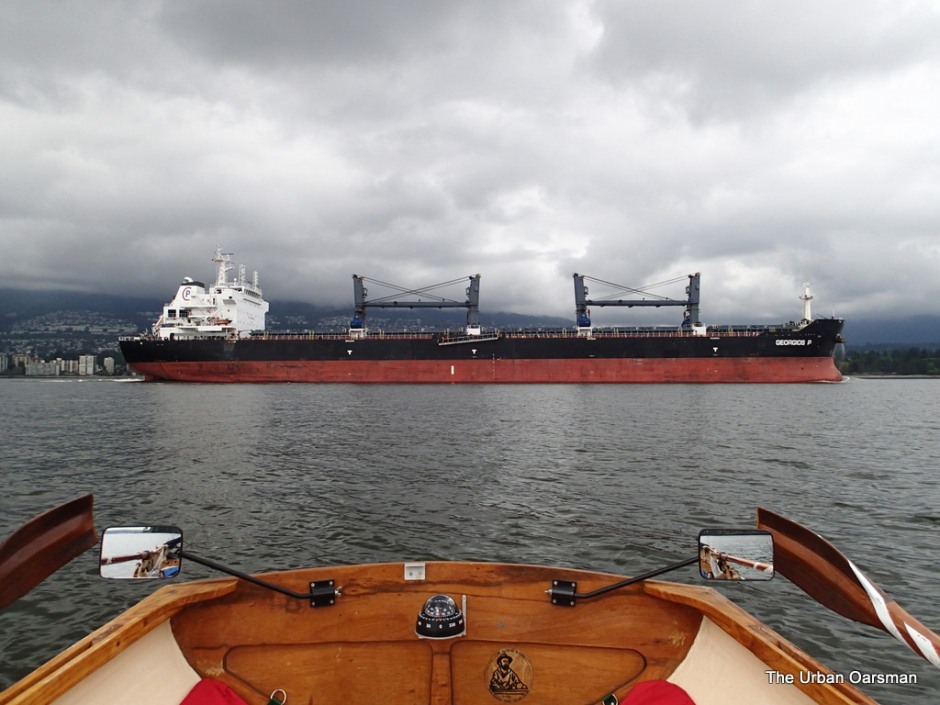 She is 190 meters long and 33 meters wide.
 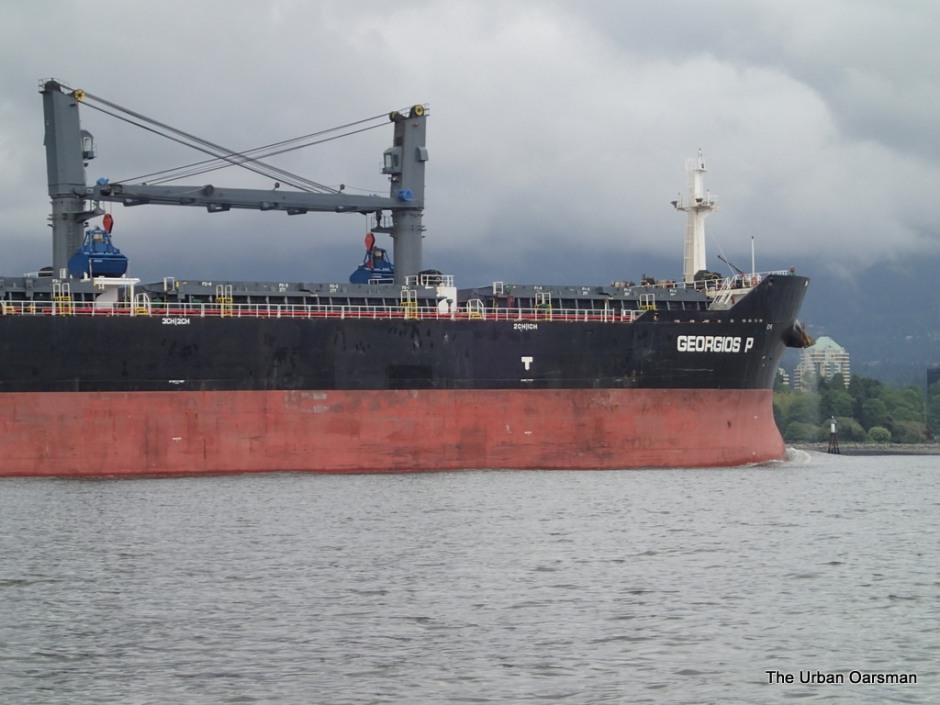 She passes the Capilano River Channel marker on her way into Burrard Inlet.
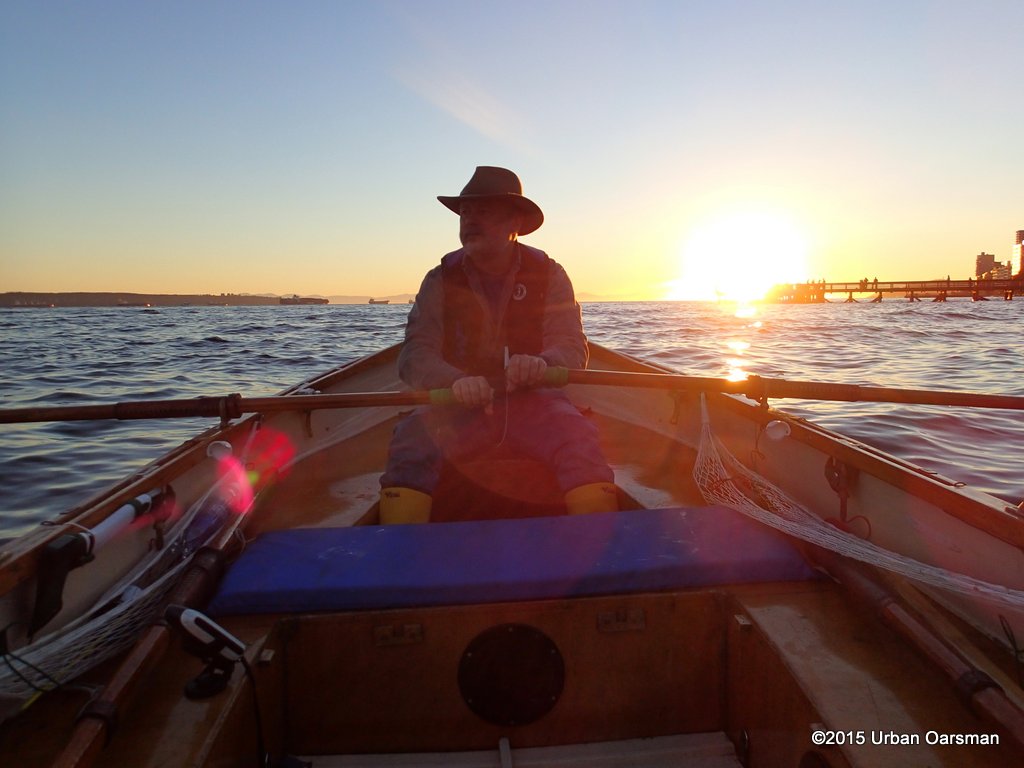
 Georgios P passes by. A short (20 minute) row later and I am back at Hollyburn Sailing Club.

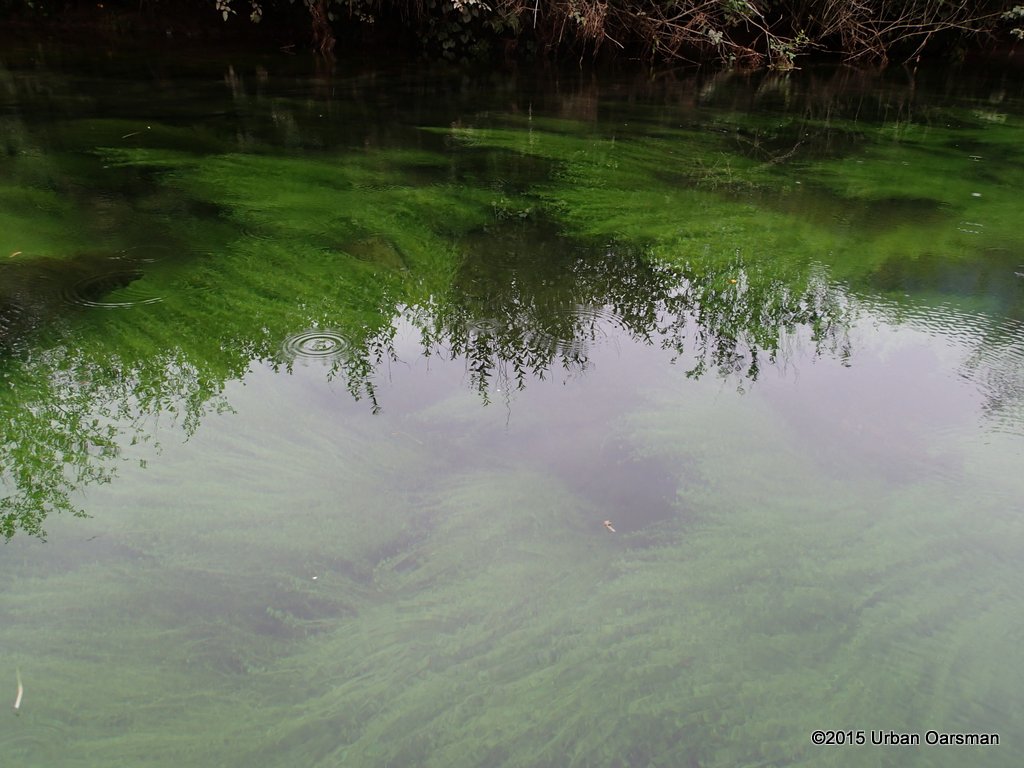
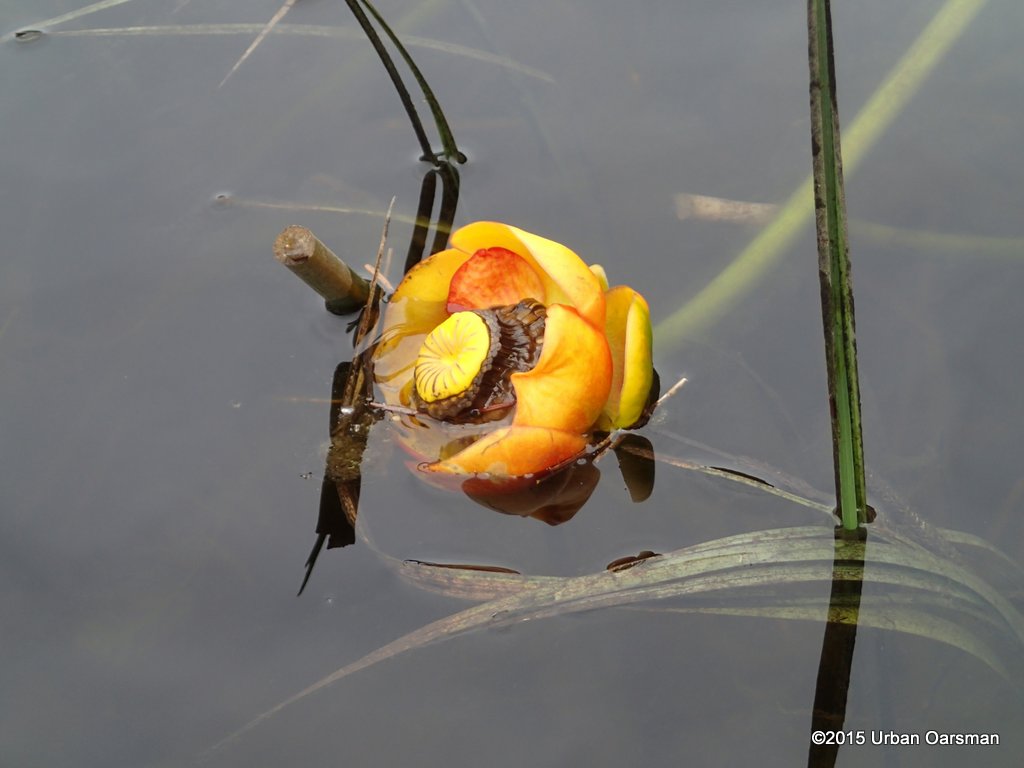 An Indian pond lily, Nuphar polysepala. There were quite a few along this shore.
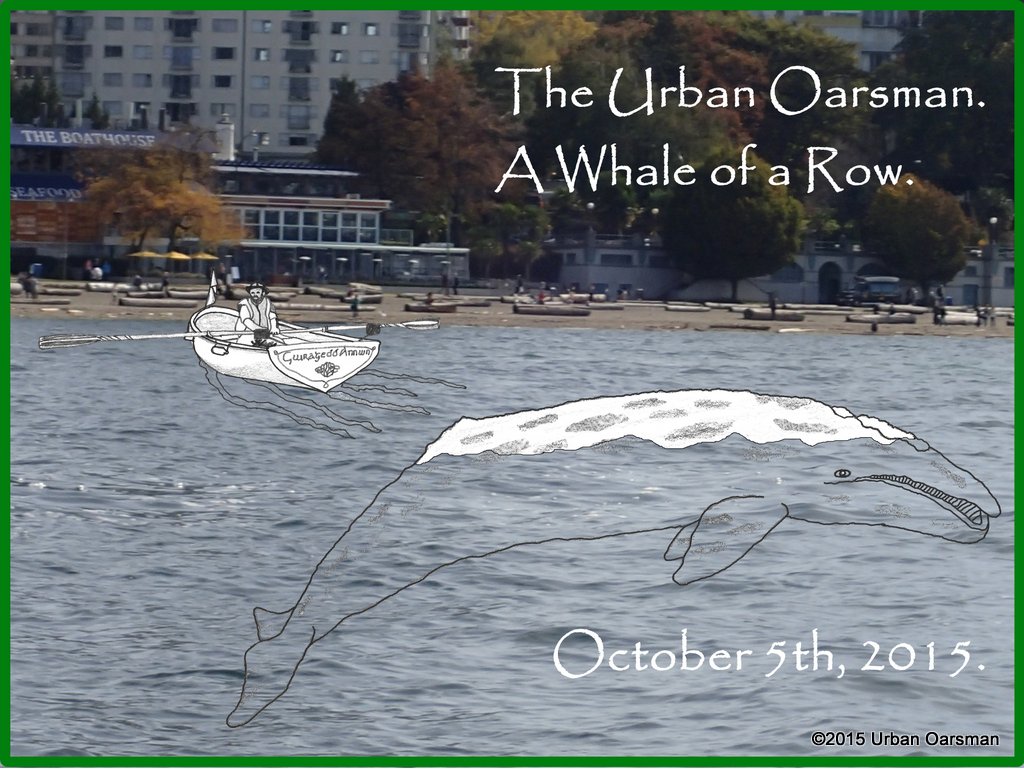

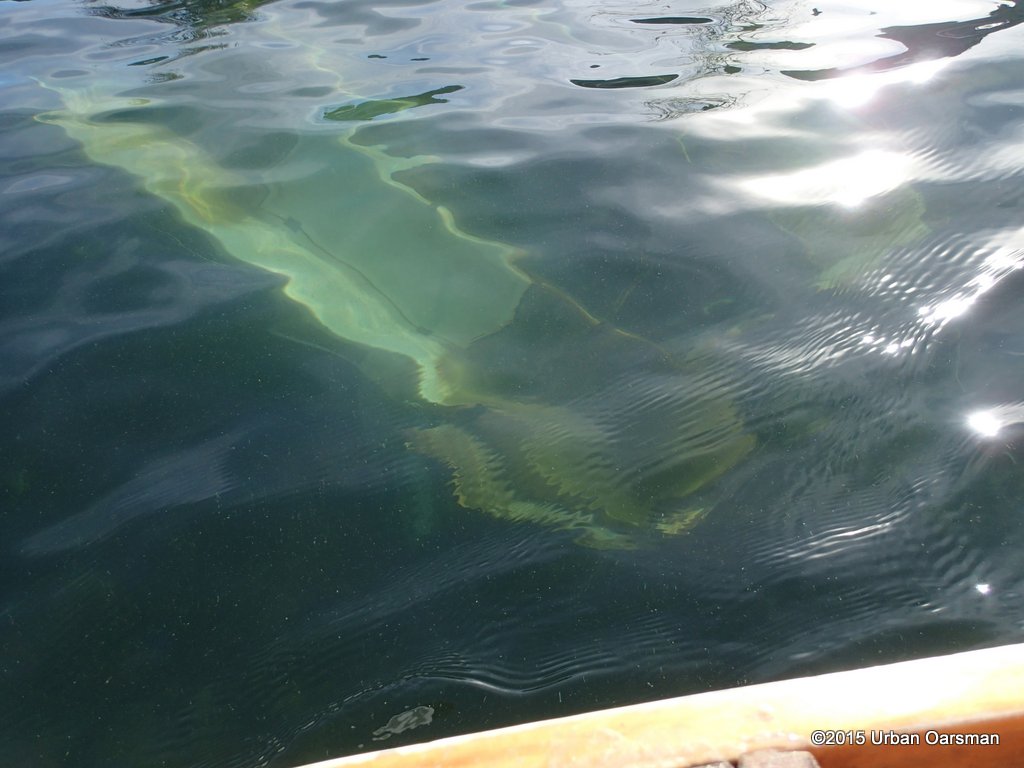


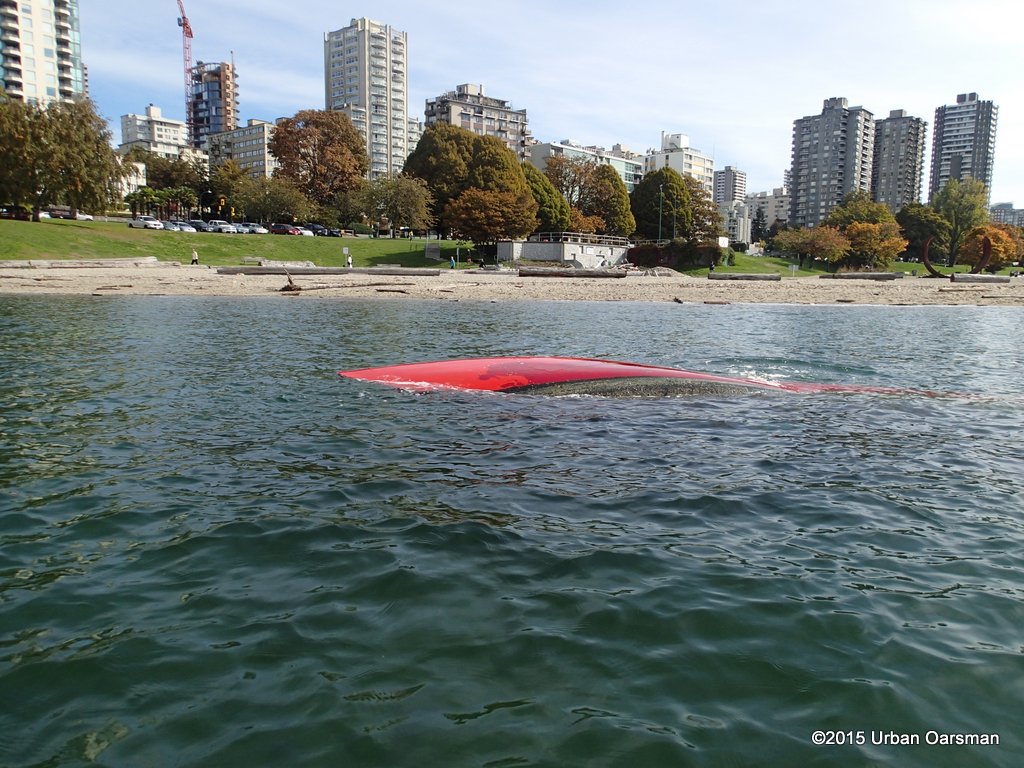
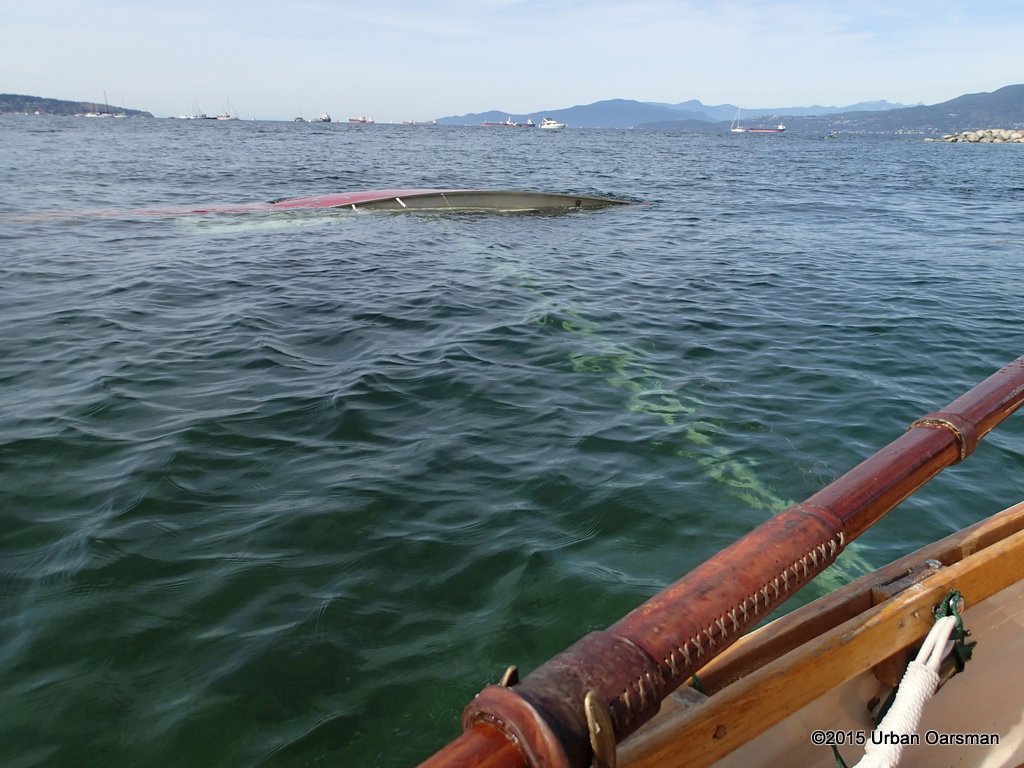
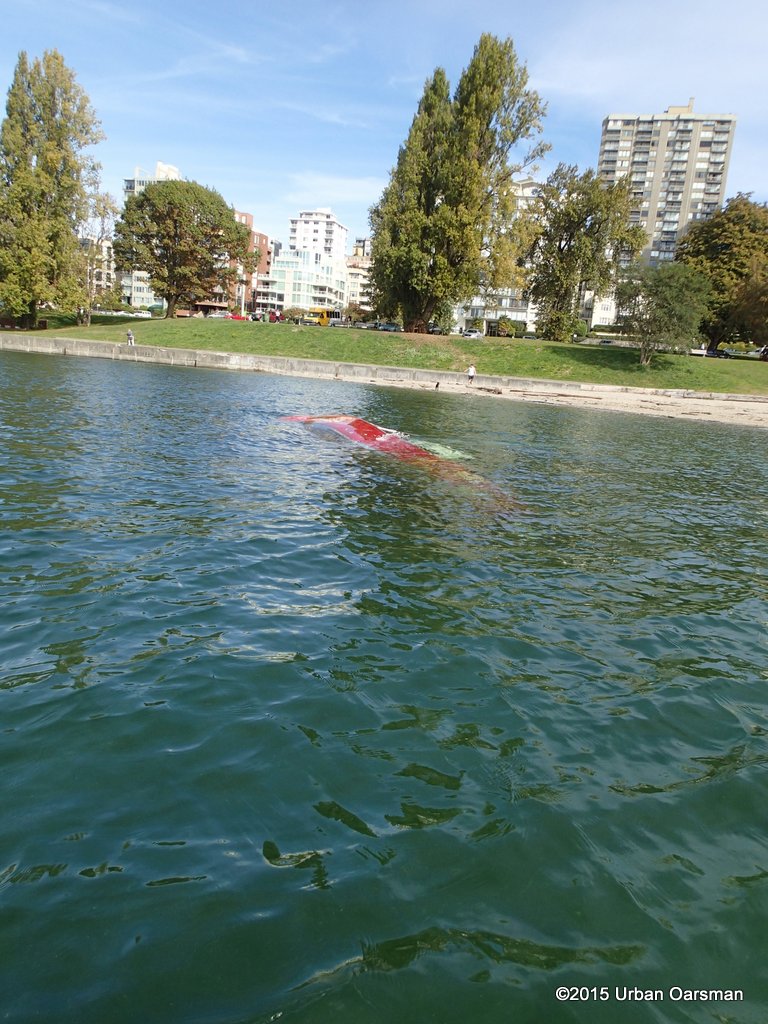
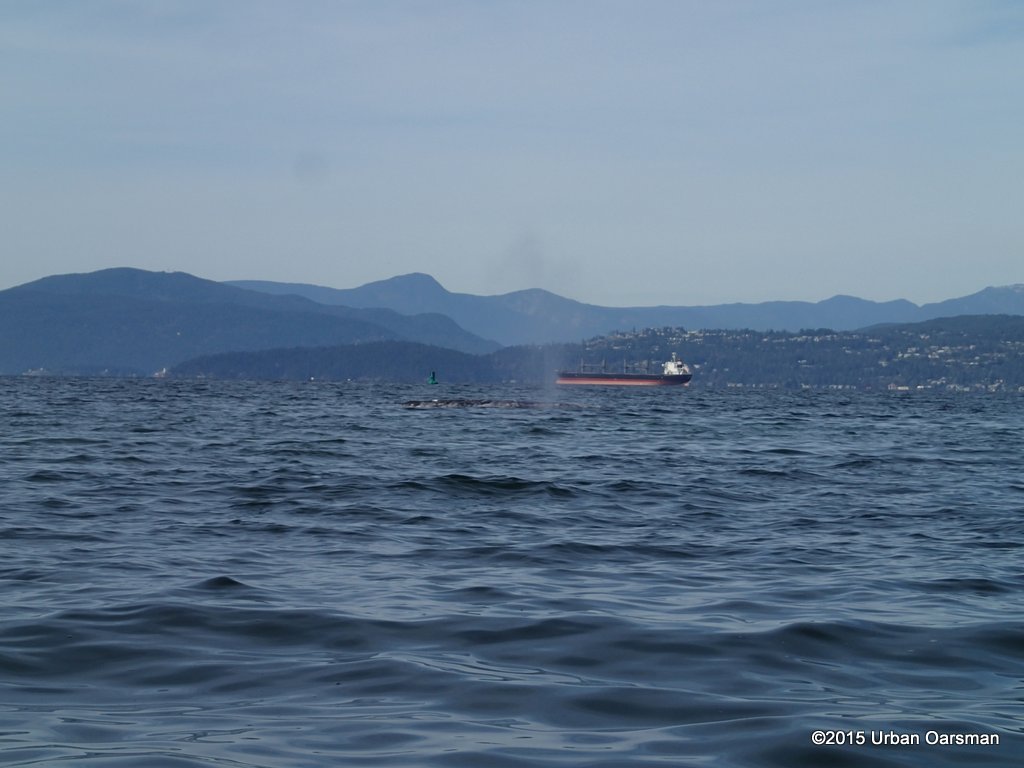
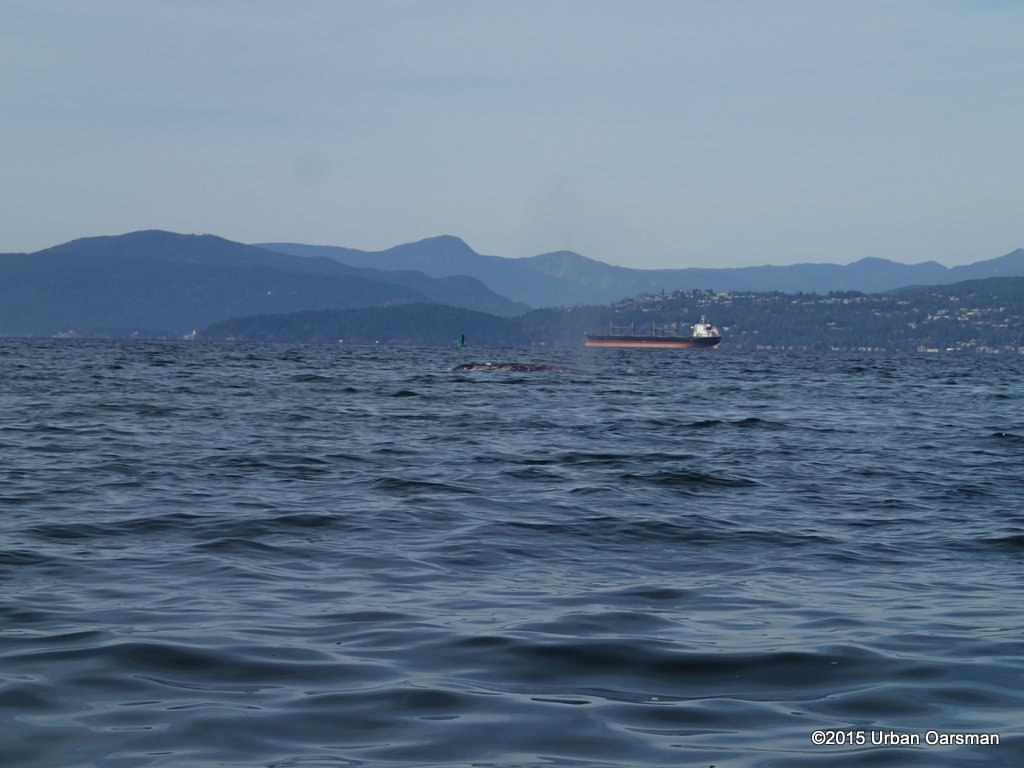
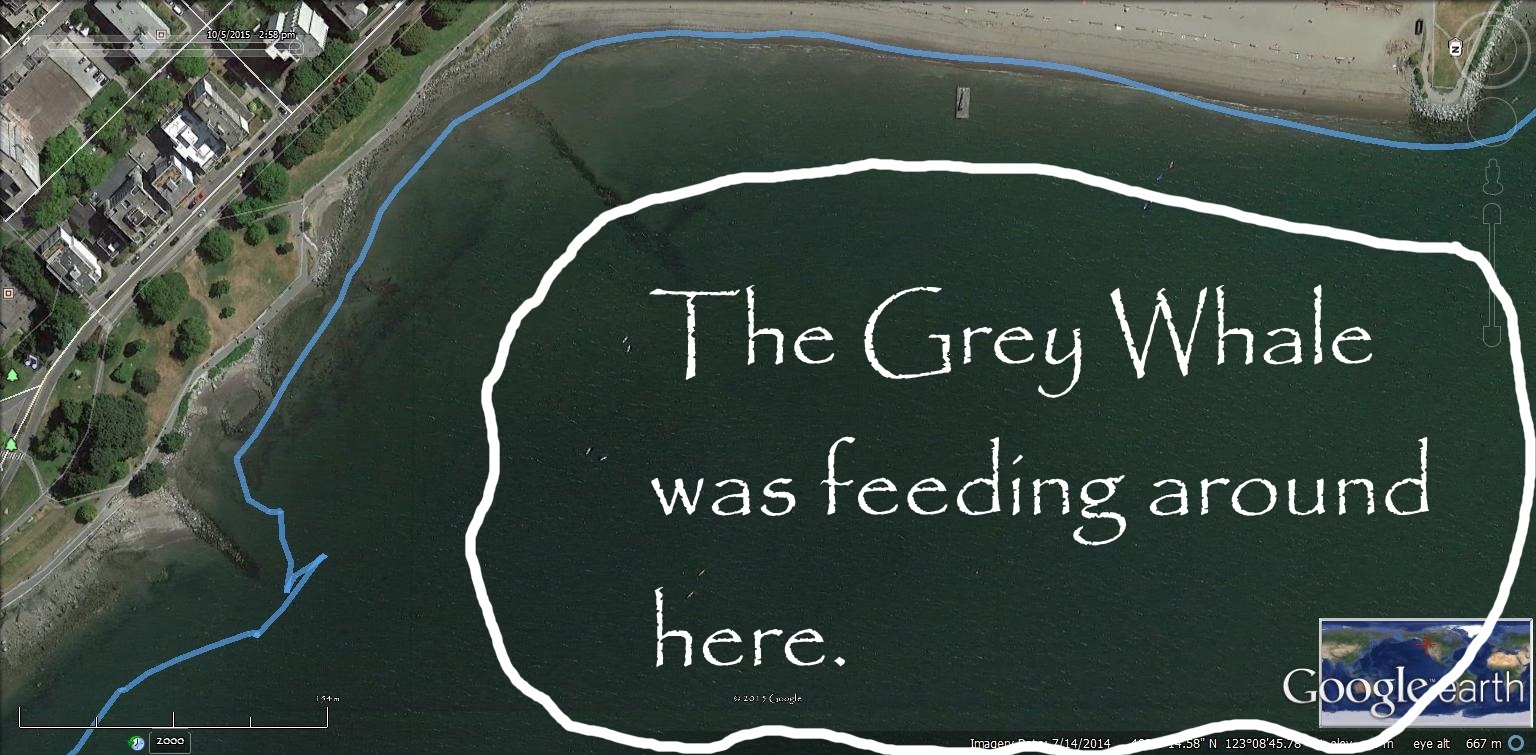
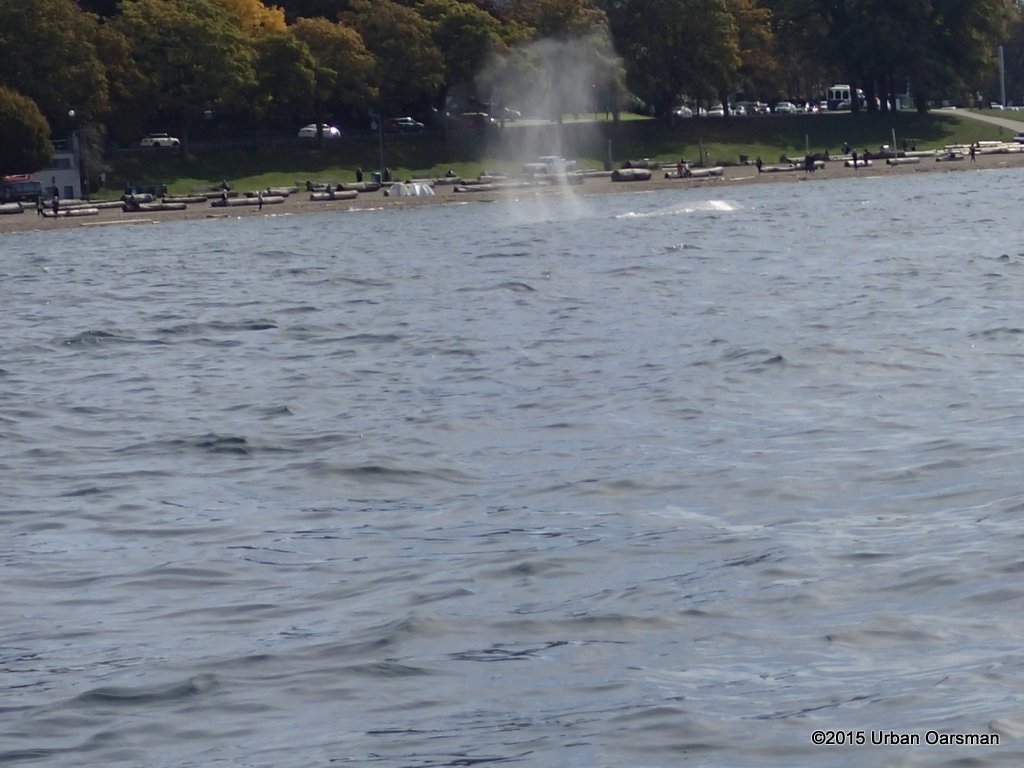
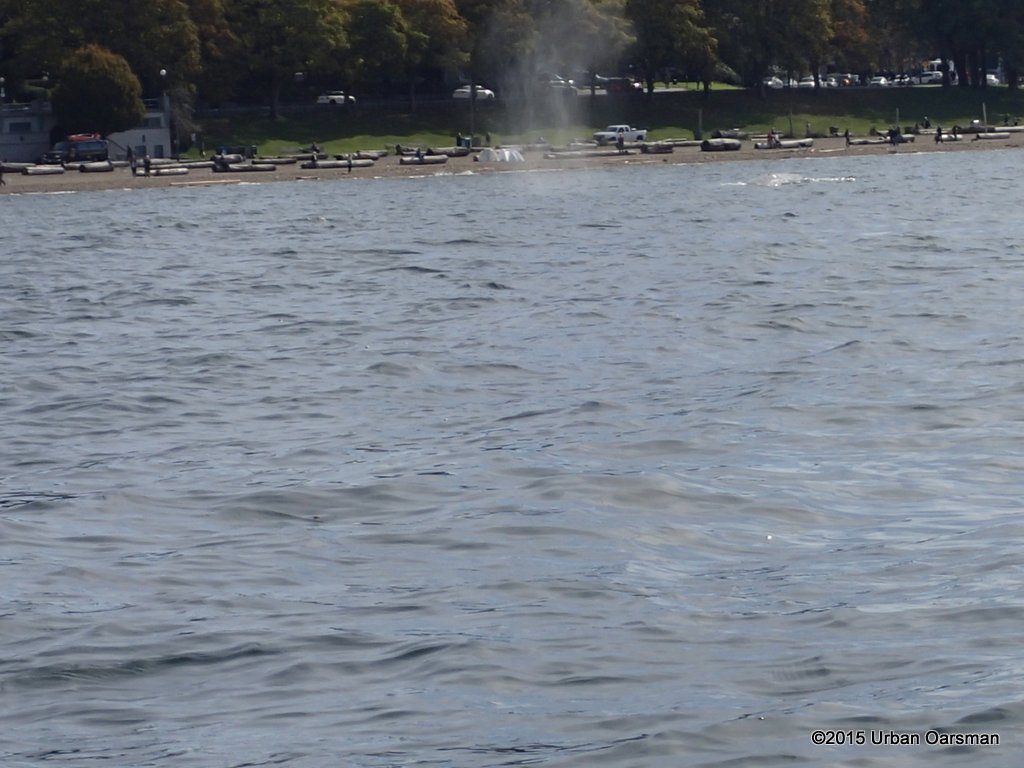
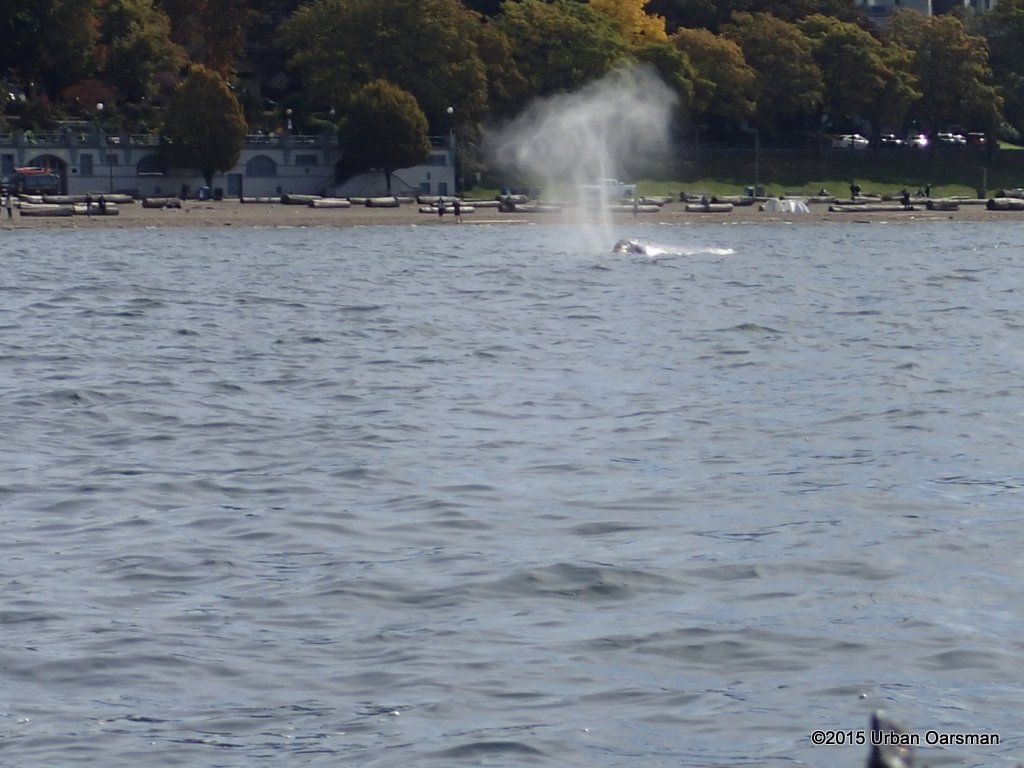
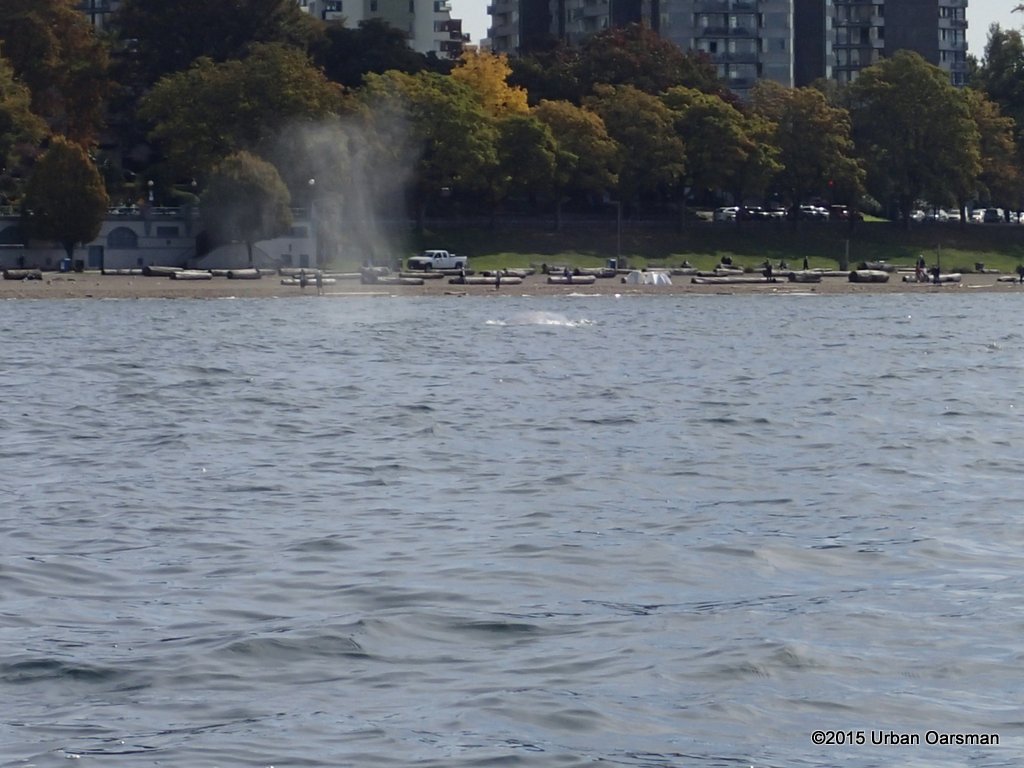
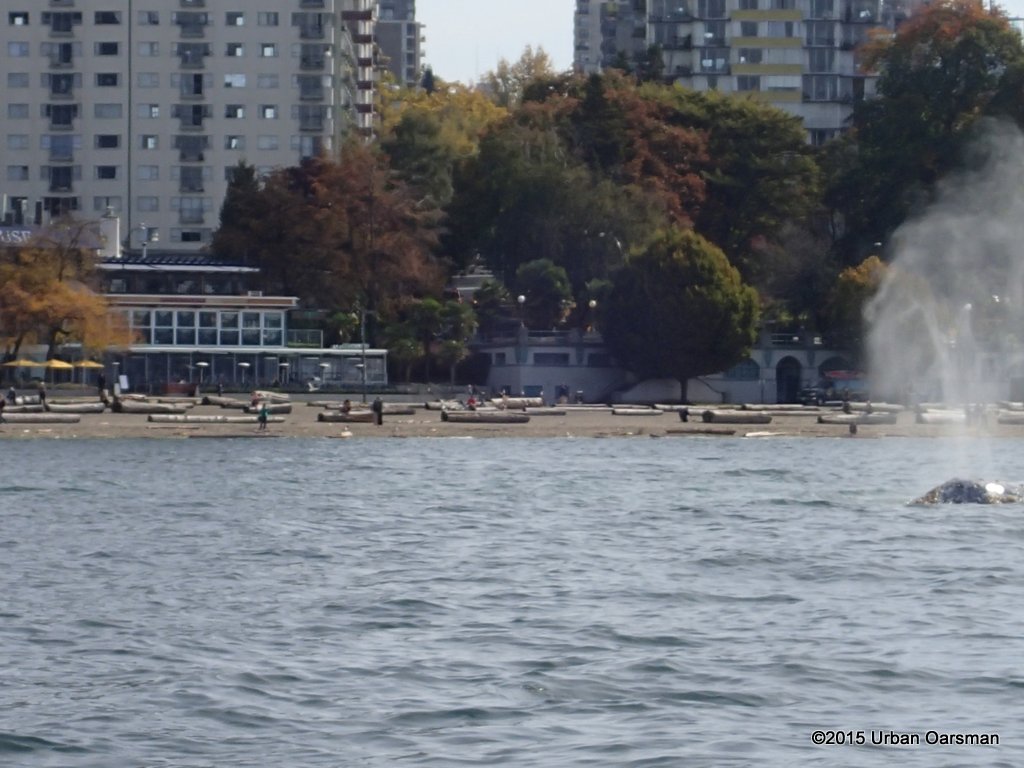
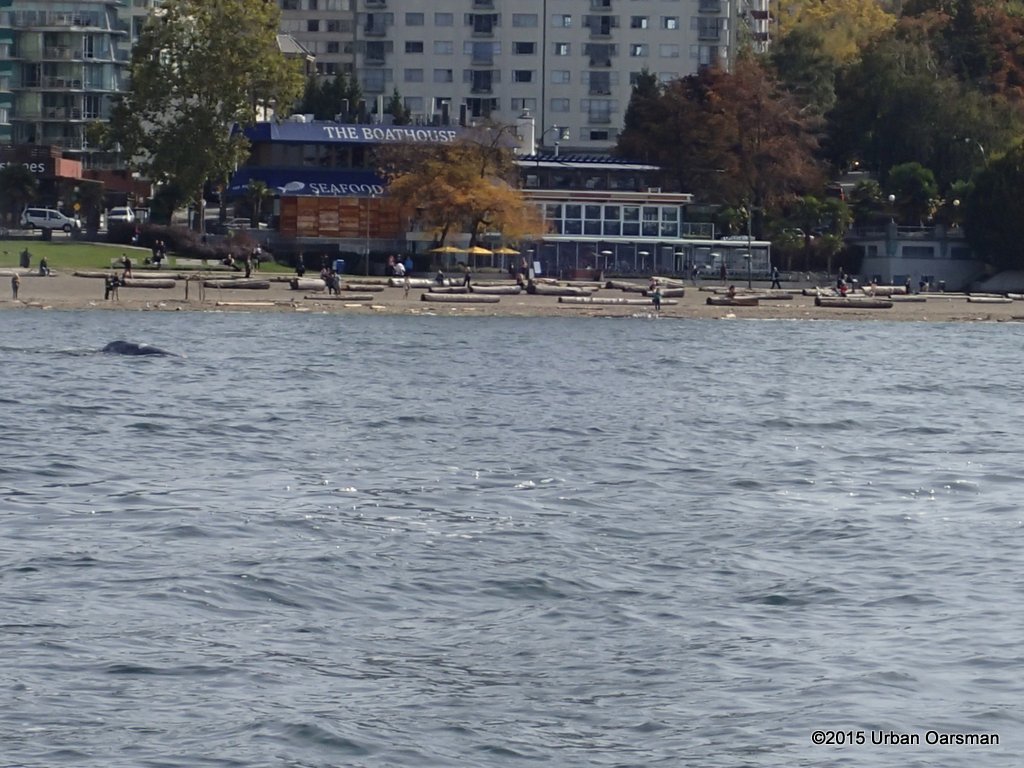
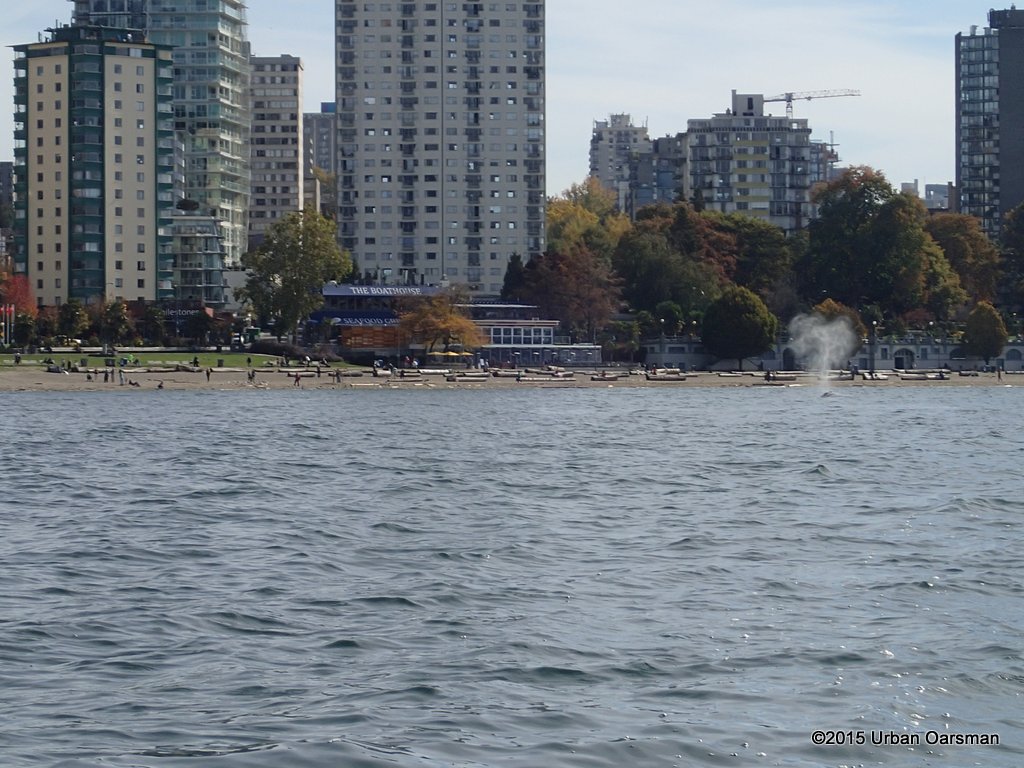
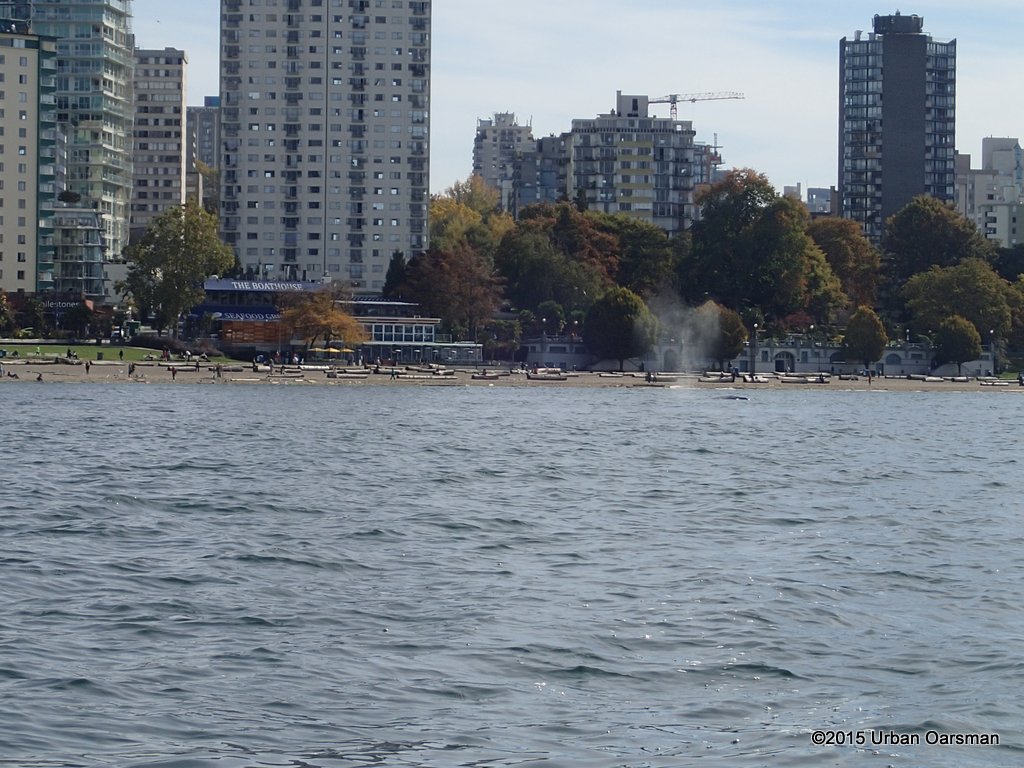
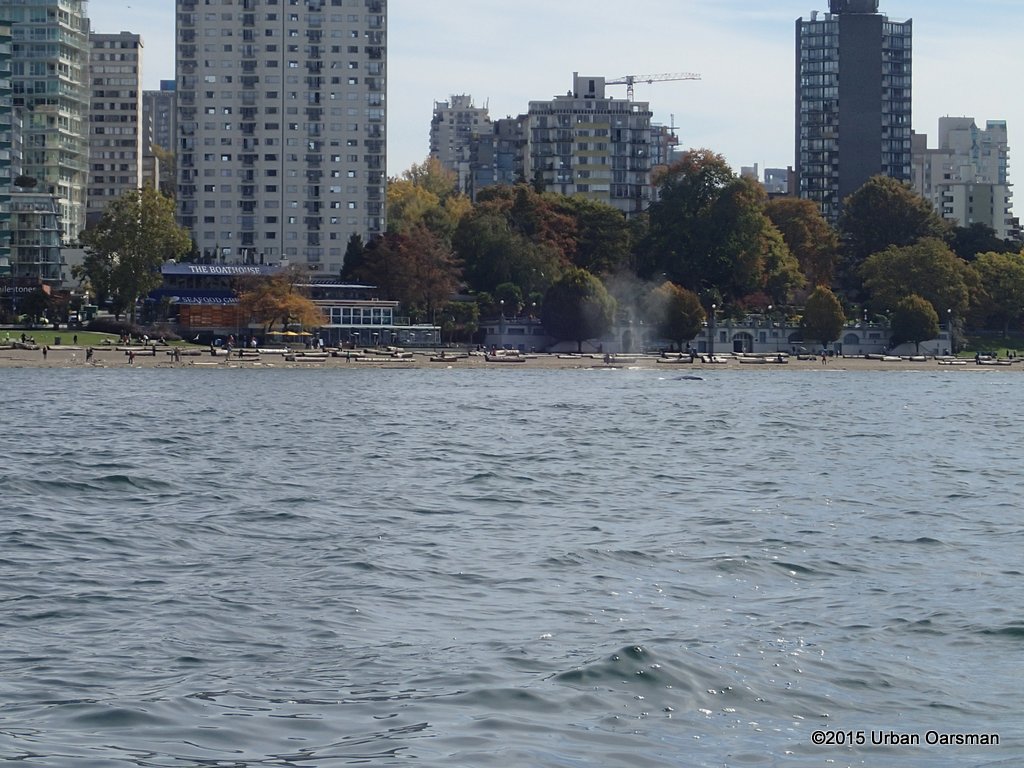
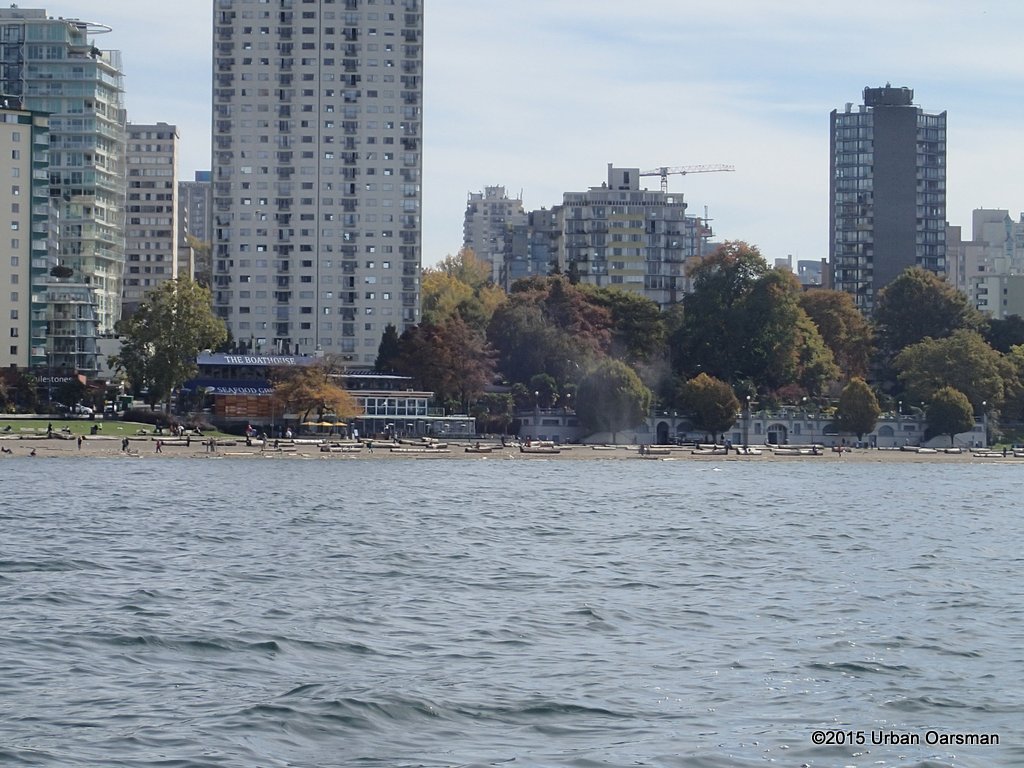
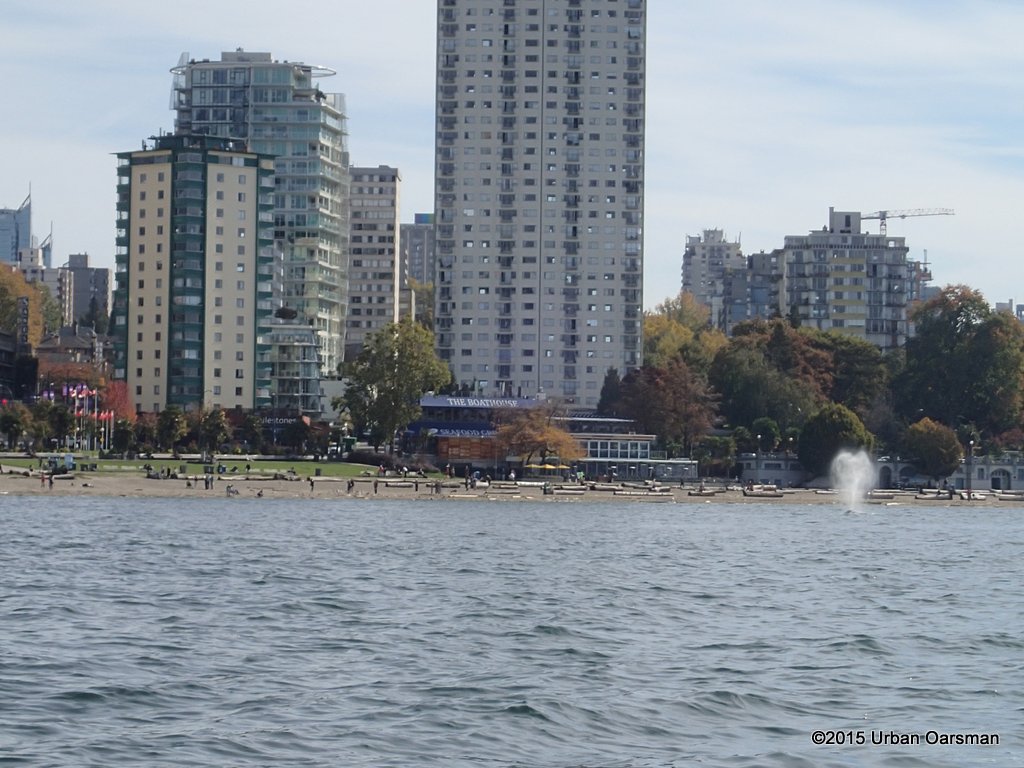
 It is a grey whale. In reading the news reports, they say that it does look to be the same individual that was in the area in August.
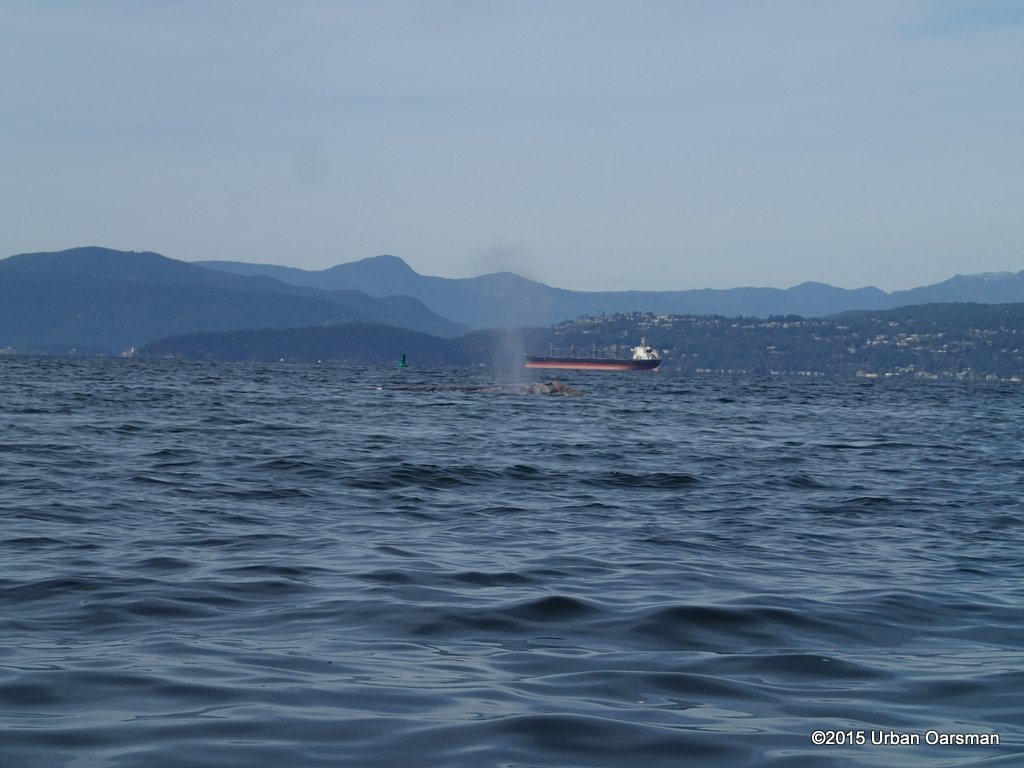


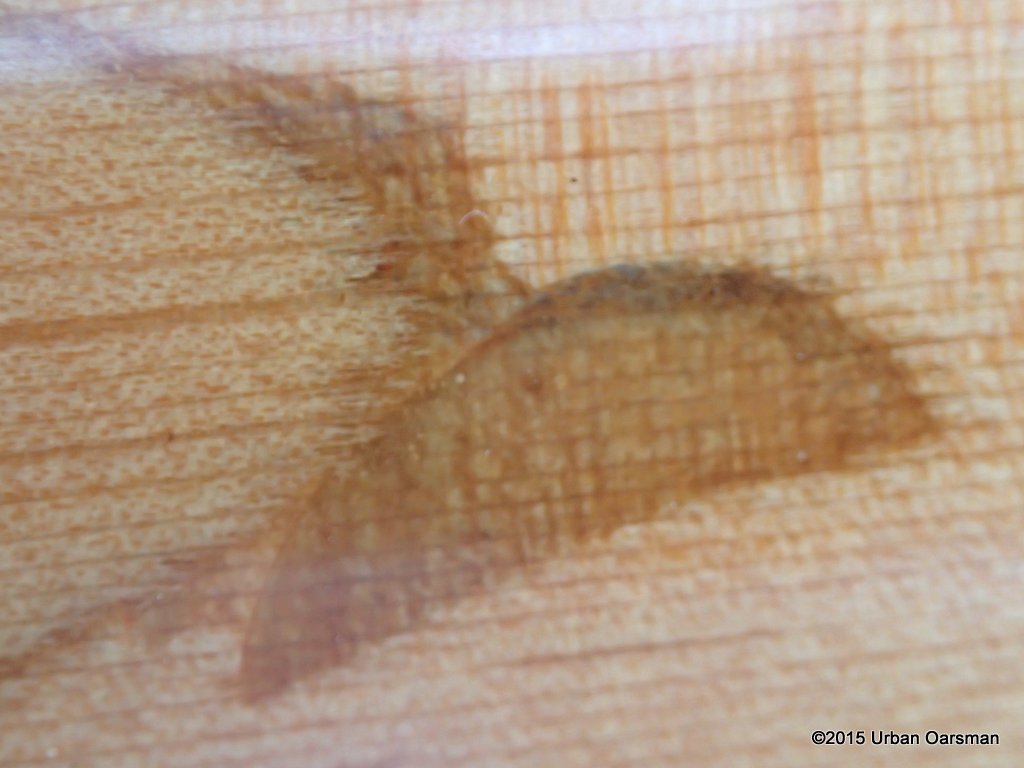

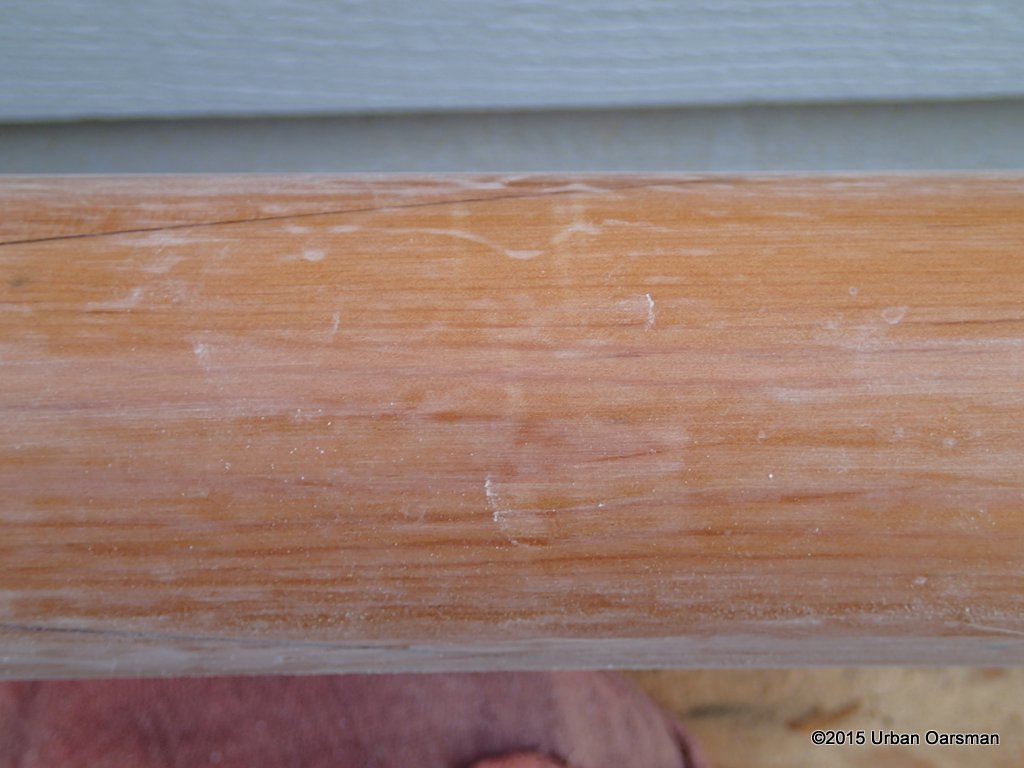
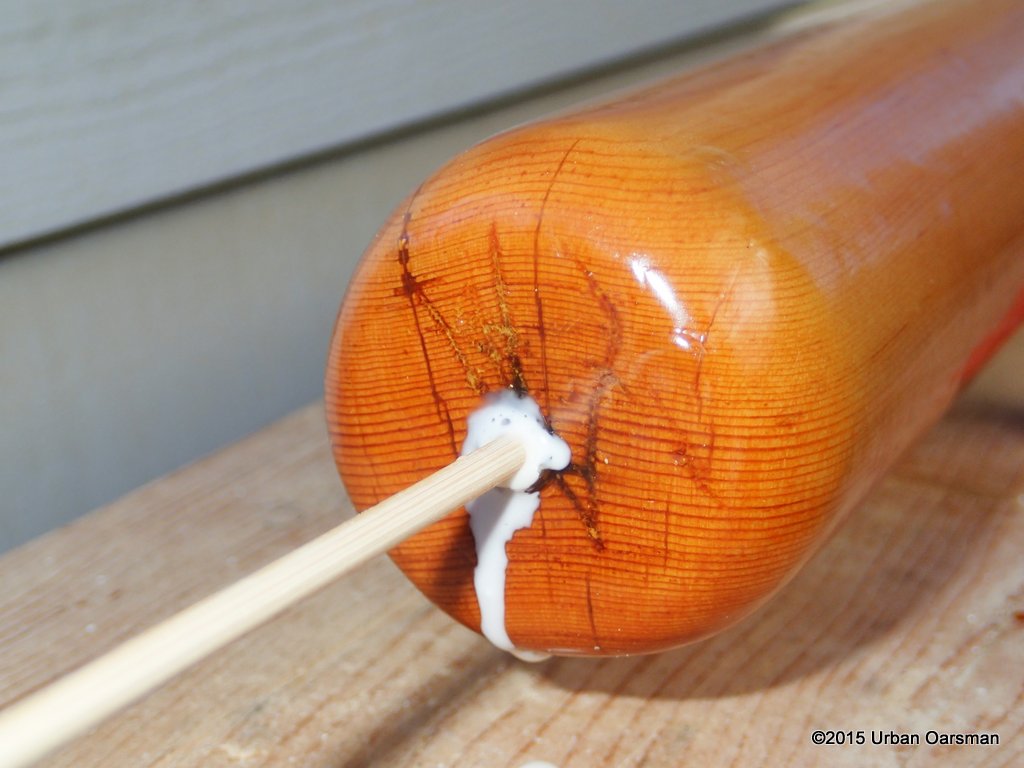
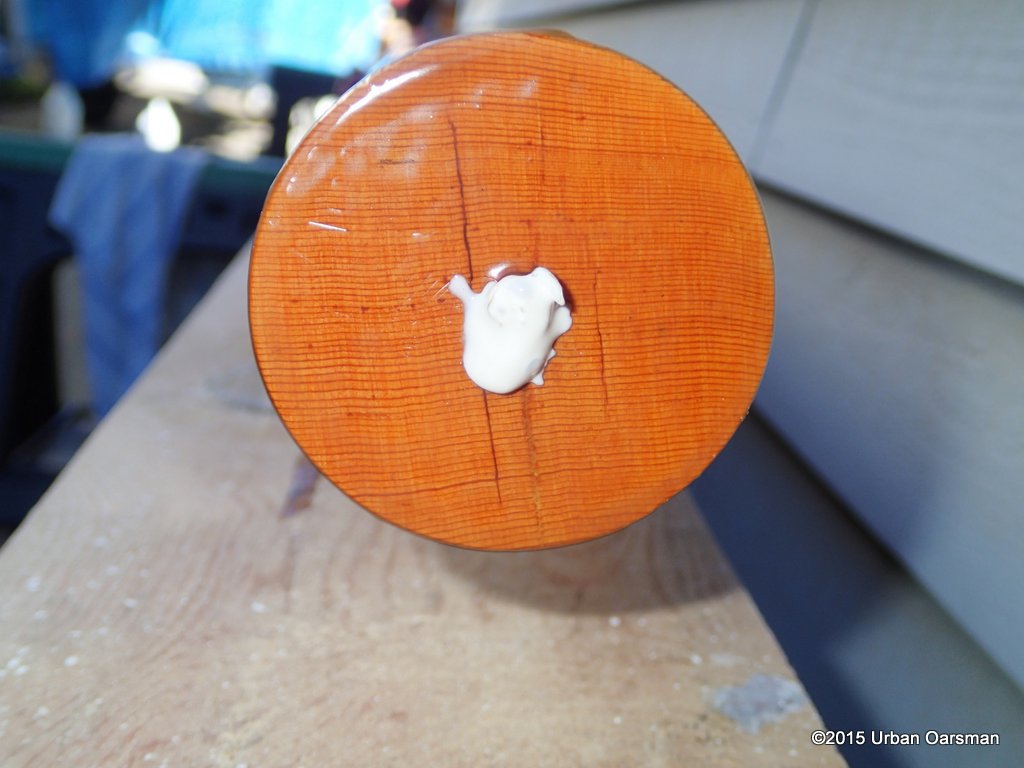
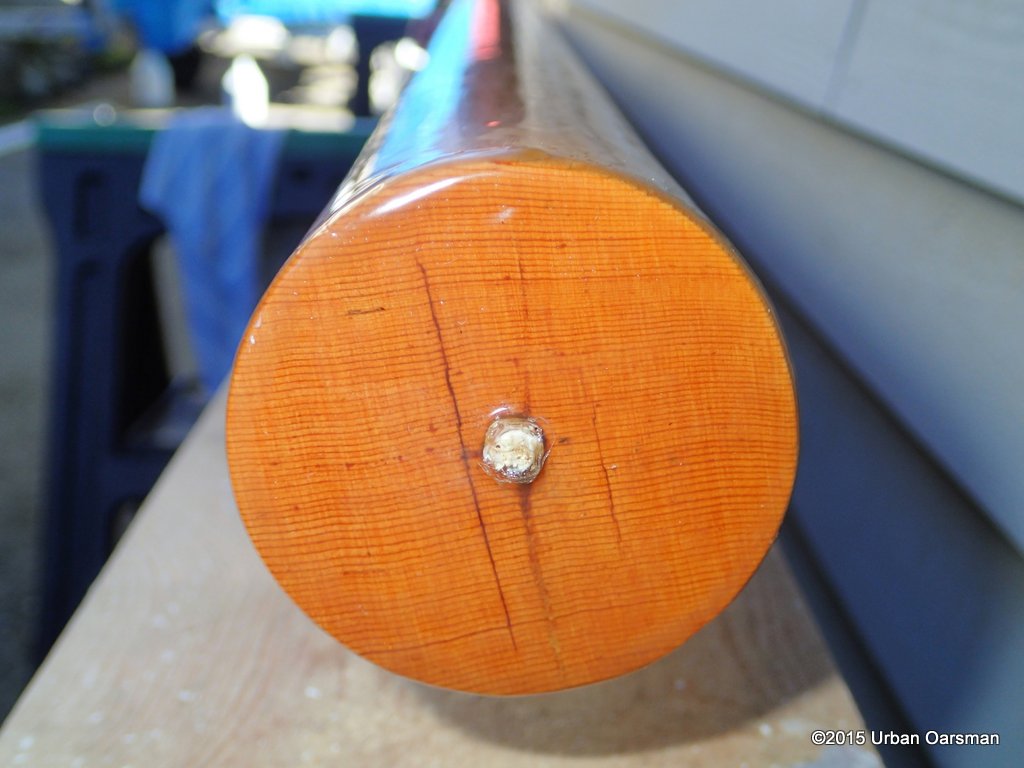
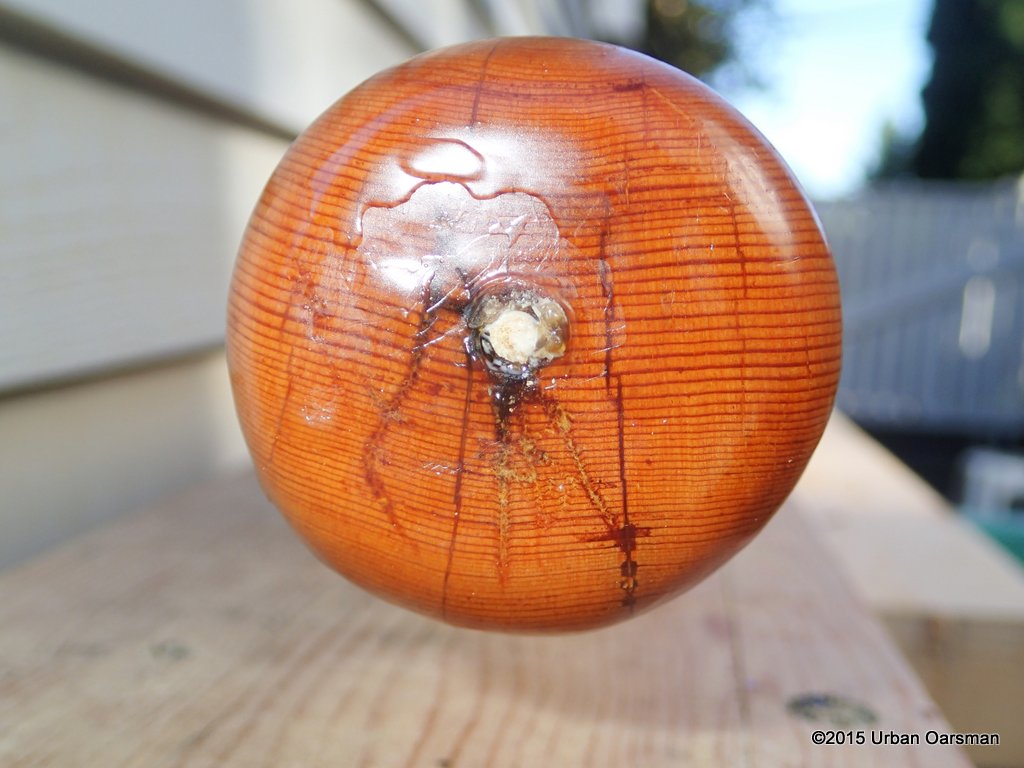
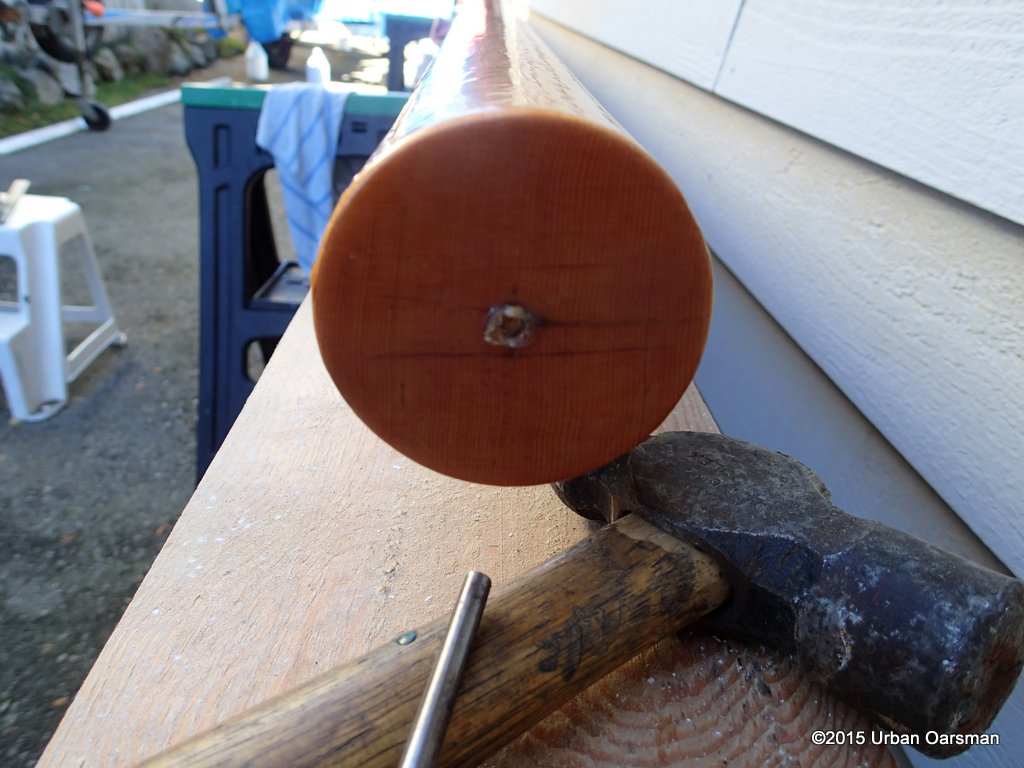
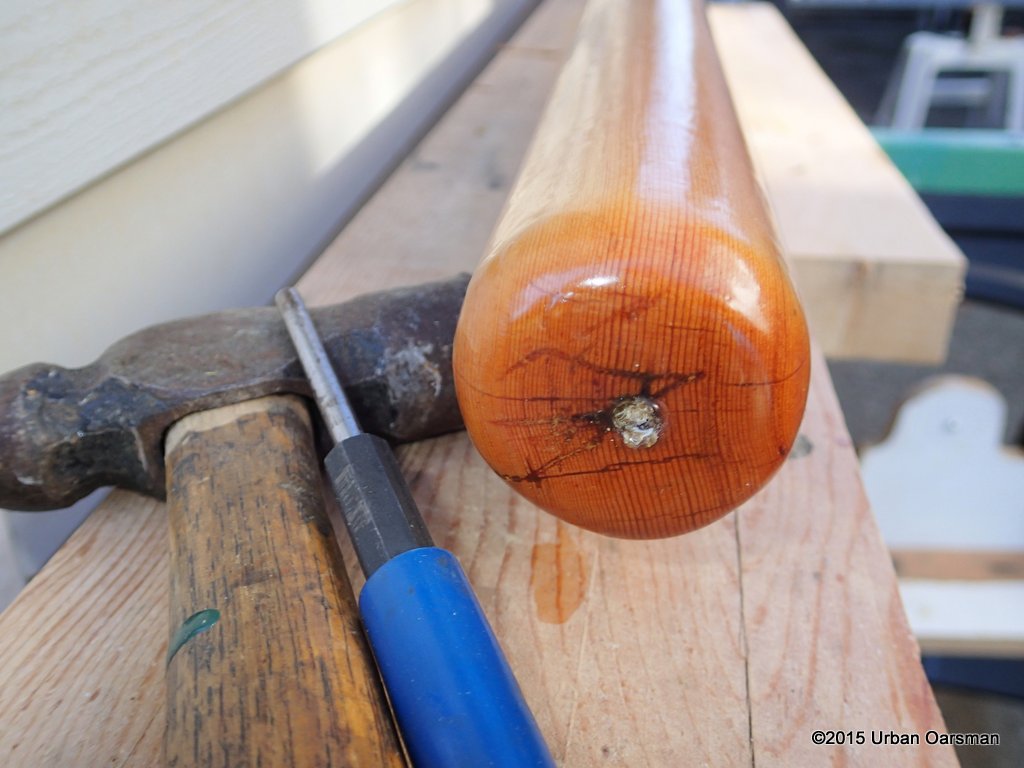
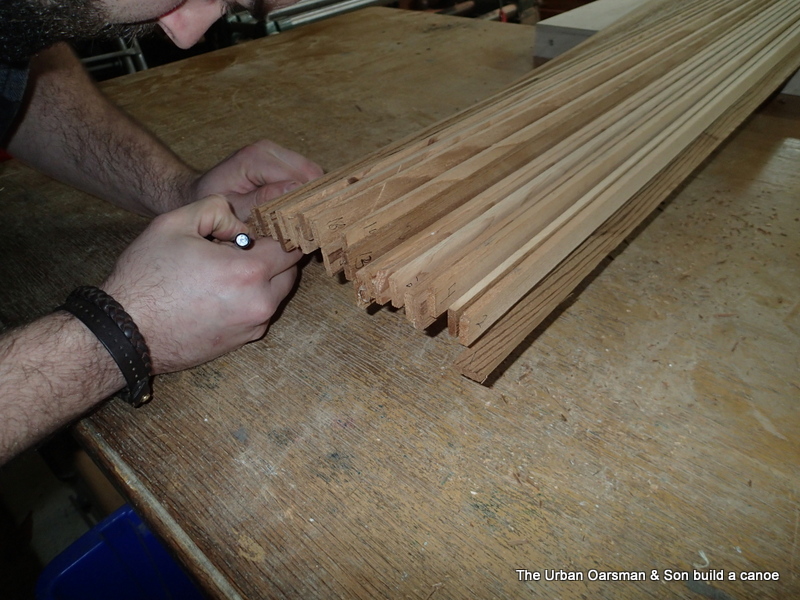
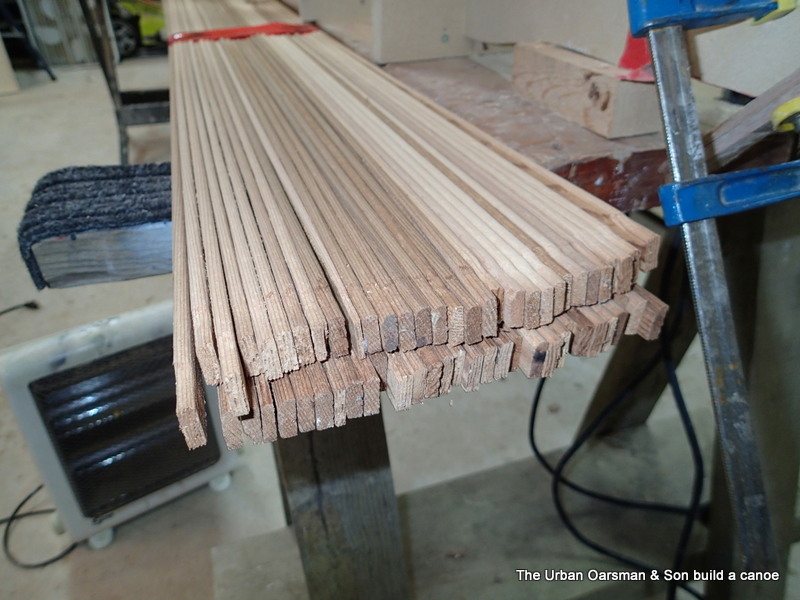
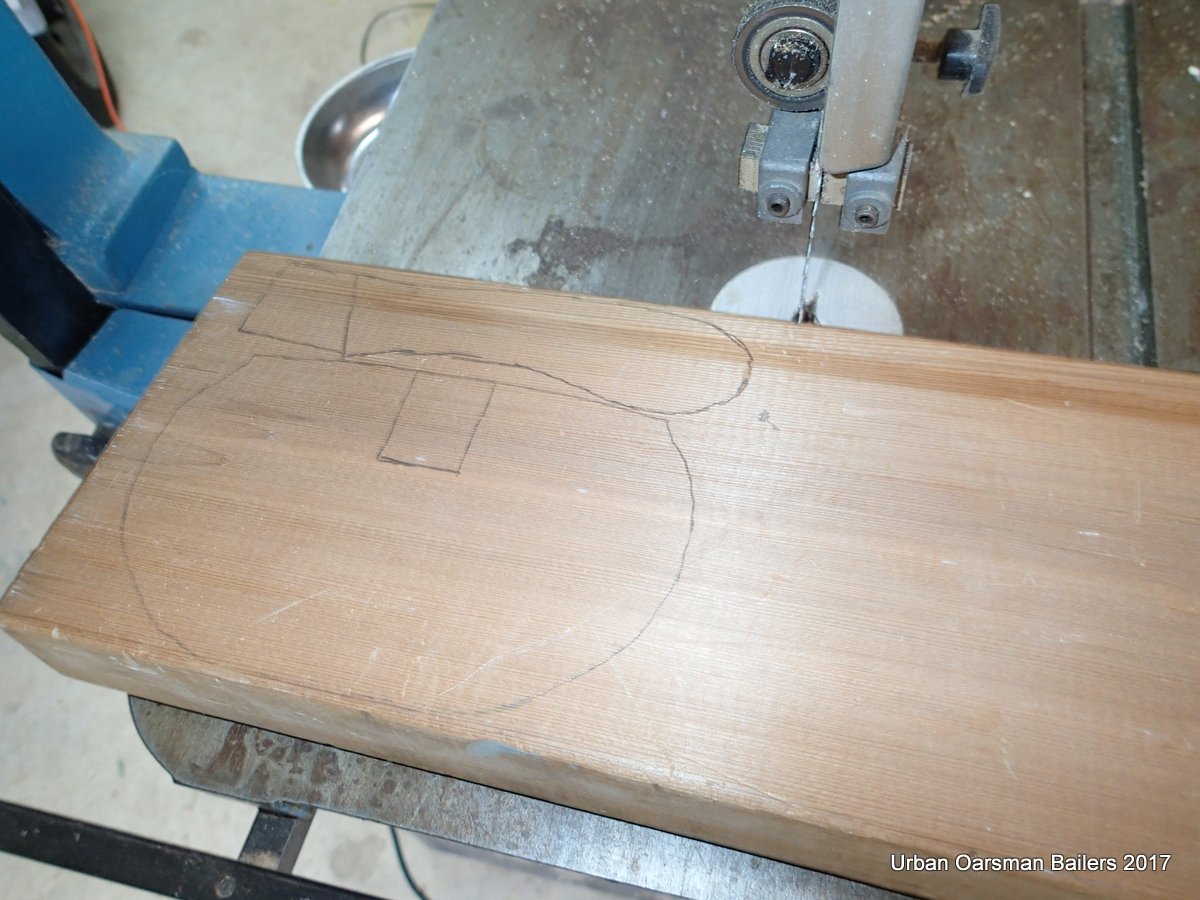
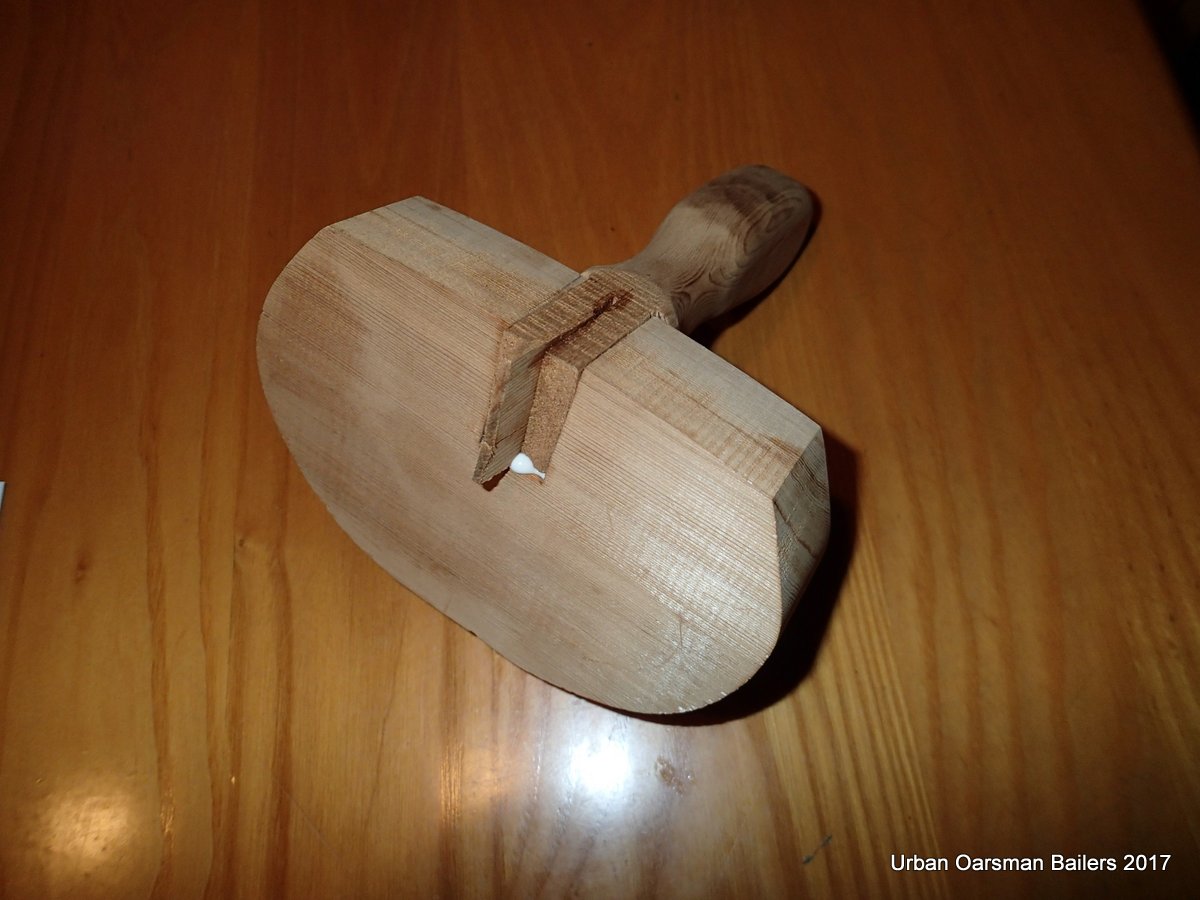
 This knot was small enough to leave in.