Another rainy day in North Vancouver. Paul is home so we decide to put on a couple of strips.
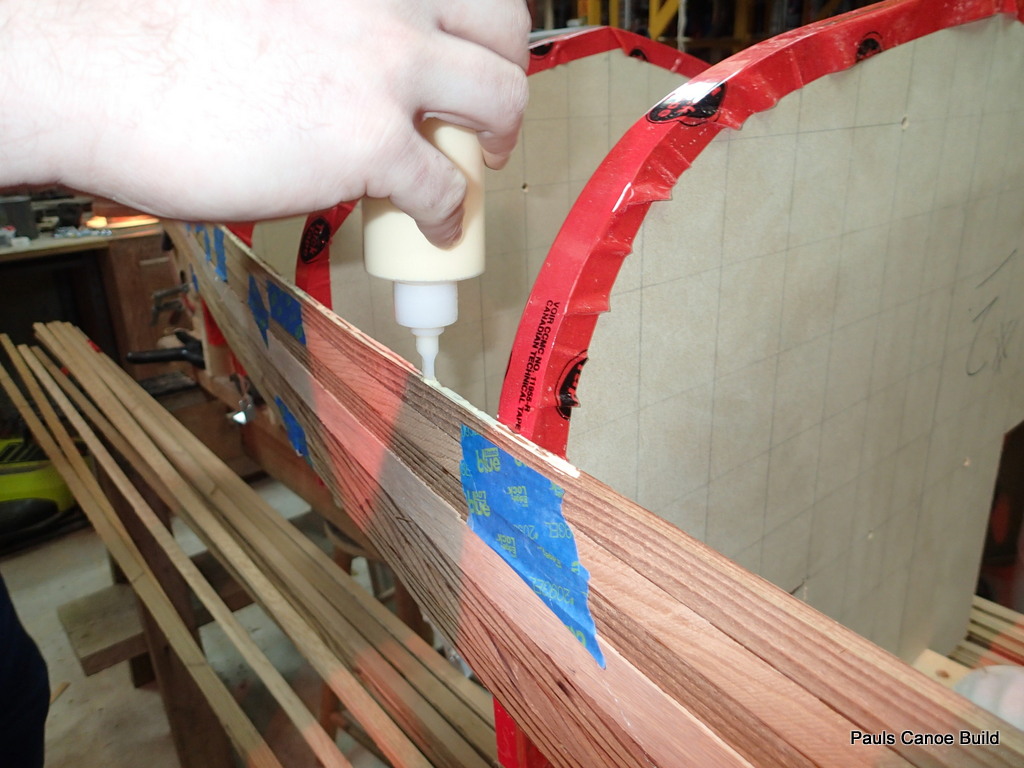
Applying glue to the “cove”.
Since the last post, I put on two strips without Paul…Do not want the project to “stall”
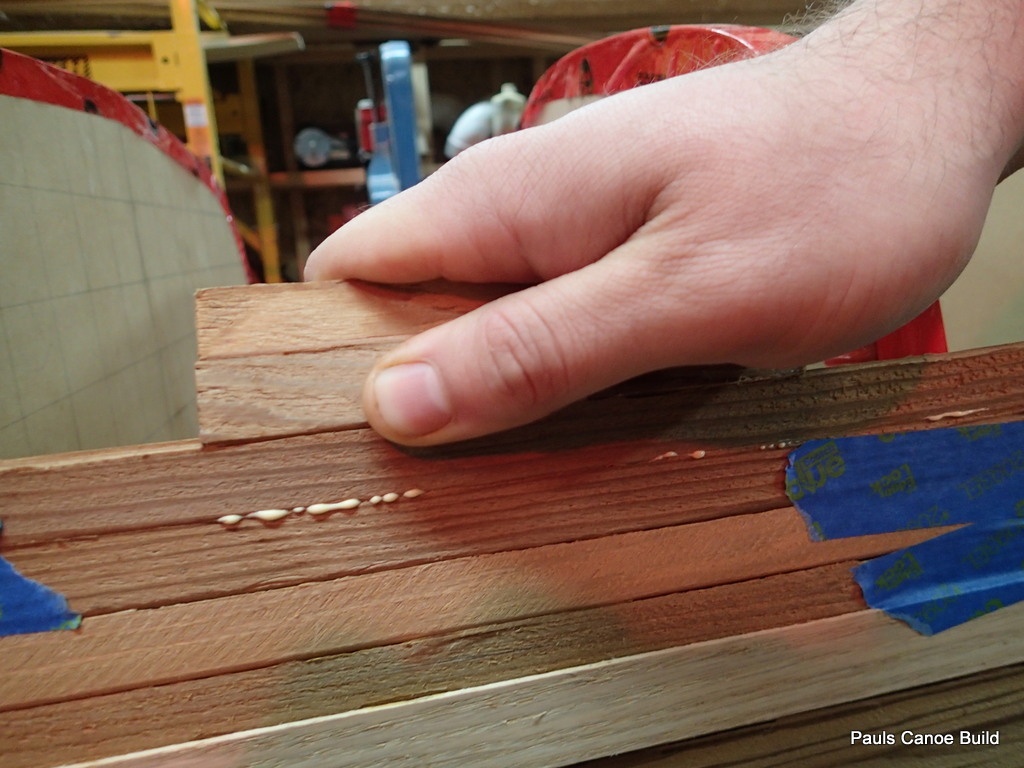
Seating the strips.
The way we put a strip on is to apply the glue, place the strip in place, clamp one end and then use a piece of strip to “seat” the incoming strip to the strip already there. The job is much easier with two!
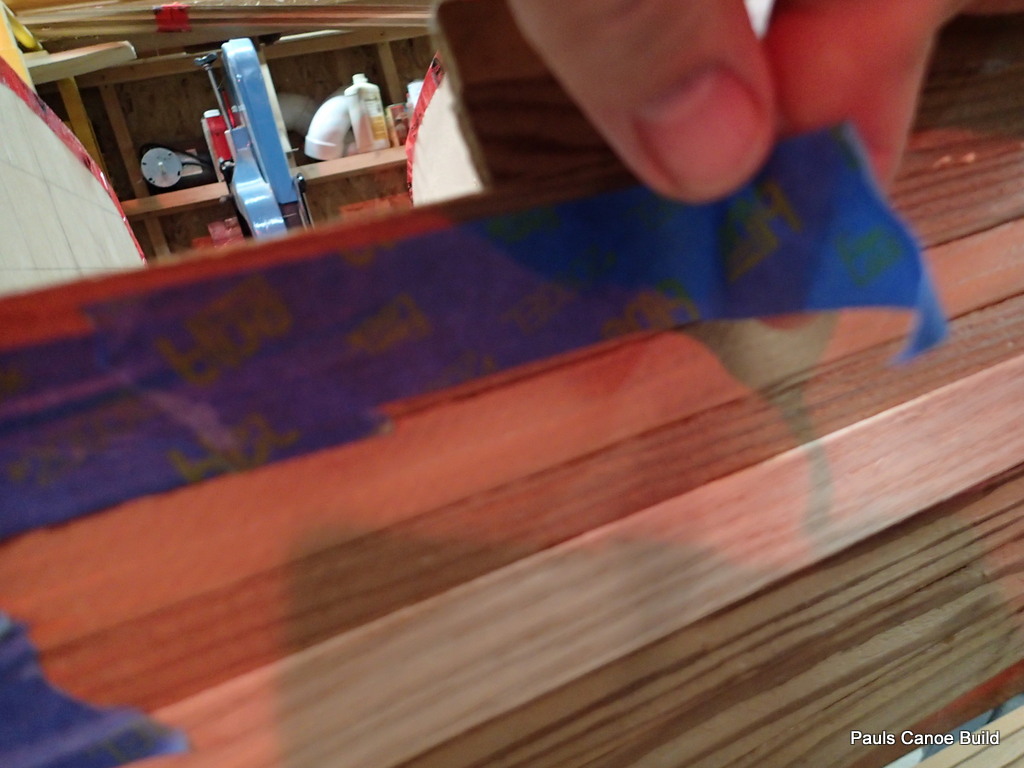
Using painter’s tape to “clamp” the strips together
We then put a piece of painter’s tape on to hold the two strips together. The glue does not need high pressure or heat to set.
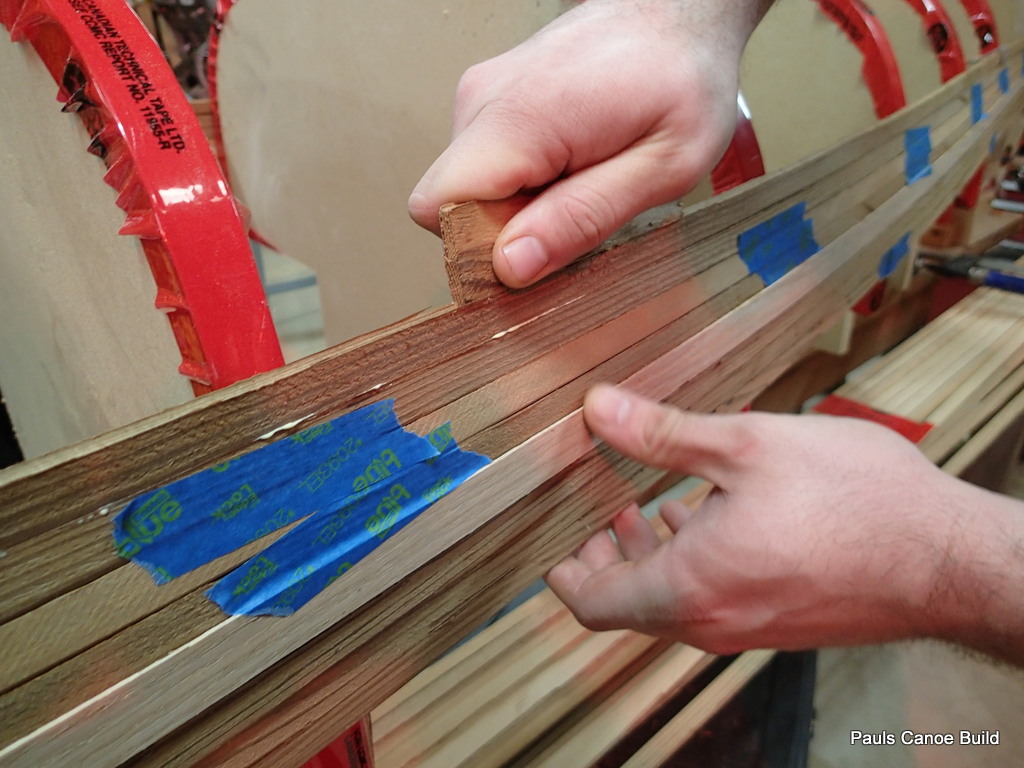
“seating” the strips.
At some points, the “bead” does not fit into the “cove” perfectly, the bead or the cove being slightly off-centre. To keep the strips aligned together we use a spring clamp to hold the two strips in alignment.
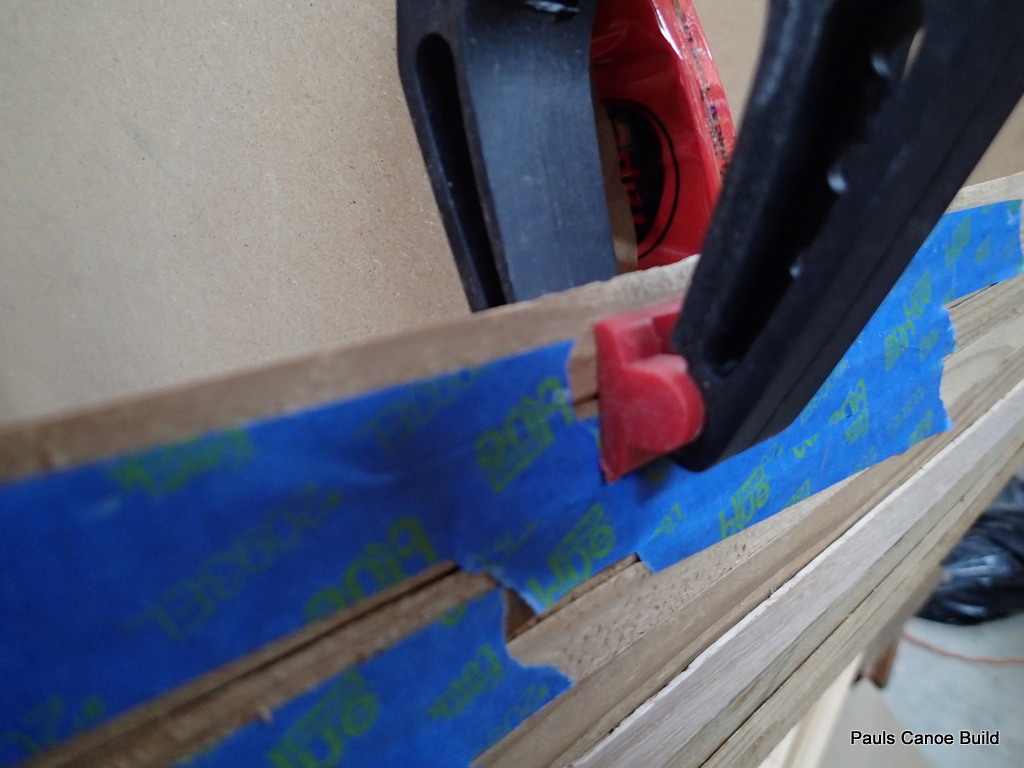
Spring clamp holding two strips in alignment.
Once you get two strips on, its gets harder to clamp them in place….
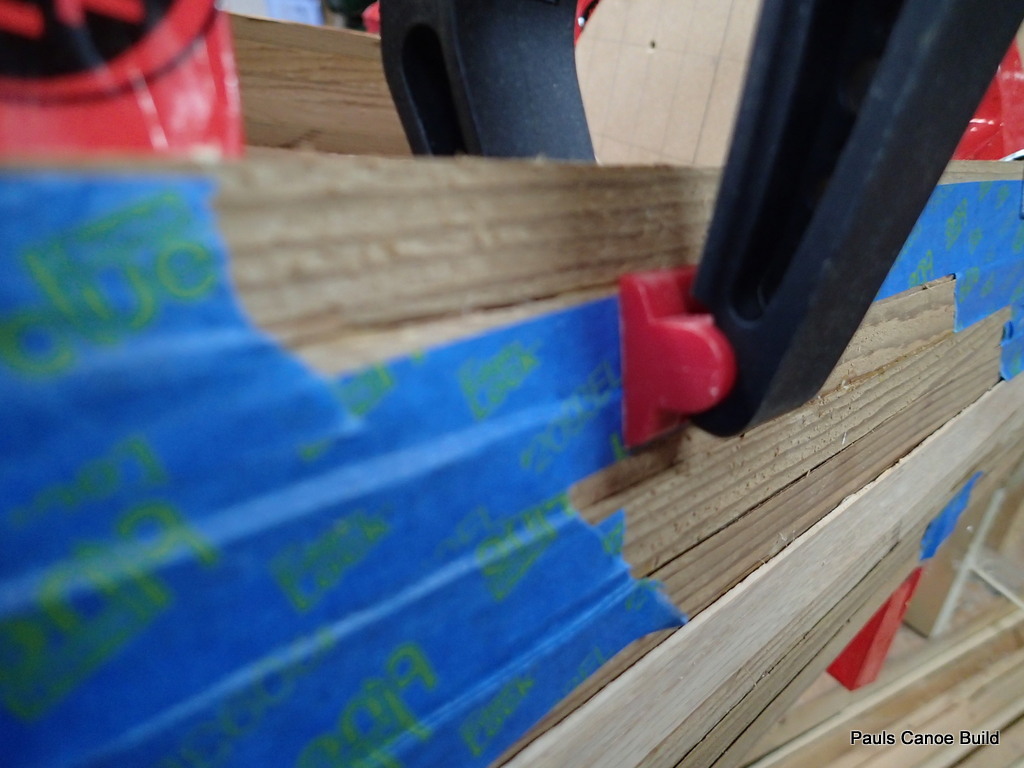
Holding the first strip in alignment.
When we are satisfied, we hot-melt glue the strips to the forms. The hot-melt glue will hold well enough and long enough for us to get all of the strips on.
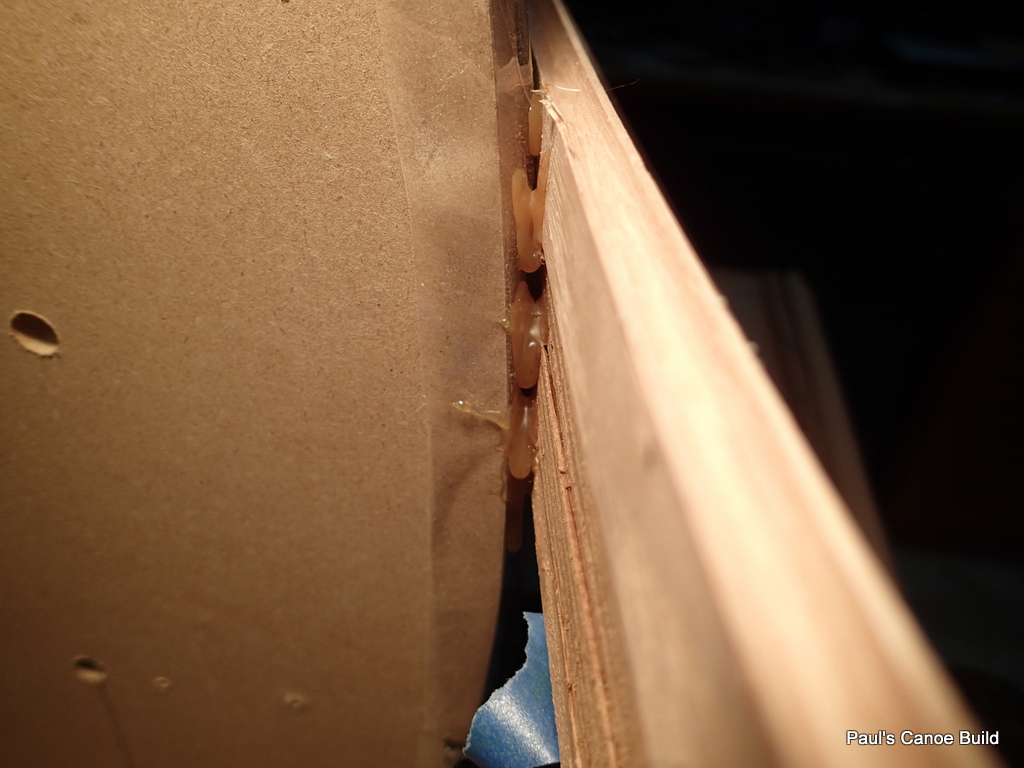
Hot-melt glue holding the strips to the form.
Where the canoe has a reverse curve in, I use a clamp to hold the strips to the form.
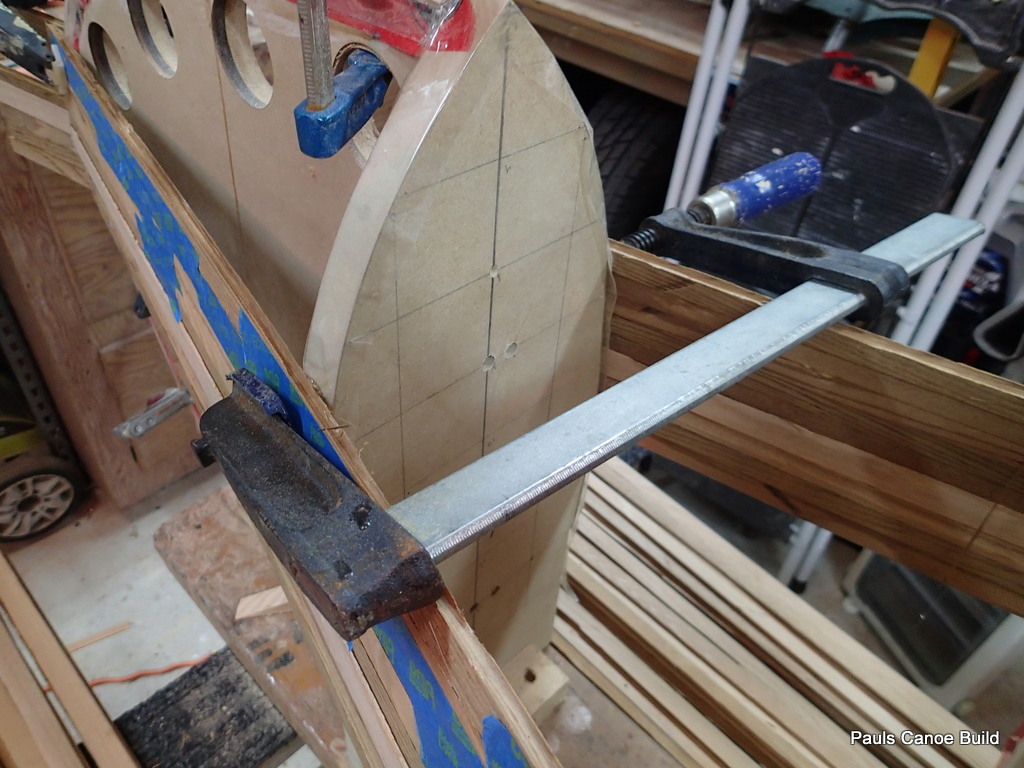
Clamp used at reverse curve at station #2.
The more strips we put on, the easier it is to hot-melt glue or clamp the strips to the form. The “cove” of the previous strip helps to hold the “bead” of the next strip in place.
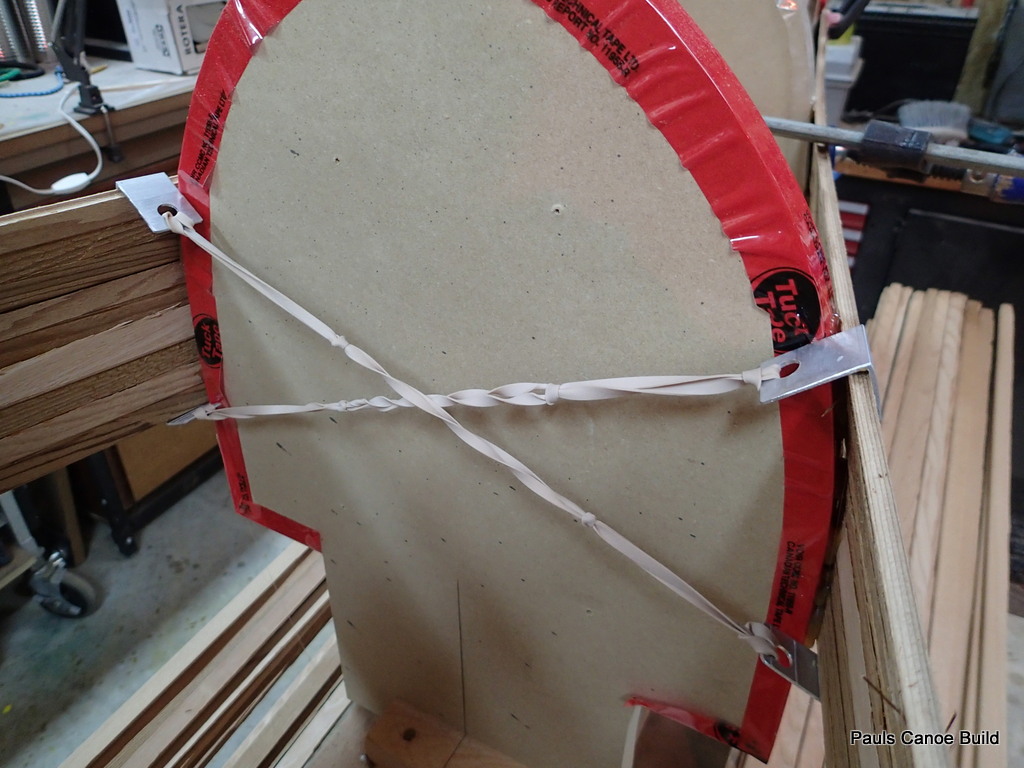
Home-made “J” clamps in use, holding the strips.
We use the “J” clamps to hold the strips in place while we install them. The also help to bend the strips to the form. We are careful not to let the “J” clamps snap back and hit our hands.
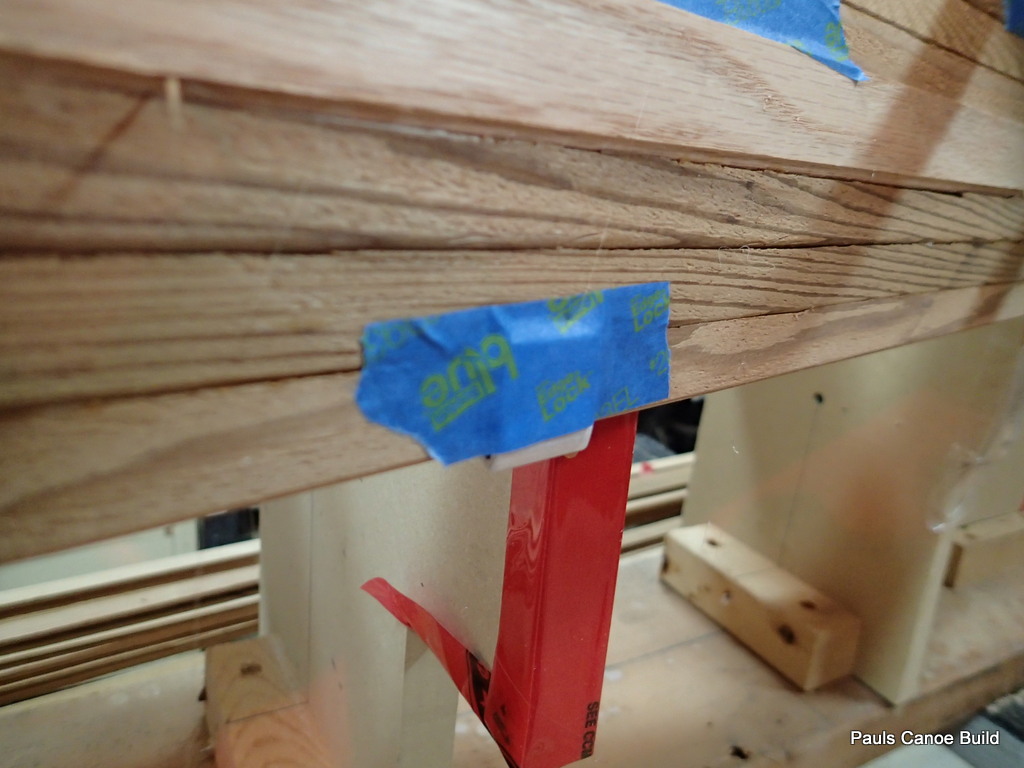
A piece of painter’s tape keeps the bottom part of the “J” clamps from falling off when the “J” clamp is adjusted or when putting a new strip on.
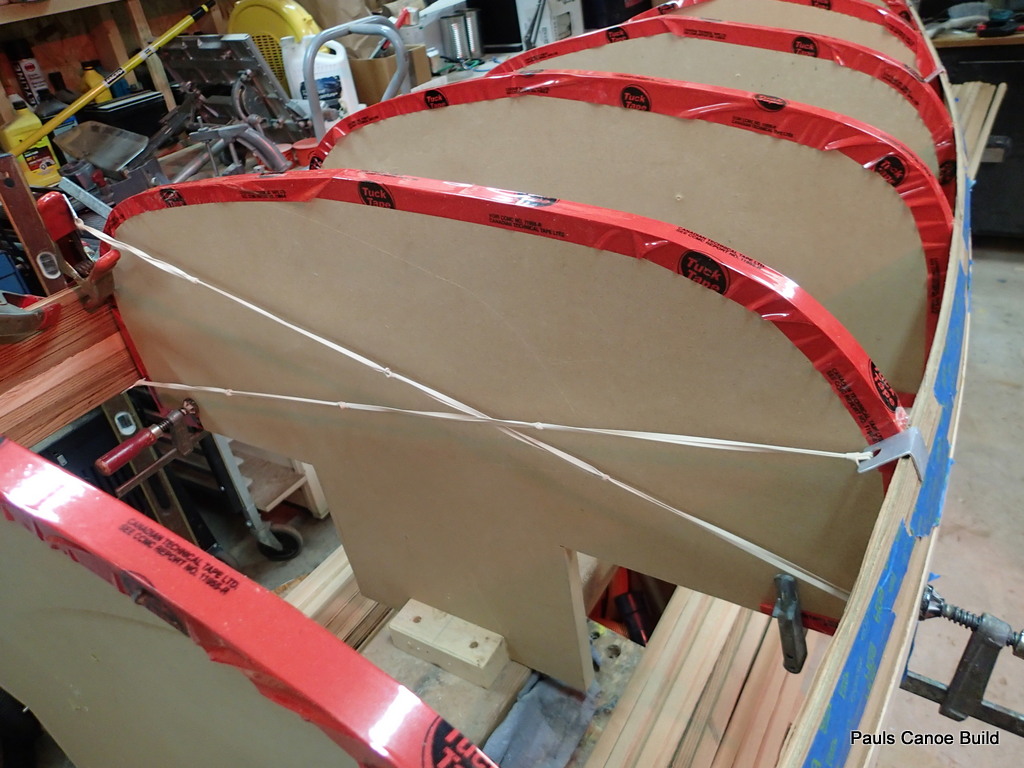
Station “O”.
The “J” clamp on the East side of the canoe is on a spring clamp being used to hold the bead and cove together and to help the strip conform to the curve of the form.
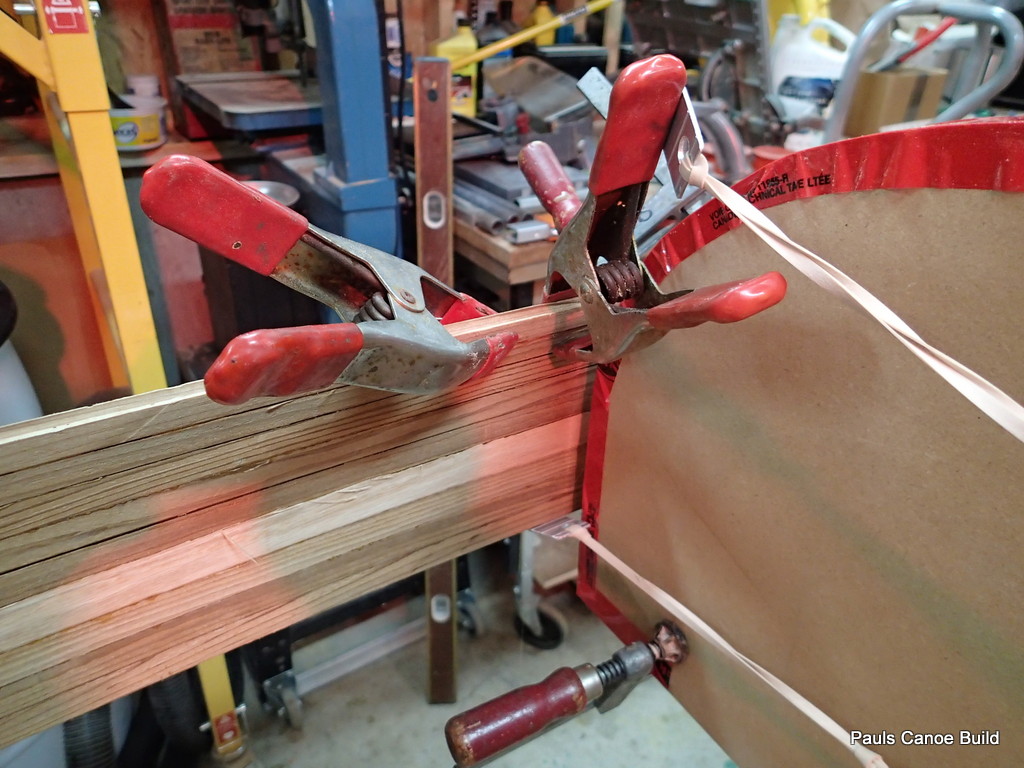
Close of of the “J” clamp in use. Spring clamps keep the strips aligned, “J” clamp holds the strip to the form.
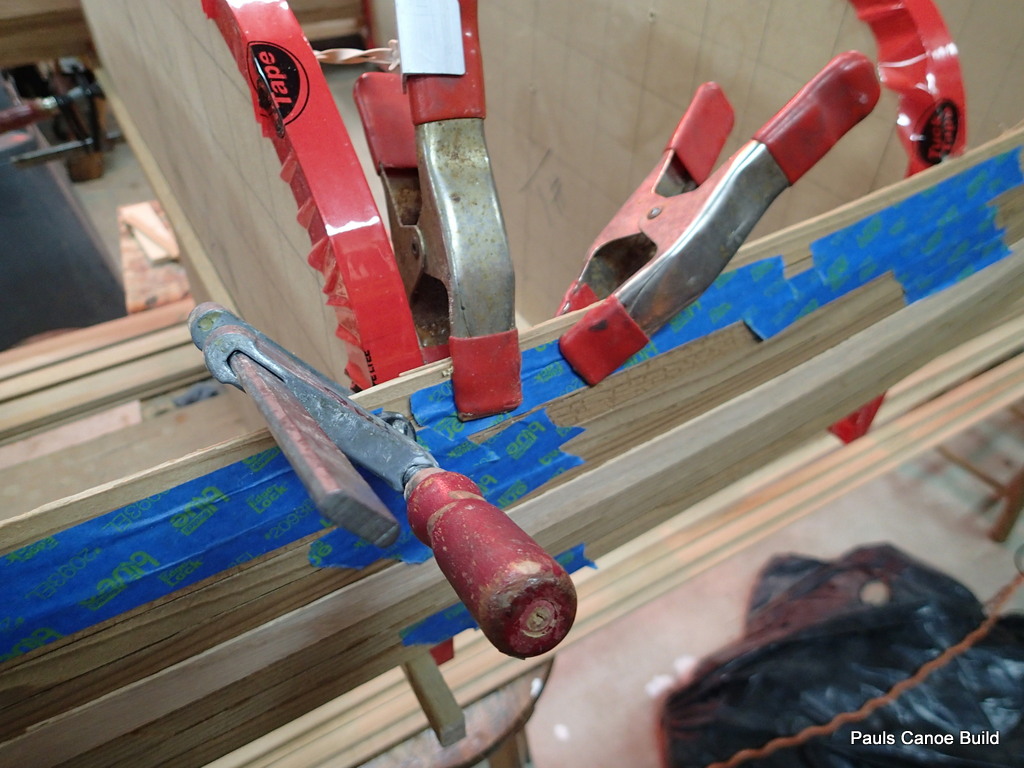
View from another angle.
We put on two strips this morning and hope to put on two more this afternoon.
Paul does not want to “staple” the strips in place, aiming for a clear finish on the canoe. No unsightly staple holes. It seems as if we can only get two strips on at a time because it gets too hard to clamp them in place and keep the strips in alignment.
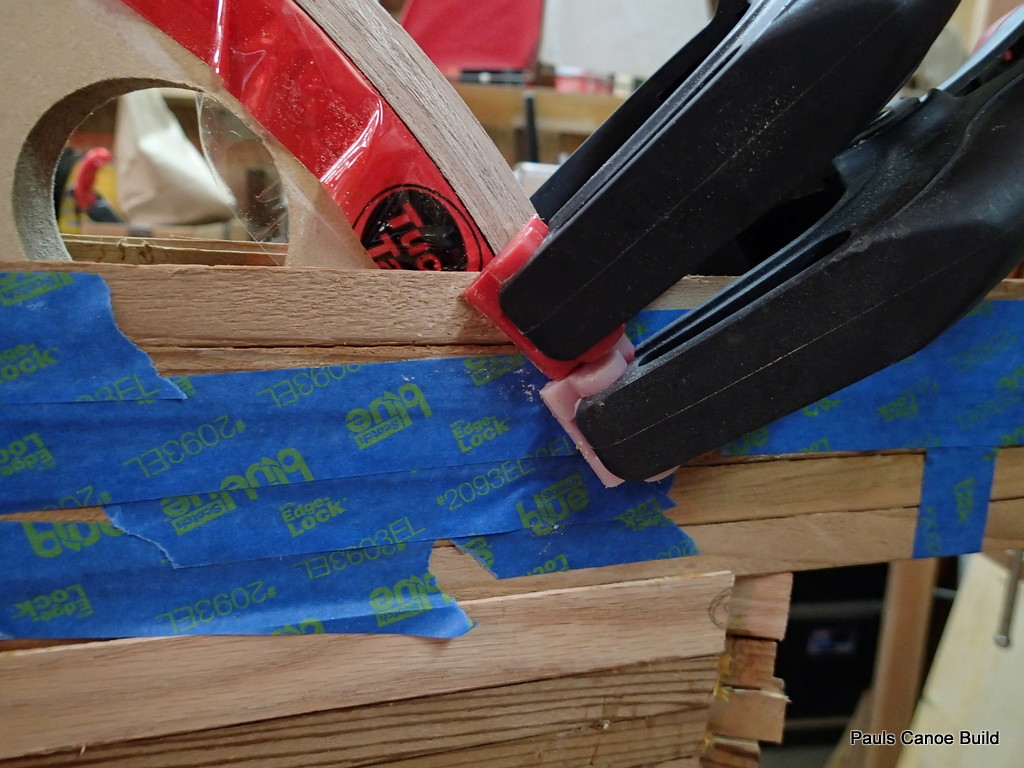
No more room for spring clamps at the stem. (No staple holes either…)
That is nine strips so far…It looks as if we are half-way to the start of the keel line.
Getting closer every time,
Happy paddling to you,
Mike
