The seat frames and carrying yoke have been given a coat of epoxy resin. We let them cure for several days. I then give them a light sanding and begin varnishing.
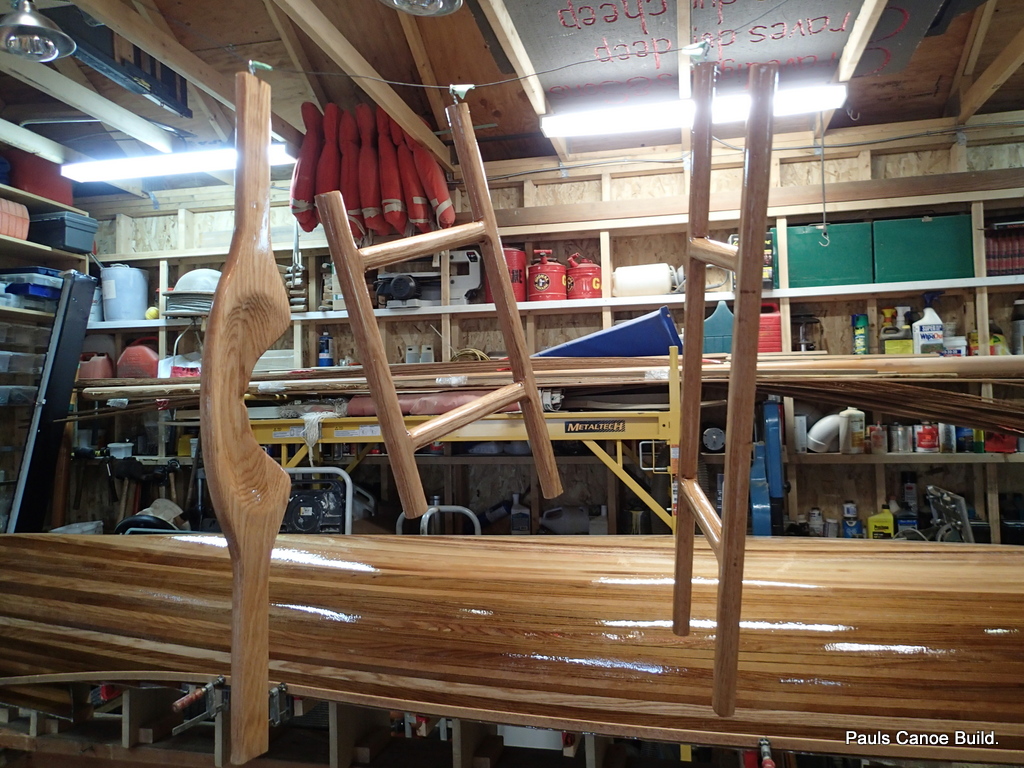
First coat of varnish.
I put eye-hooks in one end and hang them in front of the radiant shop heater. I hope for two coats a day. Second coat later in the day:
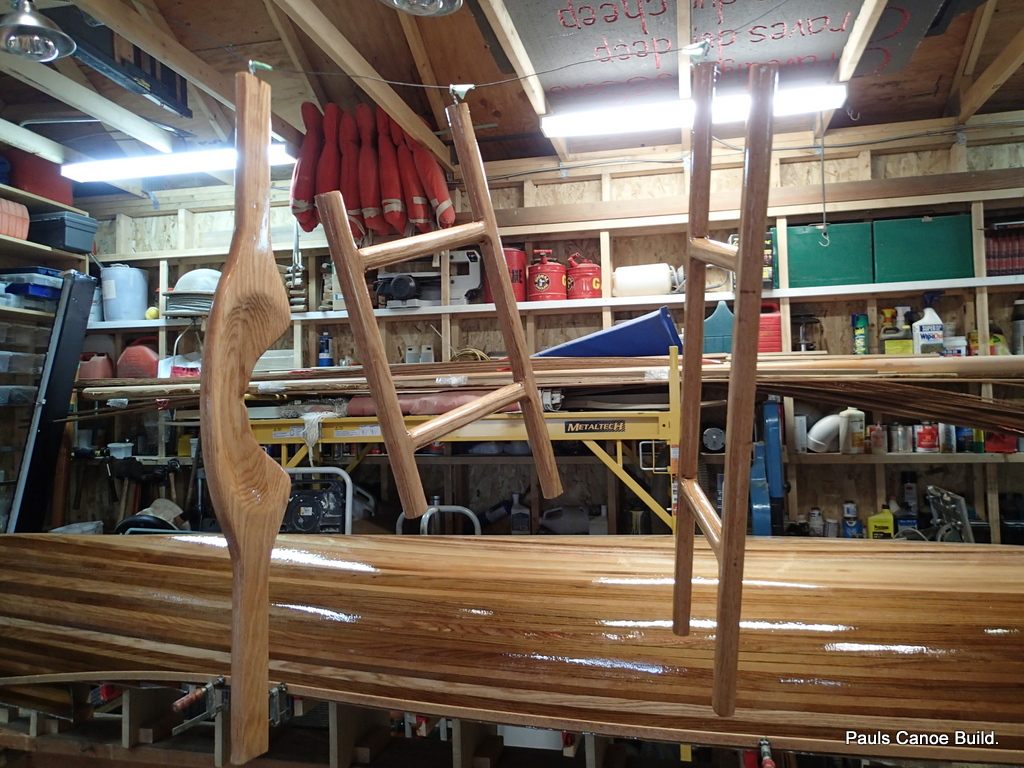
Second coat of varnish.
In these last two pictures, You can see a batten clamped to the gunwale. Paul and I are looking a shear lines for the canoe.
While the varnish dries, I make up two canoe cradles to put the canoe before Paul and I take the canoe off of the strongback and moulds.
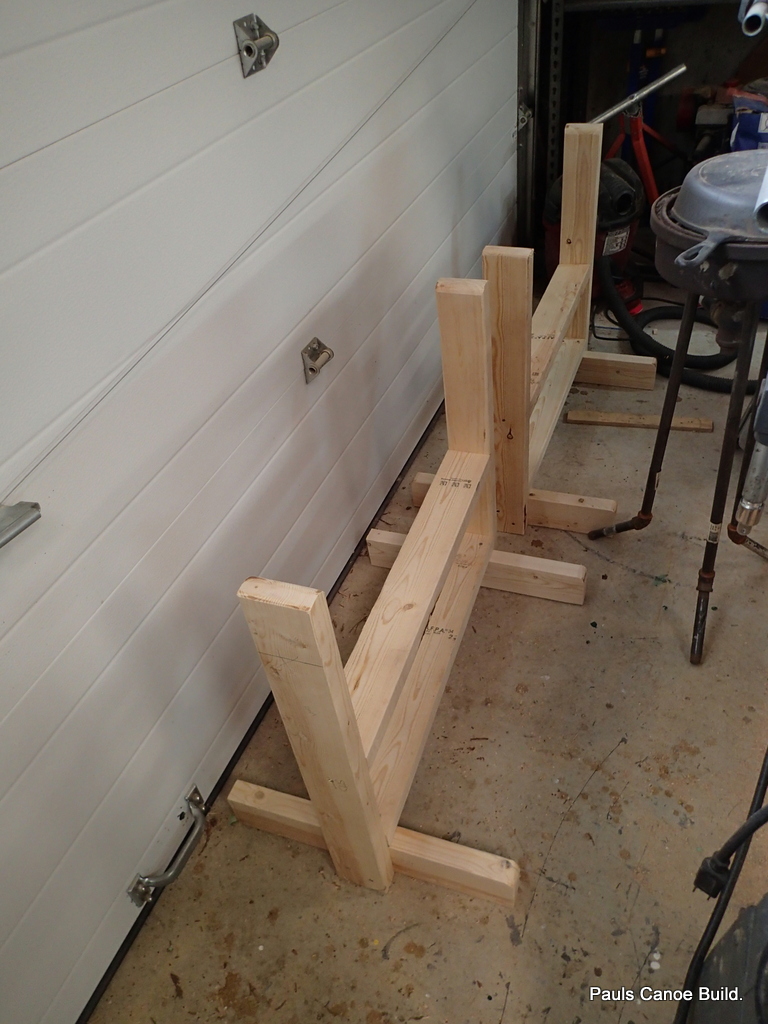
Canoe cradles
The cradles are made from four 2×4’s. The feet are 20″ long, the legs are 28″ high and the cross braces are 28″ long. The feet are rounded off as are the tops of the legs. I just have to find some carpet for the tops.
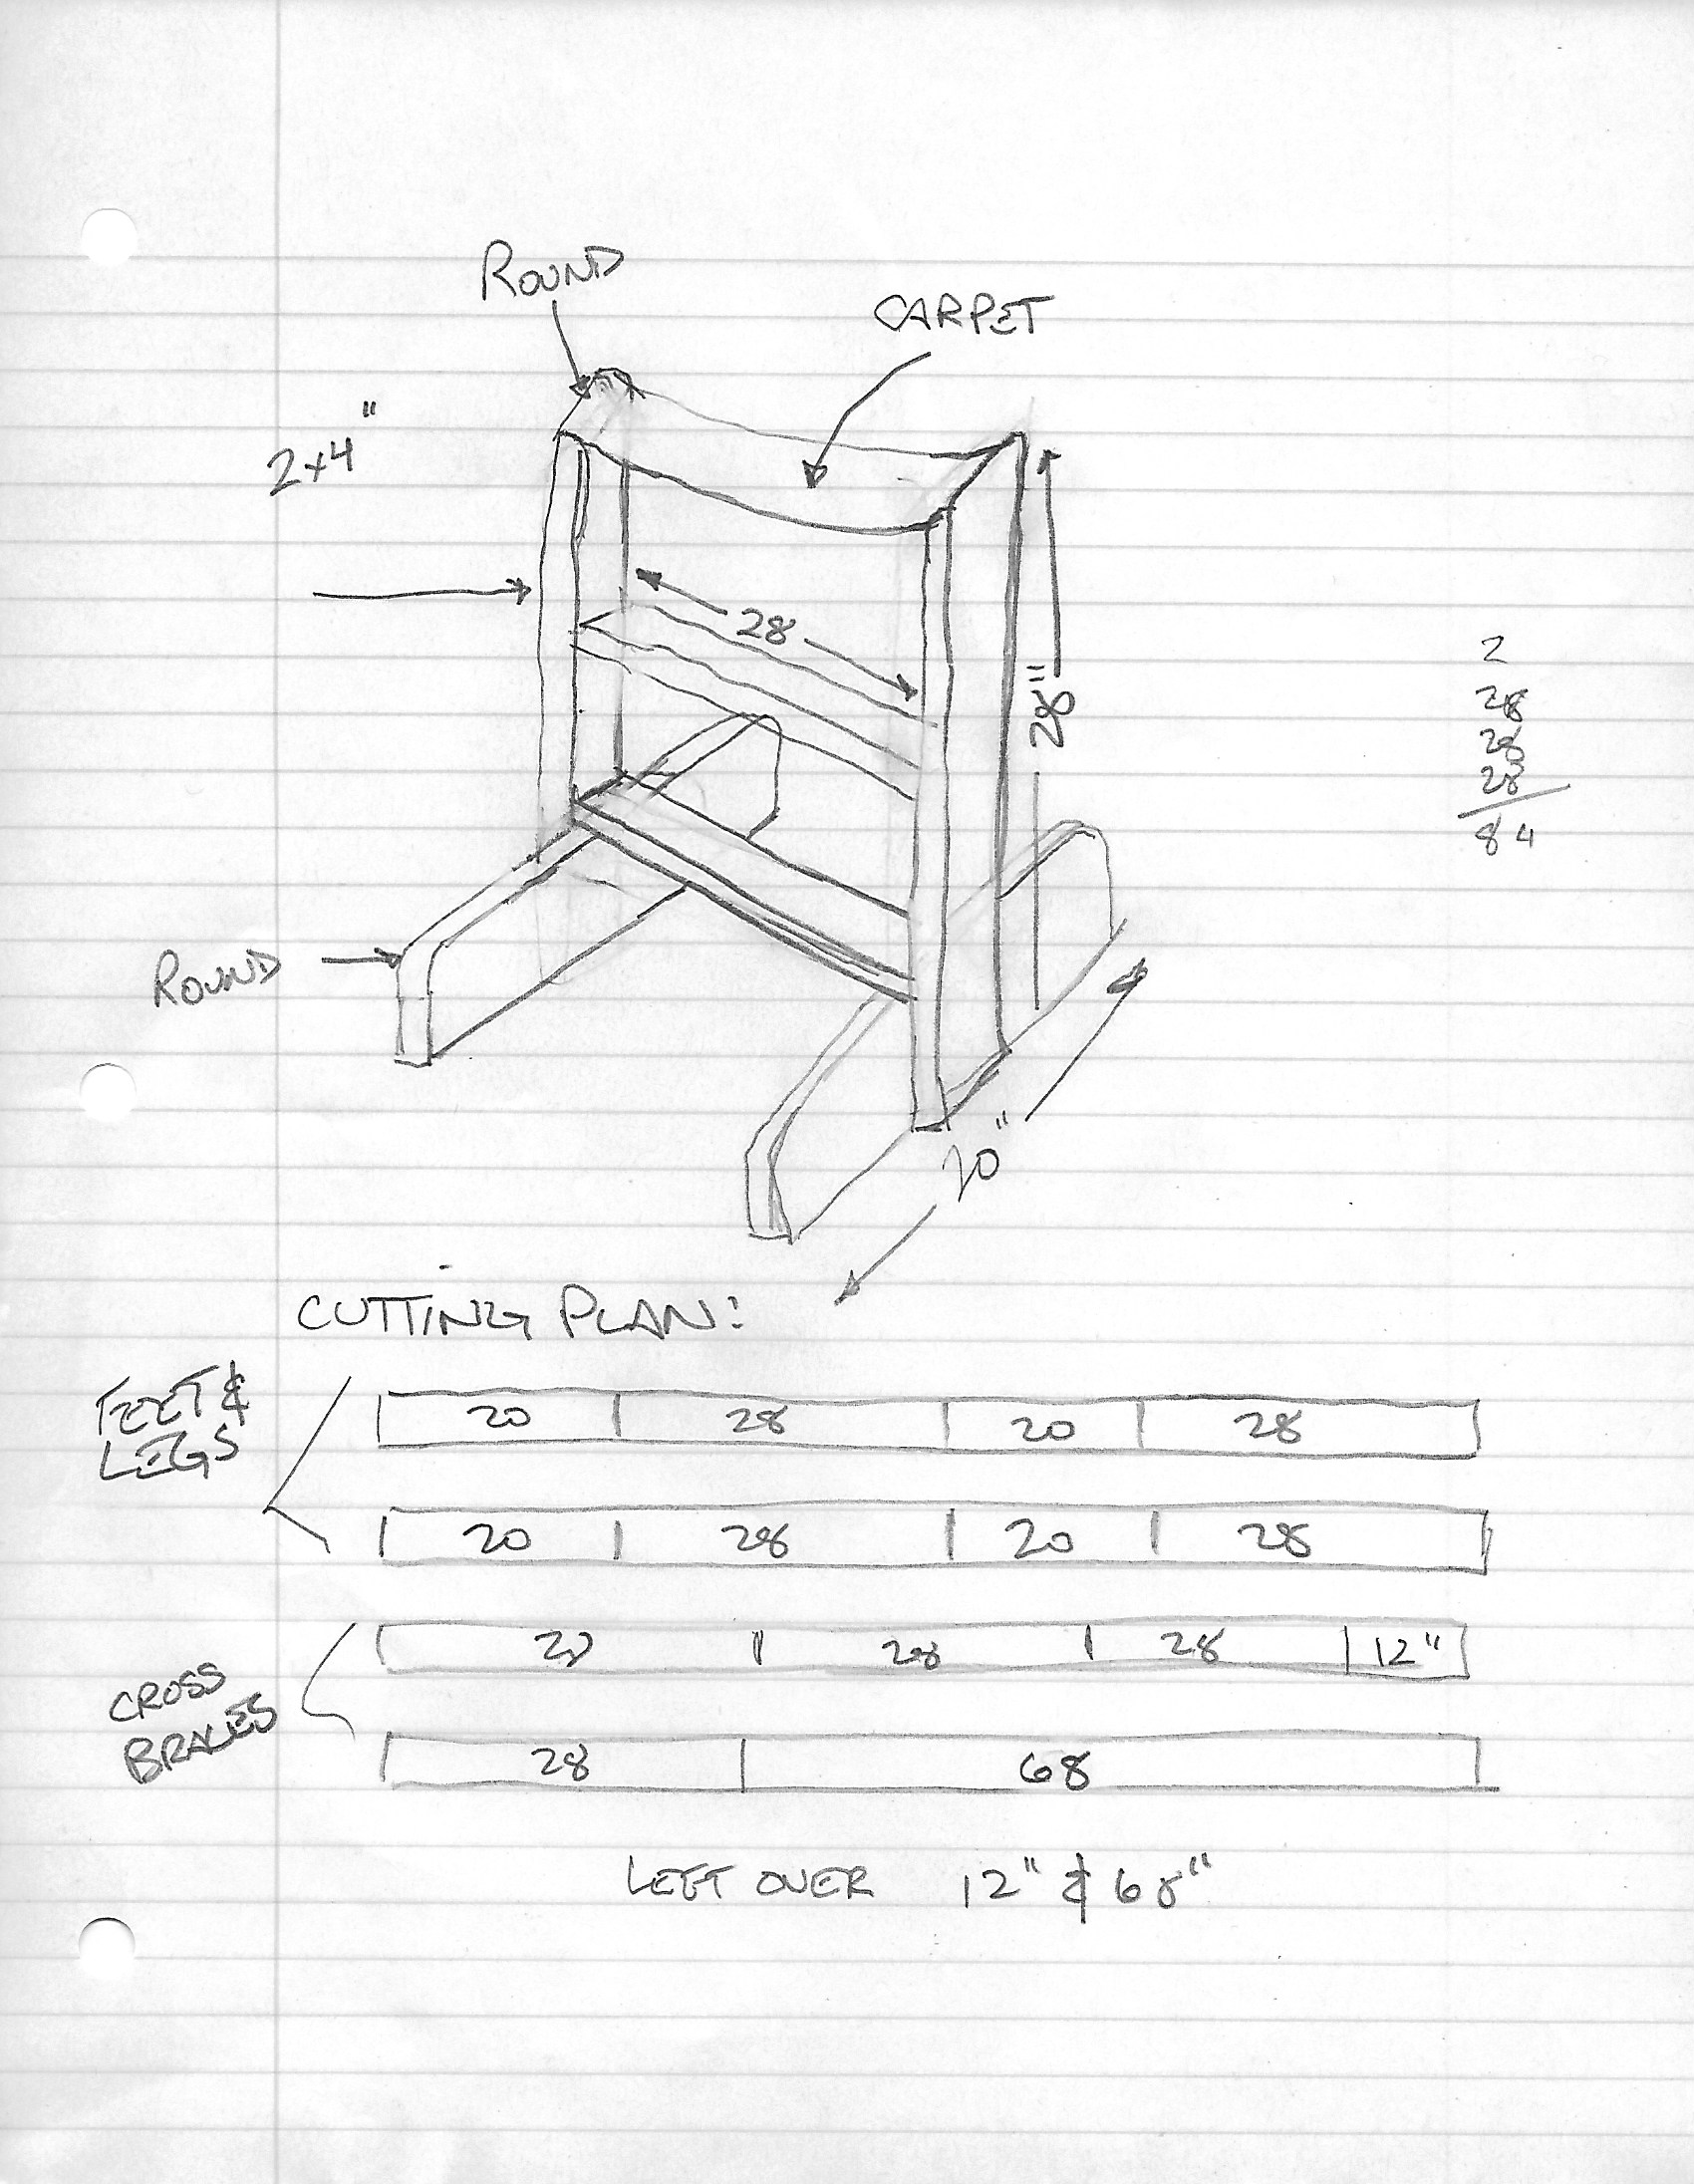
Sketch of the Canoe Cradle plans.
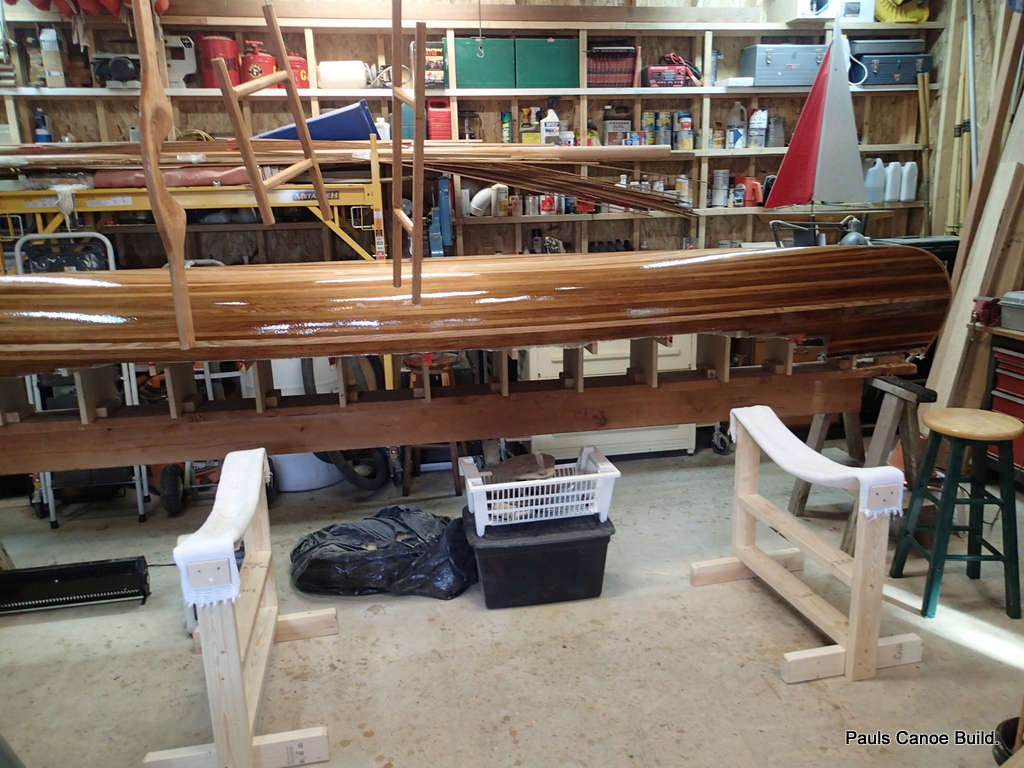
Old bath mat as carpet, ready to take the hull off of the strongback/moulds.
We have undone the screws holding the bow and stern stem mould pieces in place. Moulds #0, #1, #2, #3, #4, #5, & #6 are still in place. Paul and I go around the canoe, pulling at the sides, trying to break the hot-melt glue connection to the moulds. We then go to the bow and stern and lift the canoe off of the moulds and place her onto the cradles. We then take off the bow and stern section mould pieces.
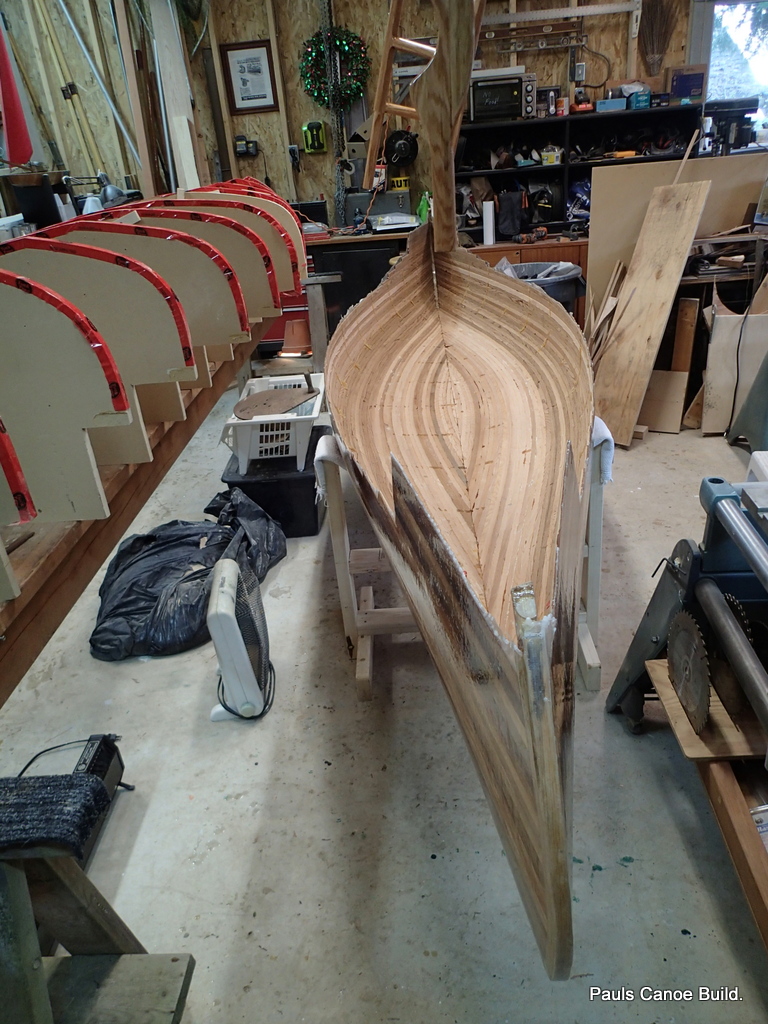
Hull off of the moulds.
Time to take the strongback/moulds apart and make room to work on the inside of the canoe.
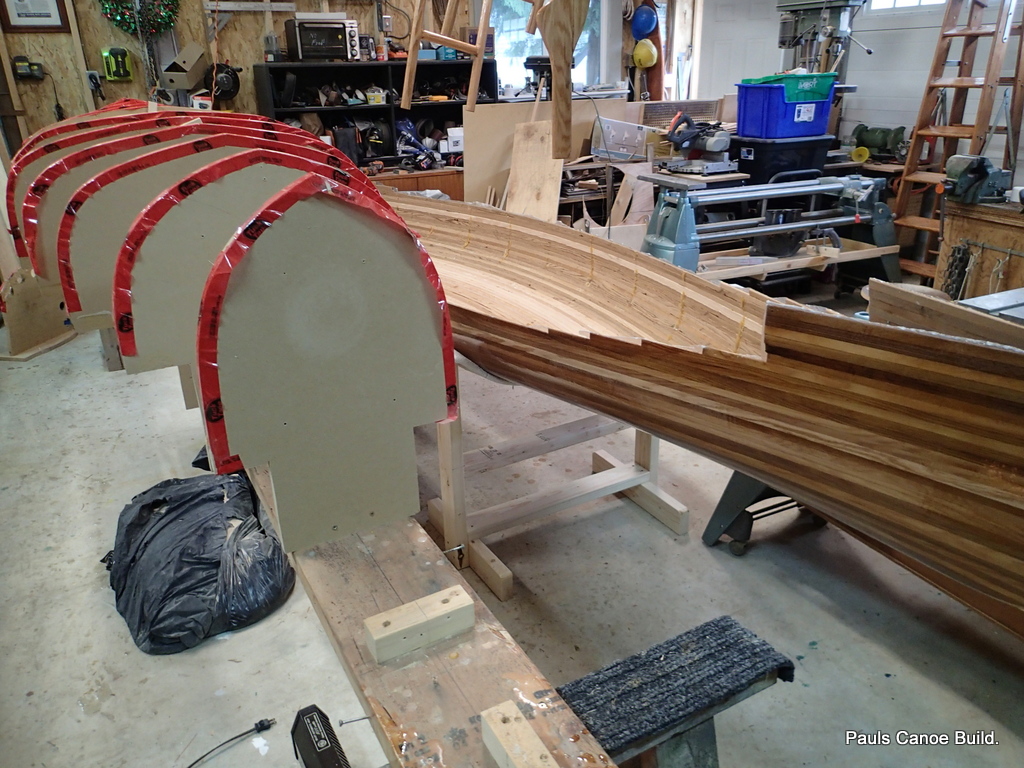
We start taking the mould stations off of the strongback.
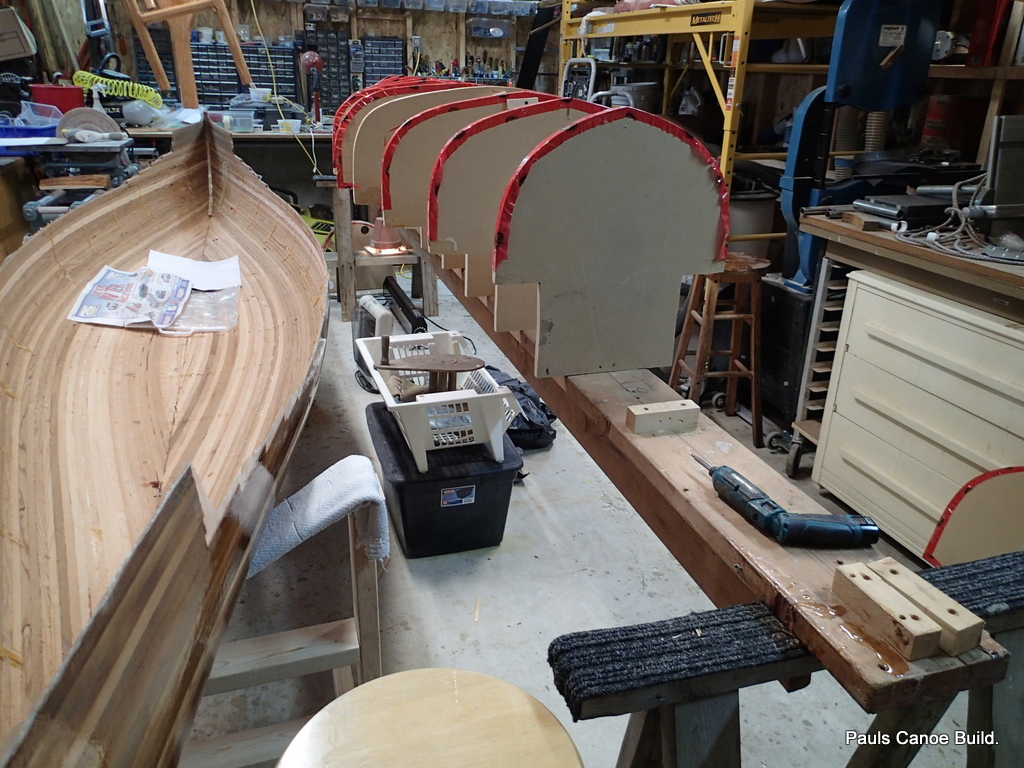
Another station mould out.
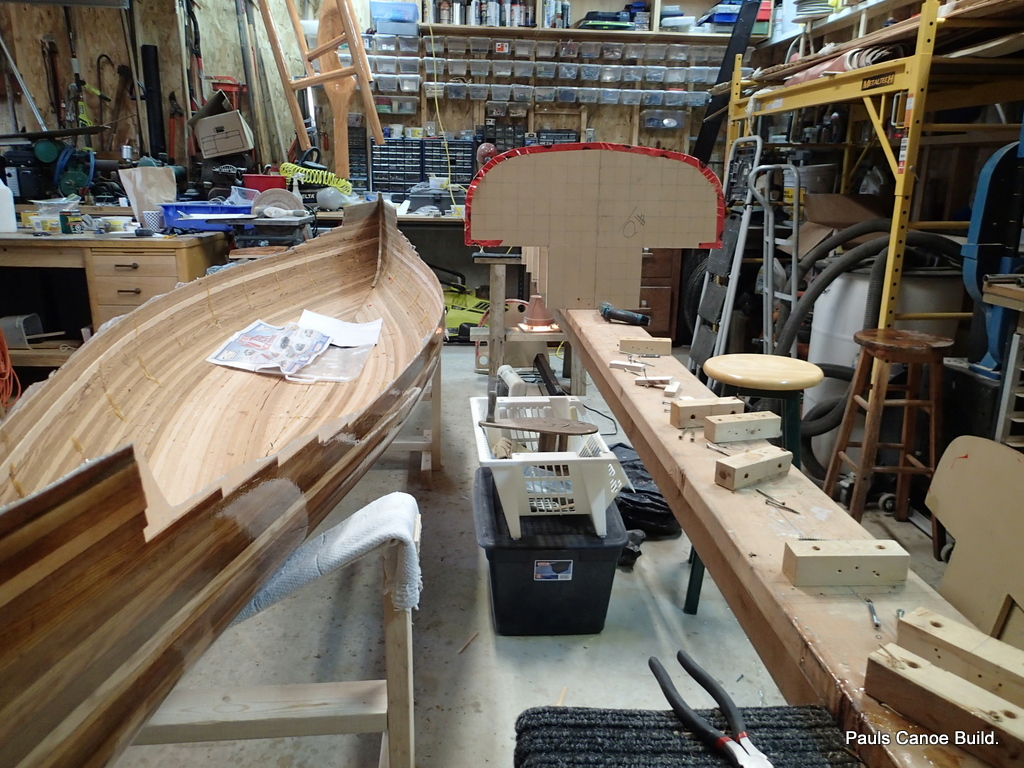
They all come out the same way…Two screws hold the station mould to the block, two screws hold the block to the strongback.
The paper in the canoe is to catch any varnish drips (Third coat of varnish).
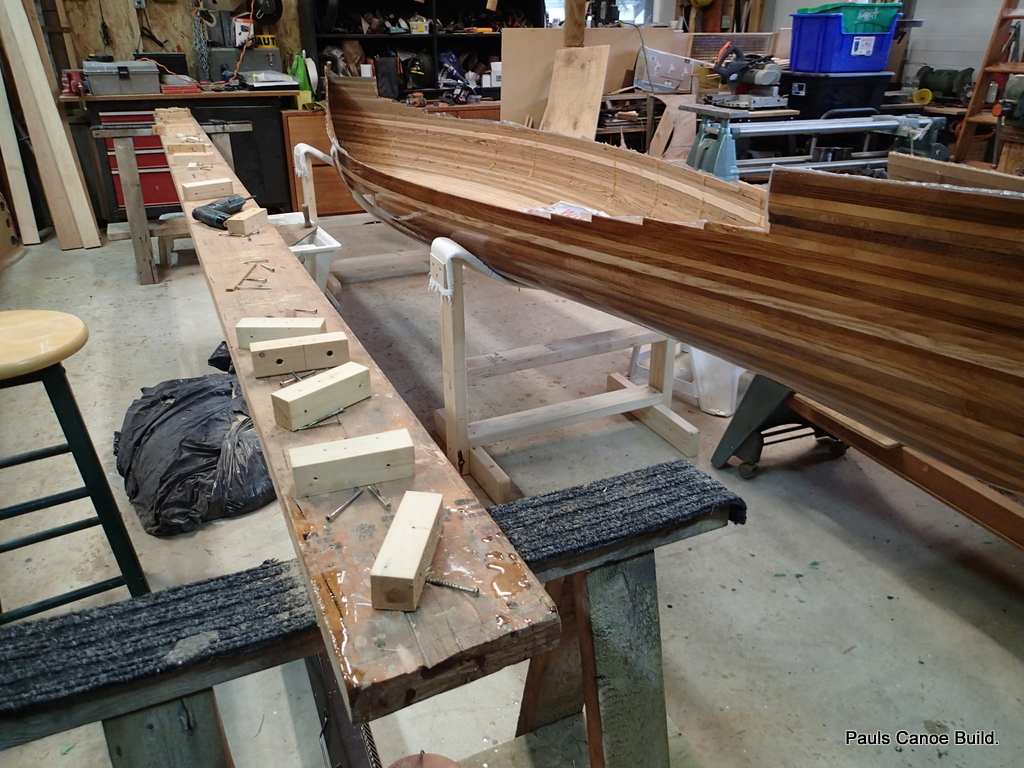
All gone!
I put the moulds to the side. I will probably keep them, although I do not have plans to make another canoe. The blocks I will save for another boat building project.
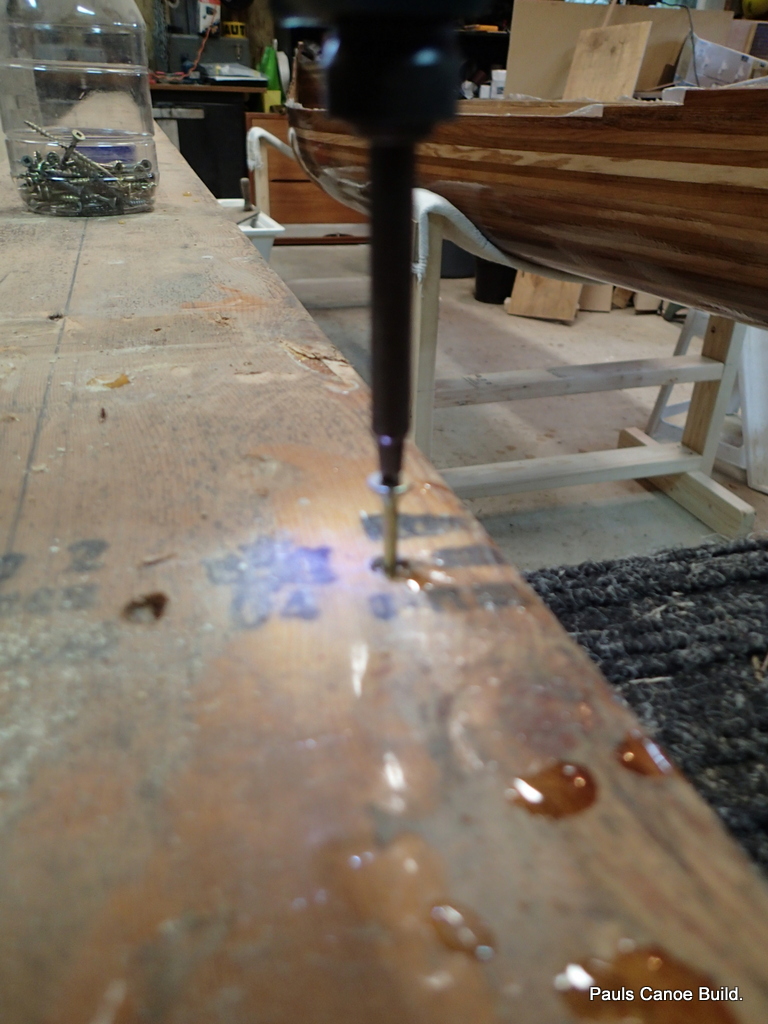
Taking the strongback off of the sawhorses.
I will hang the strongback from the rafters. For now, we put it with the unused strips to the side.
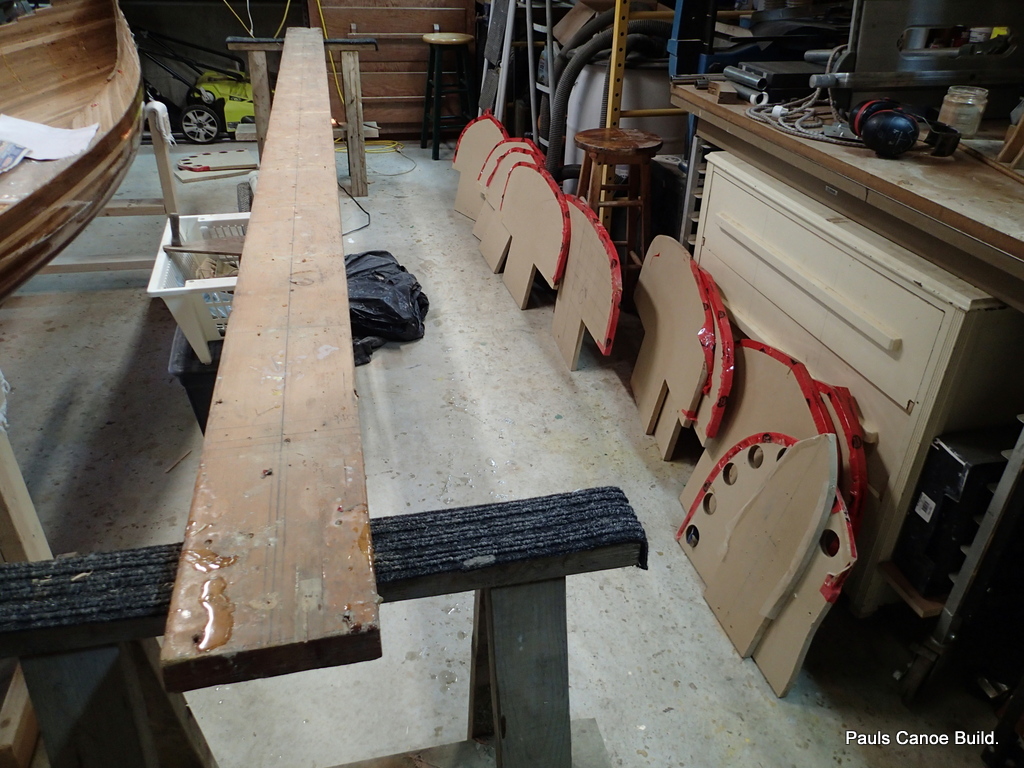
Ready to stow.
We now have to remove the hot-melt glue. The next time I build, I will not use hot-melt glue. I will use the ratchet straps at the station mould technique instead. Because the canoe was inside the garage, there have been no wet/dry cycles and the glue is quite stuck to the cedar strips.
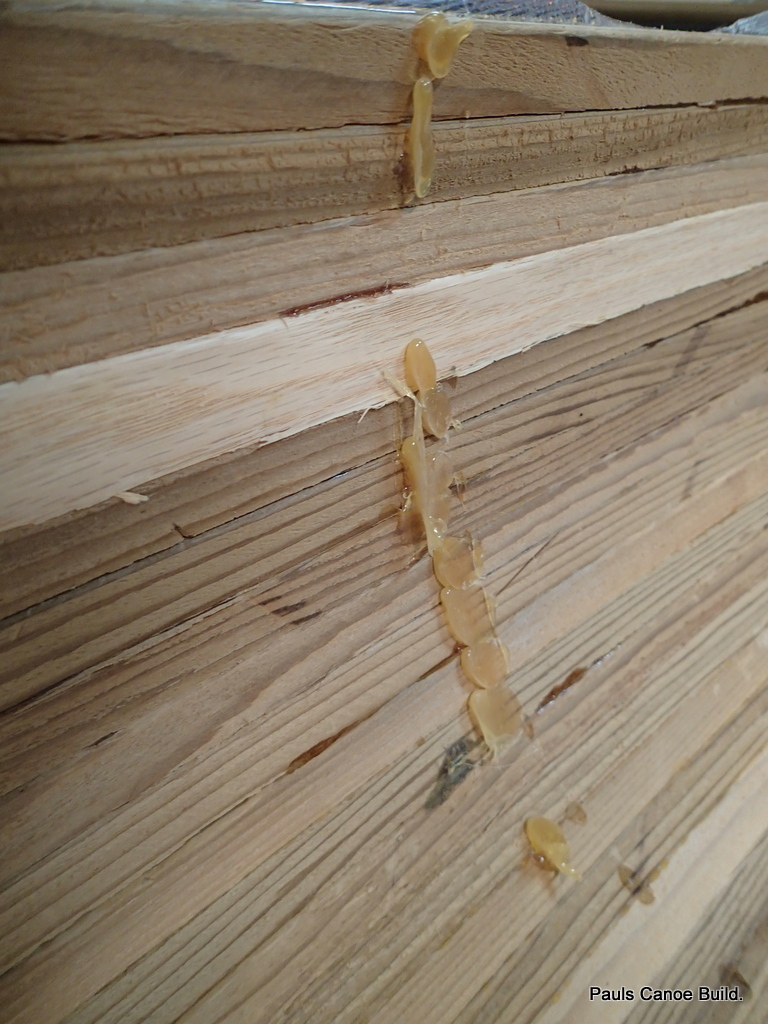
Hot-melt glue from the station moulds.
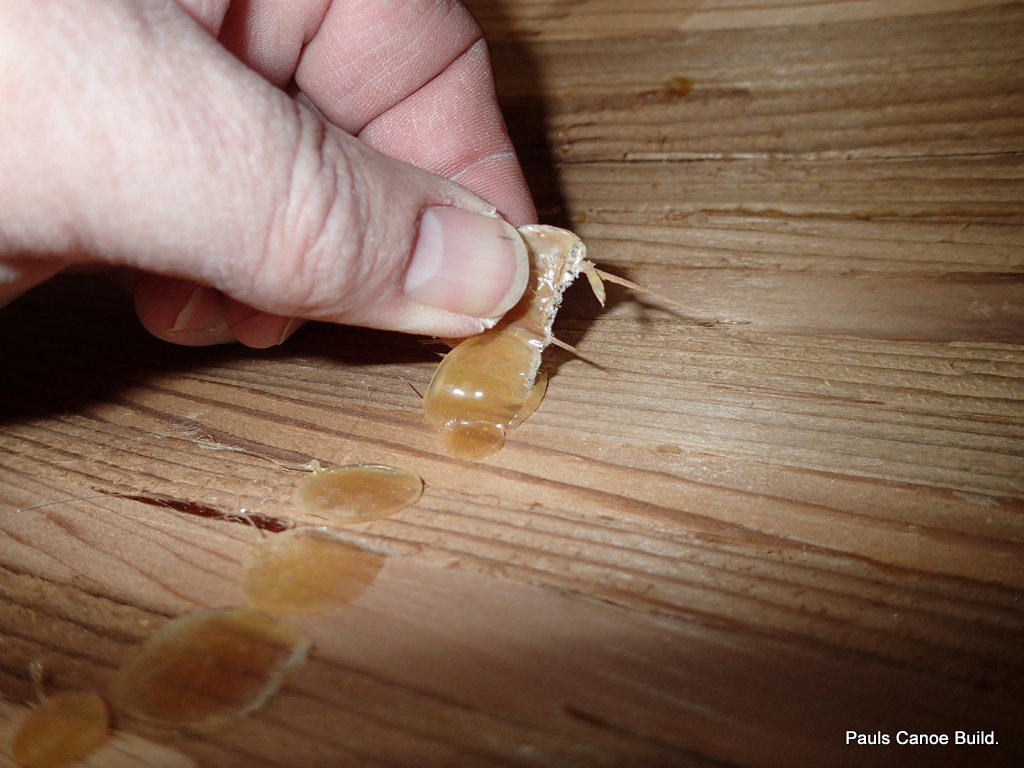
Pulling off the hot-melt glue.
I use pliers and a chisel to take the glue off…carefully!
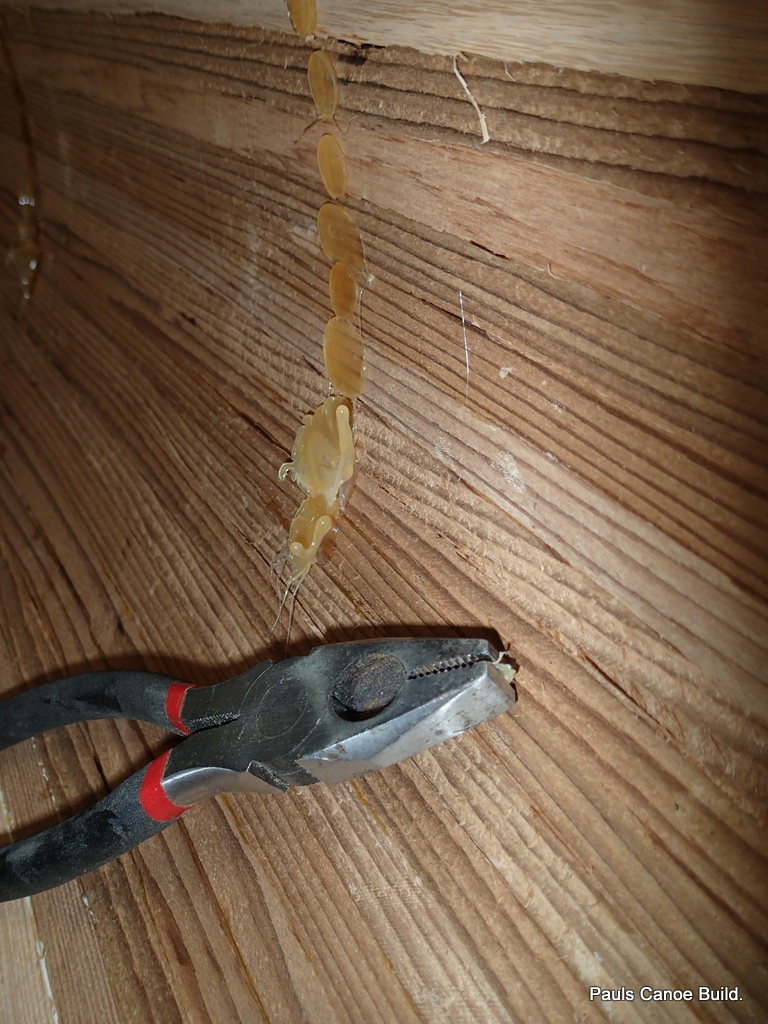
Pliers. The best technique seems to be use a chisel to lift the edge of the glue, grab that edge with pliers or (if big enough) your fingers and pull.
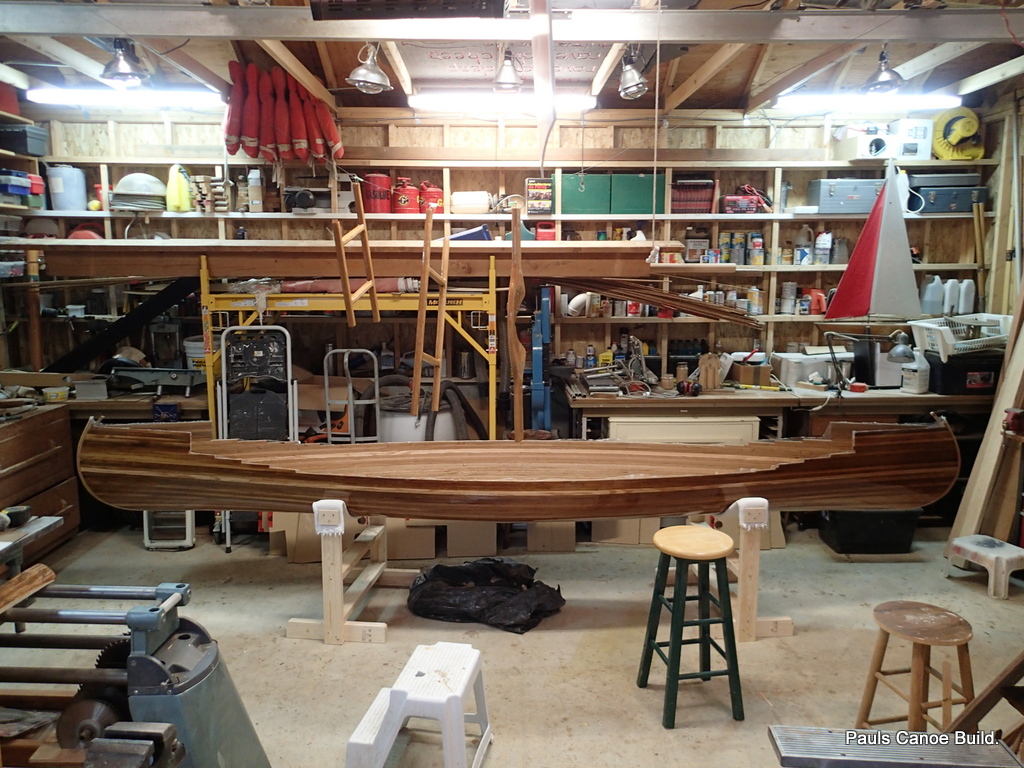
Between pulling off the hot-melt bits, I get some more varnishing in. (Coat five)
All the pictures of the varnish coats look more or less the same….Fifth coat:
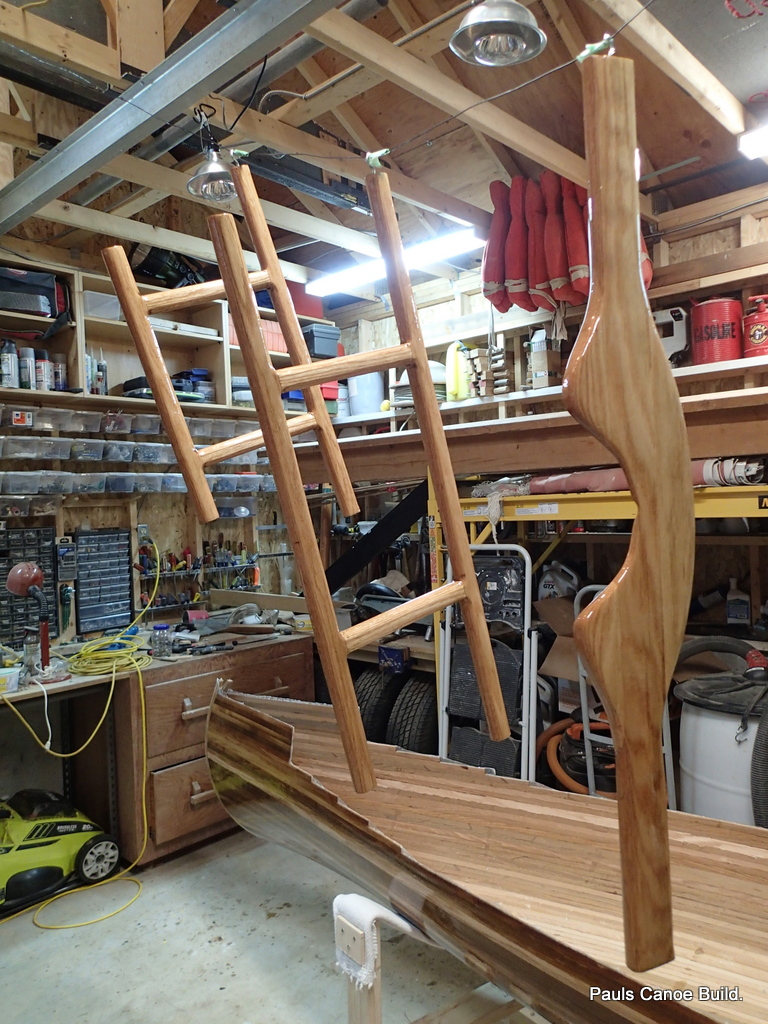
Fifth coat of varnish.
I cannot sand the inside of the hull until the varnishing is done. I end up doing seven coats.
I decide to weigh the hull:
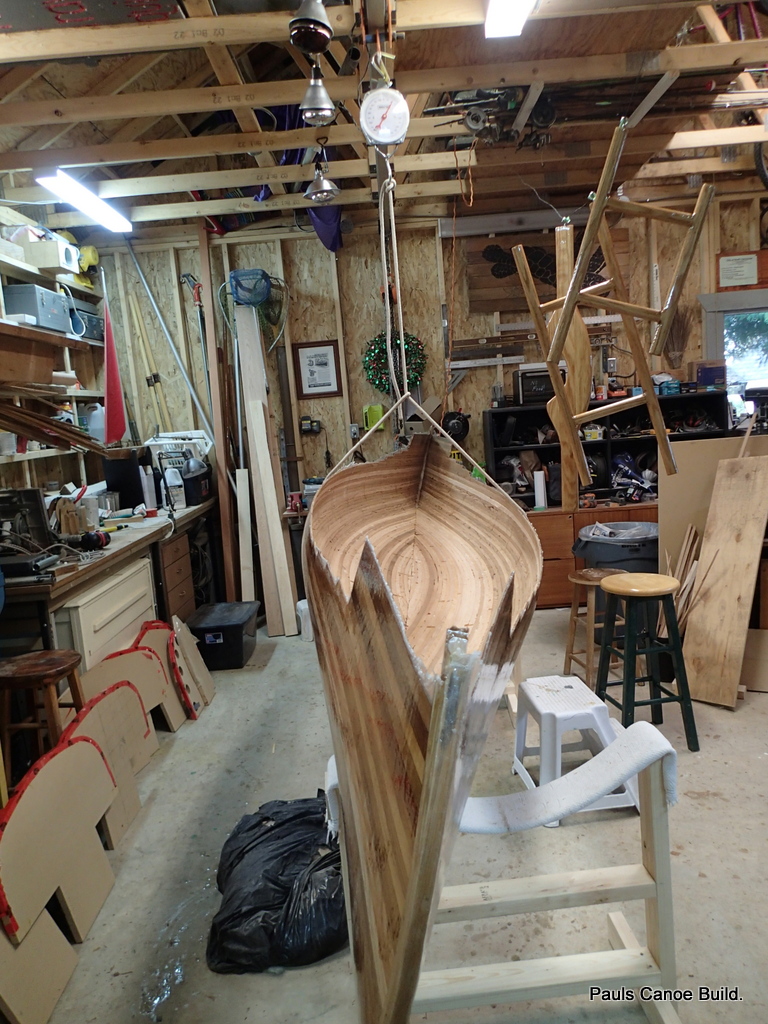
Hull weight net thirty-five pounds.
Four ounce cloth and resin for the inside, inner and outer gunnels, decks, seats, carrying yoke and brass half oval for the keel. On track for less than fifty pounds.
Next steps, Webbing the seats, sanding and epoxy/cloth for the inside. Paul and I will have another “Poxy weekend” next week. A week to get ready. Lots of sanding to do.
