While the epoxy cures, between applications, I make up the canoe seats and carrying yoke.
With the price of wood these days (and yesterdays too) I always make up a cutting plan before I start to cut. Helps me to not to have to go back and buy another plank especially because I had already bought the best one.
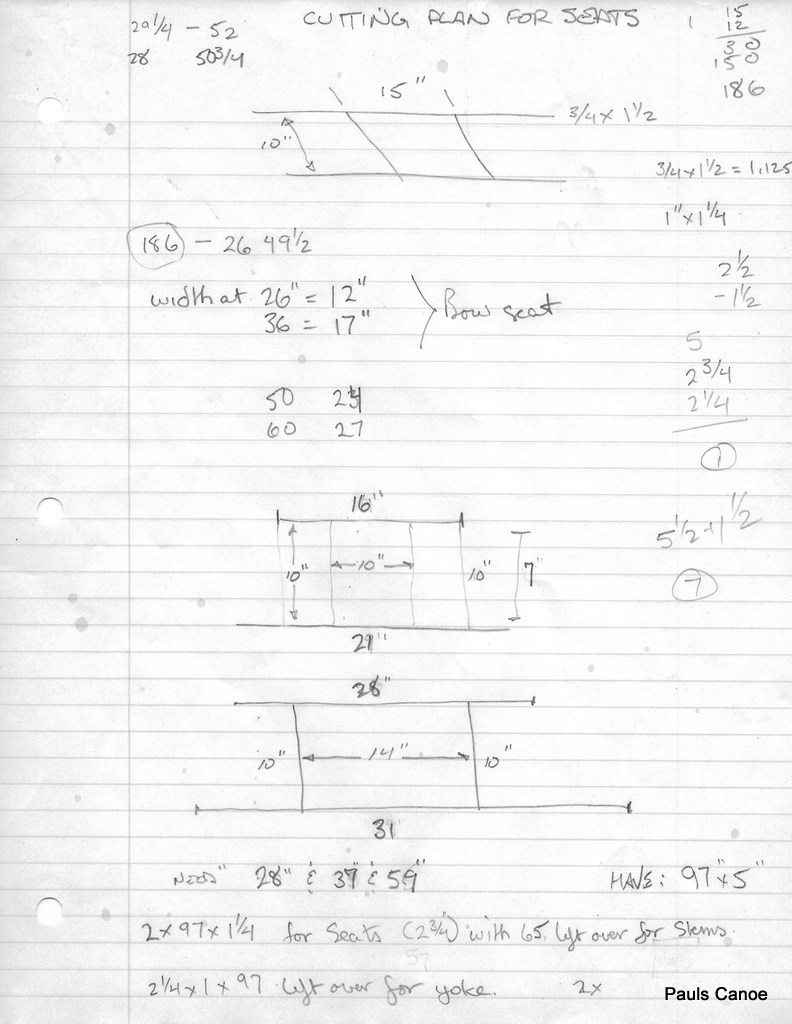
Cutting plan for the plank. Stem strips, seat frames and carrying yoke.
I start by taking the rest of the oak plank that was cut up for the stems and cut the seat frames and the pieces for the carrying yoke. The yoke has to be glued up to make up the necessary width.
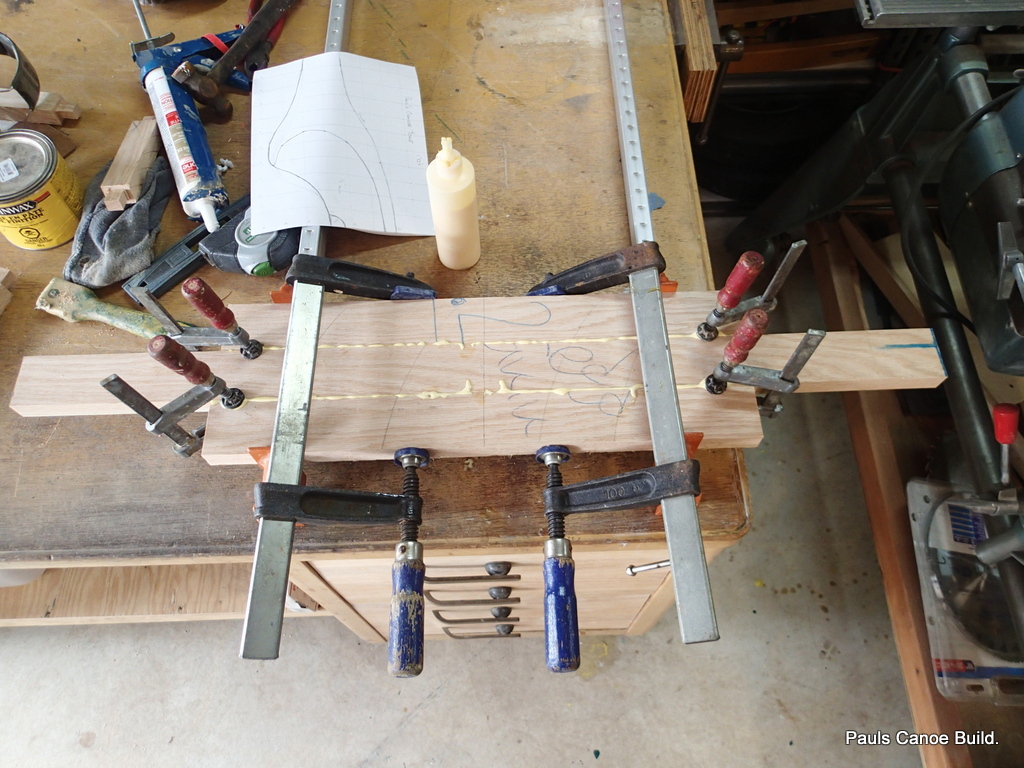
Glueing up the yoke.
I try to match up the grain for the yoke. I set it aside.
I used the table saw feature on my Shopsmith to cut the tenons. They are 1″ wide, with a ½” tenon. I will make the mortises to fit.
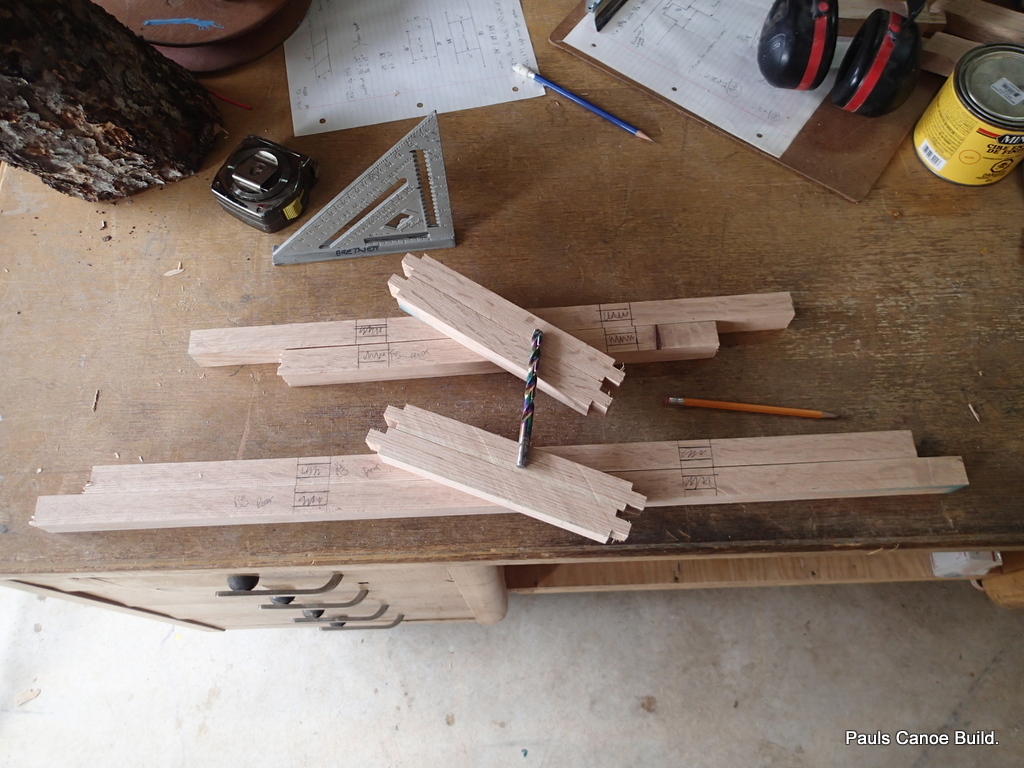
Roughed out seat frames. Tenons are cut into the seat side rails. The seat transverse rails are all different sizes.
I am now going to use the Shopsmith drill press set-up to make the mortises into the transverse rails. The seats will all be the same depth, 10″. I centre the seats on the transverse rails…They are a little too long, so we can custom fit them to the canoe.
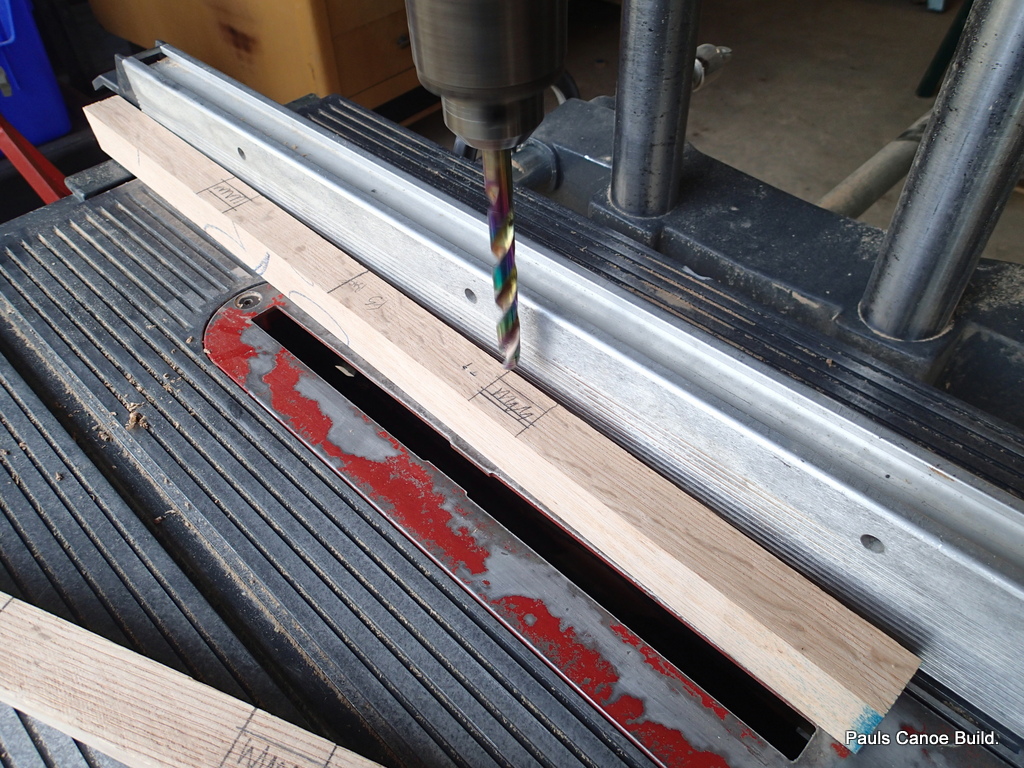
Shopsmith drill press set-up.
I will drill several closely-spaced holes for the mortise and then finish them off with a chisel.
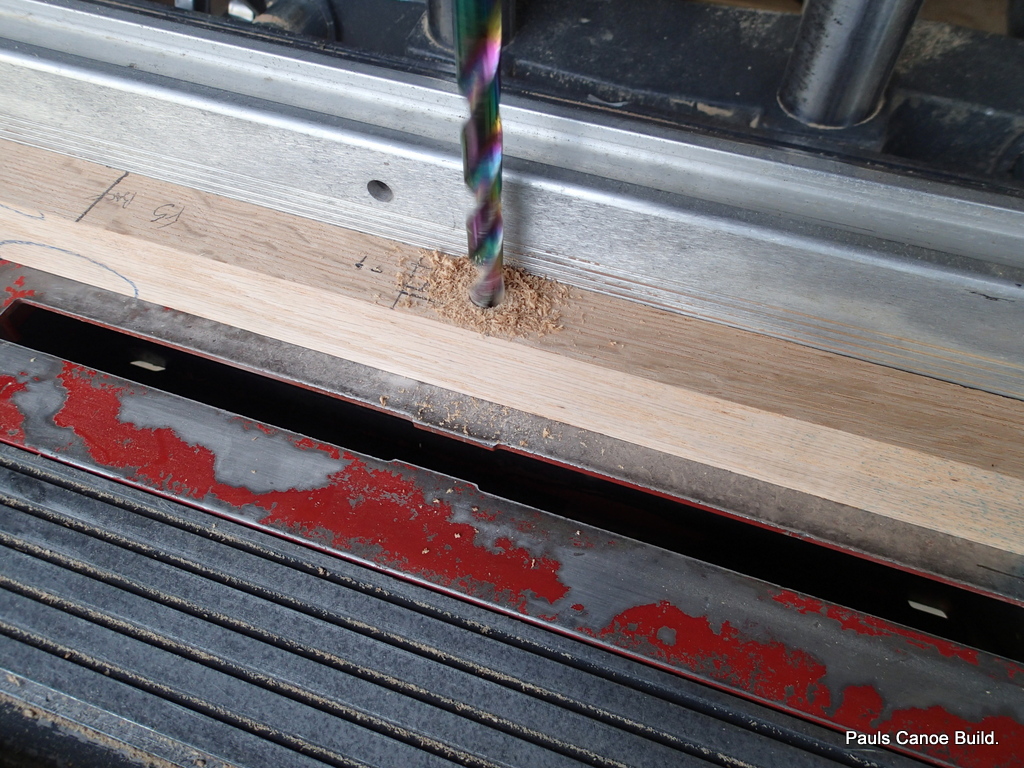
Here we go….
I have eight mortises to drill. I have to be sure that I get them all on the correct sides of the transverse rails.
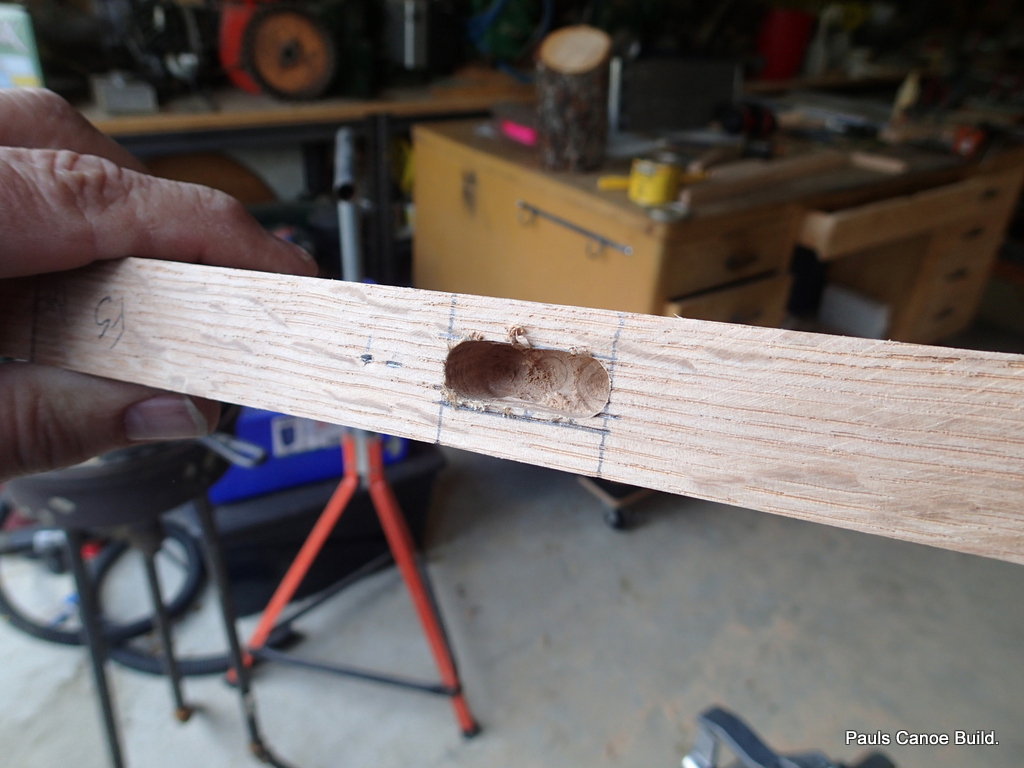
Mortise rough-out.
I use some chisels to square-up the mortises.
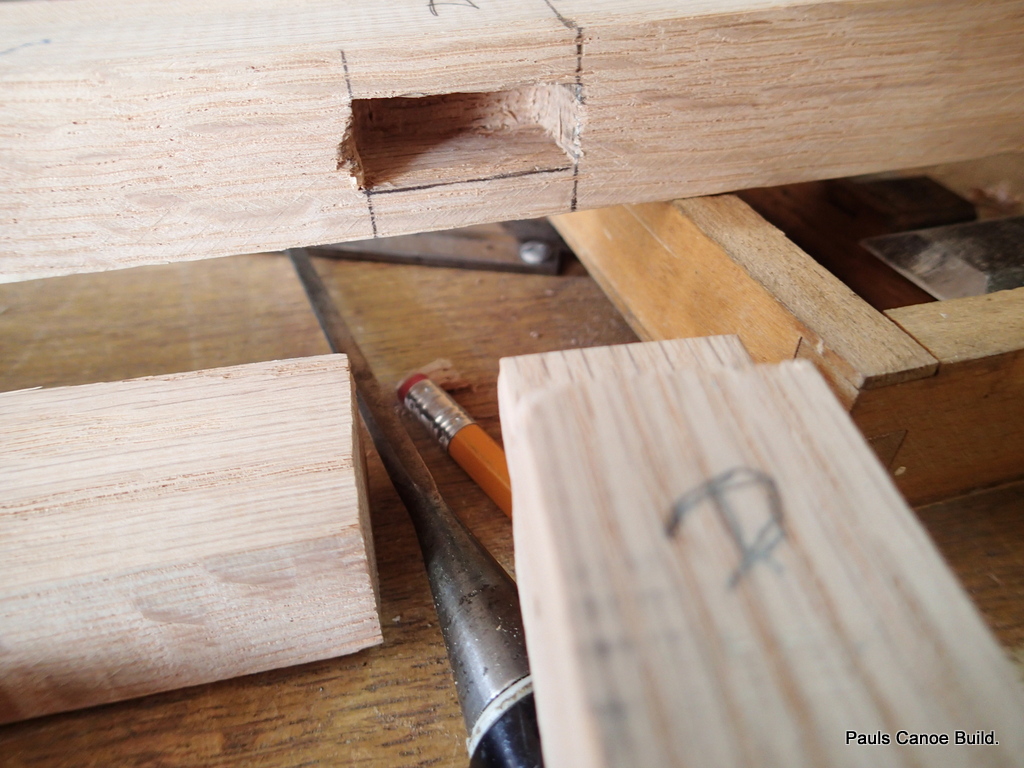
I mark and test fit the rails.
Each tenon and mortise is marked so not only do I get the same tenon in each mortise, the side rail is always the same side up relative to the transverse rail.
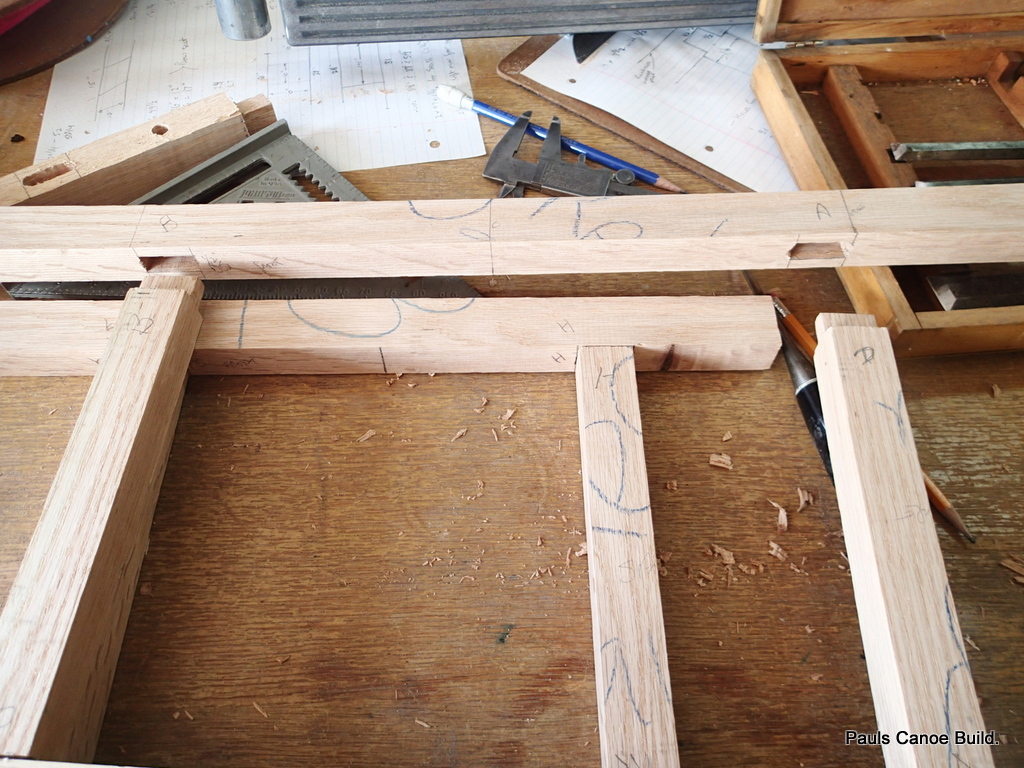
Fitting together nicely.
In the books, depending on the author, some glue up the seats, some do not. At this point we are not glueing them up. You can see the caliper for mortise depth and some of the chisels I used.
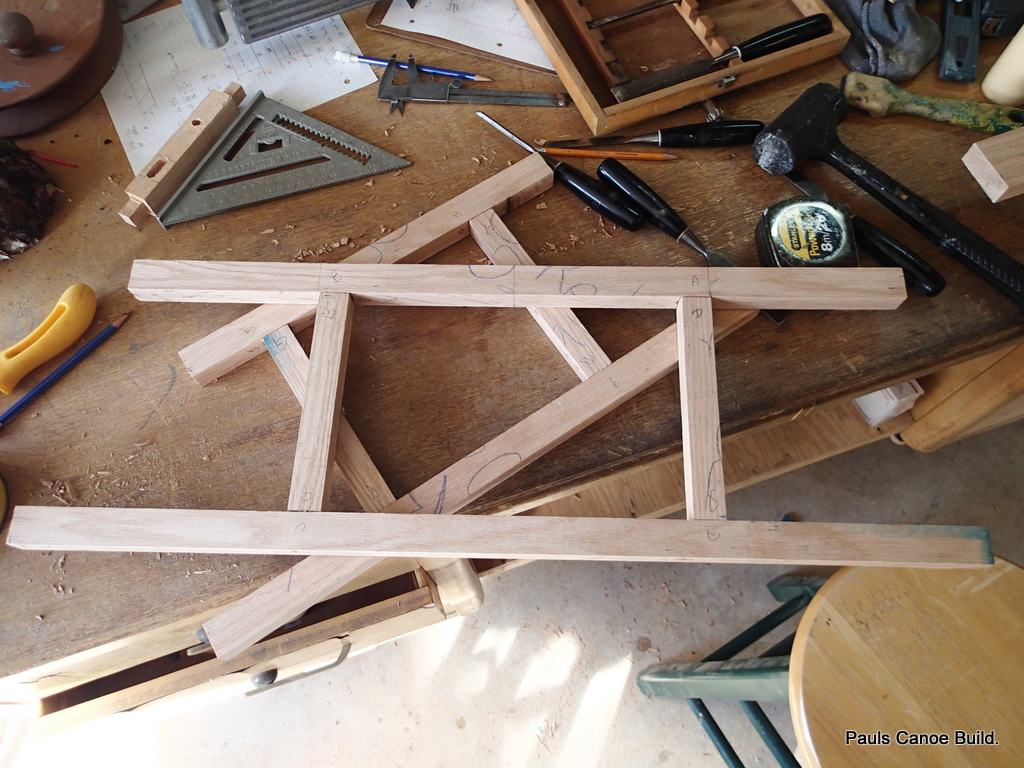
Ready for sanding.
The carrying yoke glue is dry and I am ready to shape it.
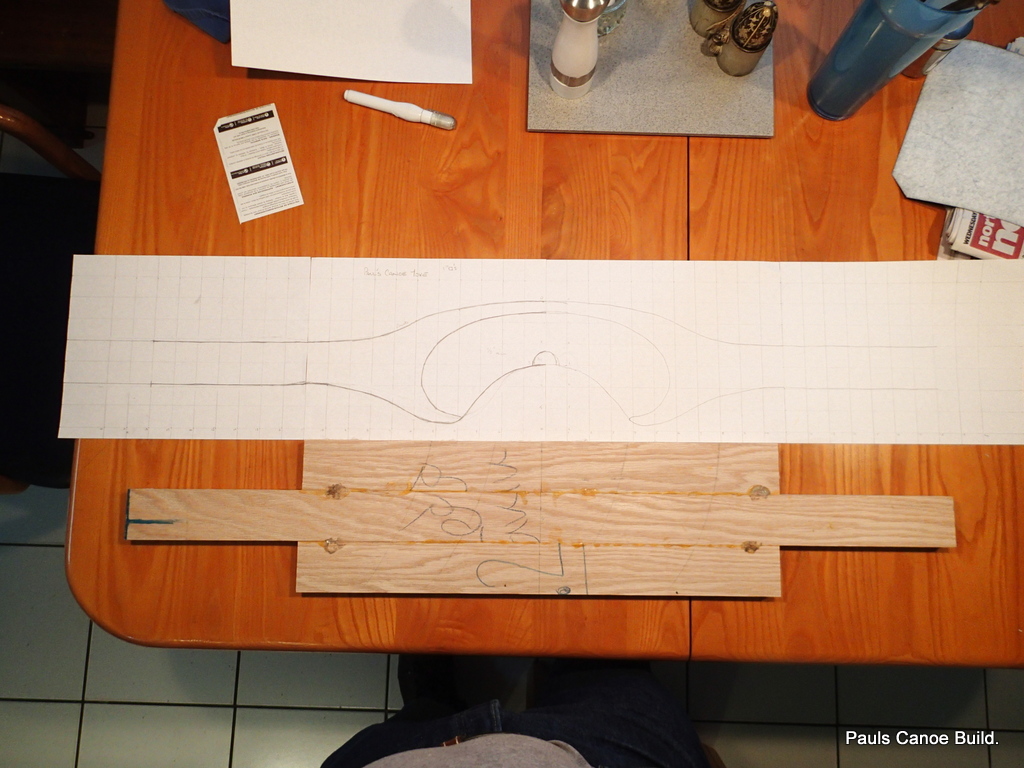
Rough yoke and pattern.
I am using the pattern for the Chestnut Canoe Company Portage Yoke from the book “This Old Canoe, How to Restore Your Wood-Canvas Canoe ” by Mike Elliott. ISBN 978-0-9948633-0-0, published by Kettle River Canoes, 7480 4th Street, P.O. Box 2324, Grand Forks, BC, Canada, V0H 1H0. A really great book with a lot of practical information about Wood-Canvas canoes but also about seats, yokes and thwarts. Again, a great book.
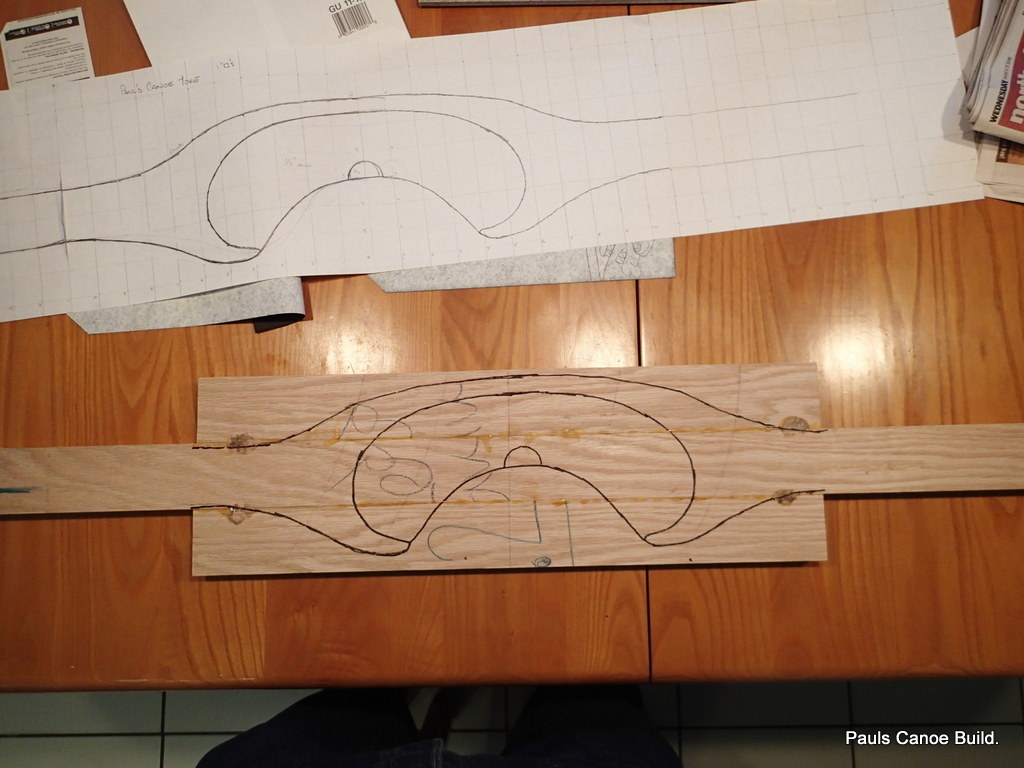
Pattern drawn on.
I cut the rough-out with my jig saw.
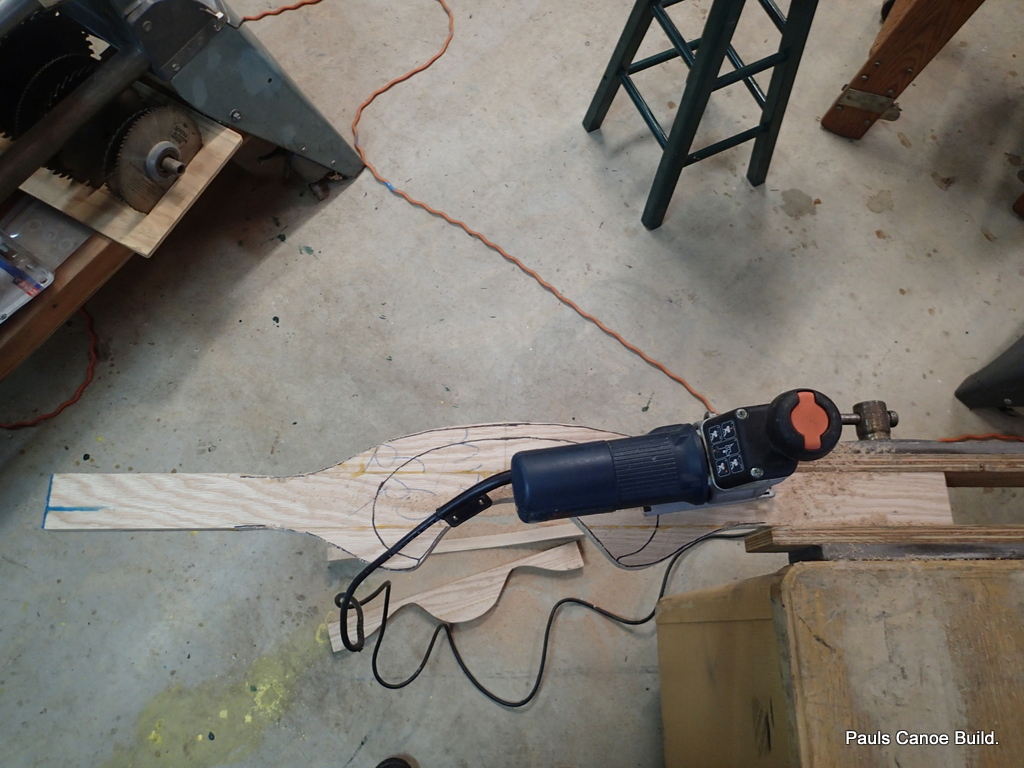
Staged picture of jig saw cutting out the pattern.
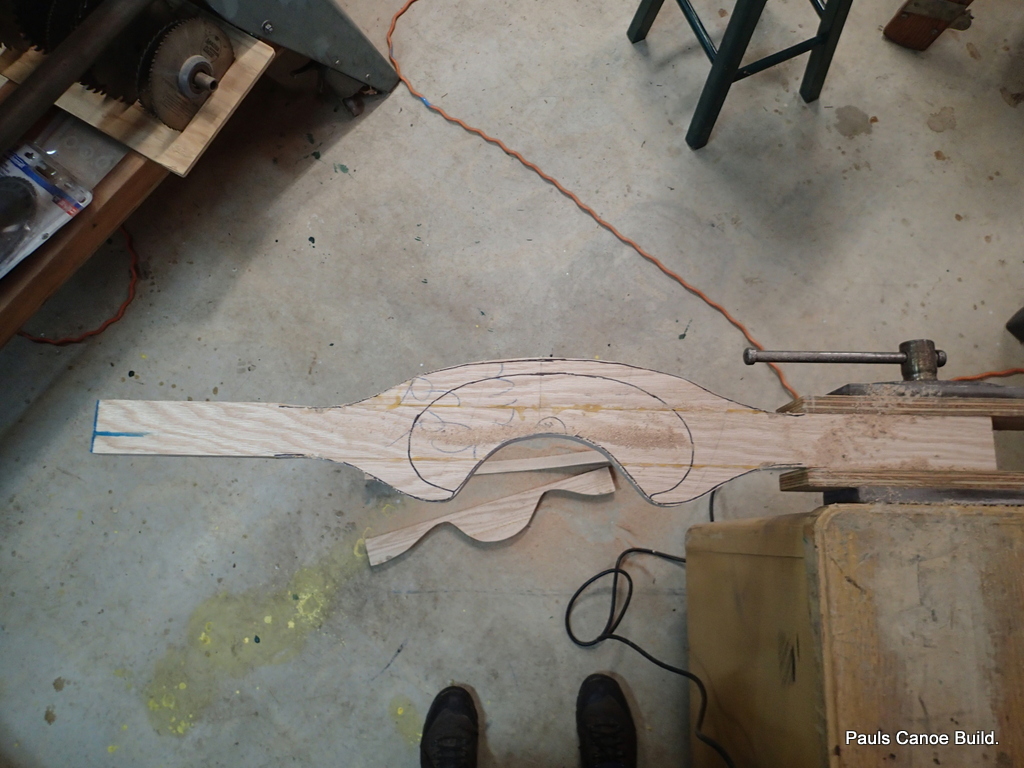
Rough yoke.
The next step is to set up my router jig. I am using a ½” round-over bit.
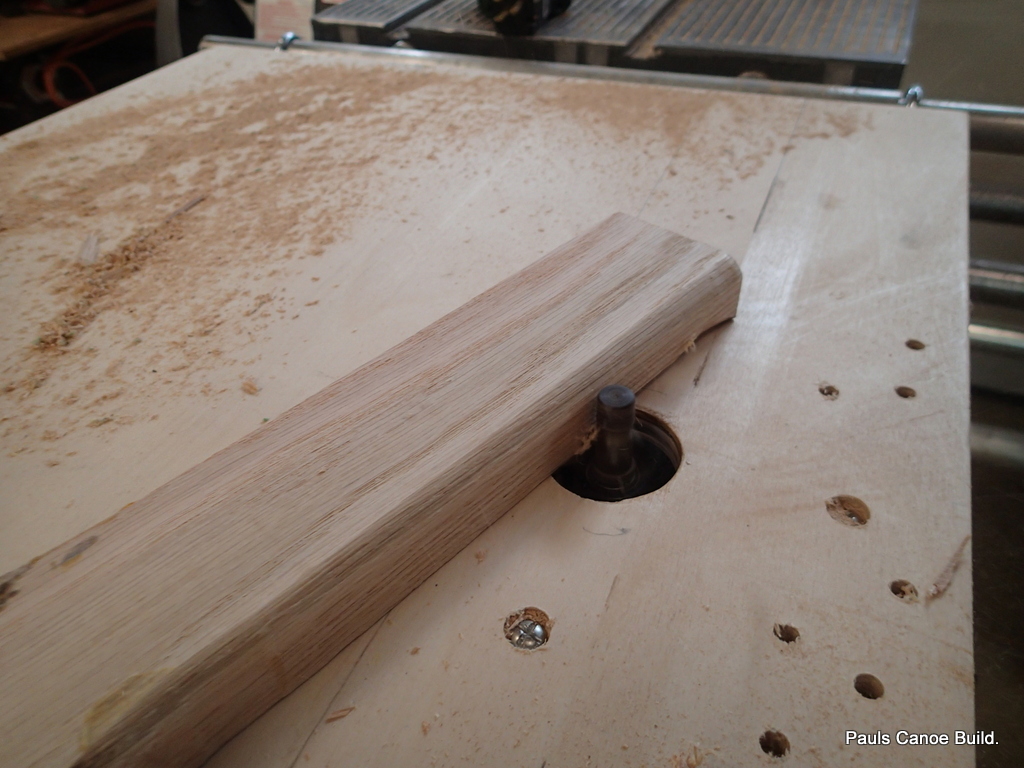
Rounding over the carrying yoke and the seat rails.
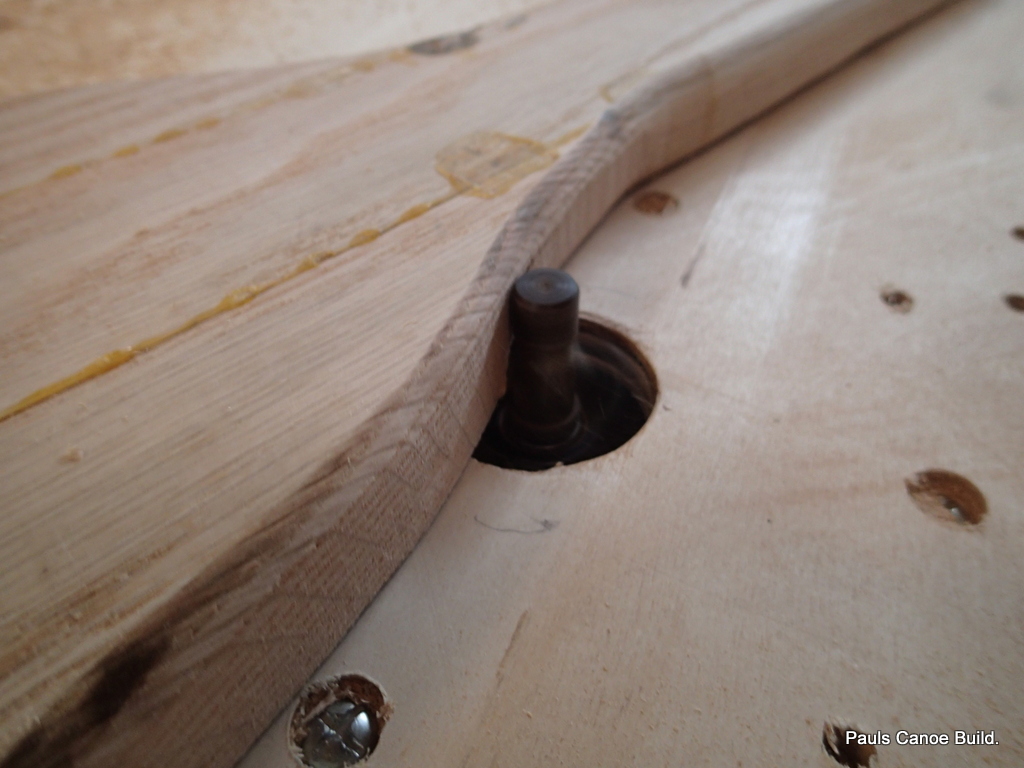
Rounding over.
I run all of the pieces through the router. I tape the seat pieces together to rout them, so I get the round-over on the outside of the pieces.
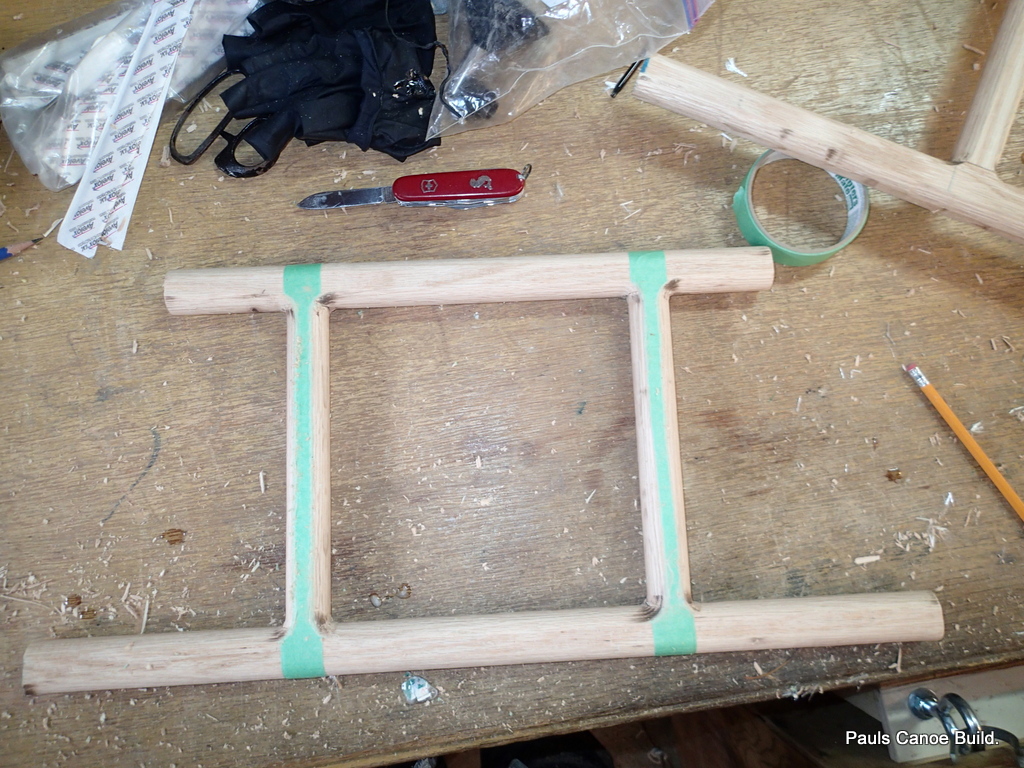
Only the inside and outside edges shaped.
Close-up what I mean by the inside and outside edges. Where the mortise and tenon are, I did not rout that edge.
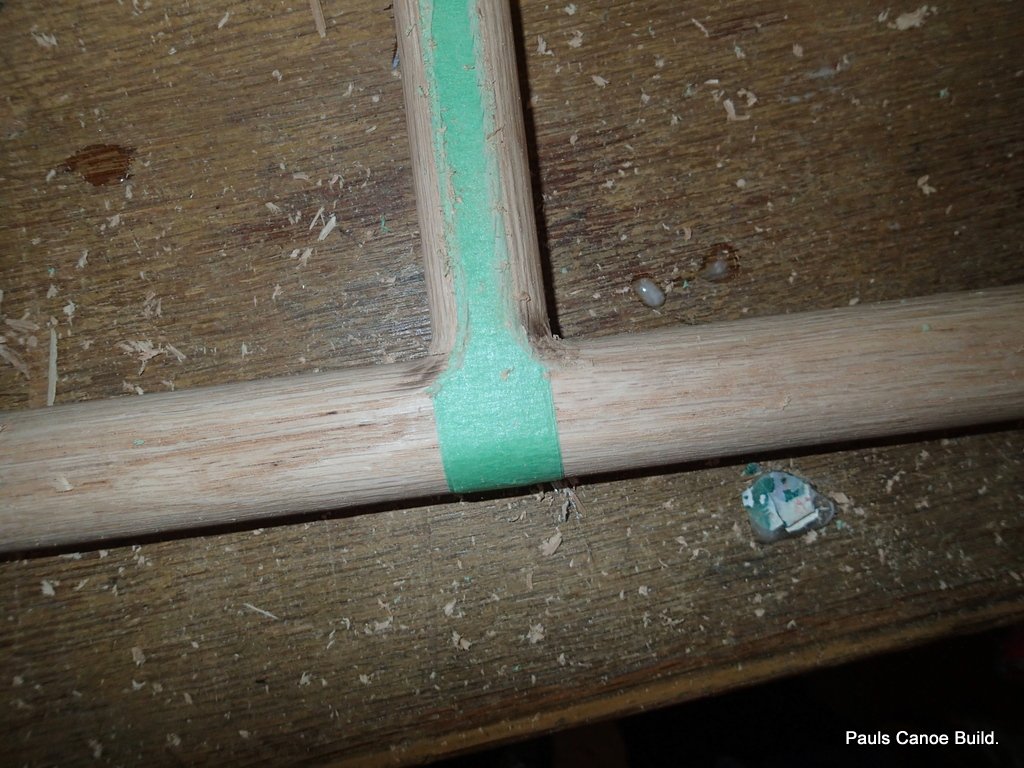
Detail photo.
I now turn to the carrying yoke.
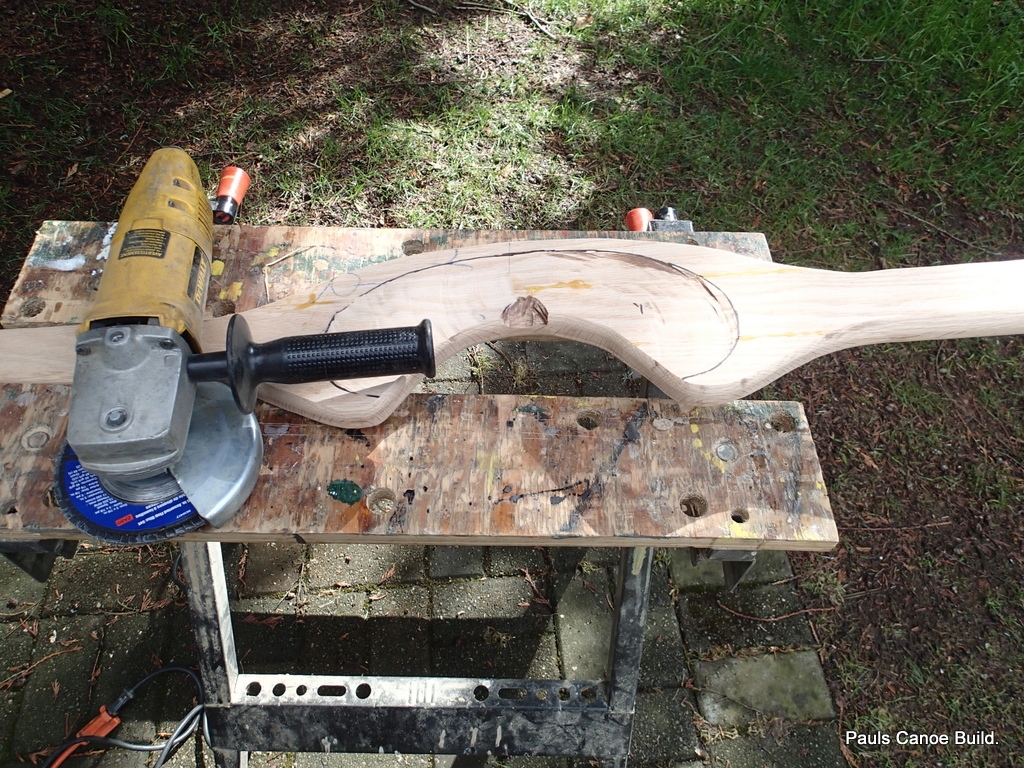
I do not want to get any sawdust on the canoe, so I do all the sanding and shaping outside.
I use my angle grinder and a 24 grit flapper disk to carve out the shoulder depression. It should be about a ½” deep.
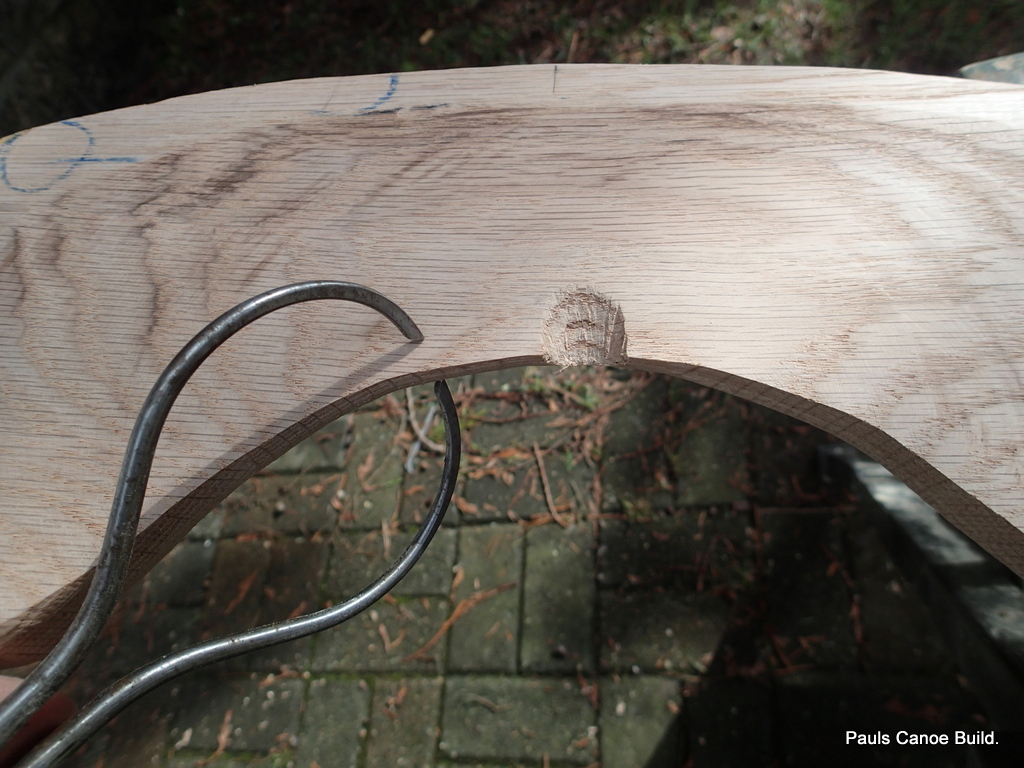
Checking the thickness.
The smaller notch in the middle is for your seventh cervical vertebra. A very important comfort consideration.
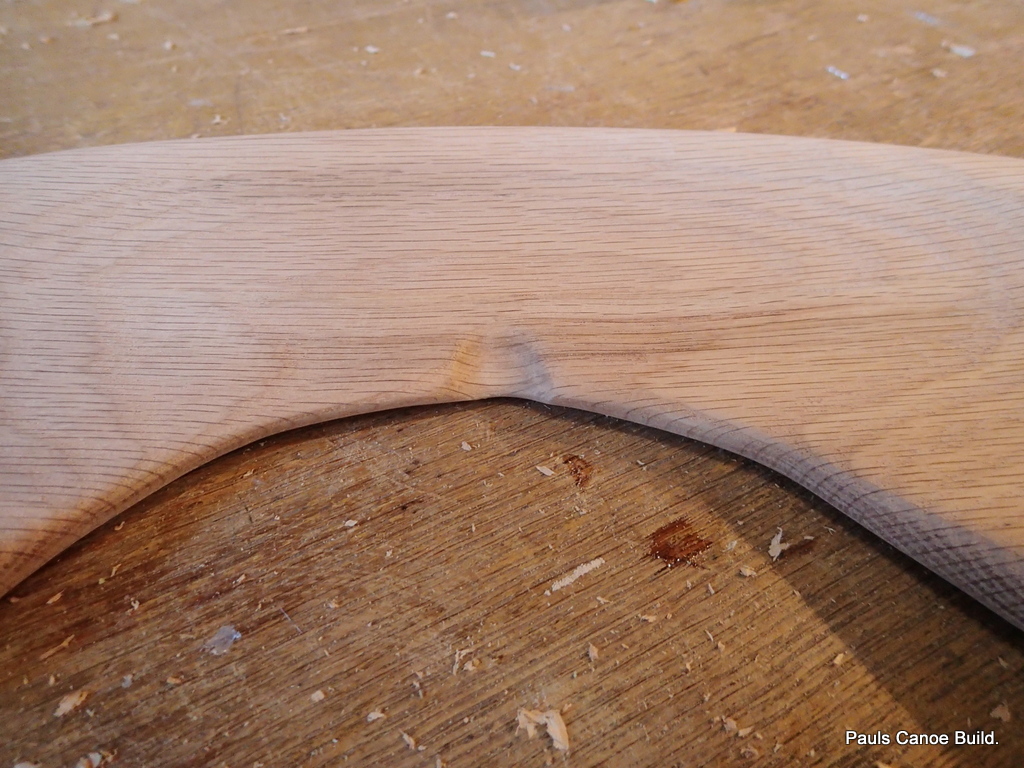
Portage yoke sanded and ready for final finishing.
I sand the seat frames.
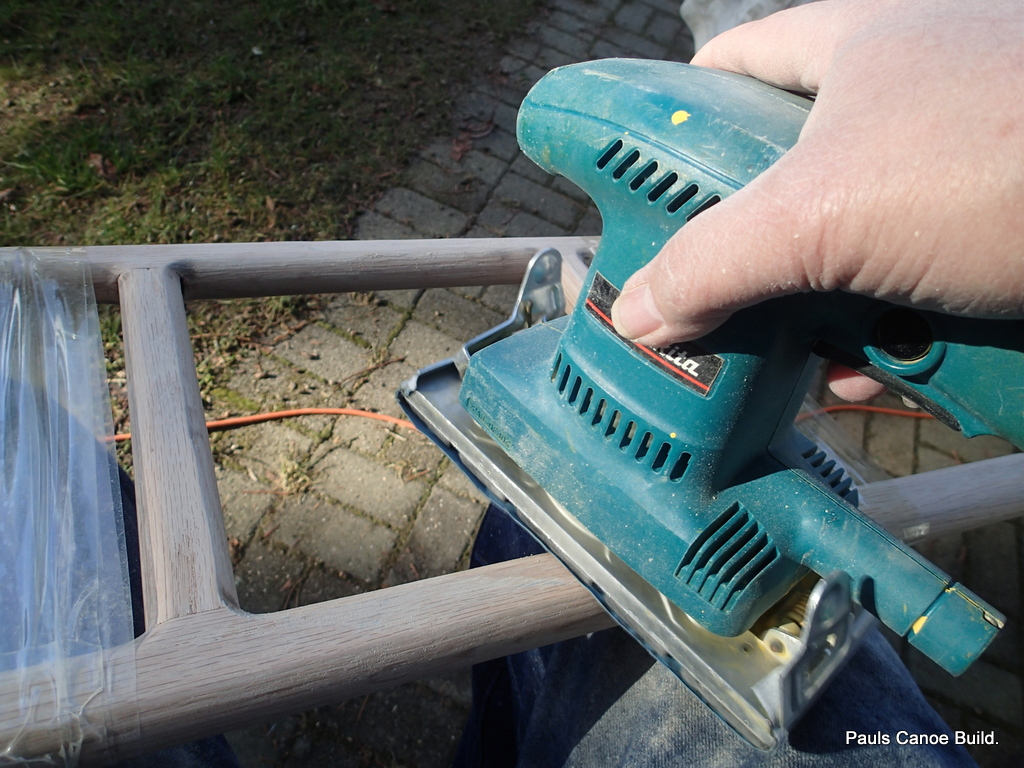
Packing tape holds the seat frames together while I sand.
#80, then #120 then #220 grits…
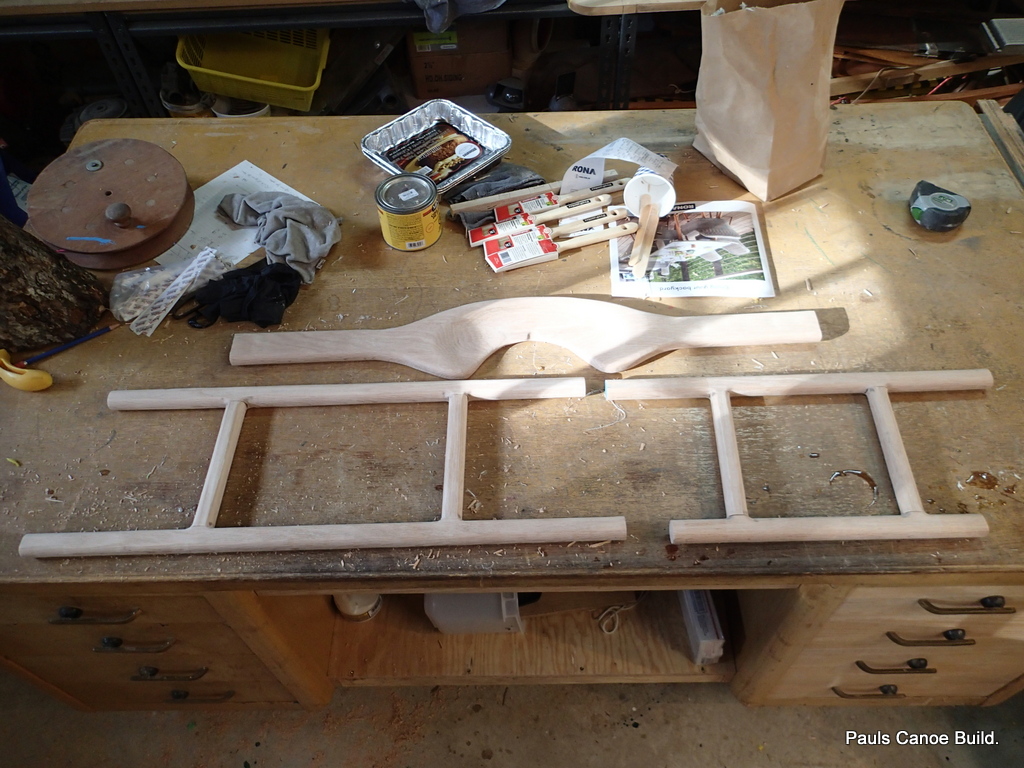
Everything sanded and ready to go.
Paul decides to glue-up the seat frames.
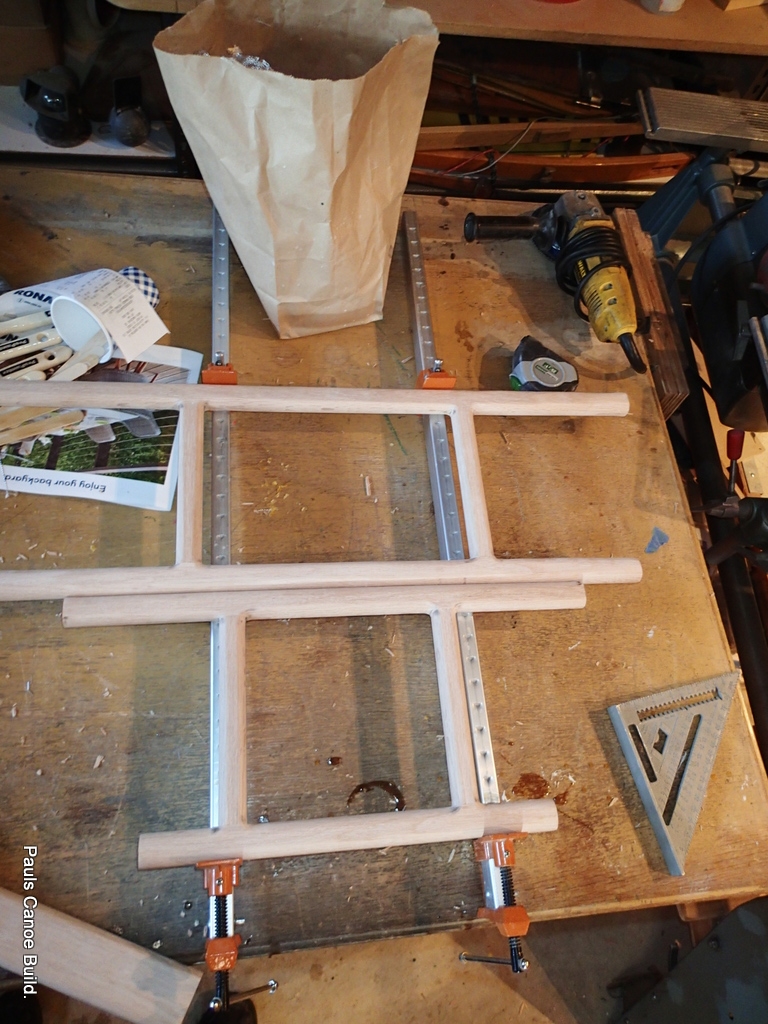
Seat frames glued-up and squared.
Next step is giving everything a coat of epoxy.
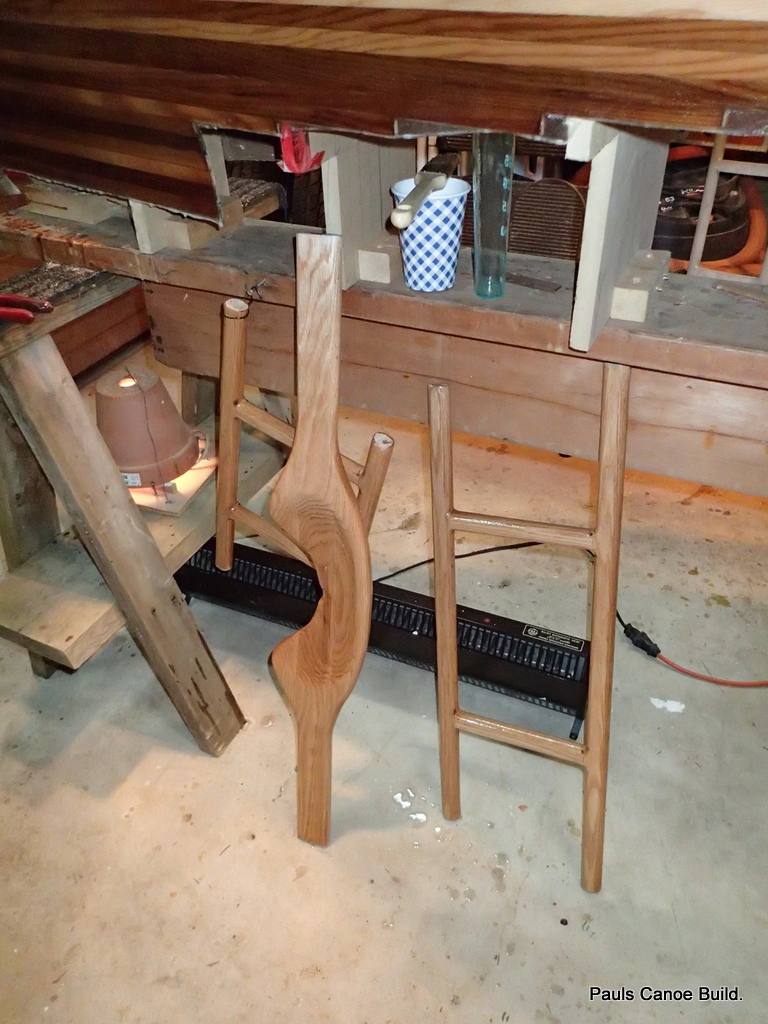
Seat frames and Yoke coated with epoxy resin.
Note the heater in the background. Shop temperature is 18 degrees celsuis.
Varnishing is next and then web-up the seats. Paul is thinking of using para-cord to weave a seat.
See you on the water soon,
